
Chocolate-Covered Pretzels
intro
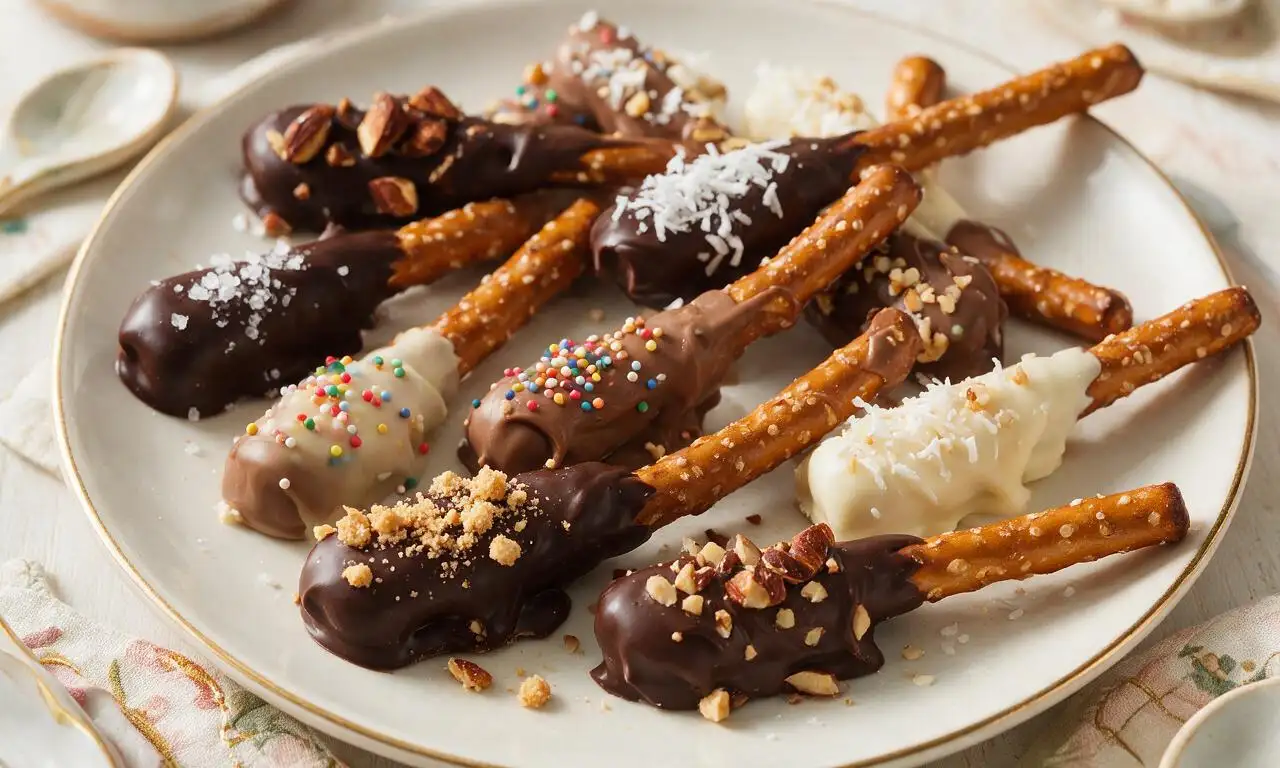
Crunchy salty pretzels coated in smooth rich chocolate, customizable with fun toppings—an easy, crowd-pleasing sweet-savory treat for gifting and snacking.
Ingredients
Steps
Prep dipping station
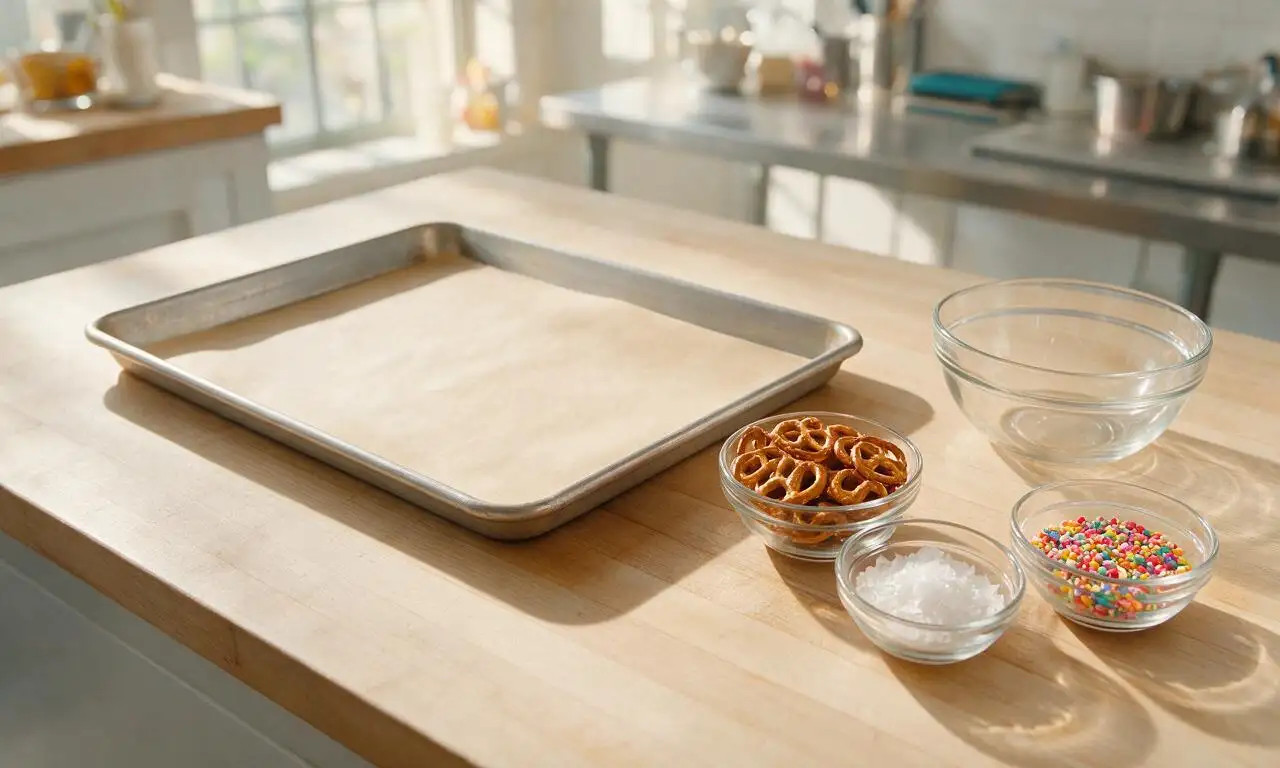
Line a 46x33cm (18x13 inch) rimmed baking sheet with parchment paper and set it within easy reach. Measure 200g pretzel twists, 1 tbsp coconut oil, 1 tsp flaky sea salt, and 3 tbsp sprinkles into separate small bowls to eliminate delays once chocolate is melted.
Melt chocolate smoothly
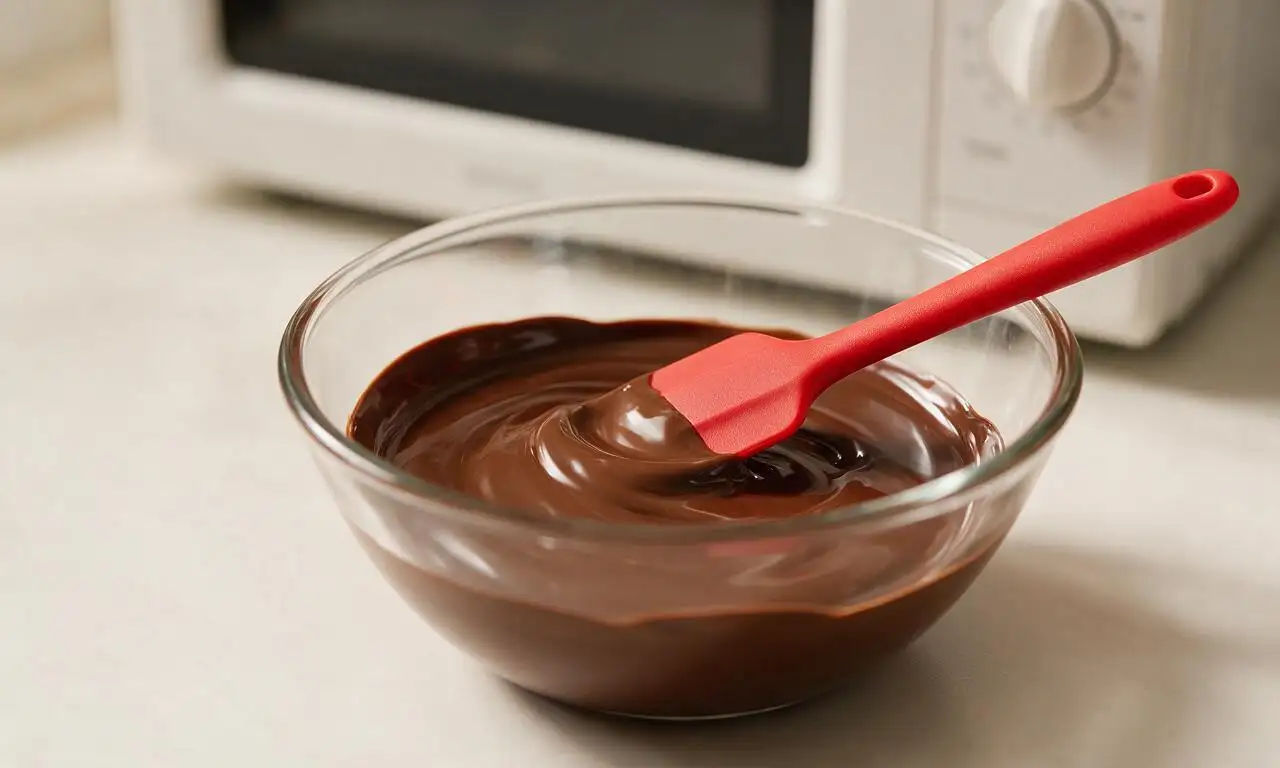
Add 340g semi-sweet chocolate chips and 1 tbsp coconut oil to the dry glass mixing bowl. Heat in the microwave at 50% power in 30-second bursts, stirring fully with a silicone spatula after each burst, for a total of 1.5–2 minutes, until the chocolate is completely lump-free and glossy. Never heat on full power to avoid burning the chocolate.
Coat pretzels evenly
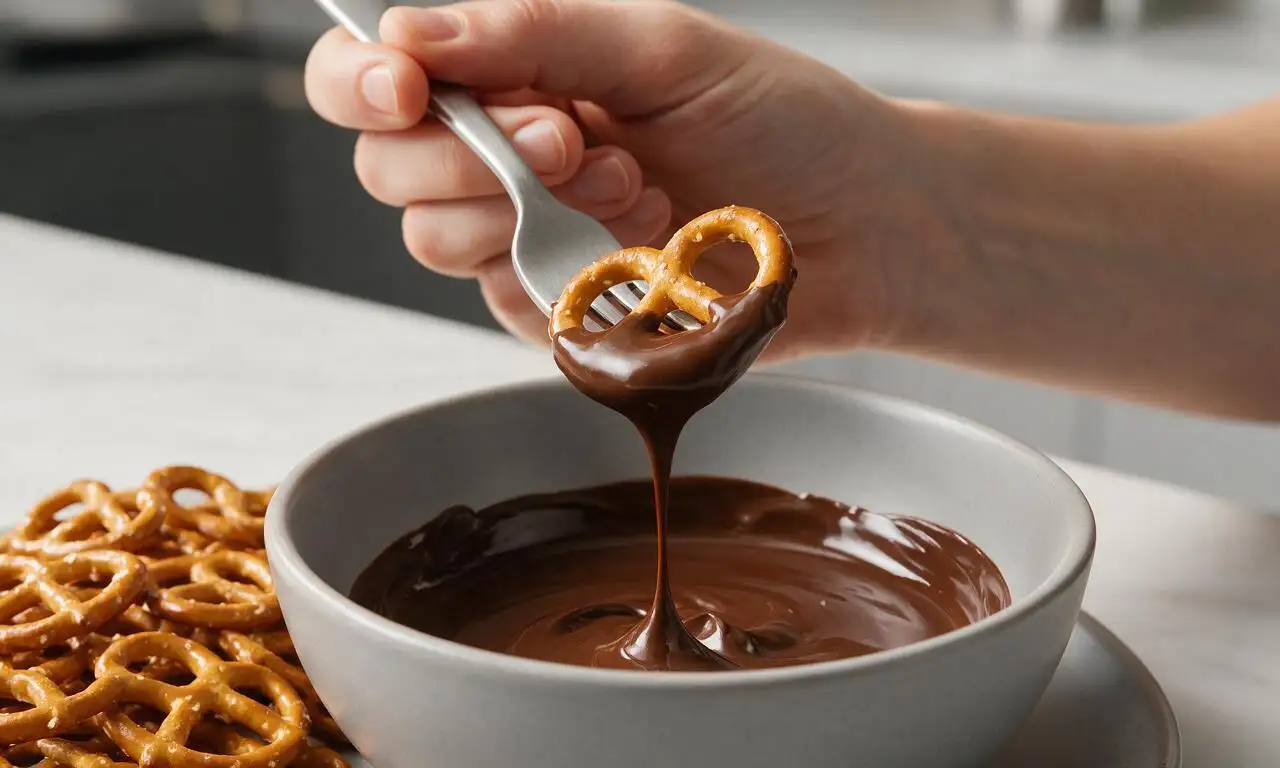
Working one pretzel at a time, drop it into the melted chocolate, use a fork to flip it until 75% of the pretzel is coated (leave a small uncoated corner as a no-mess handle if preferred). Lift the pretzel with the fork, then tap the fork against the bowl rim 3–4 times to let excess chocolate drip off, leaving a thin, even coating.
Add toppings quickly
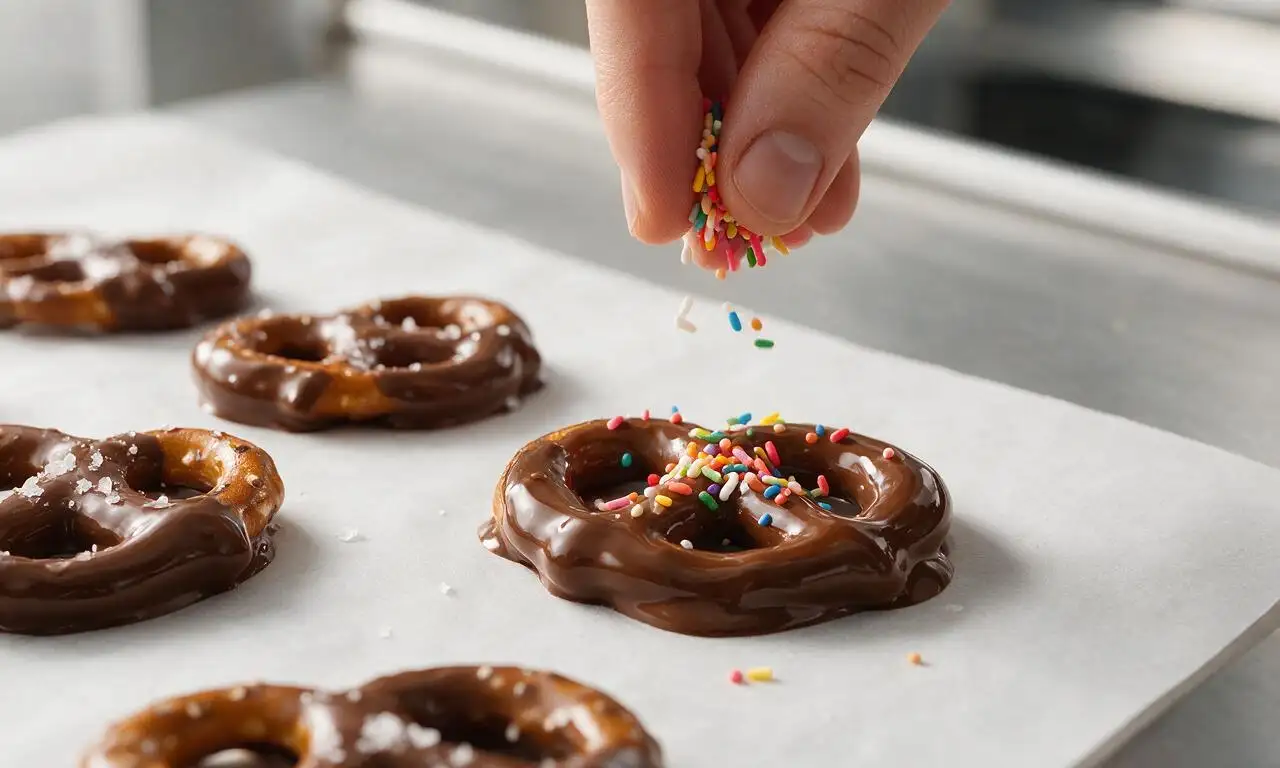
Place each dipped pretzel onto the parchment-lined baking sheet immediately after coating. Within 10 seconds of setting the pretzel down, sprinkle a pinch of flaky sea salt or a light dusting of sprinkles over the wet chocolate—waiting longer will cause toppings to slide off or fail to stick.
Chill to set chocolate
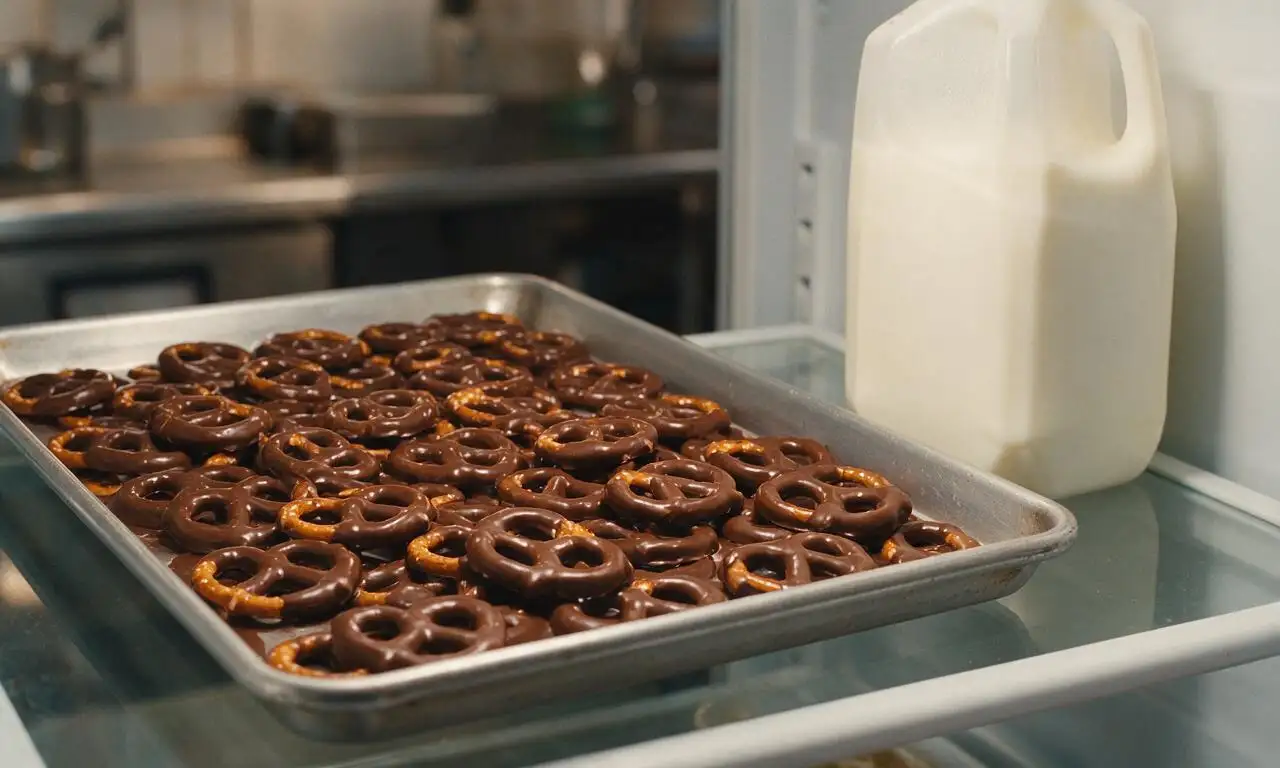
Once all pretzels are dipped and topped, place the baking sheet on a middle shelf of the refrigerator for 20 minutes, until the chocolate is fully firm and non-sticky to the touch. Do not chill for longer than 30 minutes, as extended cold can cause white, powdery chocolate bloom on the surface.
Store pretzels properly
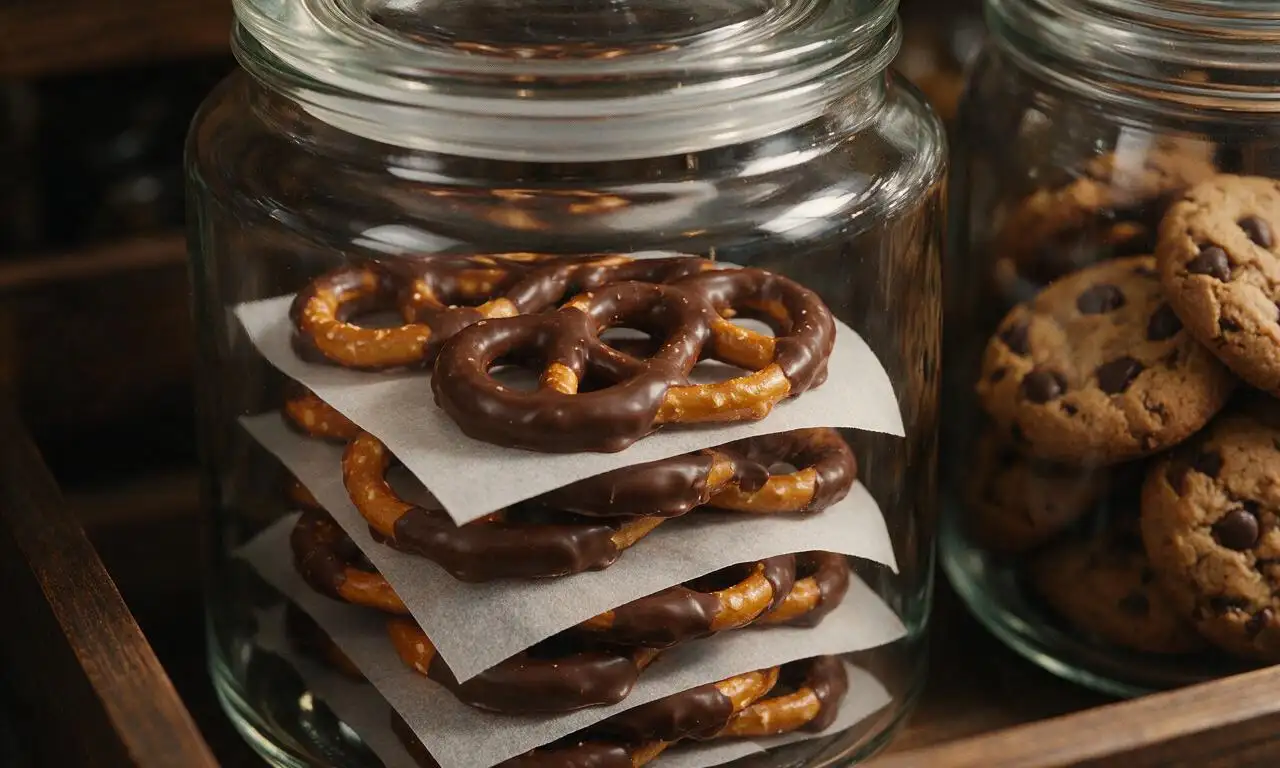
Once set, transfer pretzels to an airtight storage container, separating layers with small sheets of parchment paper to prevent sticking. Keep the container in a cool, dark spot at 18–20°C (65–68°F) for up to 2 weeks, or refrigerate for up to 1 month.
Tips
2.If no microwave is available, melt chocolate via double boiler: set the heatproof bowl of chocolate and coconut oil over gently simmering (not boiling) water, stirring constantly for 3–4 minutes until smooth, ensuring the bowl does not touch the hot water.
3.Customize treats by swapping semi-sweet chocolate for milk, white, or dark chocolate, and adding toppings like crushed candy canes, chopped roasted peanuts, or a peanut butter drizzle.






OMG these were SO good! I made a double batch for my boys’ soccer team snack this weekend and every single last pretzel was gone before halftime. I used half dark chocolate and half milk chocolate, plus sprinkled crushed peanuts on some for the kids who love extra crunch. Total game changer for quick team snacks!
I’ve never made any kind of candy or chocolate treat before and these were actually foolproof! I was worried I’d burn the chocolate melting it in the microwave, but the tip to stir every 30 seconds saved me. I only had salted pretzel twists on hand and the sweet-salty combo was chef’s kiss. Only thing is I wish I made more—my roommate ate half the batch before I even got to put sprinkles on them!
I brought these to our neighborhood block party potluck last week and people were asking me for the recipe left and right! I did a few fun toppings: crushed Oreos, sea salt flakes, rainbow sprinkles, and even a few with cayenne pepper for the people who love that sweet-spicy kick. They look way fancier than they are, which is my favorite kind of potluck dish. 10/10, will be making these for every gathering from now on.
So happy this recipe works with gluten free pretzels! I have celiac and it’s so hard to find easy, no-fuss sweet treats I can make for family dinners without cross-contamination risks. I used dairy free dark chocolate too so my vegan niece could enjoy them, and no one could tell they were allergy-friendly!
Made these as a quick date night activity with my girlfriend last night and we had a blast. We got way too messy with the sprinkles, half the chocolate ended up on our hands instead of the pretzels, but they tasted amazing regardless. Way better than the store-bought chocolate covered pretzels that taste like waxy chocolate. Would 100% make again.
These were such a hit with my kid! Quick question—can I freeze these after making them? I like to prep little sweet snacks ahead of time for lunch boxes, and I’m wondering if they hold up in the freezer.
Bro these are so cheap to make??? I bought a bag of pretzels for $1 and a couple chocolate bars from the dollar store and made enough to share with my entire dorm floor. Everyone thought I bought them from the fancy candy shop on campus. No fancy equipment needed, just a microwave and a plate, which is perfect because my dorm kitchen has basically nothing.
Tried these for the first time last night and they were solid, but I burned my first batch of chocolate because I zapped it in the microwave for a full minute straight without stirring. Don’t be like me, follow the directions and stir every 30 seconds! The second batch turned out perfect, though, I added some crushed pretzel bits on top for extra salt.
My kids loved it! I was worried they’d turn their noses up at a homemade treat instead of the packaged candy they usually beg for, but they devoured these after school. I let them pick out their own sprinkles to put on top and they thought it was the most fun activity ever. Will be adding this to our weekly after-school rotation for sure.
Made these for my work holiday party last month and they were a huge hit. I did a mix of white, milk, and dark chocolate so there was something for everyone, and even the people who say they “don’t like sweet snacks” had a handful. Super easy to throw together the night before, no stress at all.
I’ve been making chocolate covered pretzels for my grandkids for 40 years, and I have to say, this method for melting chocolate in the microwave is way easier than the double boiler I’ve always used! They turned out just as smooth and tasty as my usual recipe, and I didn’t have to haul out all my extra pots and pans. Wonderful easy recipe, thank you for sharing!
Game changer for game day! I made these to snack on during the football game on Sunday and they were the perfect salty-sweet bite to go with beer and wings. I tossed a little bacon bits on a dozen of them for the savory lovers in my friend group and those went first. So easy, no fuss, will be making these every game day from now on.