1.Can I use regular-sized pretzels instead of mini pretzel twists for this recipe?
▾
Absolutely! Regular pretzel twists or thick pretzel rods work perfectly, though you’ll need to hold them in the chocolate a second longer to fully coat their larger surface area. Mini twists are just ideal for bite-sized, poppable servings that work great for party spreads, and they set faster than larger pretzel varieties after coating.
2.Why do you add coconut oil to the melted chocolate for this recipe?
▾
Coconut oil thins melted chocolate just enough to create a smooth, glossy coating that sticks evenly to pretzels without clumping up thickly. It also helps the chocolate set faster at room temperature, and adds a subtle, complementary creamy note that doesn’t overpower the rich semi-sweet chocolate flavor.
3.Can I swap semi-sweet chocolate chips for milk chocolate or dark chocolate if I prefer?
▾
Of course! Milk chocolate makes for a sweeter, creamier final treat, while dark chocolate adds a deeper, less sweet contrast to the salty pretzels. Just stick to the ratio of 1 tablespoon of coconut oil per 1 cup of chocolate chips to keep the coating consistency perfect, no matter which chocolate variety you pick.
4.Do I have to temper the chocolate to make these chocolate covered pretzels?
▾
Nope, that’s what makes this recipe so easy! Adding a small amount of coconut oil to gently melted chocolate eliminates the need for careful tempering for home cooks. As long as you don’t overheat the chocolate (which causes seizing), you’ll get a smooth, snappy coating that sets well without the extra fussy steps.
5.How do I prevent my chocolate from seizing up into a grainy clump when I melt it?
▾
First, make sure all your bowls and utensils are completely dry—even a single drop of water will cause melted chocolate to seize. Melt it in 30-second bursts in the microwave, stirring well between each burst, rather than heating it on high for long stretches, to avoid overheating that also causes seizing.
6.Can I melt the chocolate on the stovetop instead of using the microwave?
▾
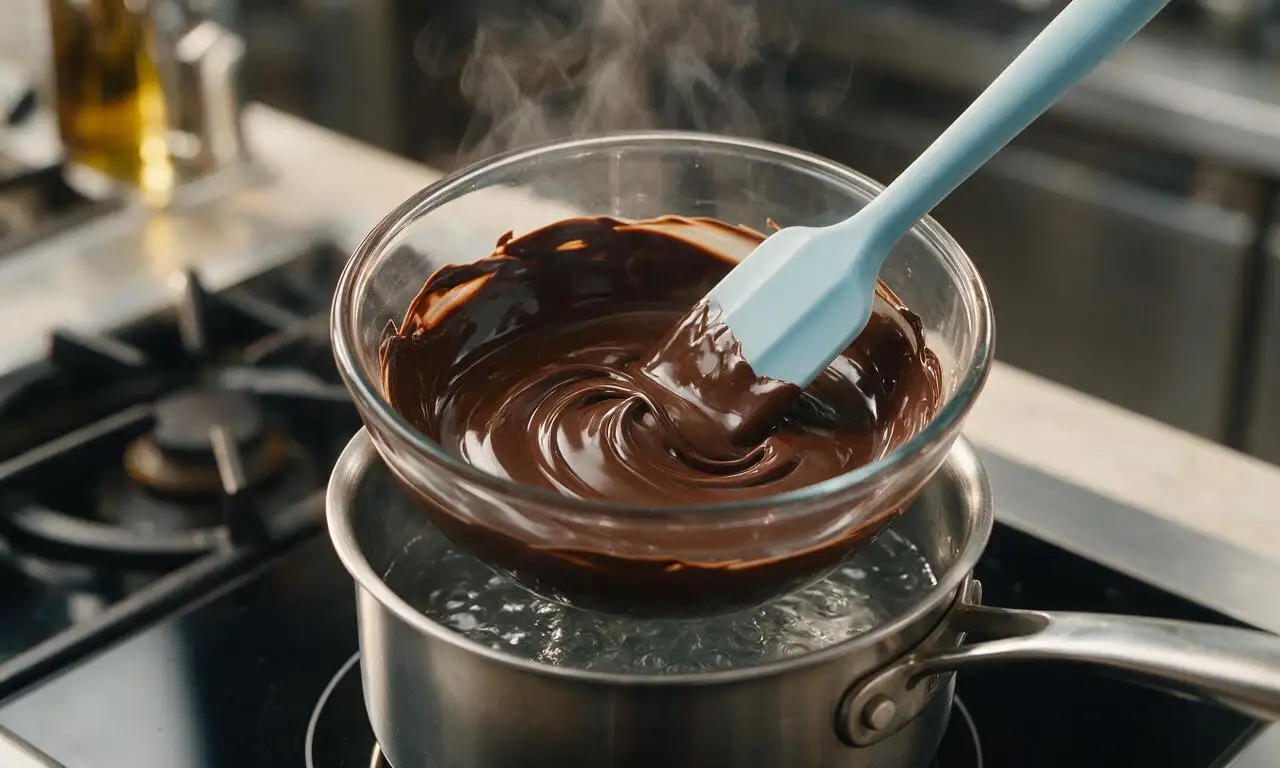
Absolutely! Use a simple double boiler setup: place a heatproof bowl over a small pot of gently simmering water, making sure the bowl doesn’t touch the water. Add the chocolate chips and coconut oil, stirring constantly until fully smooth, then remove from heat immediately to avoid overheating before dipping.
7.How far in advance can I make these chocolate covered pretzels for a party?
▾
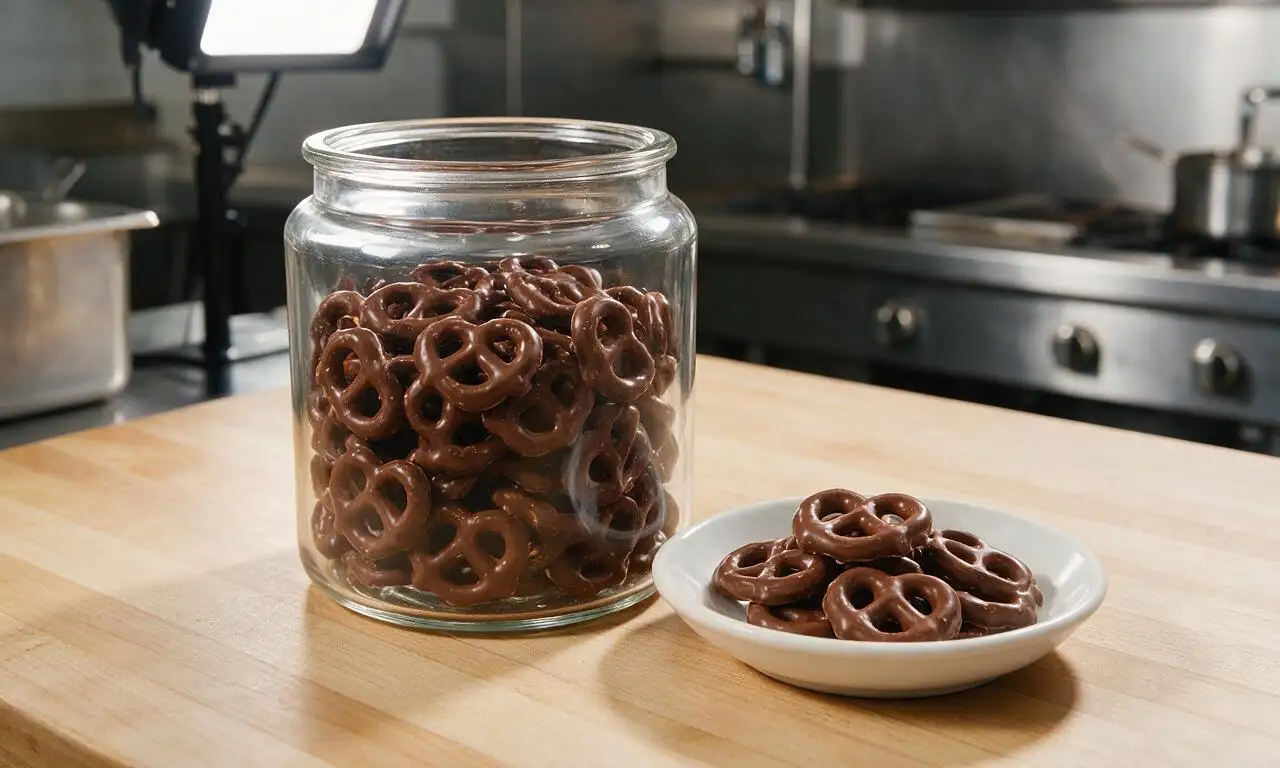
These keep really well, so you can make them up to 1 week ahead of your event! Just store them in an airtight container, layered between sheets of parchment paper to prevent sticking, in a cool, dry spot away from direct sunlight. There’s no need to refrigerate them if your space stays below 75°F.
8.When should I add the rainbow sprinkles and flaky sea salt after dipping the pretzels?
▾
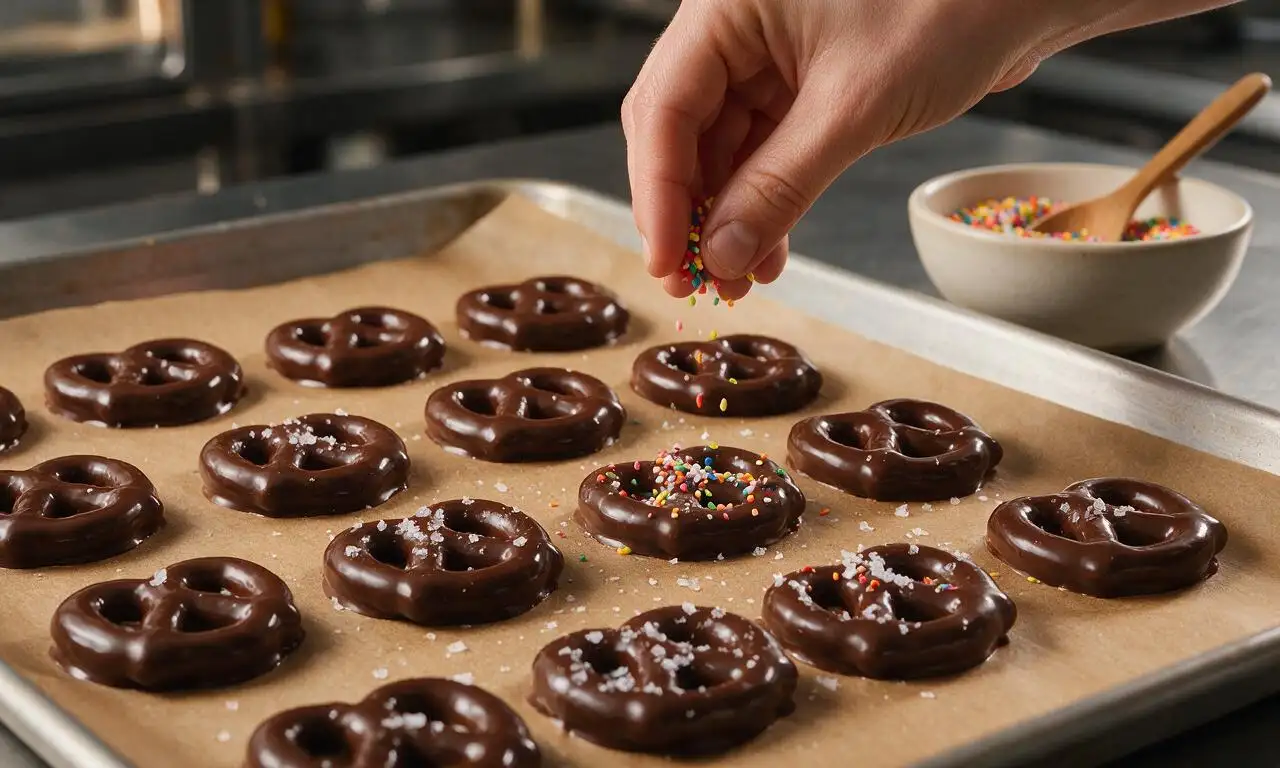
Add all your toppings immediately after dipping each pretzel! The chocolate starts setting pretty quickly once it’s off the heat, especially with the coconut oil added, so sprinkling on toppings within 10 to 15 seconds of dipping ensures they stick firmly instead of sliding off or bouncing off set chocolate.
9.Can I use other toppings besides rainbow sprinkles and flaky sea salt?
▾
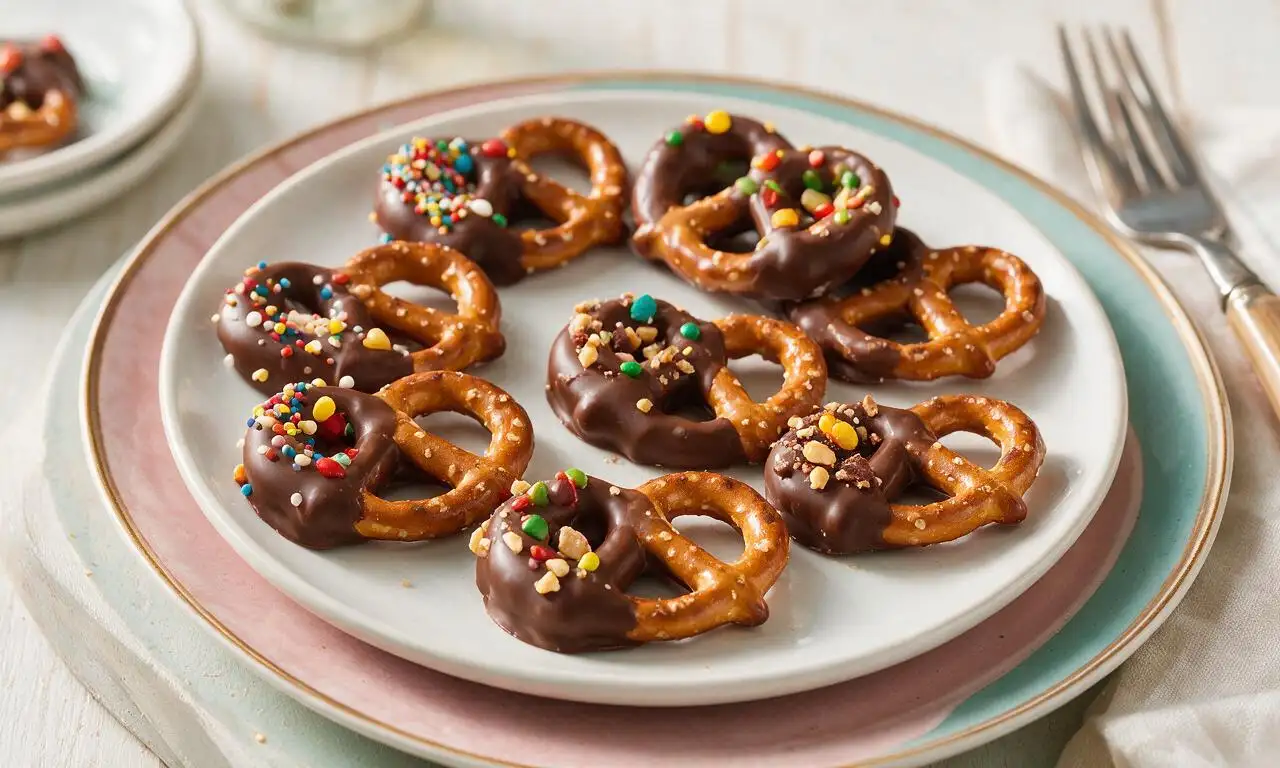
Definitely! Those two are classic, crowd-pleasing picks, but you can swap in crushed candy canes, chopped nuts, mini candy-coated chocolates, crushed toffee bits, white chocolate drizzle, or even edible glitter. Just make sure any dry toppings are finely chopped so they stick easily to the warm chocolate coating.
10.Why do you recommend flaky sea salt instead of regular table salt for topping?
▾
Flaky sea salt has large, delicate crystals that deliver a bright pop of salty flavor that perfectly balances the sweet chocolate and salty pretzel base. Regular table salt is much finer and denser, so it can make the pretzels overly salty if used in the same quantity, and it doesn’t add the same satisfying textural contrast.
11.Do I need to line my baking sheet with parchment paper when setting the dipped pretzels?
▾
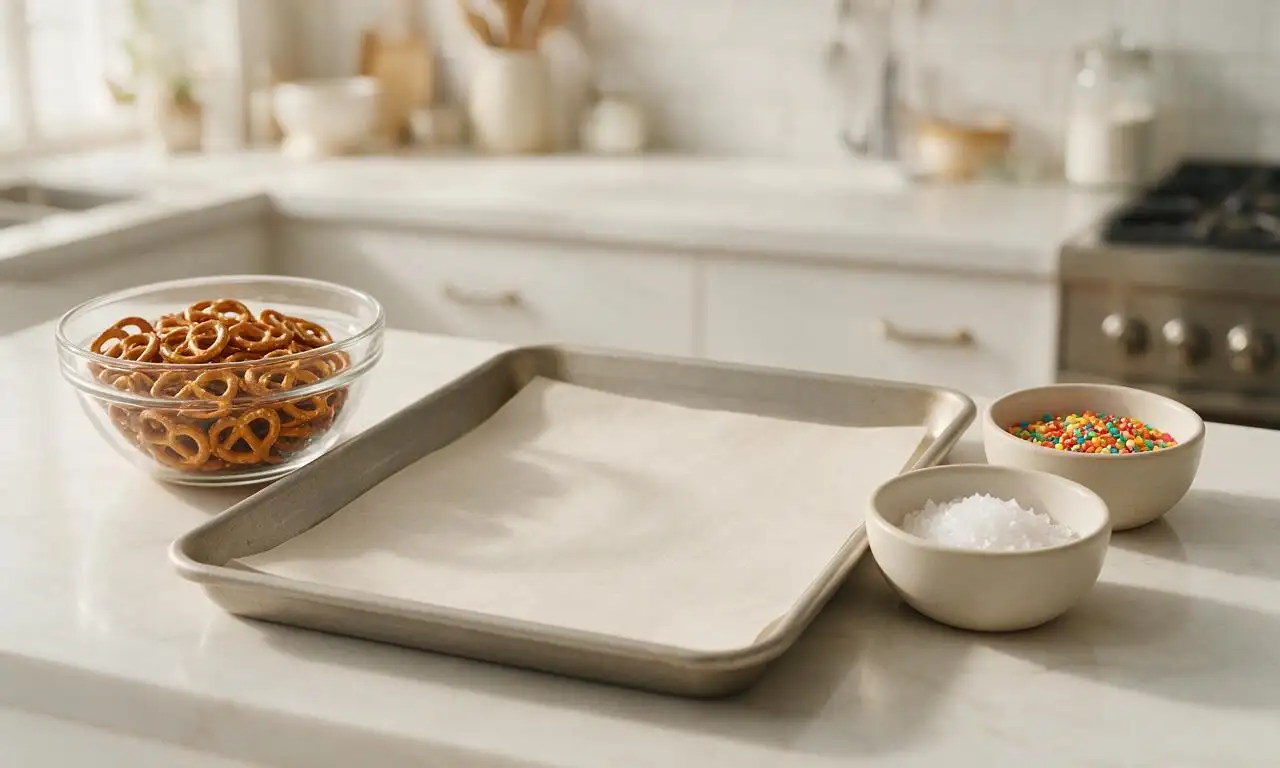
It’s highly recommended! Parchment paper creates a non-stick surface so the wet chocolate won’t glue itself to your baking sheet as it sets. If you don’t have parchment paper, you can use a silicone baking mat as a substitute, but wax paper or greased foil tends to leave a slight residue on the set chocolate base.
12.How long does it take for the chocolate coating to fully set at room temperature?
▾
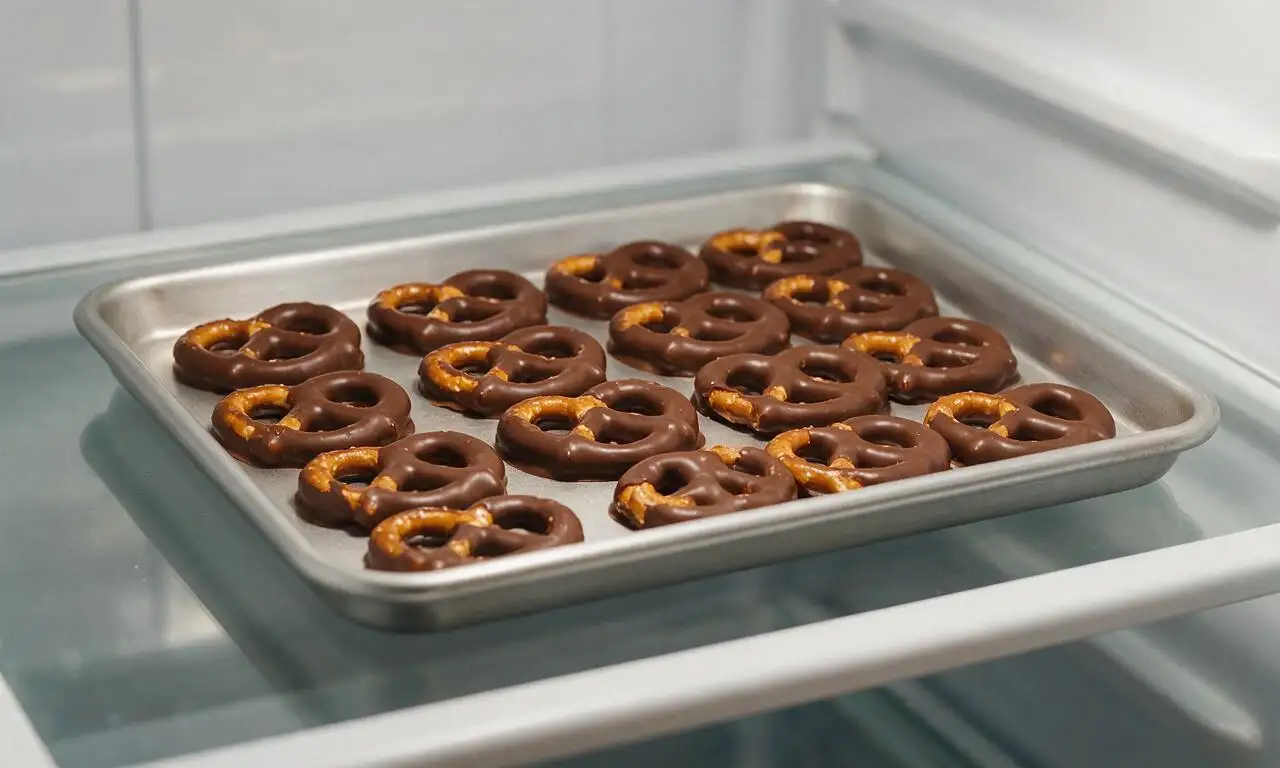
With the coconut oil added to the chocolate, your dipped pretzels will be fully set in about 20 to 30 minutes in a 65 to 70°F room. If your kitchen is extra warm, you can pop the baking sheet in the fridge for 5 to 10 minutes to speed up setting, just don’t leave them in too long to avoid condensation forming on the chocolate surface.
13.Can I freeze these chocolate covered pretzels for longer storage?
▾
Yes, they freeze beautifully! Place fully set pretzels in a freezer-safe airtight container, layered between parchment paper, and freeze for up to 3 months. When you’re ready to eat them, let them thaw in the sealed container on the counter for 15 to 20 minutes to avoid condensation forming on the chocolate surface.
14.What’s the easiest way to dip the mini pretzels without getting chocolate all over my fingers?
▾
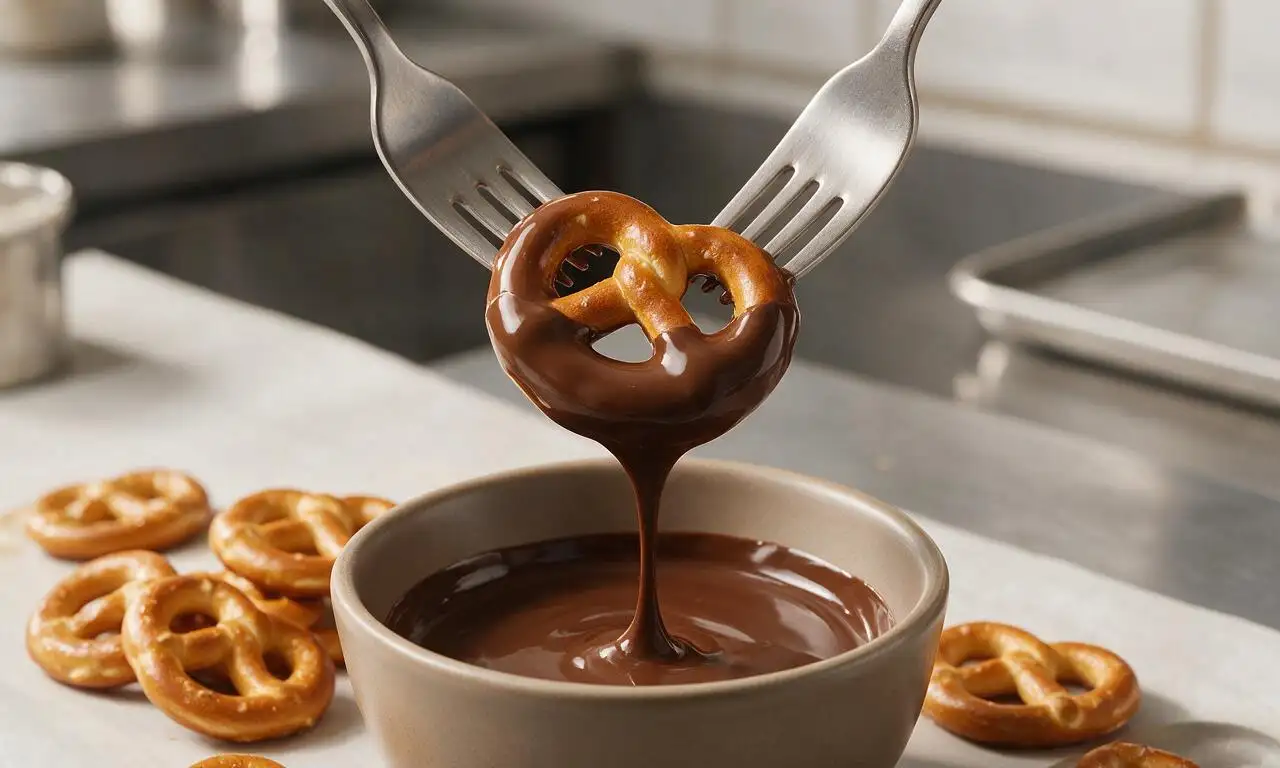
Use a pair of small kitchen tongs or a chocolate dipping fork to lower each pretzel fully into the melted chocolate, then lift it out and tap the tool gently on the edge of the bowl to shake off excess chocolate. You can also use two regular forks if you don’t have specialty tools, which keeps hands clean and gives an even coating.
15.My chocolate coating turned white and streaky after setting—what went wrong?
▾
That light, streaky white discoloration is called chocolate bloom, and it happens when the chocolate gets too warm during storage or is cooled too quickly (like straight in a very cold fridge right after dipping). It’s totally safe to eat, and the flavor is still great—it just has a slightly less snappy texture and less glossy appearance.
16.Can I make these treats vegan or dairy-free for guests with dietary restrictions?
▾
Absolutely! Just swap the regular semi-sweet chocolate chips for a dairy-free semi-sweet chocolate variety, and double check that your sprinkles don’t contain confectioner’s glaze (a common animal-derived ingredient). The pretzels, coconut oil, and flaky sea salt are naturally vegan, so it’s a super easy swap for allergy-friendly servings.
17.What should I do if I add too much coconut oil and my chocolate coating is too runny?
▾
If your chocolate is overly thin and runs right off the pretzels instead of sticking, just stir in a few extra chocolate chips a tablespoon at a time, letting them melt fully into the warm mixture, until the coating thickens to a smooth, syrup-like consistency that coats the back of a spoon without dripping off too quickly.
18.Are these pretzels a good option for edible gifting during the holidays?
▾
They make fantastic edible gifts! Let the chocolate set fully, then pack them in clear cellophane bags tied with festive ribbon, or stack them in decorative tins lined with parchment paper. They hold up well for 1 to 2 weeks in cool conditions, and customizable toppings make them easy to match any holiday color scheme.







Brought these to our neighborhood block party potluck last weekend and people were begging me for the recipe! I did half dark chocolate half milk chocolate, and added crushed candy canes on a third of them for the holiday vibe. 10/10, so much cheaper than buying the fancy pre-made ones at the mall.
As someone who burns toast 90% of the time, I was shocked these actually turned out! I only had semi-sweet chocolate chips on hand in my dorm, microwaved them in 30 second bursts like the recipe said, and didn’t mess it up at all. My roommates are already asking when I’m making another batch.
Made these for our day hike last weekend, they were the perfect trail snack! Salty, sweet, held up really well in the snack bag even when it was a little warm out. I added some chopped peanut bits on top for extra protein, total game changer for trail snacks, will absolutely be making these for all our upcoming trips.
Wait quick question—if I don’t have parchment paper, can I just put them on a regular greased baking sheet to set? I’m making these for my partner’s birthday tomorrow and don’t have time to run to the store.
I’ve been making chocolate covered pretzels for my grandkids for 40 years, and this method is so much simpler than my old double boiler routine! Tastes exactly the same, less mess, less time standing over the stove. I rolled some of mine in holiday sprinkles for the kids, they went crazy for them.
Not gonna lie, I was skeptical how good a 50 minute total recipe could be, but these are SO good. I threw in a little cayenne pepper with the dark chocolate for a spicy kick, and it was chef’s kiss. Perfect for movie night with the guys, way better than expensive candy bars.
Made these for my office holiday potluck and they were the first thing gone! I put little holiday-themed treat bags together with three pretzels each as little take-home favors, and everyone said they were adorable. Only note is I wish I’d made a double batch, I only got two for myself!
Tried making these for my daughter’s soccer team snack last week, total hit—my kids loved them so much they asked for a second batch before we even left the field! I used the rod pretzels so they were easier for the kids to hold, and let each kid pick their own sprinkle topping after I dipped them. The team is already asking for them again at the next game.
I loved how customizable this recipe is! I did a whole variety of toppings: crushed Oreos, rainbow sprinkles, toffee bits, even some mini M&Ms. Made a whole big platter for my friend’s movie night and everyone got to pick their favorite combo. Will definitely be adding this to my regular snack rotation.
Made these to have on hand for my weekend gaming marathon with friends, and they were the perfect snack to munch on between matches. Salty and sweet, no messy crumbs all over my keyboard, super easy to make while waiting for a match queue to pop. 10/10
These are perfect for weekly meal prep snack stashes! I made a batch on Sunday, portioned them out into little snack containers, and they lasted all week for quick grab-and-go snacks between work meetings. The chocolate didn’t get weird or melty in my work bag, which I was worried about.
I made these vegan by using dairy-free dark chocolate chips, and you couldn’t even tell the difference! Brought them to a friend’s game night and no one believed they were dairy free. Such a versatile base recipe, I love it.
OMG, made these last minute for my book club meetup, and everyone thought I bought them from a fancy candy shop! I added a little flaky sea salt on top of the milk chocolate ones, and the sweet-salty combo was *chef’s kiss*. Will 100% be making these again for every get together from now on.