
Chocolate-Covered Strawberries

title 1
Chocolate-Covered Strawberries
⏱️ cook time 50 minutes
🍽️ servings 4
⚡ Difficulty easy

intro

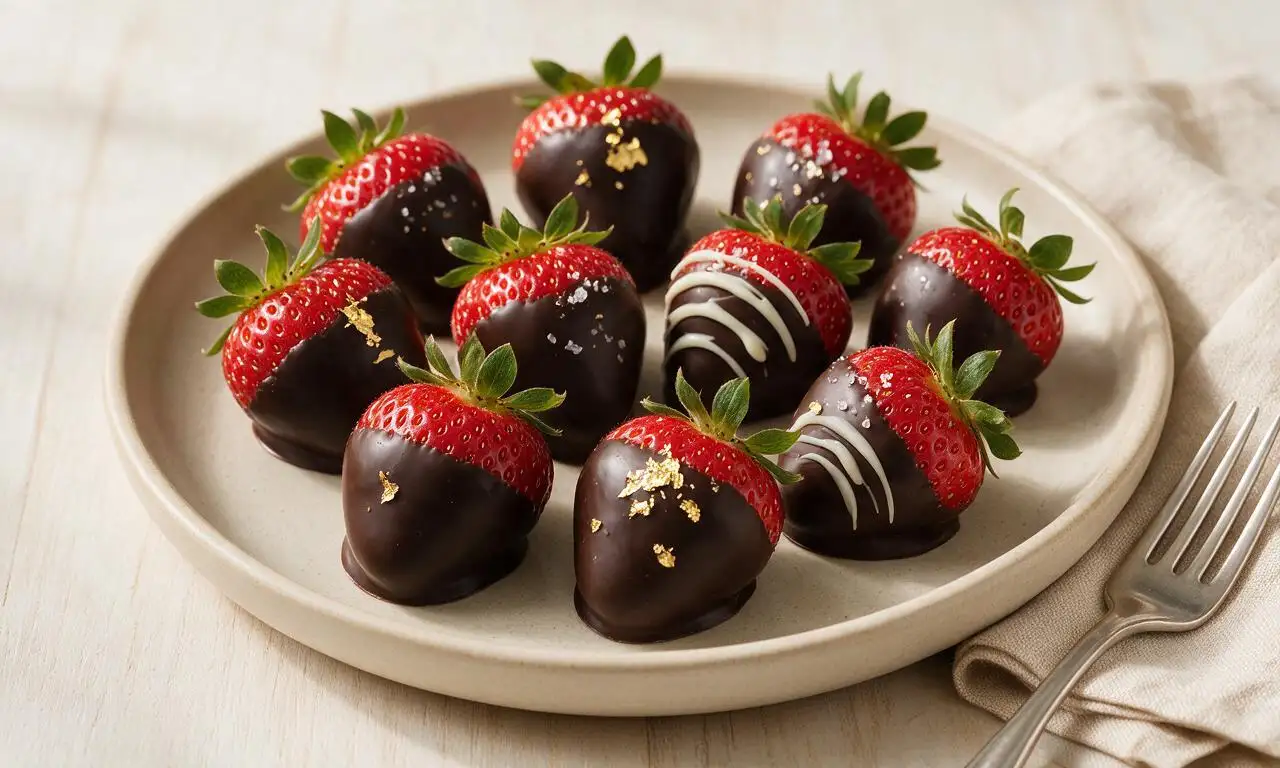
Juicy ripe fresh strawberries coated in snappy, glossy dark chocolate, with optional decorative toppings. A simple, elegant romantic treat perfect for gifting or sharing.

Ingredients

Fresh large ripe strawberries (with green leaf caps intact) 450g (approx 24 large berries)
70% cacao dark chocolate, chopped into small even pieces 225g (approx 1.5 cups chopped)
Refined coconut oil 1 tbsp (14g)
Roasted pistachios, finely chopped (optional topping) 2 tbsp (20g)
White chocolate chips (optional drizzle) 2 tbsp (30g)

Steps

1

Prep and dry strawberries

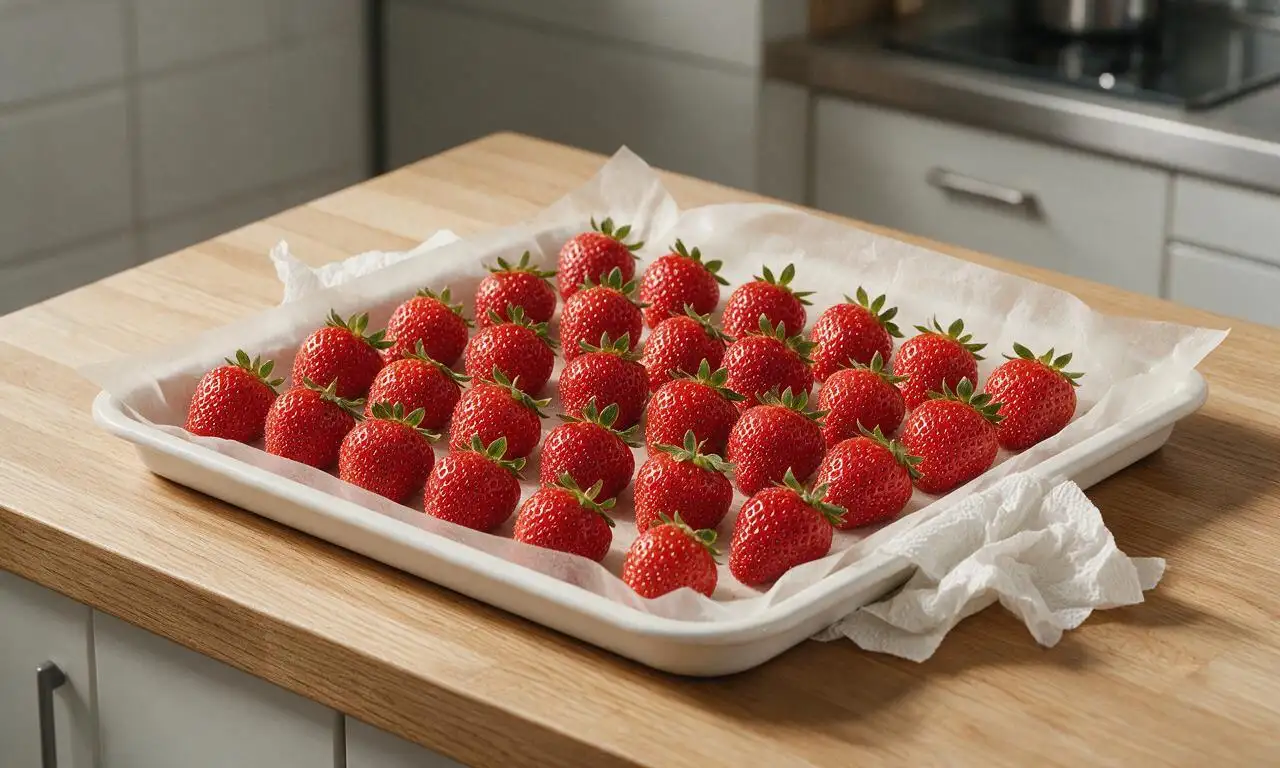
Line a large rimmed baking sheet with parchment paper. Gently rinse 450g of whole strawberries under cool running water, then pat every berry completely dry with lint-free paper towels—any residual moisture will cause chocolate to seize and fail to stick properly. Leave green leafy caps intact for easy holding, and arrange dry berries on the lined sheet while you prepare the chocolate.
Step 1
step1:Prep and dry strawberries
2

Melt chocolate mixture

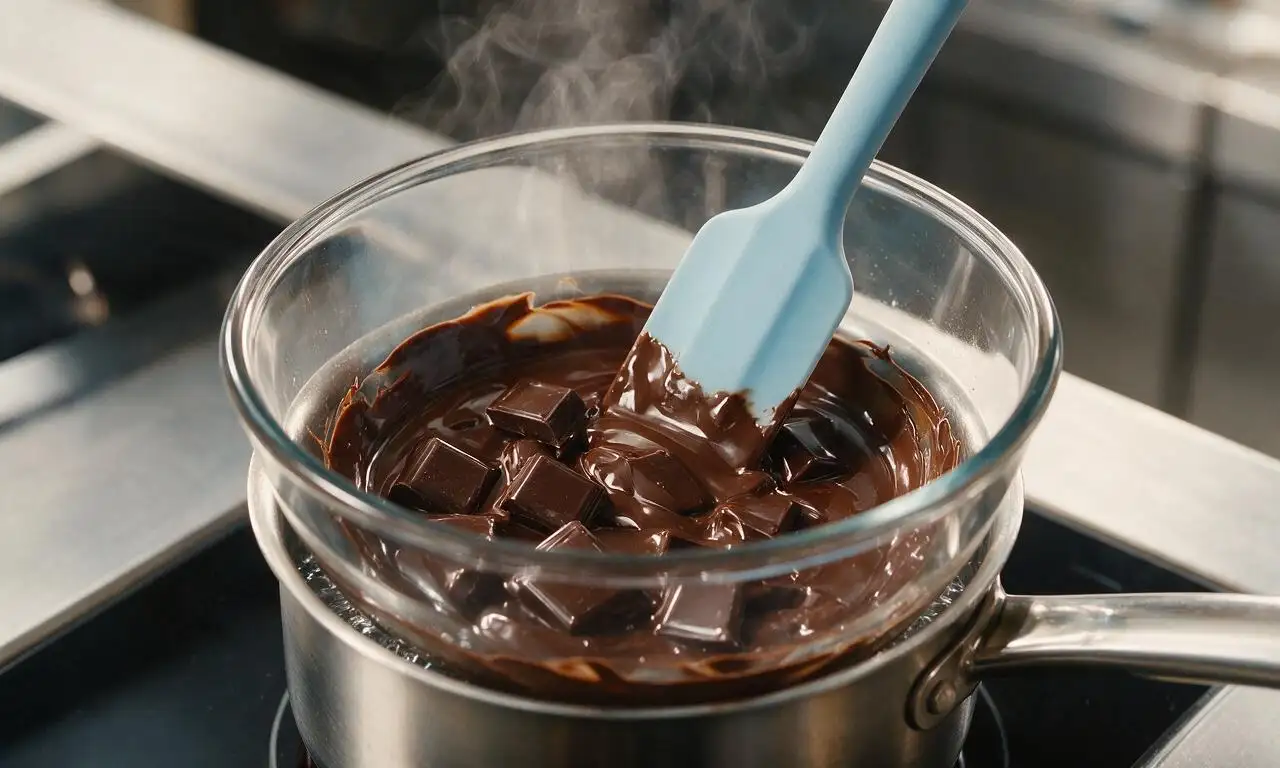
Combine 225g chopped dark chocolate and 1 tbsp refined coconut oil in a heatproof glass bowl set over a small saucepan filled with 2 inches of gently simmering water (double boiler setup), ensuring the bottom of the bowl does not touch the water. Heat over low heat, stirring constantly with a silicone spatula for 3-4 minutes, until the chocolate is 90% melted, smooth, and reaches 46°C (115°F) on a candy thermometer. Do not allow steam or water droplets to enter the chocolate, as this causes seizing.
Step 2
step2:Melt chocolate mixture
3

Cool chocolate to temper

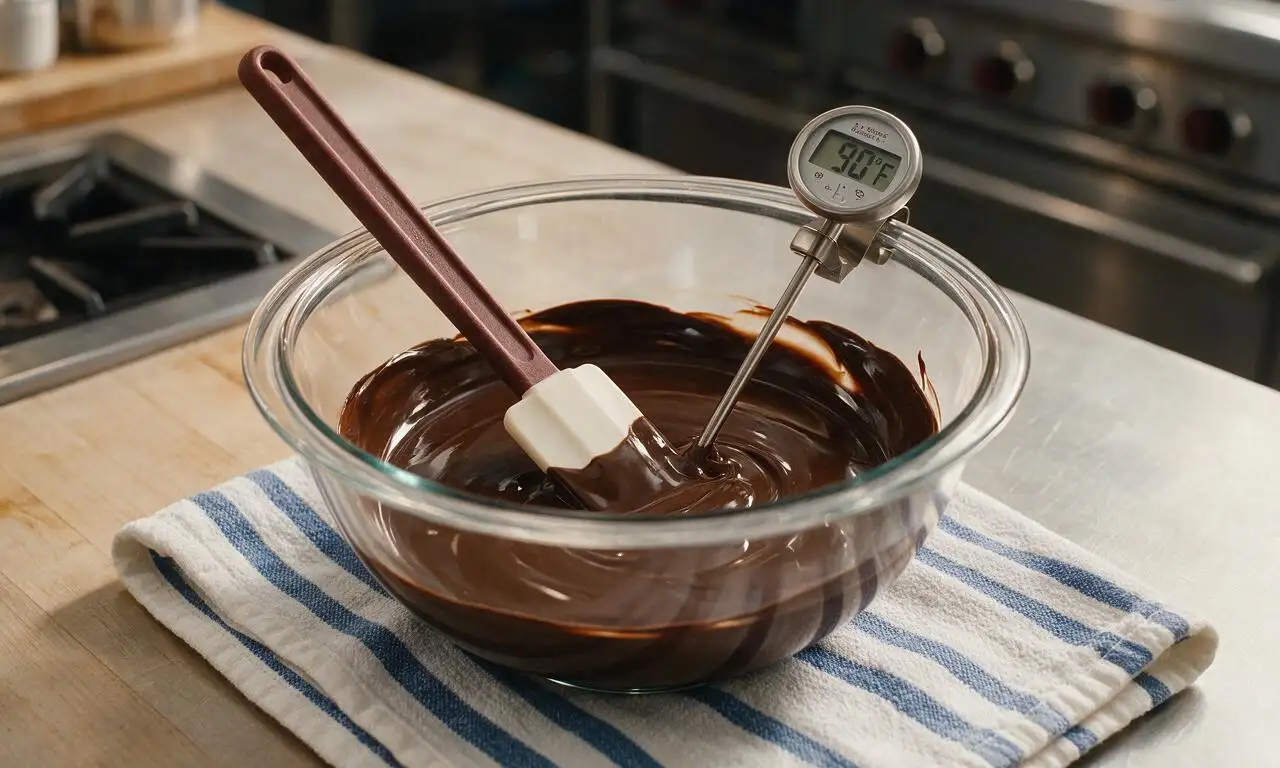
Lift the bowl of melted chocolate off the double boiler and set it on a folded cotton kitchen towel. Stir the chocolate continuously for 2 full minutes, until it cools to 32°C (90°F). This quick tempering step ensures the chocolate sets with a snappy, glossy finish and does not develop white powdery bloom later. Test the temperature by dabbing a small dot of chocolate on your lower lip—it should feel cool, not hot, to the touch.
Step 3
step3:Cool chocolate to temper
4

Dip berries in chocolate

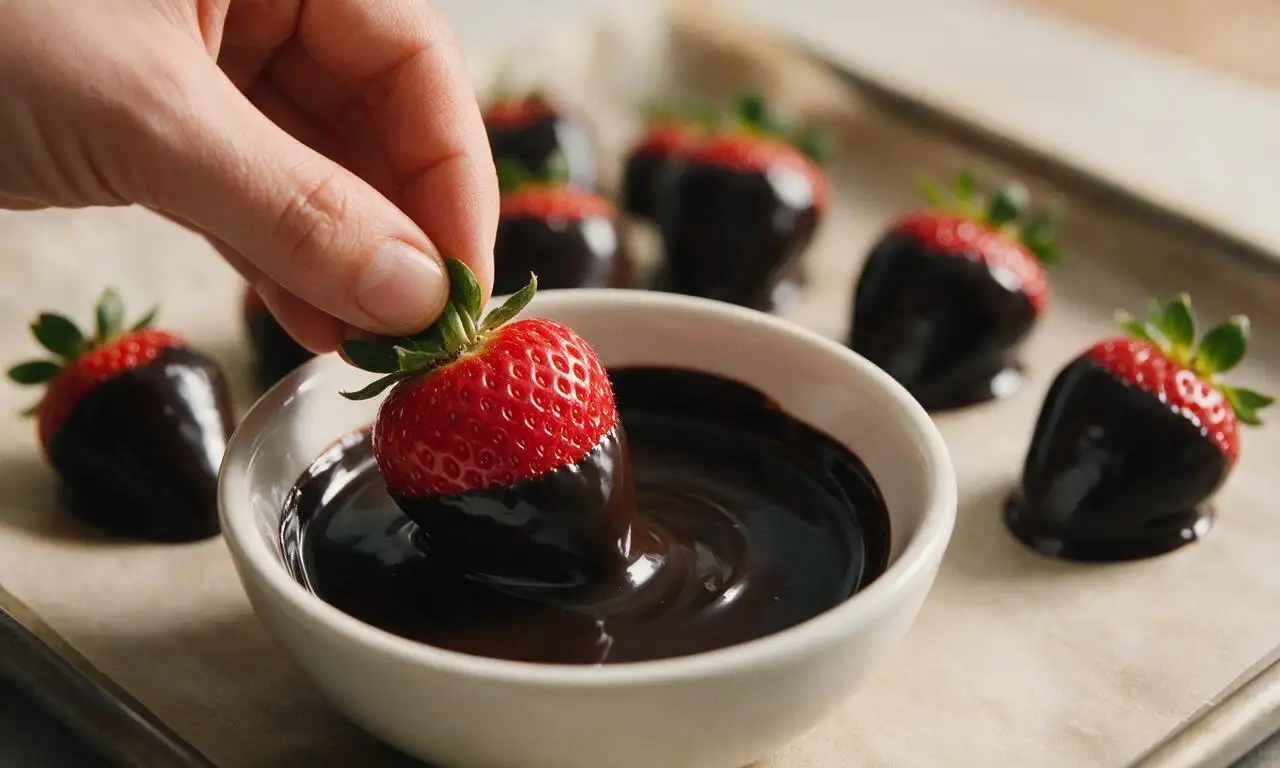
Hold one strawberry firmly by its green leafy cap, and dip ¾ of the berry into the cooled melted chocolate, twisting gently as you lift it out over 3 seconds to let excess chocolate drip back into the bowl. Lightly scrape the bottom edge of the coated berry against the rim of the bowl to remove trailing chocolate, then place it back on the parchment-lined baking sheet. Repeat with all remaining berries, working one at a time over a 10-minute period before the chocolate begins to set.
Step 4
step4:Dip berries in chocolate
5

Add decorative toppings

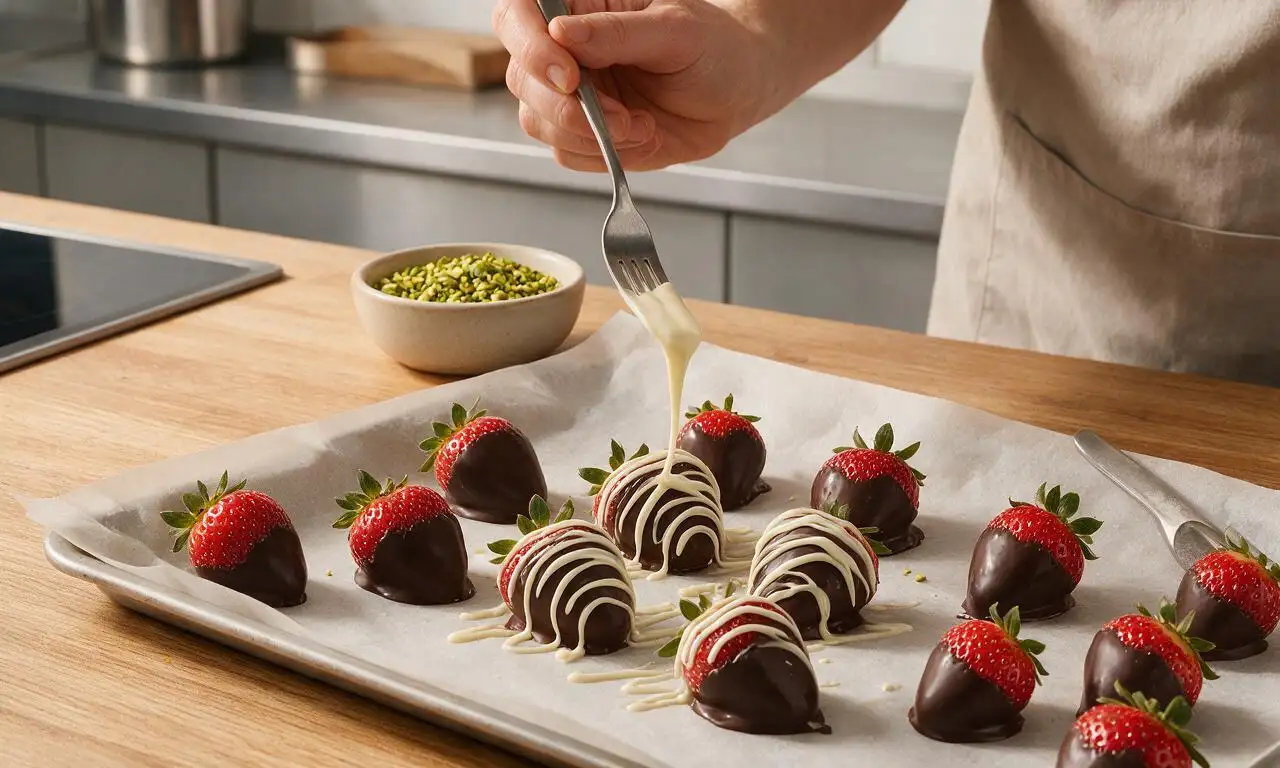
If using chopped pistachios, sprinkle 1-2 pinches over the wet chocolate coating immediately after dipping each berry, before the chocolate starts to firm up. If using white chocolate drizzle, melt 2 tbsp white chocolate chips in a small heatproof bowl in the microwave at 50% power, heating in 10-second bursts (total 30-40 seconds) and stirring between bursts until completely smooth. Use a fork to drizzle thin zig-zag lines of white chocolate over the coated berries.
Step 5
step5:Add decorative toppings
6

Chill to set chocolate

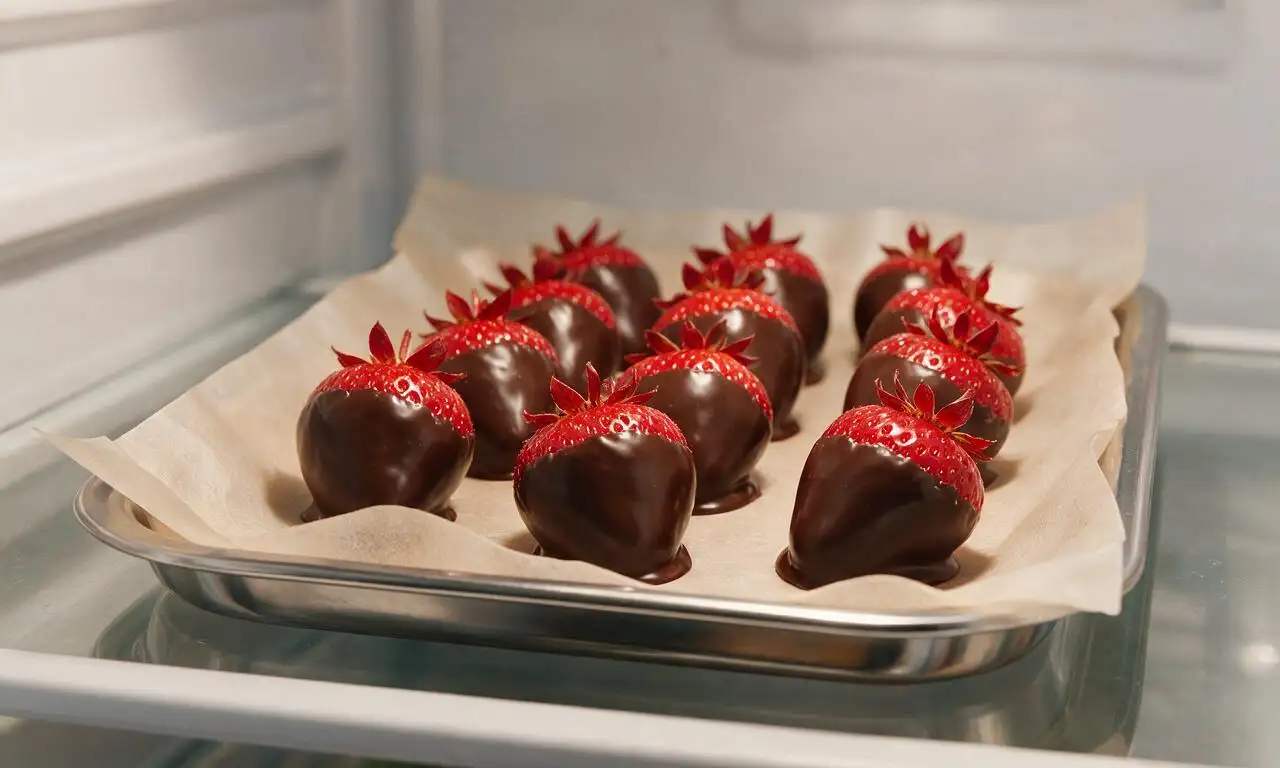
Transfer the baking sheet of coated strawberries to the middle shelf of a refrigerator, and chill uncovered for 20 minutes, until the chocolate is completely firm and snappy when lightly touched. Do not chill the berries for longer than 2 hours, as extended cold exposure will cause condensation to form on the chocolate surface, leading to white bloom when the berries are brought to room temperature.
Step 6
step6:Chill to set chocolate

Tips

1.Never dip wet strawberries into melted chocolate; even a single drop of water will cause the chocolate to seize into a lumpy, grainy mass that cannot be smoothed out for coating.
2.For the best flavor and texture, remove chilled strawberries from the fridge 10 minutes before serving to take the chill off the fruit, and enjoy within 24 hours of making them for peak freshness.
3.Avoid storing finished chocolate-covered strawberries in an airtight container, as trapped moisture will cause the chocolate to lose its gloss and develop a powdery white bloom over time.


✨ You May Also Like

Desserts & Baking
🍜 Italy

Creamy, coffee-kissed classic Northern Italian no-bake dessert, with layers of rum-spiked mascarpone cream, soft ladyfingers, and a rich cocoa dusting.

⏱️ 4 hours 3Desserts & Baking ★ 4.7
Desserts & Baking
🍜 France

Flaky, shatteringly crisp, buttery French croissants with golden exteriors and soft, airy layered interiors, perfect for pairing with coffee for a special morning treat.

⏱️ 12 hours Desserts & Baking ★ 4.5
Desserts & Baking
🍜 United States

Warm, spiced baked apples topped with a fluffy golden biscuit crust, this cozy dessert pairs perfectly with vanilla ice cream for cool-weather comfort.

⏱️ 55 minuteDesserts & Baking ★ 4.6
Desserts & Baking
🍜 United States

A star-spangled classic American blueberry pie with buttery flaky crust and bright sweet-tart filling, perfect for summer patriotic gatherings.

⏱️ 1 hour 25Desserts & Baking ★ 4.7
Desserts & Baking
🍜 United States

A beloved no-bake regional Maine candy with a chewy coconut-potato center coated in rich dark chocolate, a New England holiday staple since the 1870s.

⏱️ 2 hours 3Desserts & Baking ★ 4.8
Desserts & Baking
🍜 France

Luxuriously creamy, floral frozen custard made with aromatic Tahitian vanilla beans, boasting a smooth, rich texture that melts slowly on the tongue.

⏱️ 3 hours 3Desserts & Baking ★ 4.5

Chocolate-Covered Strawberries:Frequently Asked Questions

1.Why do my chocolate-covered strawberries get soggy soon after I make them? ▾
Sogginess almost always comes from trapped moisture on the strawberry surface. After washing, pat berries completely dry with paper towels—even one small drop of water will cause chocolate to seize and create a mushy barrier. Don’t soak berries when washing, and let them come to room temp for 20 minutes before coating to cut down on condensation.
2.Can I use milk or semi-sweet chocolate instead of the 70% cacao dark chocolate called for? ▾
You absolutely can swap for your preferred chocolate variety! The 70% dark is recommended because its deep, slightly bitter flavor perfectly balances the bright, juicy sweetness of ripe strawberries. No matter which chocolate you use, chop it evenly and add the measured amount of refined coconut oil for that signature snappy, glossy coating.
3.Why do you add refined coconut oil to the melted chocolate for this recipe? ▾
Refined coconut oil serves two key, practical purposes here. First, it thins melted chocolate just enough to create a thin, even coating that sets crisp, rather than thick, heavy, and clunky on the berry surface. Second, it helps the set chocolate develop that smooth, shiny, professional gloss instead of a dull, matte finish.
4.How far in advance can I make chocolate-covered strawberries before serving? ▾
For the best snappy chocolate and juicy, fresh berry texture, make these no more than 24 hours ahead of time. Store them in a single layer in a parchment-lined airtight container in the fridge, and pull them out 15 to 20 minutes before serving to let the berries come to cool room temperature for peak flavor.
5.Should I hull the strawberries before dipping, or leave the green leaf caps on? ▾
Leave the green leaf caps fully intact! They act as a perfect little natural handle for dipping and eating, plus they add that classic, elegant, fresh look to the finished treat. Just wash gently around the caps to remove trapped dirt, and pat that area completely dry before dipping to avoid moisture issues.
6.My chocolate got clumpy and seized while I was melting it—can I fix it? ▾
You can rescue seized chocolate in most cases! If clumping happens from contact with a tiny amount of water, stir in extra warm melted refined coconut oil a teaspoon at a time, stirring gently, until it smooths out. If seizing comes from overheating, pull it off heat immediately and stir in a handful of unmelted chopped chocolate to cool it down.
7.What’s the trick to getting the chocolate coating to stick evenly without sliding off the strawberries? ▾
The biggest trick for even, non-sliding coating is making sure your berries are completely dry and at cool room temperature before dipping. Hold each berry by the leaf cap, dip it ¾ of the way into slightly cooled melted chocolate, let excess drip off for 2 to 3 seconds, then set it on parchment paper to set.
8.Do I need to do a full chocolate tempering process to get that signature snappy coating? ▾
You don’t need to do a fussy, full chocolate tempering process for this recipe! The small amount of refined coconut oil added to gently melted dark chocolate (never heated over 90°F to avoid burning) will create that snappy, non-bloomy set when chilled, so you get professional texture without extra complicated steps.
9.Can I freeze chocolate-covered strawberries to make them last longer than a day? ▾
I don’t recommend freezing these, as strawberries have very high water content that turns icy when frozen, leading to a mushy, watery texture when thawed that makes chocolate slide off and turn soggy. They are truly best enjoyed within 24 hours of making, stored in a single layer in the fridge.
10.What other easy toppings work well besides the chopped pistachios and white chocolate drizzle? ▾
The sky’s the limit for quick, tasty decorative toppings! Beyond chopped roasted pistachios and white chocolate drizzle, you can use crushed freeze-dried berries, toasted shredded coconut, flaky sea salt, crushed pretzels, or festive sprinkles. Add dry toppings right after dipping, before chocolate sets, so they stick firmly.

Comments (7)

2 days ago

OMG these were SO good! I made them for my daughter’s soccer team potluck last weekend and every single strawberry was gone in 10 minutes flat. I did half dark chocolate half milk chocolate so there was something for everyone, and even added a little sprinkle of crushed pretzels on a handful for that salty-sweet kick. Game changer for easy party treats! Quick question—if I make these the night before an event, will the chocolate get weirdly soggy?

yesterday

I made these a night before my book club meetup last month! Just store them in an airtight container lined with parchment paper in the fridge, they hold up totally fine, no sogginess at all. I actually thought the chocolate set even better overnight!

yesterday

So glad these were a hit at the potluck! Great call on the pretzel sprinkle, that salty-sweet combo is chef’s kiss. To answer your question: as long as you make sure your strawberries are totally dry before dipping and store them in a sealed container in the fridge, they’ll hold up perfectly for 24 hours—no soggy chocolate here!

5 minutes ago

Wait, this was actually so easy even I didn’t mess it up? I’m a total kitchen newbie and I was able to pull these off for my roommate’s birthday last minute. I thought tempering chocolate would be super intimidating but the steps were so straightforward. Only thing is I burned the first batch of chocolate because I microwaved it too long oops, but the second round was perfect. 10/10 will make again for date night!

just now

So proud of you for nailing this on your first try! Quick tip for next time: microwave the chocolate in 30-second bursts, stirring really well between each round, to avoid burning. It makes the process totally foolproof! Happy belated birthday to your roommate!

1 week ago

I used fresh strawberries straight from my backyard garden for this and wow, the flavor was unbeatable! I dipped a third of them in white chocolate too and swirled with a little pink food coloring for a baby shower I hosted, everyone was asking for the recipe. So simple but always feels fancy, love that I don’t have to spend hours in the kitchen to make something that feels special.

3 days ago

Made these for my wife for our anniversary and I earned major husband points, ngl. Only mistake I made was not buying enough strawberries—we ate half the batch before we even finished setting them out for our dessert after dinner. Next time I’m grabbing two whole cartons for sure.

2 days ago

LMAO same! My boyfriend and I ate so many while we were making them last Valentine’s Day we barely had any left for our actual movie night snack. Totally worth the stomach ache tbh

30 minutes ago

I tested these out last night to see if they’d work for weekly meal prep treats for me and my kids’ lunch boxes! The flavor is amazing, but I’m wondering if they’ll hold up for 3-4 days in the fridge? By day 2 the strawberries were starting to leak a little juice under the chocolate. Is there a trick to making them last longer?

5 minutes ago

I do this all the time! The trick is to make sure your strawberries are COMPLETELY dry after washing them—like, pat them with paper towels and let them air dry for 20 minutes before dipping. Any moisture on the berry makes the chocolate break down faster. They’ll last 3-4 days no problem if you do that!

just now

Great question! @SnackHackPro is exactly right—fully drying the strawberries is the number one rule to avoid leaking juice and splotchy chocolate. If you’re prepping ahead, wait to wash your berries right before you’re ready to dip, and don’t remove the green tops until right before eating to help them stay firmer longer!

yesterday

I used 70% dark chocolate for these and added a tiny pinch of flaky sea salt on top and I swear these are better than the fancy $15 a box ones from the candy shop downtown. My kids loved helping dip the berries too, it was such a fun rainy Saturday activity. 10/10, will be a regular in our house.

2 hours ago

Love that you turned this into a family activity! The dark chocolate + flaky sea salt combo is such an elevated twist, it’s no wonder they taste better than store-bought. Can’t go wrong with a fun kitchen project with the kids on a rainy day!

2 weeks ago

Pro tip from my chaotic kitchen: roll the freshly dipped strawberries in crushed sour cream & onion potato chips instead of sprinkles. It sounds insane but the salty, tangy crunch with the sweet chocolate and juicy berry is life changing. I brought these to a Super Bowl party last year and people still text me asking when I’m making them again. This base recipe is so easy and perfect for experimenting with all kinds of wild toppings!



