
Chocolate covered strawberries
intro
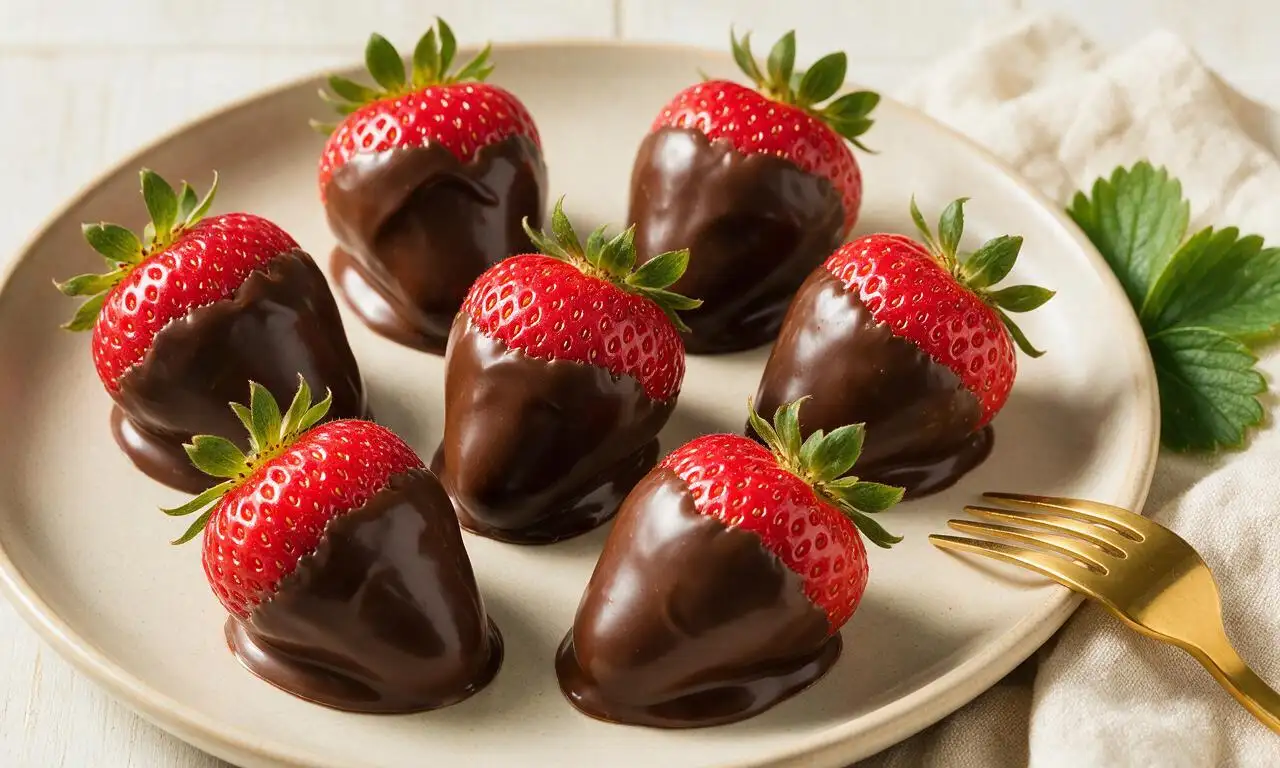
Juicy ripe strawberries coated in smooth, snappy melted chocolate—an easy, romantic no-bake treat perfect for gifting or sharing on special occasions.
Ingredients
Steps
Prep and dry strawberries
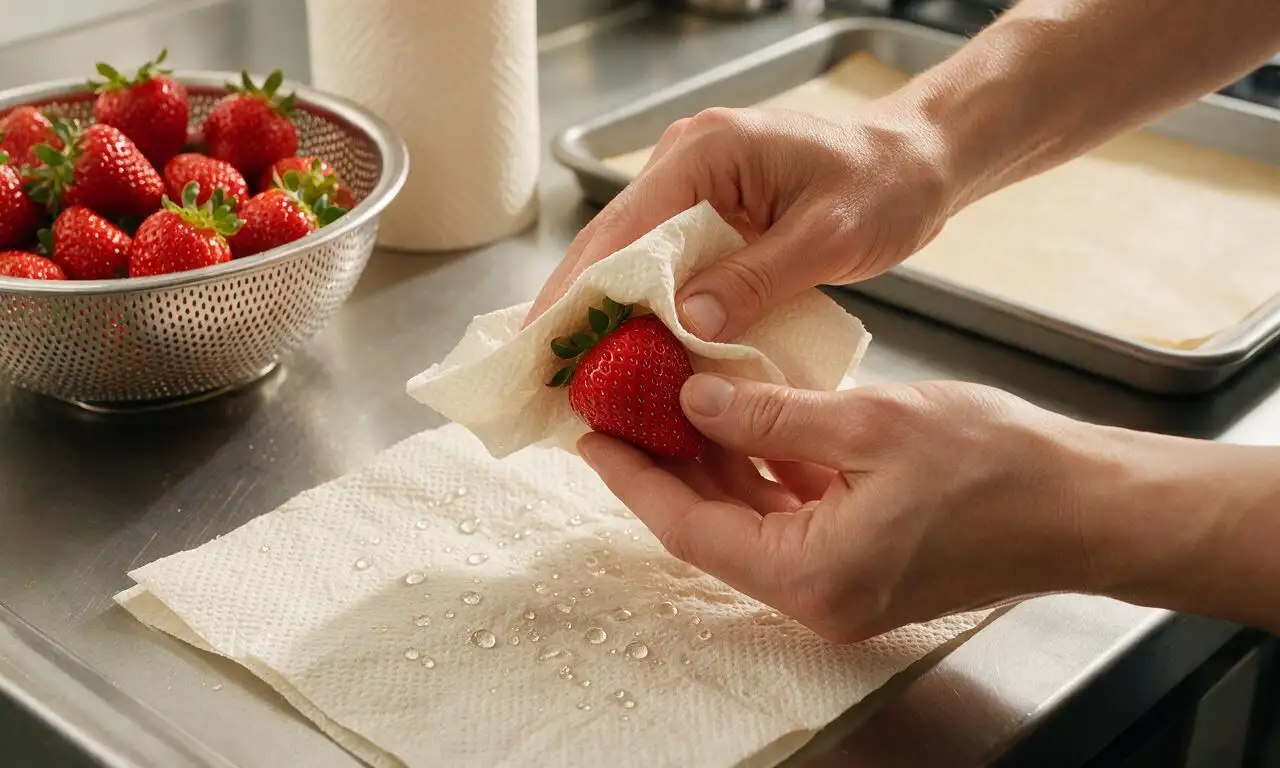
Line a 33cm x 23cm (13x9 inch) baking sheet with unbleached parchment paper. Rinse 450g of whole strawberries gently under cold running water, then pat every berry completely dry with lint-free paper towels—any residual moisture will cause melted chocolate to seize and slide off. Keep the green leafy calyxes intact for easy holding, then set dried berries aside at room temperature for 10 minutes to allow any hidden moisture in the berry crevices to evaporate.
Melt dark chocolate gently
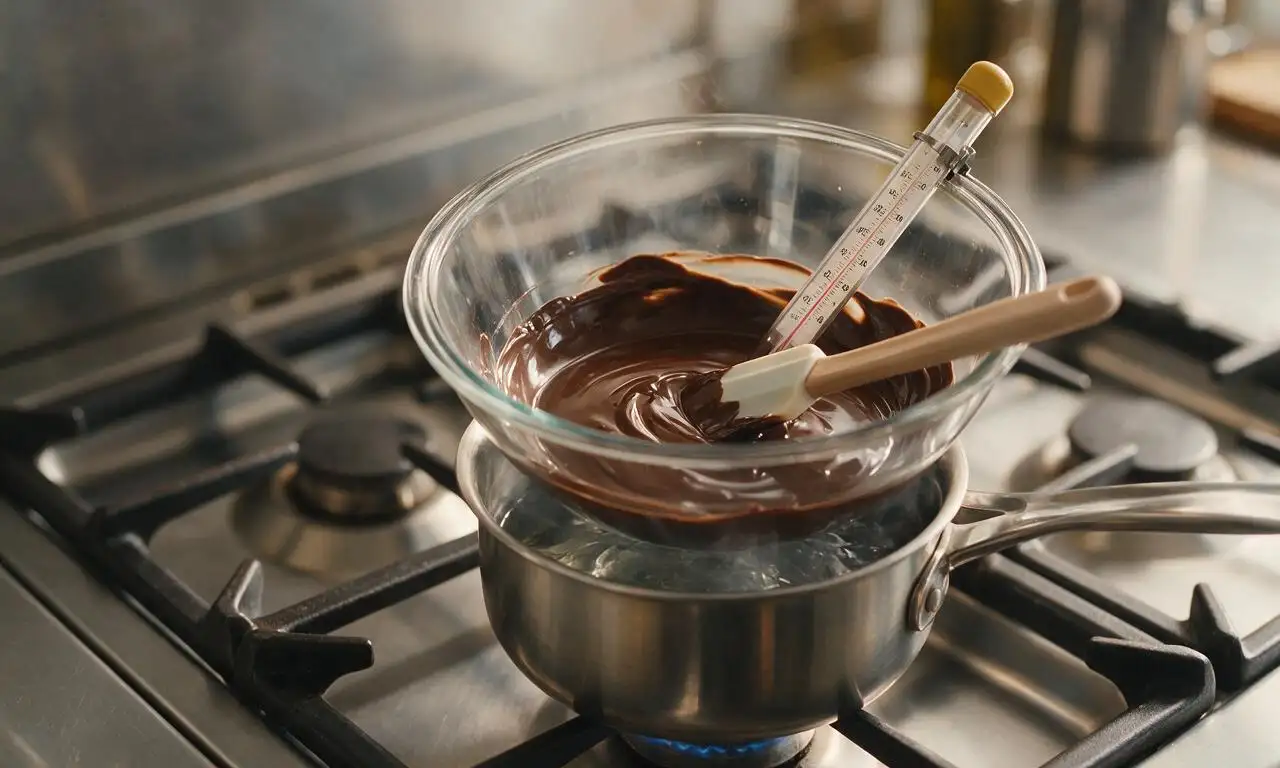
Add 200g of finely chopped semi-sweet dark chocolate and 5ml (1 teaspoon) of coconut oil to a completely dry, heatproof glass bowl. Set the bowl over a small saucepan filled with 2.5cm (1 inch) of barely simmering water (double boiler method), ensuring the bottom of the bowl does not touch the water. Keep heat on the lowest setting, stirring slowly with a silicone spatula for 3-4 minutes until the chocolate is fully smooth, glossy, and reaches 32°C (90°F) on a candy thermometer; do not overheat, as this will cause the chocolate to turn grainy.
Dip berries in chocolate
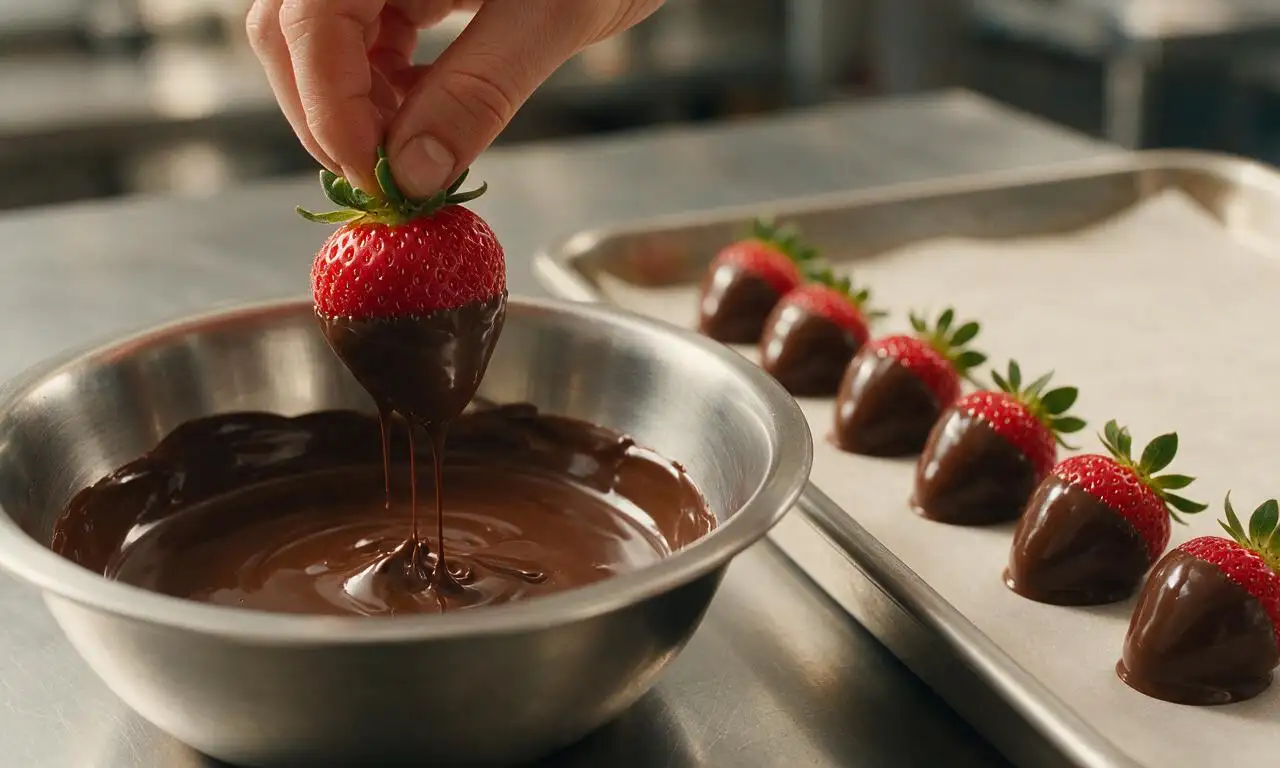
Hold one dried strawberry firmly by its green top, dip 3/4 of the berry into the melted dark chocolate, twisting slowly as you lift it out to let excess chocolate drip back into the bowl for 2 seconds, creating a thin, even 2mm thick coating. Place the dipped berry onto the parchment-lined baking sheet, leaving 2cm of space between each berry to prevent sticking. Repeat the dipping process for all remaining strawberries.
Add optional toppings
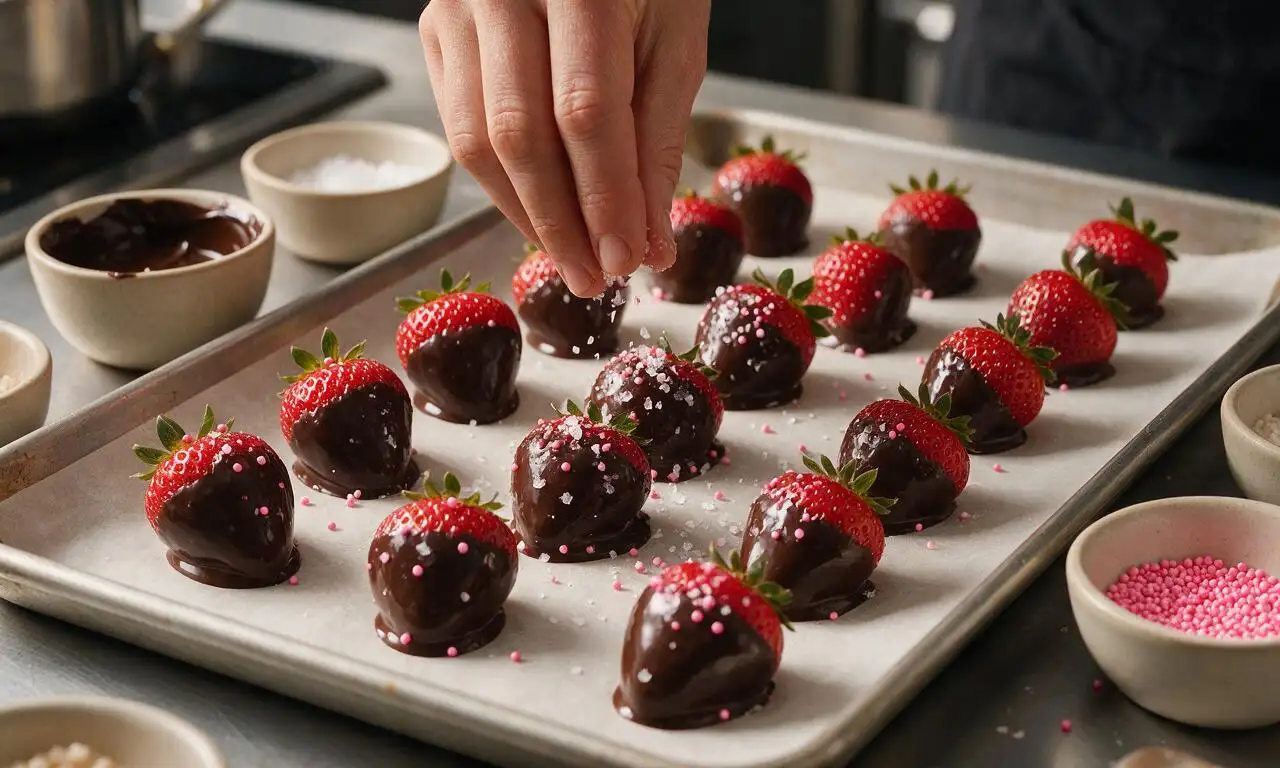
If using crunchy or decorative toppings, sprinkle them over the wet chocolate coating within 2 minutes of dipping each berry, before the chocolate begins to set. Use roughly 1/4 teaspoon of topping per berry: flaky sea salt for a sweet-savory balance, crushed roasted nuts for added crunch, or colorful sugar sprinkles for a festive look. If you plan to add a white chocolate drizzle, let the dark chocolate set for 5 minutes at room temperature first.
Drizzle white chocolate accent
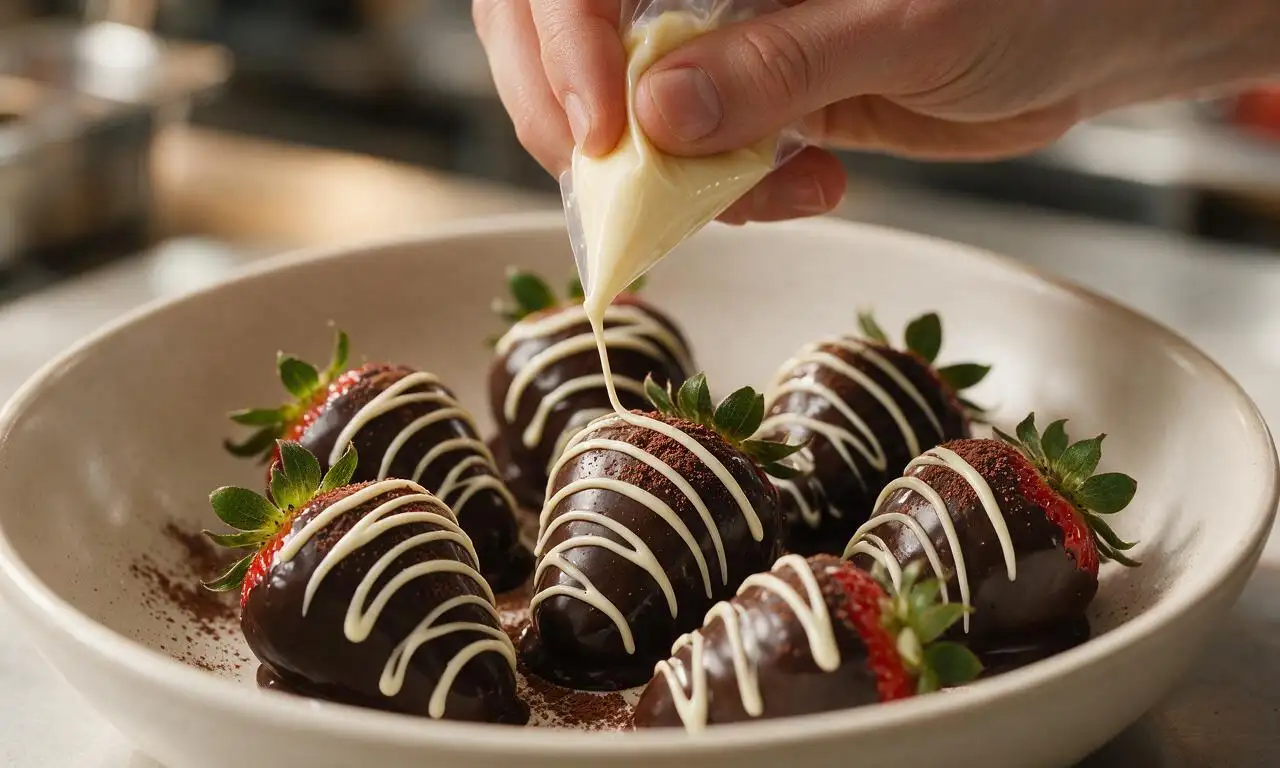
Melt 50g of finely chopped white chocolate using the same double boiler method over low heat for 2 minutes, stirring until completely smooth. Transfer the melted white chocolate to a small disposable zip-top bag, snip a 1mm tiny hole in one bottom corner, then hold the bag 10-15cm above the berries and move your hand quickly to drizzle thin, delicate zig-zag lines of white chocolate over the dark chocolate coating.
Chill to set coating
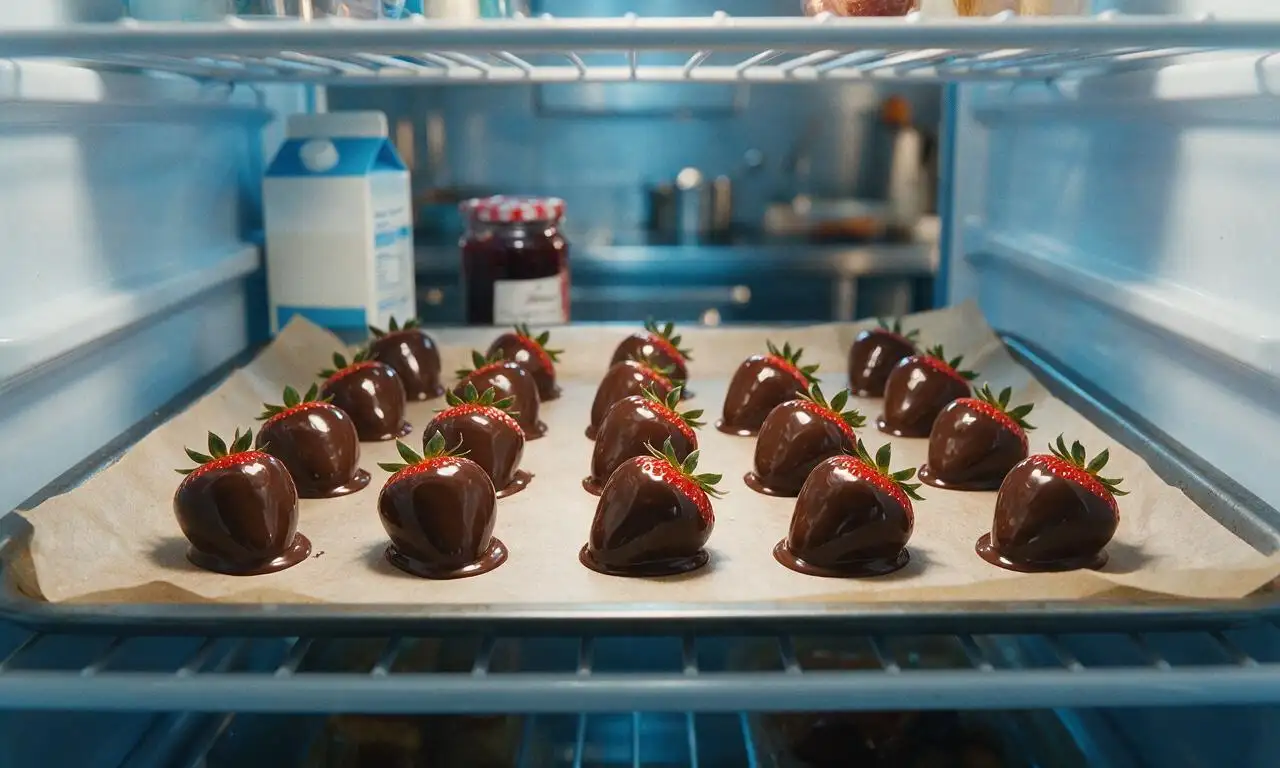
Transfer the baking sheet of dipped strawberries to the middle shelf of a refrigerator, uncovered, for 15 minutes to let the chocolate fully set to a firm, snappy finish. Do not chill for longer than 30 minutes, as extended cold exposure will cause condensation to form on the chocolate surface when removed, leading to a dull, streaky appearance.
Tips
2.Avoid storing finished chocolate covered strawberries in an airtight container for more than 24 hours, as trapped moisture will cause pale white 'chocolate bloom' spots and make the berries turn mushy.
3.For the best eating experience, let chilled strawberries rest at room temperature for 5 minutes before serving, so the chocolate has a pleasant snap instead of being rock hard, and the bright strawberry flavor comes through fully.






OMG these came out SO good! I made them for my book club potluck last night and everyone was asking for the recipe. The chilling time tip was chef’s kiss—no runny chocolate mess at all! 10/10 will make again for my daughter’s birthday next month.
Total game changer for date night! I’ve messed up chocolate covered strawberries so many times before—either the chocolate seizes or it slides right off the fruit. Followed this exact recipe, 30 minutes total, and they looked like they came from a fancy candy shop. My girlfriend was obsessed.
My kids went absolutely crazy for these! I let them help add sprinkles after I dipped, and they were so proud to serve them to their grandma when she stopped by. Quick question—can I use white chocolate for half the batch if I follow the same melting steps?
Made these for my office Valentine’s Day party and they were gone in 10 minutes flat. Super easy, no fancy equipment needed, and the 15 minute chill time means you don’t have to plan hours ahead. Will be my go-to potluck treat from now on!
As someone who can barely boil water without messing up, these were shockingly easy to pull off. I made them for my little sister’s high school graduation party and people thought I ordered them from a gourmet shop. Only note: pat the strawberries dry for real! I skipped that on the first three and the chocolate slid right off.
So happy this recipe is naturally gluten free! I brought these to my friend’s girls’ night and none of us could stop eating them. I used dark chocolate instead of semi-sweet because that’s what I had on hand, and it worked beautifully. Anyone ever tried adding a little sea salt on top?
Made these for my wife for our first anniversary and she teared up a little, ngl. I’m not much of a baker so I was stressed I’d mess them up, but the steps are so straightforward. We ate half the batch while watching our wedding video, no regrets.
I make chocolate covered strawberries for every single family holiday and this is hands down the best recipe I’ve ever used. No weird seized chocolate, no weird waxy texture from adding shortening, just perfect glossy chocolate every time. My 82 year old dad said they’re better than the ones from the candy shop downtown.
This looks so easy! Quick question before I make them for my son’s soccer team snack next week—has anyone tried making these with dairy free chocolate chips? My son has a dairy allergy and I want to make sure the chocolate melts the same way regular chips do!
Love that this is a lighter treat that doesn’t feel like I’m cheating on my fitness goals! I used 70% cacao dark chocolate, dipped some in crushed pistachios, and they’re the perfect little sweet bite to have after dinner. Way better than buying the pre-made ones from the grocery store that are loaded with extra sugar.
Made these for my New Year’s Eve party and added little edible gold glitter on top—they looked so fancy! The only issue I had was my chocolate got a little lumpy when I melted it in the microwave too fast. Any tips for fixing that if it happens?
I made a batch of these to take on our weekend camping trip and they held up way better than I thought they would! I kept them in the cooler for a couple hours before we left, and they were still perfect when we pulled them out for our sunset hike snack. 10/10, easy, portable, delicious.
These were the star of my Galentine’s Day brunch! I dipped some in crushed Oreos, some in sprinkles, some in mini chocolate chips, and there was a flavor for everyone. So easy to customize for any occasion. My friends are already begging me to make them again for our next get together.
Wait a second, this recipe says 30 minutes total including chill time? I always thought chocolate covered strawberries took forever to set! I ran home after work, made a batch for my book club, and was out the door in 28 minutes flat (I timed it). No way I’m buying the overpriced ones from the mall ever again.
First time ever making any kind of dessert from scratch and these actually turned out edible? Wild. I was convinced I’d burn the chocolate or drop all the berries, but the steps are so simple even a total newbie like me can pull it off. My roommate ate like 6 of them in one sitting so I guess that’s a win.