
chocolate covered waffles

title 1
chocolate covered waffles
⏱️ cook time 20 minutes
🍽️ servings 4
⚡ Difficulty easy

intro

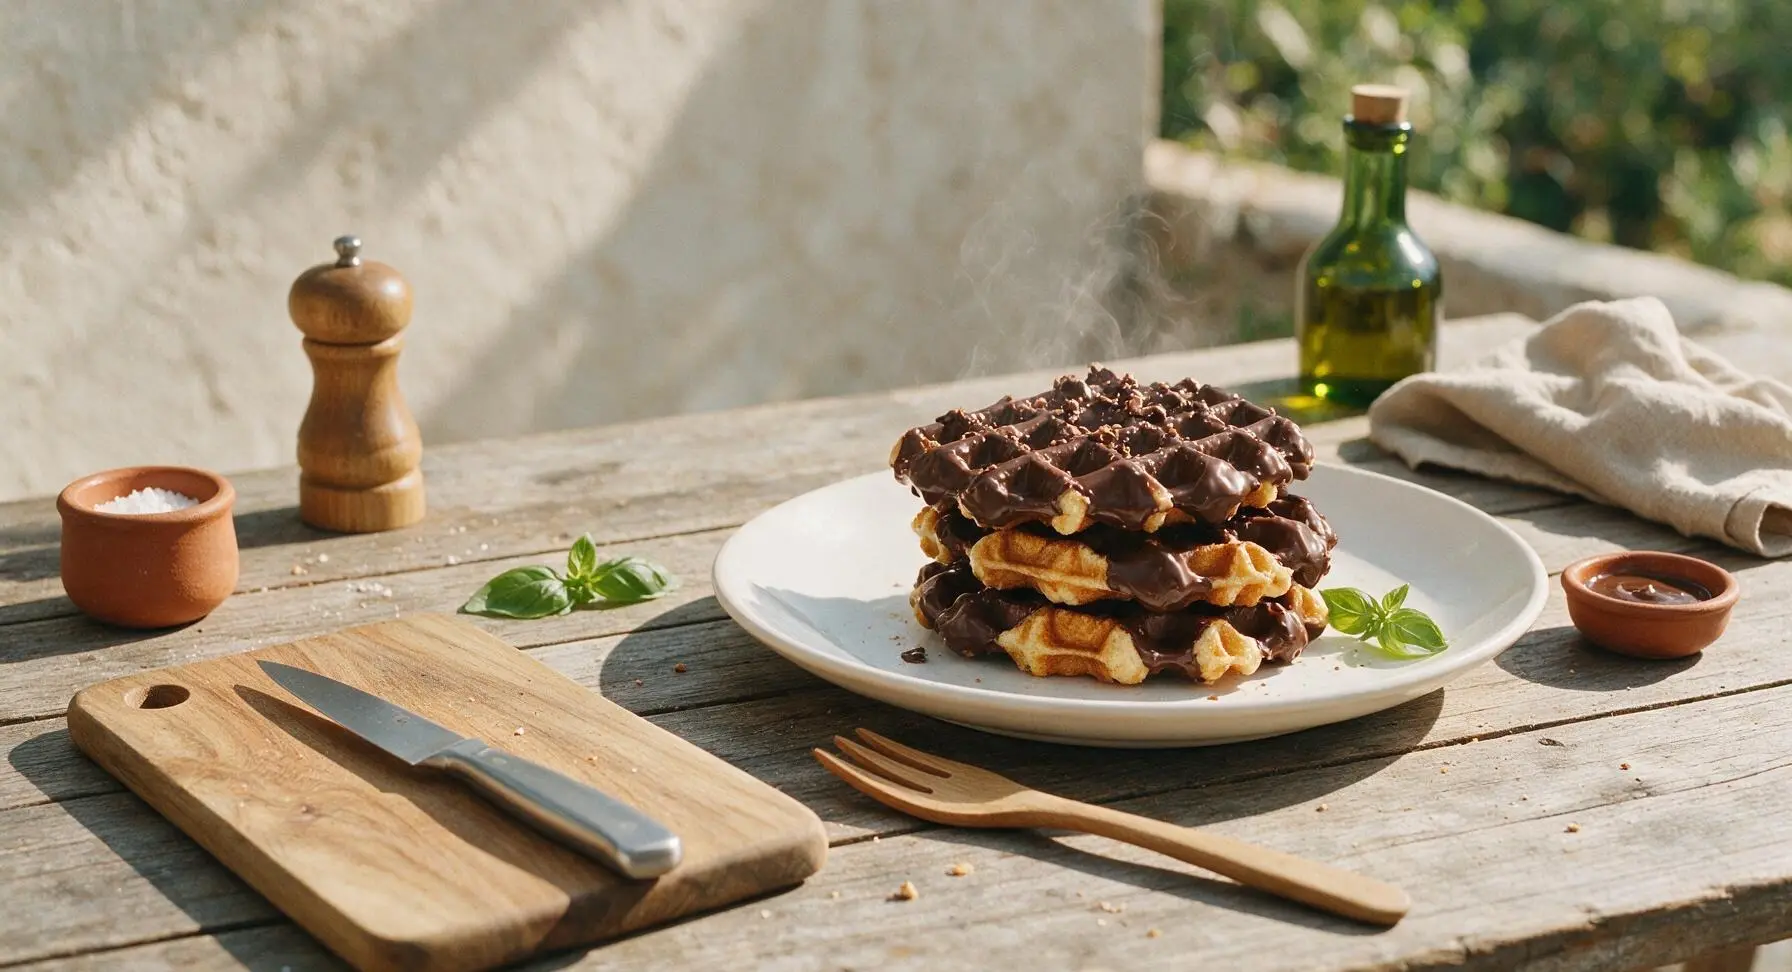
Crisp, fluffy golden waffles coated in glossy, snappy dark chocolate, topped with crunchy accents for a decadent, cozy treat balancing tender crumb and rich cacao flavor.

Ingredients
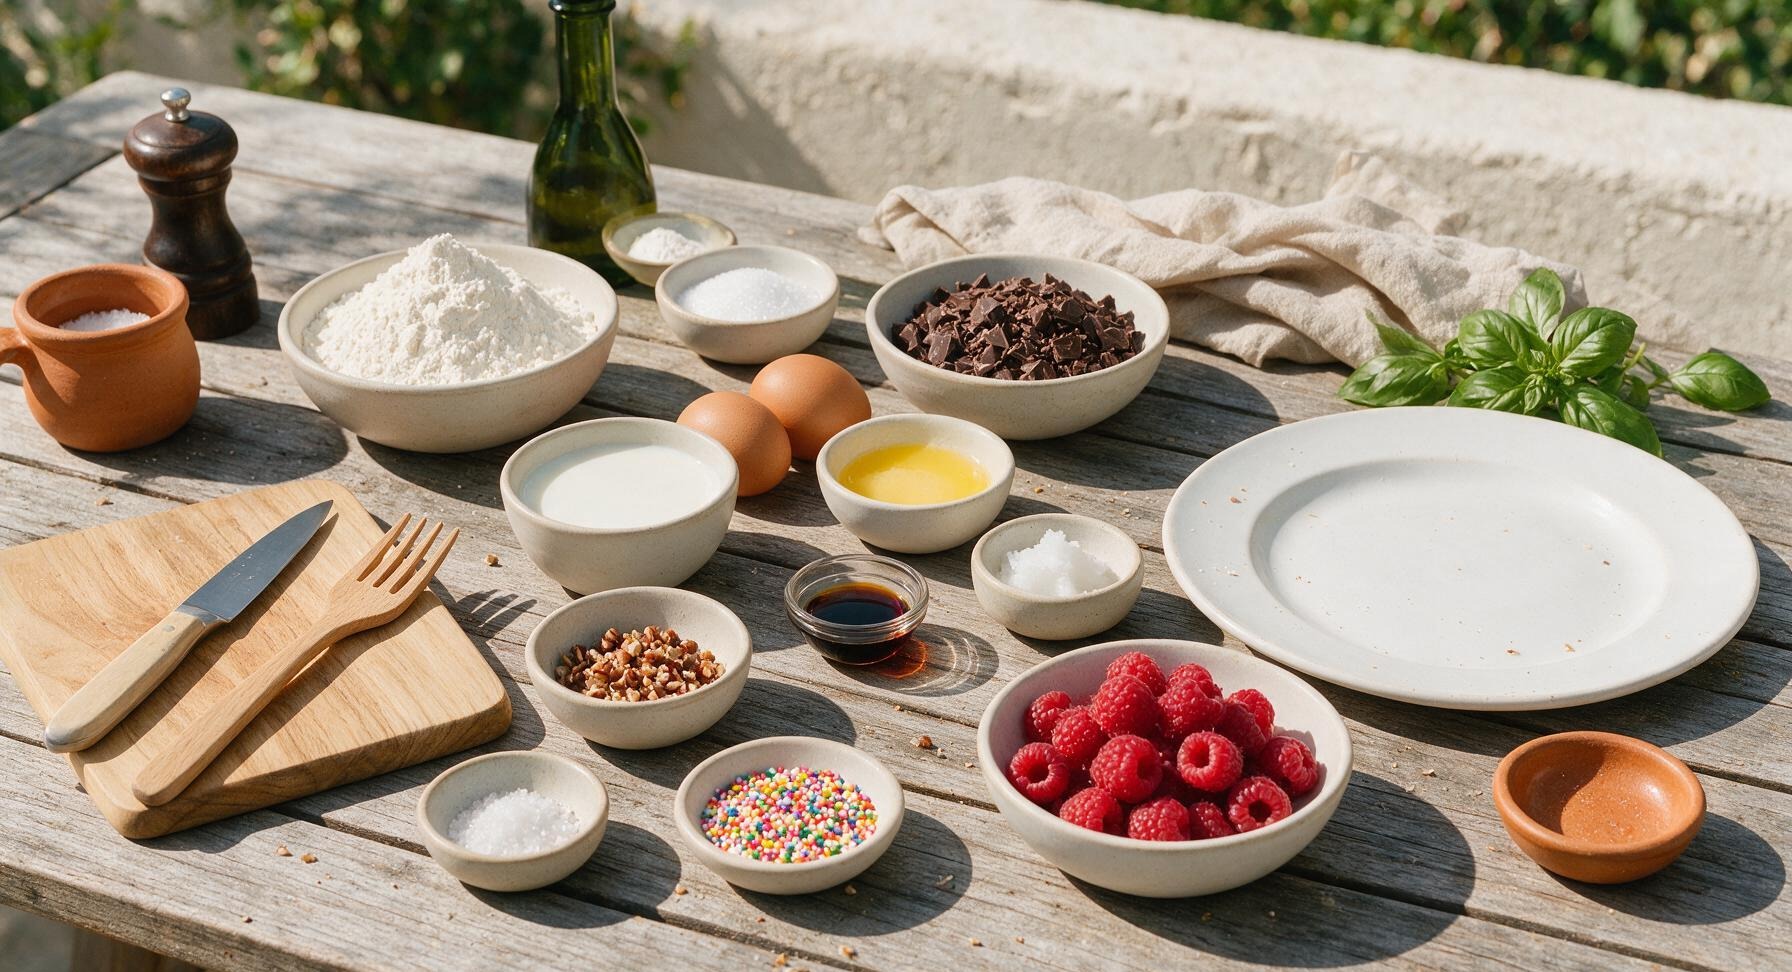
All-purpose flour 180g (1 ½ cups)
Granulated sugar 2 tbsp (25g)
Baking powder 2 tsp
Fine sea salt ¼ tsp
Large eggs 2
Whole milk 240ml (1 cup)
Unsalted butter, melted 57g (4 tbsp)
Vanilla extract 1 tsp
70% dark chocolate, chopped 200g
Coconut oil 1 tsp
Flaky sea salt ½ tsp
Crushed toasted pecans 2 tbsp (15g)
Rainbow nonpareil sprinkles 1 tbsp
Fresh raspberries 60g (½ cup)

Steps

1

Preheat Waffle Maker

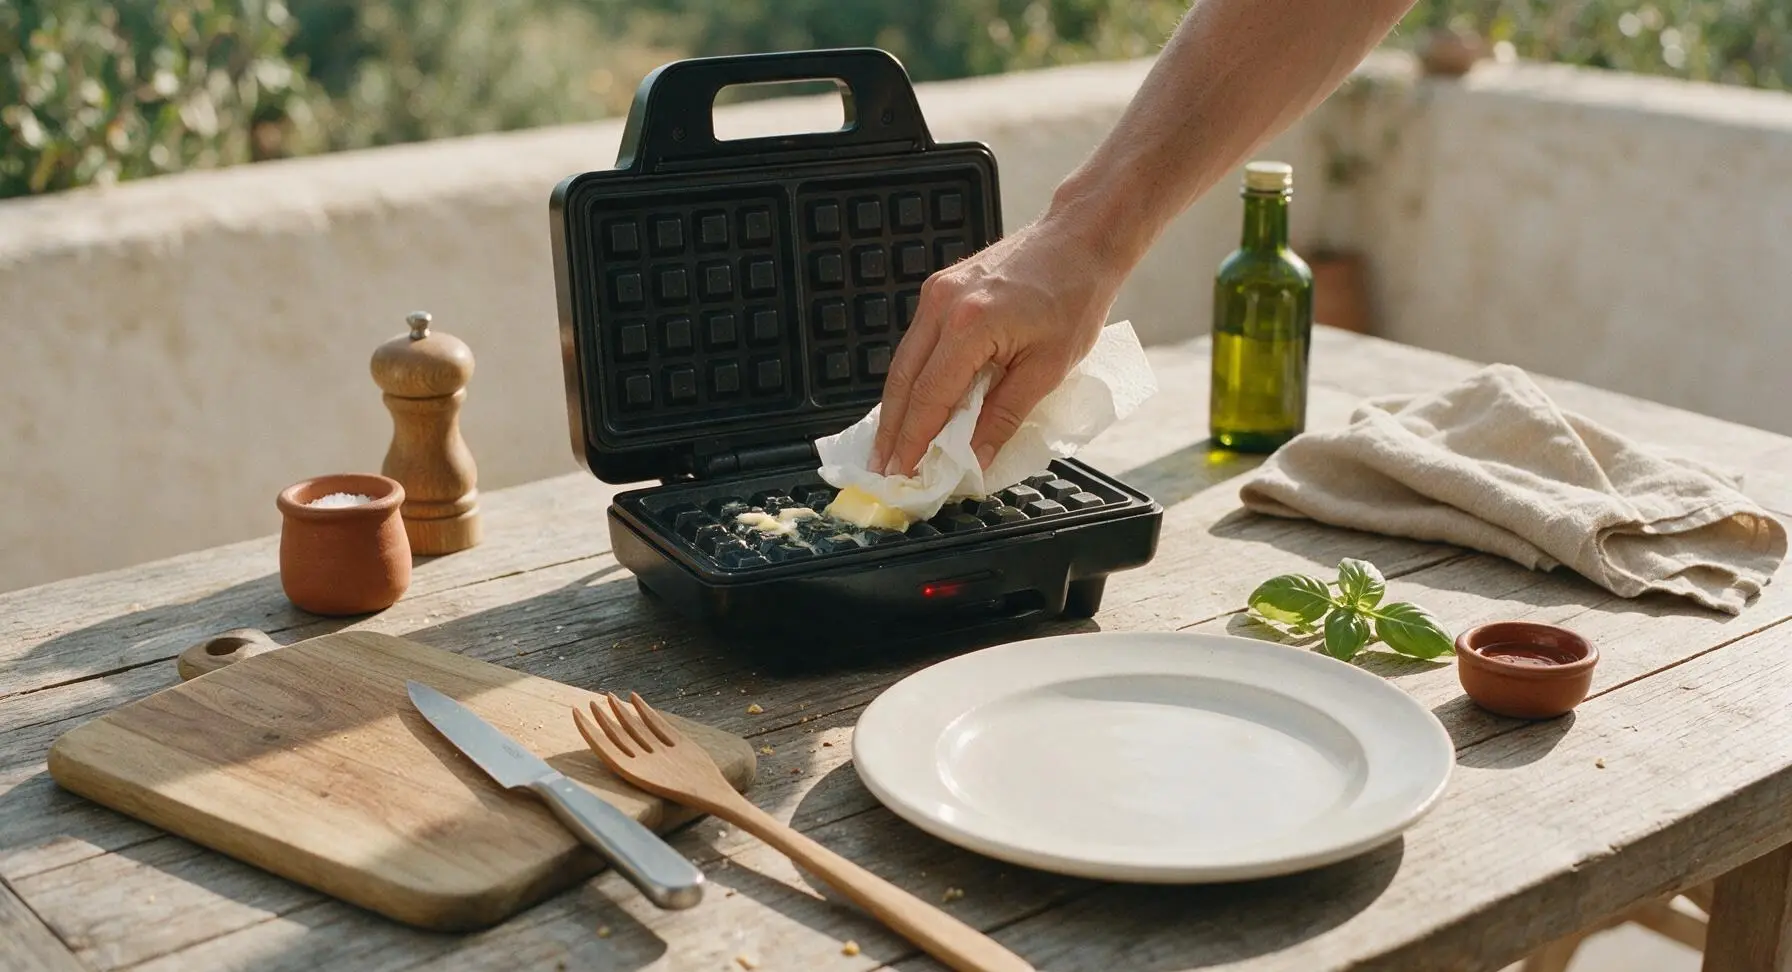
Plug in the fixed matte black electric waffle maker and preheat to medium-high (375°F/190°C). Lightly coat both cooking surfaces with a thin layer of melted butter using a crumpled paper towel to prevent sticking. The waffle maker is fully preheated when a drop of water sizzles and evaporates immediately on contact with the hot plate.
Step 1
step1:Preheat Waffle Maker
2

Whisk Waffle Batter

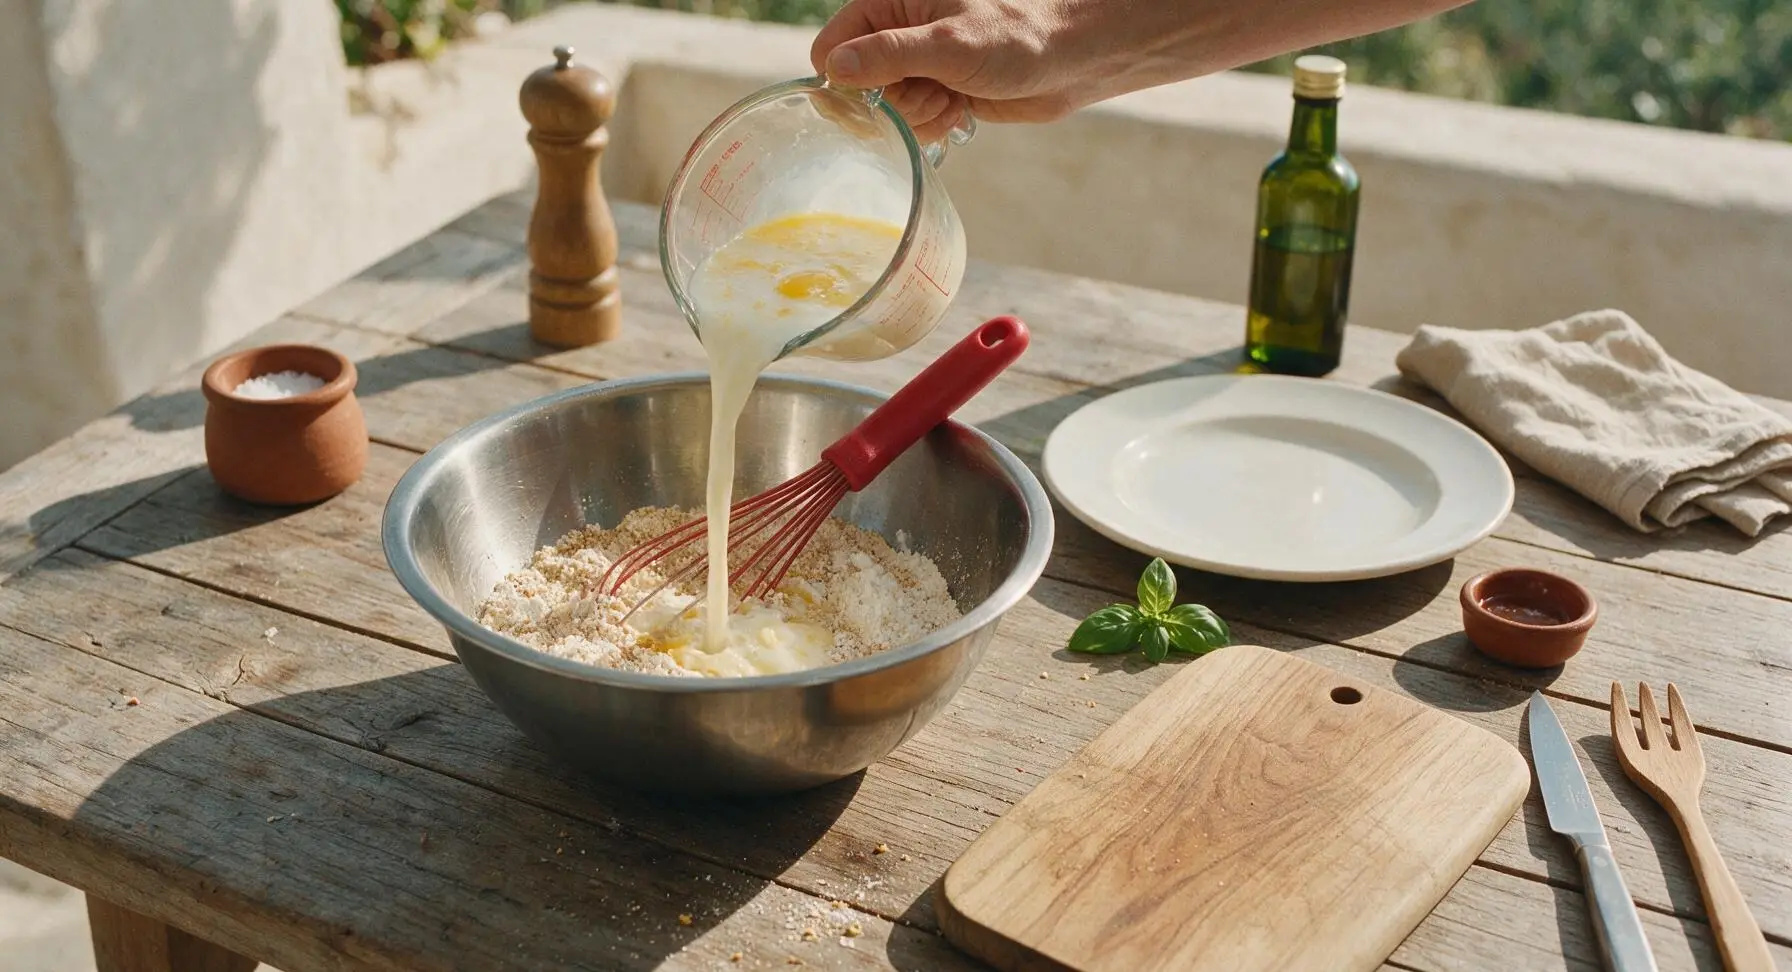
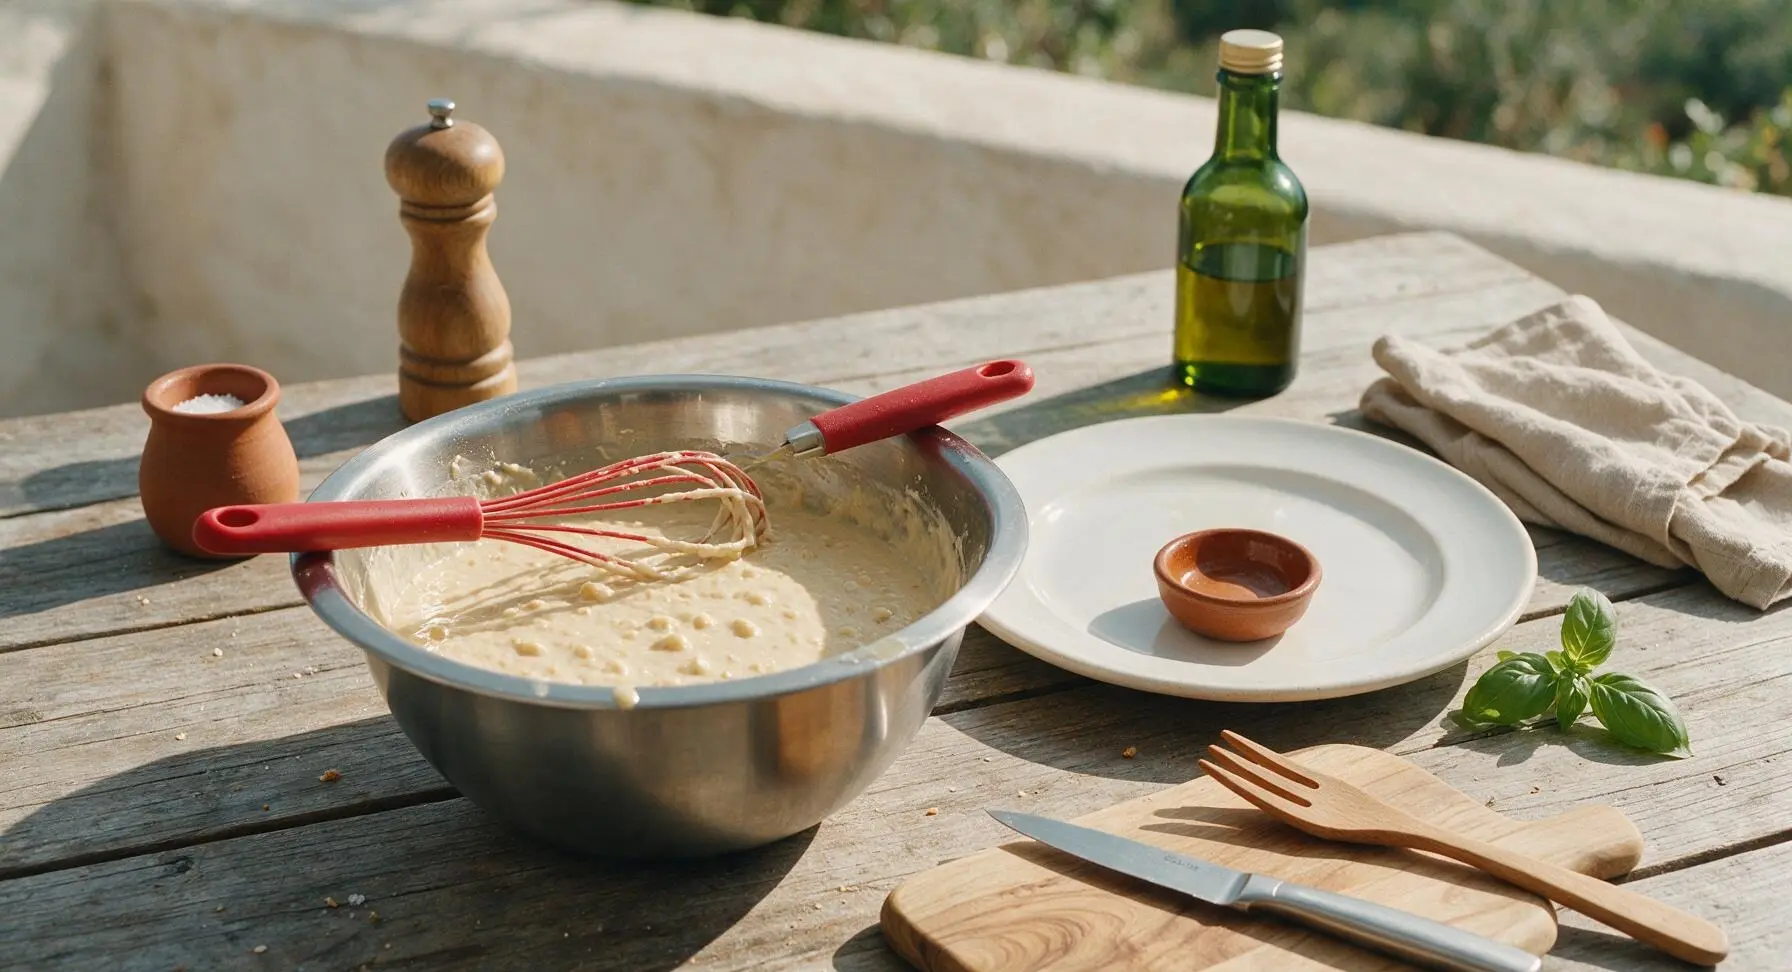
Place the medium stainless steel mixing bowl in its fixed center-left position. Add all-purpose flour, granulated sugar, baking powder, and fine sea salt to the bowl, and whisk briefly with the red-handled silicone whisk to evenly combine dry ingredients. In a small pourable cup, whisk together the two large eggs, whole milk, remaining melted butter, and vanilla extract, then pour the wet ingredient mixture into the dry ingredients. Stir gently with the whisk just until combined—small lumps in the batter are normal and desirable; do not overmix, as this develops gluten and creates tough, dense waffles.
Step 2
step2:Whisk Waffle Batter
Step 2
step2:Whisk Waffle Batter
3

Cook Crisp Waffles

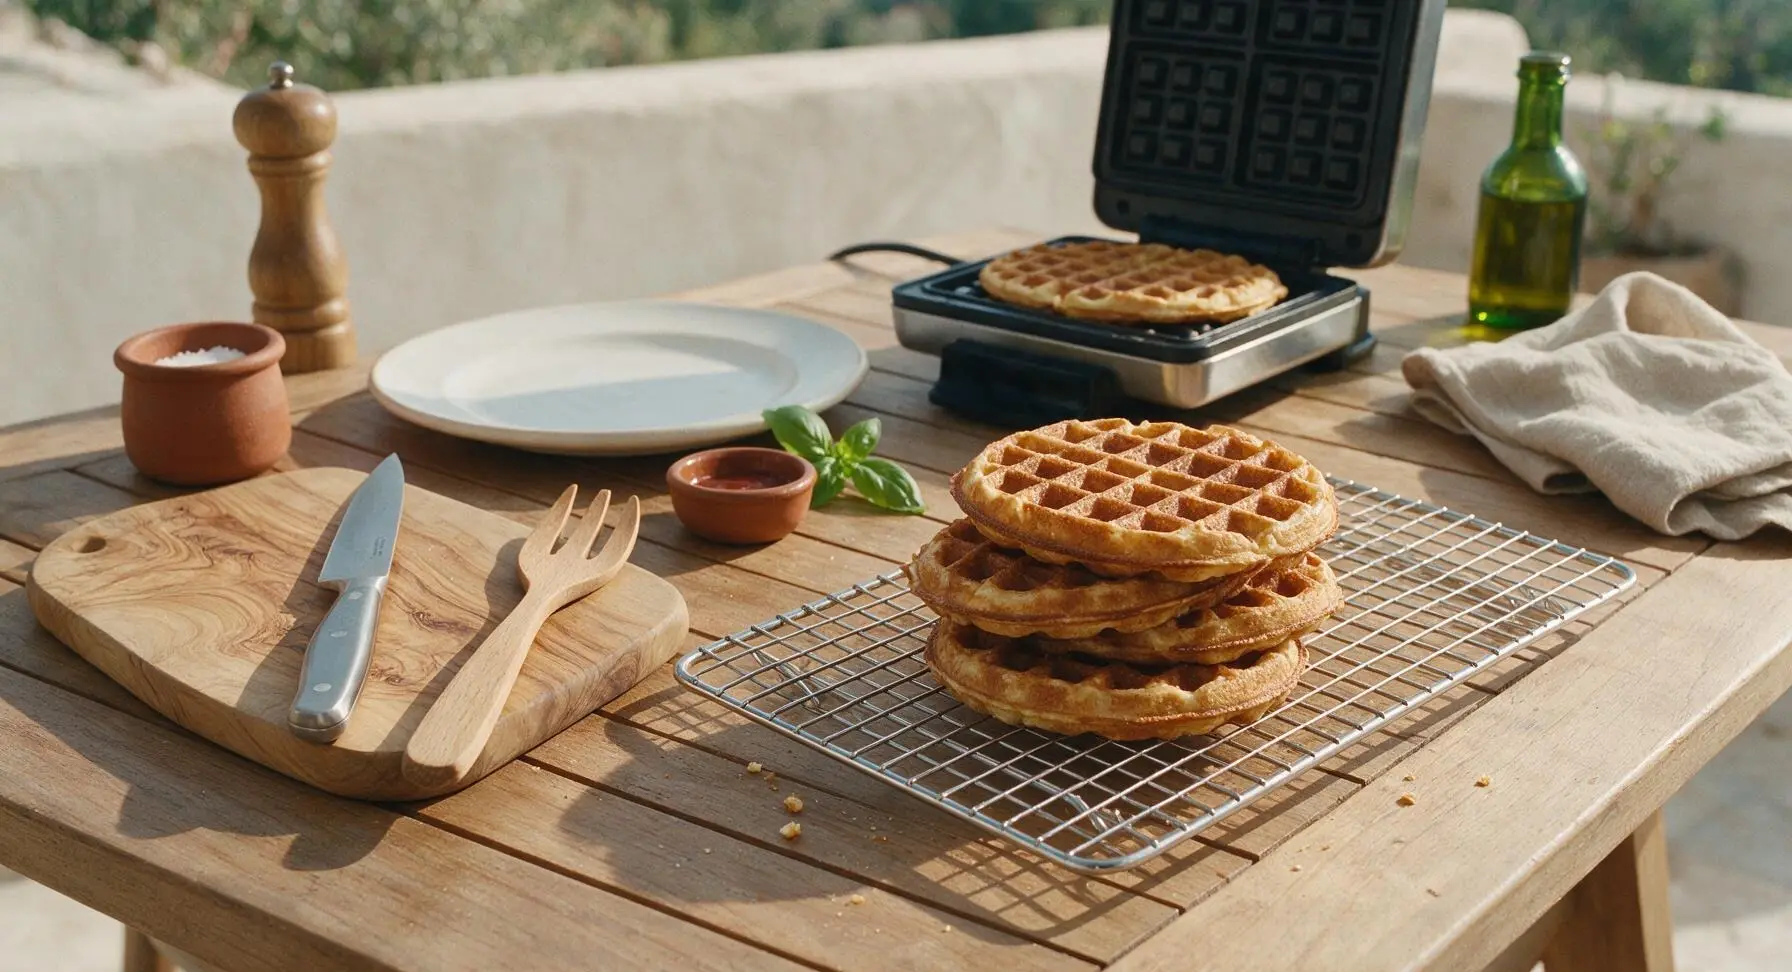
Pour ½ cup of batter onto the center of the preheated waffle maker’s lower plate, close the lid, and cook for 3-4 minutes, until the waffle is deep golden brown and crisp, with no more steam escaping from the waffle maker edges. Carefully lift the cooked waffle out with the silicone spatula and transfer it to the chrome wire cooling rack (set in its center-right position, unlined at this stage) to cool slightly for 2 minutes. Repeat with remaining batter to make 4 total round waffles.

Step 3
step3:Cook Crisp Waffles
Step 3
step3:Cook Crisp Waffles
4

Melt Chocolate Coating

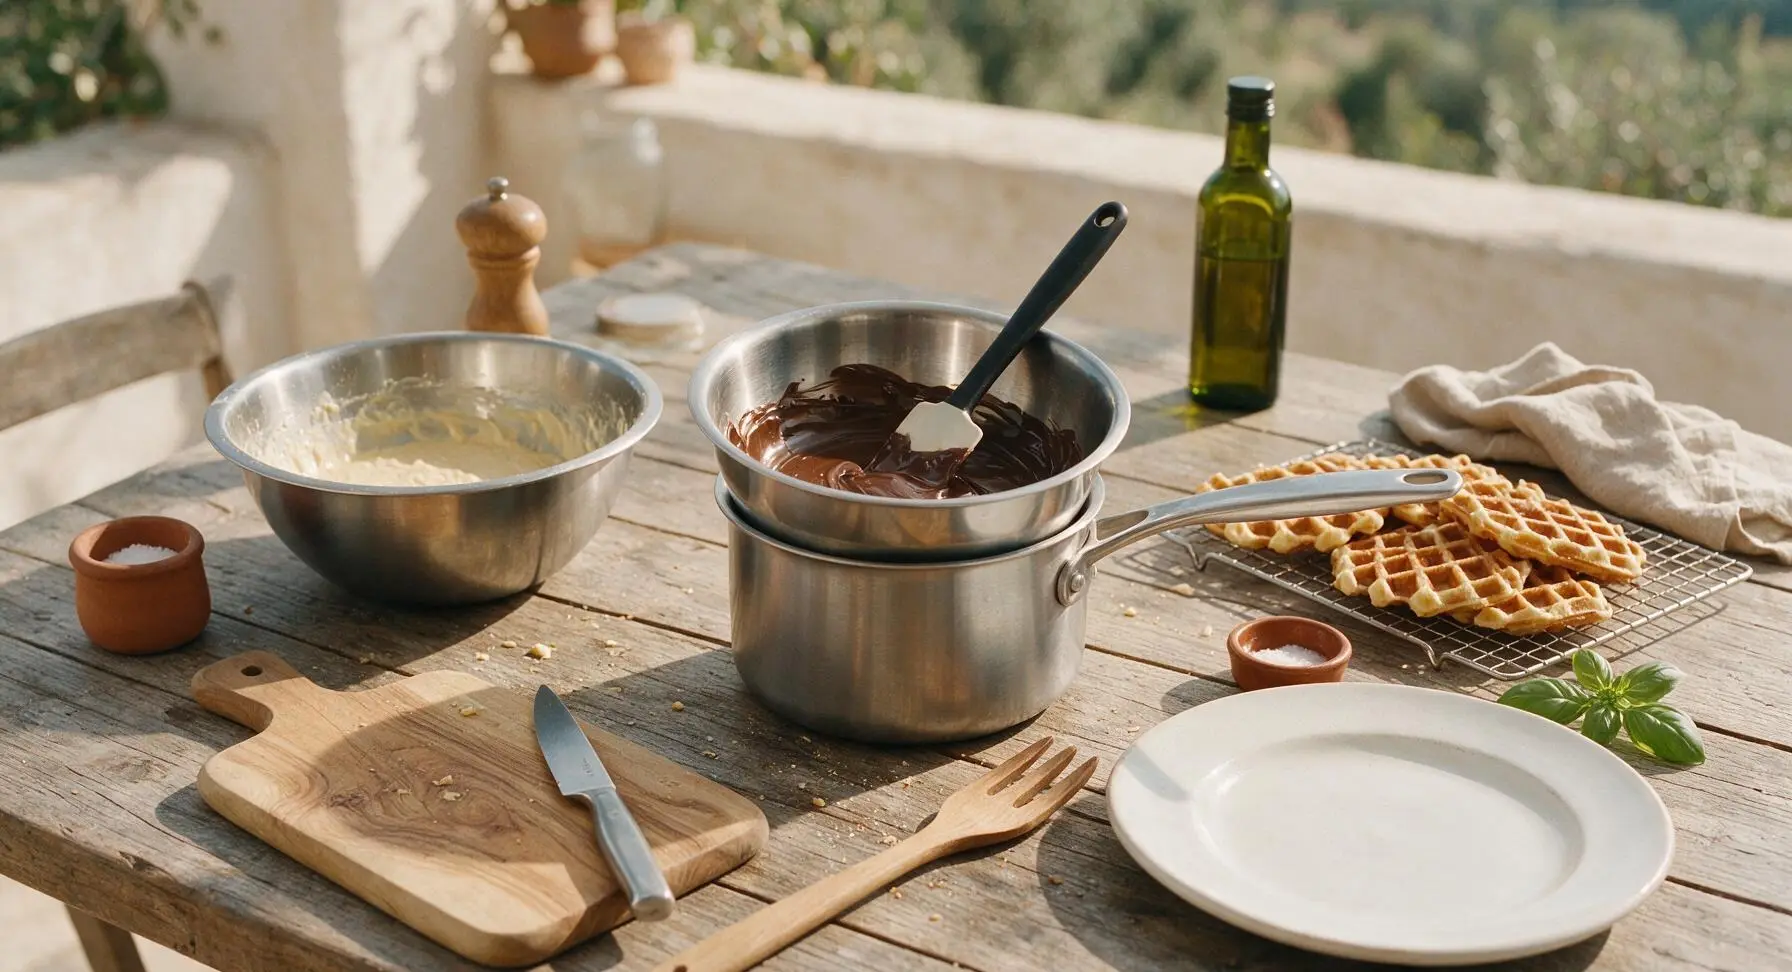
Fill the 1L matte stainless steel saucepan with 1 inch of tap water, and heat over low to bring to a gentle, low simmer (do not bring to a rolling boil). Place chopped dark chocolate and coconut oil in the stainless steel double boiler insert, then set the insert atop the simmering saucepan, ensuring the water level does not touch the bottom of the insert. Stir slowly with the silicone spatula for 3-4 minutes, until the chocolate is fully smooth, glossy, and completely free of lumps. Carefully lift the insert off the saucepan to stop heating.
Step 4
step4:Melt Chocolate Coating
5

Dip Waffles in Chocolate

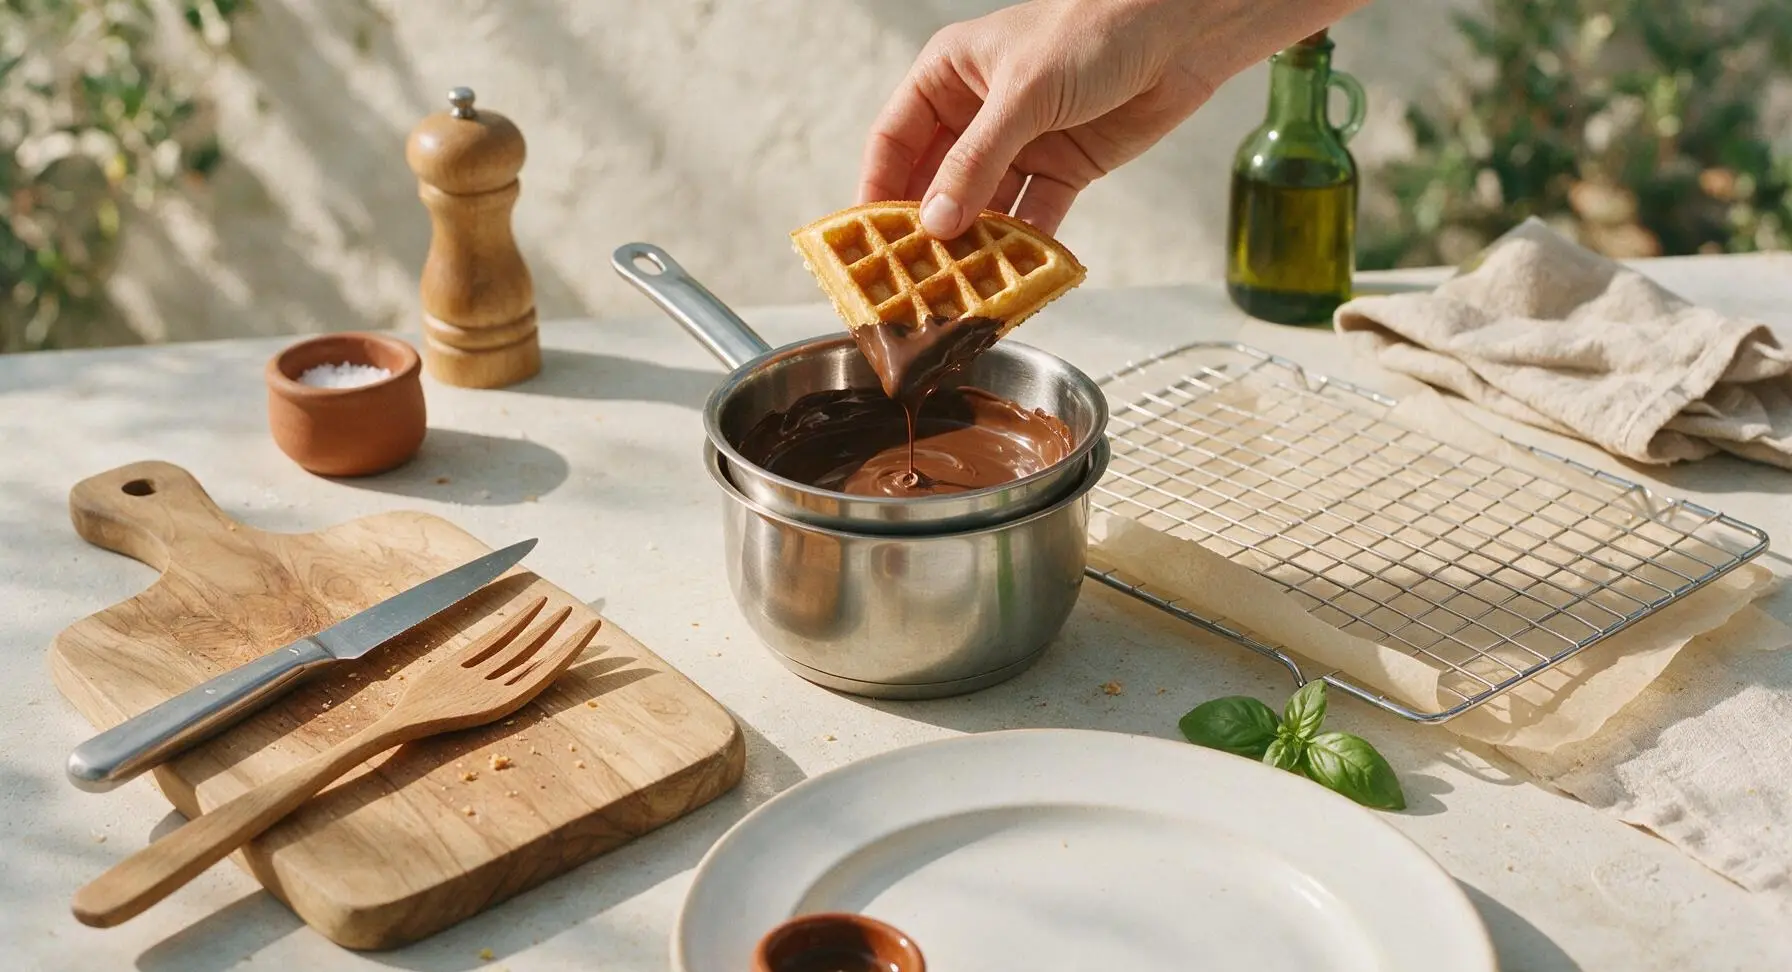
Cut each slightly cooled round waffle into 4 equal triangular quarters. Hold one waffle quarter at a time by the uncoated top corner, dip ⅔ of the waffle into the smooth melted chocolate, tilting the double boiler insert to fully coat the lower portion, letting excess chocolate drip back into the insert for 5 seconds. Place the chocolate-coated waffle back onto the wire cooling rack—now lined with a sheet of unbleached parchment paper—to set, leaving ½ inch of space between each piece to prevent sticking.
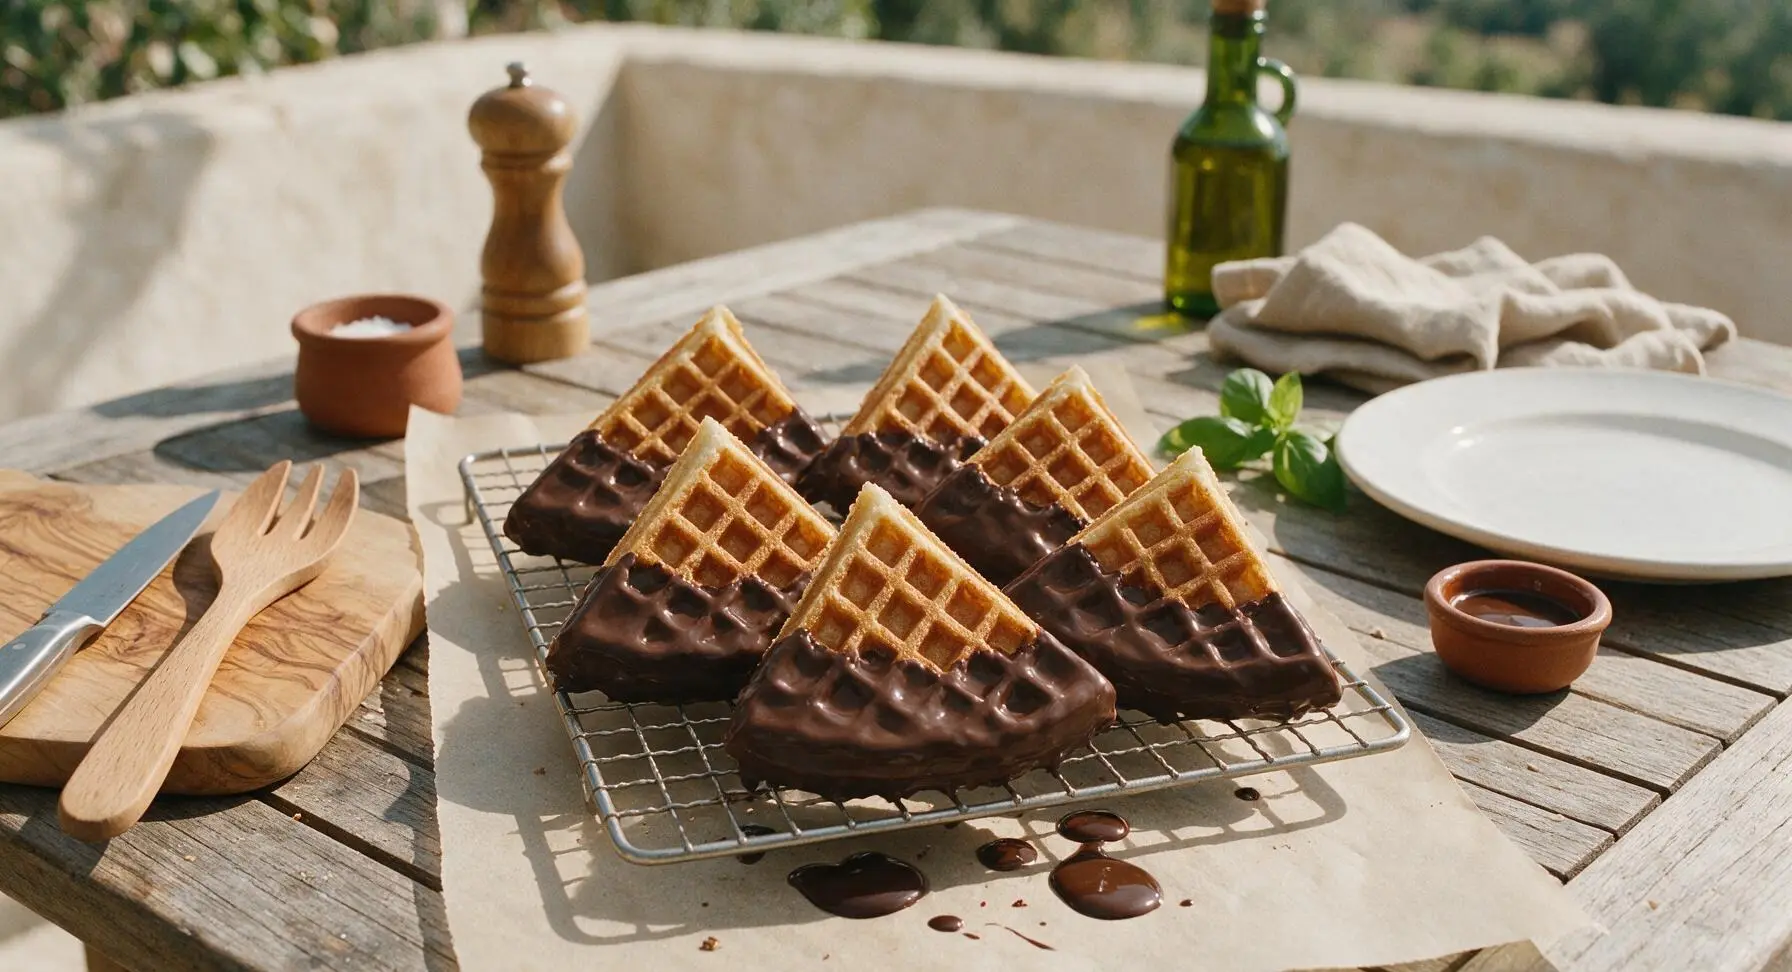
Step 5
step5:Dip Waffles in Chocolate
Step 5
step5:Dip Waffles in Chocolate
6

Sprinkle On Toppings

While the chocolate is still wet and glossy (within 1 minute of dipping each waffle), sprinkle the coated chocolate surface with a pinch of flaky sea salt from the terracotta cellar, plus crushed toasted pecans and rainbow nonpareils from the fixed glass ramekins, as desired. Do not wait to add toppings—once the chocolate sets, toppings will not stick to the surface.
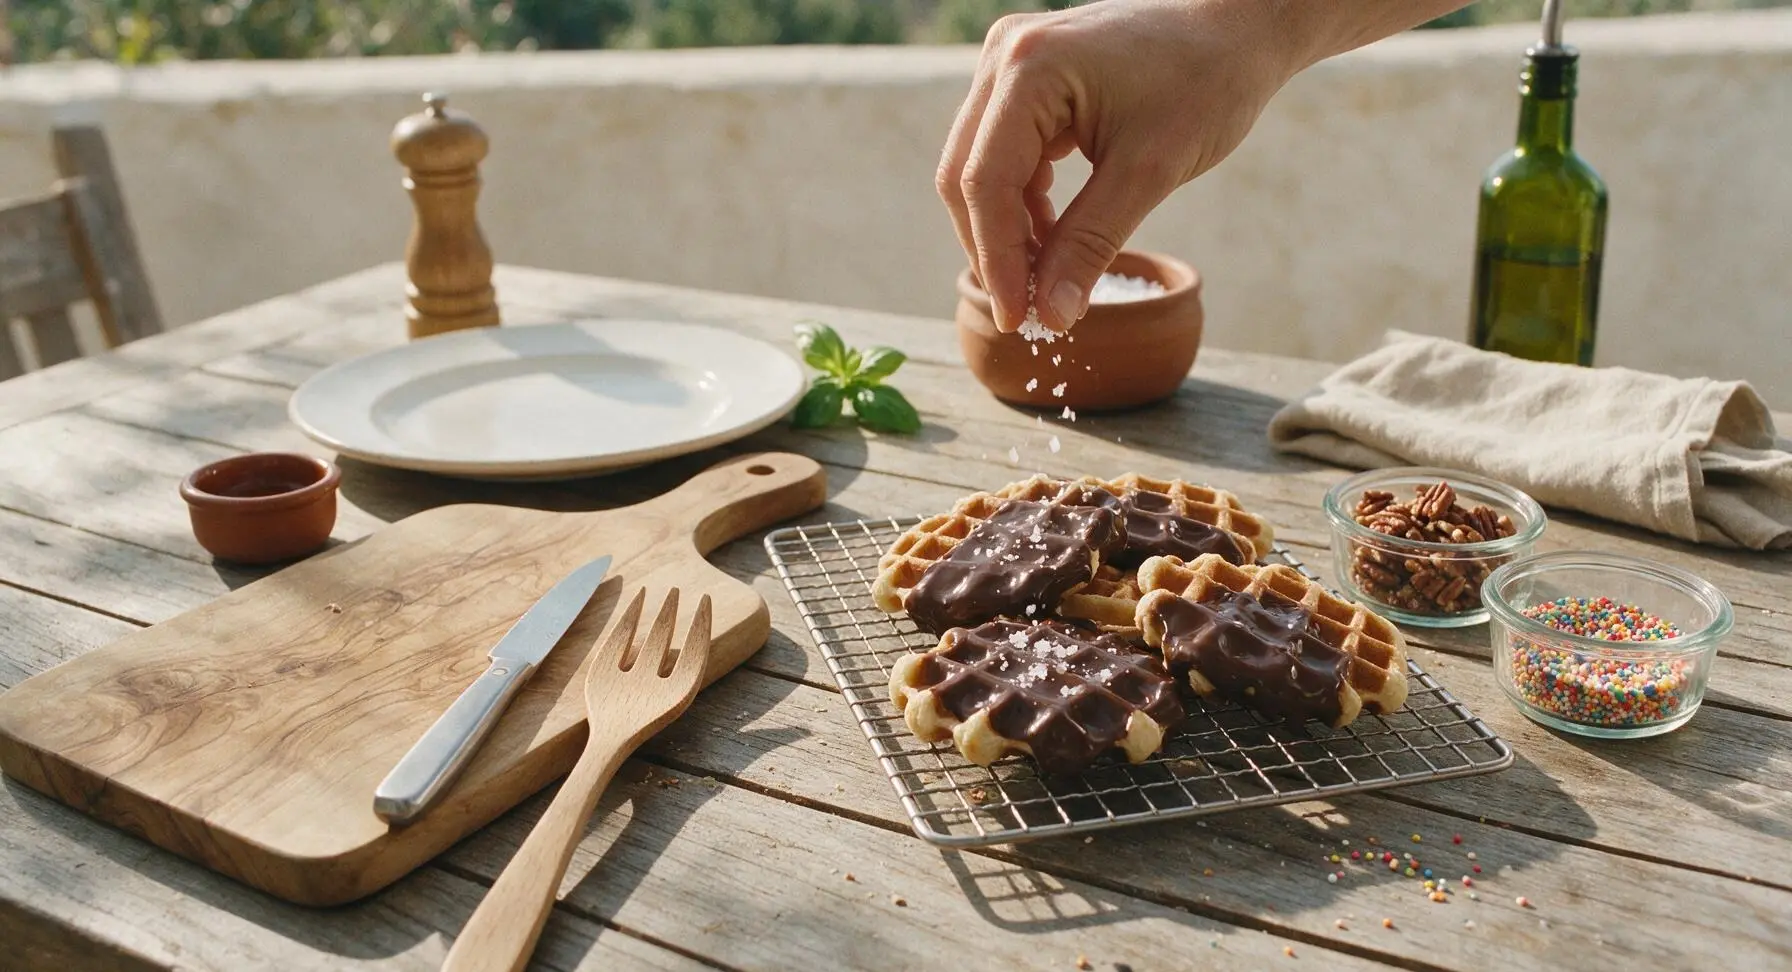
Step 6
step6:Sprinkle On Toppings
7

Plate and Serve Warm

Let the chocolate set fully at room temperature for 15 minutes (or chill for 5 minutes in the refrigerator for a snappier shell) until it is firm to the touch and no longer glossy. Transfer 4 waffle quarters (one full waffle per serving) to the fixed matte cream ceramic dessert plate, stacking them slightly offset to show both the golden waffle edge and glossy chocolate coating. Garnish the plate with 3-4 fresh raspberries, and serve immediately while waffles are still slightly warm and tender inside for the best texture contrast.
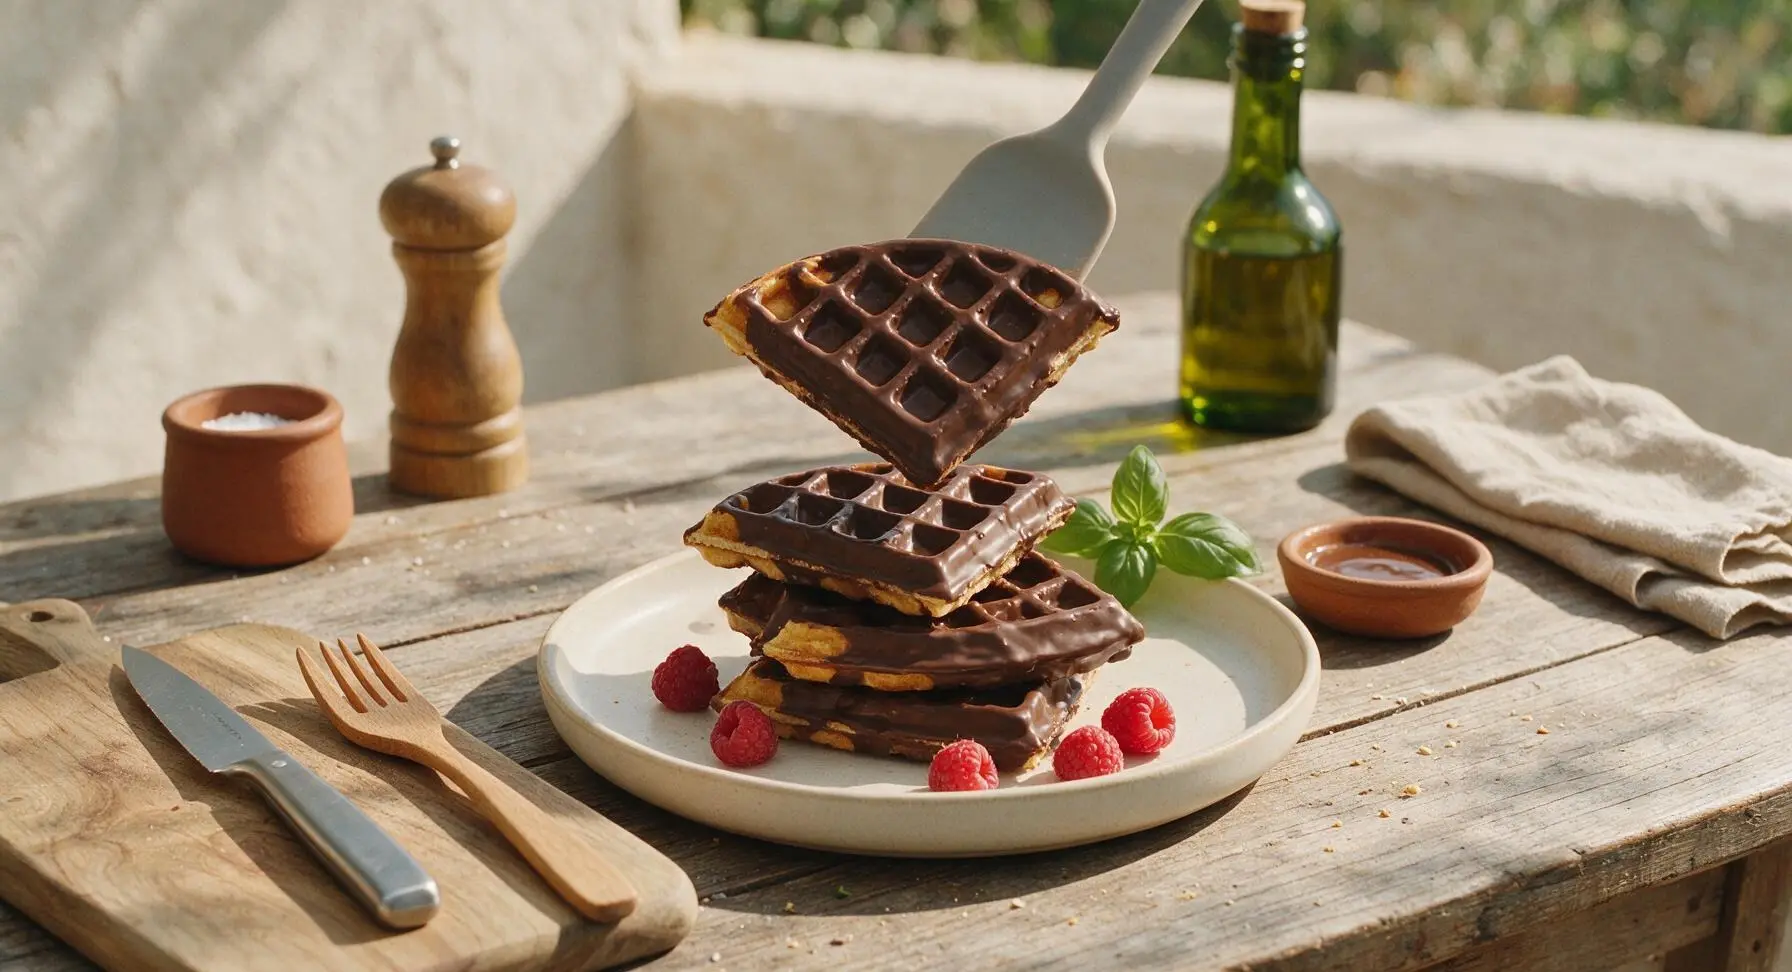
Step 7
step7:Plate and Serve Warm

Tips

1.Avoid overmixing the waffle batter: small, pea-sized lumps are completely normal, and overstirring develops gluten in the flour that will result in dense, tough waffles instead of light, crisp ones with tender interiors.
2.Add a small amount of coconut oil to the melting chocolate: this thins the chocolate just enough to create a thin, snappy coating that adheres evenly to the waffle, instead of a thick, heavy layer that cracks off in large chunks when bitten.
3.Let cooked waffles cool for 2 full minutes before dipping: if waffles are piping hot straight from the iron, the chocolate will melt, slide off, and fail to set into a crisp shell; the short cooling period keeps waffles warm without ruining the chocolate coating.


✨ You May Also Like

Desserts & Baking
🍜 Italy

Creamy, coffee-kissed classic Northern Italian no-bake dessert, with layers of rum-spiked mascarpone cream, soft ladyfingers, and a rich cocoa dusting.

⏱️ 4 hours 3Desserts & Baking ★ 4.7
Desserts & Baking
🍜 France

Flaky, shatteringly crisp, buttery French croissants with golden exteriors and soft, airy layered interiors, perfect for pairing with coffee for a special morning treat.

⏱️ 12 hours Desserts & Baking ★ 4.5
Desserts & Baking
🍜 United States

Warm, spiced baked apples topped with a fluffy golden biscuit crust, this cozy dessert pairs perfectly with vanilla ice cream for cool-weather comfort.

⏱️ 55 minuteDesserts & Baking ★ 4.6
Desserts & Baking
🍜 United States

A star-spangled classic American blueberry pie with buttery flaky crust and bright sweet-tart filling, perfect for summer patriotic gatherings.

⏱️ 1 hour 25Desserts & Baking ★ 4.7
Desserts & Baking
🍜 United States

A beloved no-bake regional Maine candy with a chewy coconut-potato center coated in rich dark chocolate, a New England holiday staple since the 1870s.

⏱️ 2 hours 3Desserts & Baking ★ 4.8
Desserts & Baking
🍜 France

Luxuriously creamy, floral frozen custard made with aromatic Tahitian vanilla beans, boasting a smooth, rich texture that melts slowly on the tongue.

⏱️ 3 hours 3Desserts & Baking ★ 4.5

chocolate covered waffles:Frequently Asked Questions

1.Why do my waffles turn out soggy instead of crisp after coating them in chocolate? ▾
The most common culprit is coating waffles that are too warm! Let waffles cook until they’re deep golden (a minute longer than you would for plain waffles), then cool them on a wire rack for 2 to 3 minutes to let excess steam escape. Trapped condensation under the chocolate will turn even the crispiest waffle soft and mushy fast.
2.Can I use milk chocolate instead of dark chocolate for the coating? ▾
Absolutely! Just keep in mind milk chocolate has a higher milk fat content, so it will form a slightly softer shell than dark chocolate. For that signature snappy texture, temper it the same way you would dark chocolate, or stir in 1 teaspoon of coconut oil per 4 ounces of chocolate for a thinner, smooth coating that sets firm in the fridge.
3.How do I get that glossy, snappy chocolate coating instead of a dull, soft layer? ▾
The trick is quick, simple tempering! Melt two-thirds of your dark chocolate gently to 90°F over a double boiler, then stir in the remaining one-third finely chopped chocolate until completely smooth. Make sure no water gets into the chocolate (it will seize up instantly), and only coat fully cooled waffles for that shiny, crackable shell.
4.Can I make the waffle batter ahead of time for a quick weekend brunch? ▾
Since this batter relies on baking powder for its light, fluffy lift, I don’t recommend making it more than 30 minutes ahead of cooking. The leavening starts reacting as soon as it mixes with wet ingredients, so batter left too long will produce flat, dense waffles that can’t hold up to the chocolate coating well.
5.What’s the least messy way to get an even chocolate coating on every waffle? ▾
Set fully cooled waffles on a wire rack placed over a parchment-lined baking sheet to catch drips. Pour tempered chocolate slowly over the top, using a small offset spatula to spread it evenly to the edges. You can dip waffle halves for extra coverage, but the pour method gives a consistent thin, snappy layer with way less mess.
6.Do I have to use all-purpose flour, or can I make these gluten-free? ▾
You can easily swap in a 1:1 gluten-free all-purpose flour blend that includes xanthan gum for reliable structure. Keep all other ingredient measurements (eggs, sugar, baking powder, fine sea salt) exactly the same, and let the batter rest 5 minutes before cooking to let the flour hydrate for a tender, non-gritty crumb.
7.What crunchy toppings work best without making the waffles soggy? ▾
Add toppings immediately after coating waffles in chocolate, right before the shell sets, so they stick securely without sliding off. Great options include toasted chopped pecans, flaky sea salt, crushed pretzels, mini chocolate chips, or freeze-dried raspberry pieces. Skip fresh fruit toppings for storage—their moisture will break down the chocolate shell fast.
8.Why do my waffles stick to the waffle iron even when I grease it? ▾
The #1 cause of sticking is adding batter before your waffle iron is fully preheated. For this recipe, the large eggs in the batter create enough structure for a clean release if you let waffles cook fully: wait until steam stops escaping from the iron edges (usually 3 to 4 minutes) before lifting the lid.
9.How should I store leftover chocolate covered waffles? ▾
Let the chocolate coating set fully at room temperature for 15 minutes first, then stack waffles between sheets of parchment paper in an airtight container. Keep them in the fridge for up to 3 days, or freeze for up to 1 month. Reheat in a toaster oven (not the microwave) to bring back waffle crispness without melting chocolate into a gooey mess.
10.Can I reduce the sugar in the recipe if I don’t want overly sweet waffles? ▾
Absolutely! The granulated sugar in the waffle batter adds subtle sweetness and helps edges crisp up, but you can cut it by half without ruining the light, tender texture. The dark chocolate coating brings plenty of rich, sweet-bitter cacao flavor, so a less sweet waffle base actually balances the whole treat out beautifully.

Comments (16)

2 days ago

OMG these chocolate covered waffles were a total game changer for our Saturday brunch! My kids devoured them before I even got a second piece, SO good. I used semi-sweet chocolate chips for the coating and added a sprinkle of sea salt on top, chef’s kiss.

yesterday

Wait the sea salt sprinkle is such a smart call! I’ve been making these plain with just chocolate, I have to try that next weekend.

2 hours ago

Love that sea salt addition! It cuts the sweetness so perfectly — we’re actually adding that variation to the recipe notes this week, thanks for the tip!

3 days ago

Super easy recipe, took me exactly 20 minutes like it said, which was perfect for a quick weekday birthday breakfast for my partner. Only thing is my chocolate coating seized up a little when I was melting it, did I do something wrong?

2 days ago

Oh that happens if even a tiny drop of water gets in the melting chocolate! I had the same issue my first try, make sure your bowl is totally dry before you add the chips.

2 days ago

Great catch from Luna! Seizing almost always comes from even a drop of moisture getting into the chocolate, or heating it too fast. Try melting it in 30 second bursts in the microwave, stirring between each, and make sure all your utensils are completely dry and it’ll turn out perfectly every time!

1 week ago

I brought these to my office potluck last week and people were begging me for the recipe! I cut the waffles into bite-sized sticks before dipping them so they were easy to grab, total crowd pleaser. 10/10 will make again.

5 days ago

Wait I was looking for an easy potluck dish for our team breakfast next month! How far in advance can you make these without them getting soggy?

3 days ago

So glad they were a hit at the potluck! The bite-sized stick idea is brilliant for gatherings. To answer the question about making ahead: you can make the waffles the night before, store them in an airtight container, and dip them in chocolate right before you leave — they’ll stay crisp for 3-4 hours once coated if you keep them in a cool spot.

2 weeks ago

Okay this is genius for meal prep? I make a batch of waffles on Sunday, dip half in dark chocolate, store them in the fridge, and grab one on my way to 8am lectures all week. The chocolate coating keeps the waffles from getting stale, who knew?

1 week ago

Wait does the chocolate get all melty if you pack it in a lunchbox? My kids take waffles to school sometimes and I don’t want chocolate all over their backpacks 😂

5 days ago

Love this meal prep hack, Mike! For school lunchboxes, if you let the chocolate set fully in the fridge for 30 minutes after dipping, and toss a small ice pack in the lunchbox, it’ll stay solid for a few hours without making a mess. Perfect for quick school mornings!

5 days ago

Tried these last night for dessert instead of breakfast and it was chef’s kiss! I topped mine with crushed Oreos and a drizzle of peanut butter after dipping, my roommate said it’s better than the dessert waffles at our local diner. Only knock is I wish the recipe noted how much chocolate you actually need for the coating, I ran out halfway through.

3 days ago

Oh good to know! I was about to make these tonight, how many chips did you end up using total? I have a giant bag of milk chocolate in the pantry I don’t want to waste.

2 days ago

So glad you loved the flavor combo — peanut butter and Oreos sound amazing! We just updated the ingredient list to clarify you need 1.5 cups of chocolate chips for a full batch, sorry for the confusion earlier! If you like extra thick coating, you can bump that up to 2 cups to be safe.

2 hours ago

I’ve never made waffles from scratch before and this was so easy! I was worried I’d mess it up but the steps were super straightforward, no fancy equipment needed. My whole family loved it, even my super picky 7 year old asked for seconds.

30 minutes ago

That makes us so happy to hear! This recipe is designed for total beginners, so it’s awesome to hear it worked out for your first waffle making attempt. Hope your picky eater asks for these for many breakfasts to come!

2 days ago

I swapped the regular waffle batter for my go-to vegan waffle mix and used dairy free dark chocolate for the coating, and it turned out perfect! Such a versatile base recipe, I’ll be playing around with toppings for months.

yesterday

Oh thank you for sharing the vegan swap! My kid has a dairy allergy and I’ve been looking for fun breakfasts he can eat with the rest of the family, I can’t wait to try this.

3 days ago

Game. Changer. I’ve been making regular waffles for my weekend brunch group for years, and adding the chocolate coating just elevated the whole spread. I served them with fresh strawberries and whipped cream on the side, zero leftovers.

2 days ago

Nothing beats zero leftovers, that’s the sign of a perfect recipe! The fresh strawberry and whipped cream pairing is classic for a reason — sounds like your brunch group is very lucky.

5 minutes ago

These saved me this morning! I had 10 minutes to throw something together before my in-laws showed up for a visit, I used frozen waffles (don’t judge) and melted chocolate chips, tossed some sprinkles on top, and they thought I spent hours making a fancy breakfast. 10/10 hack.

just now

No judgment here! Frozen waffles are a total mom lifeline, I do the same thing for quick breakfasts when I don’t have time to make batter from scratch. The sprinkles are such a nice touch too.

1 week ago

I used whole wheat waffle batter and 70% dark chocolate for the coating to make these a little more nutrient dense, and they still tasted totally indulgent! Great way to satisfy a chocolate craving without going overboard on sugar.

5 days ago

That’s such a smart swap! The whole wheat batter adds a nice nutty depth that pairs really well with dark chocolate, we love when people customize recipes to fit their dietary preferences.

5 days ago

Made these for my daughter’s 10th birthday breakfast, she said it’s the “best birthday food ever” which is high praise coming from a tween. I added rainbow sprinkles to the chocolate coating before it set, and put a candle in the biggest waffle for her. So sweet, so easy.

3 days ago

Rainbow sprinkles are the way to go! My tween is so hard to impress too, I’m definitely stealing this idea for his birthday next month, he’s obsessed with all things chocolate.

just now

Made these at 1am after a late shift and they hit SO hard. Crispy waffle, smooth chocolate, what more could you want? I didn’t even add any toppings, they were perfect on their own.

2 weeks ago

Used my go-to gluten free waffle mix for this and it worked perfectly! The chocolate coating didn’t make the waffles soggy at all, which is usually my issue with gluten free waffles and wet toppings. Will absolutely be making these again.

30 minutes ago

Okay I burn literally everything I make, and even I managed to pull these off! The cook time was totally accurate, I didn’t burn the waffles, didn’t burn the chocolate, my roommate thought I ordered takeout. Win for me.

1 week ago

These pair so well with a dark roast coffee, it’s become my new go-to weekend breakfast. I added a little espresso powder to the melted chocolate to amp up the flavor, chef’s kiss. Only reason it’s not 5 stars is I wish the recipe suggested fun add-ins like espresso powder, but otherwise it’s perfect.

yesterday

I’m making these for our Christmas morning breakfast spread this year! I’m planning to dip half in chocolate and roll them in crushed candy canes for a festive twist, I know the whole family is gonna lose their minds over them.



