
Chocolate Cream Pie (Diner)

title 1
Chocolate Cream Pie (Diner)
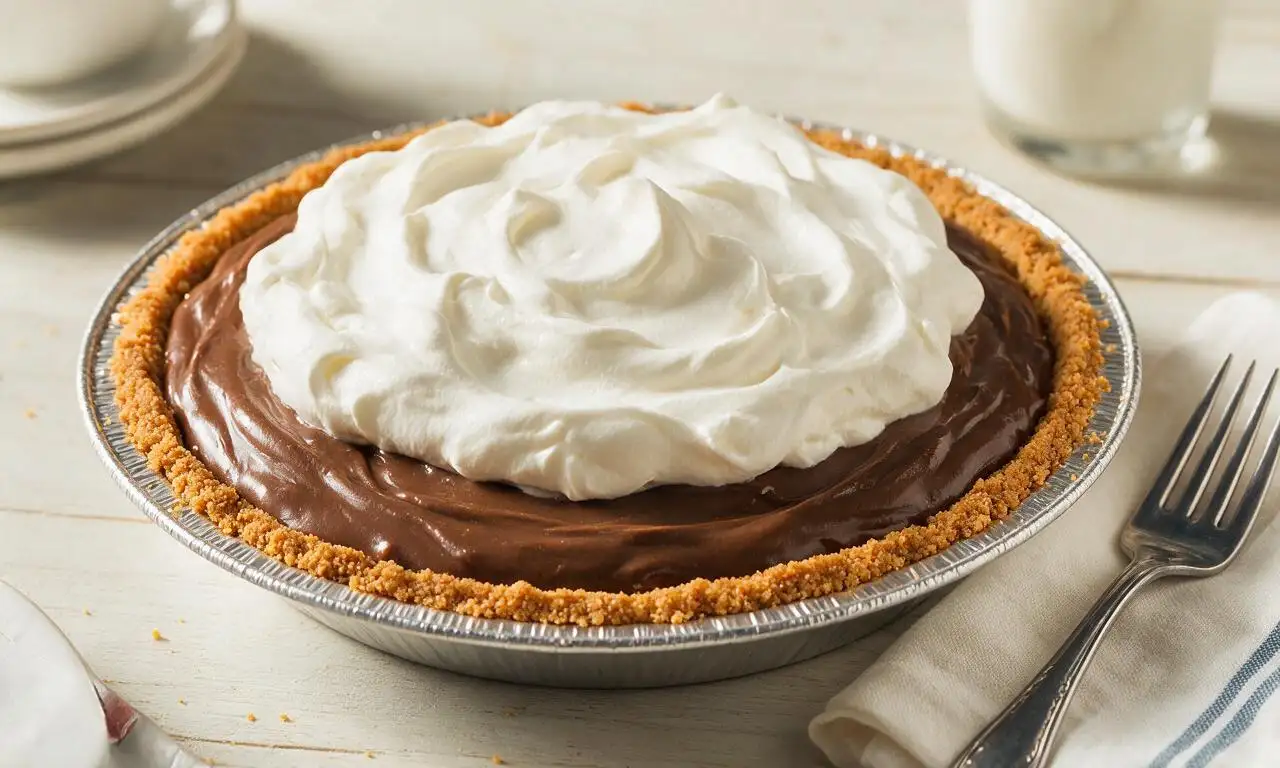
⏱️ cook time 40 minutes (plus 4 hours mandatory chilling time)
🍽️ servings 8
⚡ Difficulty medium

intro

Silky, rich chocolate custard in a crisp graham cracker crust, topped with billowy fresh whipped cream: the iconic retro American diner dessert.

Ingredients

Graham cracker crumbs 1 ½ cups (150g)
Granulated sugar ½ cup + 2 tbsp (125g, divided for crust and filling)
Unsalted butter 8 tbsp (113g, divided for crust and filling)
Dutch-processed unsweetened cocoa powder ⅓ cup (30g)
Cornstarch ¼ cup (30g)
Fine sea salt ¼ tsp
Large egg yolks 4 count
Whole milk 2 ½ cups (600ml)
Pure vanilla extract 1 ½ tsp (divided for filling and whipped topping)
Semi-sweet chocolate, finely chopped 6 oz (170g)
Heavy whipping cream, chilled 1 ½ cups (360ml)
Powdered sugar 2 tbsp (15g)
Dark chocolate shavings (for garnish) 2 tbsp (10g)

Steps

1

Prepare the Graham Cracker Crust

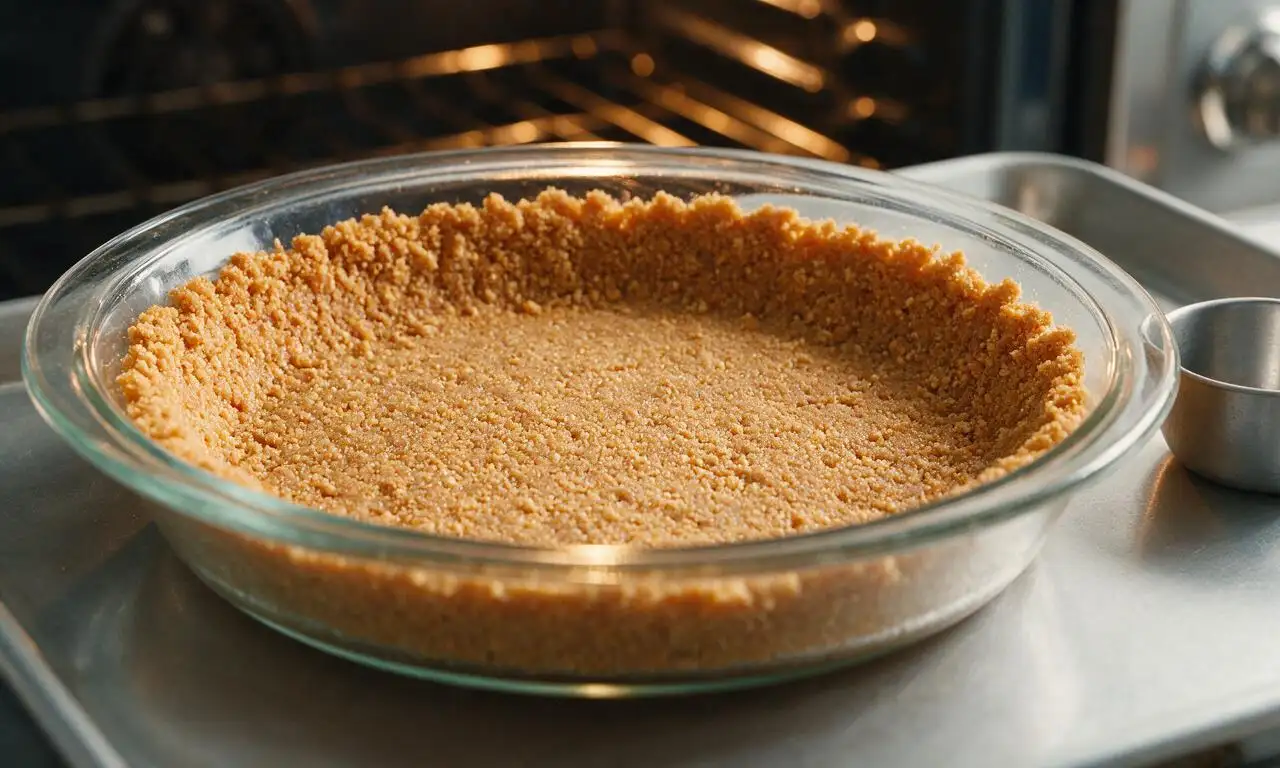
Preheat your oven to 375°F (190°C). In a medium bowl, mix 1 ½ cups (150g) graham cracker crumbs, 2 tbsp (25g) granulated sugar, and 6 tbsp (85g) melted unsalted butter until all crumbs are evenly moistened and clump when squeezed. Press the mixture firmly into the bottom and 1 inch up the sides of a 9-inch (23cm) pie dish. Bake for 10 minutes, then transfer to a wire rack to cool completely to room temperature (about 30 minutes) before adding filling.
Step 1
step1:Prepare the Graham Cracker Crust
2

Whisk the Dry Filling Ingredients

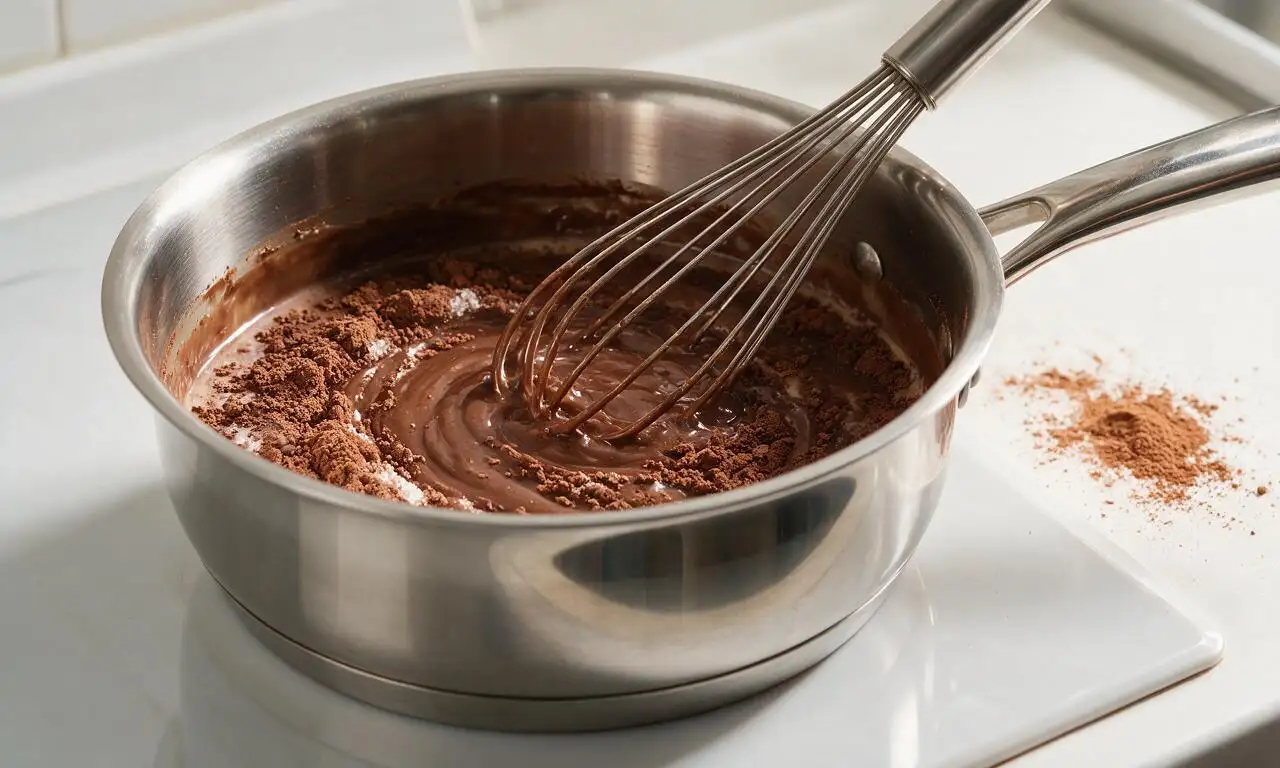
While the crust cools, in a medium heavy-bottomed saucepan, whisk together the remaining ½ cup (100g) granulated sugar, ⅓ cup (30g) Dutch-processed cocoa powder, ¼ cup (30g) cornstarch, and ¼ tsp fine sea salt until no dry lumps of cocoa remain. Slowly pour in 2 ½ cups (600ml) whole milk, whisking constantly over medium-low heat, until the mixture is completely smooth and free of clumps.
Step 2
step2:Whisk the Dry Filling Ingredients
3

Cook the Filling Until Thickened

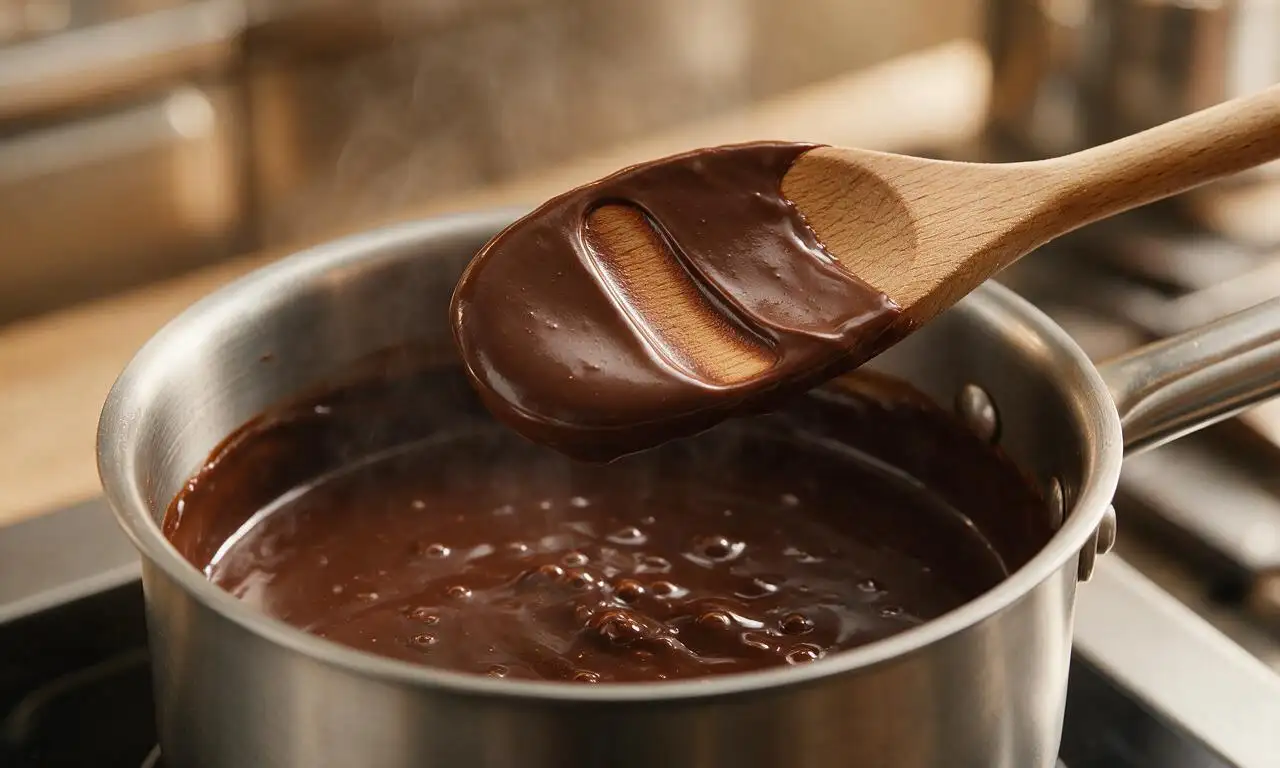
Increase stovetop heat to medium, and cook the milk mixture, whisking continuously to prevent lumps or burning on the pan bottom, for 6-8 minutes until it thickens to a thick pudding consistency that coats the back of a spoon (it will leave a clear, unbroken line when you run your finger through the coating on the spoon). Remove the pan from heat immediately to avoid overcooking.
Step 3
step3:Cook the Filling Until Thickened
4

Temper Egg Yolks for Filling

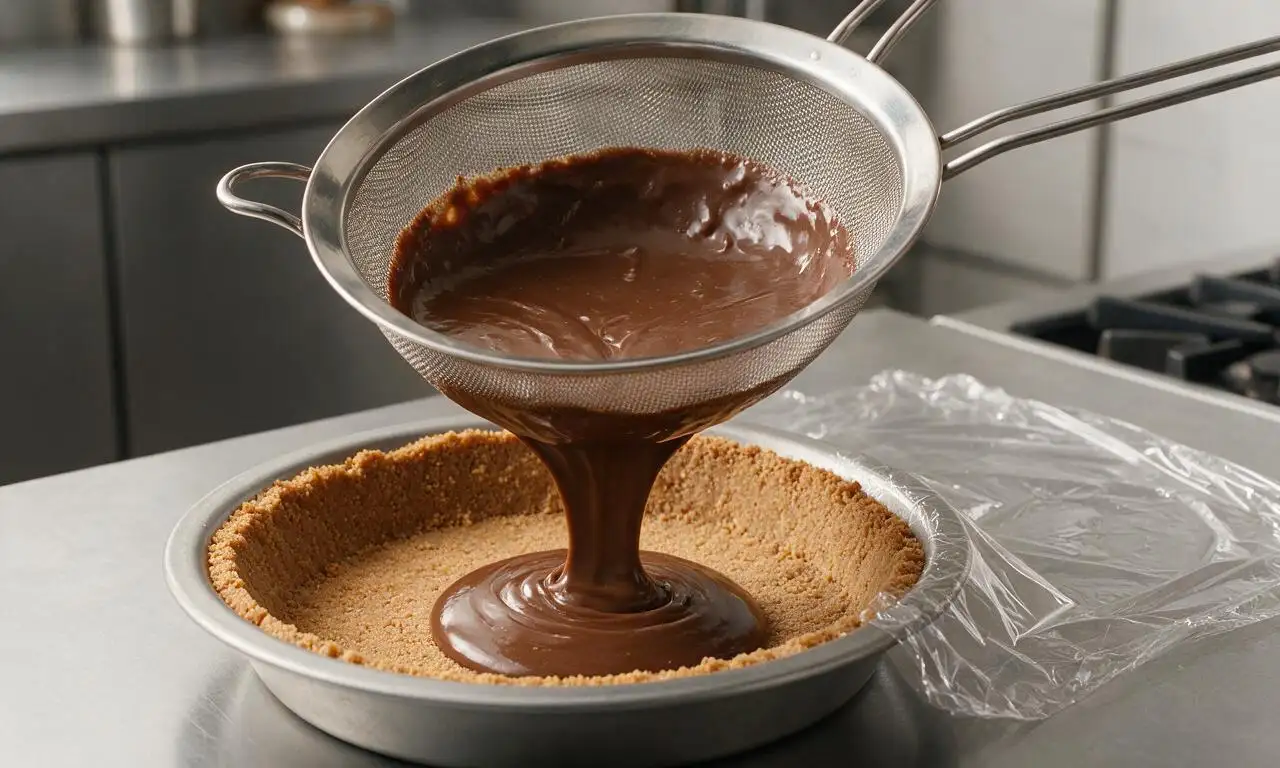
Place 4 large egg yolks in a small heatproof bowl. Slowly ladle ½ cup of the hot chocolate mixture into the yolks, whisking constantly, to warm the eggs gradually and prevent curdling. Pour the tempered yolk mixture back into the saucepan with the remaining custard, return to medium-low heat, and cook for 2 more minutes, whisking nonstop. Remove from heat, then stir in the remaining 2 tbsp (28g) unsalted butter, 1 tsp vanilla extract, and 6 oz (170g) finely chopped semi-sweet chocolate until fully melted and smooth. Pour the warm filling through a fine-mesh sieve directly into the cooled graham cracker crust, smoothing the top with a silicone spatula. Press a piece of plastic wrap directly against the surface of the filling to prevent a skin from forming, then refrigerate for at least 4 hours until fully firm and set.
Step 4
step4:Temper Egg Yolks for Filling
5

Make the Fresh Whipped Cream

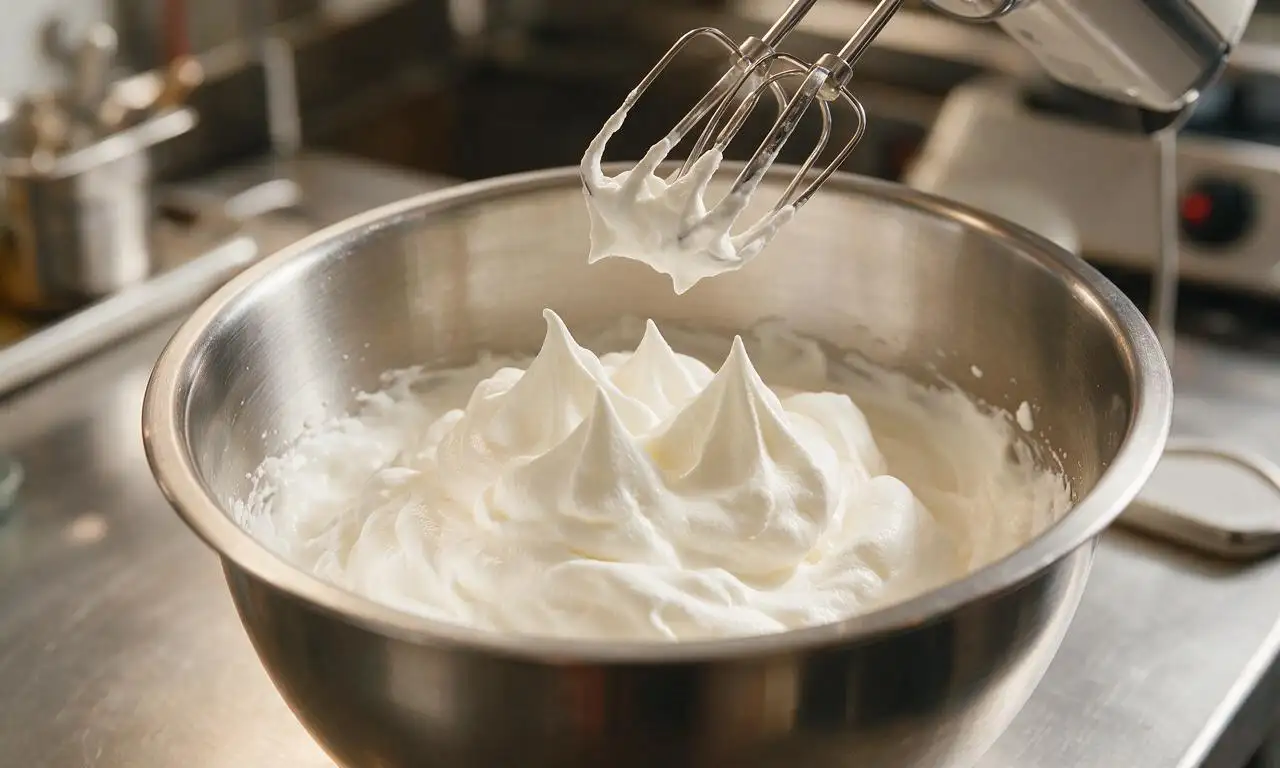
Once the pie filling is fully chilled and set, make the whipped cream: in a cold large mixing bowl, combine 1 ½ cups (360ml) chilled heavy whipping cream, 2 tbsp (15g) powdered sugar, and remaining ½ tsp vanilla extract. Whip with an electric mixer on medium speed for 2-3 minutes until soft, billowy peaks form that hold their shape without drooping. Do not overwhip to the point of forming grainy, separated butter.
Step 5
step5:Make the Fresh Whipped Cream
6

Top and Garnish the Pie

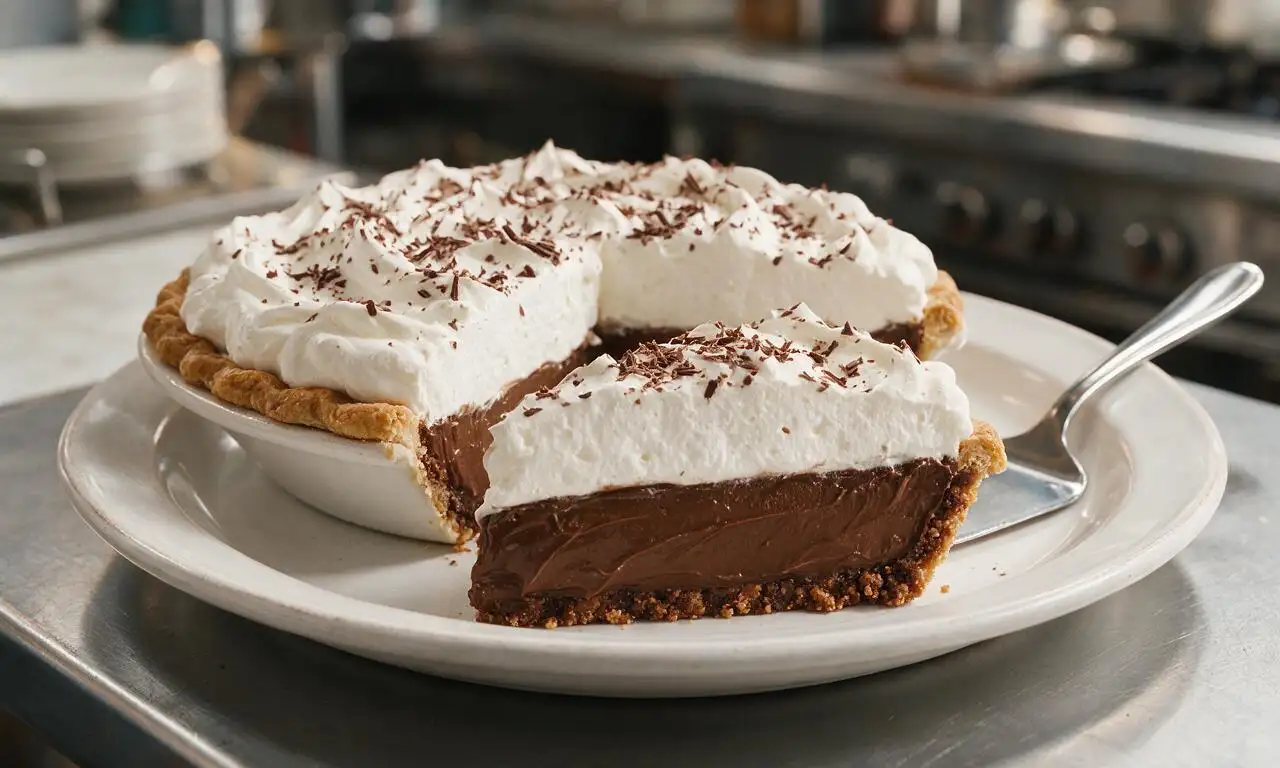
Remove the plastic wrap from the set pie. Dollop the fresh whipped cream over the top of the chocolate filling, spreading it gently into loose, swirled peaks. Garnish with 2 tbsp (10g) dark chocolate shavings. Slice into 8 even wedges and serve chilled, storing any leftover pie covered in the refrigerator for up to 3 days.
Step 6
step6:Top and Garnish the Pie

Tips

1.Always press plastic wrap directly against the warm custard surface before chilling—this prevents a tough, rubbery skin from forming on top of the filling as it cools.
2.Use a heavy-bottomed saucepan for cooking the custard; thin, lightweight pans create hot spots that easily scorch the chocolate or cause lumpy, curdled filling.
3.Don’t skip straining the cooked custard through a fine-mesh sieve—this catches any tiny curdled egg bits or undissolved chocolate lumps for the perfectly silky, diner-smooth texture.


✨ You May Also Like

Desserts & Baking
🍜 Italy

Creamy, coffee-kissed classic Northern Italian no-bake dessert, with layers of rum-spiked mascarpone cream, soft ladyfingers, and a rich cocoa dusting.

⏱️ 4 hours 3Desserts & Baking ★ 4.7
Desserts & Baking
🍜 France

Flaky, shatteringly crisp, buttery French croissants with golden exteriors and soft, airy layered interiors, perfect for pairing with coffee for a special morning treat.

⏱️ 12 hours Desserts & Baking ★ 4.5
Desserts & Baking
🍜 United States

Warm, spiced baked apples topped with a fluffy golden biscuit crust, this cozy dessert pairs perfectly with vanilla ice cream for cool-weather comfort.

⏱️ 55 minuteDesserts & Baking ★ 4.6
Desserts & Baking
🍜 United States

A star-spangled classic American blueberry pie with buttery flaky crust and bright sweet-tart filling, perfect for summer patriotic gatherings.

⏱️ 1 hour 25Desserts & Baking ★ 4.7
Desserts & Baking
🍜 United States

A beloved no-bake regional Maine candy with a chewy coconut-potato center coated in rich dark chocolate, a New England holiday staple since the 1870s.

⏱️ 2 hours 3Desserts & Baking ★ 4.8
Desserts & Baking
🍜 France

Luxuriously creamy, floral frozen custard made with aromatic Tahitian vanilla beans, boasting a smooth, rich texture that melts slowly on the tongue.

⏱️ 3 hours 3Desserts & Baking ★ 4.5

Chocolate Cream Pie (Diner):Frequently Asked Questions

1.Why does my graham cracker crust turn out soggy instead of staying crisp? ▾
Great question! First, press the crumb-butter-sugar mixture firmly into your pie plate, bake it for 10 full minutes at 350°F, then let it cool completely before adding custard. For extra insurance, brush the cooled crust with a thin layer of melted dark chocolate and let it set—it creates a moisture barrier that locks in that perfect crisp texture.
2.Can I use regular unsweetened cocoa instead of Dutch-processed cocoa for the filling? ▾
You can, but the flavor will shift slightly! Dutch-processed cocoa has the smooth, mellow, deep chocolate taste that matches classic diner pie. If you use natural unsweetened cocoa, add 1/8 teaspoon baking soda to your dry custard mix to balance its extra acidity, and expect a slightly brighter, more assertive chocolate flavor.
3.How do I prevent lumps from forming in my chocolate custard? ▾
Lumps almost always come from uneven heating or poorly mixed cornstarch. First, whisk your cornstarch, sugar, and cocoa completely smooth with cold milk before heating, then stir constantly with a silicone spatula over medium-low heat, scraping the pan’s bottom and corners the whole time. If lumps form, pour the finished custard through a fine-mesh sieve before adding it to the crust.
4.How far in advance can I make this pie before serving? ▾
This pie is ideal for make-ahead prep! You can bake the graham cracker crust 2 days ahead, stored tightly covered at room temperature, and fill it with cooled custard up to 24 hours before serving, kept covered in the fridge. Wait to add the fresh whipped cream, though—top it no more than 2 hours before serving to keep it billowy and prevent weeping.
5.Why did my custard turn out runny instead of setting to a firm, sliceable texture? ▾
Runny custard almost always traces back to undercooked cornstarch or insufficient chill time. Make sure you bring the custard to a full, gentle bubble (not just a light simmer) for 1 full minute while stirring to fully activate the cornstarch’s thickening power. Let the pie chill for a full 4 hours in the fridge before slicing to let it set completely.
6.Can I use a store-bought pre-made graham cracker crust to save time? ▾
Absolutely, if you’re short on time! Opt for a deep-dish pre-made graham cracker crust to hold all the rich custard filling. For the closest texture to homemade, pop the store-bought crust in the oven at 375°F for 5 minutes, then let it cool completely before filling—it crisps up the crumbs and cuts that stale, packaged flavor really well.
7.What’s the trick to getting clean, neat diner-style slices when serving? ▾
For those perfect, sharp-edged slices you see at old-school diners, make sure the pie is fully chilled first. Dip a sharp, thin-bladed knife in a glass of hot water, wipe the blade dry, and make one smooth cut. Wipe the blade clean and re-dip it in hot water between every slice to prevent custard and whipped cream from smearing.

Comments (9)

2 days ago

OMG this pie is EXACTLY what I remember from my small-town diner growing up! I made it for my Sunday family dinner last night and every single person went back for a second slice. The chocolate filling is so silky, not too sweet, and that flaky crust? *Chef’s kiss* My 8 year old asked if we can have this for his birthday instead of cake this year. Only note: I used a store-bought deep dish crust because I was short on time and it still turned out perfect. 10/10 will be making this for every potluck from now on!

1 day ago

Wait did you stick to the full 4 hour chill time? I’m making this for a work potluck Friday and I’m paranoid I’ll cut it too early and end up with runny filling everywhere!

12 hours ago

We’re so glad your family loved this pie, MamaBakes2020! @PieLover99 that mandatory chill time is non-negotiable for a perfectly set, sliceable filling — if you’re really crunched for time, you can chill it in the fridge for 2 hours then pop it in the freezer for 30 minutes to speed things up, just don’t leave it in long enough for the filling to freeze solid! And store-bought crust is such a great time-saver hack, no shame in that game at all.

5 days ago

Tried this for our neighborhood cookout over the weekend and it was a total hit! I was a little worried going in because I’ve messed up cream pies before (grainy filling, random lumps everywhere) but the step-by-step guide for tempering the eggs was so easy to follow. Game changer tip: I added a tiny pinch of instant espresso powder to the chocolate filling like I do for my brownies, and it made the chocolate taste so much richer and deeper. Only reason it’s not 5 stars is I wish the recipe noted how much weight to use for blind baking the crust — my first crust shrank a little up the sides.

4 days ago

Thanks so much for the honest feedback, TexasGrillDad! Great call on the espresso powder, that’s such a delicious, easy upgrade. For blind baking, we recommend lining the crust with parchment paper and filling it with 1.5 lbs of pie weights (or dried beans, if you don’t have weights!) to prevent shrinkage — we’ll add that note to the recipe right away to help other bakers!

1 week ago

SO good! I’ve been on a mission to find a decent chocolate cream pie recipe ever since my favorite diner in Brooklyn closed down during the pandemic, and this hits every single note. The whipped cream topping is light, not cloyingly sweet, and the chocolate filling doesn’t have that weird artificial pudding aftertaste you get from boxed mixes. I topped mine with a handful of dark chocolate shavings and it looked like it came straight from a fancy restaurant menu. Worth every minute of prep, even the long chilling wait!

3 days ago

Okay y’all, I was skeptical a medium-difficulty pie would be doable on a busy weeknight, but I split the prep over two days: baked the crust Monday night after dinner, made the filling Tuesday morning and let it chill all day while I was at work, and it was perfectly ready for dessert Tuesday night. My husband said it’s better than the chocolate pie we got on our anniversary trip to the Smoky Mountains! Only heads up for other bakers: make sure you let the filling cool 10-15 minutes before pouring it into the crust or you’ll end up with a soggy bottom (learned that the hard way on my first test run).

2 days ago

We love that prep hack, WeeknightMealPrepQueen! Spreading the steps out over a couple days is such a smart way to make this feel low-effort even on busy schedules, and you’re so right about letting the filling cool slightly to avoid a soggy crust — that’s such a common misstep, thanks for flagging it for other bakers!

yesterday

I swapped the regular all-purpose flour crust for a gluten-free chocolate cookie crust (since that’s what I had hanging out in the pantry) and it was chef’s kiss! The custard filling recipe worked perfectly with the swap, no weird texture issues or taste differences at all. My teens devoured half the pie in one sitting after soccer practice. Will absolutely be adding this to our regular weeknight dessert rotation.

30 minutes ago

Help! I followed the recipe exactly but my filling came out super lumpy? I’m so bummed, I was making this for my partner’s birthday dinner tonight and now I’m worried I totally ruined it. Did I cook the custard too hot? Stir too slow? Not sure where I went wrong :(

20 minutes ago

Honey, that happens to the best of us! I find lumps usually form when you don’t whisk constantly while streaming the hot milk into the eggs. If it’s not too far gone, you can pour the warm filling through a fine mesh sieve to strain out all the lumps before pouring it into the crust — saved my chocolate pie last Thanksgiving!

10 minutes ago

Oh no, we’re sorry to hear your filling got lumpy, FirstTimePieMaker! @BakingNana1952 is exactly right — pouring the warm custard through a fine-mesh sieve is the easiest fix for lumps, and it’ll make your filling extra silky to boot. Lumps usually pop up if the heat is too high under the custard, or if you don’t whisk steadily while tempering the eggs. Next time keep the burner on medium-low and you’ll be golden!

2 weeks ago

Brought this to my office potluck yesterday and people were literally scraping the pie plate clean. I had three coworkers track me down to ask for the recipe before I even left the break room! I used semi-sweet chocolate chips instead of bar baking chocolate because that’s what I had in the cabinet, and it still turned out rich and totally delicious. Pro move: top each slice with a tiny pinch of flaky sea salt right before serving, it cuts the sweetness so well.

1 week ago

The flaky sea salt tip is such a game changer! I did that last time I made a chocolate cream pie and everyone went crazy for it, can’t wait to test it out with this exact recipe!

1 week ago

Love the flaky sea salt tip, PotluckProRon! Chocolate chips work totally great here too — they’re formulated to melt smoothly, so they’re a perfect swap if you don’t have baking bars on hand. So glad the pie was a hit at your office potluck!

2 hours ago

Made this for my roommate’s birthday last weekend since he’s obsessed with all things chocolate, and honestly? It came out way better than I thought it would as someone who’s only ever made boxed mac and cheese and frozen pizza before. The directions were super straightforward, no fancy equipment needed (I used a full plastic water bottle as a rolling pin for the crust, don’t judge). The 4 hour chill time felt like forever while we were waiting, but it was so worth it. 10/10, even my super picky roommate said it was restaurant quality.

1 hour ago

This makes us so happy to hear, CollegeKidCooks! Love the DIY rolling pin hack, that’s the exact kind of scrappy kitchen creativity that makes baking fun. So glad you and your roommate loved the pie — great job nailing it on your first go!

1 week ago

I worked at a little family diner outside Chicago for 22 years, and I can tell you this recipe is dead on for the chocolate cream pie we served every single day. The secret is always using good quality cocoa and not skimping on the real whipped cream — none of that frozen whipped topping stuff! I made this for my grandkids last weekend and they said it tasted just like the pie I used to bring home from the diner on my closing shifts. Brought back so many good memories, thank you for sharing this!



