
chocolate dirt pudding
intro
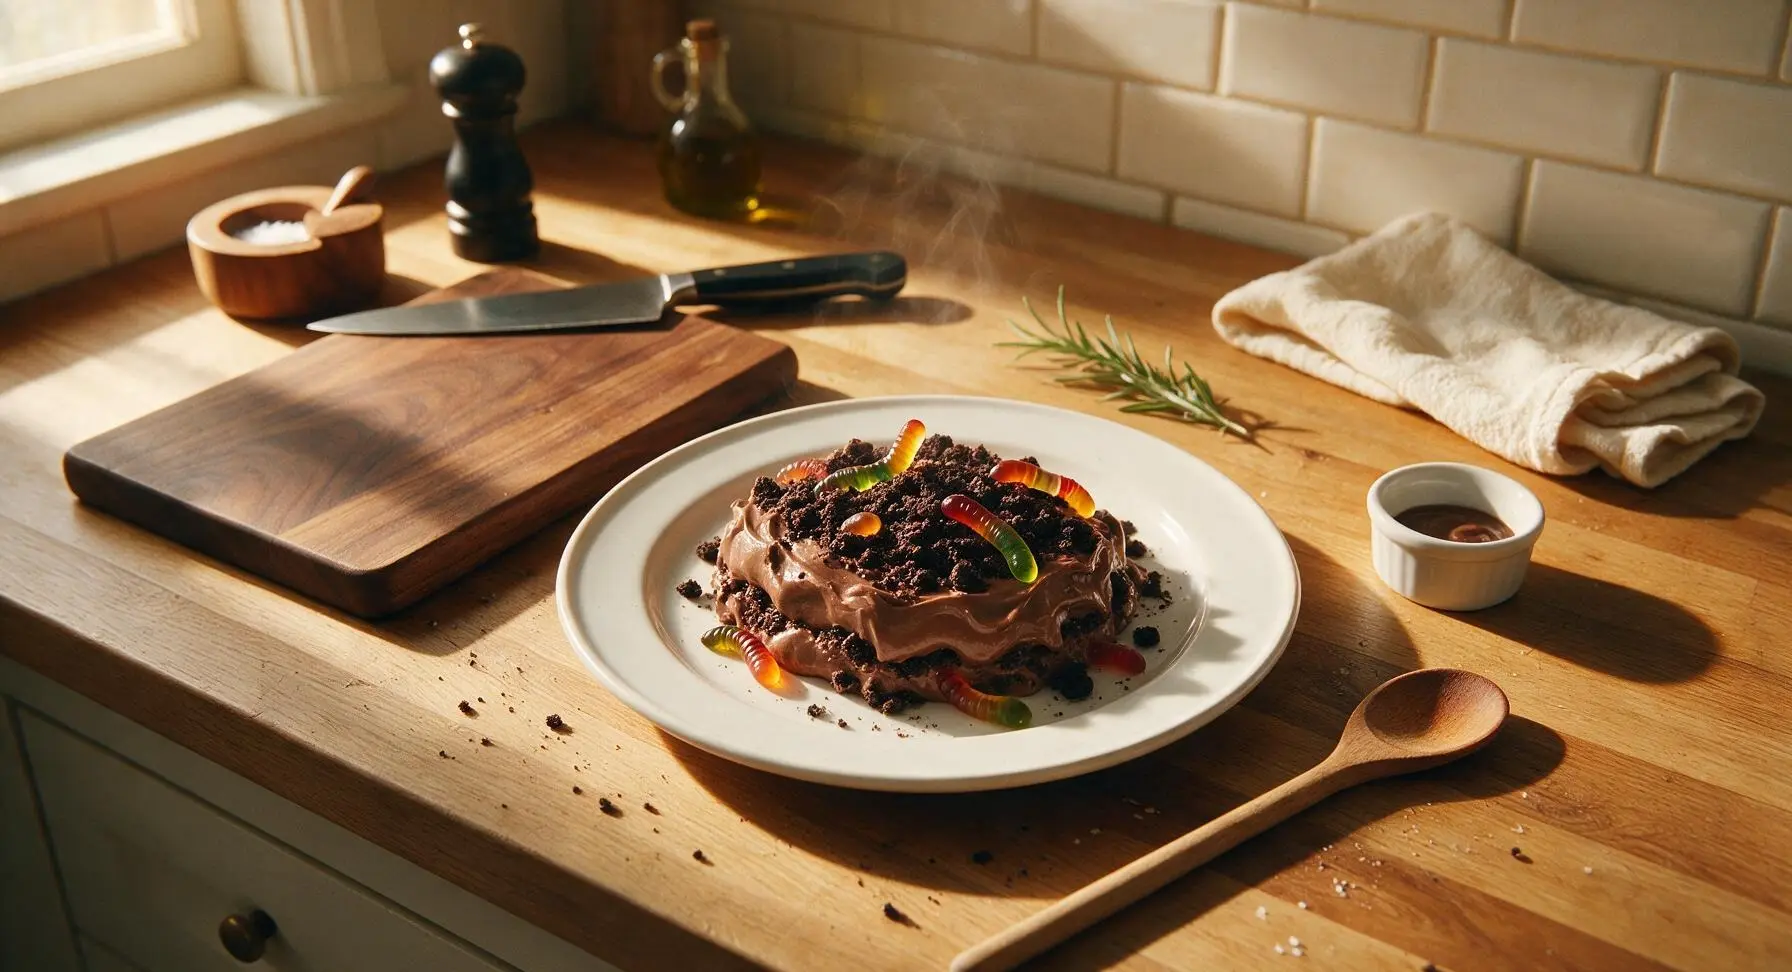
Rich, creamy homemade chocolate pudding layered with crushed chocolate cookie "dirt" and playful gummy worms, a nostalgic, no-fuss no-bake treat perfect for spooky Halloween gatherings.
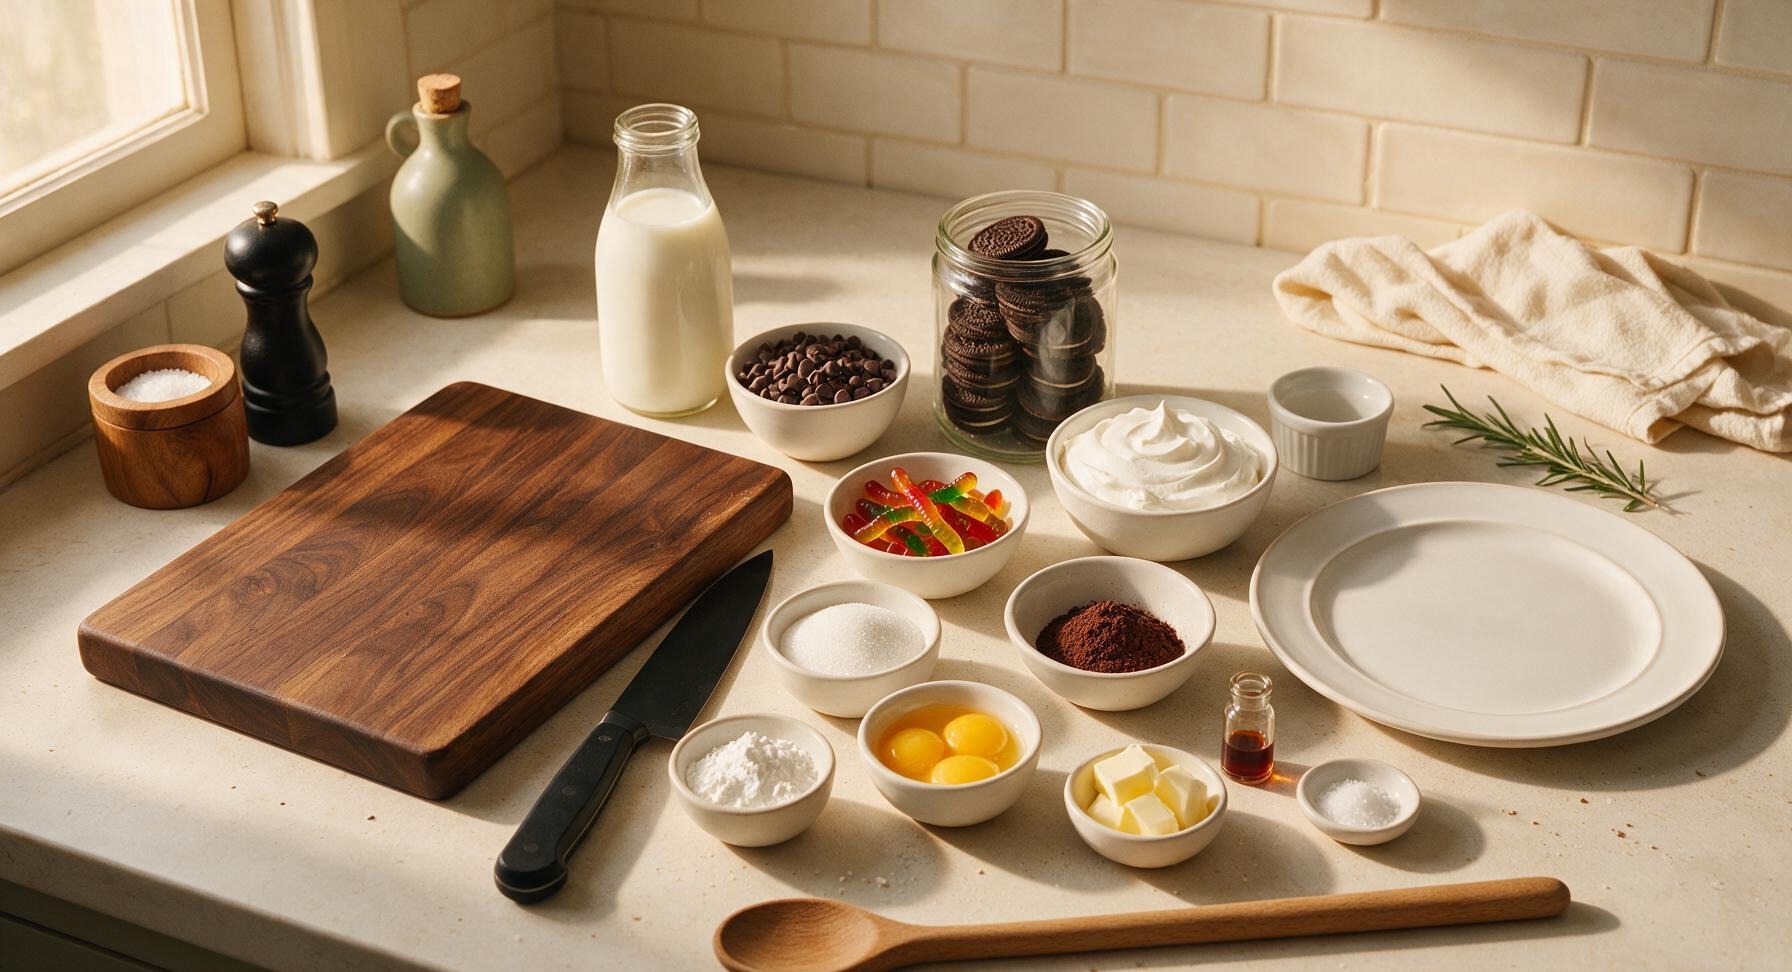
Ingredients
Steps
Crush Chocolate Cookies
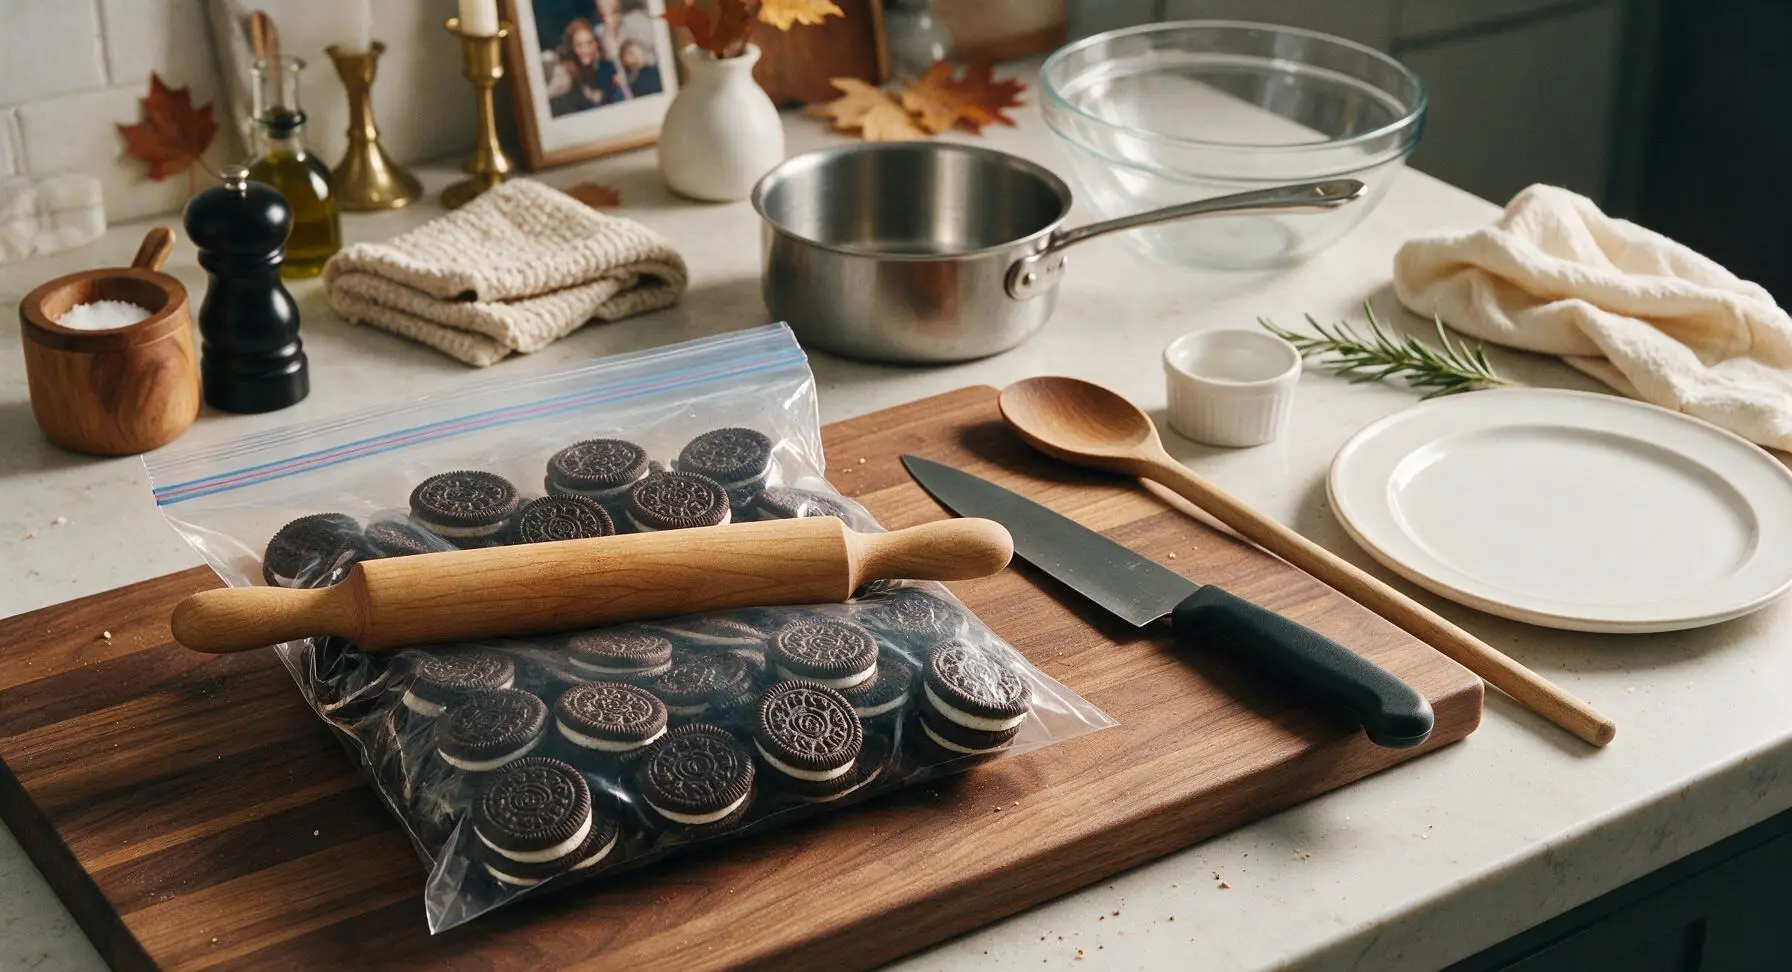
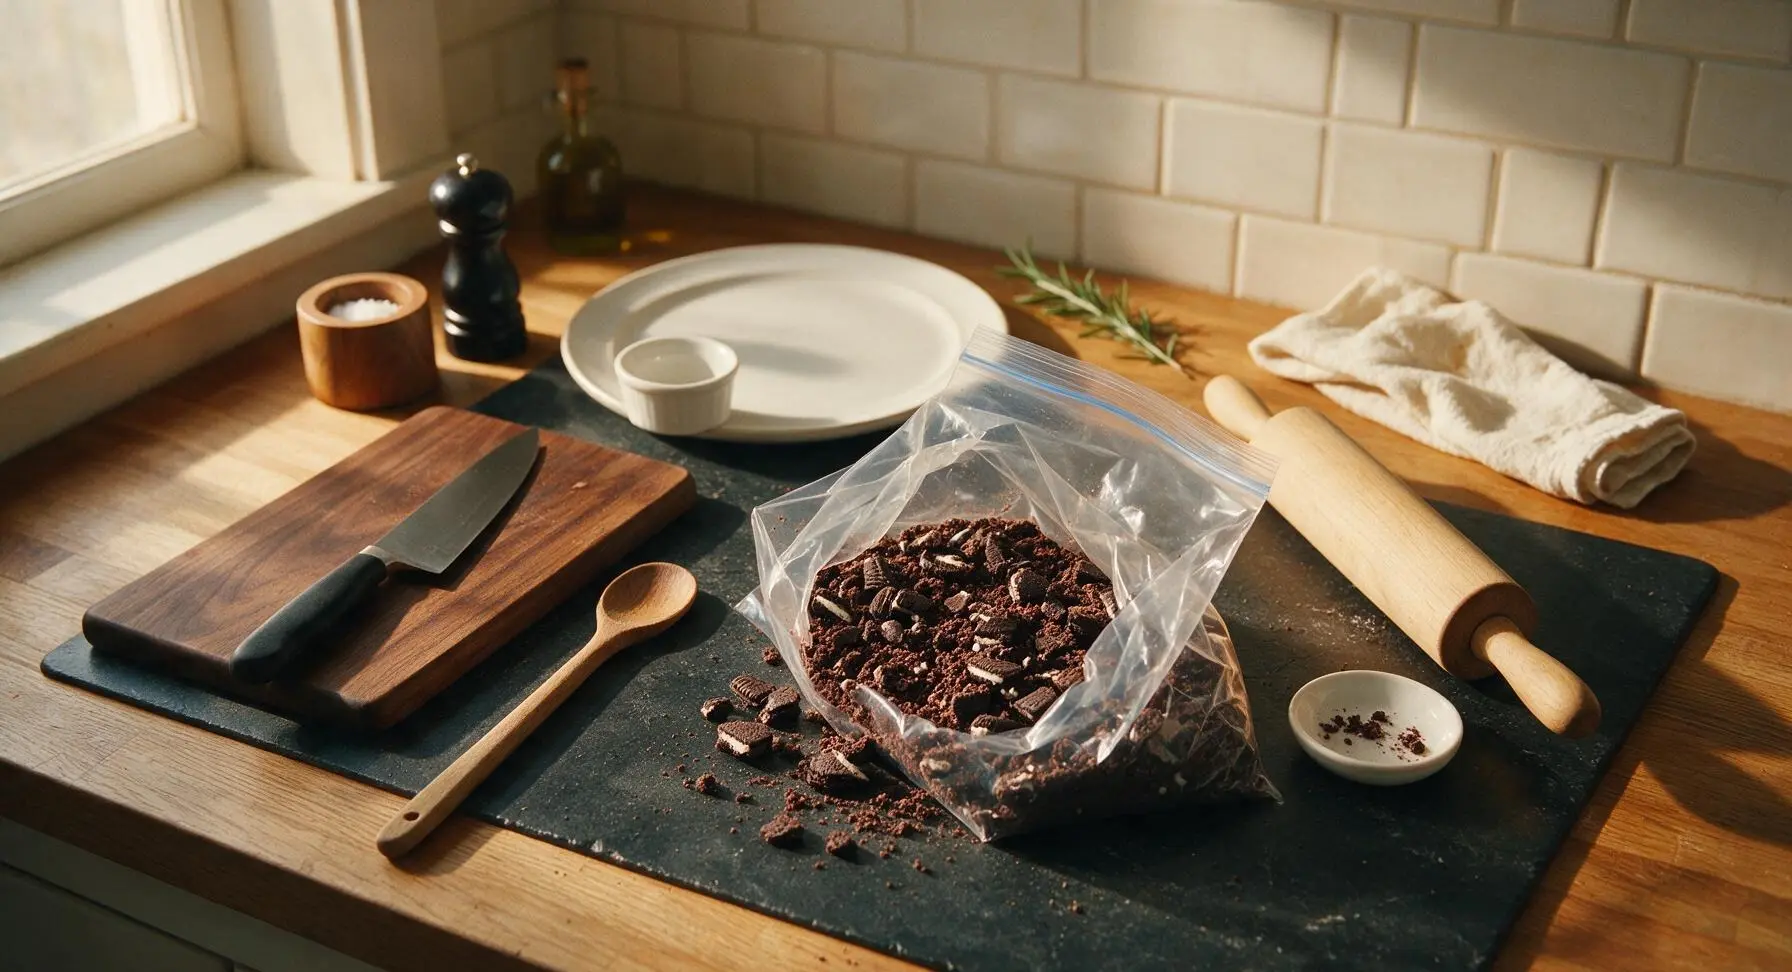
Place 24 whole chocolate sandwich cookies (do not remove the inner cream filling) into the 1-gallon clear resealable bag, press out all excess air, and seal tightly. Use the solid hard maple rolling pin to firmly roll and tap the cookies until they form a textured mix of fine, dust-like crumbs and ¼-inch chunky pieces, ideal for mimicking loose garden dirt. Measure out 2 tablespoons of the coarser crumbs and set them aside in a small dish for final garnish.
Whisk Pudding Base
Set the heavy-bottomed matte stainless steel saucepan on the front-left of the counter. Add ¾ cup granulated sugar, ¼ cup cornstarch, 2 tablespoons unsweetened cocoa powder, and ¼ teaspoon fine sea salt to the pan. Slowly pour in 3 cups of cold whole milk, whisking constantly with the stainless steel wire whisk until all dry ingredients are fully dissolved and the mixture is completely smooth, with no visible cocoa lumps. Turn the stovetop burner to medium-low heat under the pan.
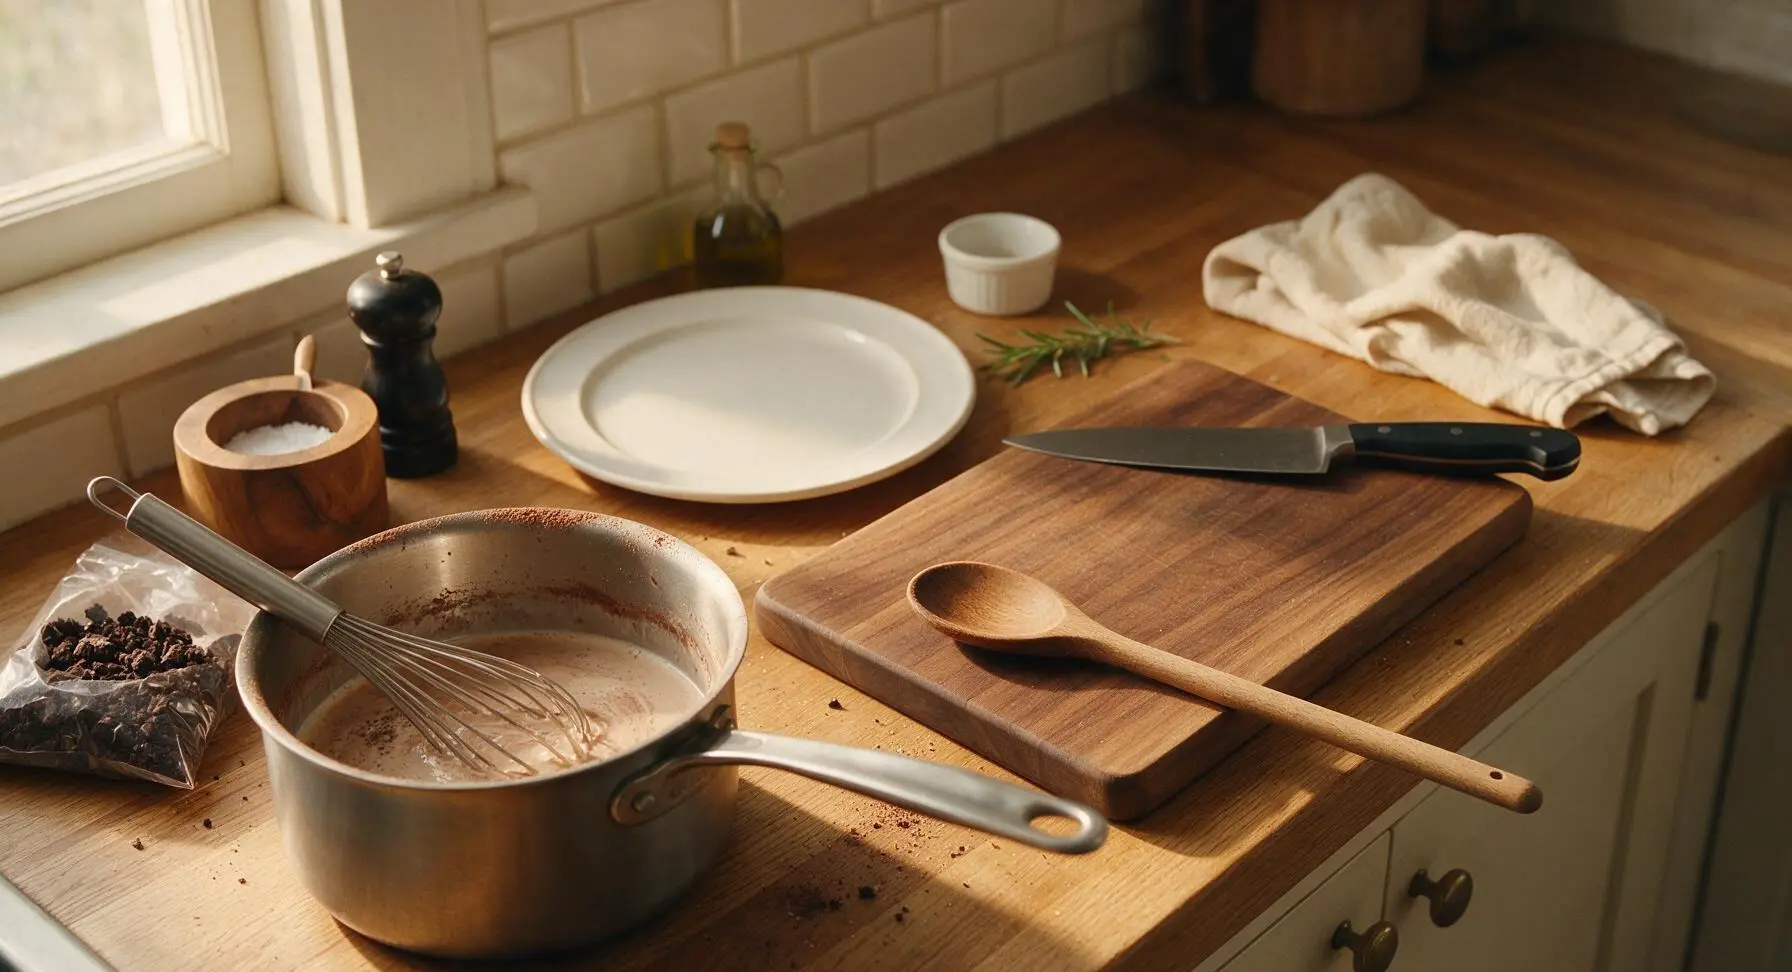
Cook Pudding Until Thick
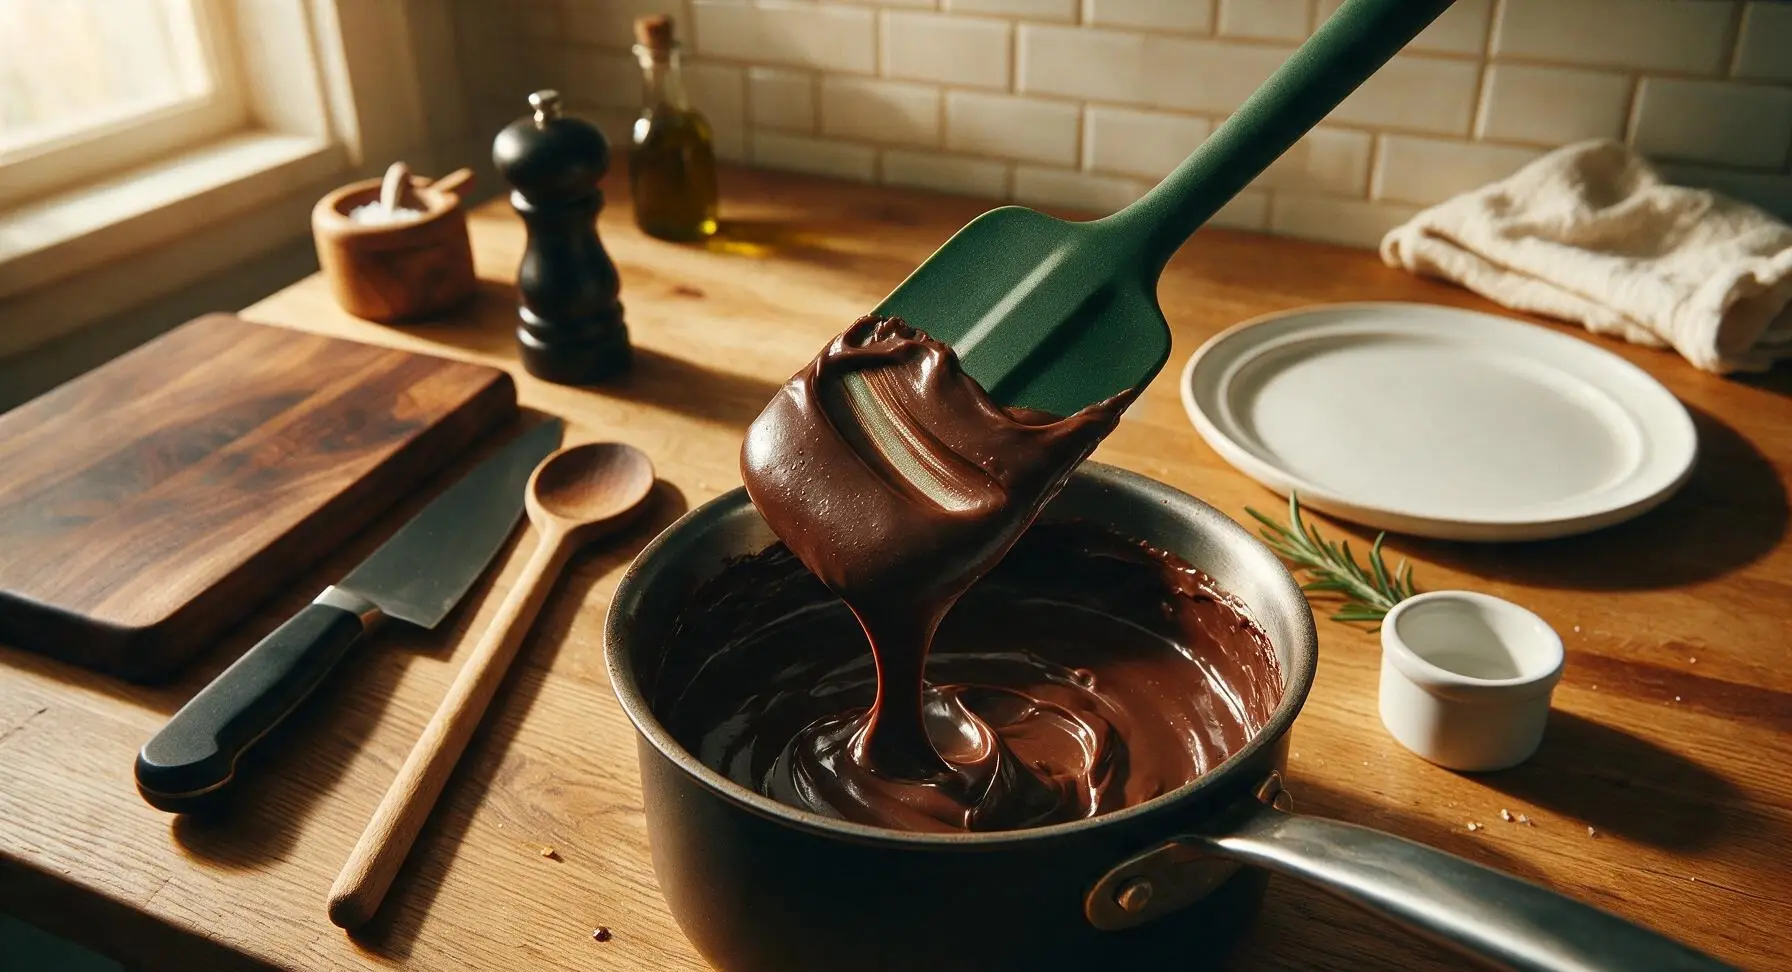
Cook the pudding base over medium-low heat, stirring constantly with the deep forest green silicone spatula and scraping the bottom and corners of the pan to prevent scorching, for 7-9 minutes. The pudding is ready when it thickens to a consistency that thickly coats the spatula, and a line drawn with your finger through the pudding on the spatula leaves a clear, unbroken track that does not run. Immediately remove the pan from heat once this consistency is reached.
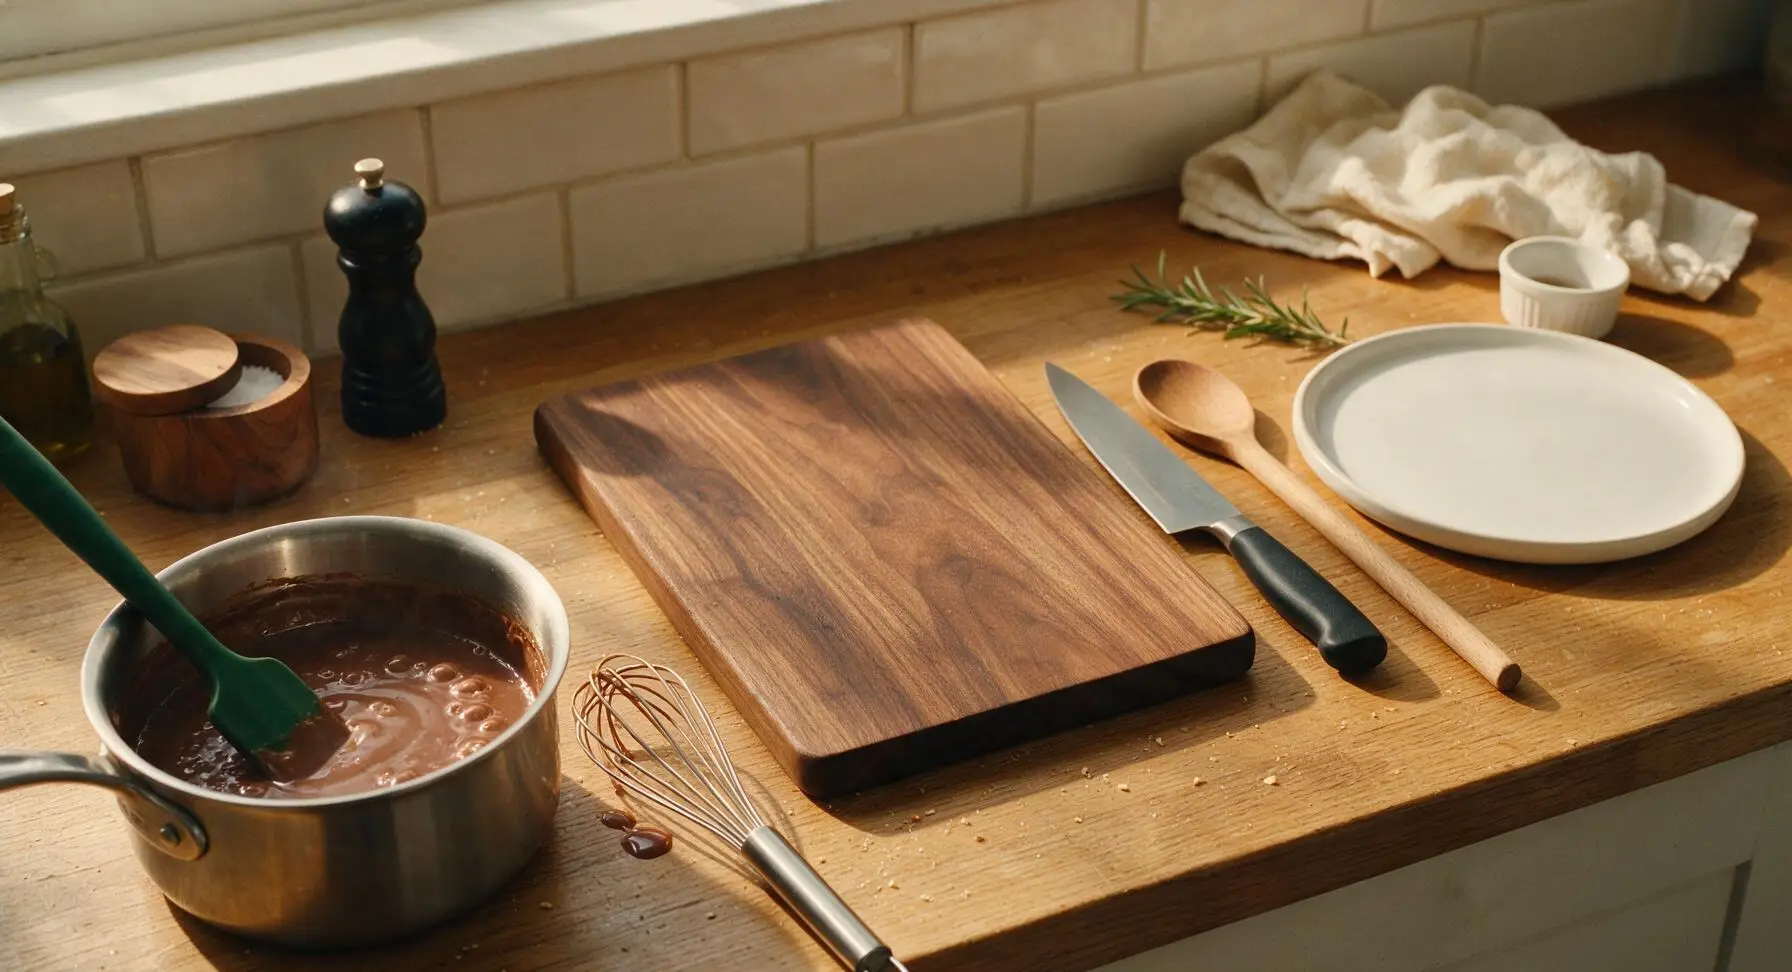
Enrich and Temper Pudding
With the pan off heat, add 1 cup semi-sweet chocolate chips, 2 tablespoons cubed unsalted butter, and 1 teaspoon pure vanilla extract to the hot pudding, stirring with the silicone spatula until all chocolate and butter are fully melted and the pudding is glossy and smooth. In a small bowl, lightly beat the 4 egg yolks. Slowly pour ½ cup of the hot pudding into the yolks while whisking constantly to temper them (this prevents curdling from sudden heat), then stir the warmed yolk mixture back into the saucepan of pudding, mixing until fully combined. Let the pudding cool to room temperature (about 70°F/21°C) for 20 minutes, stirring every 5 minutes to prevent a thick skin from forming on the surface.
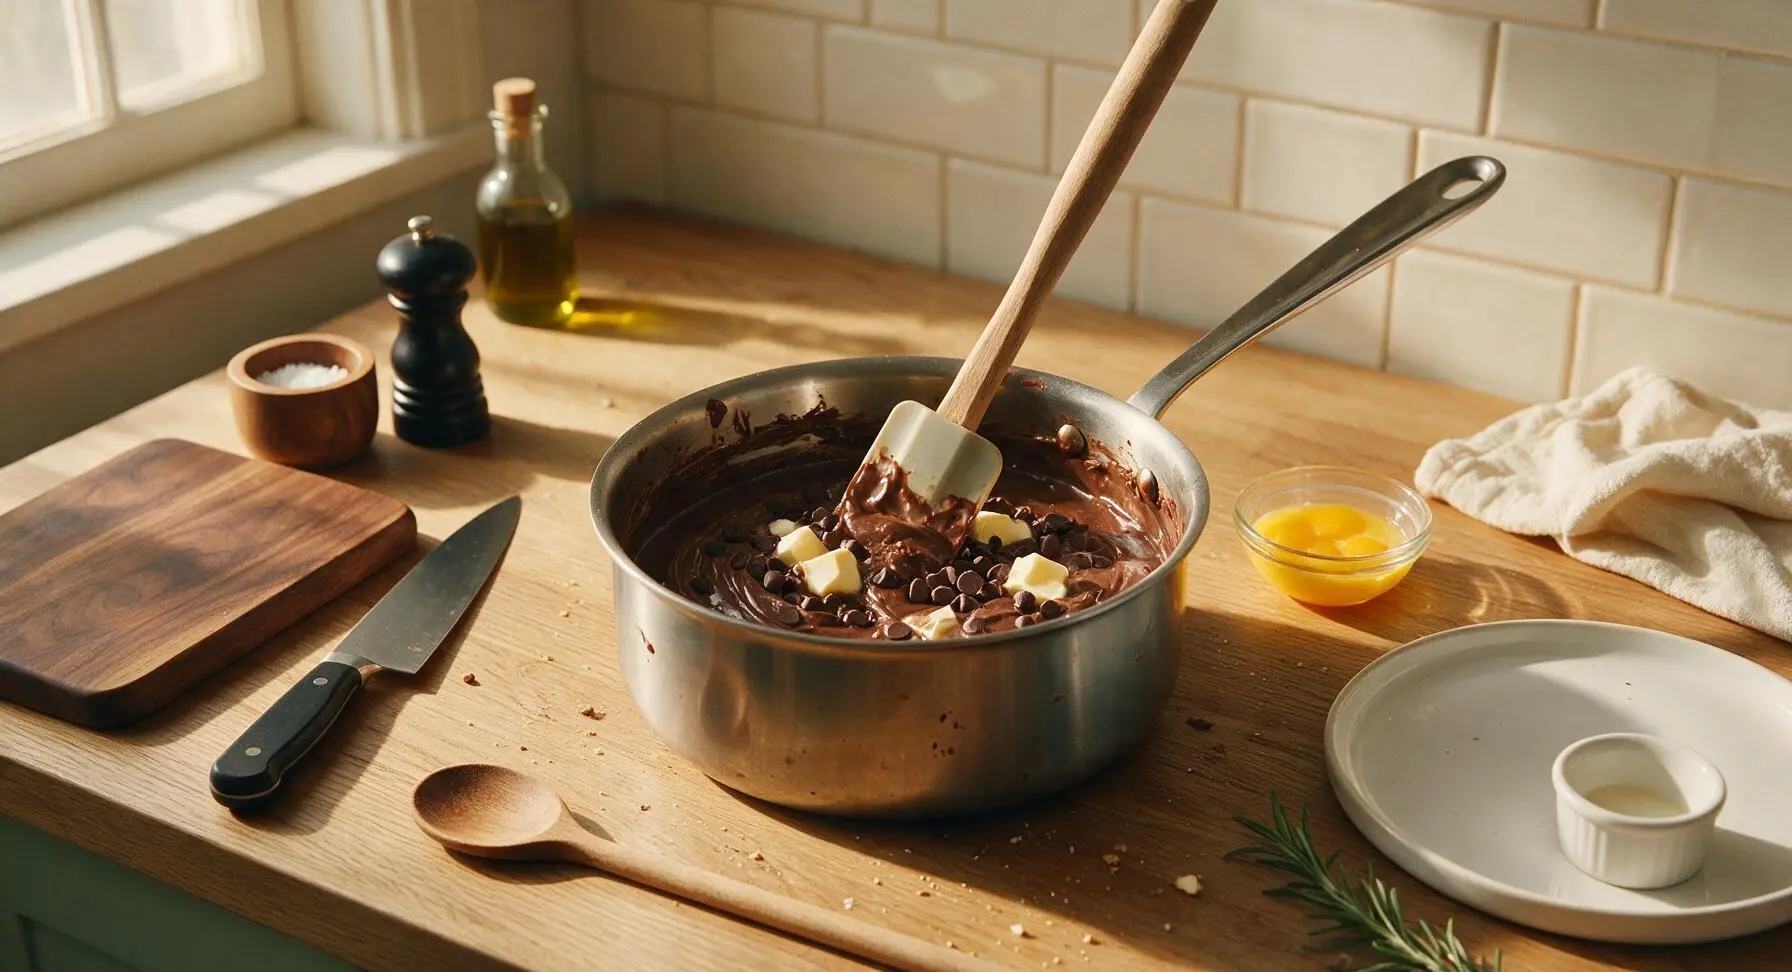
Fold Cream and Layer
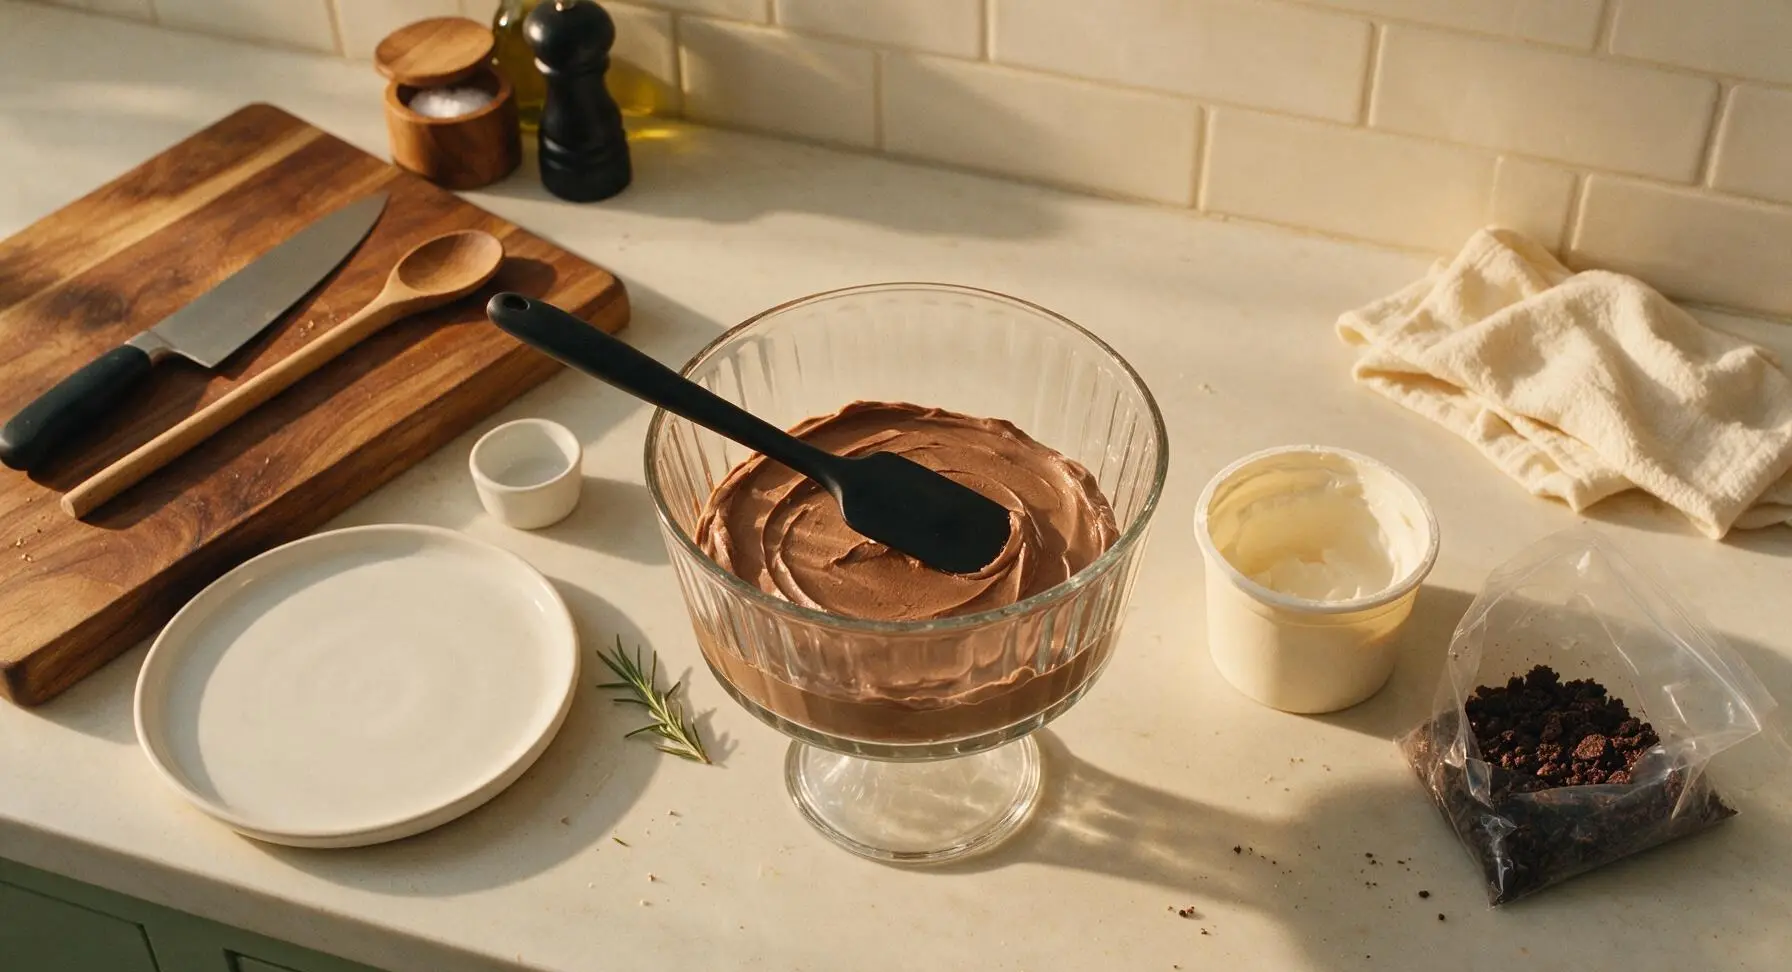
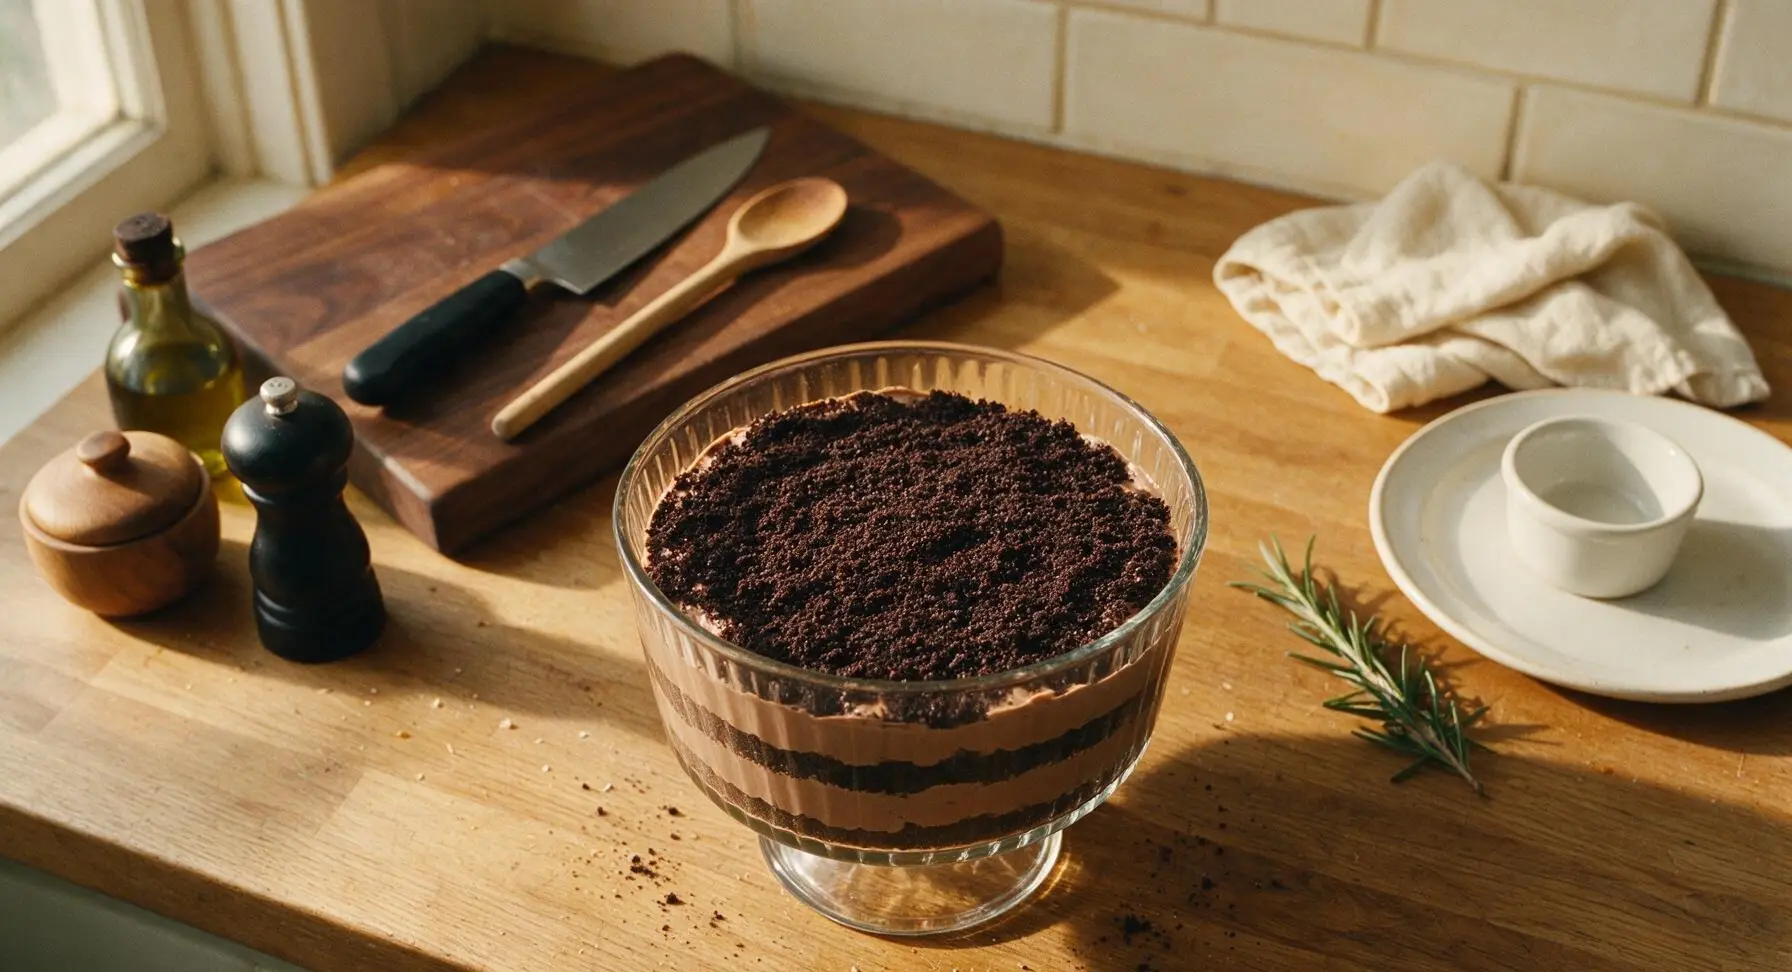
Once the pudding is fully cooled to room temperature, gently fold in 2 cups of the thawed whipped topping with the silicone spatula, taking care not to deflate the cream, until the pudding is lightened to a smooth, mousse-like texture. Spoon ⅓ of the pudding mixture into the bottom of the clear ribbed glass trifle dish, spreading it into an even, flat layer. Top the pudding with ¼ of the crushed cookie crumbs, spreading the crumbs evenly to cover the pudding completely. Repeat this layering sequence two more times, using the last ¼ of the crumbs to form a thick, even top "dirt" layer that covers all visible pudding.
Add Garnishes and Chill
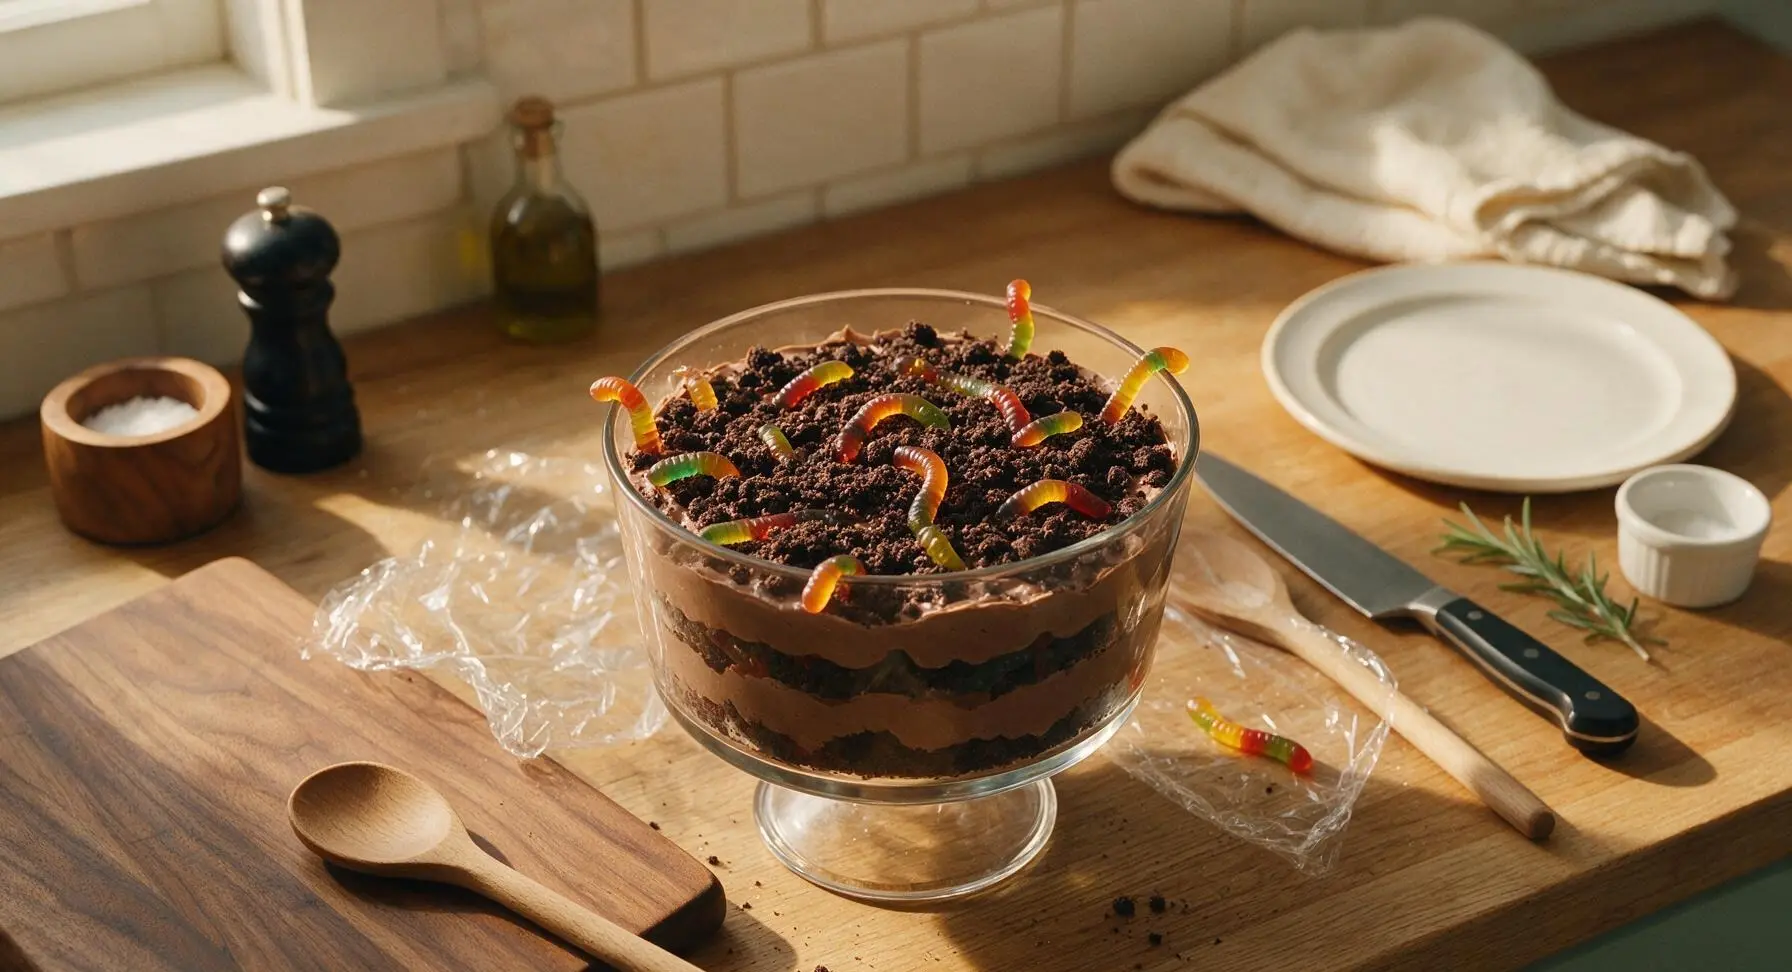
Tuck the gummy worms half-way into the top crumb layer, spacing them evenly across the surface and leaving 1-2 inches of each worm curling above the "dirt" for a playful, creepy-crawly Halloween effect. Scatter the reserved coarse cookie crumbs across the top for extra texture. Loosely cover the trifle dish with plastic wrap and transfer it to the refrigerator to chill for a minimum of 4 hours (or up to 24 hours) until the pudding is fully set and the crumbs have softened slightly into the pudding layers.
Tips
2.Always temper egg yolks before adding them to hot pudding: pouring cold yolks directly into hot liquid will cause them to curdle into small, grainy lumps that ruin the pudding’s silky smooth texture.
3.Resist the urge to serve the pudding before it chills for the full 4 hours: under-chilled pudding will be runny, causing the cookie crumb layers to turn soggy quickly instead of holding their distinct, structured layers.






OMG this was such a hit at my son’s 3rd grade class party! I added extra gummy worms on top and every single kid begged for seconds. So easy to throw together too, I didn’t even break a sweat prepping it between school drop off and the party. Total game changer for last minute class treats!
Made this for our weekly family dinner last night and my picky eaters ate every last bite! The only thing I did different was use dark chocolate pudding instead of milk chocolate because that’s what I had in the pantry, still turned out chef’s kiss. Will 100% be adding this to our regular rotation.
Brought this to our neighborhood block party potluck this weekend and people were scraping the pan clean before I even got a second serving! Super quick to make, no baking required which is perfect for 90 degree summer days here when you don’t want to turn the oven on. 10/10
I am notoriously terrible at baking (I once burned boxed brownies, no joke) and this came out perfectly first try! 10 minutes of prep, no fancy ingredients, and my roommates are convinced I’m a secret dessert genius now. Thank you for this easy, foolproof recipe!
Wait, has anyone tried making this with Oreo thins instead of regular Oreos for the dirt layer? I have a pack in my cabinet and don’t want to run to the store if it works!
I remember making dirt pudding for my kids when they were little, and I made this version for my grandkids this weekend. It tastes exactly like the recipe I used to make 30 years ago! Simple, chocolatey, fun with the gummy worms. Pure nostalgia in a bowl.
I made a slightly lighter version with Greek yogurt mixed into the pudding and low-sugar Oreos for my post-book club snack, and even the friends who swear they hate ‘healthy swaps’ loved it! Still tastes indulgent without making you feel sluggish after a bowl.
Made this for taco night with my partner and it was the perfect sweet end to a spicy meal! I may have gone a little overboard with the gummy worms but honestly, more is more when it comes to dirt pudding, right?
Wait a second, does this hold up well in the fridge for meal prep? I want to make individual cups for my kids’ school lunches all week but don’t want the cookie crumbs to get soggy after a day or two.
SO good. I added a layer of hot fudge between the pudding and cookie layers and I swear I could eat the entire pan in one sitting. No regrets. This recipe is so easy to customize too which I love.
Quick question — when they say ‘dirt’ is that just crushed Oreos? I’m a total beginner cook and don’t want to mess this up for my first date night in with my girlfriend.
I swapped the regular pudding for vegan chocolate pudding, used dairy-free cream cheese, and gluten-free chocolate cookies for my friend group with dietary restrictions, and no one could tell it was allergy-friendly! Such a versatile base recipe, love it.
Made individual servings in clear plastic cups for our college football tailgate last Saturday, and they were the most popular item at our tent. Easy to carry, no utensils needed if you put a little spoon in each cup, and everyone was raving. Will be making these for every tailgate this season!
Wait, is it normal for the cream cheese layer to be a little lumpy if I don’t let the cream cheese soften all the way? I was in a rush and mine has little lumps but it still tastes good, just curious if I messed up.
I made this as the ‘dirt cake’ for my son’s construction themed birthday party, added little toy construction trucks on top and candy rocks, and the parents were all asking me for the recipe! It looked so on theme and tasted amazing.
I made this at 10pm last night when I had a massive chocolate craving, and it hit so hard. 10 minute cook time is no joke, I was eating a bowl 12 minutes after I decided I wanted a snack. No notes, 10/10.
This was really good, but a little too sweet for my taste. Next time I’ll cut the powdered sugar a bit in the cream cheese layer to balance it out, but otherwise the texture was perfect and super easy to make.
Made this for our rainy Sunday movie night with extra chocolate shavings on top, and it was the coziest treat ever. We ate it straight out of the big serving bowl while watching old cartoons, no fancy plates needed. Perfect low-effort comfort food.
Made this with my girl scout troop last week for their cooking badge, and it was the perfect recipe for 8-10 year olds to help with. No hot stoves, easy steps they could do mostly on their own, and they were so proud of the dessert they made. Huge hit!
I signed up to bring dessert to my office potluck tomorrow and I’m so glad I picked this recipe! I did a test run tonight and it is SO good, I already know my coworkers are going to lose their minds over it. So quick to throw together after work too, no stress.