
Chocolate Fudge
intro
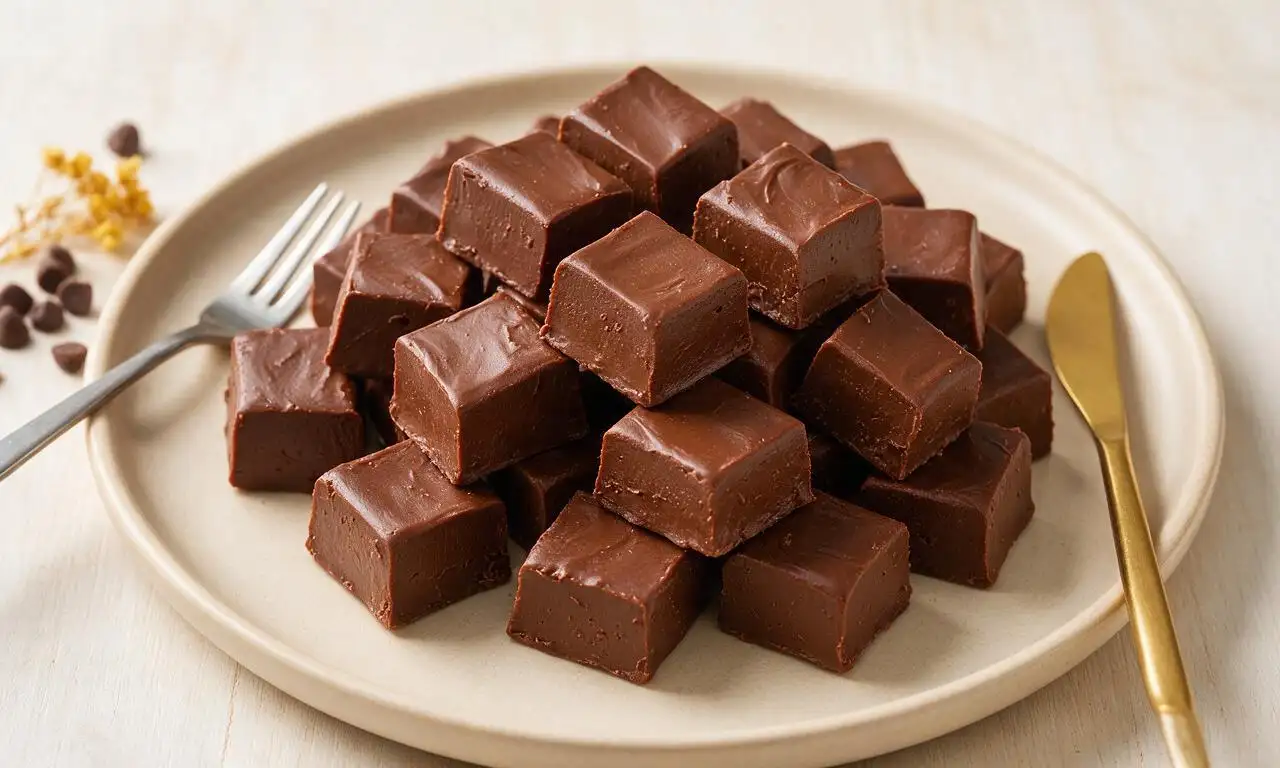
Velvety, melt-in-your-mouth chocolate fudge made without a candy thermometer, with deep chocolate flavor and a perfectly smooth, creamy texture ideal for gifting and sharing.
Ingredients
Steps
Prep the baking pan
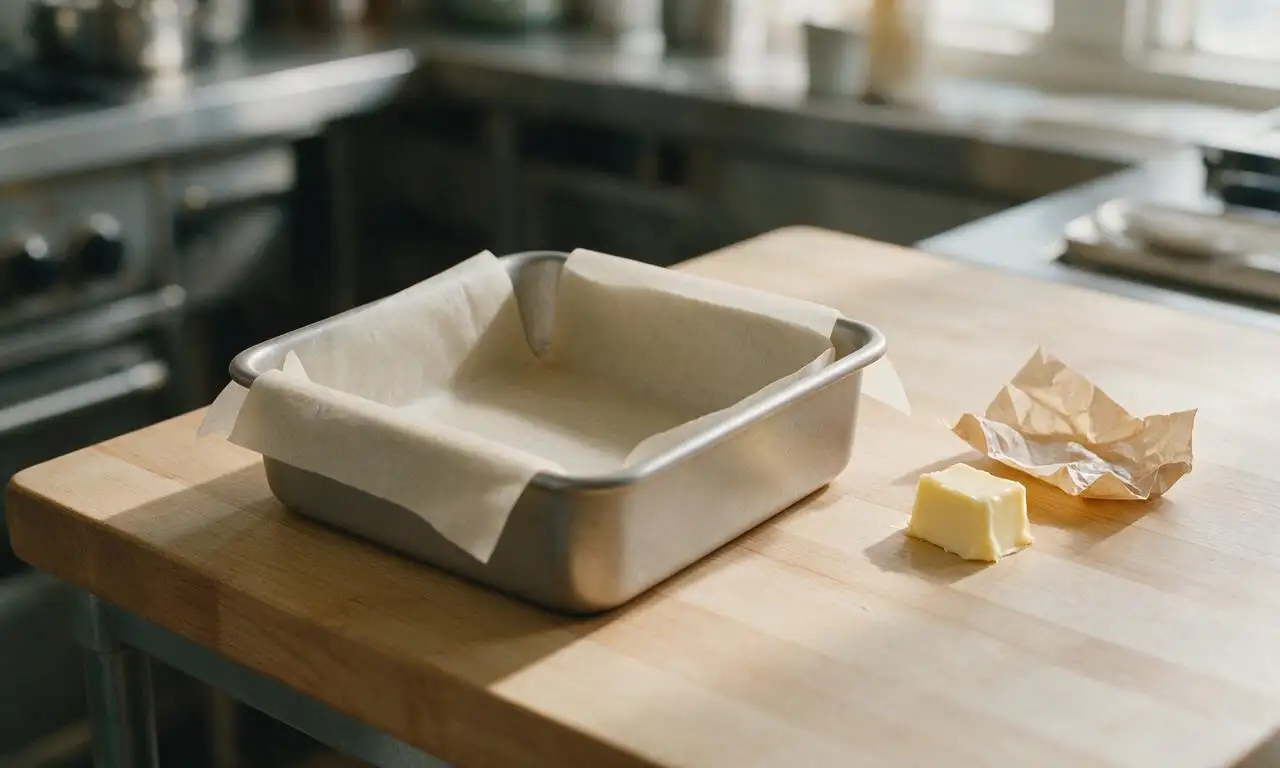
Line a 20x20cm (8x8 inch) square baking pan with parchment paper, leaving 5cm (2-inch) overhangs on two opposite sides to use as lift handles later. Use 7g (0.5 tablespoon) of the softened unsalted butter to lightly grease the exposed parchment to prevent sticking, then set the prepared pan aside at room temperature.
Combine base ingredients
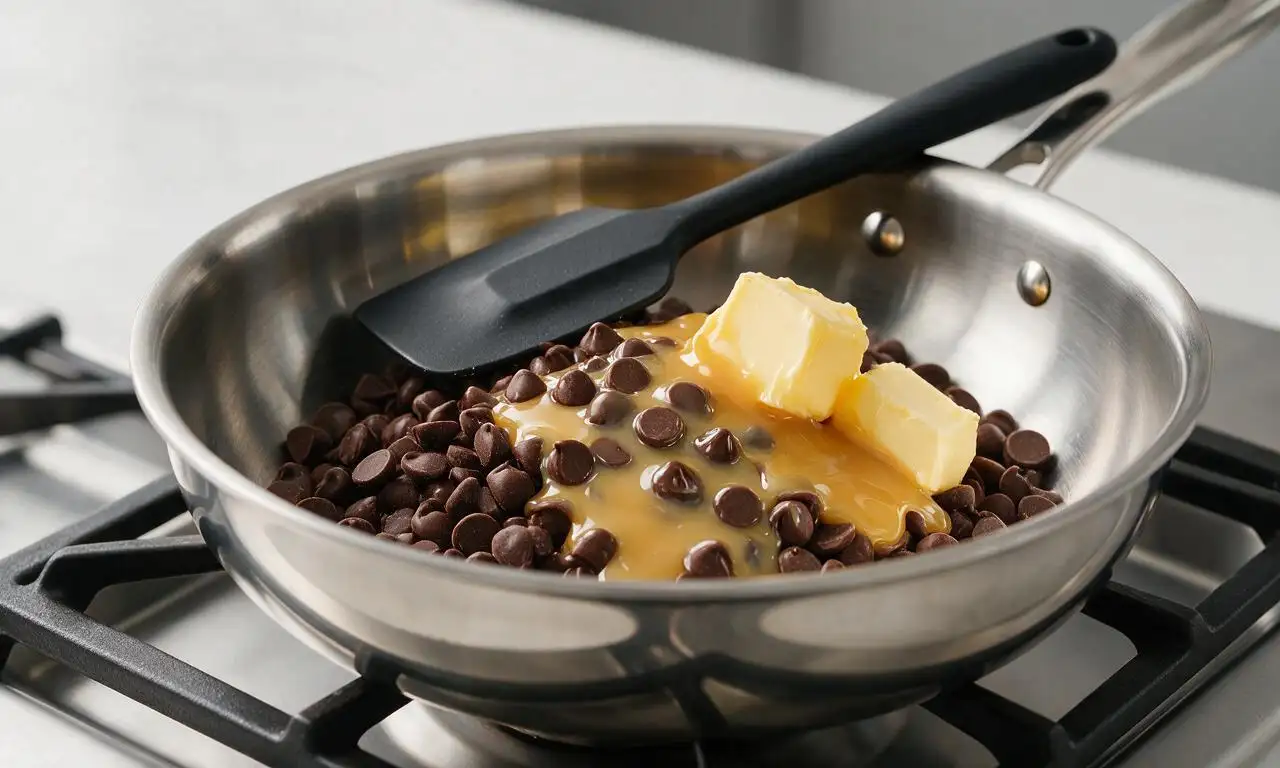
Add the 340g semi-sweet chocolate chips, 397g sweetened condensed milk, and remaining 50g (3.5 tablespoons) unsalted butter to a medium heavy-bottomed saucepan. Stir once gently with a heatproof spatula to loosely combine the ingredients before placing the pan on the stovetop.
Melt over low heat
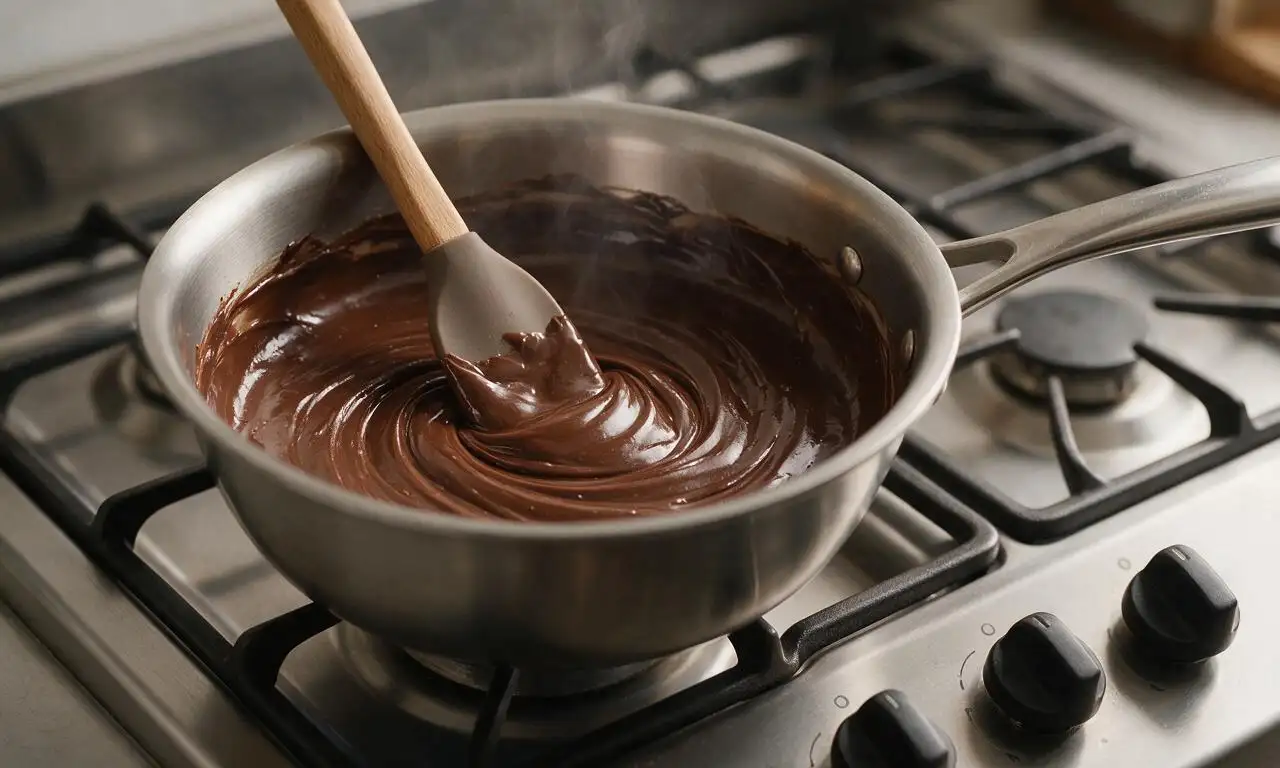
Heat the saucepan over the lowest stovetop heat setting, stirring constantly with the silicone spatula for 5 to 7 minutes, scraping the bottom and sides of the pan regularly to prevent scorching. Stop heating once the chocolate and butter are fully melted, and the mixture forms a completely smooth, glossy, thick batter with no visible lumps. Never raise the heat to speed up melting, as this will burn the chocolate.
Mix in flavorings
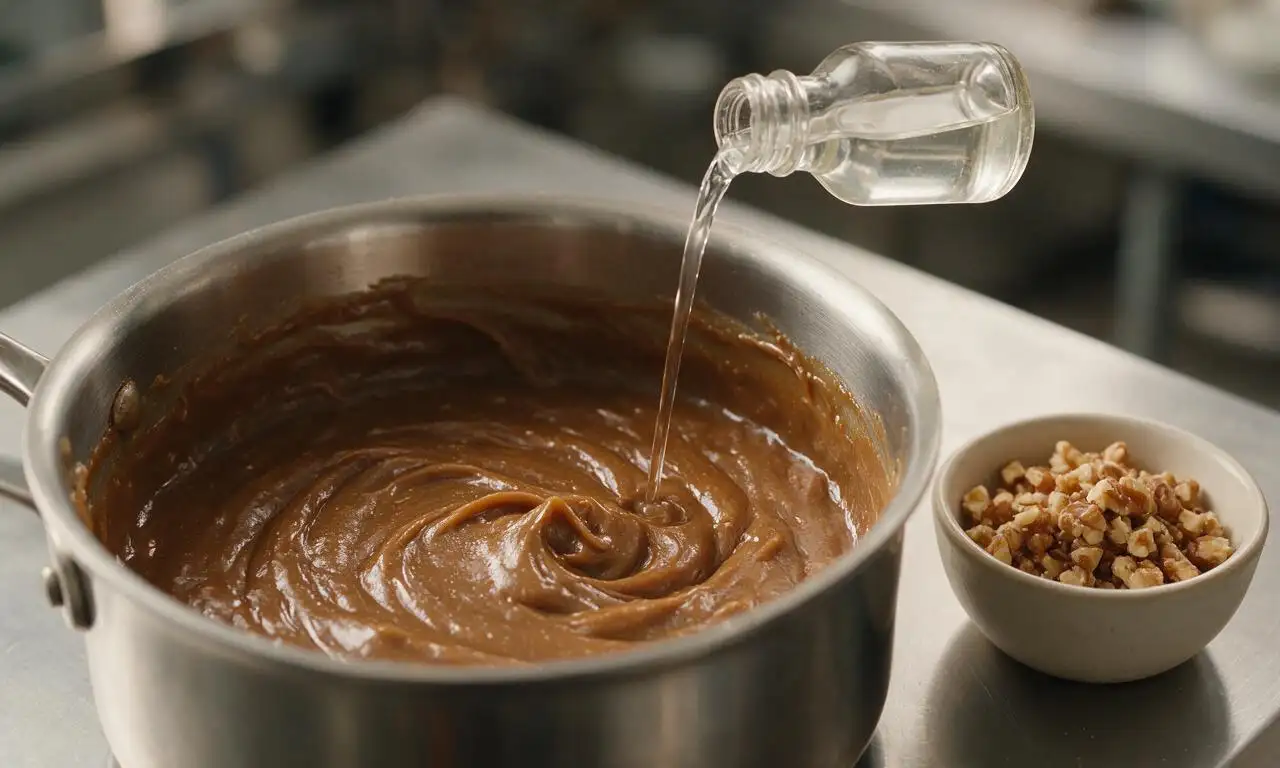
Remove the saucepan from heat immediately once the batter is smooth. Add the 5ml (1 teaspoon) pure vanilla extract and 1g (1/4 teaspoon) fine sea salt, stirring continuously for 30 seconds to fully incorporate the ingredients. If using toasted chopped walnuts, fold them into the batter now until evenly distributed.
Spread batter in pan
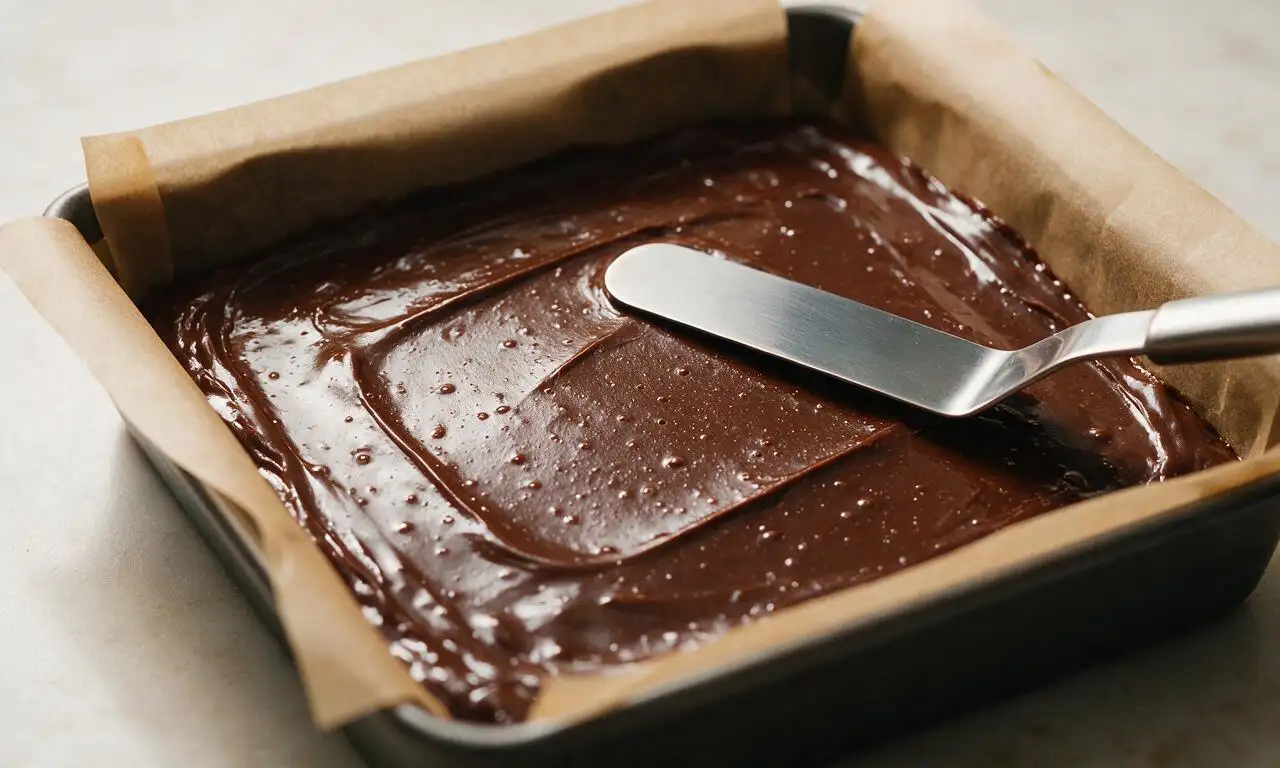
Immediately pour the warm fudge batter into the prepared parchment-lined pan. Use a small offset spatula to spread the batter into a uniform, flat layer across the entire pan, then tap the pan firmly on the countertop 3 to 4 times to release any trapped air bubbles that would cause holes in the set fudge.
Chill to fully set
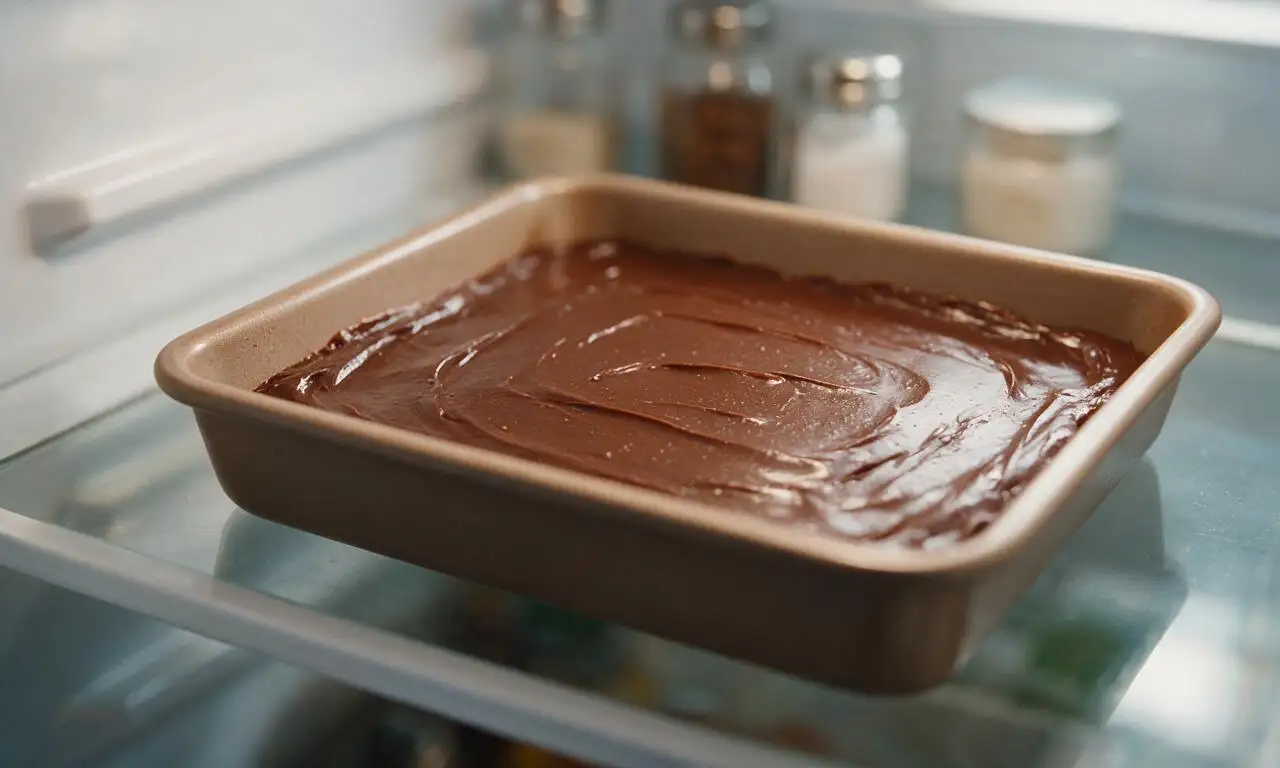
Place the uncovered pan on a level refrigerator shelf for a minimum of 2 hours, until the fudge is completely firm to the touch and does not leave an indent when pressed lightly with a clean fingertip. Do not place the fudge in the freezer to speed setting, as this will cause a grainy, crumbly texture.
Cut and store fudge
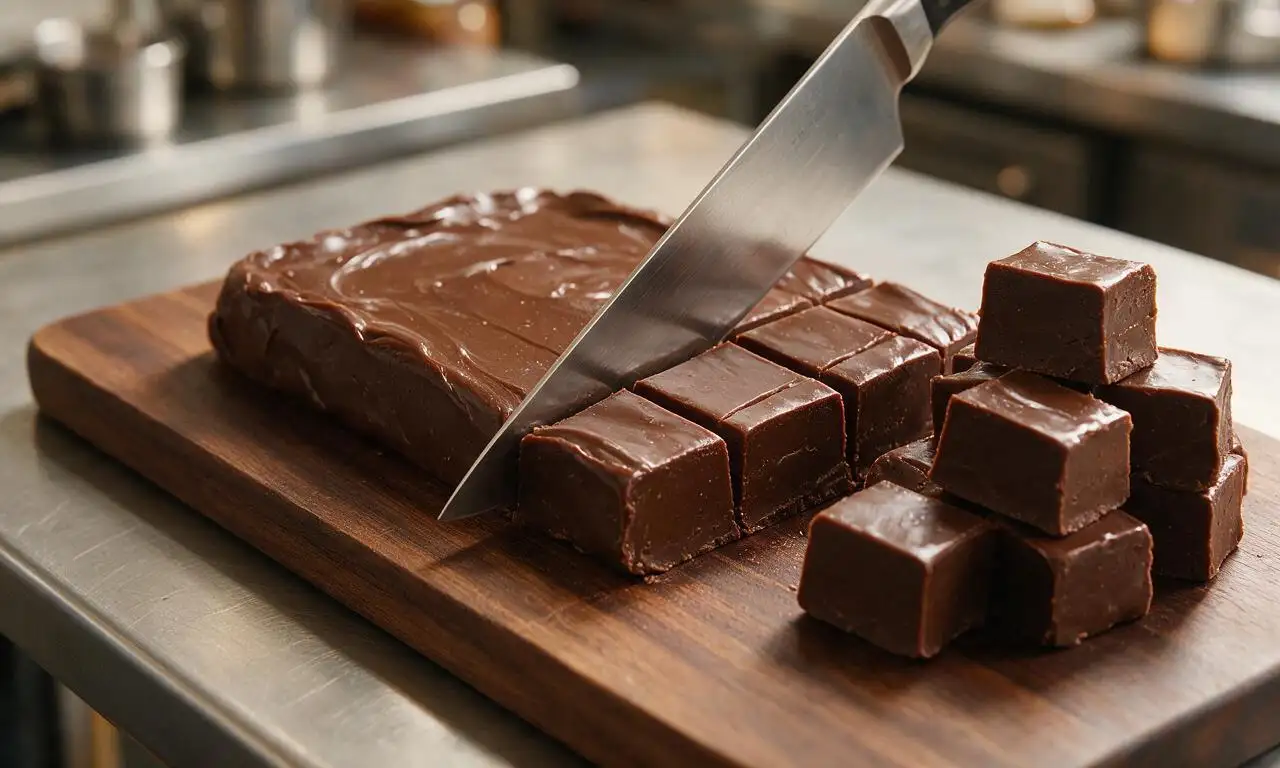
Lift the fully set fudge out of the pan using the parchment paper overhangs, and transfer it to a wooden cutting board. Peel the parchment away from the fudge edges, then use a sharp knife heated under hot running water and dried to cut the block into 16 equal 5cm (2-inch) squares, wiping the knife blade clean between each cut for sharp, clean edges.
Tips
2.Store cut fudge in an airtight container between sheets of parchment paper to prevent sticking; it will keep for up to 2 weeks in the refrigerator, or 1 week at cool room temperature (below 20°C/68°F).
3.Customize your fudge by swapping walnuts for crushed peppermint candies, mini marshmallows, dried cranberries, or crushed pretzels to match your favorite flavor combinations.






OMG this fudge is SO good! I’ve always been scared to make fudge because I thought you needed a fancy candy thermometer and perfect timing, but this was totally foolproof. Brought it to my neighborhood potluck last weekend and people were begging for the recipe before I even left. 10/10 will make again for Christmas cookie plates this year!
Super easy to throw together with my 8 year old after school yesterday. We added a handful of crushed pretzels on top for that sweet-salty kick and *chef’s kiss*. My kids loved it so much they hid half the pan from me, rude but fair.
Meal prepped a batch of this to keep in the break room at work and it was gone by 10am on Monday. No thermometer needed meant I didn’t have to stress about it after a long Sunday of running errands. Creamy, not grainy at all, way better than the store bought fudge from the grocery store down the street.
Made this for our recent camping trip snack stash and it held up perfectly in the cooler! Rich, chocolatey, didn’t get all melty and messy like I worried it would. Only note is I used dark chocolate chips instead of milk because that’s what I had on hand and it was still amazing.
Wait, quick question — can I make this with dairy free chocolate chips and oat milk instead of the regular condensed milk? My daughter has a dairy allergy and I’ve been hunting for a fudge recipe she can actually eat!
Game changer. I’ve messed up so many fudge recipes over the years that turn grainy or never set right, and this one worked perfectly on the first try. Brought it to my church potluck and everyone thought I bought it from a fancy candy shop.
How long does this stay good in the fridge? I want to make a couple batches ahead for my son’s birthday party next weekend and don’t want it to go bad before then!
Made this in my dorm room mini fridge lmao, no fancy equipment needed at all. Used the cheap store brand chocolate chips and it still slapped. My roommates ate half the pan before it was even done chilling tbh.
This is so rich and creamy, I was shocked how easy it was! I added a sprinkle of sea salt on top right before chilling and it took it to a whole new level. Only tiny issue was mine took a little longer than 2 hours to fully set, but that’s probably because my fridge is stuffed full of Thanksgiving leftovers right now.
Wait, has anyone tried adding mix-ins to this? I’m thinking crushed peppermint for a Christmas version, but I don’t want to mess up the texture by adding too much stuff.
Made this for my daughter’s soccer team snack after their game Saturday and the girls went wild for it. So much easier than baking cookies, and I didn’t have to turn my oven on when it was 80 degrees out! 10/10, will be in my regular snack rotation from now on.
Help! I made this last night and it’s still super soft after 3 hours in the fridge, did I do something wrong? It tastes amazing, but it’s way too gooey to cut into squares like the photos show.
Game changer alert! Swirled 1/3 cup of melted peanut butter into the top of the fudge right before I stuck it in the fridge and it is INSANE. Tastes like those fancy peanut butter chocolate cups you get at the candy store, but I made it in my own kitchen for like $3 worth of ingredients.