
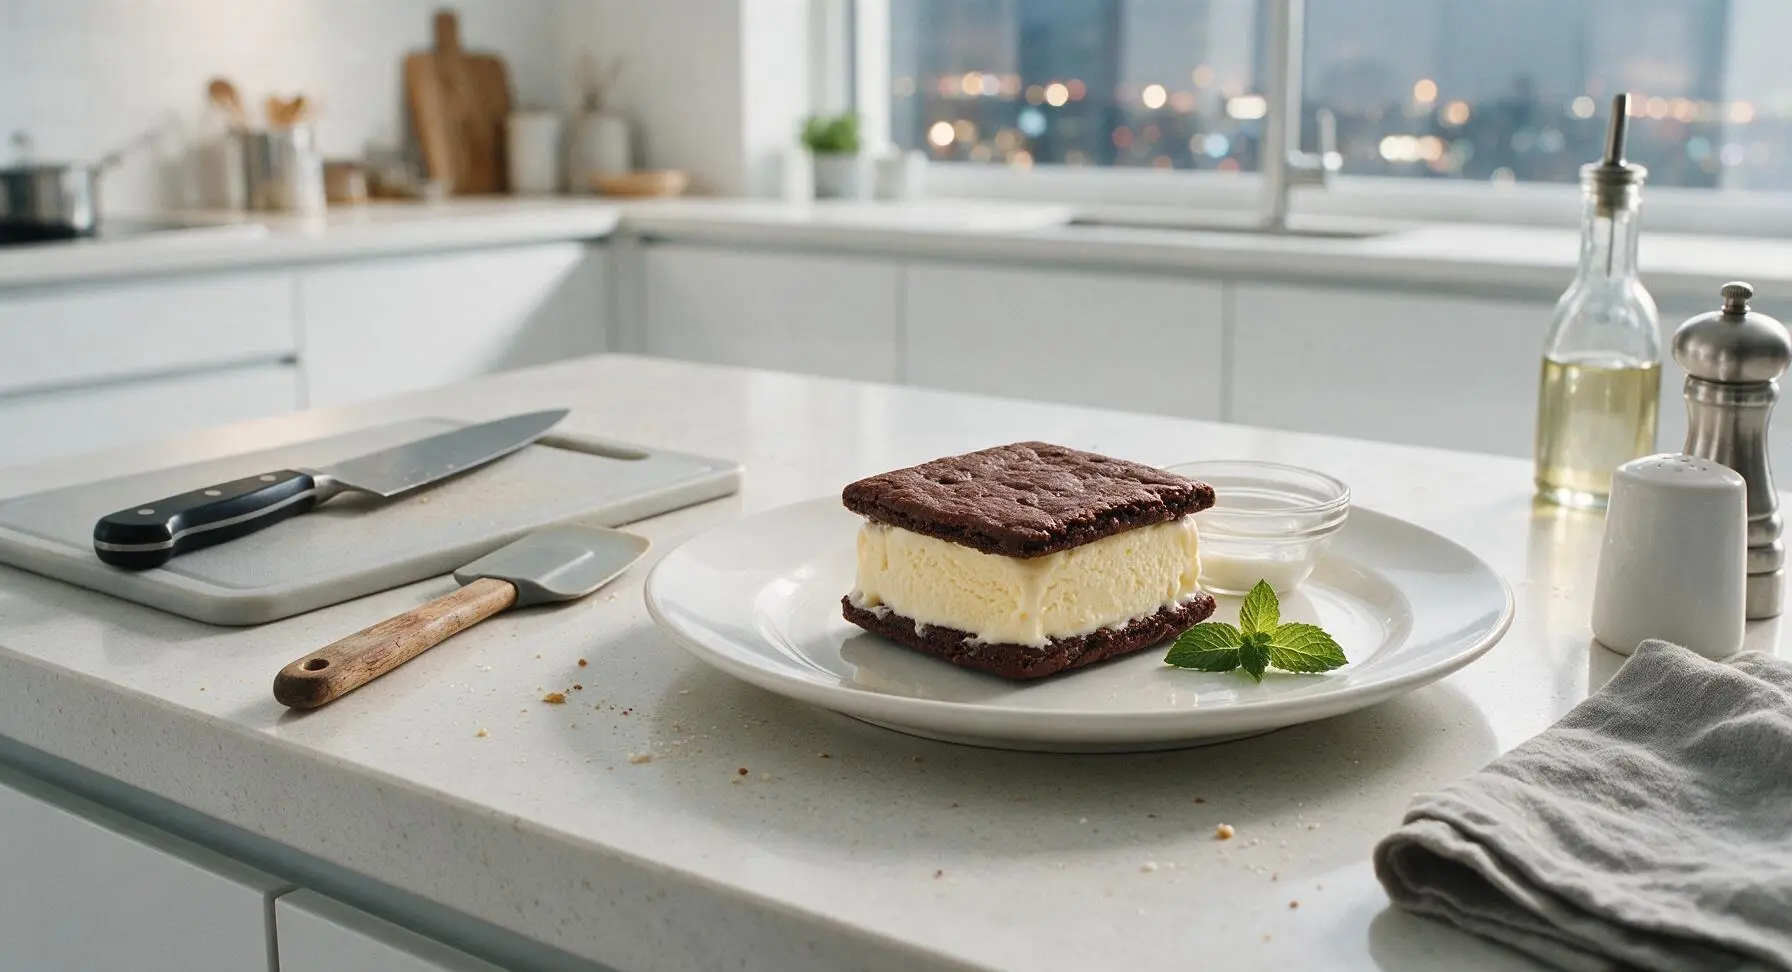
chocolate ice cream sandwich

title 1
chocolate ice cream sandwich
⏱️ cook time 24 minutes
🍽️ servings 8
⚡ Difficulty easy

intro

Crisp, fudgy chocolate wafers sandwiching creamy vanilla ice cream, this nostalgic frozen handheld treat is perfectly portable, sweet, and made for hot summer days.

Ingredients
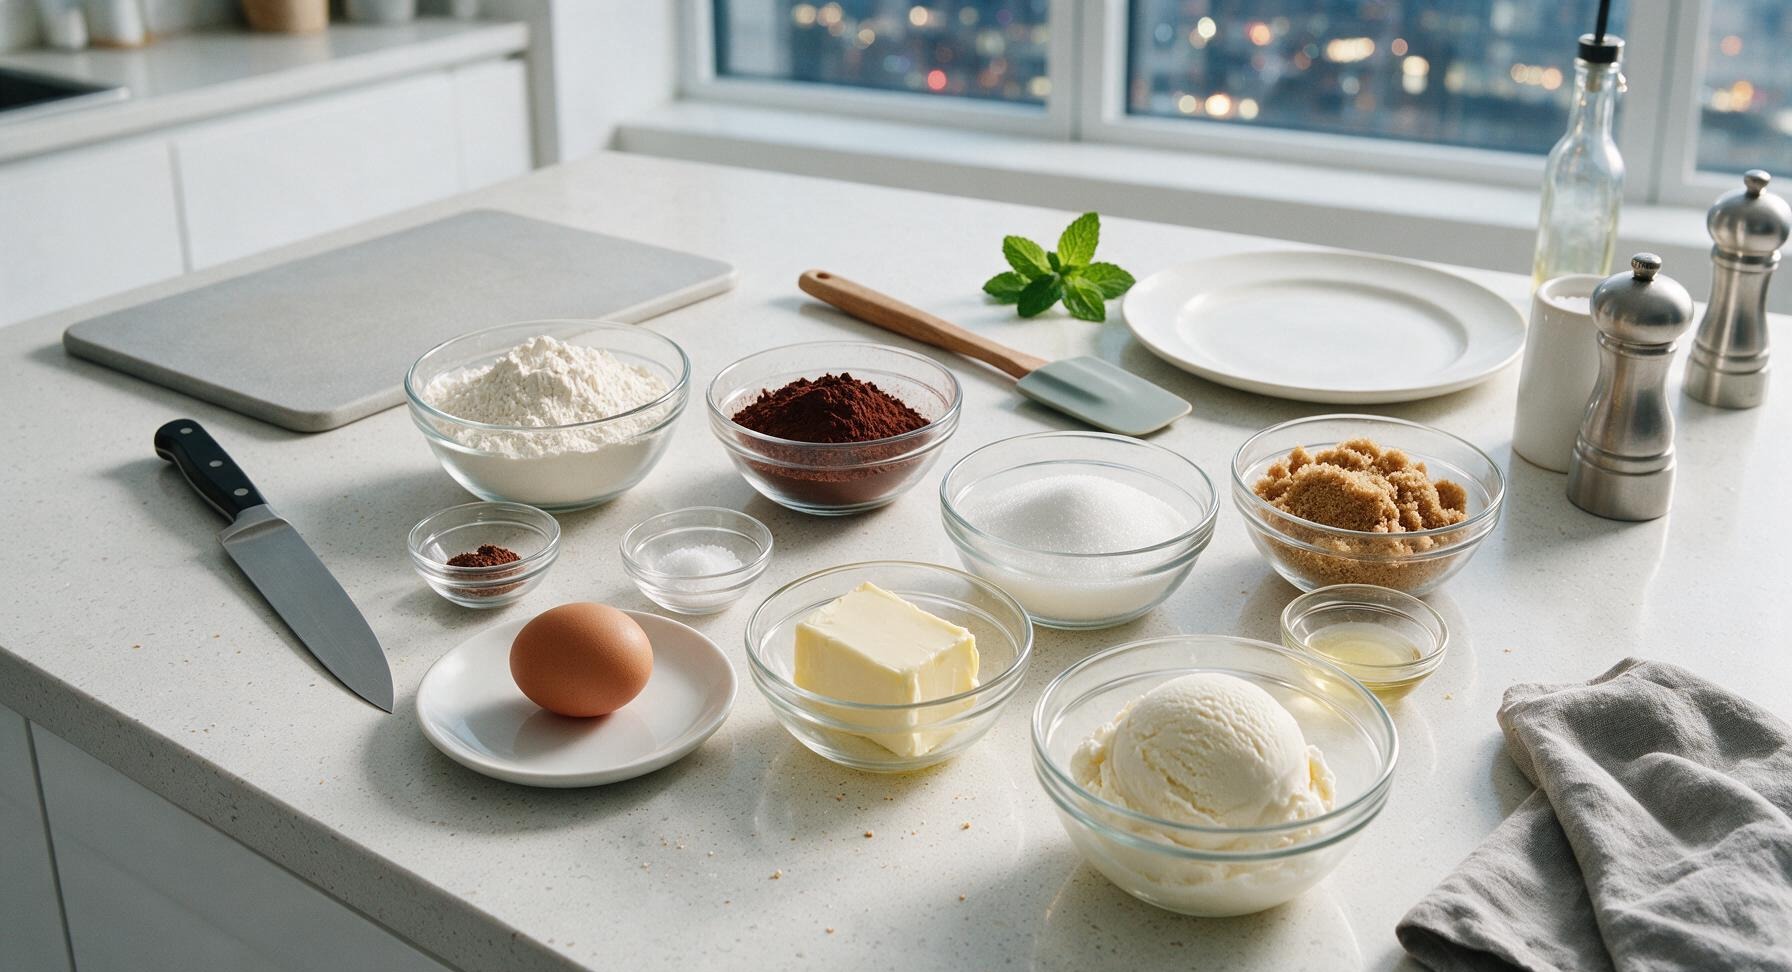
All-purpose flour 1 cup (120g)
Dutch-process unsweetened cocoa powder 1/2 cup (50g)
Baking soda 1/2 teaspoon
Fine sea salt 1/4 teaspoon
Unsalted butter, softened 1/2 cup (113g, 1 stick)
Granulated sugar 3/4 cup (150g)
Packed light brown sugar 1/2 cup (100g)
Large egg, room temperature 1 each
Pure vanilla extract 1 teaspoon
Premium vanilla ice cream, slightly softened 1.5 quarts (1.4L)

Steps

1

Whisk Dry Ingredients

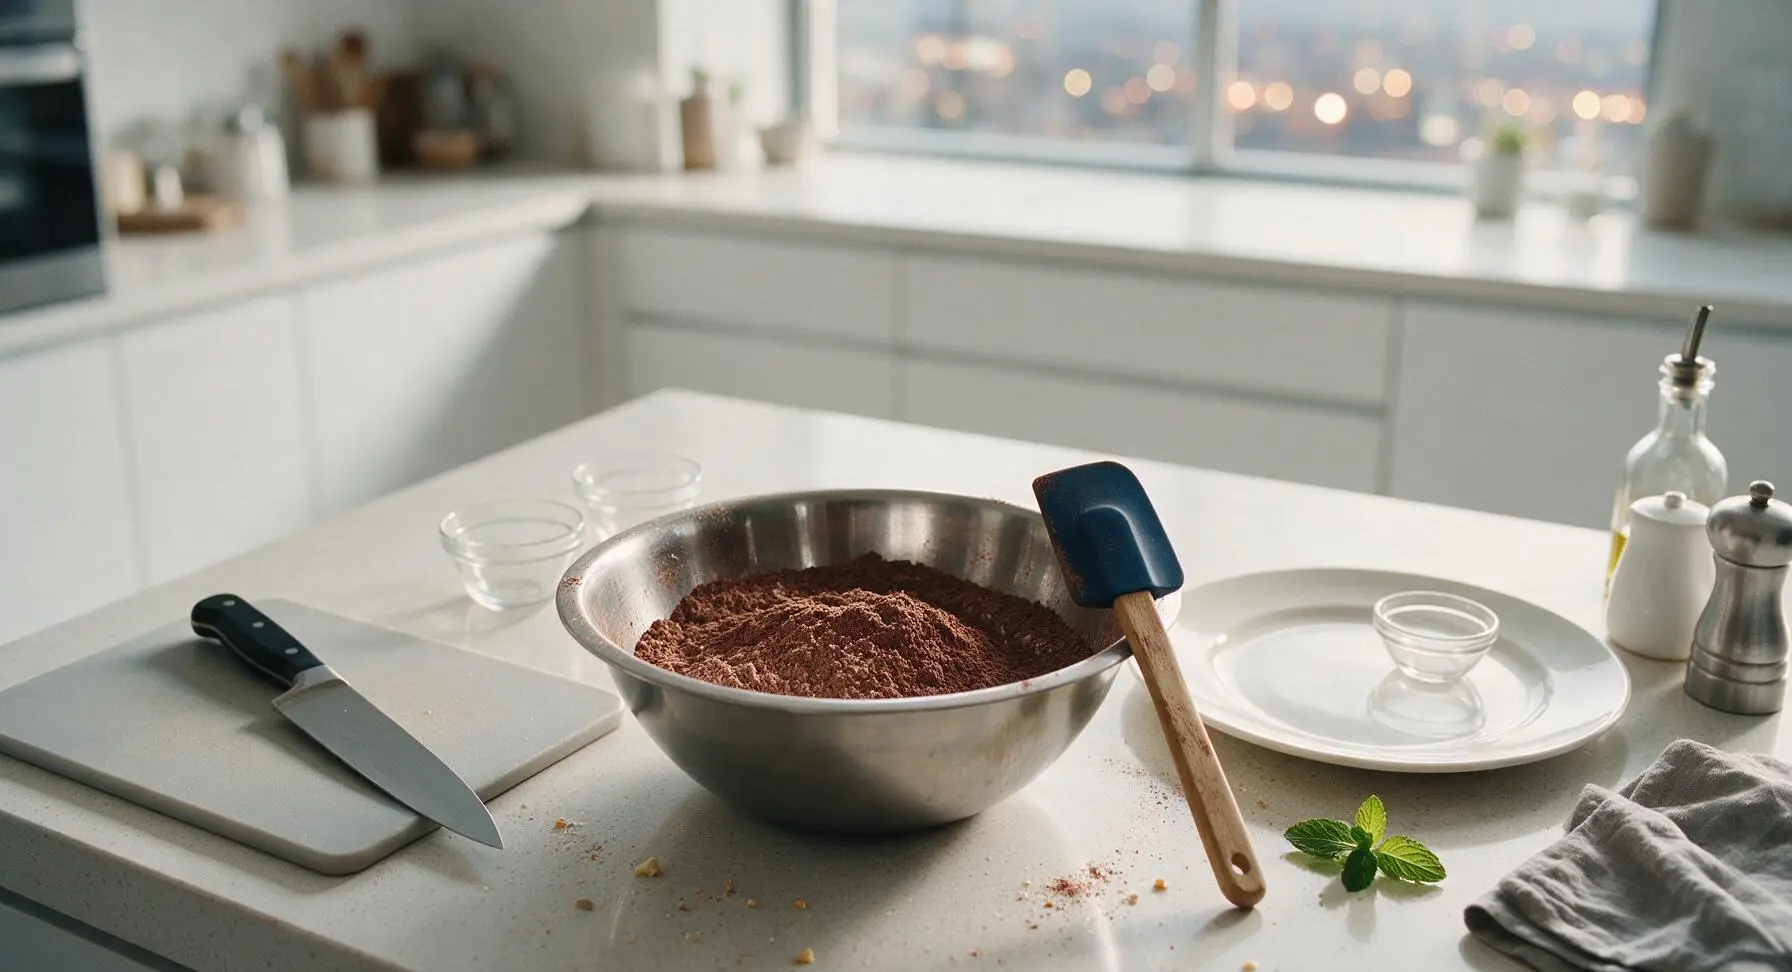
In the medium stainless steel mixing bowl, combine 1 cup all-purpose flour, 1/2 cup Dutch-process cocoa powder, 1/2 teaspoon baking soda, and 1/4 teaspoon fine sea salt. Whisk vigorously for 30 seconds until fully combined, with no clumps of cocoa remaining. The mixture should be a uniform deep chocolate brown, with no lighter streaks of flour visible.
Step 1
step1:Whisk Dry Ingredients
2

Cream Butter and Sugars

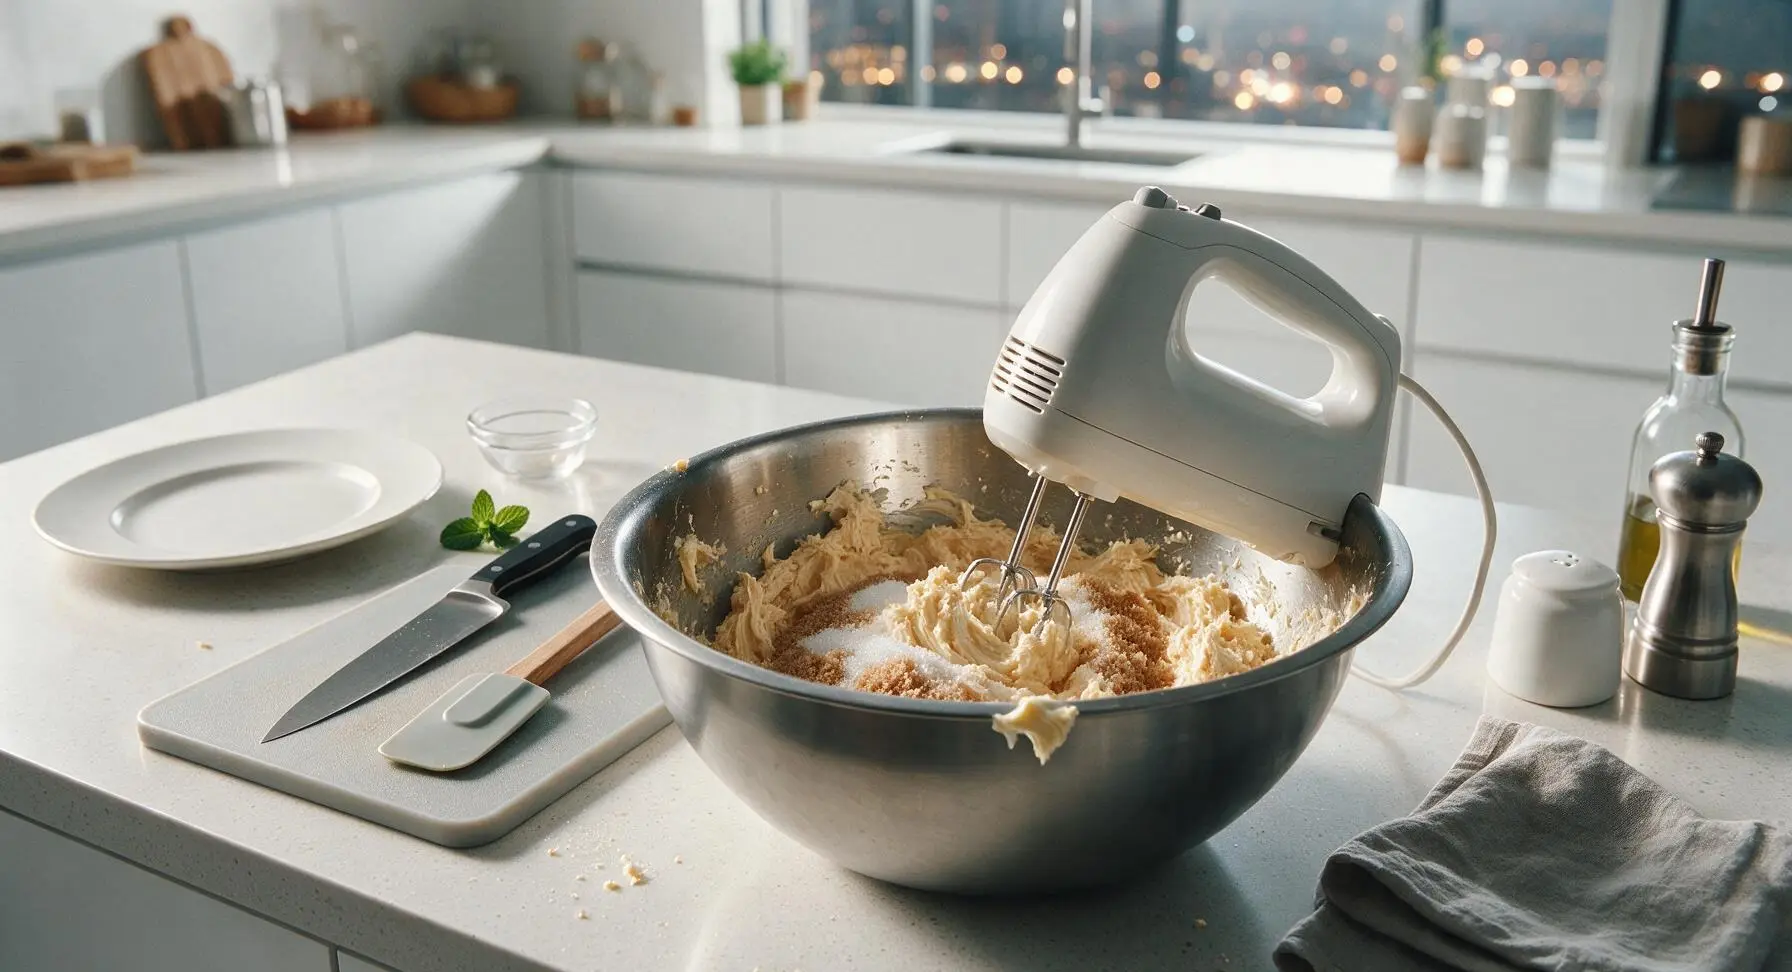
In the large stainless steel mixing bowl, add 1/2 cup softened unsalted butter, 3/4 cup granulated sugar, and 1/2 cup packed light brown sugar. Beat on medium speed with the matte white electric hand mixer for 2 minutes until the mixture is light, fluffy, and pale tan in color, scraping down the sides of the bowl with the navy silicone spatula halfway through to ensure no lumps of butter remain at the bottom.

Step 2
step2:Cream Butter and Sugars
Step 2
step2:Cream Butter and Sugars
3

Add Egg and Vanilla

Add 1 room-temperature large egg and 1 teaspoon pure vanilla extract to the creamed butter mixture. Beat on low speed for 30 seconds until fully incorporated, scraping down the bowl sides once with the spatula. Do not overmix, as this will develop gluten in the flour and make the cookies tough instead of crisp.

Step 3
step3:Add Egg and Vanilla
4

Bake Chocolate Wafers

Gradually fold the dry cocoa flour mixture into the wet butter mixture with the silicone spatula, stirring just until no dry flour streaks remain—do not overmix. Scoop 2-tablespoon portions of dough, roll into smooth 1-inch balls, and place 3 inches apart on the parchment-lined 9x13 aluminum baking sheet (8 cookies per batch, 2 batches total). Flatten each ball to exactly 1/4-inch thickness with the palm of your hand. Bake at 350°F (175°C) for 10-12 minutes per batch, until the edges are firm and set and the centers look slightly puffed and underbaked; they will firm completely as they cool.


Step 4
step4:Bake Chocolate Wafers
Step 4
step4:Bake Chocolate Wafers
5

Cool Baked Wafers

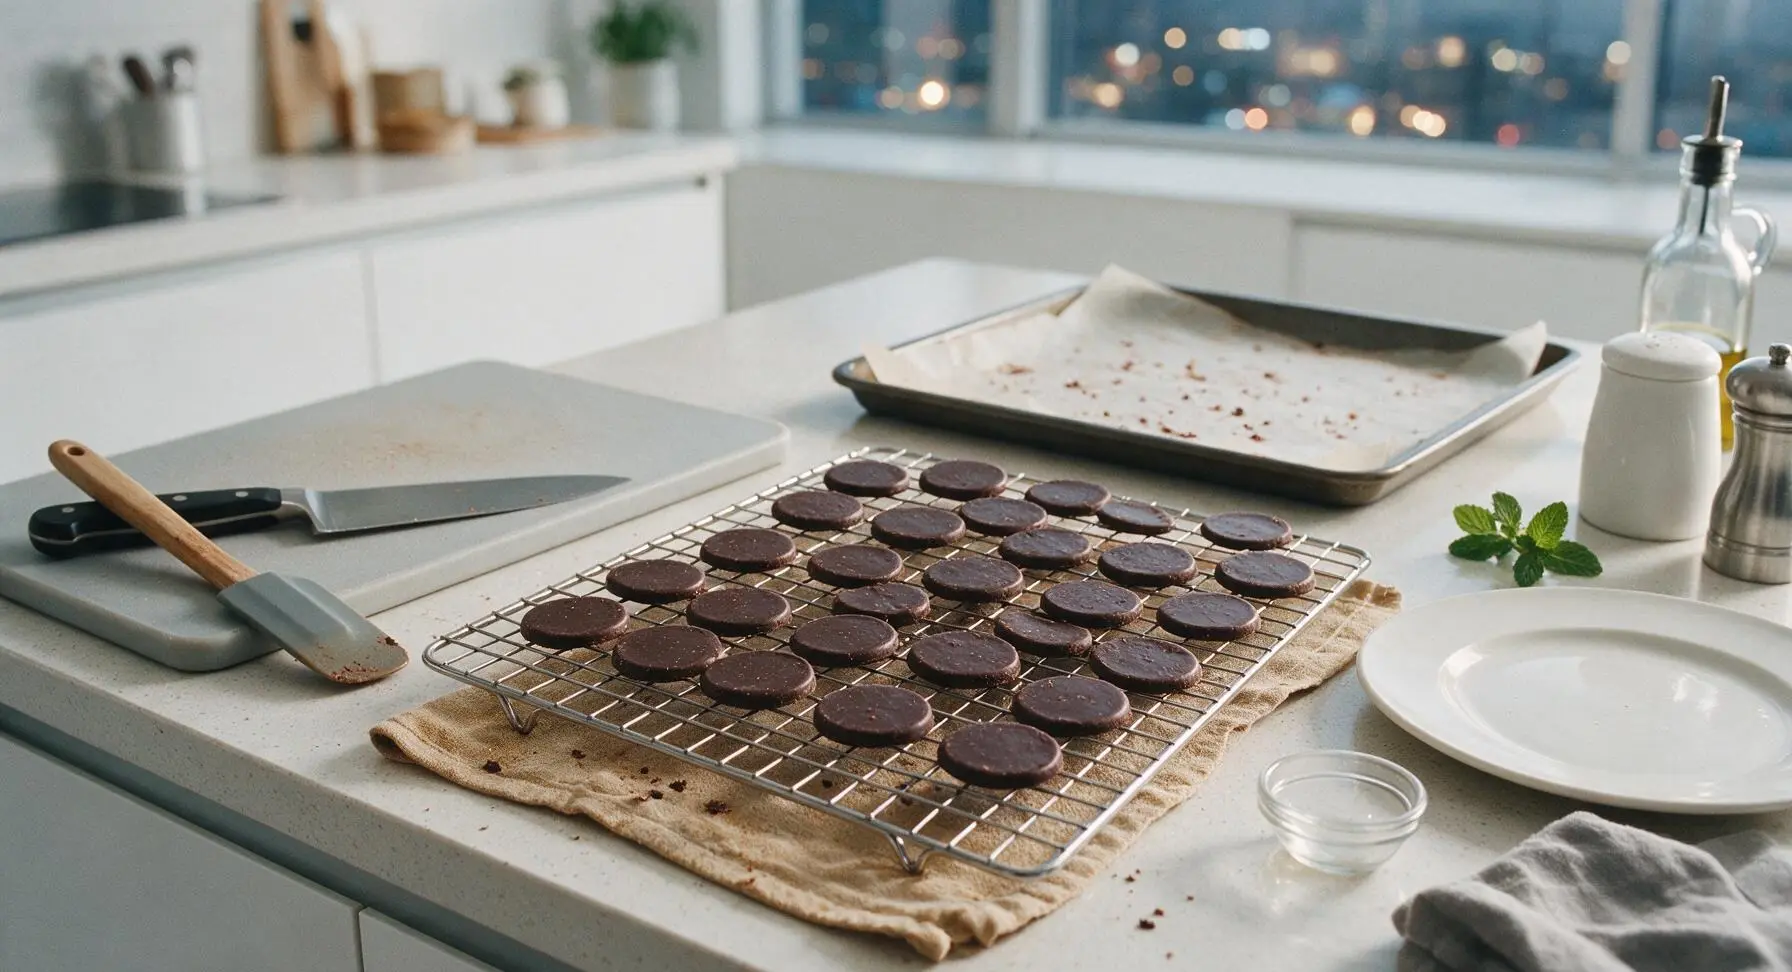
Let the cookies rest on the hot baking sheet for 5 minutes to set, then use the silicone spatula to transfer them to the chrome wire cooling rack. Cool completely to room temperature for 30 minutes—warm cookies will melt ice cream instantly and turn soggy, so do not rush this step. You will have 16 even, thin, crisp chocolate wafers when all batches are baked and cooled.
Step 5
step5:Cool Baked Wafers
6

Portion Ice Cream Filling

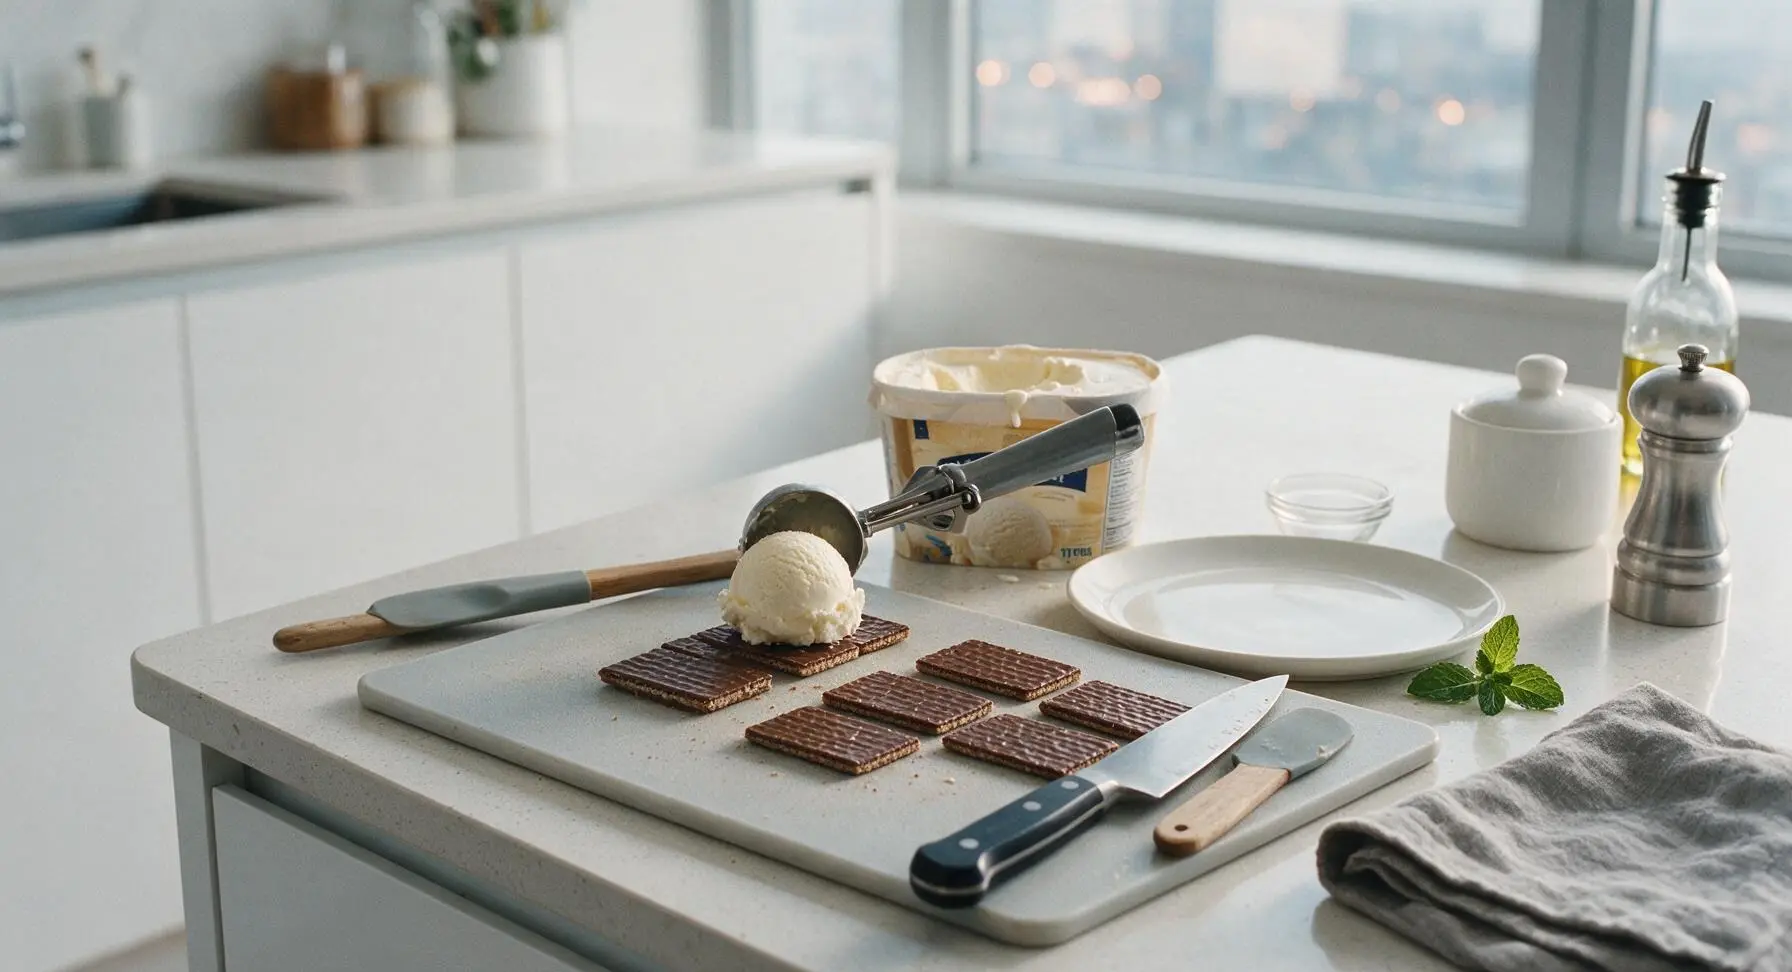
Once cookies are fully cool, arrange 8 of the wafers flat-side up on the maple cutting board. Use the spring-loaded metal ice cream scoop to place one 1.5-tablespoon (4cm diameter) scoop of slightly softened premium vanilla ice cream directly in the center of each upturned wafer. Do not use fully melted ice cream, as it will ooze out when pressed and create soggy cookies.
Step 6
step6:Portion Ice Cream Filling
7

Press Sandwiches Together

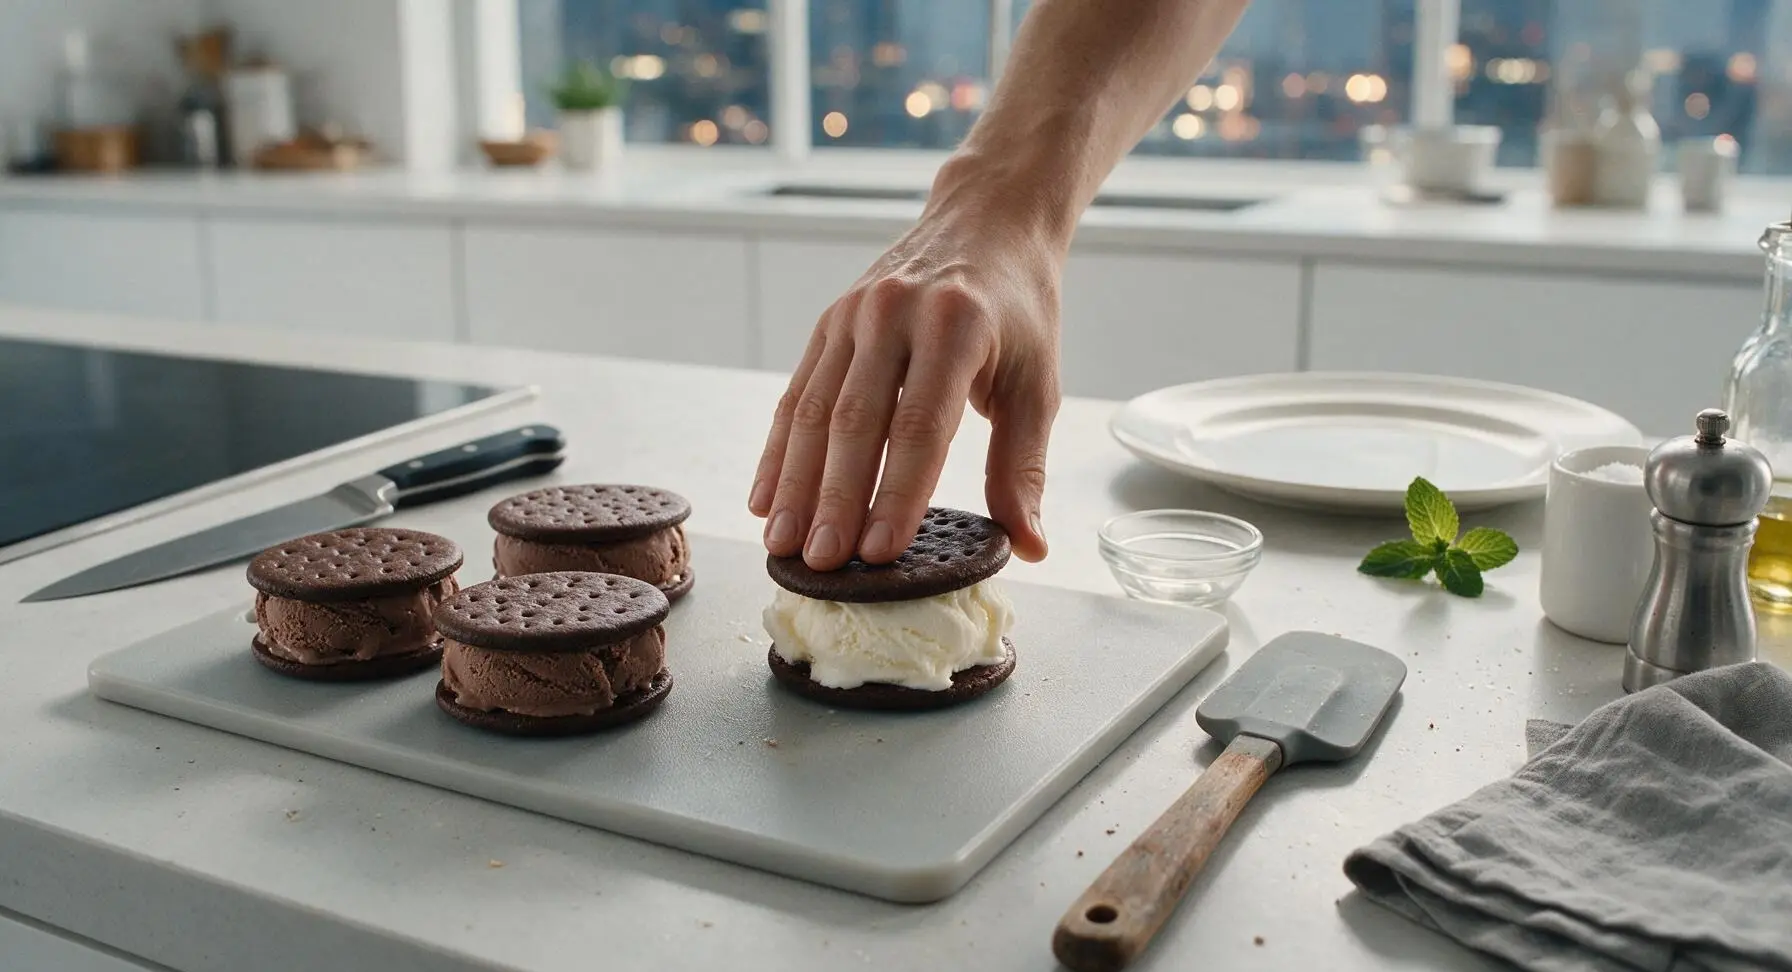
Top each ice cream mound with a second chocolate wafer, flat-side down against the ice cream. Press gently and evenly on the top cookie until the ice cream spreads to within 1/8 inch of the cookie edges. Apply even pressure to avoid lopsided sandwiches, and do not press so hard that ice cream oozes completely out the sides.
Step 7
step7:Press Sandwiches Together
8

Freeze Until Firm

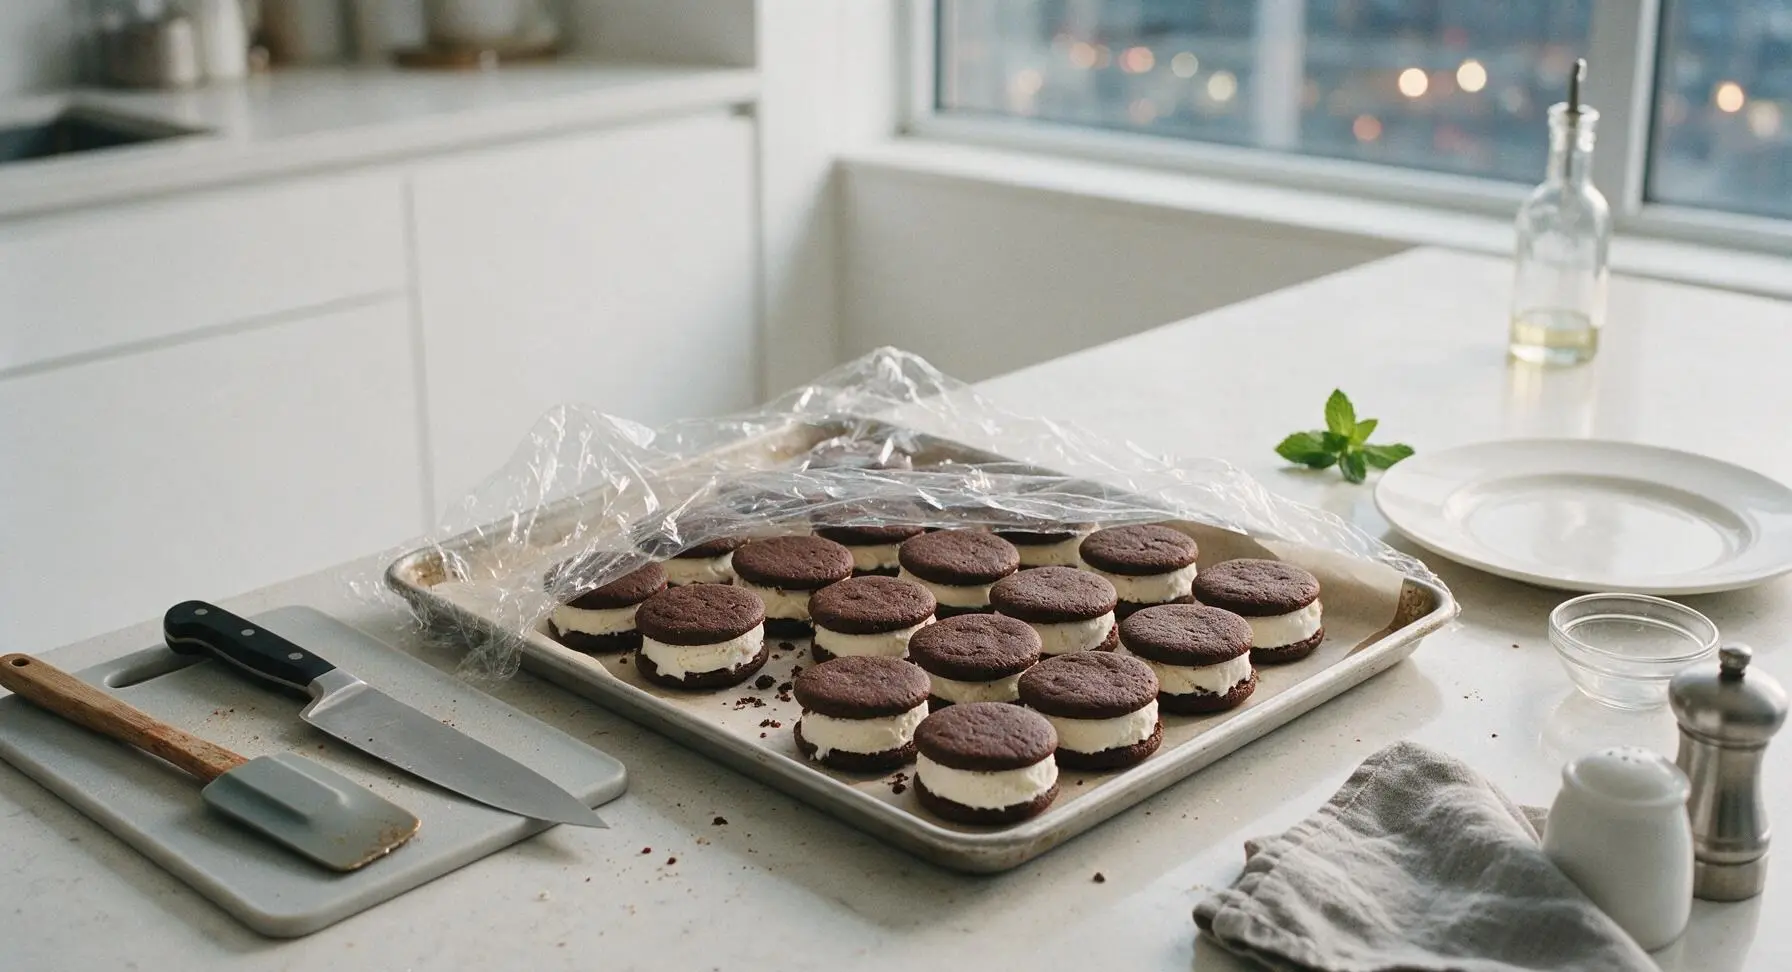
Arrange the assembled sandwiches in a single layer on the parchment-lined aluminum baking sheet. Cover loosely with plastic wrap and freeze for a minimum of 4 hours, or up to 1 week stored in an airtight container, until the ice cream is fully firm and the cookie edges have softened slightly against the ice cream for the classic tender-crisp texture.
Step 8
step8:Freeze Until Firm

Tips

1.Use Dutch-process cocoa powder for the wafers instead of natural unsweetened cocoa: it creates a deeper, smoother chocolate flavor and darker, crisper cookie texture that holds up against frozen ice cream without turning soggy too quickly.
2.Soften ice cream in the refrigerator for 15 minutes before assembling, not on the kitchen counter: counter-softened ice cream melts unevenly and becomes runny, leading to oozing and soggy cookies, while fridge-softened ice cream is smooth and spreadable without being watery.
3.For extra crunch and flavor, roll the exposed ice cream edges of the just-assembled sandwiches in mini chocolate chips, crushed salted pretzels, or rainbow sprinkles before freezing—this adds a textural contrast and catches any slight ice cream ooze for a cleaner handheld bite.


✨ You May Also Like

Desserts & Baking
🍜 Italy

Creamy, coffee-kissed classic Northern Italian no-bake dessert, with layers of rum-spiked mascarpone cream, soft ladyfingers, and a rich cocoa dusting.

⏱️ 4 hours 3Desserts & Baking ★ 4.7
Desserts & Baking
🍜 France

Flaky, shatteringly crisp, buttery French croissants with golden exteriors and soft, airy layered interiors, perfect for pairing with coffee for a special morning treat.

⏱️ 12 hours Desserts & Baking ★ 4.5
Desserts & Baking
🍜 United States

Warm, spiced baked apples topped with a fluffy golden biscuit crust, this cozy dessert pairs perfectly with vanilla ice cream for cool-weather comfort.

⏱️ 55 minuteDesserts & Baking ★ 4.6
Desserts & Baking
🍜 United States

A star-spangled classic American blueberry pie with buttery flaky crust and bright sweet-tart filling, perfect for summer patriotic gatherings.

⏱️ 1 hour 25Desserts & Baking ★ 4.7
Desserts & Baking
🍜 United States

A beloved no-bake regional Maine candy with a chewy coconut-potato center coated in rich dark chocolate, a New England holiday staple since the 1870s.

⏱️ 2 hours 3Desserts & Baking ★ 4.8
Desserts & Baking
🍜 France

Luxuriously creamy, floral frozen custard made with aromatic Tahitian vanilla beans, boasting a smooth, rich texture that melts slowly on the tongue.

⏱️ 3 hours 3Desserts & Baking ★ 4.5

chocolate ice cream sandwich:Frequently Asked Questions

1.Why do you call for Dutch-process unsweetened cocoa instead of natural cocoa for the wafers? ▾
Dutch-process cocoa is alkalized, so it has a smoother, deeper, less tangy chocolate flavor and rich dark brown color that matches the iconic nostalgic wafer look. It pairs perfectly with the baking soda in the recipe to create that ideal crisp, not cakey, wafer texture without any harsh bitter aftertaste.
2.Can I make the chocolate wafers ahead of time to speed up assembly? ▾
Absolutely! Baked, fully cooled wafers stay fresh for up to 5 days when stored in an airtight container at room temperature, separated by small parchment paper squares to prevent sticking. You can also freeze baked wafers for up to 3 months, with no thawing required right before you assemble your sandwiches.
3.My wafers came out soft and cakey instead of crisp—what did I do wrong? ▾
The most common culprit is over-measuring your flour, which creates a softer, cake-like crumb. You may also have underbaked them slightly, or let your butter get too warm when creaming. Next time, spoon flour into your measuring cup instead of scooping, and bake until edges are just set, as wafers crisp as they cool.
4.Do I have to use homemade vanilla ice cream, or is store-bought okay to use? ▾
Store-bought vanilla ice cream works perfectly here, and it’s a great shortcut for quick assembly! Let it sit on the counter for 5 to 7 minutes to soften just enough to spread easily without being runny, so you can get a neat, even ½-inch thick layer between wafers without squishing out the sides.
5.How do I keep ice cream from oozing out the sides when I press the sandwiches together? ▾
The trick is to not over-soften your ice cream—it should be spreadable but still firm, not drippy. When assembling, add a slightly mounded scoop to the center of one wafer, then press the top wafer straight down evenly with gentle pressure until the ice cream spreads just to the wafer edges without oozing out.
6.Can I swap the classic vanilla ice cream for other ice cream flavors? ▾
Definitely! Vanilla is the traditional pairing, but you can swap it for any firm, scoopable ice cream flavor you love. Mint chocolate chip, cookies and cream, salted caramel, or strawberry all work beautifully. Just avoid ice creams with large, hard mix-ins like whole candy bars that will break the delicate wafers when pressed together.
7.How long do assembled ice cream sandwiches stay fresh in the freezer? ▾
Once assembled, wrap each sandwich individually in plastic wrap or wax paper, then store them in an airtight freezer-safe container. They will stay perfectly fresh, with crisp wafers and creamy ice cream, for up to 2 weeks. After that, the wafers may absorb excess moisture and lose their signature crisp texture.
8.The recipe calls for fine sea salt—can I use regular table salt instead? ▾
You can, but you’ll need to adjust the amount! Table salt is much denser and sharper-tasting than fine sea salt, so use only ¼ teaspoon of table salt for every ½ teaspoon of fine sea salt called for. Never use coarse flaky sea salt in the wafer dough, as it won’t dissolve evenly and will leave gritty, salty spots.
9.Do I need any special equipment to cut neat, uniform wafer shapes? ▾
No special tools are required! You can simply roll the dough out to an even ⅛-inch thickness, then cut it into 2x3 inch rectangles with a sharp paring knife, using a ruler as a guide if you want perfectly even edges. A 2.5-inch round cookie cutter also works great for classic round sandwich shapes.
10.Why do my wafers spread too much and turn out thin and lacy when baking? ▾
Wafers that spread too much almost always come from dough that was too warm when it went into the oven, or butter that was over-softened to the point of being greasy. After cutting out your wafer shapes, chill the dough on the baking sheet for 15 minutes before baking, and use butter softened to room temperature, not melted.
11.Can I make these gluten-free for a friend with a gluten allergy? ▾
You absolutely can! Swap the all-purpose flour for a 1:1 gluten-free all-purpose baking blend that contains xanthan gum, and confirm your cocoa powder and other ingredients are certified gluten-free to avoid cross-contamination. The wafers will bake up with the same crisp, fudgy texture as the original, with no noticeable flavor difference.
12.I remember store-bought versions having slightly soft, not rock-crisp, wafers straight from the freezer—how do I get that texture? ▾
That signature soft, fudgy frozen wafer texture comes from letting the assembled sandwiches rest in the freezer for at least 4 hours before serving. During that time, a tiny bit of moisture from the ice cream absorbs into the wafer surfaces, softening them just enough to create that perfect nostalgic bite without making them soggy.

Comments (9)

2 weeks ago

These taste exactly like the ice cream sandwiches I got from the ice cream truck as a kid! The soft, fudgy cookie that sticks a little to your fingers, the creamy vanilla center… total nostalgia hit. I’m never buying the boxed ones again.

1 week ago

Game changer for my weekly meal prep sweet treat! I made a big batch on Sunday, wrapped each sandwich individually in parchment paper, and they’ve held up perfectly all week for after-dinner snacks. No freezer burn at all!

5 days ago

Love that meal prep hack! Wrapping them tight in parchment and storing in an airtight container keeps them fresh for up to 2 weeks, so you can stock up for last minute sweet cravings.

5 days ago

My kids are obsessed! I let them pick out their favorite ice cream fillings — half did mint chocolate chip, half did classic vanilla, and the chocolate cookie base went with every single one. Way better than the store bought ones that taste like chemicals.

3 days ago

We did a mix too! My teenager wanted cookies and cream filling and it was chef’s kiss. The cookie is rich enough that it doesn’t get overpowered by whatever ice cream you pick.

3 days ago

OMG I made these for my kid’s end-of-summer pool party and they were gone in 10 minutes flat! The cookie part is perfectly chewy, not too hard so you don’t squish ice cream out the sides when you bite it. Total game changer for potlucks, fr.

2 days ago

Same! I brought mine to the neighborhood block party last weekend and people were asking for the recipe before I even set the plate down. Pro tip: let the ice cream soften just a tiny bit before assembling so it doesn’t crack the cookies.

yesterday

So glad these were a hit at your party! Great tip about softening the ice cream slightly — it makes assembly so much smoother without messy oozing when you bite in.

2 days ago

Wait, I was worried this would be too hard because I’m terrible at frozen desserts but the difficulty said easy? Tried it last night and I only messed up a little by overbaking the first batch of cookies, but the second batch turned out SO good. My roommate ate 3 in a row!

yesterday

I did the exact same thing with the first batch! Set a timer for 10 mins like the recipe says and take them out even if they look a little underdone, they set up as they cool I promise.

30 minutes ago

So happy you gave it a shot even as a baking newbie! Sarah is totally right — the cookies continue to set on the baking sheet after you pull them out, so don’t wait for them to look fully done in the oven. If your first batch was a little crispy, they make great ice cream sundae toppers too!

yesterday

Brought these to my office potluck yesterday and I swear my coworkers were fighting over the last one. The cook time is so short too, I didn’t have to spend all night in the kitchen! 10/10 will be making these all summer long.

2 hours ago

I was that coworker fighting for the last one lmao. If you bring these again I’m bringing you an iced coffee as payment, no questions asked.

2 hours ago

Love that this uses super basic pantry staples, no fancy ingredients required! I didn’t have to run to the specialty grocery store for anything, and the whole thing cost me like $6 to make a dozen. Way cheaper than buying fancy ice cream treats from the grocery store.

30 minutes ago

Just made these at 10pm because I was craving something sweet and oh my GOD they are SO good. I didn’t even wait for them to fully set in the freezer, I ate one drippy and messy and it was still the best ice cream sandwich I’ve ever had.

5 minutes ago

Has anyone tried making these with a 1:1 gluten free flour blend? I’m dying to make these for my niece who has celiac for her birthday next weekend.

just now

Great question! We’ve tested this with a popular 1:1 gluten free all purpose flour (the one with xanthan gum already added) and the cookies turn out almost identical to the original. Just make sure to let the dough rest for 10 minutes before scooping to help the flour absorb the wet ingredients.



