
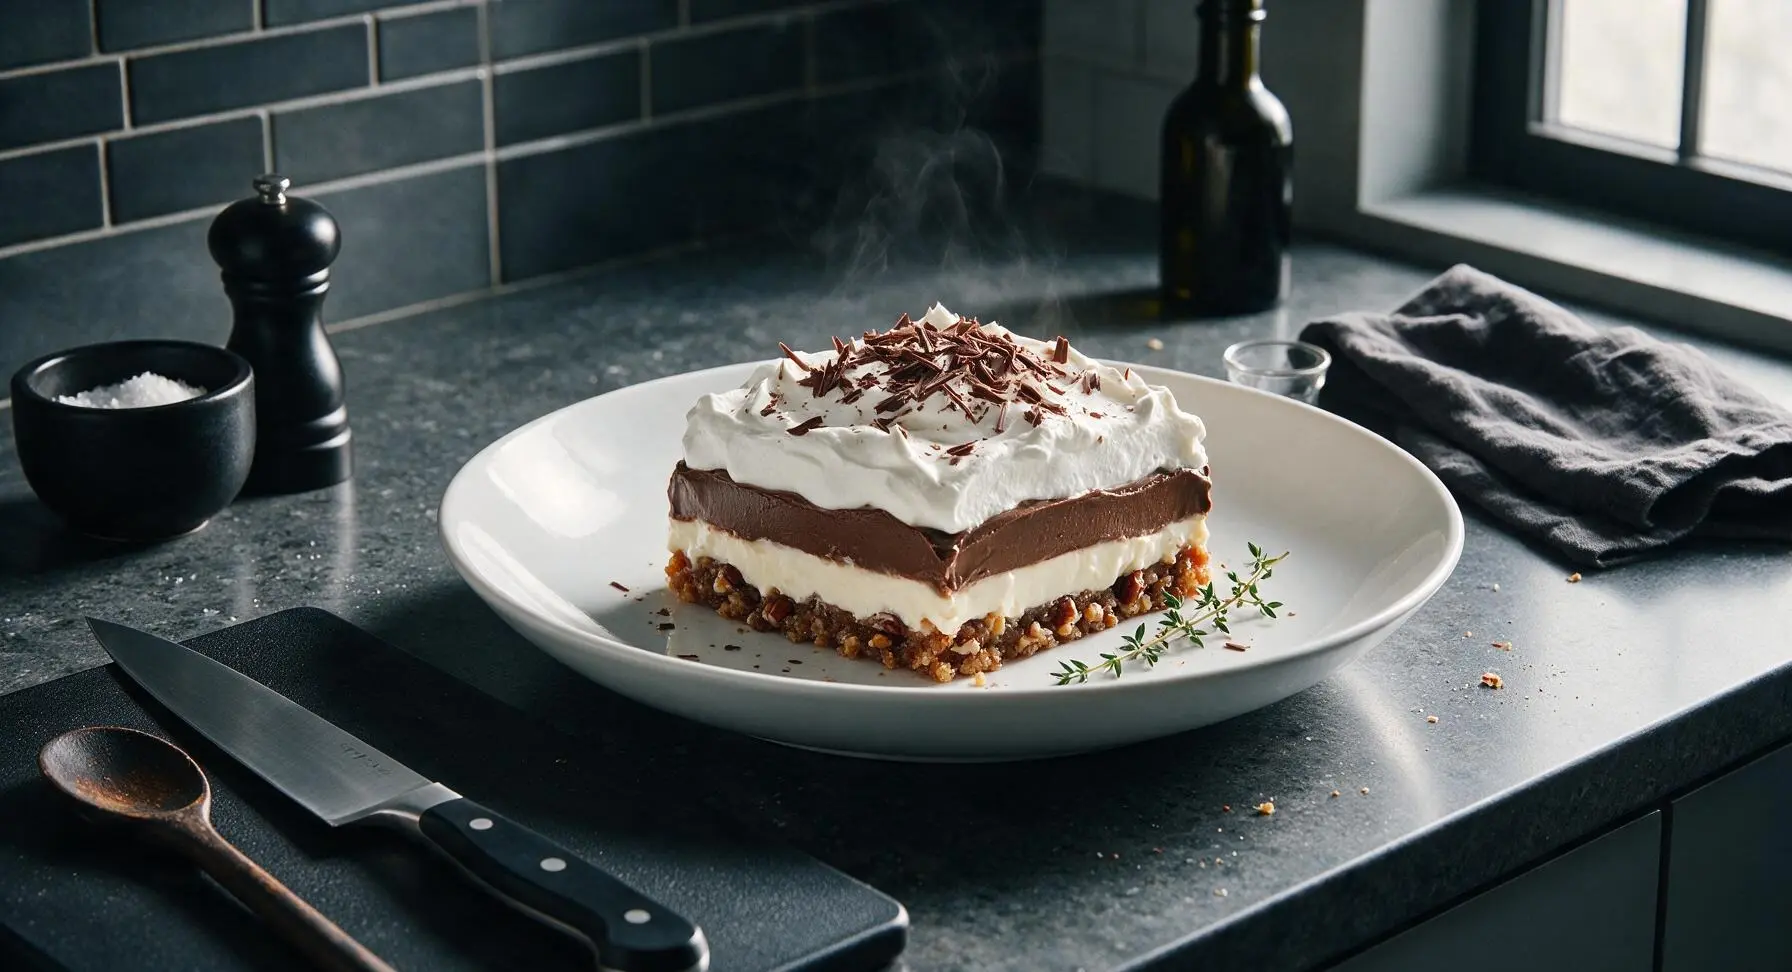
chocolate lush

title 1
chocolate lush
⏱️ cook time 2 hours 45 minutes
🍽️ servings 9
⚡ Difficulty easy

intro

Silky, layered classic chocolate lush features a buttery pecan crust, smooth cream cheese, rich chocolate pudding, and fluffy whipped topping, finished with dark chocolate shavings.

Ingredients
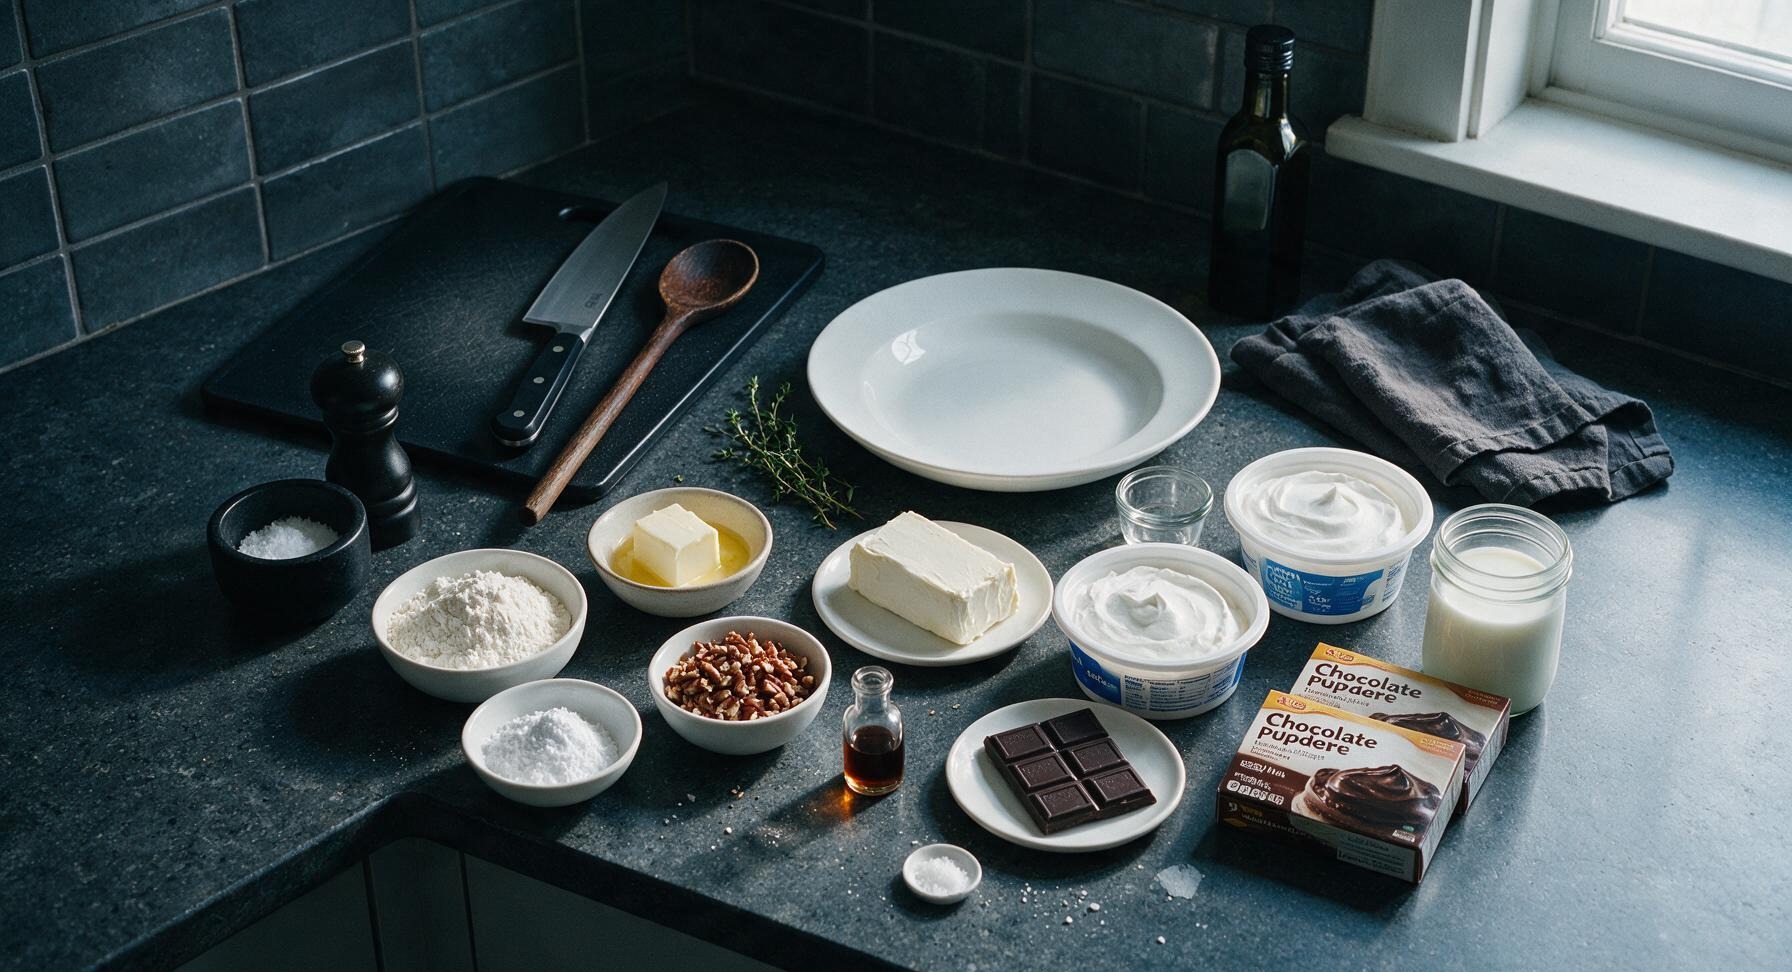
All-purpose flour 1 cup (120g)
Unsalted butter, melted 1/2 cup (113g, 1 stick)
Finely chopped pecans 1/2 cup (55g)
Full-fat block cream cheese, softened to room temperature 8 oz (226g)
Powdered sugar, sifted 1 cup (120g)
Frozen whipped topping, thawed, divided 16 oz (454g, 2 standard tubs)
Instant chocolate pudding mix (regular, not sugar-free) 2 (3.9 oz/110g) boxes
Cold whole milk 2 1/2 cups (600ml)
Pure vanilla extract 1 tsp (5ml)
70% cacao dark chocolate bar 1 oz (28g)
Flaky sea salt 1/8 tsp

Steps

1

Mix Pecan Crust Ingredients

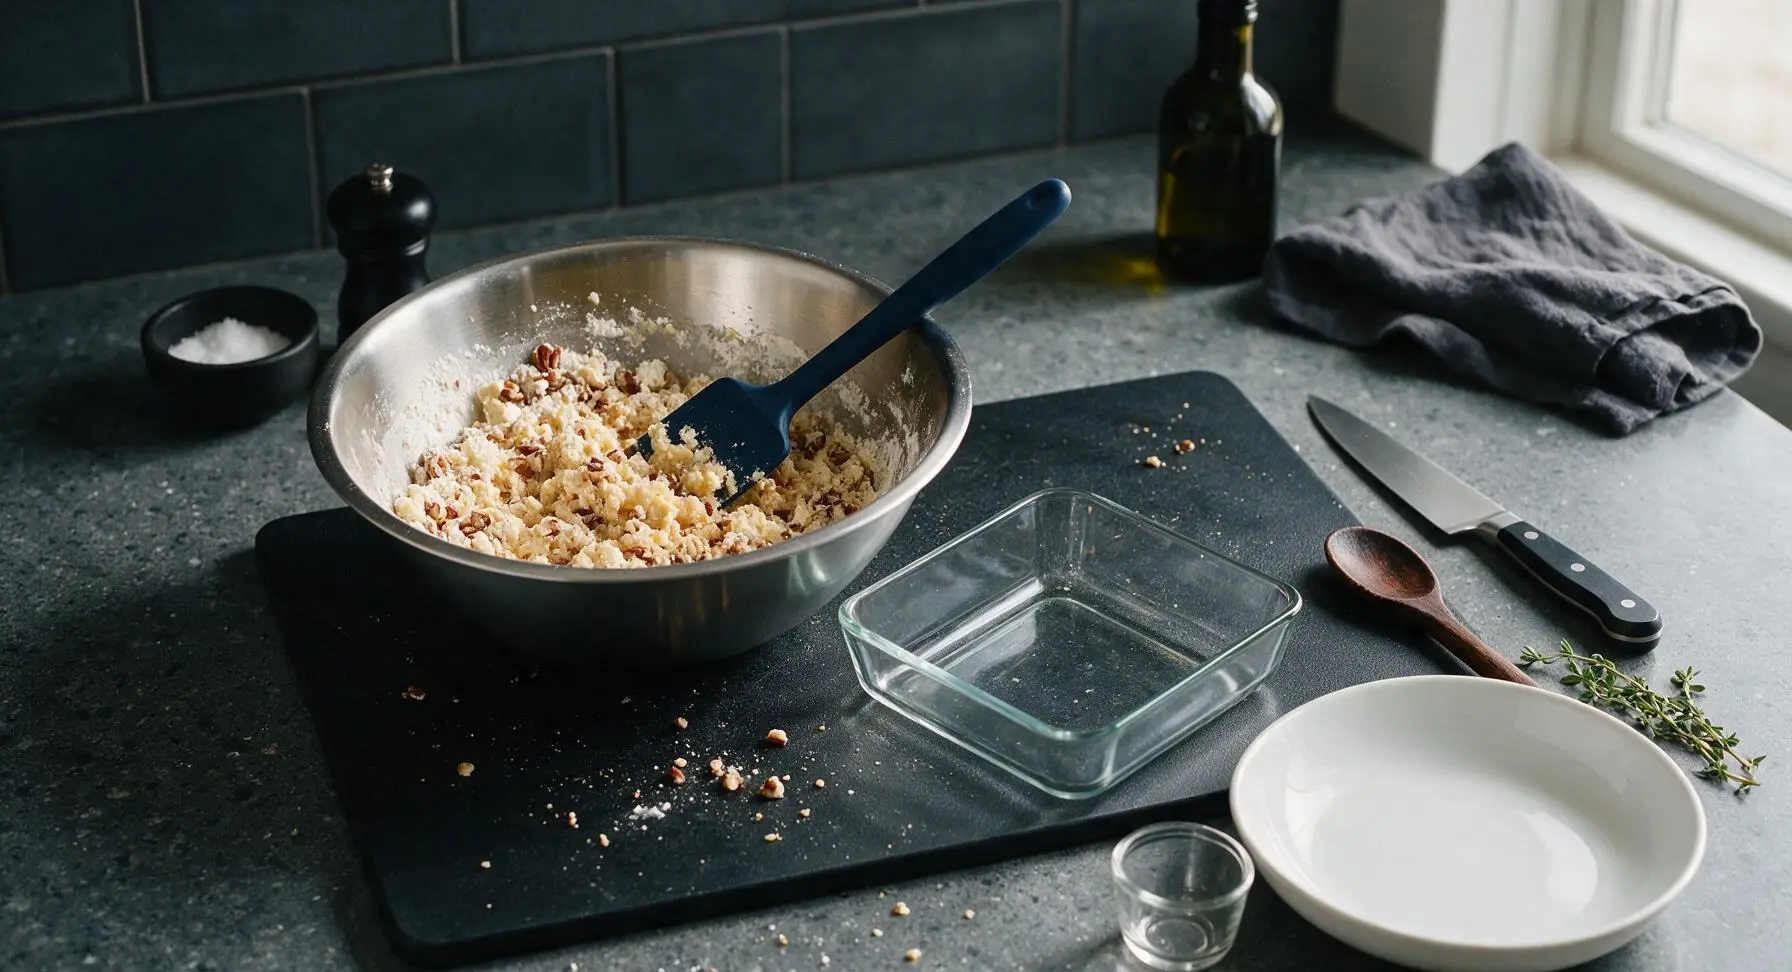
Preheat your oven to 350°F (175°C). In the stainless steel mixing bowl, combine 1 cup all-purpose flour, melted unsalted butter, and finely chopped pecans. Stir with the navy silicone spatula until the mixture forms evenly moist, crumbly clumps that hold together when squeezed between your fingers, with no dry flour pockets remaining.
Step 1
step1:Mix Pecan Crust Ingredients
2

Press and Bake Crust

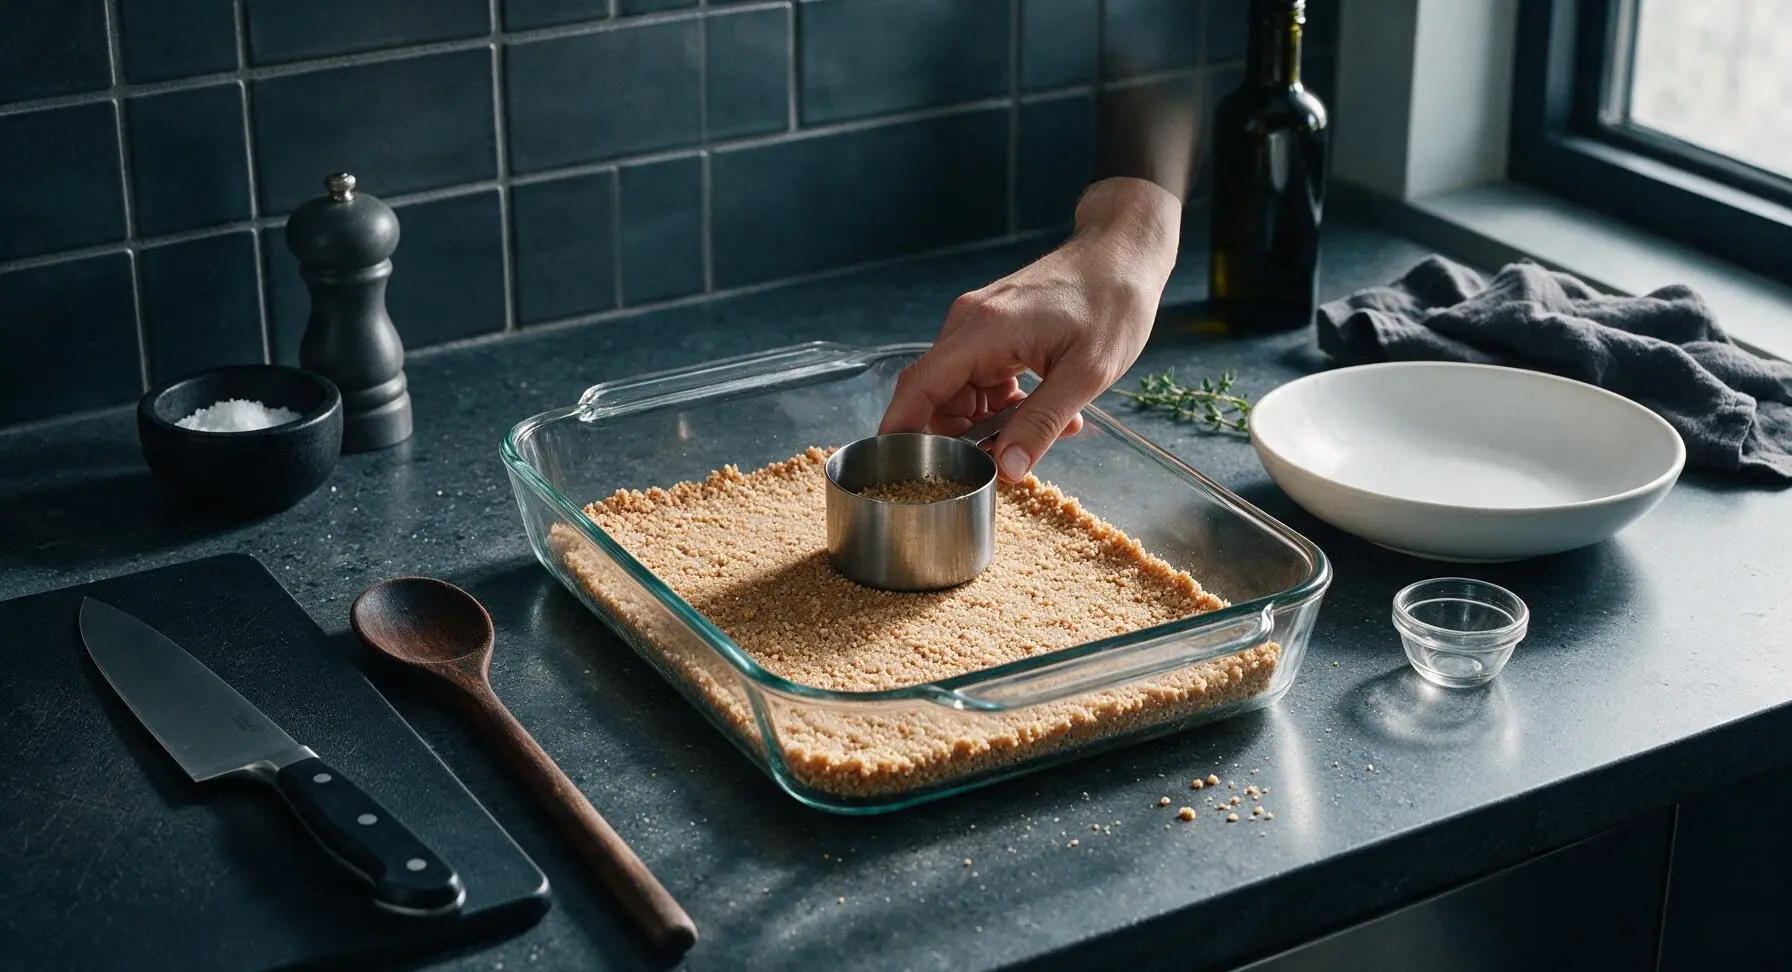
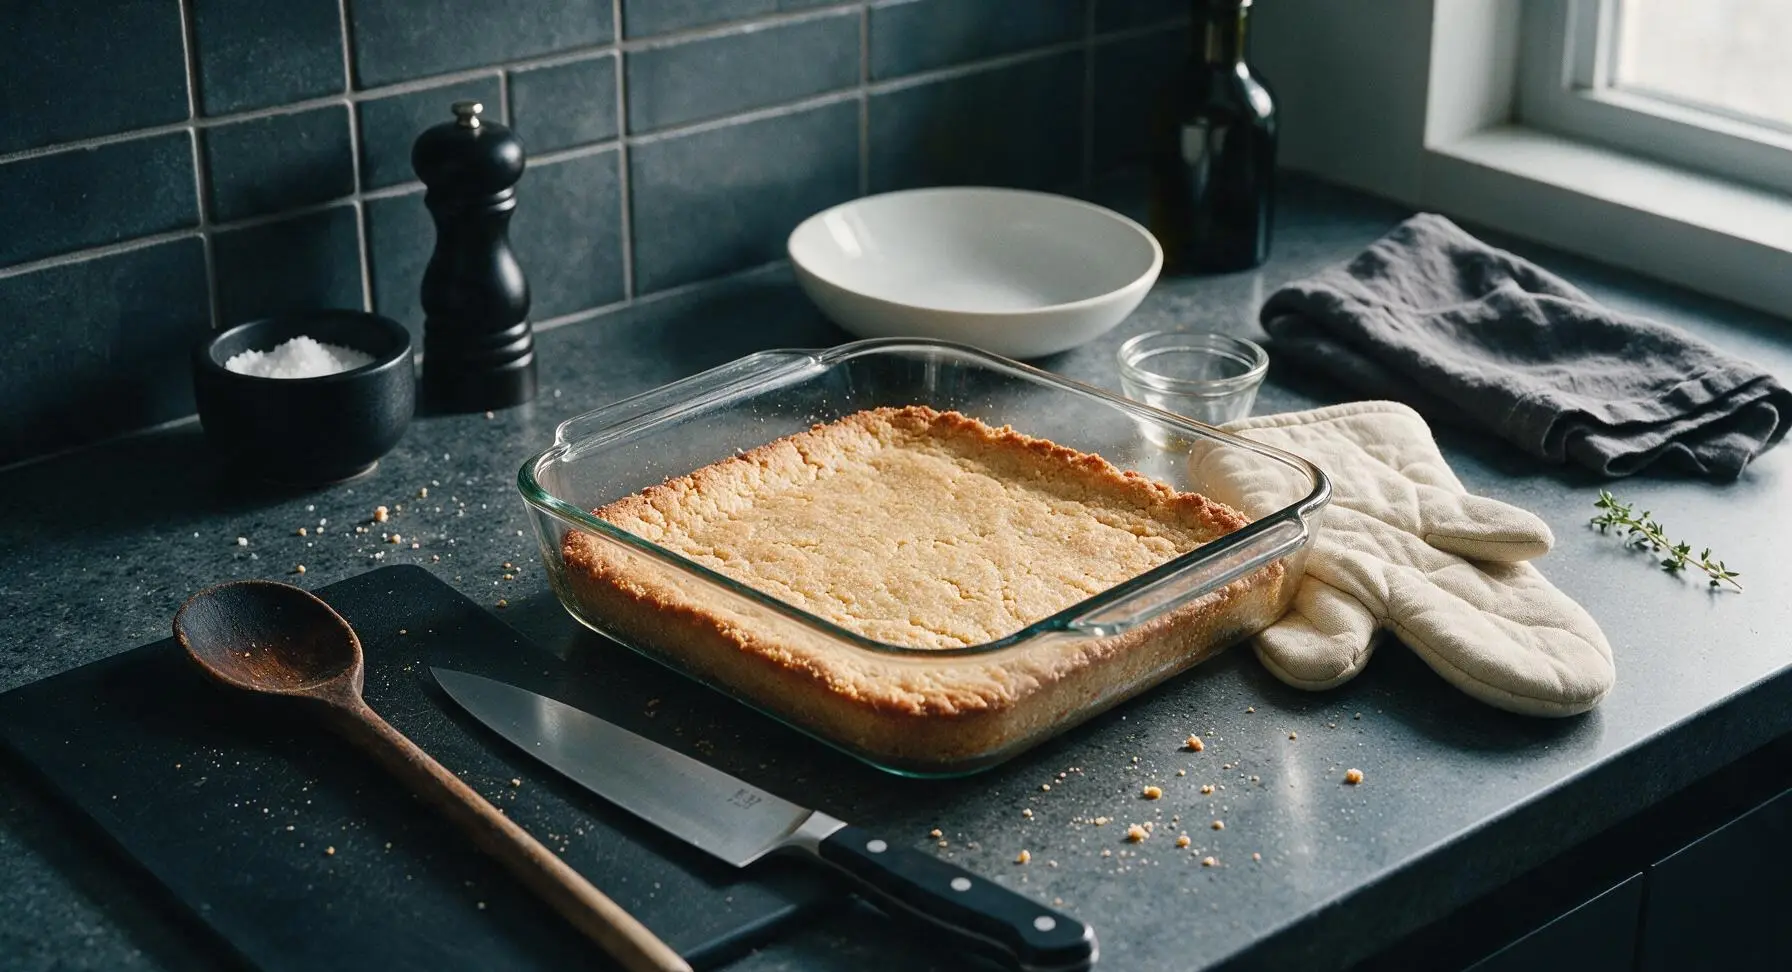
Transfer the crumb mixture to the 9x9 inch clear glass baking dish. Use the flat bottom of the 1-cup dry measuring cup to press the crumbs firmly and evenly across the bottom of the dish (no need to press crumbs up the sides) to form a compact, uniform 1/4-inch thick crust layer. Place the dish on the middle oven rack and bake for 15 minutes, until the crust is fragrant and light golden brown at the edges. Remove from oven using the cream canvas oven mitts, and set aside to cool completely to room temperature (about 30 minutes) before adding layers—warm crust will melt the creamy fillings and cause runny, muddled layers.
Step 2
step2:Press and Bake Crust
Step 2
step2:Press and Bake Crust
3

Whip Cream Cheese Layer

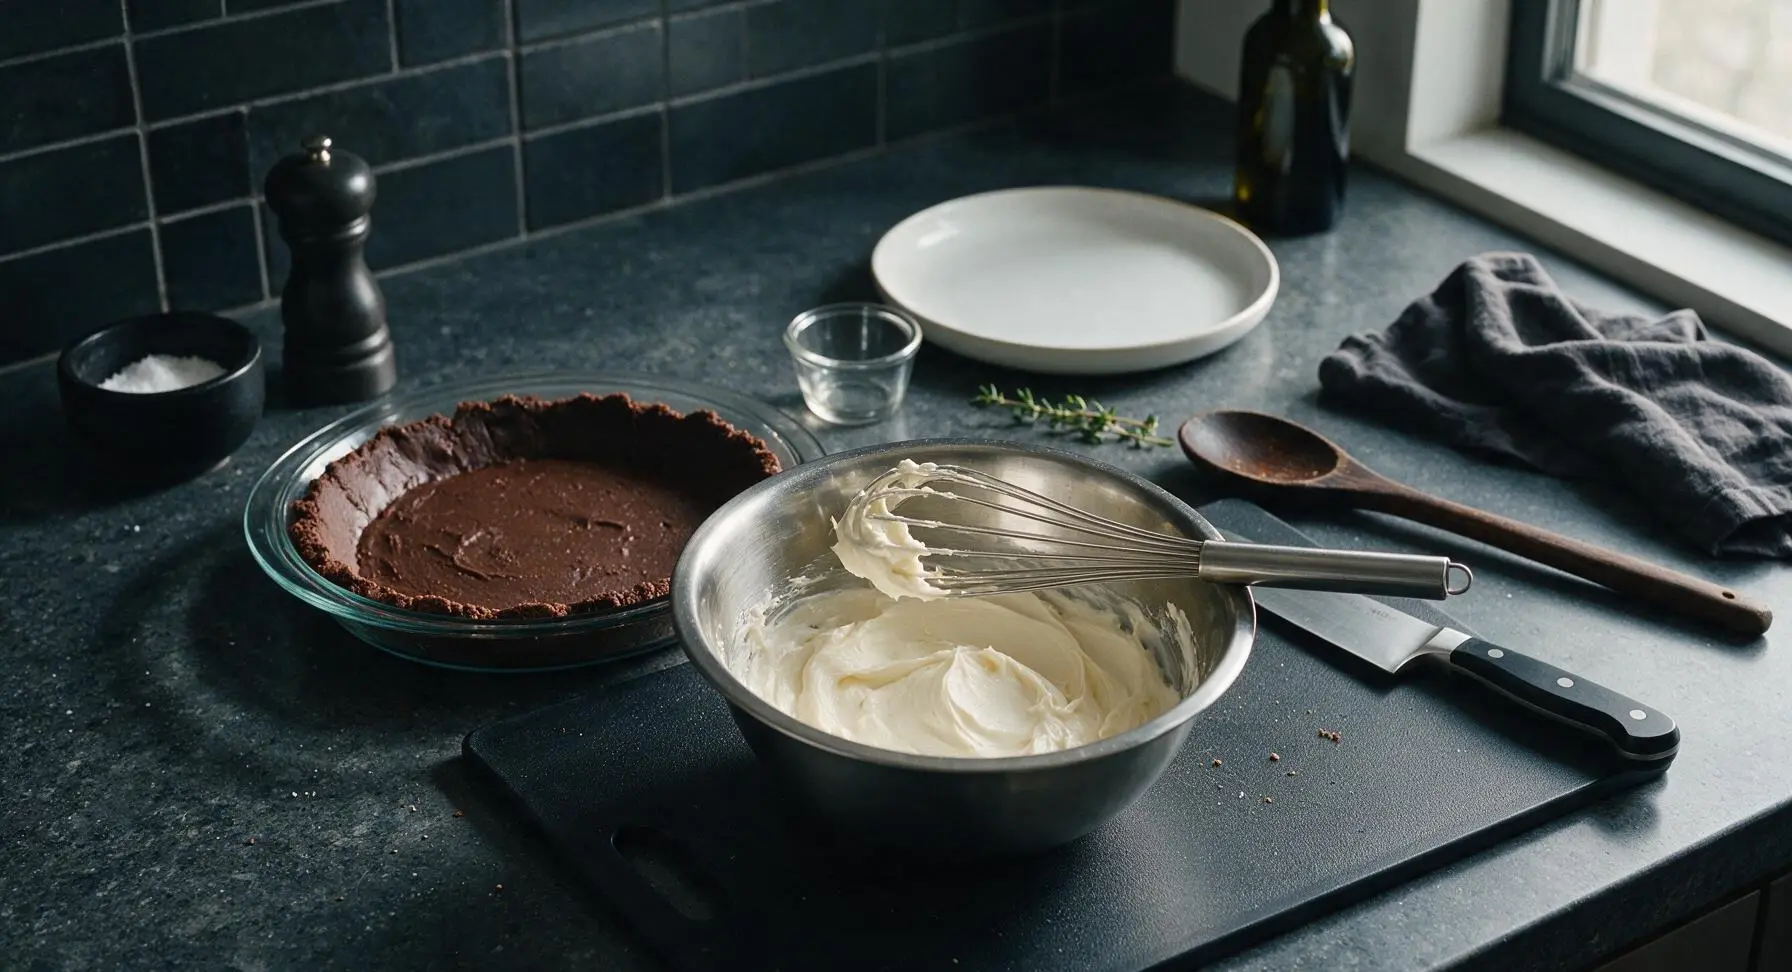
Once the crust is fully cooled, wipe out the stainless steel mixing bowl. Add the softened room-temperature cream cheese and sifted powdered sugar to the bowl. Use the hand whisk to beat the mixture for 2 minutes until completely smooth, with no lumps of cream cheese remaining. Fold in 1 cup (8 oz) of the thawed whipped topping and 1/2 tsp vanilla extract, stirring gently with the silicone spatula until light and uniform.
Step 3
step3:Whip Cream Cheese Layer
4

Spread Cream Cheese Layer

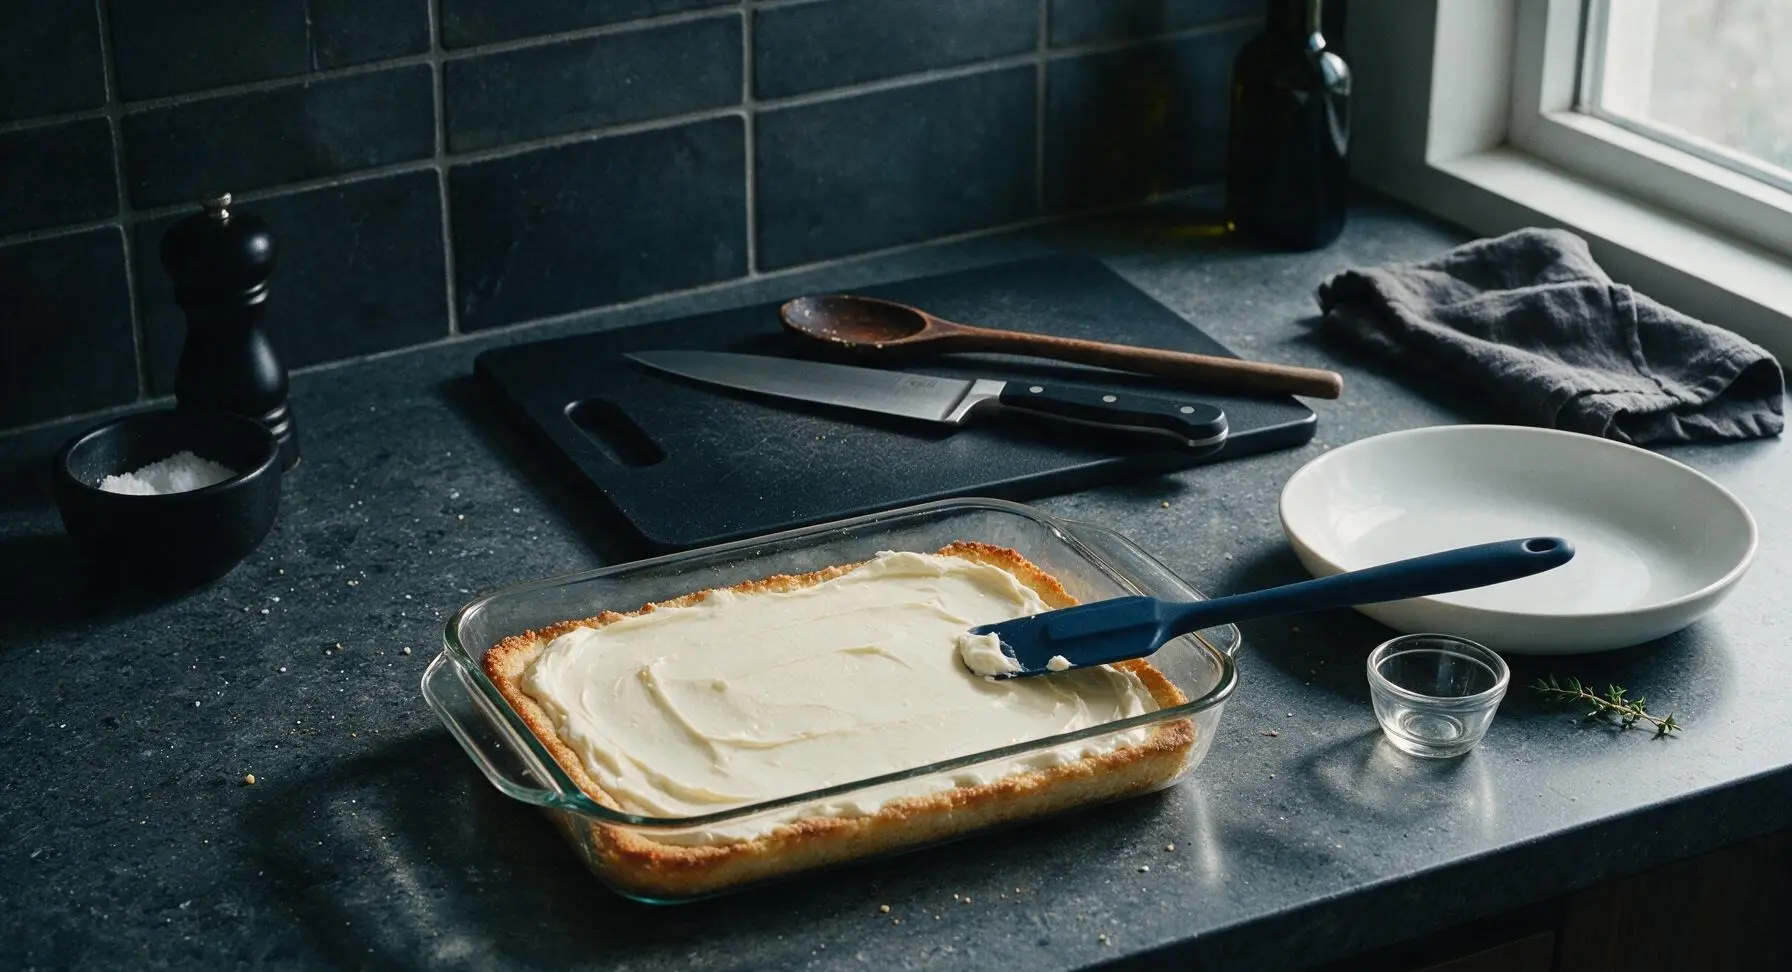
Use the silicone spatula to scoop all of the cream cheese mixture onto the center of the cooled crust. Gently spread the mixture in an even, consistent layer across the entire crust surface, taking care not to lift crumbs from the crust into the filling. Smooth the top of the layer with the edge of the spatula so it is perfectly level.
Step 4
step4:Spread Cream Cheese Layer
5

Mix Chocolate Pudding Layer

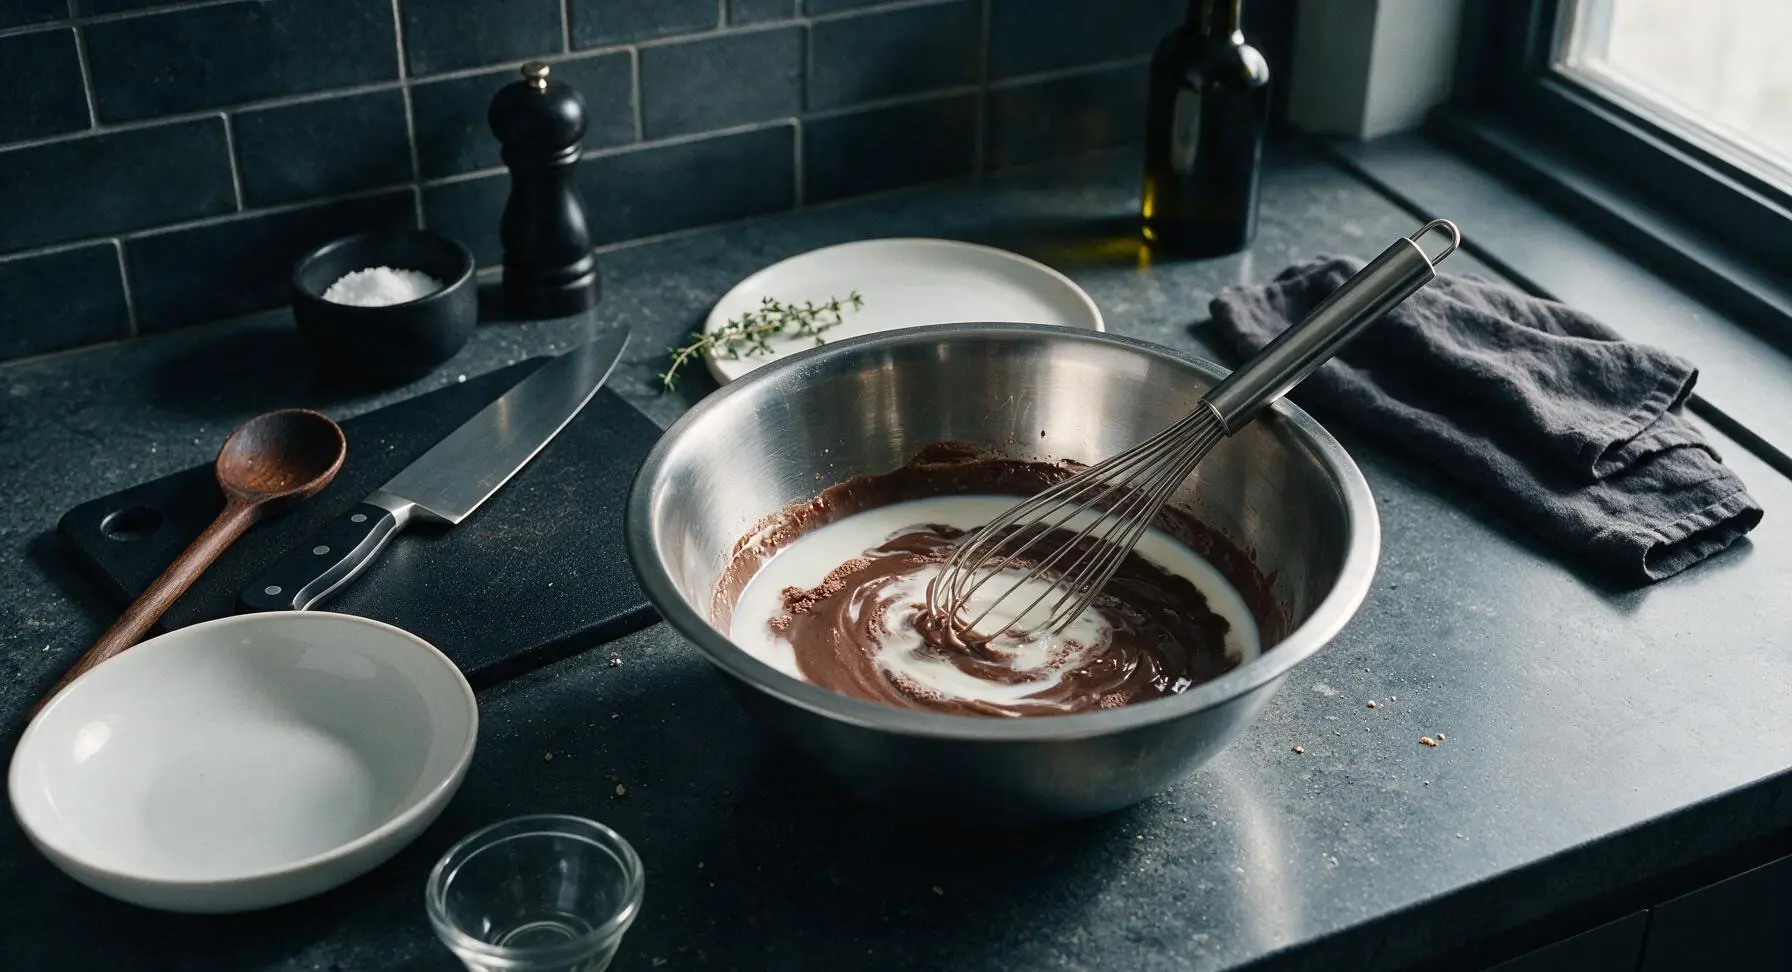
Wipe out the mixing bowl again. Add both boxes of instant chocolate pudding mix, cold whole milk, and remaining 1/2 tsp vanilla extract to the bowl. Whisk continuously for 2 minutes, until the pudding is thick, smooth, and free of lumps. Let the pudding rest for 5 minutes to set slightly—it should be thick enough to hold its shape when spread, not runny.
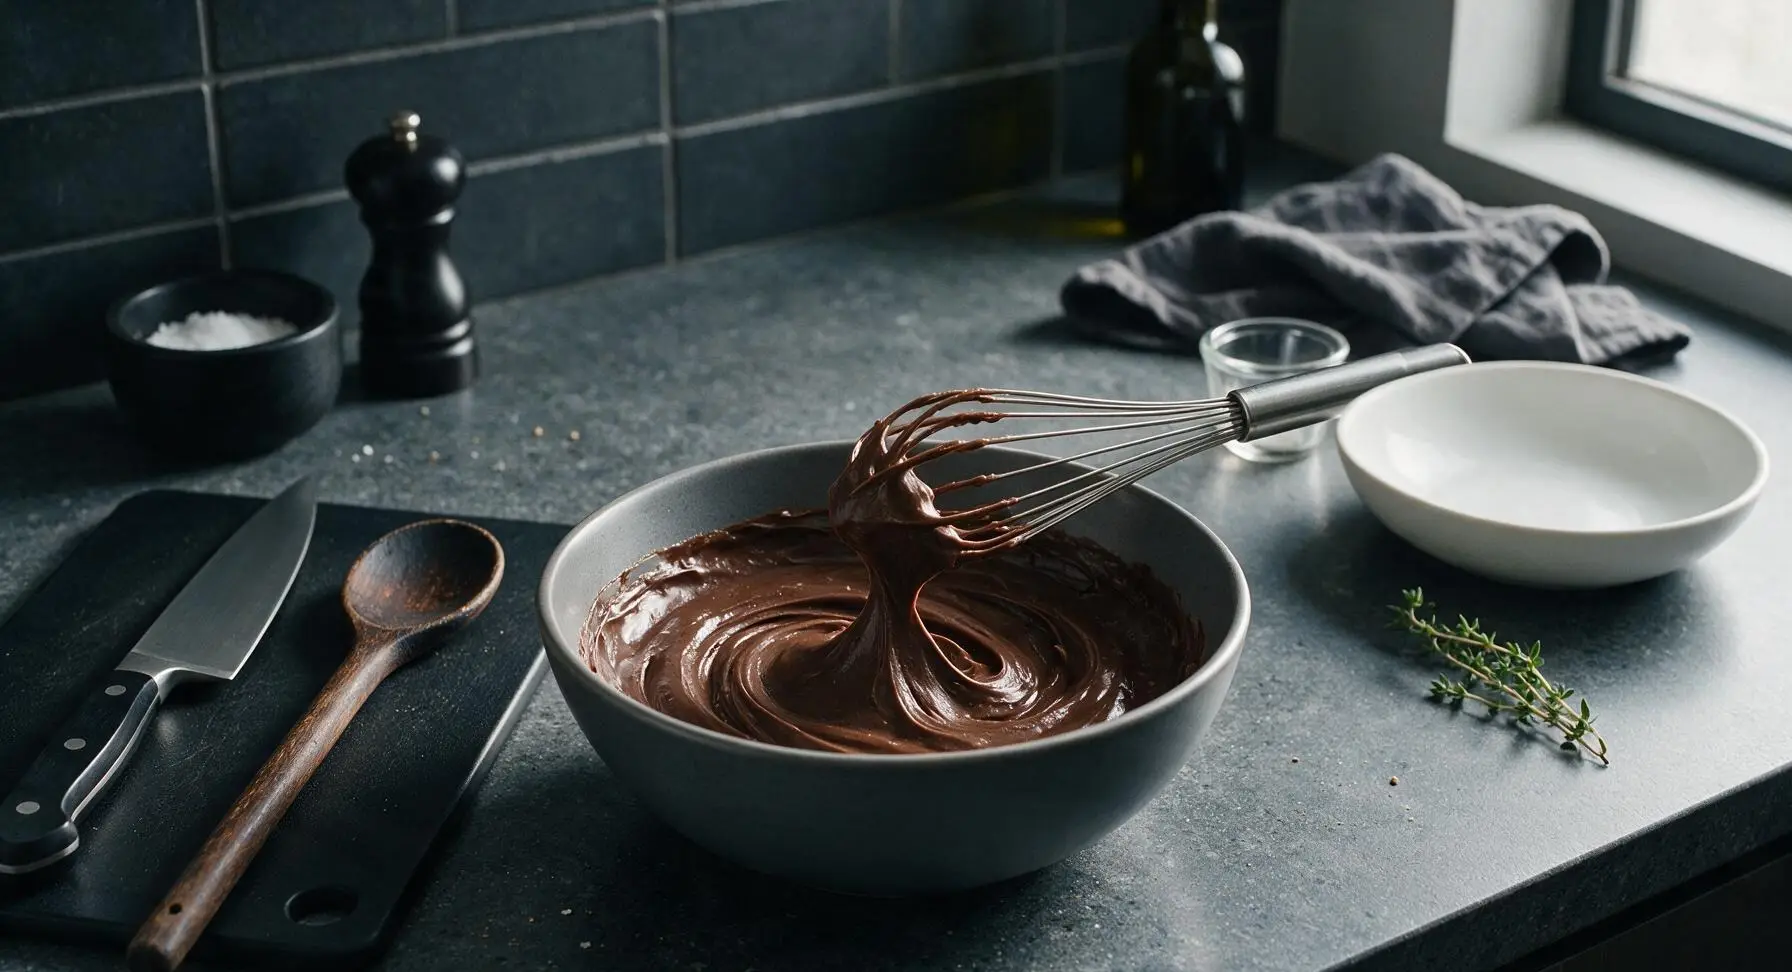
Step 5
step5:Mix Chocolate Pudding Layer
Step 5
step5:Mix Chocolate Pudding Layer
6

Spread Chocolate Pudding Layer

Scoop all of the thickened chocolate pudding on top of the set cream cheese layer. Use the silicone spatula to gently spread the pudding into an even, level layer across the entire surface, taking care not to mix the pudding into the cream cheese layer below. Once spread, the layers will show a sharp contrast between pale cream and dark chocolate.
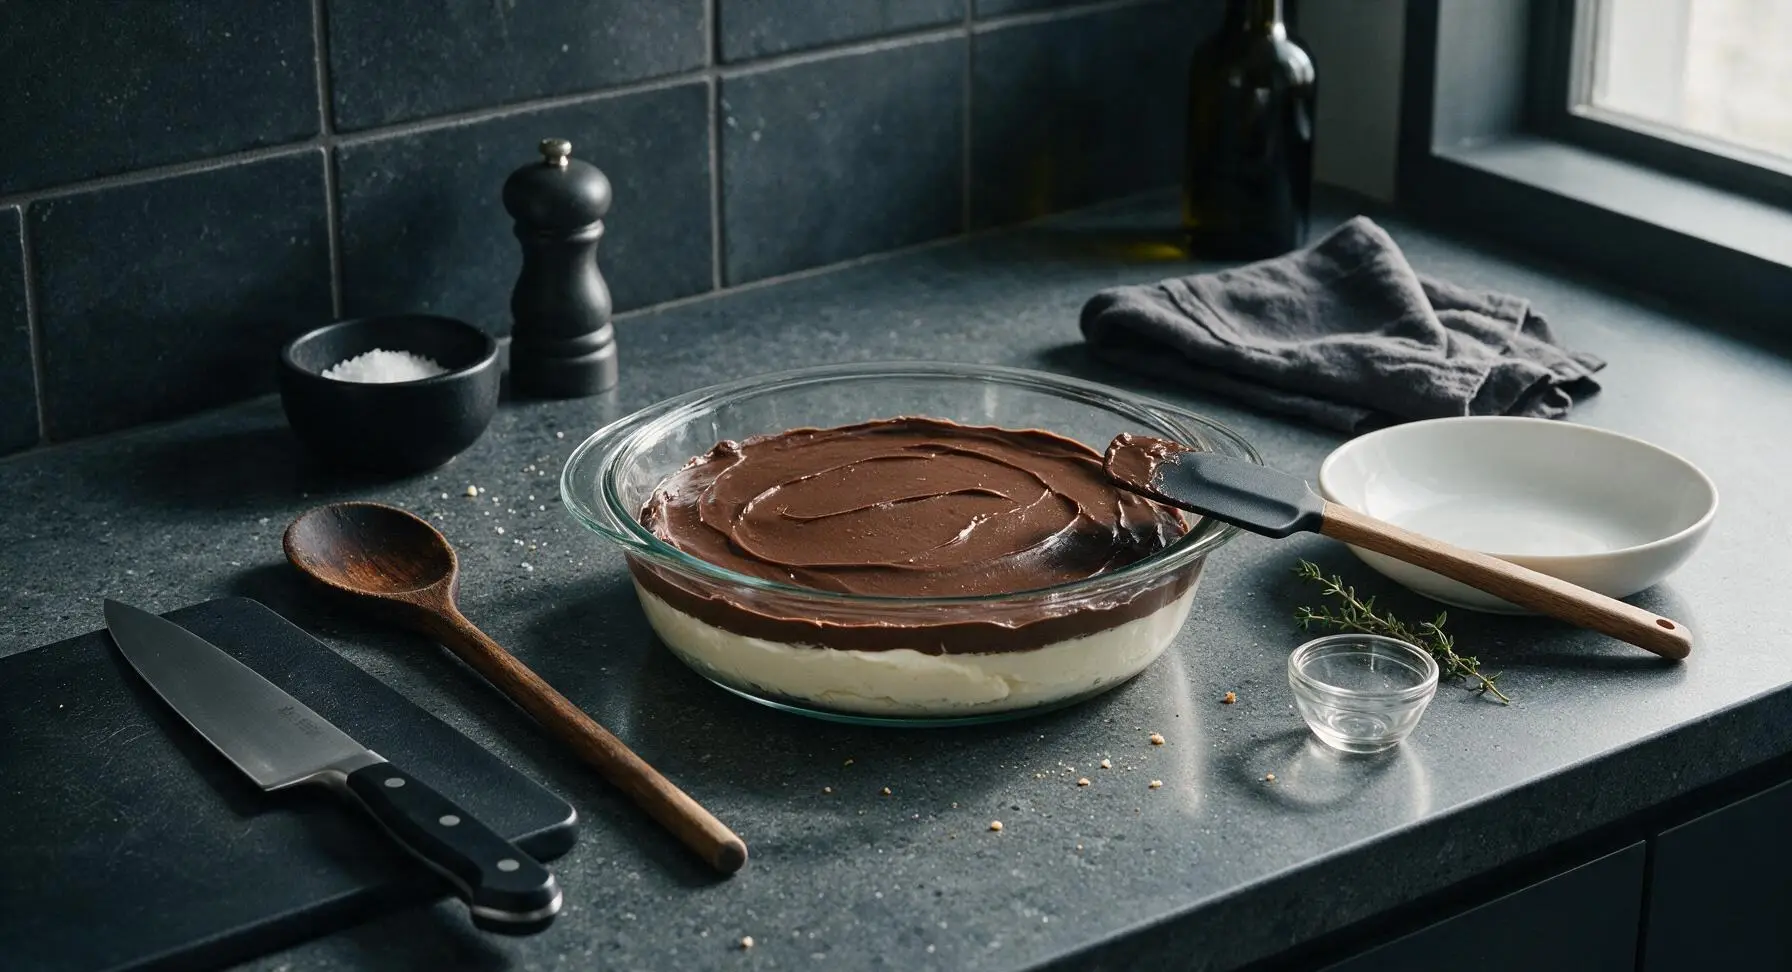
Step 6
step6:Spread Chocolate Pudding Layer
7

Top With Whipped Topping

Scoop the remaining 8 oz of thawed whipped topping on top of the chocolate pudding layer. Gently spread it into a thick, fluffy even layer across the top, taking care not to drag chocolate pudding up into the whipped topping. Leave the top of the whipped topping slightly swirled and textured, not perfectly smooth, for a homemade look.
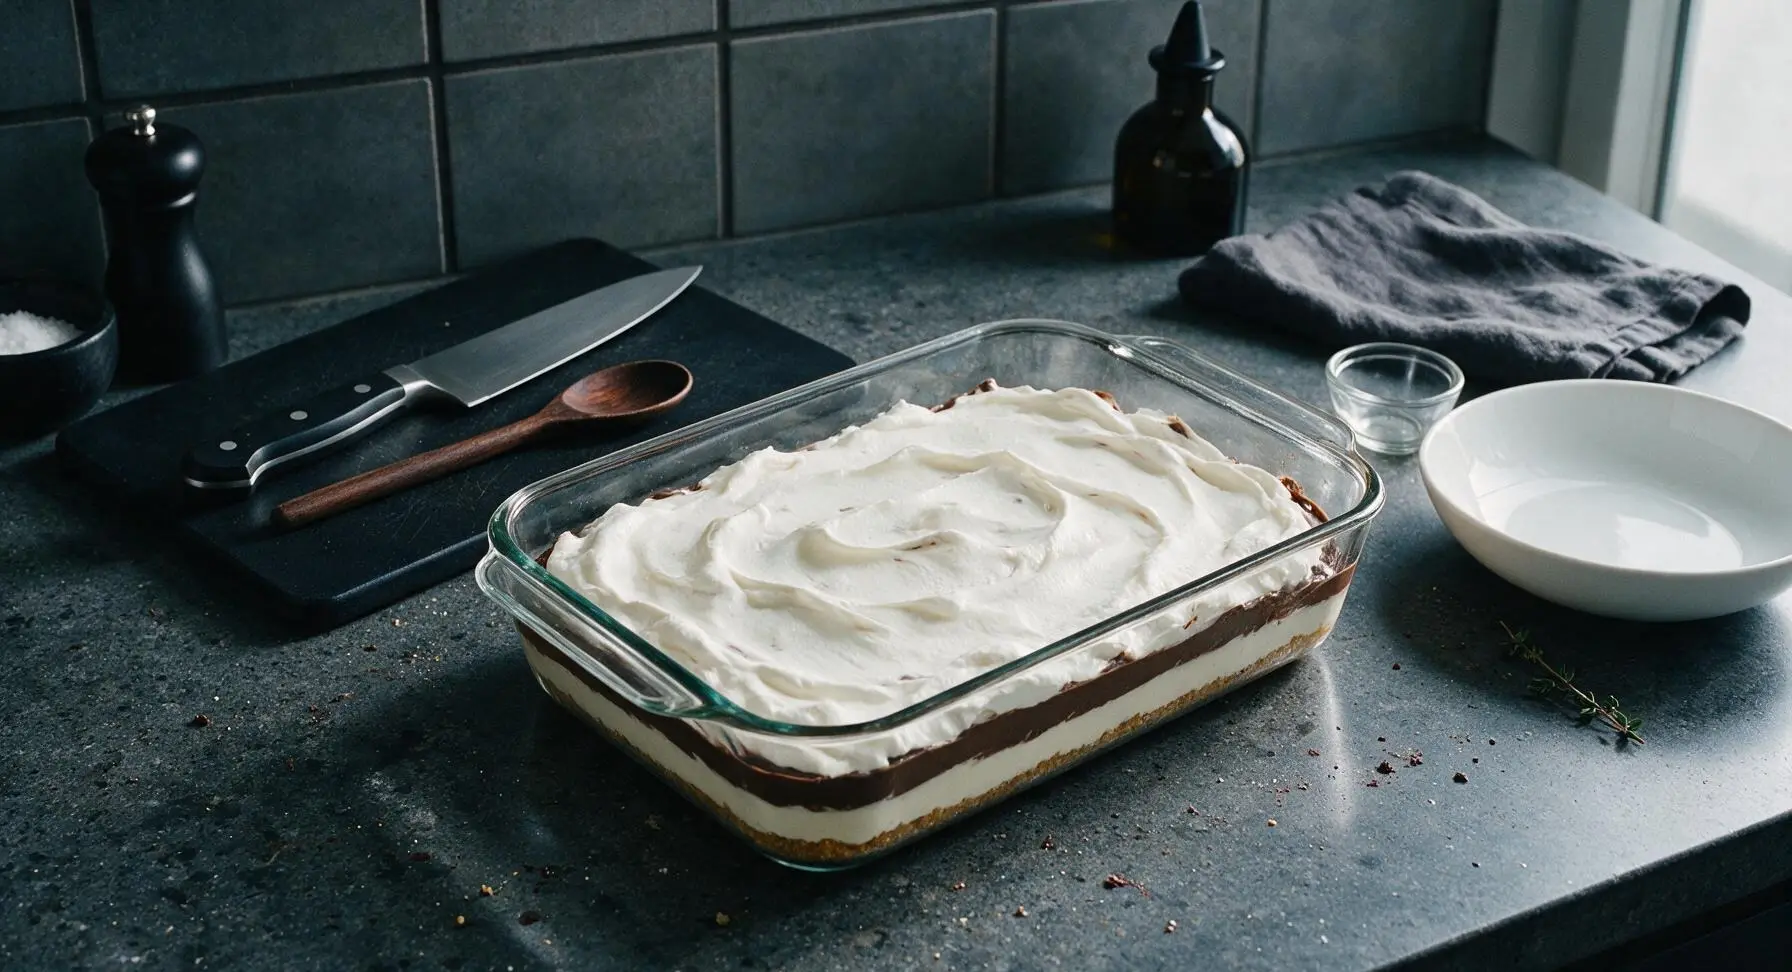
Step 7
step7:Top With Whipped Topping
8

Garnish and Chill Dessert

Run the dark chocolate bar across the small holes of the stainless steel box grater to create fine chocolate shavings. Sprinkle the shavings evenly across the top of the whipped topping, then add a light pinch of flaky sea salt. Cover the dish loosely with plastic wrap and chill in the refrigerator for a minimum of 2 hours (or up to 24 hours) until fully set before slicing into 9 equal squares and serving.
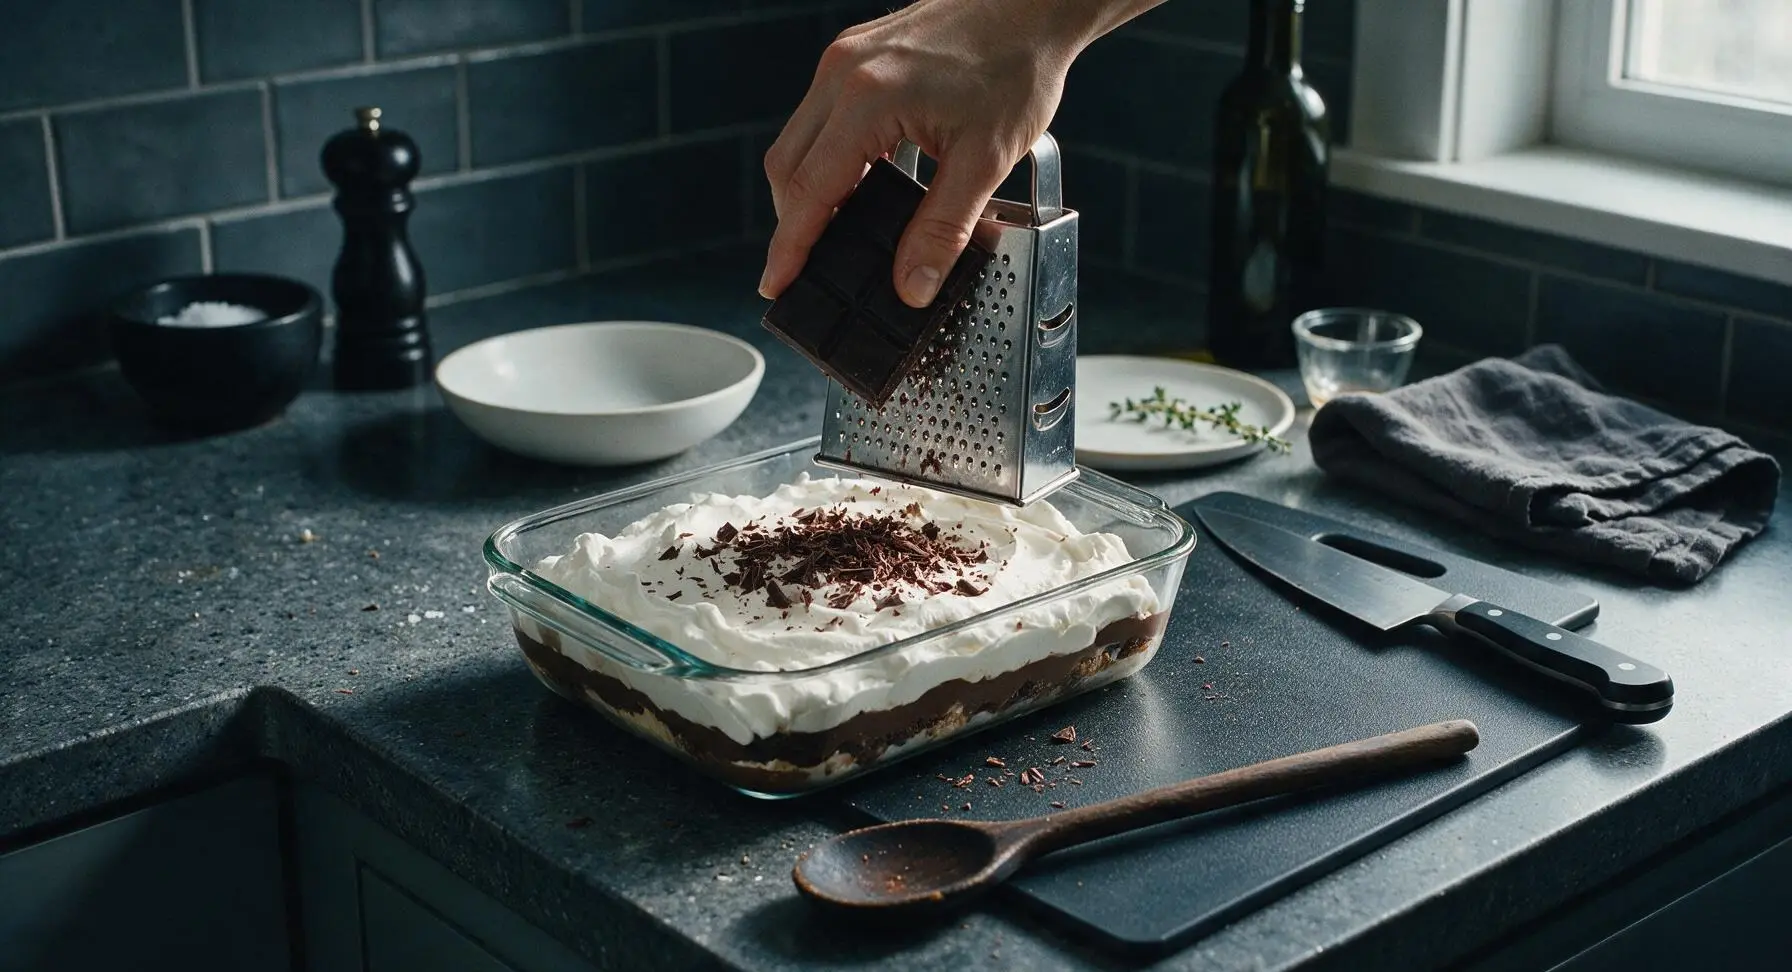
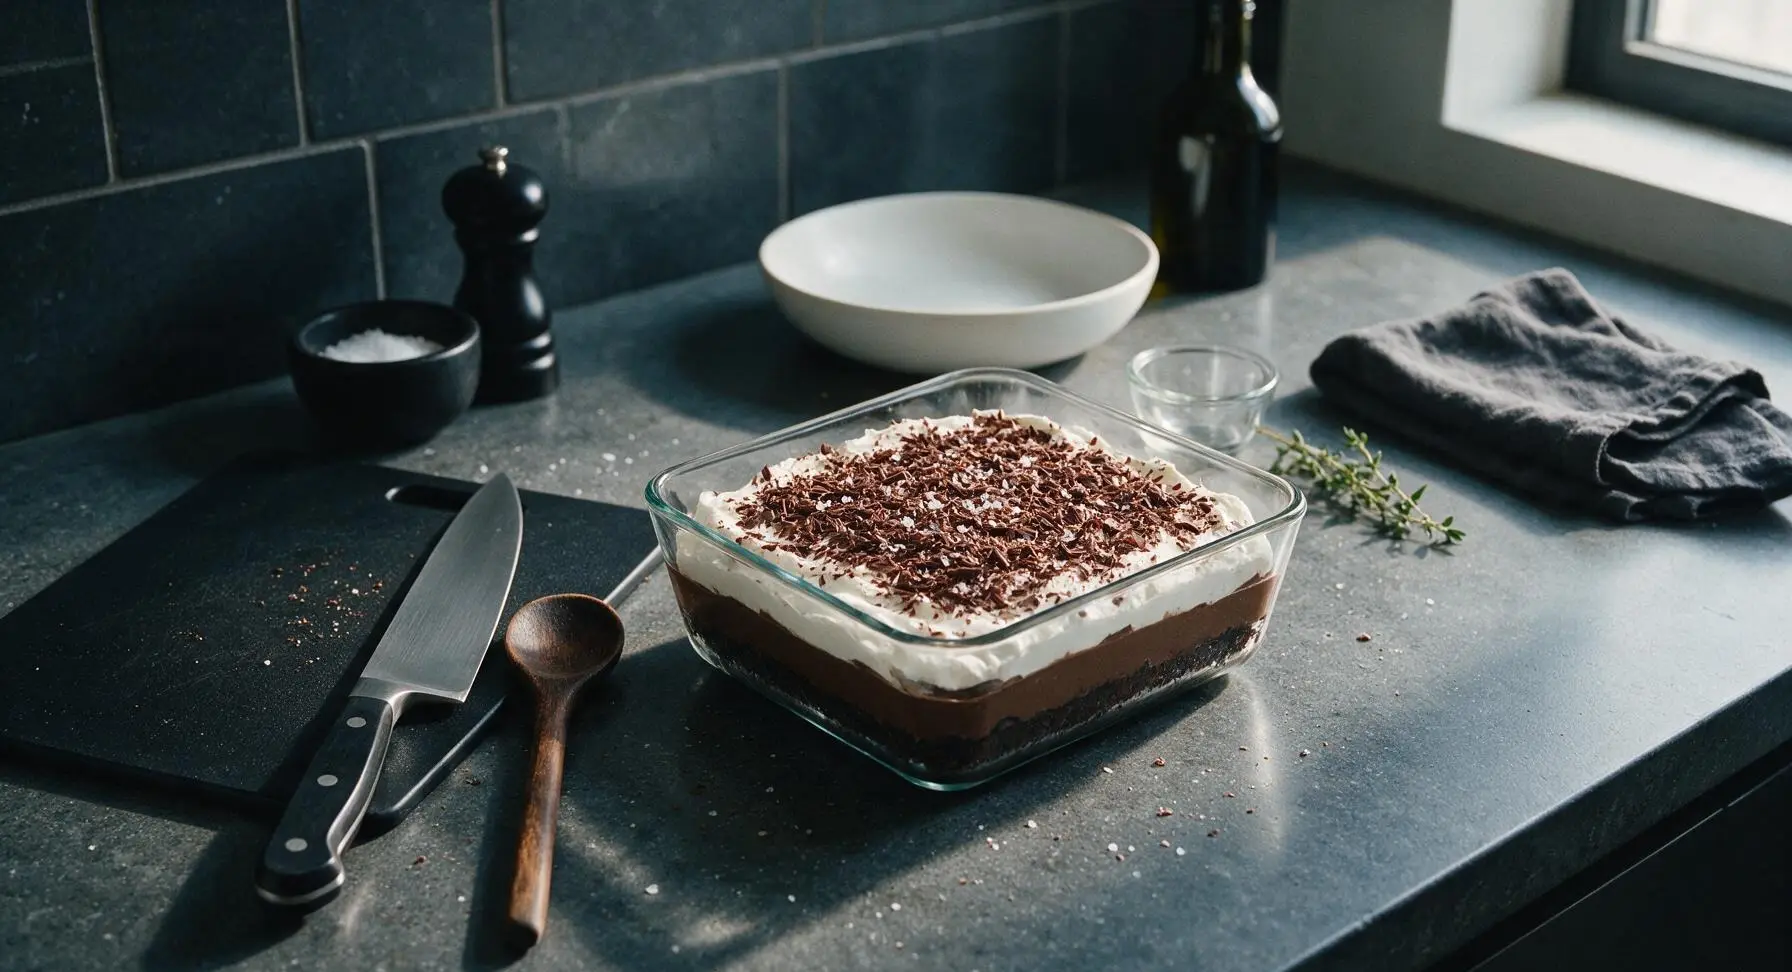
Step 8
step8:Garnish and Chill Dessert
Step 8
step8:Garnish and Chill Dessert

Tips

1.Always let the baked pecan crust cool completely to room temperature (about 30 minutes) before adding creamy fillings: a warm crust will melt the cream cheese and pudding layers, causing runny, muddled layers instead of clean, distinct stripes.
2.Use ice-cold whole milk straight from the refrigerator when mixing instant pudding: milk that is even slightly warm will prevent the pudding from setting to a thick, spreadable consistency, leading to a soggy, sliding dessert.
3.Make this dessert 12 to 24 hours ahead of serving for the best texture: the extended chill time lets the crust soften slightly as it absorbs a small amount of filling moisture, and the flavors meld together, making it ideal for stress-free potluck entertaining.


✨ You May Also Like

Desserts & Baking
🍜 Italy

Creamy, coffee-kissed classic Northern Italian no-bake dessert, with layers of rum-spiked mascarpone cream, soft ladyfingers, and a rich cocoa dusting.

⏱️ 4 hours 3Desserts & Baking ★ 4.7
Desserts & Baking
🍜 France

Flaky, shatteringly crisp, buttery French croissants with golden exteriors and soft, airy layered interiors, perfect for pairing with coffee for a special morning treat.

⏱️ 12 hours Desserts & Baking ★ 4.5
Desserts & Baking
🍜 United States

Warm, spiced baked apples topped with a fluffy golden biscuit crust, this cozy dessert pairs perfectly with vanilla ice cream for cool-weather comfort.

⏱️ 55 minuteDesserts & Baking ★ 4.6
Desserts & Baking
🍜 United States

A star-spangled classic American blueberry pie with buttery flaky crust and bright sweet-tart filling, perfect for summer patriotic gatherings.

⏱️ 1 hour 25Desserts & Baking ★ 4.7
Desserts & Baking
🍜 United States

A beloved no-bake regional Maine candy with a chewy coconut-potato center coated in rich dark chocolate, a New England holiday staple since the 1870s.

⏱️ 2 hours 3Desserts & Baking ★ 4.8
Desserts & Baking
🍜 France

Luxuriously creamy, floral frozen custard made with aromatic Tahitian vanilla beans, boasting a smooth, rich texture that melts slowly on the tongue.

⏱️ 3 hours 3Desserts & Baking ★ 4.5

chocolate lush:Frequently Asked Questions

1.Do I have to use pecans in the crust, or can I swap them for another ingredient? ▾
You absolutely can swap pecans to suit allergies or taste preferences! Finely chopped walnuts, toasted almonds, or hazelnuts work beautifully as a 1:1 replacement for a similarly rich, nutty crunch. If you need a nut-free option, swap pecans for an equal measure of crushed vanilla wafer crumbs for a buttery, crisp crust that pairs perfectly with the chocolate layers.
2.Why do I need to use full-fat block cream cheese instead of low-fat or whipped cream cheese? ▾
Full-fat block cream cheese gives the cream cheese layer that signature smooth, rich, dense texture that holds its shape when sliced. Low-fat or whipped tub cream cheese has higher water content and added stabilizers that can make the layer runny, watery, or grainy, leading to soggy crust and messy, uneven slices that don’t hold their layered structure.
3.How important is it to soften the cream cheese to room temperature first? ▾
It’s extremely important for a lump-free cream cheese layer! Cold cream cheese will not blend smoothly with powdered sugar, leaving you with unappetizing lumps no amount of mixing can fix. Let it sit on the counter for 1 to 2 hours before mixing; it’s ready when it gives slightly when pressed gently, with no cold, firm core.
4.Why do I need to sift the powdered sugar for the cream cheese layer? ▾
Sifting powdered sugar removes tiny, hard clumps that form during storage, which would otherwise leave gritty, white flecks throughout your smooth cream cheese layer. You don’t need a fancy sifter—just pour the sugar into a fine-mesh strainer and tap it gently over your mixing bowl to break up clumps in 30 seconds for a perfectly silky result.
5.Can I make this dessert ahead of time for a party? ▾
Absolutely! Classic chocolate lush is actually better when made ahead, because it gives the layers time to set and the flavors time to meld. You can assemble it fully, cover it tightly with plastic wrap, and store it in the fridge for up to 3 days before serving. Just hold off on adding chocolate shavings until right before serving to keep them fresh, not streaky from condensation.
6.How long does chocolate lush need to chill before it’s ready to serve? ▾
You need to let it chill for a minimum of 4 hours, though overnight is ideal, to let every layer fully set. If you cut into it too early, the layers will slide apart, the pudding will be runny, and you’ll end up with messy, uneven slices instead of clean, distinct layered pieces. Store it on the coldest fridge shelf, not the door, for the most even set.
7.Can I use instant chocolate pudding instead of cooked pudding for the chocolate layer? ▾
Yes, instant chocolate pudding works perfectly for this recipe as long as you use regular full-fat instant pudding, not sugar-free or reduced-sugar varieties that can have an odd artificial aftertaste and softer set. Mix it according to the package directions for pie filling, which uses slightly less milk, to get a thick, firm layer that won’t run into adjacent layers.
8.My crust came out soggy after assembling the lush—what did I do wrong? ▾
Soggy crust usually happens for one of two reasons: either you didn’t bake the pecan crust fully before adding layers, so it stayed soft and greasy, or you added warm fillings to the cooled crust, which melted butter that seeped into the crumbs. Always bake the crust 15-18 minutes at 350°F, let it cool fully, and use chilled fillings for layering.
9.What kind of whipped topping works best for the top layer? ▾
You can use either homemade sweetened whipped cream or store-bought frozen whipped topping, thawed in the fridge first. If using homemade whipped cream, beat 2 cups heavy cream with 2 tablespoons powdered sugar until it forms stiff, stable peaks so it doesn’t deflate or weep into the pudding layer during chilling. Avoid over-whipping, which turns cream grainy.
10.Can I freeze chocolate lush to store it for longer? ▾
You can freeze fully assembled chocolate lush for up to 1 month, wrapped tightly in two layers of plastic wrap and a layer of aluminum foil to prevent freezer burn and off-flavors. Thaw it in the fridge overnight before serving; note that the whipped topping may soften slightly and the crust may lose a little crispness compared to a freshly made batch.
11.How do I make neat, clean slices when serving chocolate lush? ▾
For perfect, clean slices that show off every distinct layer, dip a sharp, thin-bladed knife in a glass of hot water, wipe the blade dry with a paper towel, and make one smooth cut. Repeat the hot water dip and wipe between every single cut to prevent creamy layers from sticking to the blade and dragging for picture-perfect results.
12.Can I add extra mix-ins to the layers for more flavor? ▾
Absolutely! You can stir mini chocolate chips, toasted coconut, or a splash of vanilla extract into the cream cheese layer, add a thin layer of salted caramel between the cream cheese and pudding, or sprinkle extra toasted pecans over the top with chocolate shavings. Skip juicy mix-ins like fresh berries, which release water and make layers soggy.
13.Do I have to use unsalted butter for the pecan crust? ▾
Using unsalted butter lets you control the exact salt level of the crust, so it doesn’t come out overly salty if your pecans or other ingredients already have added salt. If you only have salted butter on hand, you can still use it—just skip any extra added salt in the crust, and make sure butter is fully melted to evenly coat flour and pecan crumbs.
14.Why did my cream cheese layer turn out lumpy even after mixing? ▾
Lumps almost always come from using cream cheese that was too cold when you mixed it, or from not sifting your powdered sugar first. If you already have lumps, you can press the mixture through a fine-mesh sieve with a rubber spatula to break up any remaining clumps before spreading it over the cooled crust for a perfectly smooth layer.
15.What kind of dark chocolate is best for the finishing shavings? ▾
Use a good quality 60-70% cacao dark chocolate bar for shavings, not baking chips, which have added stabilizers that make them hard to shave smoothly. Let the bar sit at room temperature for 10 minutes first, then run a vegetable peeler along the flat edge to make delicate, curly shavings that add rich, deep chocolate contrast to the sweet, creamy layers.
16.Can I make this in a 9x13 pan, or do I need a special dish? ▾
A standard 9x13 inch glass or ceramic baking dish works perfectly for classic chocolate lush—you don’t need any special bakeware. Glass is ideal because it lets you see the distinct layers from the side, and it holds a consistent cold temperature in the fridge to help layers set evenly. Just make sure your dish has 2-inch high sides to fit all layers.
17.My pudding layer didn’t set up firm enough—what went wrong, and can I fix it? ▾
A soft pudding layer usually happens if you used too much milk when mixing the pudding, or if you didn’t let it rest 5 to 10 minutes after mixing before spreading it over the cream cheese layer. If it’s already assembled, pop the lush back in the fridge for an extra 2 to 3 hours to firm up; next time, use ¼ cup less milk for a sturdier layer.

Comments (13)

2 days ago

OMG this Classic Chocolate Lush was a total game changer for our Sunday family dinner! I was worried it’d be fussy since it’s a layered dessert, but it was so easy even my 10 year old helped me spread the layers. Everyone went back for seconds, even my super picky father-in-law who swears he doesn’t like sweet stuff. 10/10, will be making this for every potluck from now on!

yesterday

That makes me so happy to hear! It’s such a great recipe to get kids involved with since there’s no fancy equipment or tricky steps needed. So glad your father-in-law approved too!

yesterday

Same! I brought this to my office potluck last week and the whole pan was gone in 10 minutes. People were begging me for the recipe!

3 days ago

I don’t bake much at all, like I’m the guy who burns store-bought cookie dough half the time. But this was labeled easy so I gave it a shot for my wife’s birthday, and y’all… it turned out perfect? No lumps in the cream cheese layer, the crust was buttery and crunchy, the chocolate layer was so rich. She thought I bought it from the fancy bakery down the street lmao. Only note: make sure you leave enough time for it to chill all the way, I almost cut into it an hour early and it was runny.

2 days ago

Great tip about the chill time! A lot of people are tempted to dig in early, but that full 2+ hours in the fridge is what helps all the layers set up perfectly. So stoked it was a birthday hit for your wife!

1 week ago

SO good. I swapped the regular cool whip for the chocolate version just for extra chocolate oomph, and it was chef’s kiss. The pecan crust is my favorite part, it adds the perfect little salty crunch to balance all the sweet creamy layers. Already have the ingredients bought to make it again this weekend for my book club.

5 days ago

Made this for our neighborhood block party last weekend and I lost count of how many people asked for the recipe! I did add a little extra chocolate shavings on top for garnish, just to make it look fancy, and it looked like I spent hours on it. Joke’s on everyone, it took me 20 minutes of actual prep time, the rest was just waiting for it to chill in the fridge.

3 days ago

Wait the chocolate shavings garnish is such a good idea! I’m making this for my kid’s soccer team banquet next week and that’ll make it look so much more put together. Did you use milk chocolate or dark chocolate shavings?

3 days ago

Love the chocolate shavings hack! A quick sprinkle of flaky sea salt on top is also amazing if you’re into that sweet-salty combo, for anyone who wants to switch it up.

2 weeks ago

Okay so I live in a dorm with a super tiny mini fridge, I was worried I wouldn’t have space for the pan, but I split it into two little 8x6 containers and it worked perfectly! Super cheap to make too, split the cost with my roommates and we had dessert for the whole week for like $4 each. Way better than the sad vending machine candy bars we usually eat. Only issue was my roommate ate half of it without asking smh.

1 week ago

So smart to split it into smaller containers for mini fridges! That’s a great hack for college dorms or small apartments. Sorry about your roommate though, we’ve all been there when a good dessert is too hard to resist 😂

yesterday

I’ve been making a version of chocolate lush for 40 years, and this recipe is almost exactly the one my mom passed down to me! The only difference is I add a thin layer of peanut butter between the cream cheese and pudding layer sometimes, if I have it on hand. Tasted just like I remembered, my grandkids devoured half the pan before dinner even started.

2 hours ago

Tried this for the first time yesterday, and honestly? The only thing I messed up was I forgot to let the cream cheese soften all the way, so there were a few tiny lumps in that layer. But honestly? No one even noticed, it still tasted amazing. Next time I’ll set the cream cheese out an hour ahead like the recipe says, duh.

30 minutes ago

Oh I did the exact same thing my first time making it! I zapped the cream cheese in the microwave for 10 seconds at a time until it was soft, just make sure you don’t melt it all the way or it gets runny. Fixed the lump problem instantly!

1 week ago

I meal prepped a bunch of stuff for the week on Sunday and threw this together while my lasagna was in the oven. It was so easy to fit into my prep routine, I didn’t even have to make a separate trip to the grocery store because I already had all the ingredients on hand. My kids loved it so much they asked if they can have it in their school lunches this week, which is the highest possible praise tbh.

5 days ago

Love that it fit right into your meal prep routine! That’s the best kind of recipe, right? No fancy ingredients, minimal effort, totally crowd-pleasing. Your kids have great taste!

3 days ago

Wait how did it hold up in school lunches? I’ve been looking for desserts that don’t get all mushy in a lunch box, this might be perfect if it stays solid.

5 minutes ago

I’m not gonna lie, I was skeptical of a no-bake dessert being this good, but wow. The crust is buttery, the cream cheese layer is tangy and sweet, the chocolate layer is rich but not overpowering, and the whipped cream on top makes it so light. I ate three slices in one sitting, no shame. Already recommended it to all my friends who say they can’t bake.

just now

No shame at all, three slices is a totally normal serving size when it comes to chocolate lush, in my professional opinion 😂 So glad you gave no-bake desserts a chance!

3 days ago

Made this for my hiking group potluck last weekend after a big trail day, and it was the perfect post-hike treat. Not too heavy, super chocolatey, didn’t melt on the drive up to the trailhead which was a huge win (I kept it in a cooler the whole time, just to be safe). Will definitely be adding this to my regular camping/potluck recipe rotation.

2 weeks ago

I hosted a girls’ night last week and made this as the dessert, and everyone was raving. I served it with a little raspberry compote on the side for people who wanted a fruity twist, and the tartness of the raspberries paired so well with the rich chocolate. 10/10, will be making this again for my next dinner party for sure.

1 week ago

Raspberry compote sounds insane! I bet that cuts the richness so nicely. I usually serve it with fresh strawberries, but compote is next level.

1 week ago

That raspberry pairing is chef’s kiss! I love serving it with fresh berries too, it adds such a bright pop of flavor that balances all that creamy chocolate perfectly. Great call!

30 minutes ago

Super easy recipe, but I have a question – can I make this with a gluten-free crust? My sister has celiac and I want to make this for her upcoming birthday, but I don’t want to mess up the texture. I was thinking gluten-free graham crackers instead of regular for the crust, would that work?

5 minutes ago

Gluten-free graham crackers work perfectly for the crust! I’ve made it that way several times for gluten-free friends, and you can’t even tell the difference. Just make sure you press the crust firmly into the pan so it holds together when you slice it, and you’re good to go!

yesterday

My twin boys are obsessed with anything chocolate, so I made this for their after-school snack last week and they went wild. They kept asking for more of the 'chocolate fluffy stuff' for three days straight. I love that it’s easy enough to throw together on a weeknight without a bunch of cleanup too, which is a lifesaver with two 8 year olds running around.



