
Chocolate malt milkshake

title 1
Chocolate malt milkshake
⏱️ cook time 0 minutes
🍽️ servings 2
⚡ Difficulty easy

intro

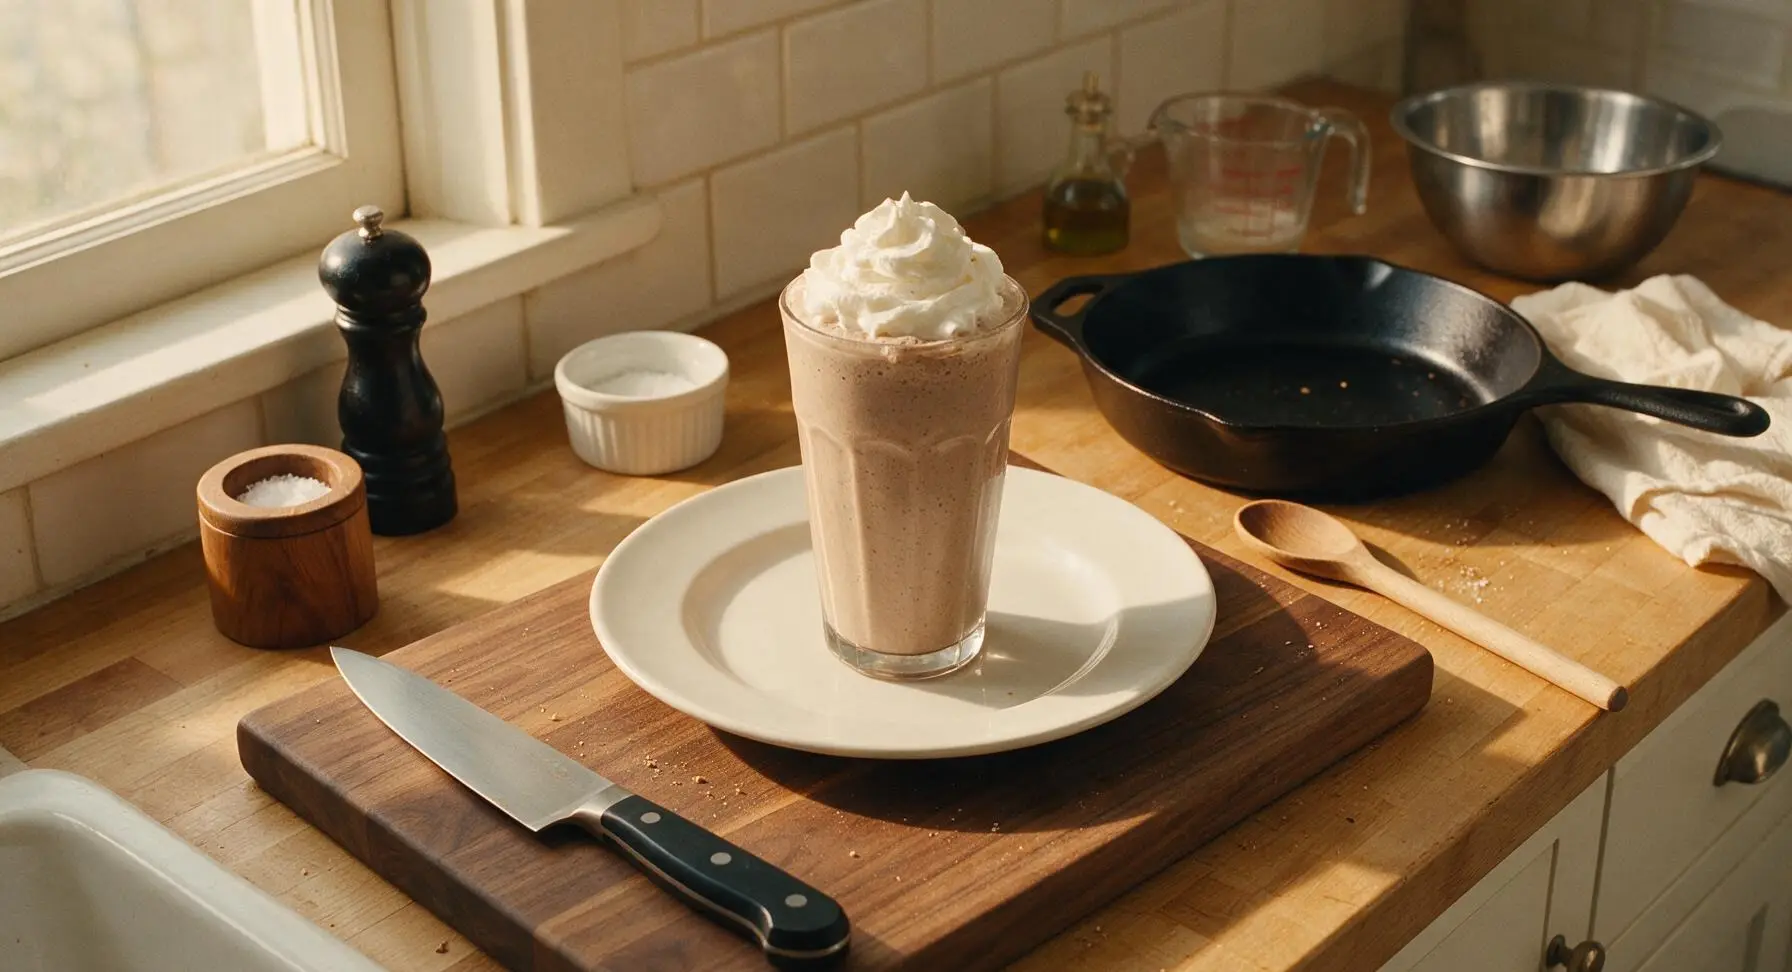
Thick, creamy, nostalgic chocolate malt milkshake with deep cocoa flavor and toasty malt notes, topped with fluffy whipped cream—classic American diner perfection.

Ingredients
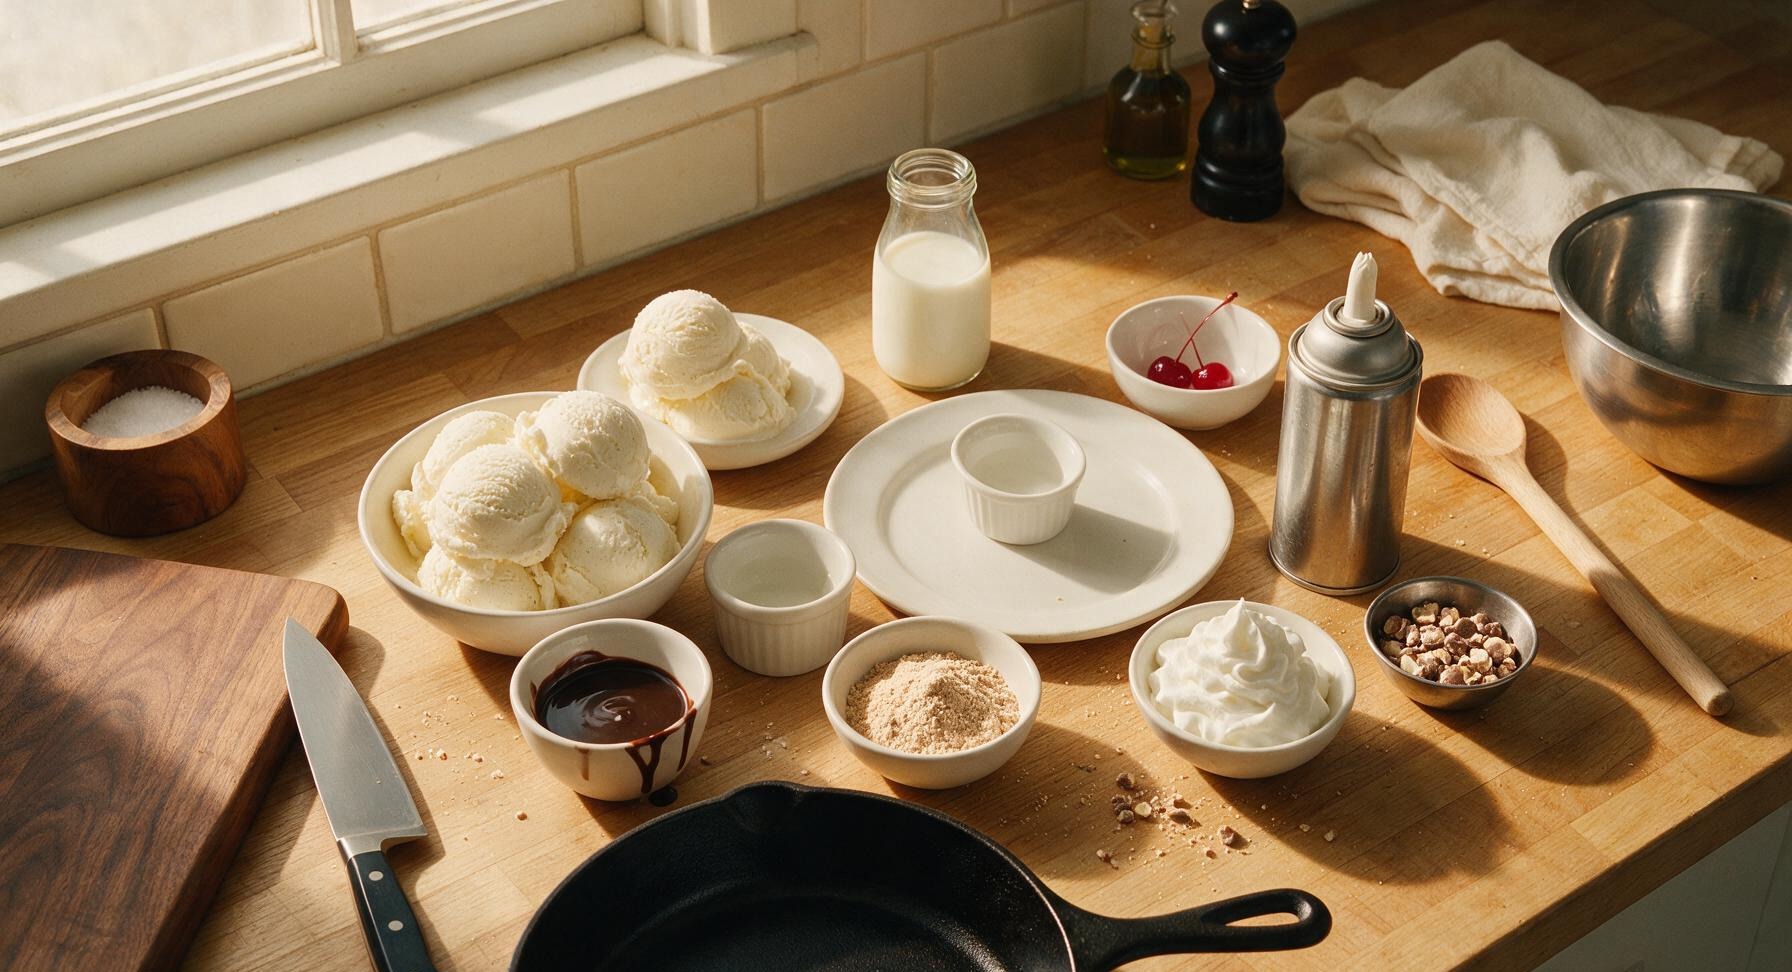
Premium vanilla bean ice cream 3 cups (6 large scoops)
Sweetened chocolate syrup 1/3 cup, plus extra for drizzling
Original malted milk powder 1/4 cup
Cold whole milk 1/2 cup
Pressurized real dairy whipped cream 1/4 cup
Maraschino cherries (with stems) 2
Crushed malted milk balls 2 tbsp

Steps

1

Measure All Ingredients

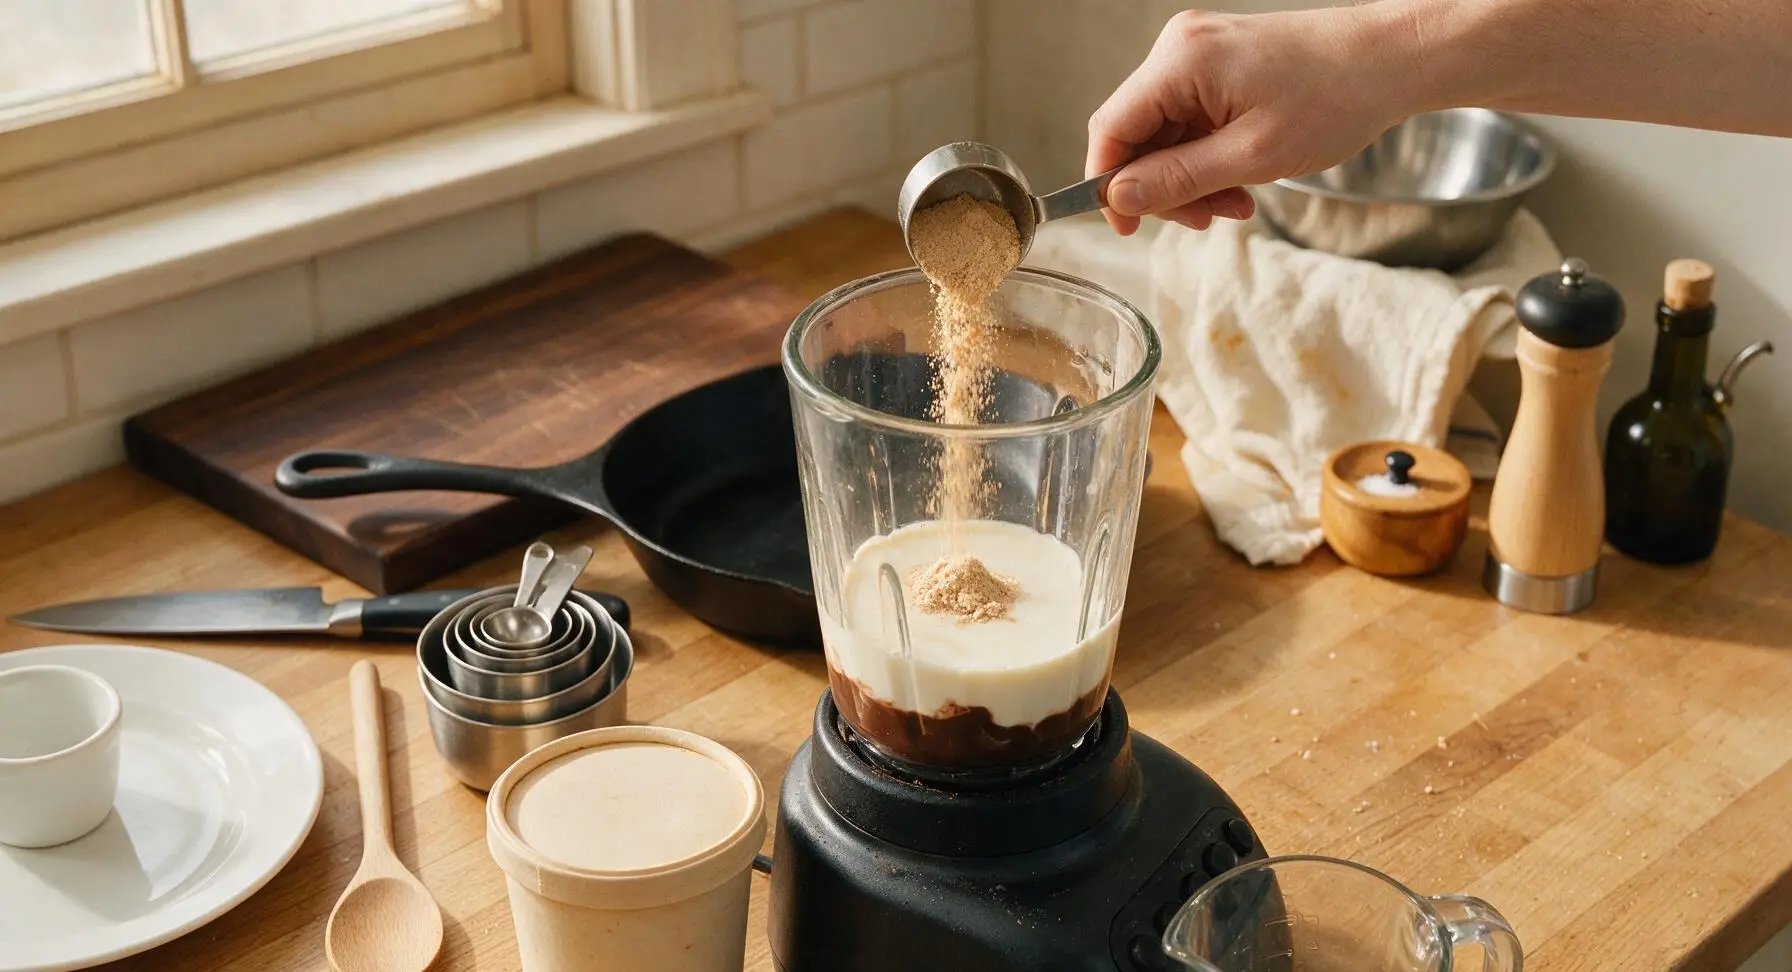
Start with fully chilled ingredients: keep ice cream stored in the freezer until ready to use, and ensure whole milk has been chilled for at least 2 hours for the thickest result. Using the brushed stainless steel measuring cups and spoons, measure 1/2 cup cold whole milk, 1/3 cup chocolate syrup, and 1/4 cup malted milk powder. Add these three liquid and dry ingredients directly to the bottom of the clear blender jar first—this prevents dry malt powder from getting trapped under the blender blades, which causes grainy clumps in the finished shake. Set measured ingredients aside temporarily while you prep the ice cream.
Step 1
step1:Measure All Ingredients
2

Add Ice Cream to Jar

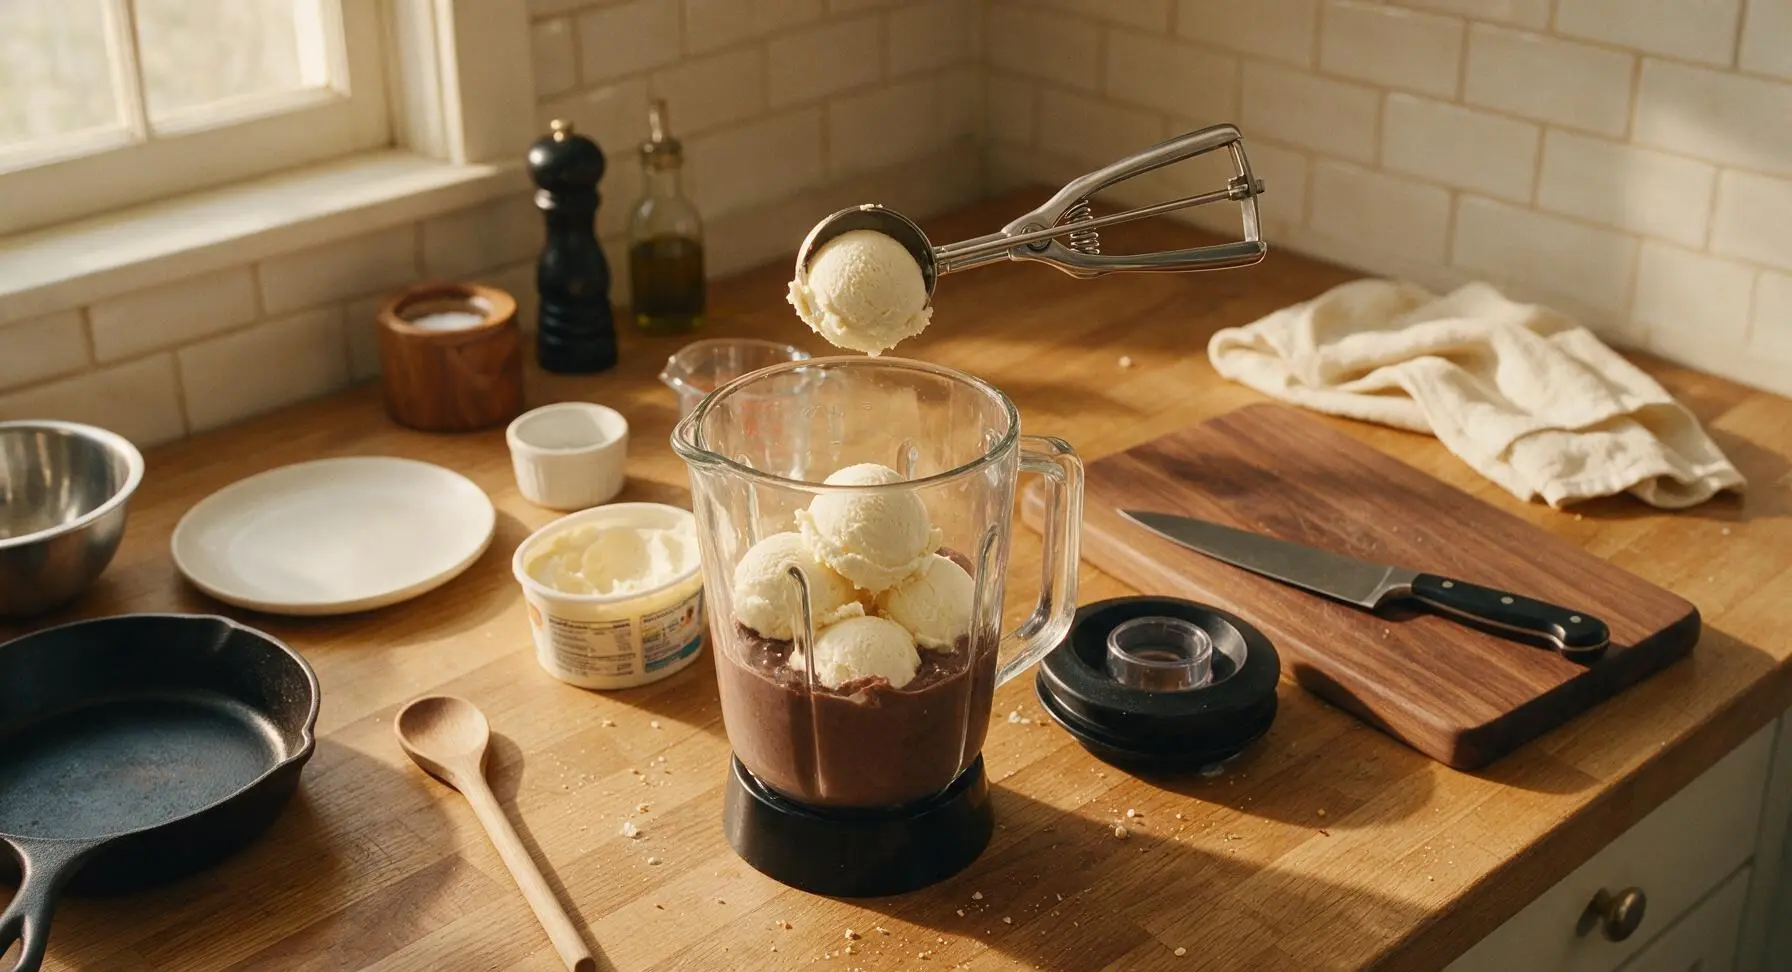
Remove the ice cream tub from the freezer immediately before use to prevent excess melting. Using the polished stainless steel spring-loaded ice cream scoop, add 6 level, rounded scoops (3 cups total) of vanilla ice cream to the blender jar, placing scoops directly on top of the milk, syrup, and malt powder mixture. Leave 2cm of empty space at the top of the jar to prevent overflow during blending, then press the black plastic blender lid firmly into place to create a tight seal.
Step 2
step2:Add Ice Cream to Jar
3

Blend to Thick Consistency

Set the blender to medium-low speed, and blend for 15 to 20 seconds total. Pause the blender halfway through, remove the lid, and use the matte white silicone spatula to scrape down any malt powder or chocolate syrup stuck to the inner sides of the jar, pushing it down toward the blades. Reseal the lid and finish blending. Do not over-blend (more than 25 seconds total), as this will melt the ice cream and result in a thin, watery shake. The finished mixture should be uniform deep chocolate brown with no visible streaks of unblended ice cream or dry malt powder, and thick enough that a spoon stands upright when inserted into the center.
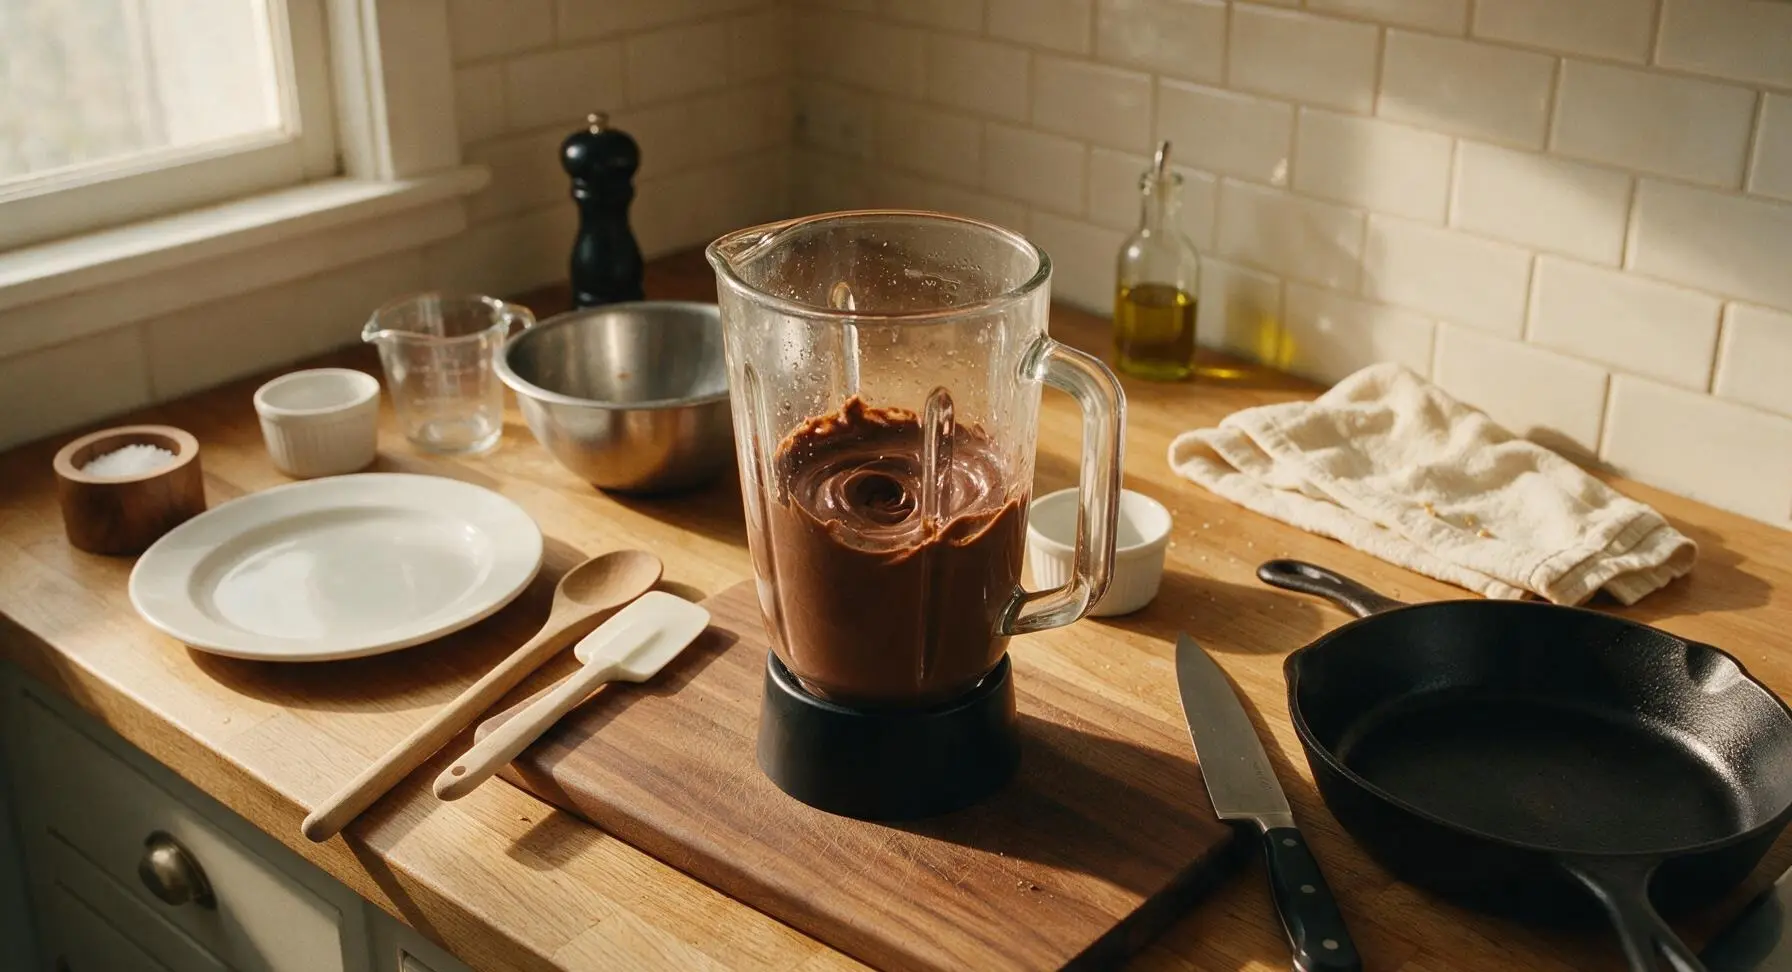
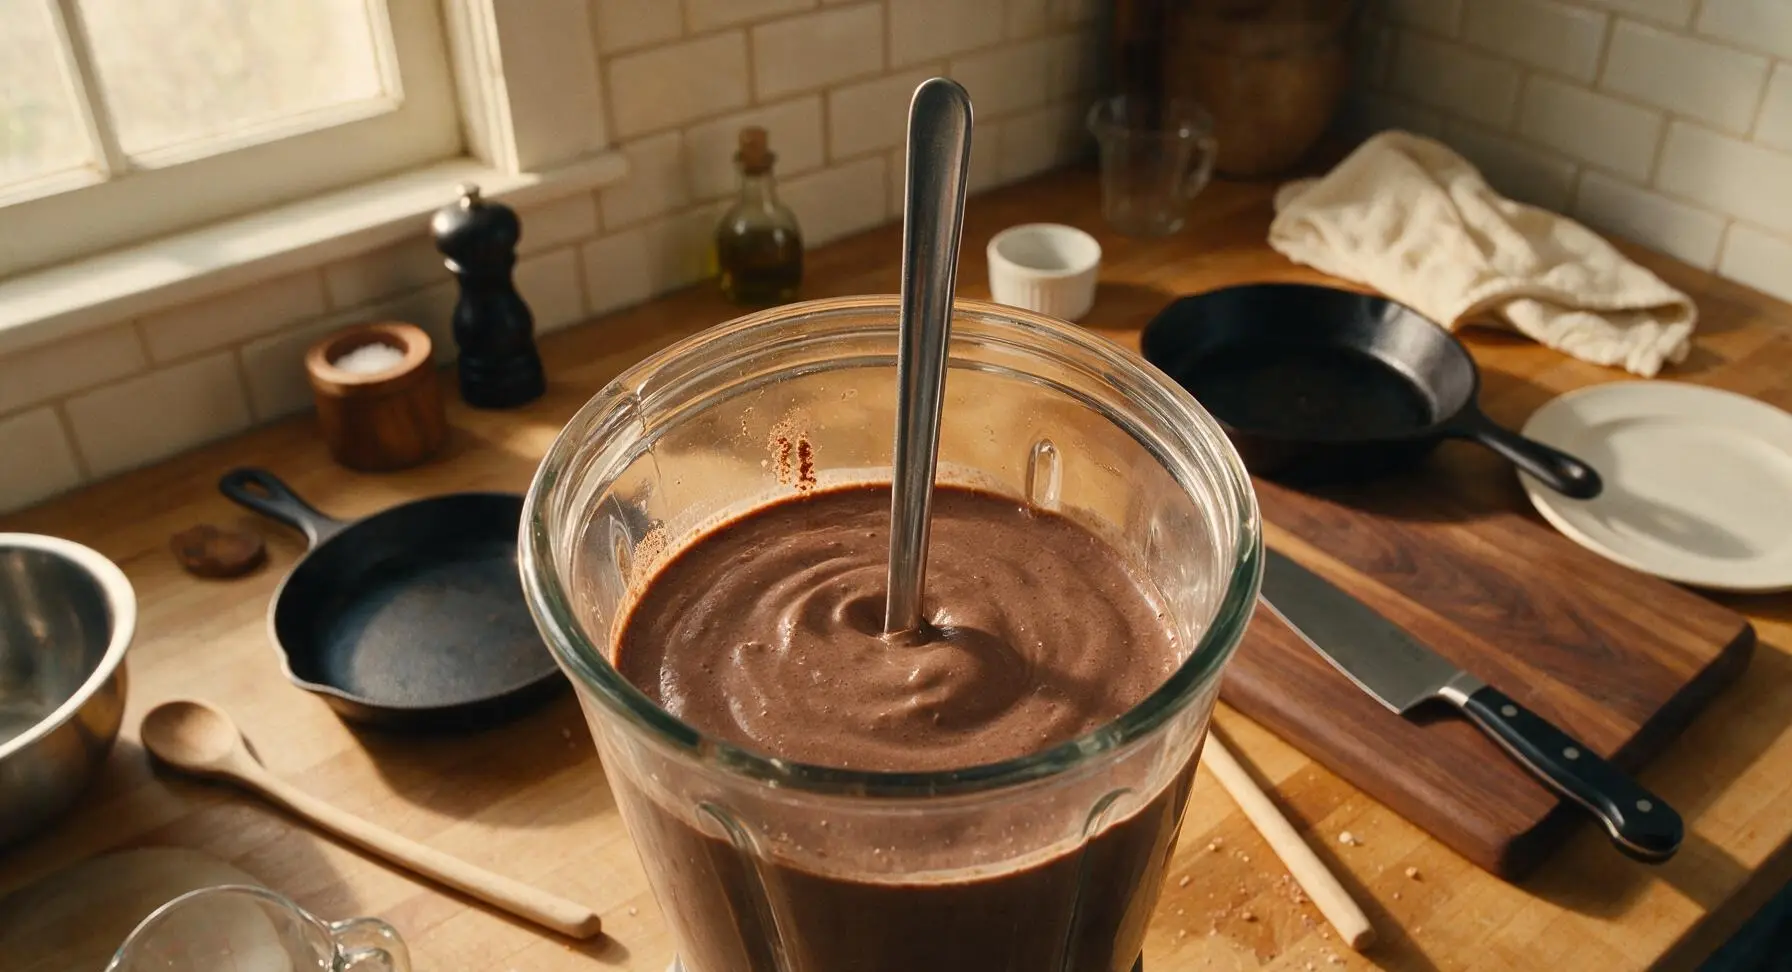
Step 3
step3:Blend to Thick Consistency
Step 3
step3:Blend to Thick Consistency
4

Prep Milkshake Glasses

Let the blended shake rest for 10 seconds to allow air bubbles to rise, while you prep the serving glasses. Measure 1 teaspoon of chocolate syrup per glass, and drizzle it around the inner rim of each tall fluted milkshake glass. Tilt each glass slowly as you drizzle to let the syrup run 3 to 4cm down the inner sides in thin, uneven streaks—do not coat the entire inside of the glass, as the casual streaks create a classic diner look. Return the glasses to their fixed position on the counter once prepped.
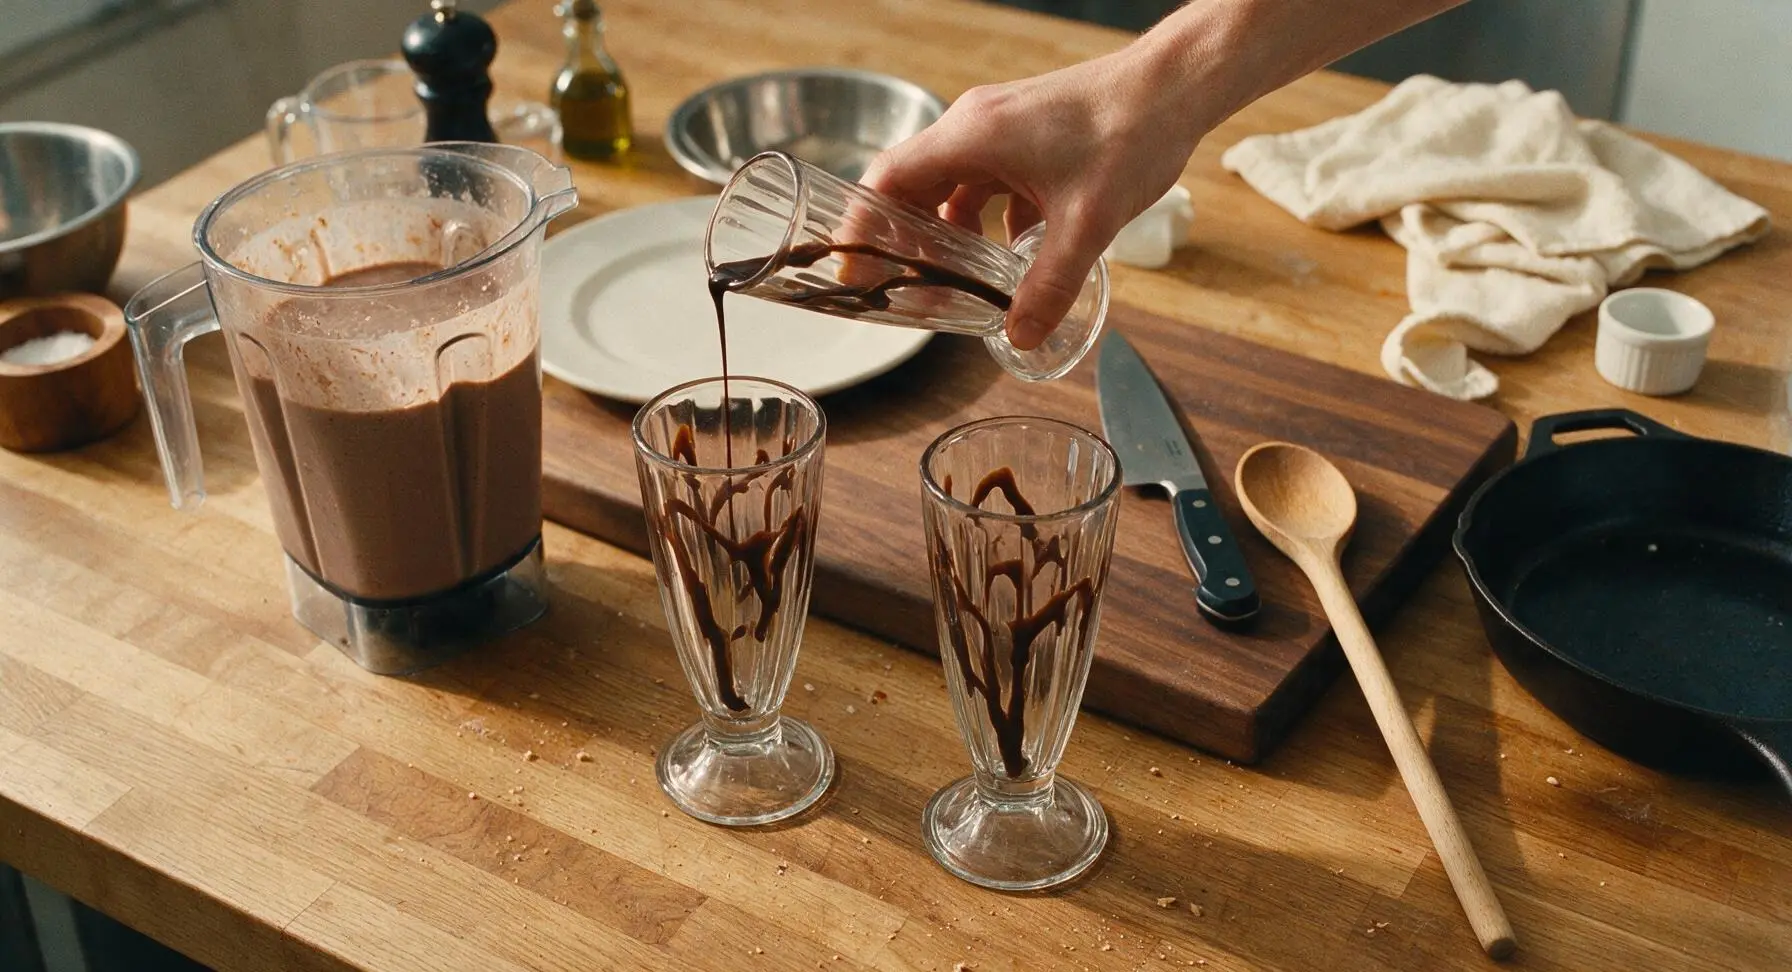
Step 4
step4:Prep Milkshake Glasses
5

Pour Thick Milkshake

Remove the blender lid, and pour the thick chocolate malt mixture slowly and evenly between the two prepared glasses. Pour at a low angle to avoid disturbing the chocolate syrup streaks on the inner glass sides, filling each glass until the shake mounds 1 to 2cm above the rim in a soft, rounded peak. If the shake is too thick to pour easily, use the silicone spatula to gently guide it out of the jar, taking care not to smear the syrup streaks on the glass interiors.
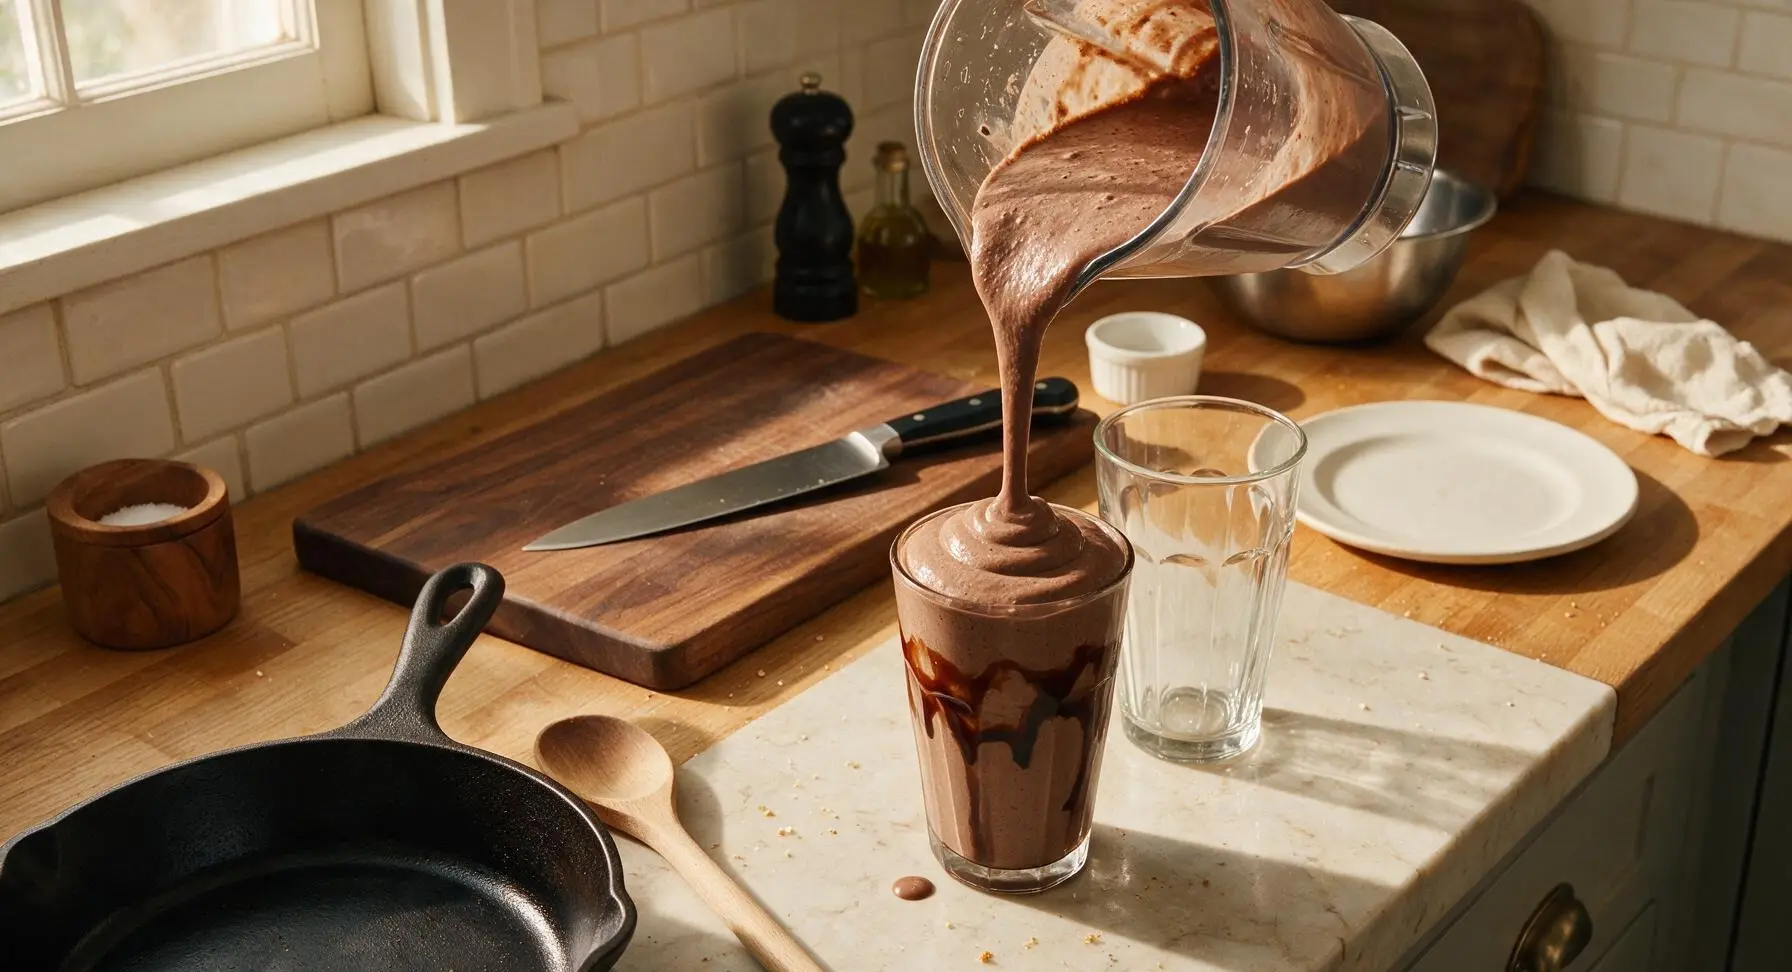
Step 5
step5:Pour Thick Milkshake
6

Top with Garnishes

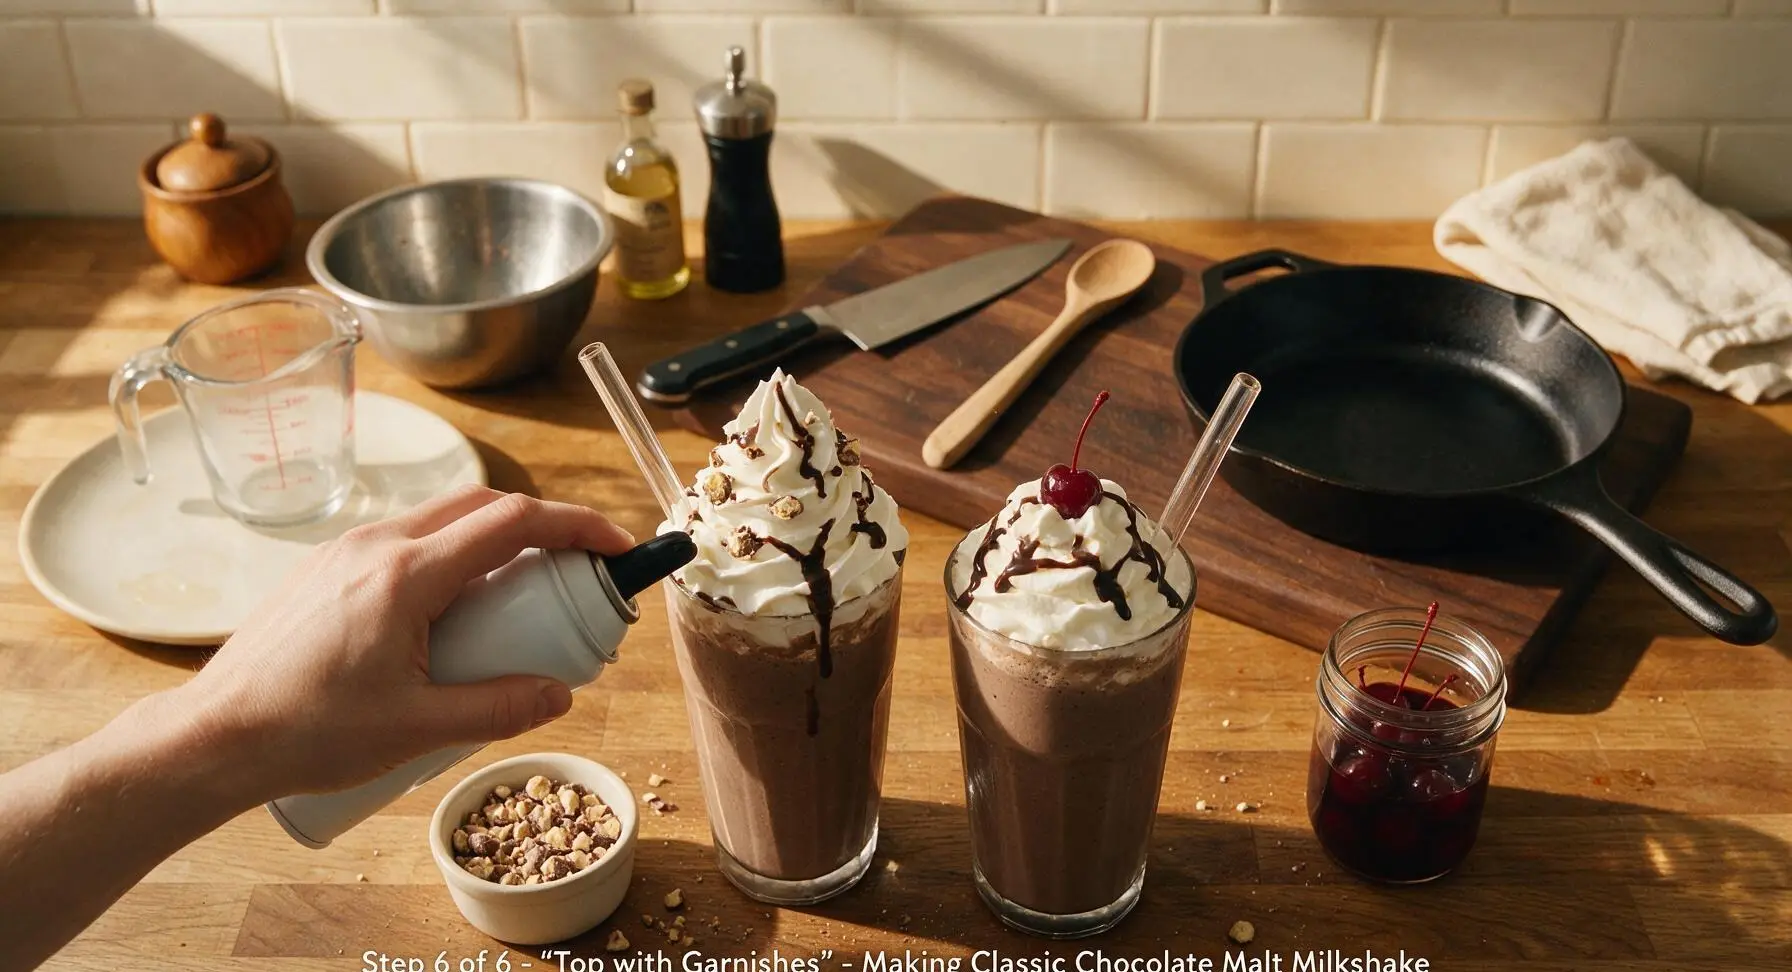
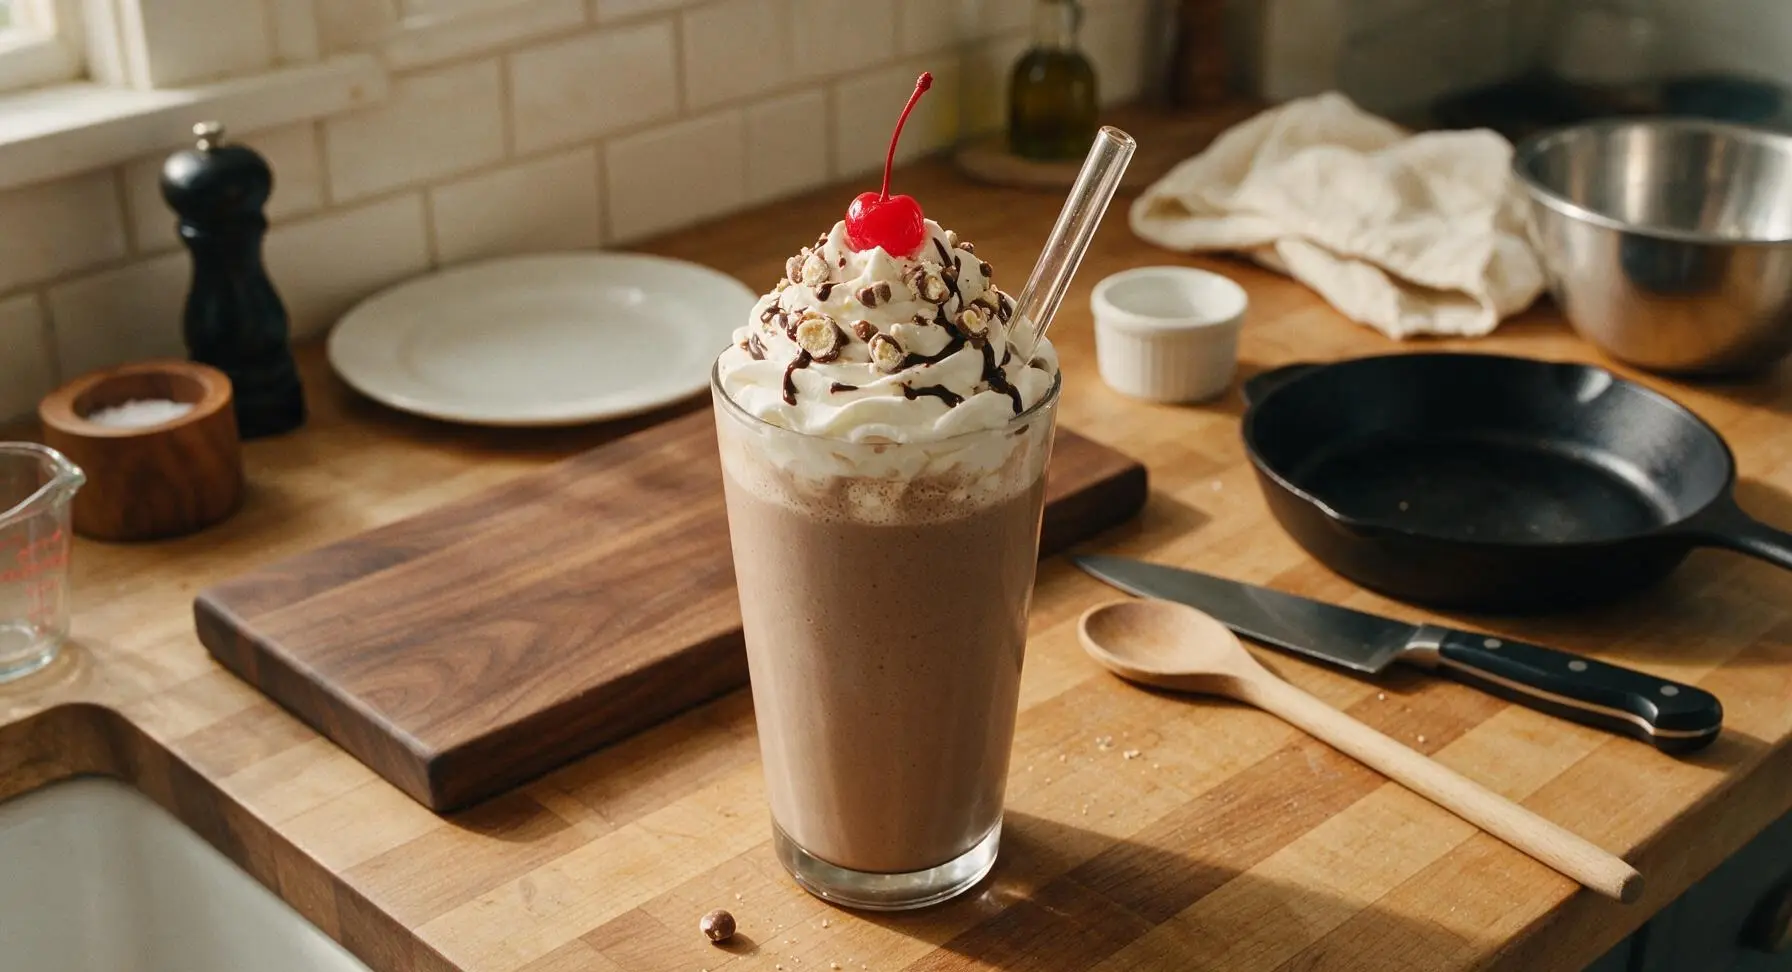
Top each mounded shake with a 2-tablespoon swirl of pressurized dairy whipped cream, piped in a circular motion to create a soft peak over the center of the shake. Drizzle a thin line of remaining chocolate syrup over the whipped cream, sprinkle 1 tablespoon of crushed malted milk balls over the top, and perch one stemmed maraschino cherry on the very peak of the whipped cream. Insert one clear borosilicate glass straw into each shake at a slight angle, so the top of the straw sits 5cm above the glass rim. Serve immediately, before the shake starts to melt and lose its thick shape.
Step 6
step6:Top with Garnishes
Step 6
step6:Top with Garnishes

Tips

1.Always add liquid ingredients (milk, syrup) to the blender before ice cream and dry malt powder: this prevents dry powder from getting trapped under the blender blades, which causes grainy, unblended malt clumps in your finished shake.
2.Use full-fat premium vanilla ice cream straight from the freezer for the thickest texture: low-fat or light ice creams have higher water content, which creates icy, watery shakes instead of the rich, velvety diner-style consistency.
3.Avoid over-blending the mixture: blending for longer than 25 seconds melts the ice cream too much, resulting in a thin, drinkable consistency instead of the classic thick shake that holds its shape and requires a spoon to eat.


✨ You May Also Like

Drinks & Beverages
🍜 Mexico

A bright, balanced tequila-based cocktail with zesty fresh lime, smooth orange liqueur, and a signature salt rim, perfect for warm summer sipping.

⏱️ 5 minutesDrinks & Beverages ★ 4.9
Drinks & Beverages
🍜 United States

Thick, creamy, nostalgic classic vanilla milkshake with a rich, smooth texture, topped with whipped cream and a cherry for cool, sweet refreshment.

⏱️ 5 minutesDrinks & Beverages ★ 4.7
Drinks & Beverages
🍜 United States

A bright, golden strong ale with fruity banana-clove notes, subtle hop spice, and soft carbonation, brewed in classic Trappist Tripel tradition.

⏱️ 2 hours aDrinks & Beverages ★ 4.5
Drinks & Beverages
🍜 United States

A frothy, nostalgic American soda fountain treat pairing bubbly cold root beer with creamy vanilla ice cream, perfect for cooling down at warm weather gatherings.

⏱️ 20 minuteDrinks & Beverages ★ 4.8
Drinks & Beverages
🍜 United States

Tart, funky, effervescent American Wild Ale is a complex fruity craft beer brewed with wild yeast, delivering bright, zesty notes perfect for warm-weather sipping.

⏱️ 2 hours aDrinks & Beverages ★ 4.4
Drinks & Beverages
🍜 United States

Bright, bubbly copycat of the iconic American caramel cola, balanced with citrus and warm spice, perfect for sipping ice-cold on hot days.

⏱️ 15 minuteDrinks & Beverages ★ 4.8

Chocolate malt milkshake:Frequently Asked Questions

1.How thick should this classic chocolate malt milkshake be when it’s done blending? ▾
It should match iconic diner thickness: thick enough that a straight paper straw stands upright on its own, but still sippable without extreme effort. If it’s too thick to pour, stir in 1 extra tablespoon of cold whole milk at a time; if it’s runny, add a small scoop of extra vanilla ice cream to reach the right consistency.
2.Can I use low-fat or non-dairy milk instead of whole milk for this recipe? ▾
You can, but it will change the final texture and richness. Whole milk’s high fat content creates that ultra-creamy, velvety diner-style mouthfeel low-fat or thin plant milks can’t match. If you need a non-dairy swap, use full-fat oat milk for the closest texture, and skip skim milk entirely—it will make the shake taste watery and dilute the malt and chocolate flavors.
3.What’s the difference between a regular chocolate milkshake and a chocolate malt milkshake? ▾
The key difference is the addition of original malted milk powder, which brings a warm, toasty, slightly nutty, caramelized note you won’t get from a plain chocolate shake. It cuts through ice cream and chocolate syrup richness to add that nostalgic, old-school diner depth that makes malts feel extra special.
4.Can I make this milkshake without a traditional countertop blender? ▾
Absolutely! If you don’t have a standard blender, add slightly softened (not melted) vanilla ice cream, chocolate syrup, malt powder, and milk to a large, sturdy mason jar, seal tightly, and shake vigorously for 45 to 60 seconds until smooth. An immersion blender in a deep cup also works great for quick, low-cleanup prep.
5.How do I keep my milkshake from turning runny too fast after I make it? ▾
Start with ice-cold ingredients and a pre-chilled glass! Pop your serving glass in the freezer for 10 to 15 minutes before making the shake, use firm but not rock-hard ice cream, and avoid over-blending, which melts ice cream too quickly. Skip adding extra ice, which will water down flavor as it melts and thin the shake fast.
6.What kind of malted milk powder works best for this recipe? ▾
Stick to original, plain malted milk powder (the classic grocery store staple sold near hot cocoa and coffee supplies) instead of chocolate-flavored malt powder. The original version lets deep cocoa from the chocolate syrup shine through, while delivering signature toasty malt notes without making chocolate taste overly processed or artificial.
7.Can I use chocolate ice cream instead of vanilla bean ice cream here? ▾
You can, but it will throw off the classic flavor balance. Premium vanilla bean ice cream acts as a creamy, neutral base that lets chocolate syrup and toasty malt powder take center stage, with subtle vanilla notes that round out flavor. Chocolate ice cream often has extra cocoa and sweeteners that can make the final shake taste overly bitter or cloying.
8.Why does my malt powder end up clumpy at the bottom of the shake? ▾
That usually happens if you dump all the malt powder in on top of cold ice cream without mixing it first. To avoid clumps, stir your measured malt powder with cold whole milk first until it fully dissolves, then add that mixture to the blender with ice cream and chocolate syrup. This guarantees a smooth, evenly flavored shake with no gritty bits.
9.What are the best toppings to pair with this shake besides whipped cream? ▾
Pressurized real dairy whipped cream is the classic topper, but you can add fun, diner-style extras without straying from the retro vibe. Try a sprinkle of extra malt powder, a maraschino cherry, a drizzle of extra chocolate syrup inside the glass, a crunchy malted milk ball garnish, plus a paper straw and long spoon for authenticity.
10.How long should I blend the ingredients to get the perfect texture? ▾
Blend on low speed for only 10 to 15 seconds total! Over-blending breaks down ice cream too much, melts it, and leaves you with a thin, slushy, watery shake instead of the thick, creamy texture you want. Stop blending as soon as large ice cream chunks disappear, then give it a quick stir to evenly incorporate all ingredients.
11.Is there a way to make a boozy adult version of this classic malt? ▾
Definitely! For a grown-up twist, add 1 to 1.5 ounces of bourbon, chocolate liqueur, or creamy Irish cream liqueur to the blender with the other ingredients. Keep in mind alcohol thins out the shake a bit, so add an extra small scoop of vanilla ice cream to keep that thick diner consistency, and skip extra milk to compensate.
12.Can I prep this milkshake ahead of time for a party or gathering? ▾
Milkshakes are best served immediately after blending, but you can do quick prep ahead to cut down on work. Pre-chill glasses, pre-measure malt powder, chocolate syrup, and milk in sealed containers, and keep ice cream frozen solid until right before blending. Pre-blended shakes will separate and turn icy or runny if stored longer than 10 minutes.
13.Why does the recipe call for pressurized real dairy whipped cream instead of homemade? ▾
Pressurized real dairy whipped cream has that light, fluffy, melt-in-your-mouth texture diners traditionally used to top classic malts, with just the right amount of subtle sweetness. Homemade whipped cream is denser and often richer, which can weigh down the top of the shake, though you can use it if you prefer—just whip it to soft peaks so it stays light.
14.My shake tasted too sweet last time—how can I fix that next batch? ▾
Cut back on chocolate syrup by 1 to 2 tablespoons first, since that’s the main source of added sugar in the recipe. You can also add a tiny pinch of fine sea salt to the blender next time: salt amplifies cocoa and malt flavors without making the shake taste salty, and cuts through cloying sweetness for a more balanced sip.
15.Can I add extra mix-ins like cookie pieces or candy to this malt? ▾
You can, but add them at the very end to keep the shake’s signature smooth texture. After blending the base to perfect thickness, pulse in crushed malted milk balls, mini chocolate chips, or crumbled chocolate sandwich cookies for 1 to 2 seconds max. Over-mixing add-ins will turn them gritty and ruin that classic creamy mouthfeel.
16.What type of glass is best for serving this classic chocolate malt milkshake? ▾
Reach for a tall, heavy 16-ounce diner-style soda fountain glass if you have one! It’s the perfect size to hold a full thick shake plus a fluffy mound of whipped cream on top, and the thick glass helps keep the shake cold longer. If you don’t have one, any tall 16-ounce glass works—just chill it in the freezer first for best results.

Comments (10)

2 days ago

OMG this is exactly the chocolate malt shake I got at the old soda fountain when I was a kid! I used a little extra malt powder because I’m obsessed with that malty flavor, and it came out perfectly thick, no runny mess here. My kids begged for seconds before they even finished their first glass. Total game changer for our summer movie nights!

yesterday

Wait how much extra malt did you add? I love super malty shakes too and don’t want to overdo it and make it grainy!

yesterday

So glad it brought back those nostalgic soda fountain memories! If you love extra malt, we recommend adding no more than an extra tablespoon to keep the texture smooth without getting grainy — happy shaking!

1 week ago

Made these for our neighborhood block party potluck last weekend and people were lining up for refills! I topped each one with whipped cream, a cherry, and a little extra crushed malt ball candy for crunch. So easy to whip up (pun totally intended) even when you’re making a big batch for a crowd.

5 days ago

Love the crushed malt ball topping idea — that added crunch sounds incredible! So happy these were a hit at your block party, that’s what summer recipes are all about.

5 days ago

I added a shot of cold brew to mine for a little mocha malt twist and oh my GOD it was the best afternoon pick me up I’ve ever made. The coffee flavor doesn’t overpower the malt and chocolate at all, it just adds a little depth. 10/10, will be making this variation every weekend.

3 days ago

Wait that sounds insane, I’m doing this this weekend! I’ve been adding cold brew to my chocolate shakes for years but never thought to pair it with malt powder — that combo is gonna be chef’s kiss.

3 days ago

So happy this recipe is naturally gluten free as long as you double check your malt powder brand! I’ve been craving a good chocolate malt since I went GF three years ago and this hit the spot so hard I almost cried. My husband thought it was from the fancy local ice cream shop.

2 days ago

Total pro tip about checking the malt powder! I accidentally grabbed one with barley malt last time and it had gluten, so I’m glad you mentioned that — saved me a repeat mistake.

yesterday

I pre-portioned the ice cream, chocolate syrup, and malt powder into freezer-safe jars ahead of time so I can blend up a quick shake whenever the sweet tooth hits after work. Such an easy, no-fuss treat that doesn’t require a bunch of fancy ingredients. No more wasting money on delivery milkshakes for me!

2 hours ago

That pre-portioned freezer hack is genius! We love when folks customize our easy recipes to fit their busy schedules — thanks so much for sharing that tip with the community.

2 hours ago

Made these after my son’s little league game yesterday for the whole team, and every single kid asked for the recipe! I even made a dairy free version for one of the players with oat milk ice cream and it was just as creamy and delicious as the regular version.

30 minutes ago

How did the oat milk ice cream version turn out texture-wise? I’ve tried dairy free shakes before that turned out super icy and I’ve been nervous to try another one.

5 minutes ago

It was so creamy! I used the premium oatmilk ice cream that’s extra high fat, not the light kind, and you honestly couldn’t tell the difference from regular dairy. No icy texture at all!

30 minutes ago

I was worried this would be too sweet since a lot of takeout milkshakes give me a sugar headache, but the malt balances the chocolate so nicely! I used vanilla bean ice cream instead of plain vanilla and it’s chef’s kiss. Will be making this at least once a week from now on, SO good.

5 minutes ago

Wait there’s zero cook time? I made this in my dorm between study sessions last night and it was better than the overpriced shake from the campus diner. Only thing I messed up was I didn’t let my ice cream soften a little first so my blender got stuck for a sec lmao.

just now

Oh I had the exact same blender issue my first try! Letting the ice cream sit out for 5 minutes makes such a difference, no more stopping to scrape the sides every 10 seconds.

just now

Great catch! Softening the ice cream for 3-5 minutes before blending is such a simple trick to make the process totally smooth, we’ll add that quick note to the recipe tips for other dorm chefs out there!

just now

I’m literally just learning to make stuff that isn’t microwave mac and cheese, so I was super nervous this would be hard, but it’s literally just blend three ingredients? It came out perfect on my first try, no lumps, perfect thickness. I feel like an actual chef now lmao.

2 weeks ago

Tried this with chocolate ice cream instead of vanilla for extra chocolate depth, and added a tiny splash of whole milk to get the perfect sippable consistency. 10/10, tastes just like the shakes I got at the 1950s themed diner my grandma used to take me to after church on Sundays.



