
Chocolate Milk Shake

title 1
Chocolate Milk Shake
⏱️ cook time 0 minutes
🍽️ servings 2
⚡ Difficulty easy

intro

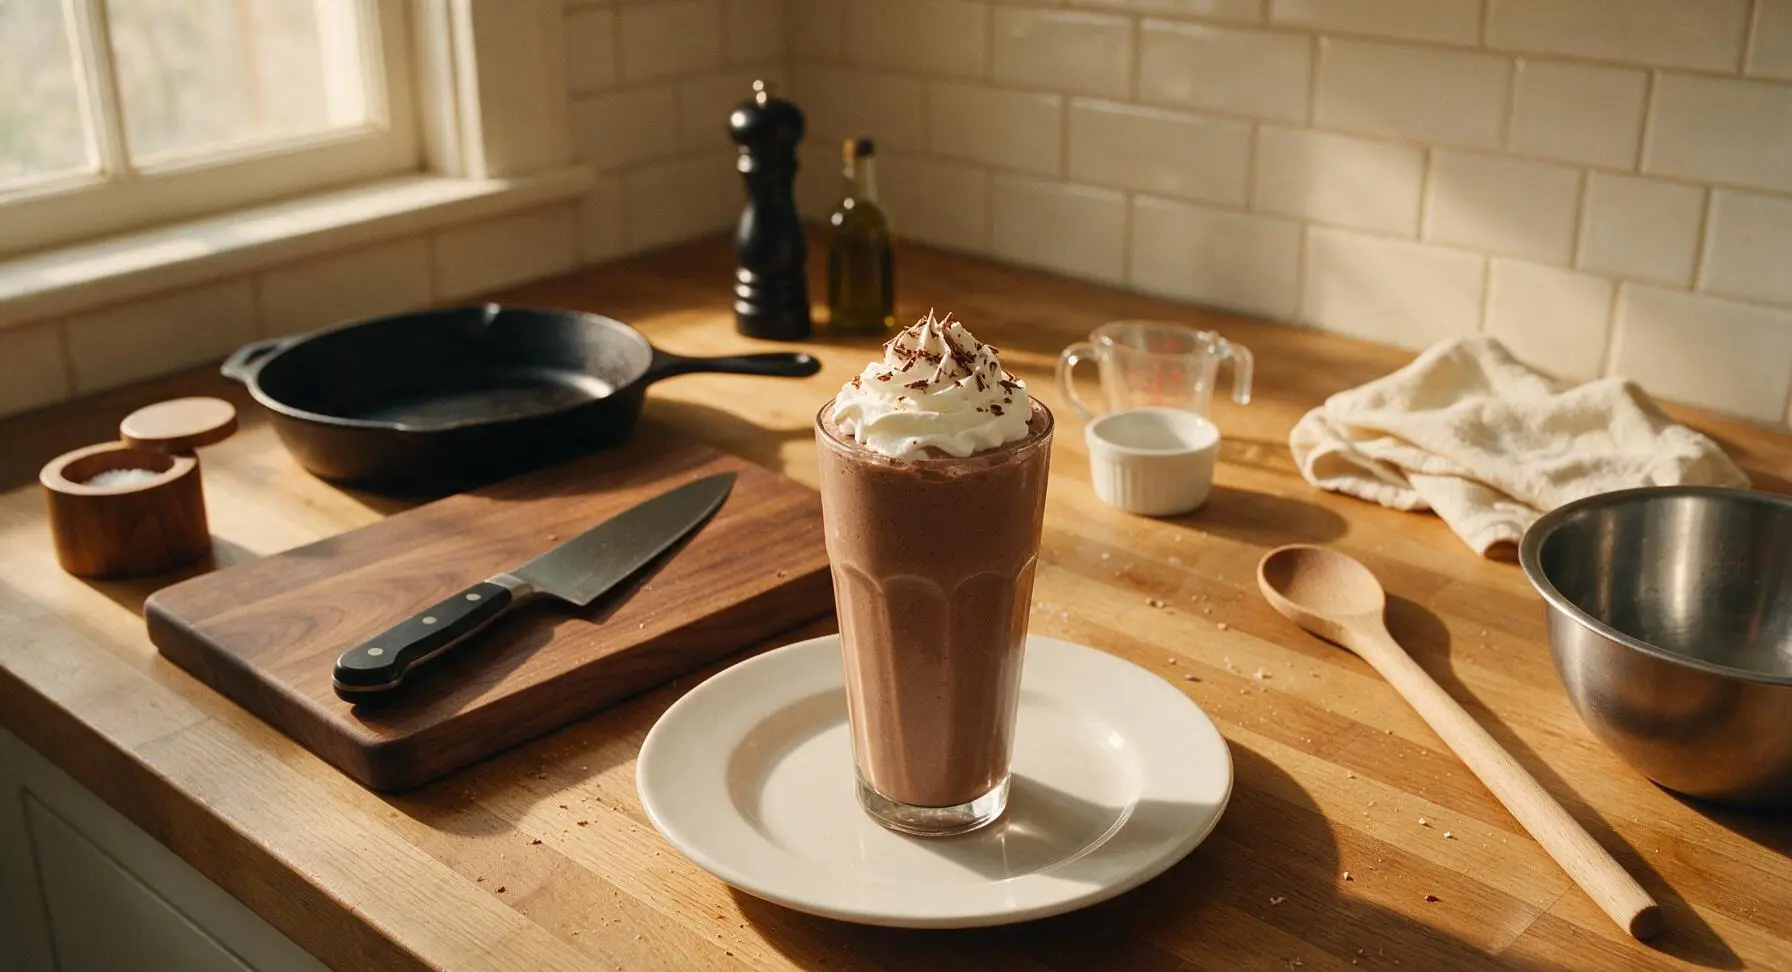
Thick, velvety old-fashioned chocolate milkshake, the iconic American diner treat blended to rich, creamy perfection, topped with fluffy whipped cream for a nostalgic, indulgent cold summer sip.

Ingredients
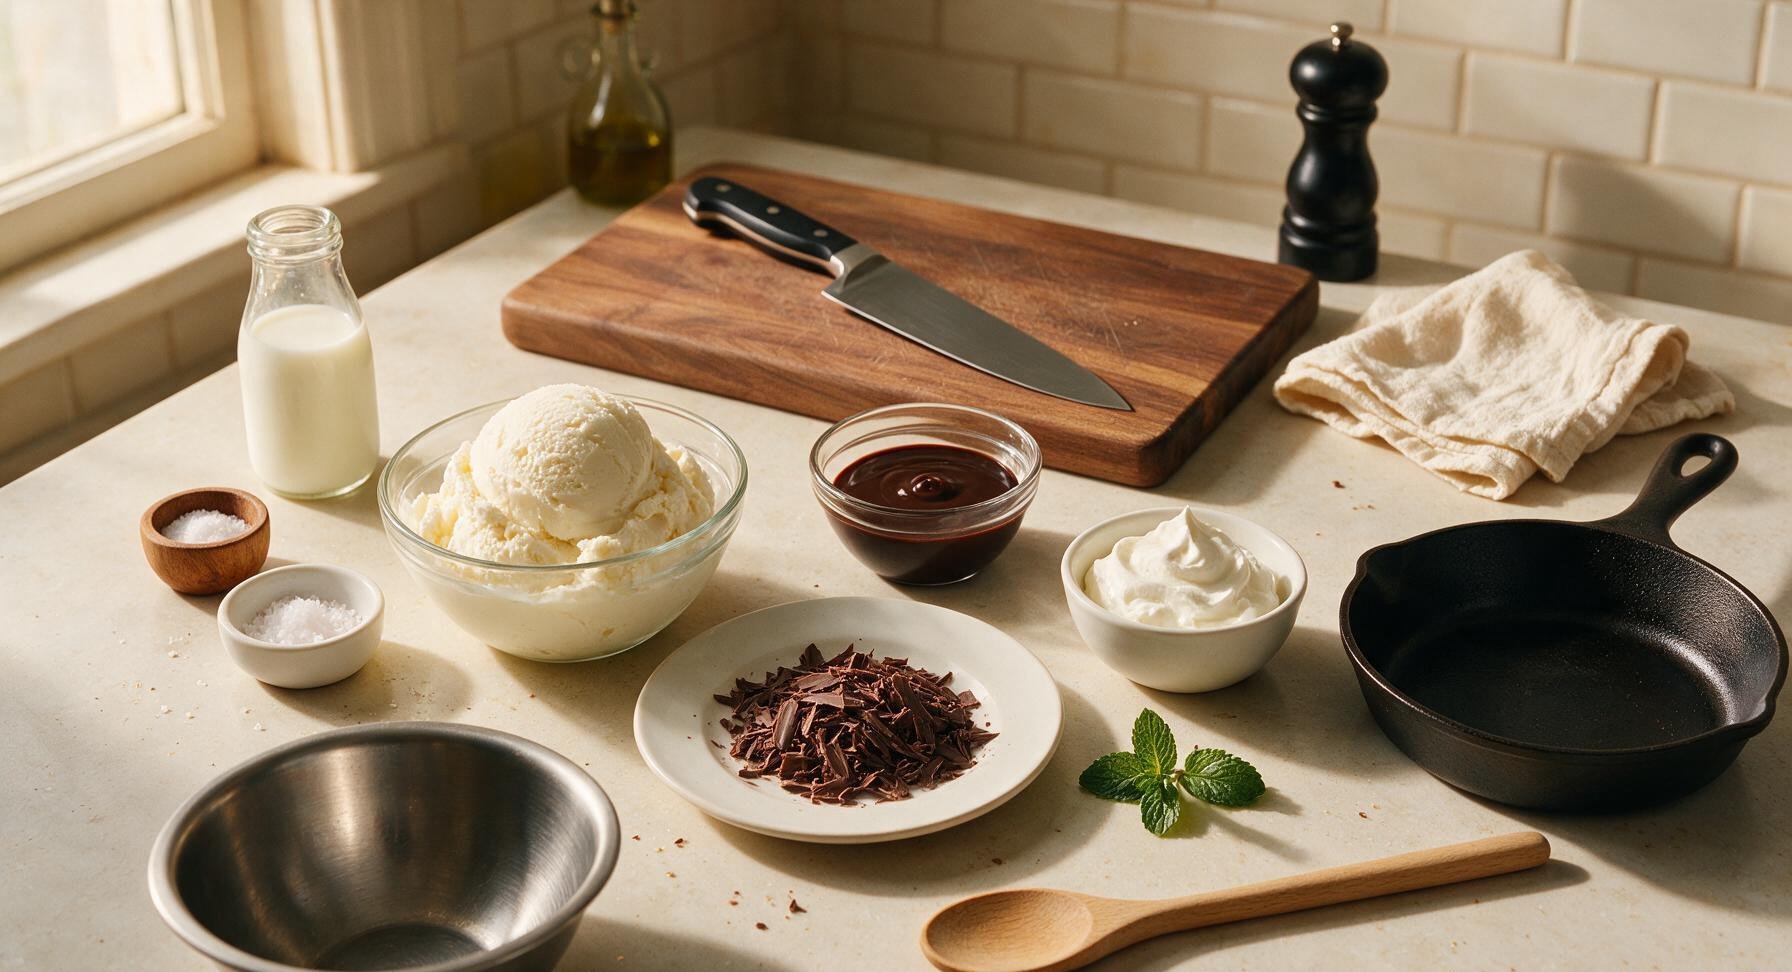
Premium full-fat vanilla ice cream 3 cups (450g, slightly softened)
Ice-cold whole milk 1/2 cup (120ml)
Dark chocolate syrup 1/3 cup (80ml), plus 2 tablespoons for garnish
Flaky sea salt 1/8 teaspoon
Heavy whipped cream 1/2 cup (60g, for topping)
Dark chocolate shavings 1 tablespoon (for garnish)
Fresh mint sprigs 2 small sprigs (for garnish)

Steps

1

Measure and prep ingredients

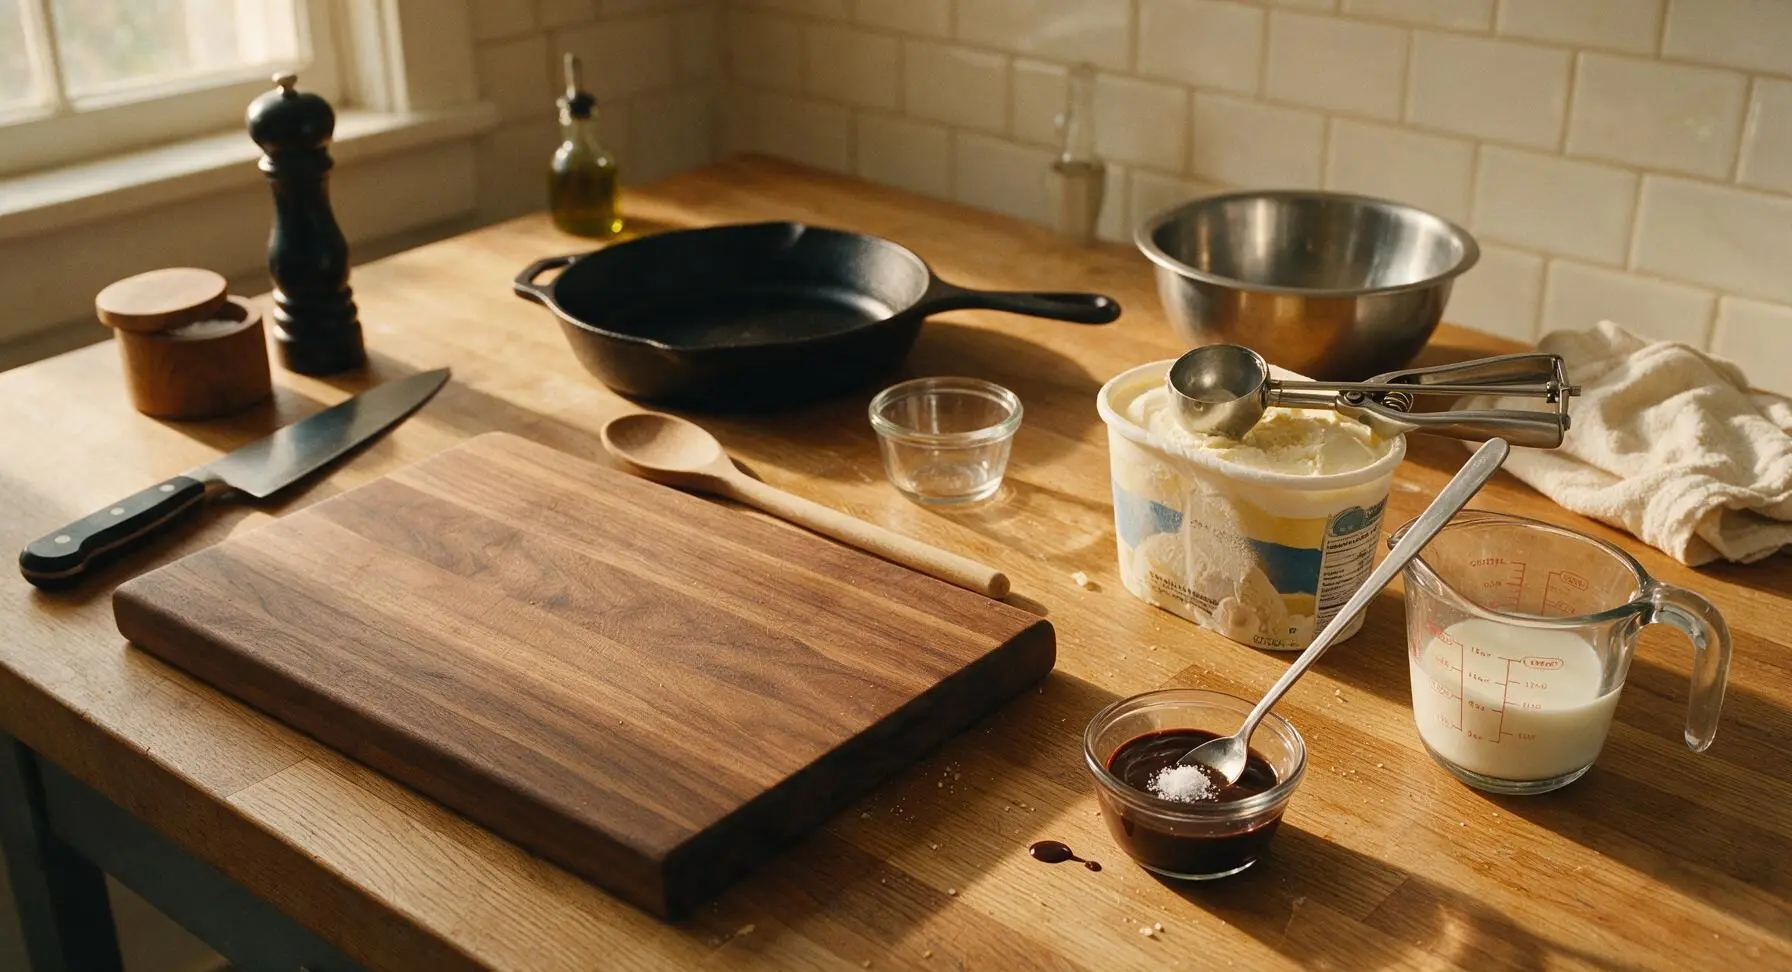
Remove vanilla ice cream from the freezer and let it soften at room temperature for exactly 2 minutes (it should scoop easily with gentle pressure, not be runny or melted). Use the clear tempered glass measuring cup to portion 1/2 cup (120ml) of ice-cold whole milk. Measure 1/3 cup (80ml) of dark chocolate syrup into the small clear glass ramekin, then stir in the 1/8 teaspoon flaky sea salt from the salt cellar until fully dissolved.
Step 1
step1:Measure and prep ingredients
2

Chill and prep glasses

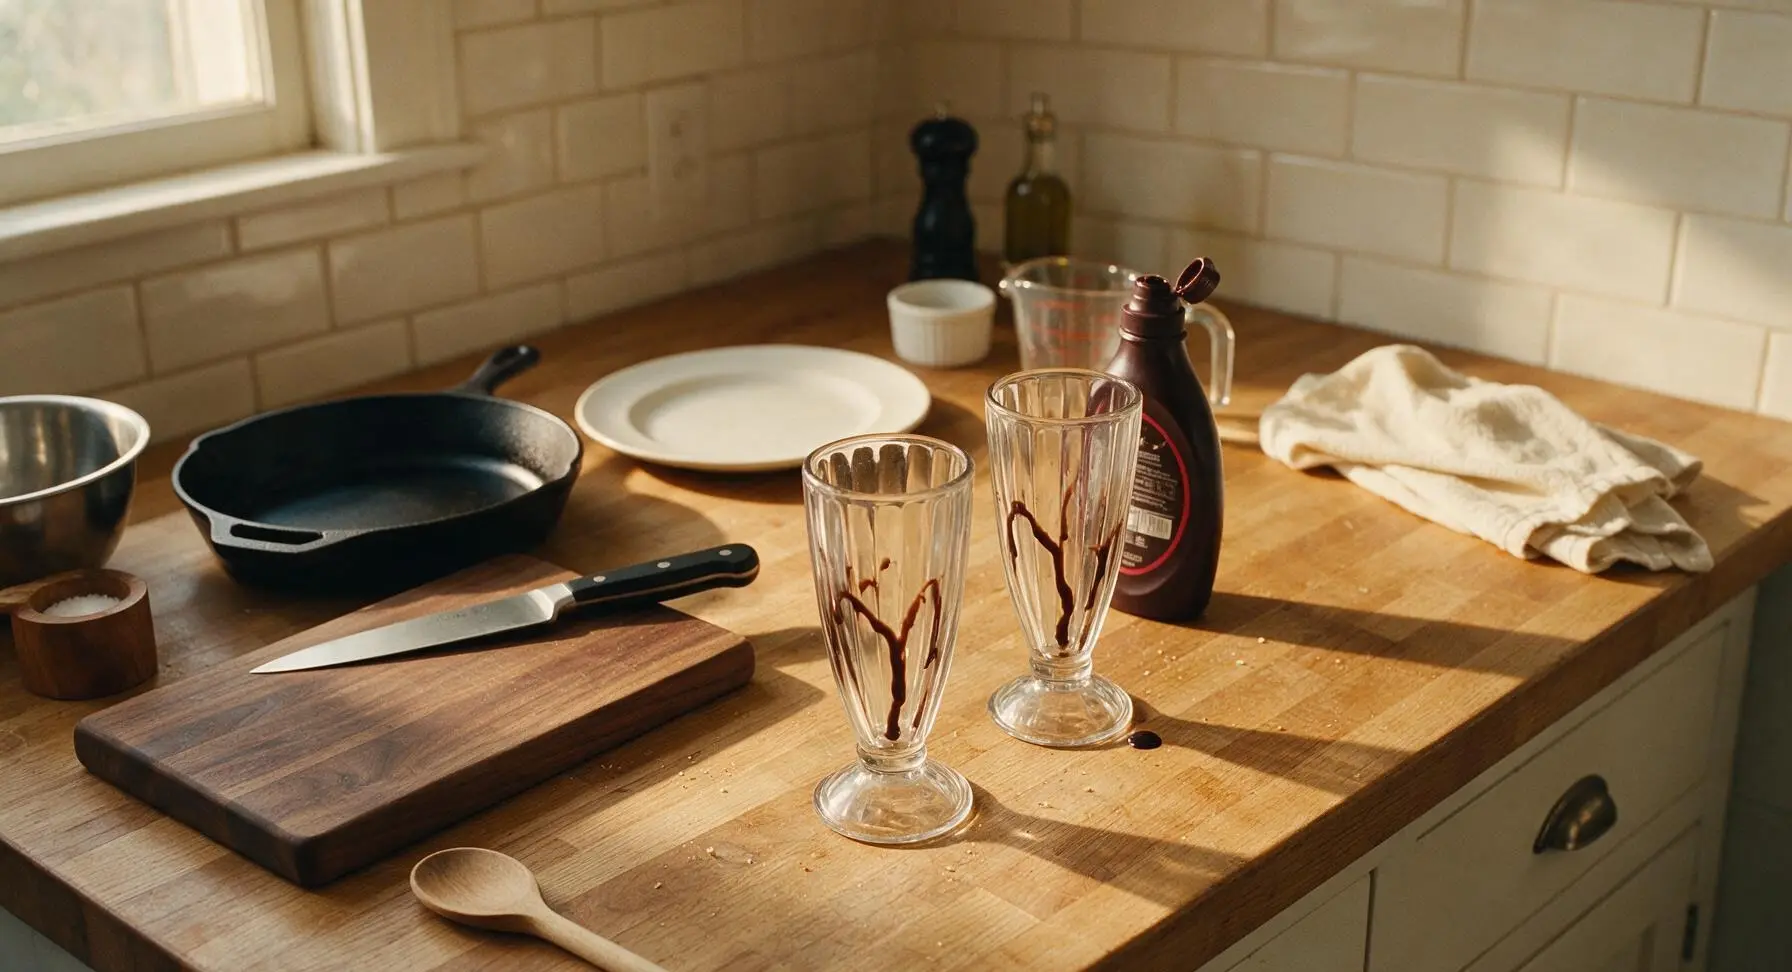
Place the two tall clear fluted milkshake glasses in the freezer for 3 minutes to chill thoroughly (this prevents fast melting when the shake is poured). Once chilled, drizzle 1 tablespoon of extra chocolate syrup around the inner rim of each glass, tilting slowly to let the syrup trail 7-10cm down the inner sides in thin, uneven streaks. Do not fully coat the glass, as the loose streaks create a classic retro diner look.
Step 2
step2:Chill and prep glasses
3

Layer ingredients in blender

Remove the black rubber lid from the 1.5L blender jar. Pour in the measured cold whole milk first, followed by the salted chocolate syrup from the ramekin, then use the stainless steel spring-loaded ice cream scoop to add all 3 cups (450g) of slightly softened vanilla ice cream on top. Adding milk first prevents ice cream from getting trapped under the blades, which causes lumpy, uneven blending.
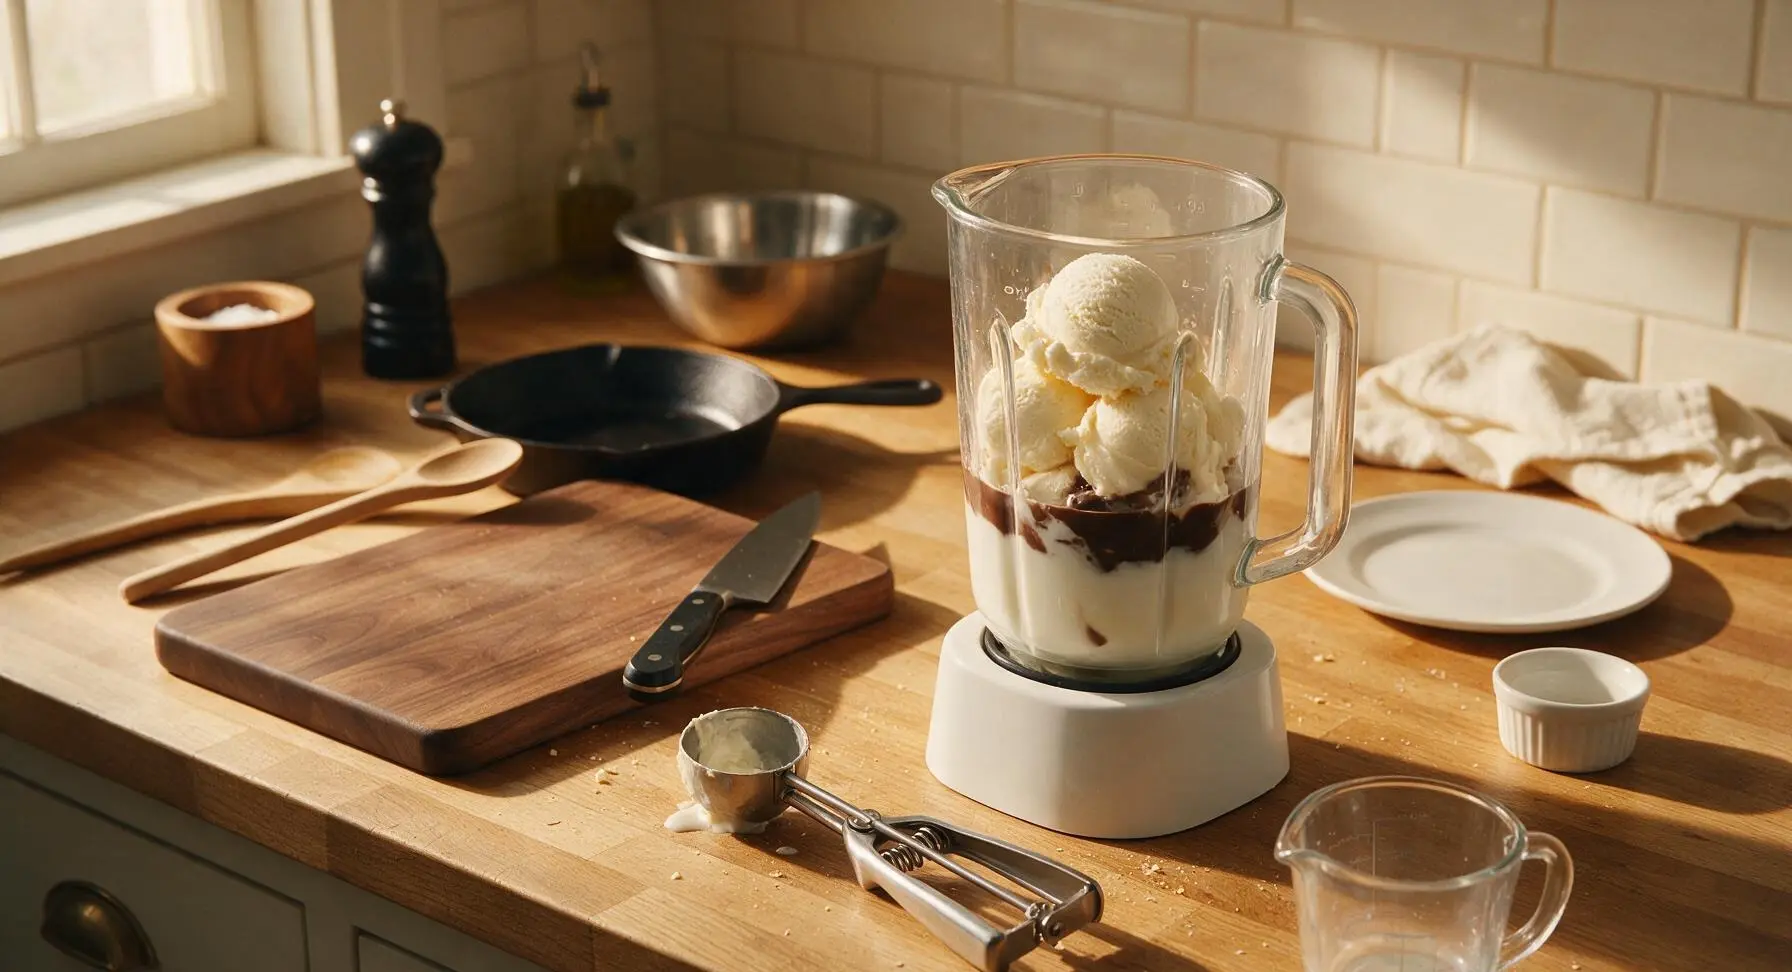
Step 3
step3:Layer ingredients in blender
4

Blend to thick consistency

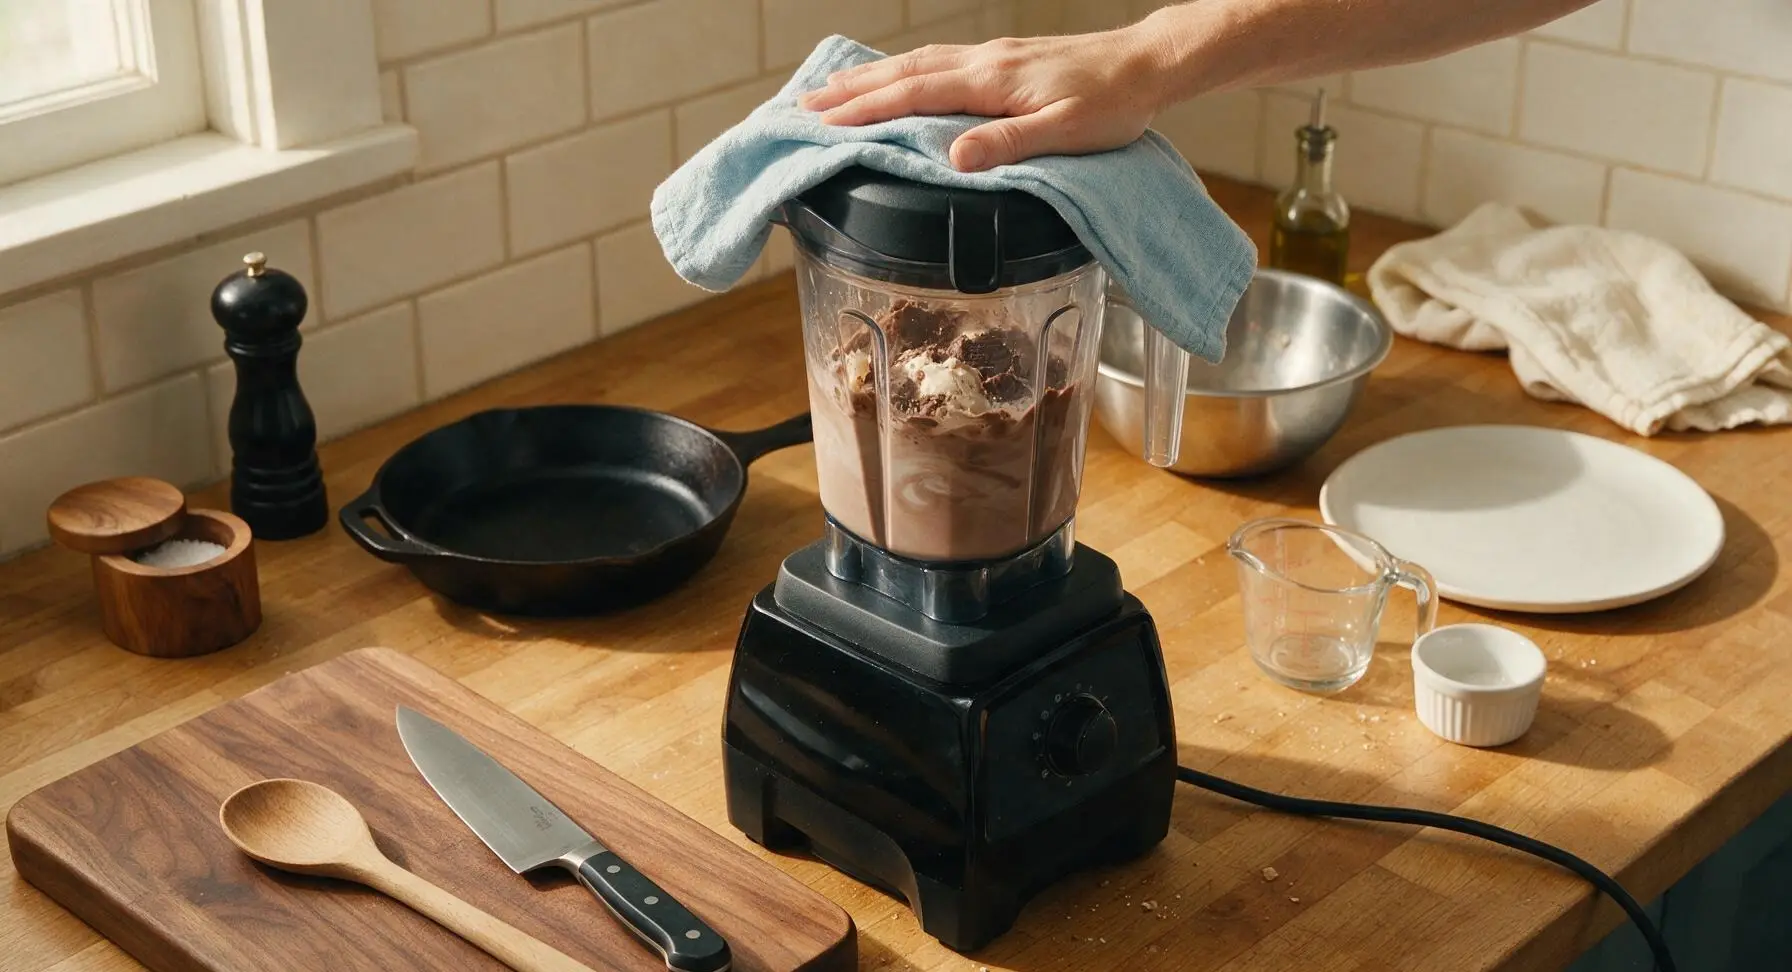
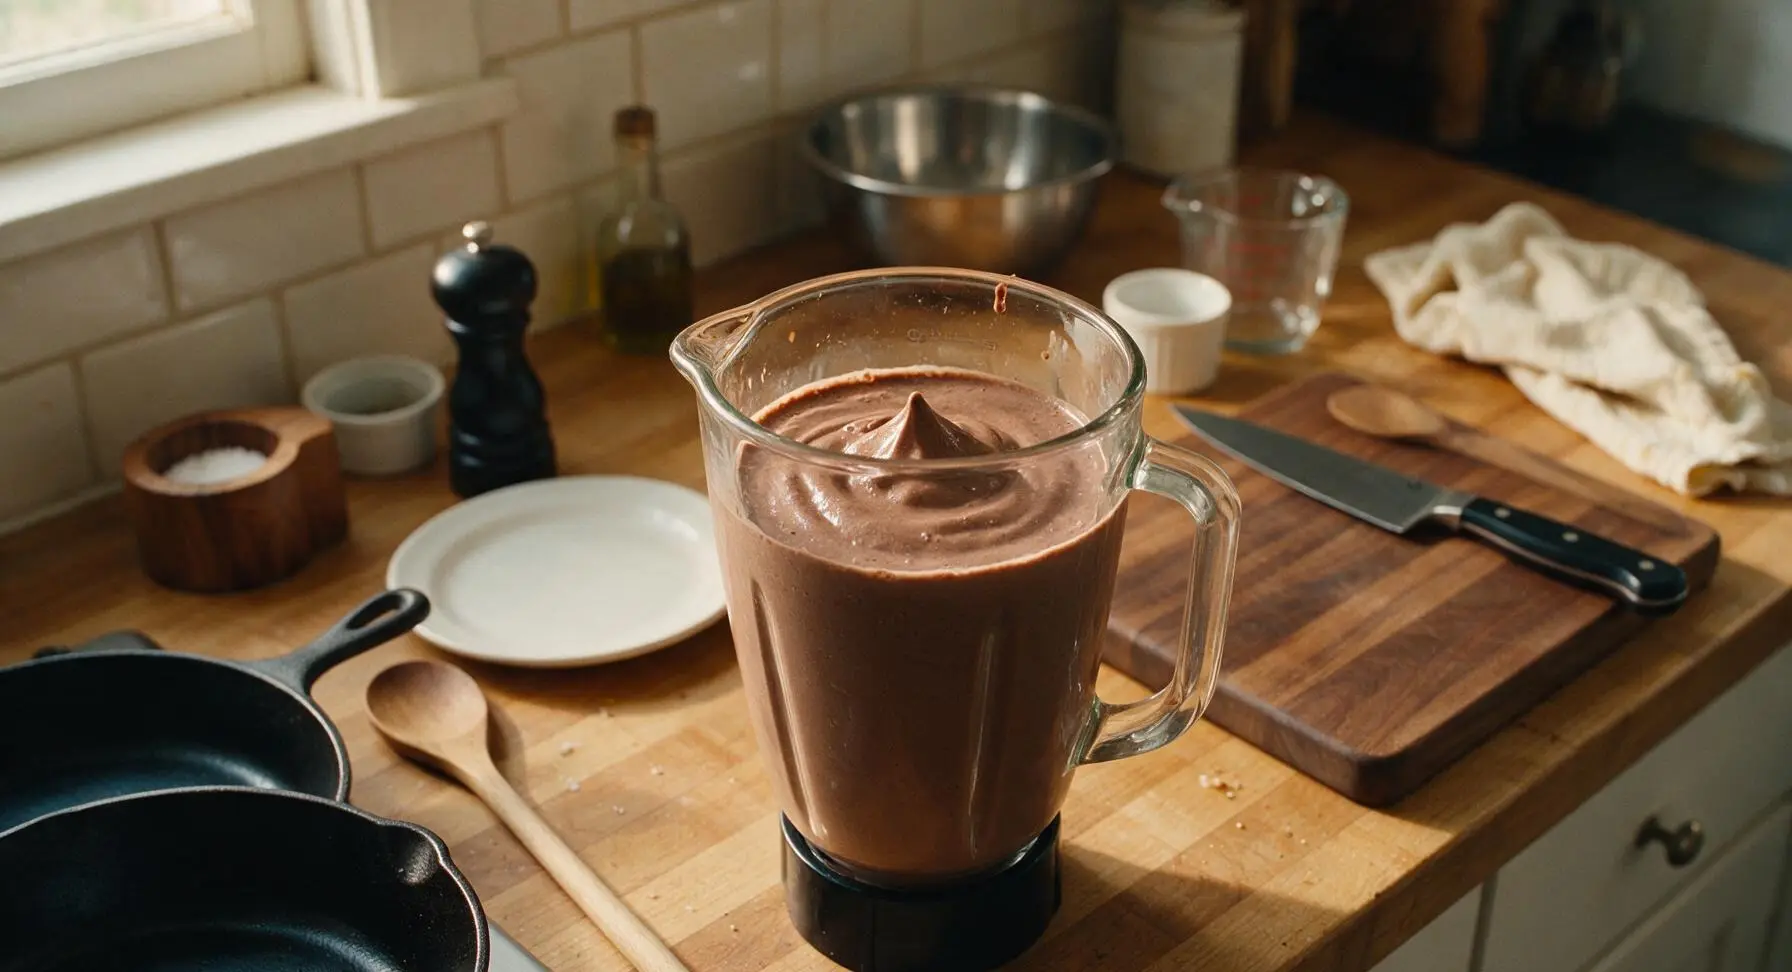
Secure the blender lid tightly, holding it down with the folded light blue linen towel if needed to catch splatters. Blend on medium-low speed for 15-20 seconds, stopping immediately once the mixture is uniformly deep brown, completely smooth, and thick enough to hold a soft peak. Do not over-blend: mixing longer than 25 seconds will melt the ice cream and result in a thin, watery shake instead of the desired spoonable texture.
Step 4
step4:Blend to thick consistency
Step 4
step4:Blend to thick consistency
5

Pour shake into glasses

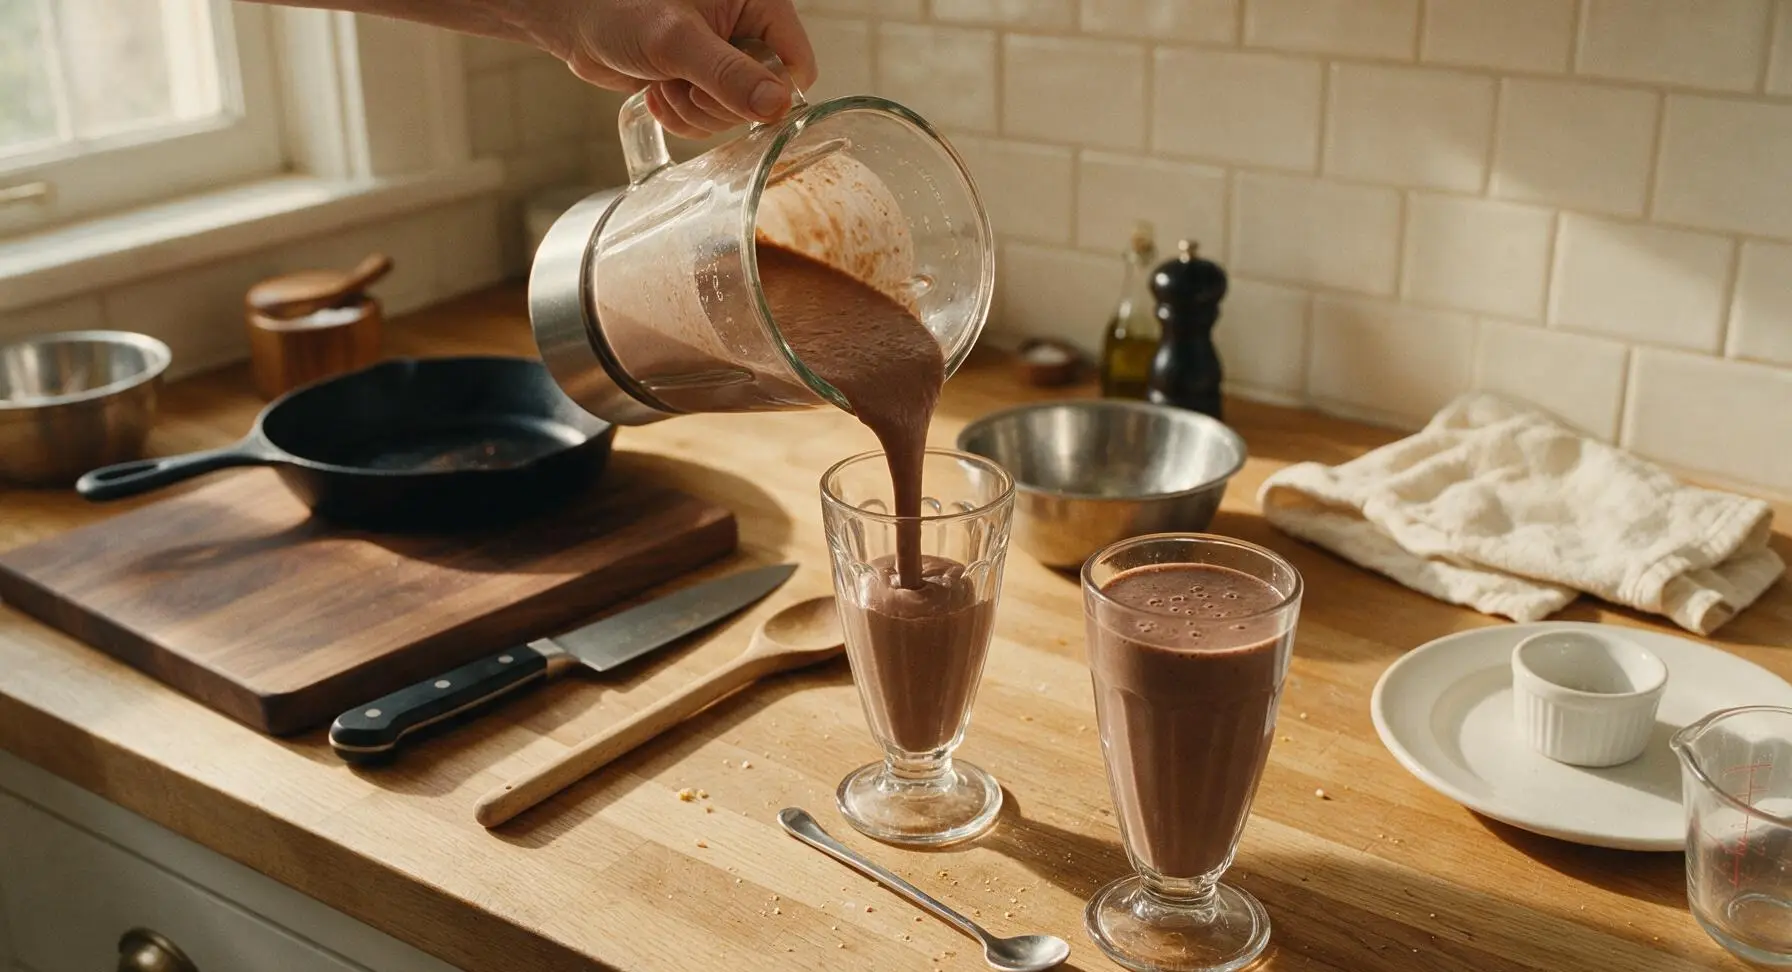
Lift the blender jar from its base, and pour the thick chocolate mixture evenly between the two syrup-streaked glasses, filling each to 1cm below the rim. If the mixture is too thick to pour smoothly, nudge it gently with the long-handled stainless steel milkshake spoon; do not add extra milk, as this will thin the shake’s signature thick texture.
Step 5
step5:Pour shake into glasses
6

Top with whipped cream

Hold the polished stainless steel whipped cream canister 5cm above the surface of each milkshake, and dispense a generous, tall swirl of fluffy white whipped cream that rises 2-3cm above the glass rim, forming a soft peaked top reminiscent of classic diner milkshakes.
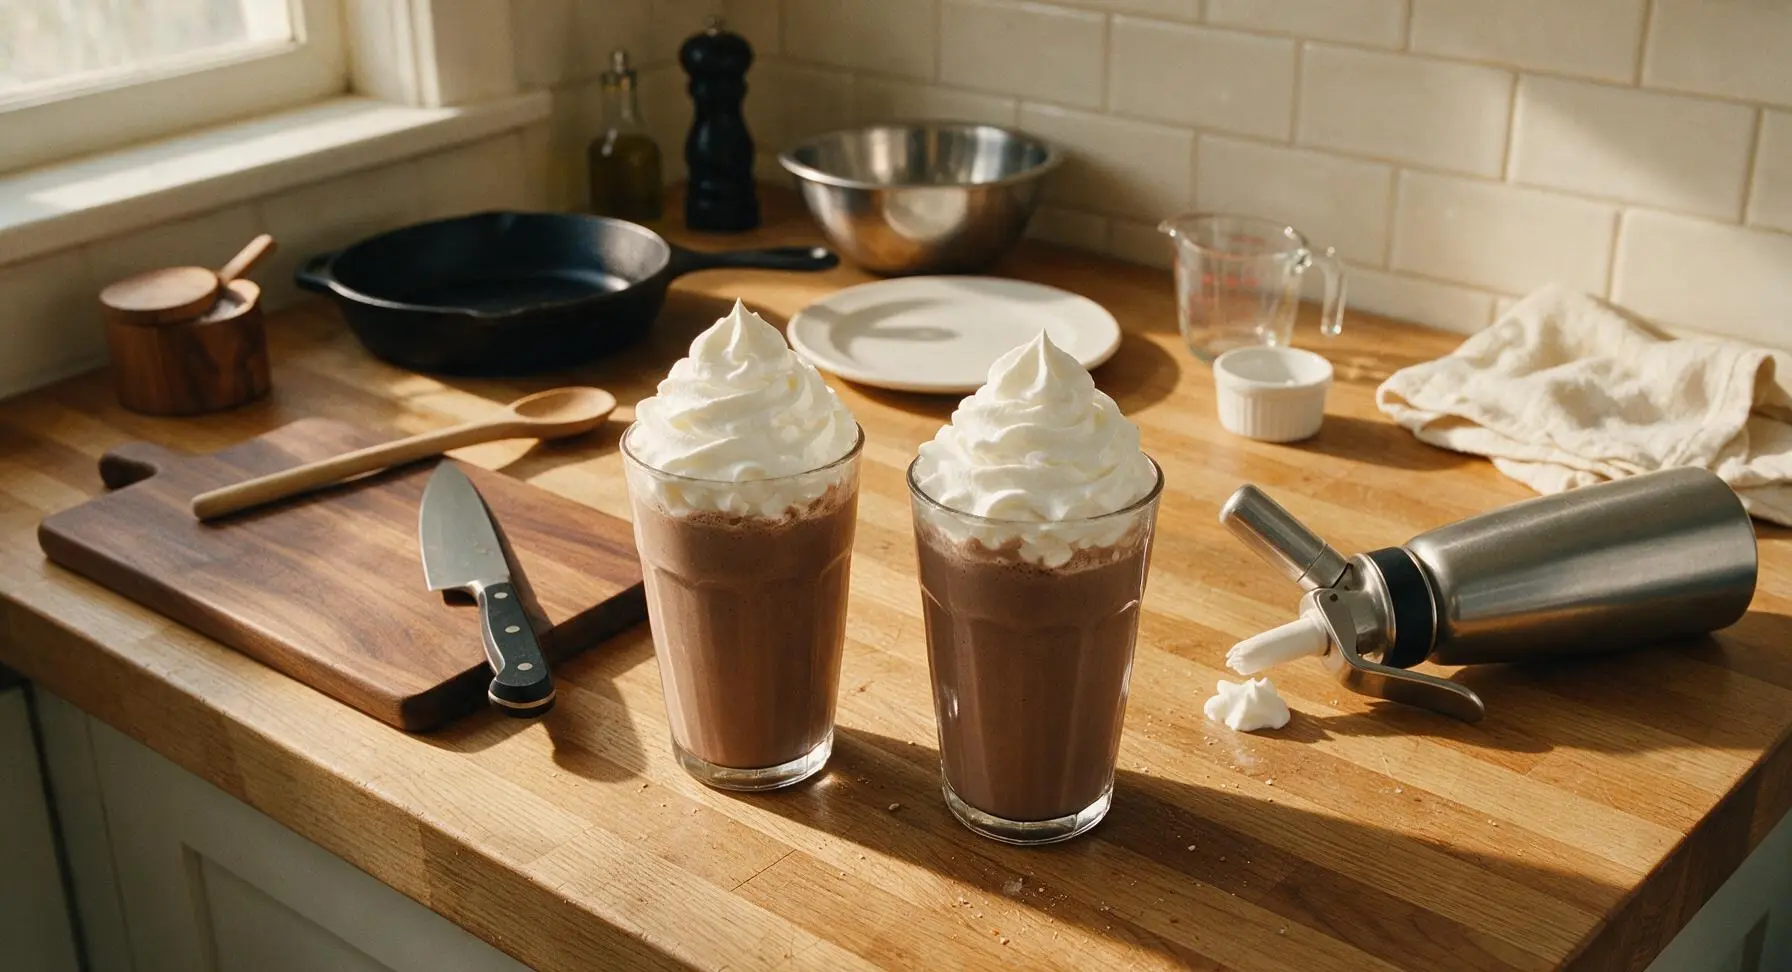
Step 6
step6:Top with whipped cream
7

Add final garnishes

Drizzle the remaining 1 tablespoon of chocolate syrup over the whipped cream tops, sprinkle with dark chocolate shavings, tuck one small fresh mint sprig into the side of each whipped cream swirl, and insert a bent stainless steel straw into each glass at a 45-degree angle. Serve immediately, as the thick texture will start to soften within 5 minutes at room temperature.
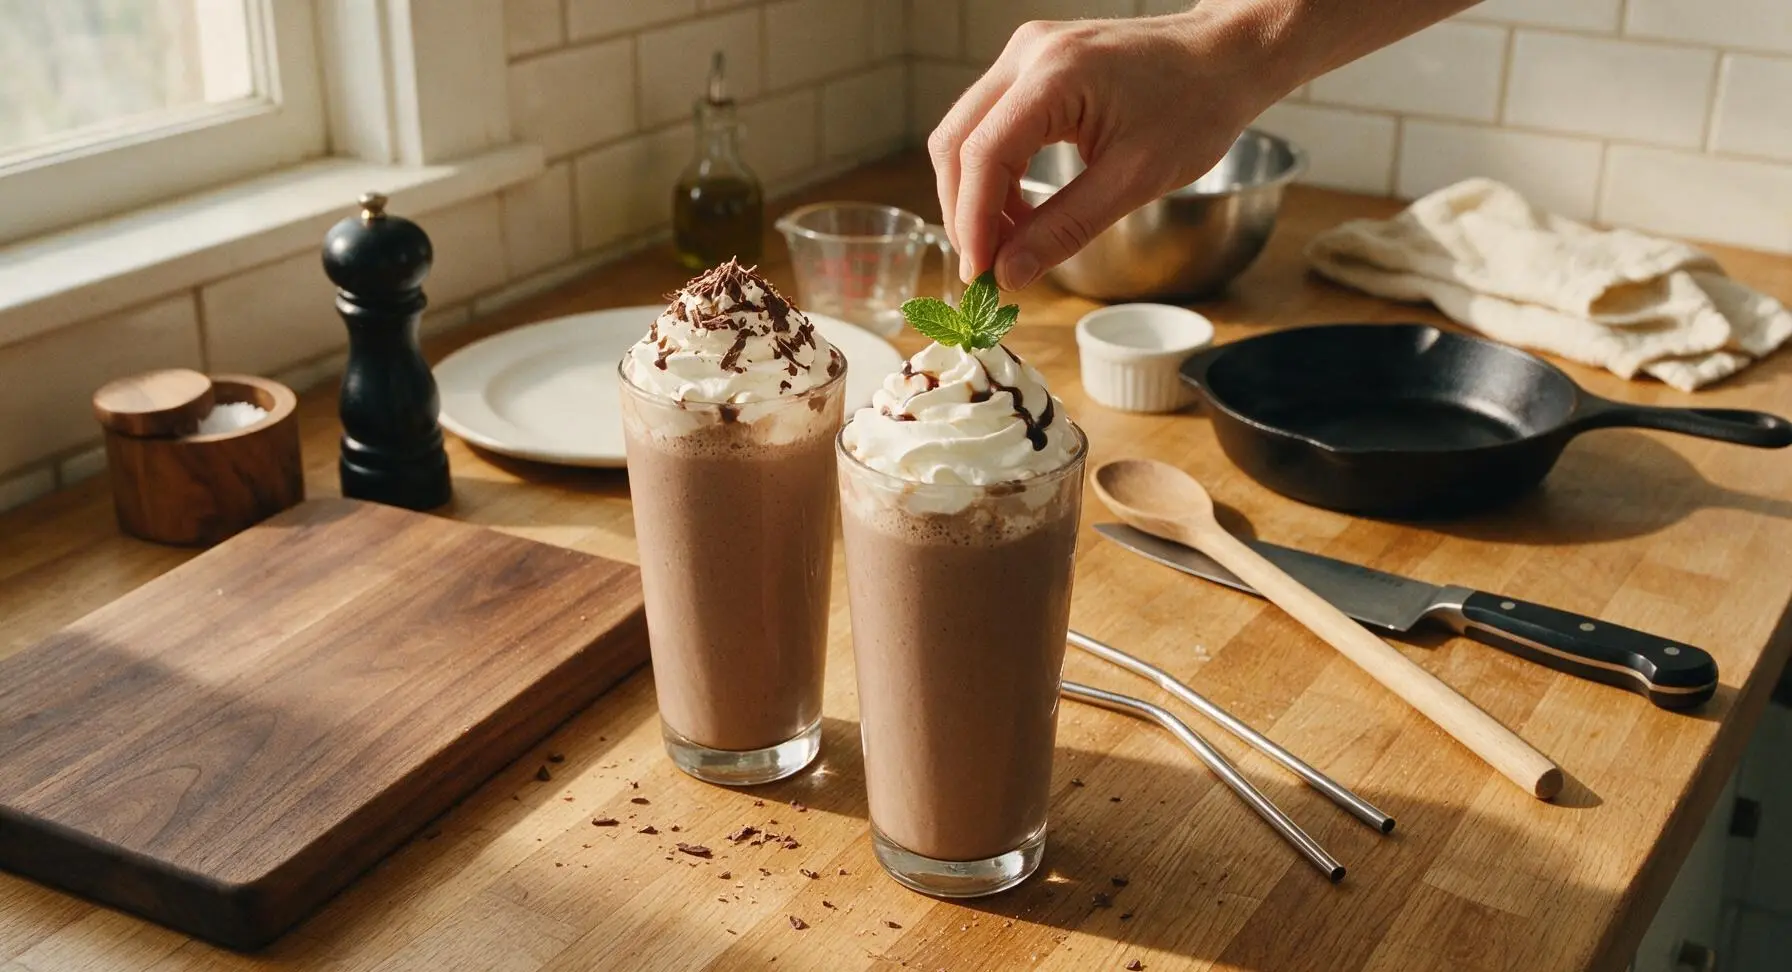
Step 7
step7:Add final garnishes

Tips

1.Use only full-fat premium vanilla ice cream for the best texture: low-fat or 'light' ice cream has higher water and air content, which creates icy, thin, watery milkshakes instead of the rich, creamy, thick diner-style consistency.
2.Avoid over-blending at all costs: blending for more than 20 seconds melts the ice cream too quickly, resulting in a runny shake that won’t hold its shape; the perfect shake is thick enough to hold a spoon upright when inserted.
3.Add the tiny pinch of flaky sea salt to the chocolate syrup: salt amplifies the deep, roasted flavor of chocolate, cuts through cloying sweetness, and makes the shake taste richer without adding any noticeable salty flavor.


✨ You May Also Like

Drinks & Beverages
🍜 Mexico

A bright, balanced tequila-based cocktail with zesty fresh lime, smooth orange liqueur, and a signature salt rim, perfect for warm summer sipping.

⏱️ 5 minutesDrinks & Beverages ★ 4.9
Drinks & Beverages
🍜 United States

Thick, creamy, nostalgic classic vanilla milkshake with a rich, smooth texture, topped with whipped cream and a cherry for cool, sweet refreshment.

⏱️ 5 minutesDrinks & Beverages ★ 4.7
Drinks & Beverages
🍜 United States

A bright, golden strong ale with fruity banana-clove notes, subtle hop spice, and soft carbonation, brewed in classic Trappist Tripel tradition.

⏱️ 2 hours aDrinks & Beverages ★ 4.5
Drinks & Beverages
🍜 United States

A frothy, nostalgic American soda fountain treat pairing bubbly cold root beer with creamy vanilla ice cream, perfect for cooling down at warm weather gatherings.

⏱️ 20 minuteDrinks & Beverages ★ 4.8
Drinks & Beverages
🍜 United States

Tart, funky, effervescent American Wild Ale is a complex fruity craft beer brewed with wild yeast, delivering bright, zesty notes perfect for warm-weather sipping.

⏱️ 2 hours aDrinks & Beverages ★ 4.4
Drinks & Beverages
🍜 United States

Bright, bubbly copycat of the iconic American caramel cola, balanced with citrus and warm spice, perfect for sipping ice-cold on hot days.

⏱️ 15 minuteDrinks & Beverages ★ 4.8

Chocolate Milk Shake:Frequently Asked Questions

1.Why use vanilla ice cream instead of chocolate ice cream for a classic chocolate milkshake? ▾
That’s the old diner secret! Premium full-fat vanilla ice cream has a clean, creamy base that lets rich dark chocolate syrup shine, without the muted, overly processed cocoa note common in commercial chocolate ice cream. It creates a perfectly balanced, not-too-sweet nostalgic flavor and silkier texture that tastes exactly like the soda fountain treats you remember.
2.How thick should a proper classic diner chocolate milkshake be? ▾
It should be thick enough that a paper straw stands straight up when stuck in the center, but still thin enough to sip without straining. If it’s too thick to pull through a straw, you added too much ice cream; if it runs like regular chocolate milk, you used too much milk. Aim for a slow, velvety pour when you tip the blender jar.
3.Why do you add flaky sea salt to a sweet chocolate milkshake? ▾
That tiny pinch of flaky sea salt is a total game-changer! It cuts through the cloying richness of the ice cream and whipped cream, amplifies the deep, roasty notes of the dark chocolate syrup, and makes every sip taste brighter and more balanced. You won’t taste obvious salt—you’ll just notice the chocolate flavor pops far more than it does without it.
4.Can I use low-fat ice cream or skim milk to make a lighter version of this shake? ▾
I get wanting a lighter treat, but swapping in low-fat ice cream or skim milk will leave you with a watery, icy, thin shake that lacks that iconic velvety diner texture. Full-fat vanilla ice cream and ice-cold whole milk have the fat content needed to create that smooth, rich mouthfeel. If you want a small swap, 2% milk works, but expect a slightly thinner result.
5.How long should I blend the milkshake for the best texture? ▾
Don’t over-blend—that’s the most common home cook mistake! Blend on low speed for only 10 to 15 seconds, just until all ingredients are fully combined with no lumps of ice cream left. Blending longer melts the ice cream too much, thins the shake, and creates a weird foamy top instead of that thick, dense, creamy texture you want.
6.Do I need a high-powered professional blender to make this milkshake? ▾
Nope, you don’t need fancy equipment! A standard countertop blender works perfectly, as long as you start on low speed to avoid overworking the ice cream. If you don’t have a blender at all, let the ice cream soften for 5 minutes, then vigorously stir all base ingredients in a chilled cup for a similar old-fashioned hand-stirred texture.
7.Why does the recipe specify ice-cold whole milk instead of room-temperature milk? ▾
Warm or room-temperature milk melts ice cream way too fast as you blend, leading to a thin, watery shake instead of that thick, luxe texture. Using ice-cold whole milk straight from the coldest part of your fridge keeps the ice cream firm as it mixes for that dense, velvety consistency, and its higher fat content prevents grainy icy bits from forming.
8.What type of chocolate syrup works best for that classic diner flavor? ▾
Skip the thin, overly sweet grocery store syrups loaded with artificial flavors if you can! Reach for a rich dark chocolate syrup with simple ingredients—cocoa, sugar, vanilla, no odd preservatives. It has a deeper, less cloying chocolate taste that matches old diner vibes, and mixes smoothly into cold ice cream without clumping or leaving gritty residue.
9.Can I make this milkshake ahead of time for a summer party? ▾
Milkshakes are definitely best fresh right after blending, but you can prep ahead for gatherings! Mix the base a little thicker than normal, pour it into an airtight freezer-safe container, and freeze for up to 1 hour. Give it a quick 5-second stir before serving, top with whipped cream, and it’ll be almost as good as fresh.
10.Do I have to top the shake with heavy whipped cream, or can I skip it? ▾
The whipped cream is totally optional, but it adds the perfect fluffy, light contrast to the dense, rich shake base! I recommend making fresh heavy whipped cream with a tiny touch of sugar instead of using canned topping, since it has a richer taste that doesn’t deflate instantly on the cold shake. If you skip it, a light dusting of cocoa powder makes a nice finish.
11.How do I get that perfect fluffy whipped cream texture for topping? ▾
Start with ice-cold heavy cream straight from the fridge, and whip it on medium speed with one teaspoon of powdered sugar per cup of cream until it forms soft, floppy peaks. Don’t whip it all the way to stiff peaks—it’ll turn too buttery and heavy for a milkshake topping. You want it light enough to sit in a soft mound without sinking immediately.
12.My milkshake came out too thin—how can I fix it after blending? ▾
No worries, that’s an easy fix! Pop the blender jar back in the freezer for 5 to 10 minutes to firm up the melted ice cream a little, then add one small scoop of extra frozen full-fat vanilla ice cream and pulse for 2 to 3 seconds to combine. Don’t add ice, which will make the shake watery and gritty as it melts.
13.My shake is so thick I can’t sip it through a straw—what should I do? ▾
That’s a simple problem to solve! Add 1 tablespoon of ice-cold whole milk at a time, pulsing the blender for 2 seconds between additions, until it reaches that perfect sippable consistency. Don’t dump in a big splash of milk all at once—you’ll go from too-thick to too-watery in seconds, and thinning a thick shake is far easier than fixing a runny one.
14.Can I add mix-ins like cookie crumbs or candy to this classic shake? ▾
Absolutely! The classic version is perfect on its own, but it makes a fantastic base for fun add-ins. Once you’ve blended the base to the right consistency, stir in crushed cookies, mini chocolate chips, chopped candy bars, or peanut butter by hand—don’t blend them in, or they’ll turn to gritty crumbs and ruin the smooth texture.
15.Why did my milkshake turn out grainy instead of smooth and velvety? ▾
Grainy texture almost always stems from one of two issues: either you used low-fat dairy that formed tiny ice crystals, or you over-blended the shake so much that the ice cream broke down and formed icy bits. Next time, use full-fat ice cream and ice-cold whole milk, blend only on low for 10 to 15 seconds, and make sure your ice cream isn’t freezer-burned.
16.What kind of glass should I use for that authentic retro diner serving look? ▾
Reach for a tall, thick-walled 16-ounce soda fountain glass for that perfect nostalgic diner vibe! Pop the glass in the freezer for 10 minutes before pouring the shake in, so the cold glass doesn’t melt the shake as fast. Leave a little room at the top to pile on whipped cream, and serve with a paper straw and long spoon just like old-school diners do.
17.Can I make a dairy-free version of this milkshake without ruining the texture? ▾
You can make a great dairy-free version if you pick the right swaps for that creamy texture. Use premium full-fat coconut milk vanilla ice cream (skip watery almond milk varieties), ice-cold barista-blend oat milk, dairy-free dark chocolate syrup, and coconut whipped cream for topping. Low-fat dairy-free ice creams will turn icy and watery no matter how carefully you blend.
18.Why is this called a classic chocolate shake if it doesn’t include malt powder? ▾
Great question! The classic chocolate diner milkshake predates the malted version—malted milk powder was a later add-in for separate malted shake menu items. This is the simple, original 1950s diner shake: just rich ice cream, cold milk, chocolate syrup, a pinch of salt, and whipped cream on top, for that pure, nostalgic chocolate and cream flavor everyone recognizes.

Comments (13)

2 days ago

OMG this is exactly the old-fashioned chocolate shake I grew up getting at the local diner! No weird fancy ingredients, just perfect creamy chocolatey goodness. My kids begged for seconds before they even finished their first glass.

3 days ago

SO good. I was overcomplicating my shakes with too much syrup and random add-ins, but going back to this classic ratio? Game changer. Perfect thickness, not too sweet, hits the spot after mowing the lawn on a hot Texas afternoon.

1 week ago

I swapped the whole milk for oat milk and used dairy-free vanilla ice cream and it still slapped! So easy to adapt for my dairy allergy, I didn't even miss the regular dairy. Such a solid base recipe.

5 minutes ago

Zero cook time? Perfect for when my friends and I are pulling all nighters during midterms. We threw this together in 2 minutes with stuff we already had in our dorm mini fridge and freezer, no fancy equipment needed. 10/10 would chug again.

5 days ago

I made this for my grandkids when they came over for our weekly Sunday dinner, and they said it was better than the fast food shakes we usually get! I added a little extra malt powder because that's how my mom used to make them, and it was chef's kiss.

3 days ago

Love that you added malt powder, that's such a delicious nostalgic twist! So happy your grandkids enjoyed it, nothing beats a classic shake shared with family.

3 days ago

Wait, how do you get that perfect thick consistency where the shake barely moves when you tip the cup? Mine came out a little runny last time I tried it, did I add too much milk?

2 days ago

I had that exact problem too! Try using super frozen, extra firm ice cream and add the milk a tablespoon at a time instead of pouring it all in at once. Fixed my runny shakes instantly!

2 weeks ago

Brought a big batch of these to our neighborhood block party potluck last weekend, and people were lined up for refills! I set out little toppings like whipped cream, sprinkles, and maraschino cherries so people could customize their own. Total hit.

1 week ago

What a fun idea to set up a shake topping bar for the potluck! That sounds like the perfect summer party treat, so glad it was a hit with your neighbors.

2 hours ago

Anyone tried adding a scoop of chocolate protein powder to this? I'm always looking for easy post-workout treats that don't taste like chalk.

30 minutes ago

I did that last week! It adds a little extra thickness and boosts the protein, just cut back on a splash of milk so it doesn't get too watery. Tastes way better than my usual chalky protein shake.

yesterday

I'm literally terrible at cooking, like I burn toast level bad, and I nailed this on the first try! It was so easy, no complicated steps to mess up. I'm so proud of myself lol.

2 hours ago

That's what we love to hear! This recipe is perfect for new cooks because it's totally forgiving and comes out great every time, congrats on nailing it!

5 days ago

My partner and I have a weekly date night where we make burgers and fries at home, and this shake is our new permanent side! It tastes just like the ones we get at our favorite burger joint downtown, for a fraction of the cost.

3 days ago

Oh we do weekly burger night too! I'm totally adding this to next week's menu, my husband is obsessed with chocolate shakes, he's gonna lose his mind.

2 days ago

At-home burger and shake nights are the best! So glad this recipe earned a permanent spot on your date night menu, hope you both love it for weeks to come.

2 weeks ago

Wait, can you make these ahead of time and store them in the freezer for quick after-school snacks? My kids are always starving the second they walk in the door, and this would be way better than the pre-packaged junk they beg for.

1 week ago

I pre-portioned these in freezer-safe mason jars last week! Just pull one out 10 minutes before you want to eat it, give it a quick stir, and it's good as new. Worked perfectly for my kids' after-school snacks too.

5 days ago

Great tip from Jen! If you're making them ahead, just give it a good blend or stir once it thaws a little to bring back that creamy texture. It's a fantastic less-processed after-school snack option.

1 week ago

Pro tip: add a tiny splash of vanilla extract and a pinch of salt to the blender! It makes the chocolate flavor pop so much more, it tastes exactly like the shakes I got at the mall diner when I was a teen in the 90s.

3 days ago

Wait the pinch of salt trick? That's genius! I never would have thought to add salt to a sweet shake, but I bet it cuts the richness perfectly. Trying this tonight after I pick up more ice cream!

2 days ago

That's such a great pro tip! A little pinch of salt really does amplify the chocolate flavor without making the shake taste salty at all. Thanks for sharing that awesome hack with the community!

30 minutes ago

Who else drinks the last little bit of melted shake straight from the blender cup when they're done pouring? No judgment, this stuff is so good I can't let a single drop go to waste lmao.

5 minutes ago

Guilty over here! I don't even pour glasses half the time, I just drink it straight out of the blender jar with a long straw. Less dishes to wash too, total win win.

just now

We won't tell if you don't! That's the best perk of making shakes at home, you get all the leftover blender bits for yourself. No judgment from us at all.



