1.Why do you use full-fat vanilla ice cream instead of chocolate ice cream for this classic shake?
▾
That’s the old-school diner secret! Full-fat vanilla ice cream has a higher butterfat content for a silkier, less cloying base, and lets you control exactly how much chocolate flavor you get from the syrup. Pre-made chocolate ice cream often has a chalky, overly sweet profile that mutes that nostalgic, rich chocolate shake taste so many of us remember from childhood trips to diners.
2.How do I get that super thick, spoonable diner-style consistency instead of a runny shake?
▾
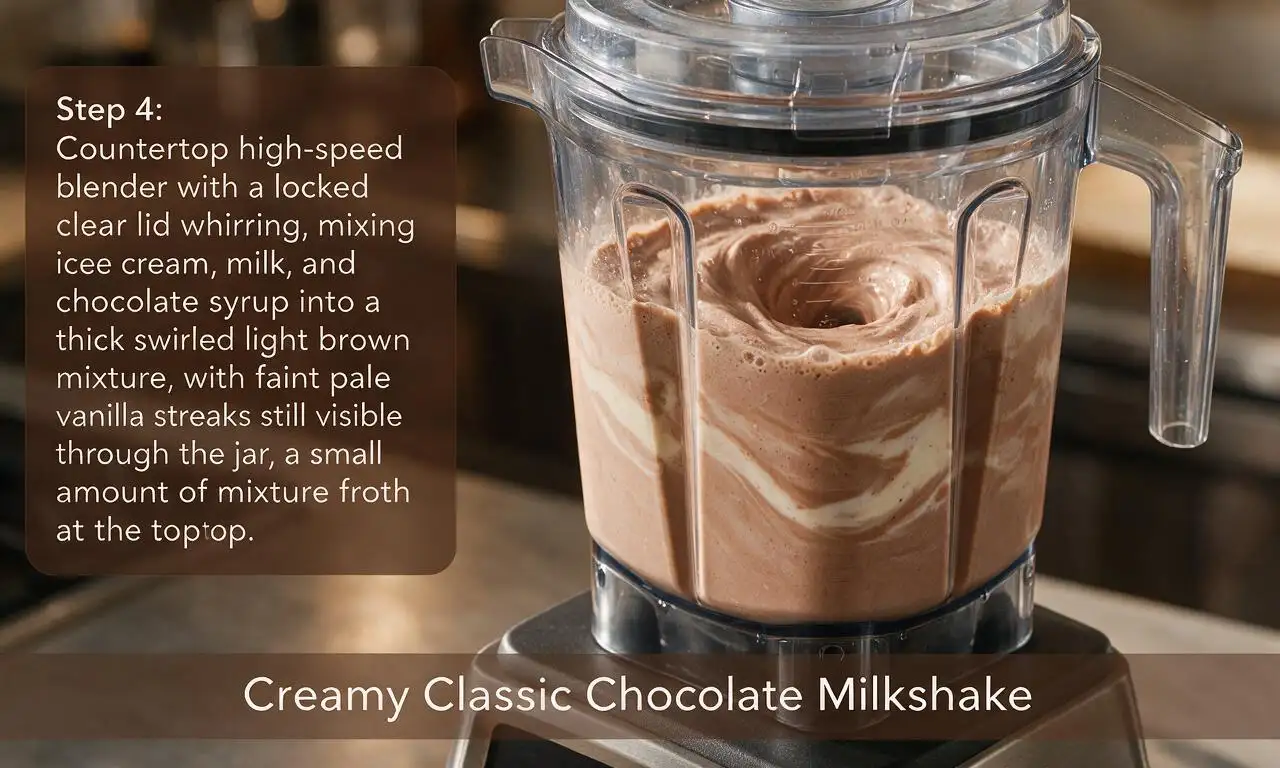
Start with ice cream softened just 5 minutes on the counter (no fully melted spots!), use ice-cold whole milk straight from the back of the fridge, and add milk 1 tablespoon at a time while blending. Skip high-speed blending: 10 to 15 seconds on low is all you need, as over-blending melts ice cream fast and turns even the thickest base watery.
3.Can I use low-fat or skim milk instead of whole milk to cut calories?
▾
You can, but expect a noticeable difference in texture and flavor. Whole milk’s fat content creates that luxe, velvety mouthfeel that defines the classic shake; skim or low-fat milk will produce a thinner, icier, less creamy result. If you do make the swap, add one extra scoop of ice cream to help compensate for the lost richness and body.
4.What kind of chocolate syrup works best for that authentic nostalgic flavor?
▾
Stick to standard, shelf-stable grocery store chocolate syrup from the baking aisle, not fancy artisanal drinking chocolate or thick hot fudge, which gets clumpy when mixed with cold ice cream. For the truest diner taste, pick the original, plain syrup without added dark chocolate, sea salt, or other gourmet flavor add-ins that throw off the classic vibe.
5.My shake always comes out lumpy—what am I doing wrong?
▾
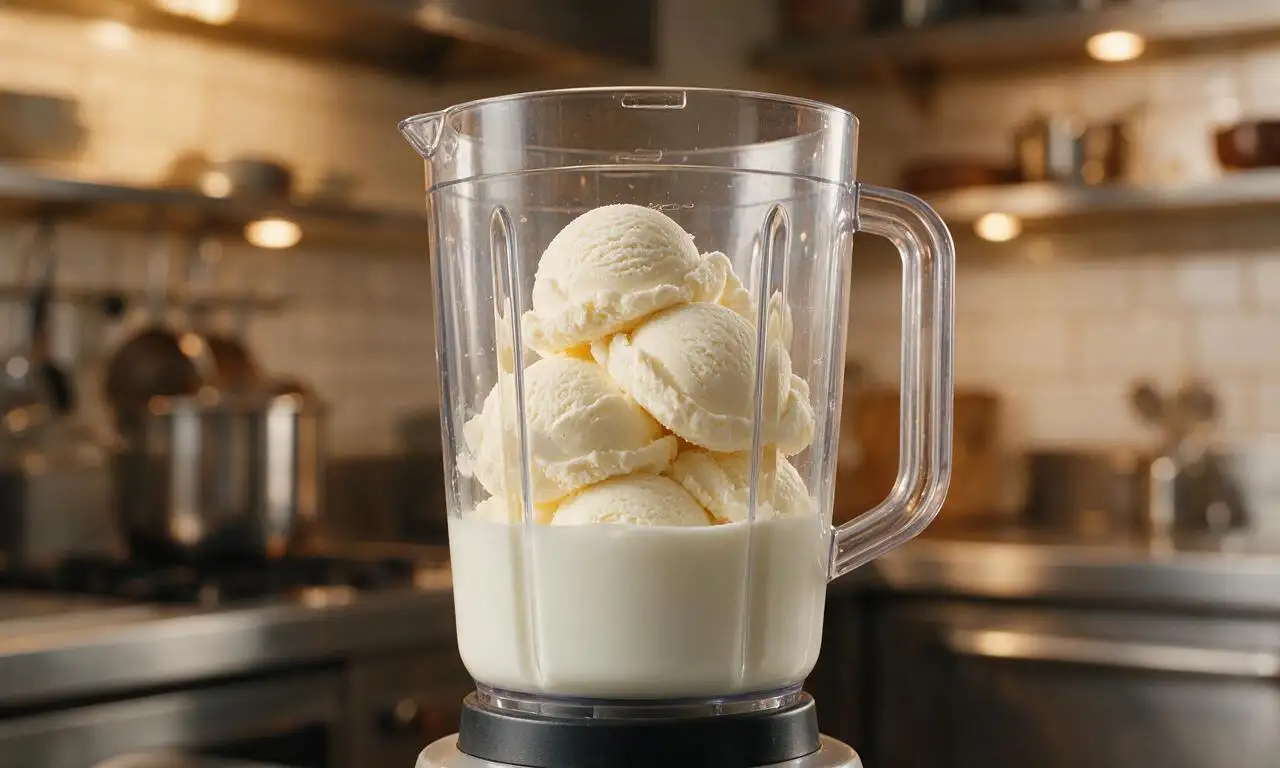
Lumps almost always come from using rock-hard ice cream straight from the deep freezer, or blending on too high a speed too fast. Let ice cream sit on the counter for 3 to 5 minutes to soften just enough to scoop easily, pour milk into the blender first to help blades move freely, then blend on low in short pulses to smooth out lumps.
6.Can I make this milkshake ahead of time for a summer party?
▾
Milkshakes are best served immediately after blending, as they separate and develop a grainy, icy texture when stored in the fridge or freezer. If prepping for a party, pre-scoop ice cream into freezer-safe containers, pre-measure syrup and milk, and keep everything cold. Blend individual servings in 30 seconds each right when guests are ready.
7.Do I need a high-powered fancy blender to make this shake?
▾
Nope! You don’t need a professional-grade blender for this recipe. A basic standard countertop blender works perfectly as long as you don’t overpack the jar, add milk first to help the blades spin freely, and blend in short low-speed bursts. You can even use a sturdy immersion blender in a deep, wide cup if that’s all you own.
8.How do I get the whipped cream and cherry topping to stay put like at a diner?
▾
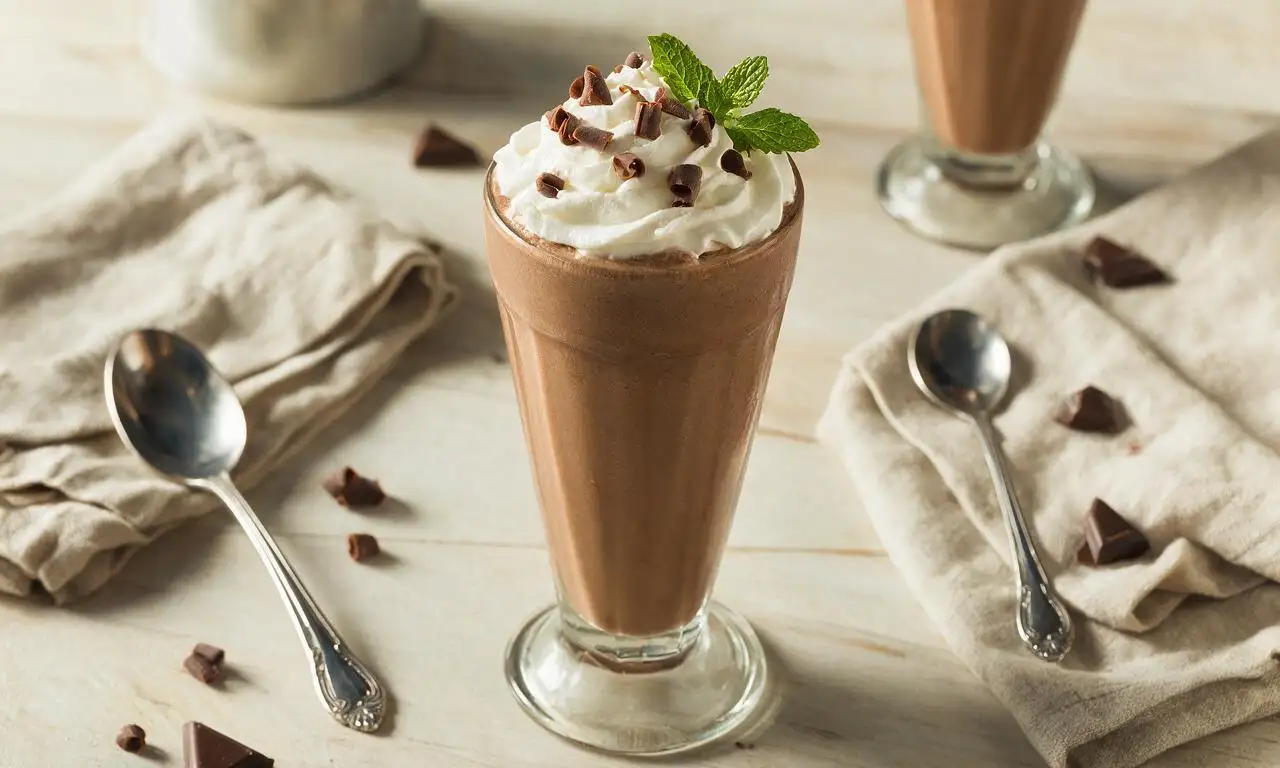
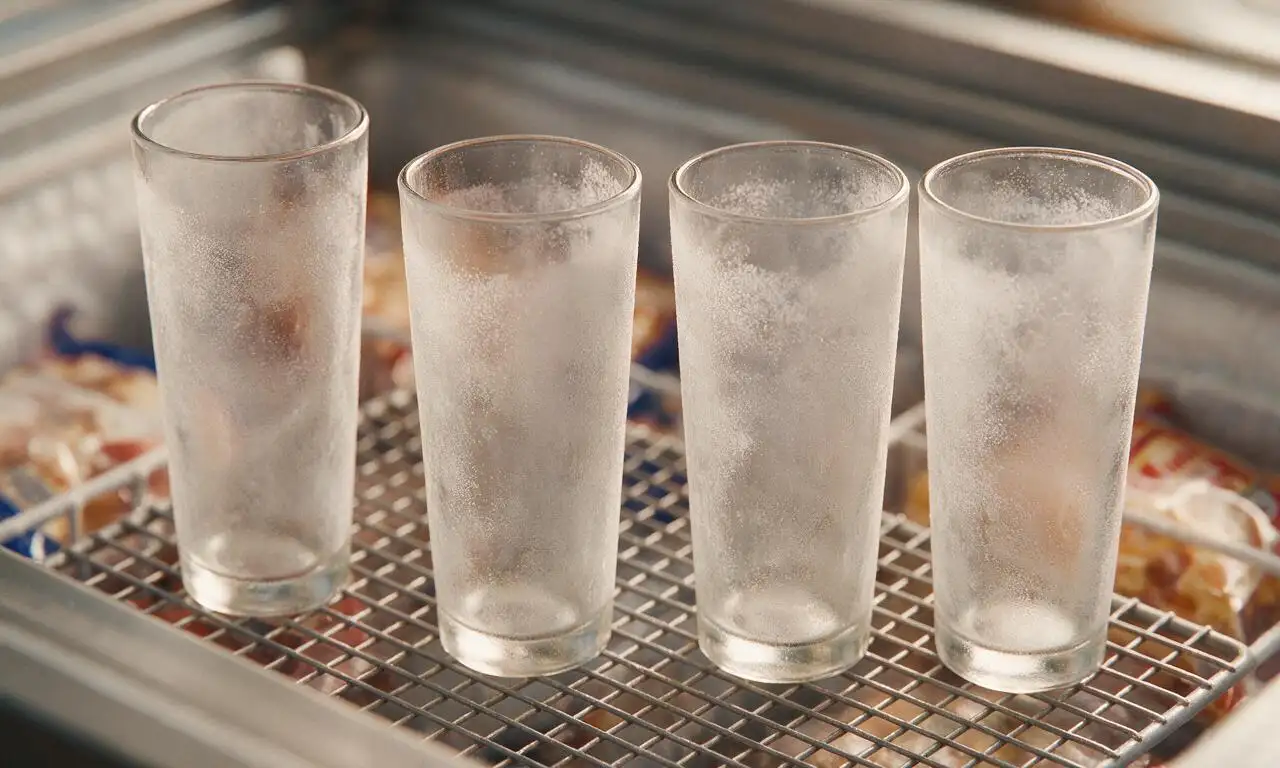
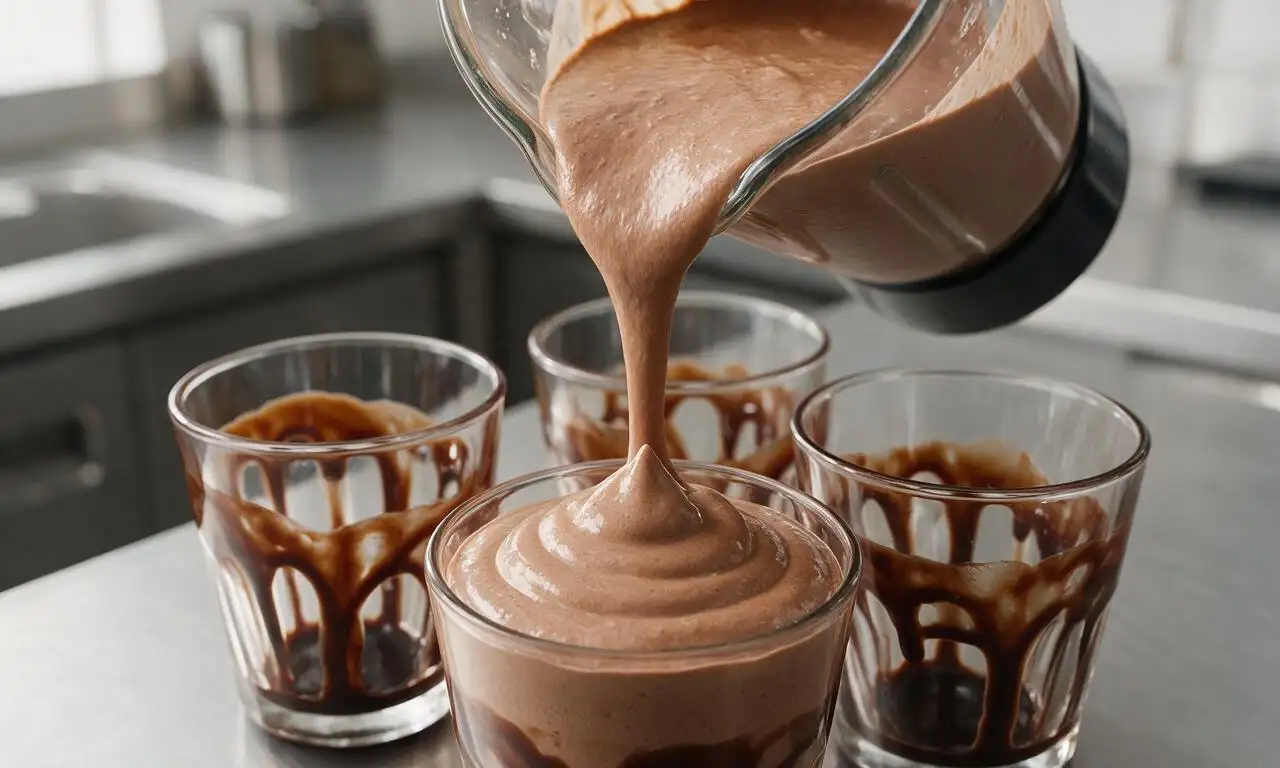
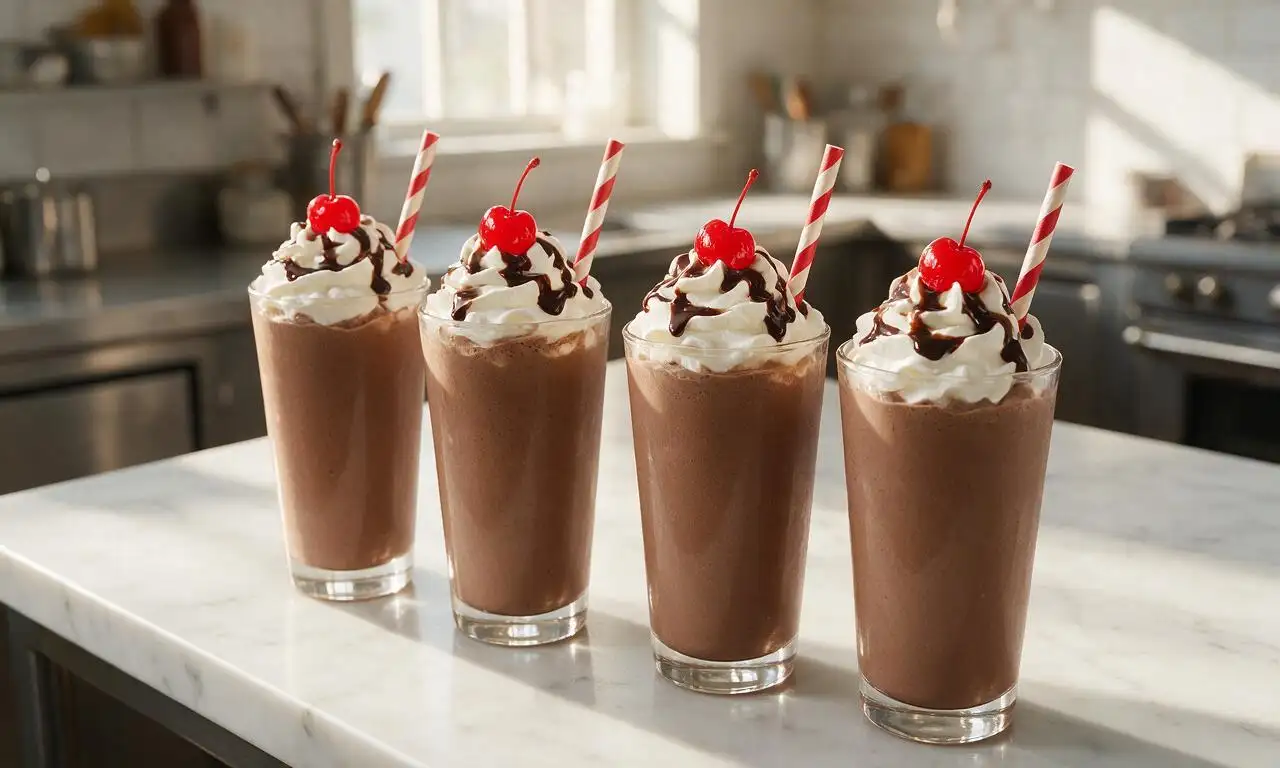
First, chill your serving glasses in the freezer for 10 minutes before pouring the shake, so the cold surface doesn’t melt the base too fast. Pile whipped cream high in the center of the shake, rather than spreading it thin, then set a well-drained maraschino cherry right on the peak so it doesn’t slide off or sink.
9.Can I add extra mix-ins like cookie crumbles or peanut butter to this base?
▾
Absolutely! This classic base is extremely versatile for custom add-ins. Toss in 1 to 2 tablespoons of your favorite mix-in—crushed chocolate cookies, creamy peanut butter, malted milk powder, or sliced banana—after you blend the base to your preferred thickness, then pulse once or twice to combine without over-blending and thinning the shake.
10.Why does my homemade shake never taste as good as old-school diner shakes?
▾
Most classic diners use high-butterfat ice cream (14% butterfat or higher), minimal milk, and never over-blend, which keeps the shake ultra thick and rich. They also chill their glasses for hours before serving, and don’t skimp on chocolate syrup or the classic whipped cream and cherry garnish—skip fancy gourmet ingredients for that true retro vibe.
11.Is there a dairy-free version of this shake that still tastes creamy?
▾
You can absolutely make a creamy dairy-free swap! Use full-fat barista blend oat milk (it has the closest mouthfeel to whole dairy milk) paired with premium full-fat vanilla non-dairy ice cream and dairy-free chocolate syrup. Skip watery almond or rice milk, as those will make the shake icy and thin, and top with dairy-free whipped topping.
12.How long should I blend the shake for the perfect texture?
▾
Aim for just 10 to 15 seconds of total blending time on your blender’s lowest speed setting. Over-blending is the number one mistake home cooks make: if you blend longer than 20 seconds, the ice cream melts too much, creating a thin, watery shake instead of that thick, spoonable consistency. Stop as soon as large ice cream chunks disappear.
13.Can I use stem-on maraschino cherries for the garnish?
▾
Definitely! In fact, stem-on maraschino cherries are the classic diner garnish, since they look festive and are easy to pick up and eat once you finish your shake. Just make sure to drain cherries well on a paper towel first, so the bright red cherry syrup doesn’t drip down and streak your whipped cream or the sides of your cold glass.
14.What’s the ideal ratio of ice cream to milk for this recipe?
▾
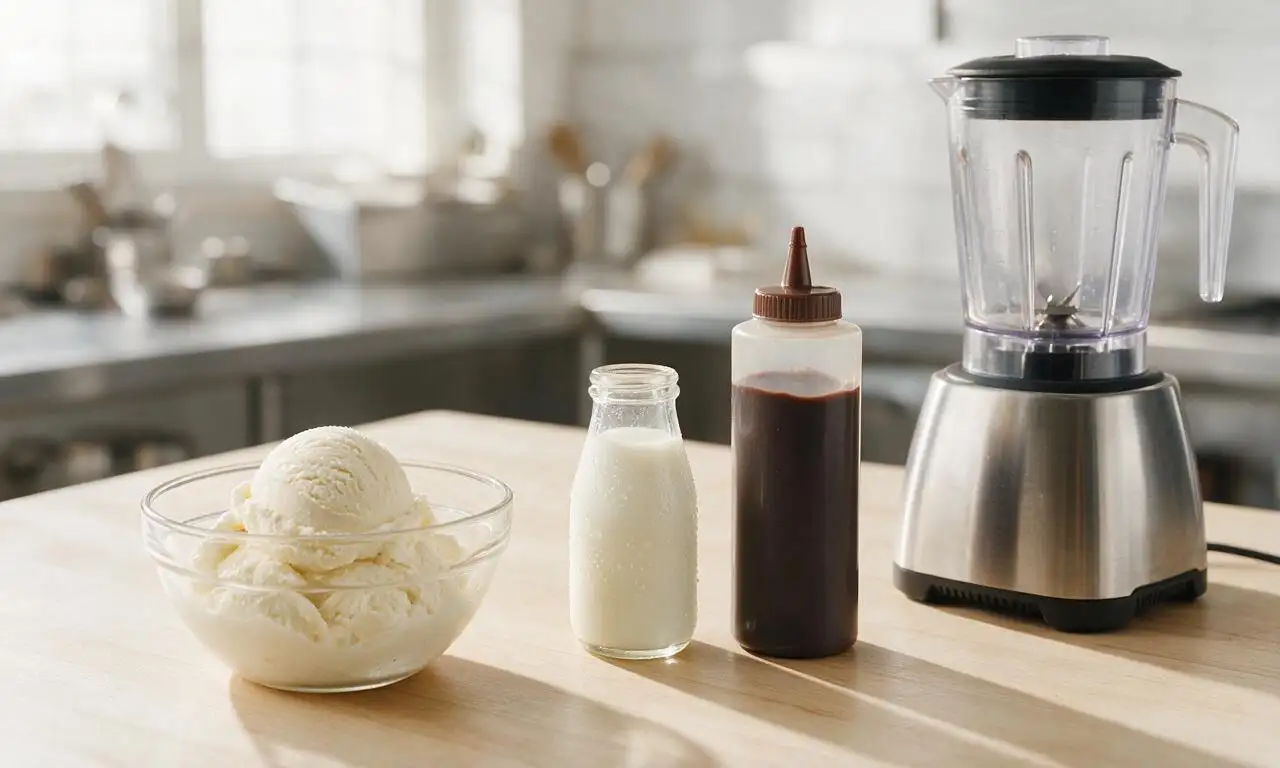
For the perfect thick classic shake, use 3 generous scoops (roughly 1.5 cups) of full-fat vanilla ice cream for every ¼ cup of ice-cold whole milk, plus 2 tablespoons of chocolate syrup. Always start with less milk than you think you need—you can add an extra splash to thin it, but you can’t fix an over-thinned shake without adding more ice cream.
15.My chocolate syrup always sinks to the bottom of the glass—how do I fix that?
▾
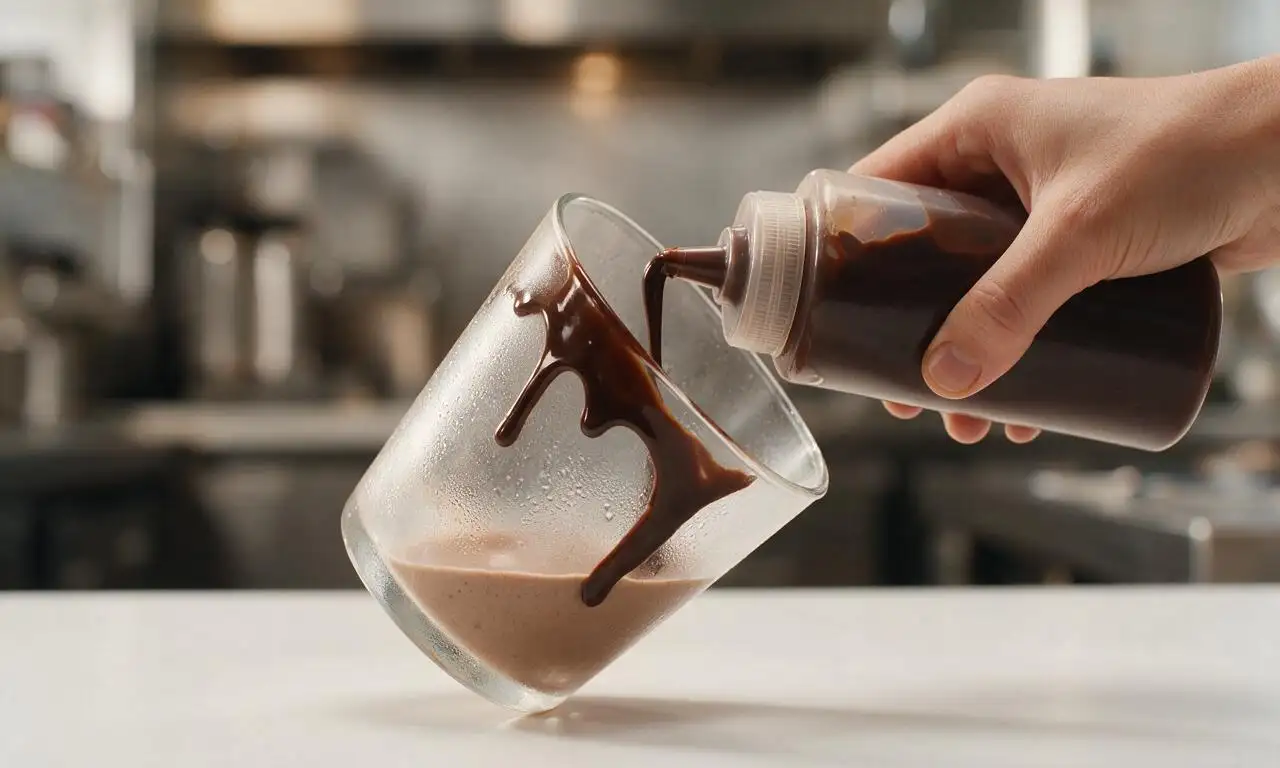
Add most of the chocolate syrup directly to the blender with the milk and ice cream instead of only drizzling it in the glass, so it incorporates evenly throughout the shake. If you want that pretty drizzle look on the glass sides, chill the glass first, then drizzle syrup on the cold interior 5 minutes before pouring so it sticks instead of sliding.
16.Is homemade whipped cream better than canned whipped cream for the topping?
▾
Homemade whipped cream (heavy cream whipped with a tiny bit of powdered sugar to soft peaks) has a richer, creamier flavor and holds its shape much longer, but canned whipped cream works great for a quick, nostalgic treat. If you use canned, spray it right before serving, since it deflates quickly, and add the cherry immediately so it doesn’t sink.
17.Can I make this shake if I don’t own a blender?
▾
Yes! If you don’t have a blender, let your ice cream soften for 8 to 10 minutes at room temperature until it’s the consistency of soft-serve, then stir in ice-cold whole milk and chocolate syrup vigorously with a sturdy spoon or whisk until smooth but still thick. It will have that charming, old-fashioned hand-mixed shake texture diners used to serve.
18.What size serving glass works best for this recipe?
▾
A classic 16-ounce tall, thick-walled diner-style milkshake glass is perfect for this recipe, as it leaves just enough room at the top for a generous pile of whipped cream and a cherry without overflow. Always chill the glass in the freezer for 10 minutes first to keep the shake cold longer, so you don’t end up with a melted, watery treat halfway through.
19.Can I turn this milkshake into a boozy version for adult summer cookouts?
▾
Absolutely! This creamy, rich base pairs perfectly with 1 to 1.5 ounces of your favorite spirit—bourbon, coffee liqueur, or vanilla vodka all work beautifully. Add the alcohol right into the blender with the other ingredients, but cut back on milk by 1 tablespoon to account for the extra liquid, so your shake stays nice and thick instead of runny.







OMG this is the PERFECT chocolate milkshake! I’ve been chasing that old diner taste for years and this nails it. My kids loved it so much they begged for seconds before they even finished their first glass, total game changer for our Friday movie nights. I used a little extra vanilla ice cream like I usually do and it was chef’s kiss. SO good!
Super easy to throw together after a backyard cookout! The only reason I’m not giving 5 stars is I found it a tiny bit too thick for my liking, so I added an extra splash of whole milk to thin it out and it was perfect. Brought it out for our potluck last weekend and every last drop was gone, even my picky nephew drank two cups.
As someone who can barely boil water without messing it up, this was so straightforward! 15 minutes total (and most of that was me digging my blender out of the back of my cabinet lmao) and it came out exactly like the photo. Way cheaper than hitting up the fast food place down the street too, will be making this all semester for late night study sessions.
Made this after a long hot hike last weekend and it hit so hard. I added a handful of frozen strawberries to half the batch for my partner and the plain chocolate version for me, both were incredible. Pro tip: throw a handful of crushed malt balls on top, trust me.
I made milkshakes at a small town diner for 22 years, and let me tell you—this recipe is spot on. The ratio of ice cream to syrup to milk is exactly what we used back in the day, no weird fancy ingredients needed. Tasted just like the shakes I used to serve up to regulars after little league games. 10/10.
Wait, can you pre-make these for meal prep? I know milkshakes are usually fresh, but I want to have something fun for the kids’ after school snacks during the week without pulling the blender out every single day.
Made this for my girlfriend last night for our at-home date night (we did burgers and fries to go with it, total retro diner vibe) and she said it was better than the fancy milkshake bar we went to for our anniversary. Win for me! I topped ours with whipped cream, chocolate drizzle, and a maraschino cherry, obviously.
Made these for the whole soccer team after our big win on Saturday. Let me tell you, 12 10-year-olds can put away some milkshakes! It was so easy to make a big batch in my big blender, no fancy steps, everyone was raving. Even the other coaches asked for the recipe.