
Chocolate Milkshake
intro
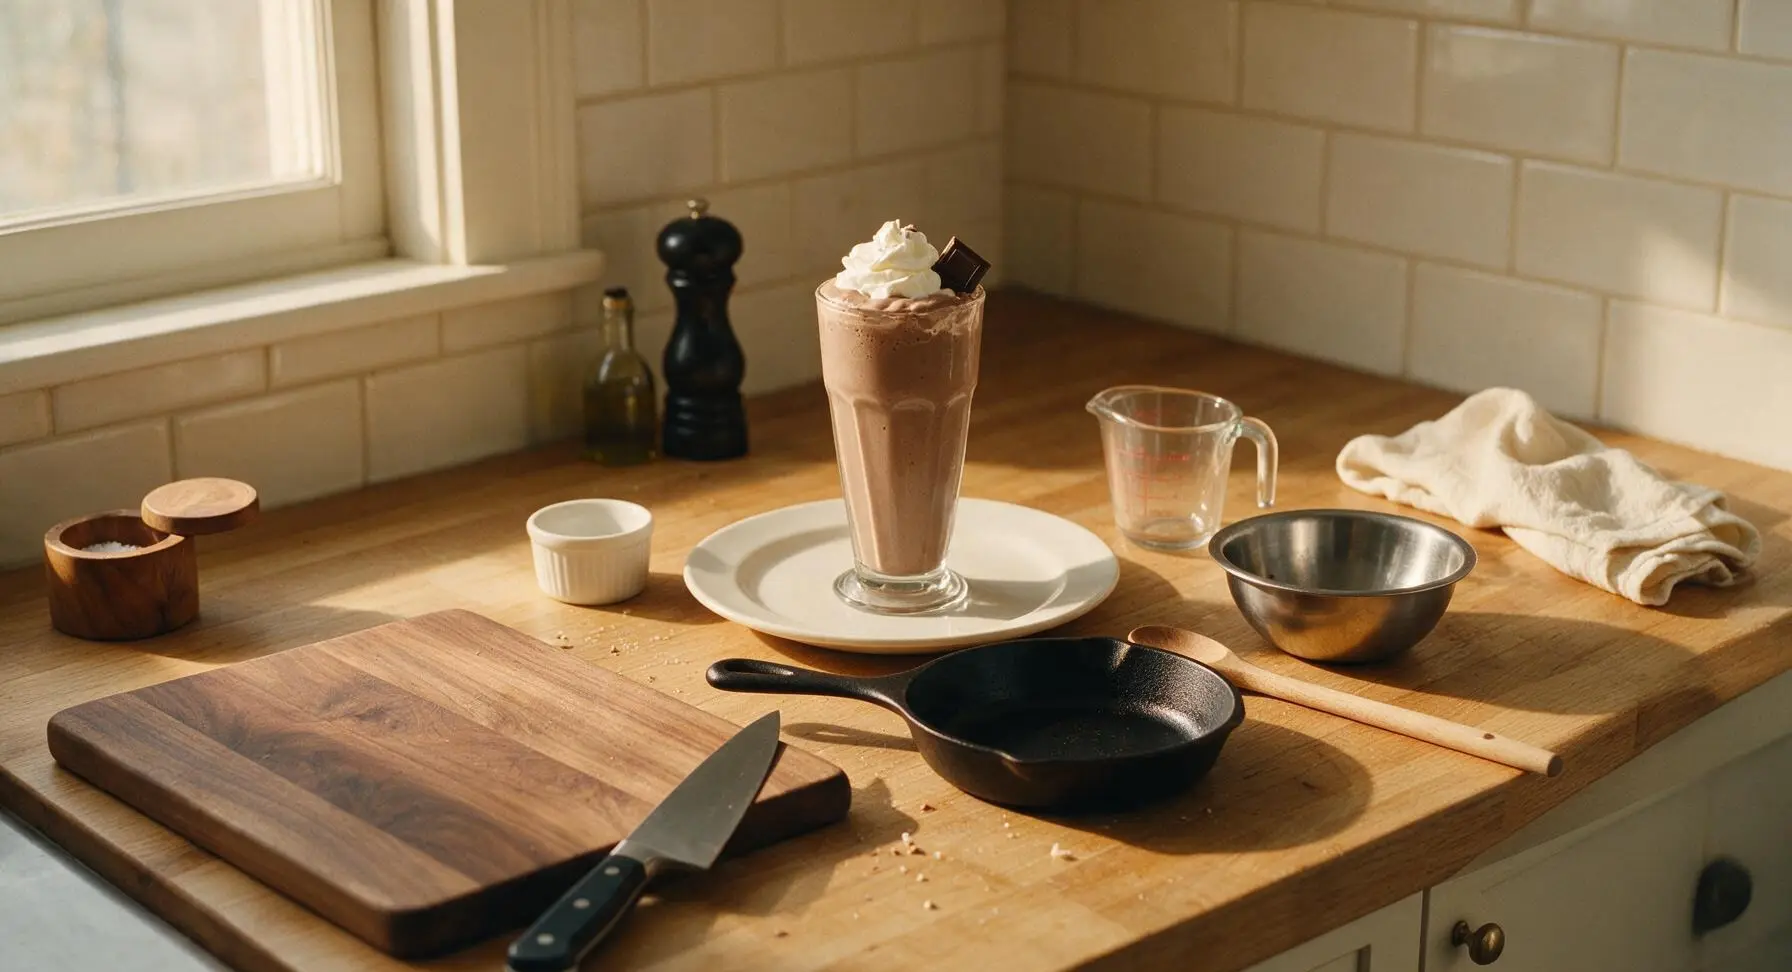
Thick, creamy, ultra-rich old-fashioned chocolate milkshake blended to silky perfection, topped with fluffy whipped cream—just like your favorite 1950s diner serve.
Ingredients
Steps
Prep and Chill Tools
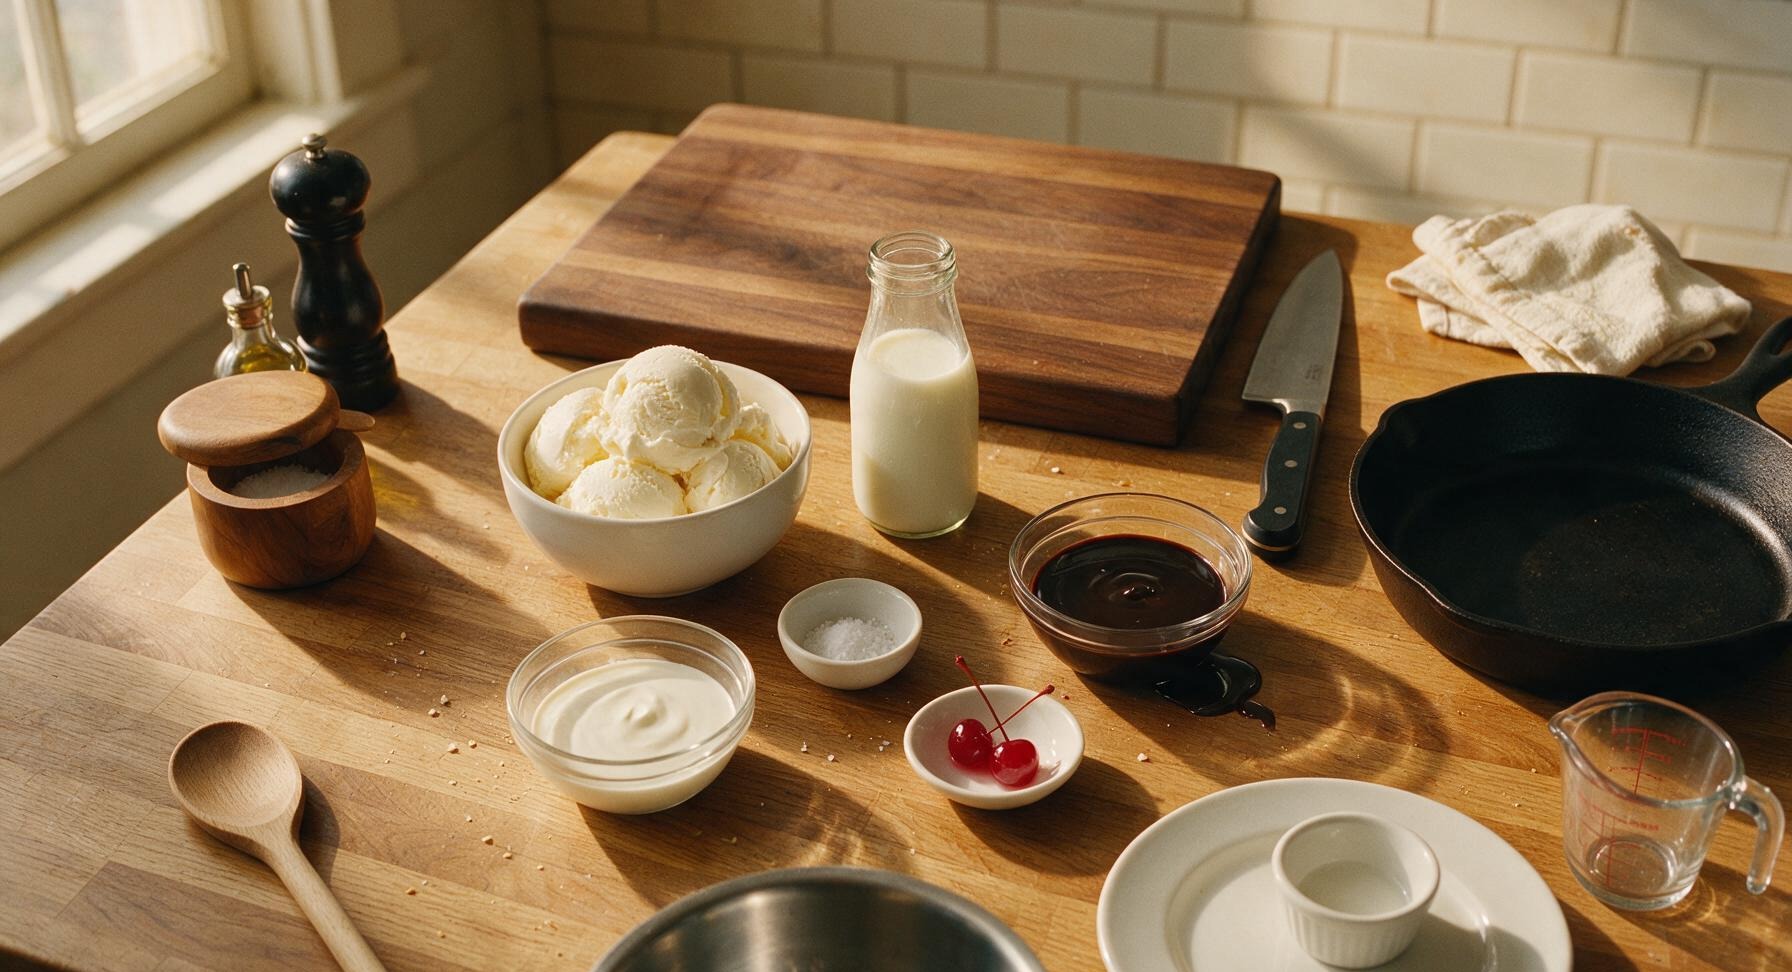
Place the two 16oz fluted milkshake glasses in the freezer for 5 minutes to chill while you gather ingredients. Take the vanilla ice cream out of the freezer to soften for 2 minutes at room temperature—it should scoop easily but not be fully melted, with a firm but giveable texture. Measure 1/2 cup chilled whole milk into the clear glass measuring cup, and set out chocolate syrup, heavy cream, cherries, and sea salt within easy reach of the blender.
Whip Fluffy Cream Topping
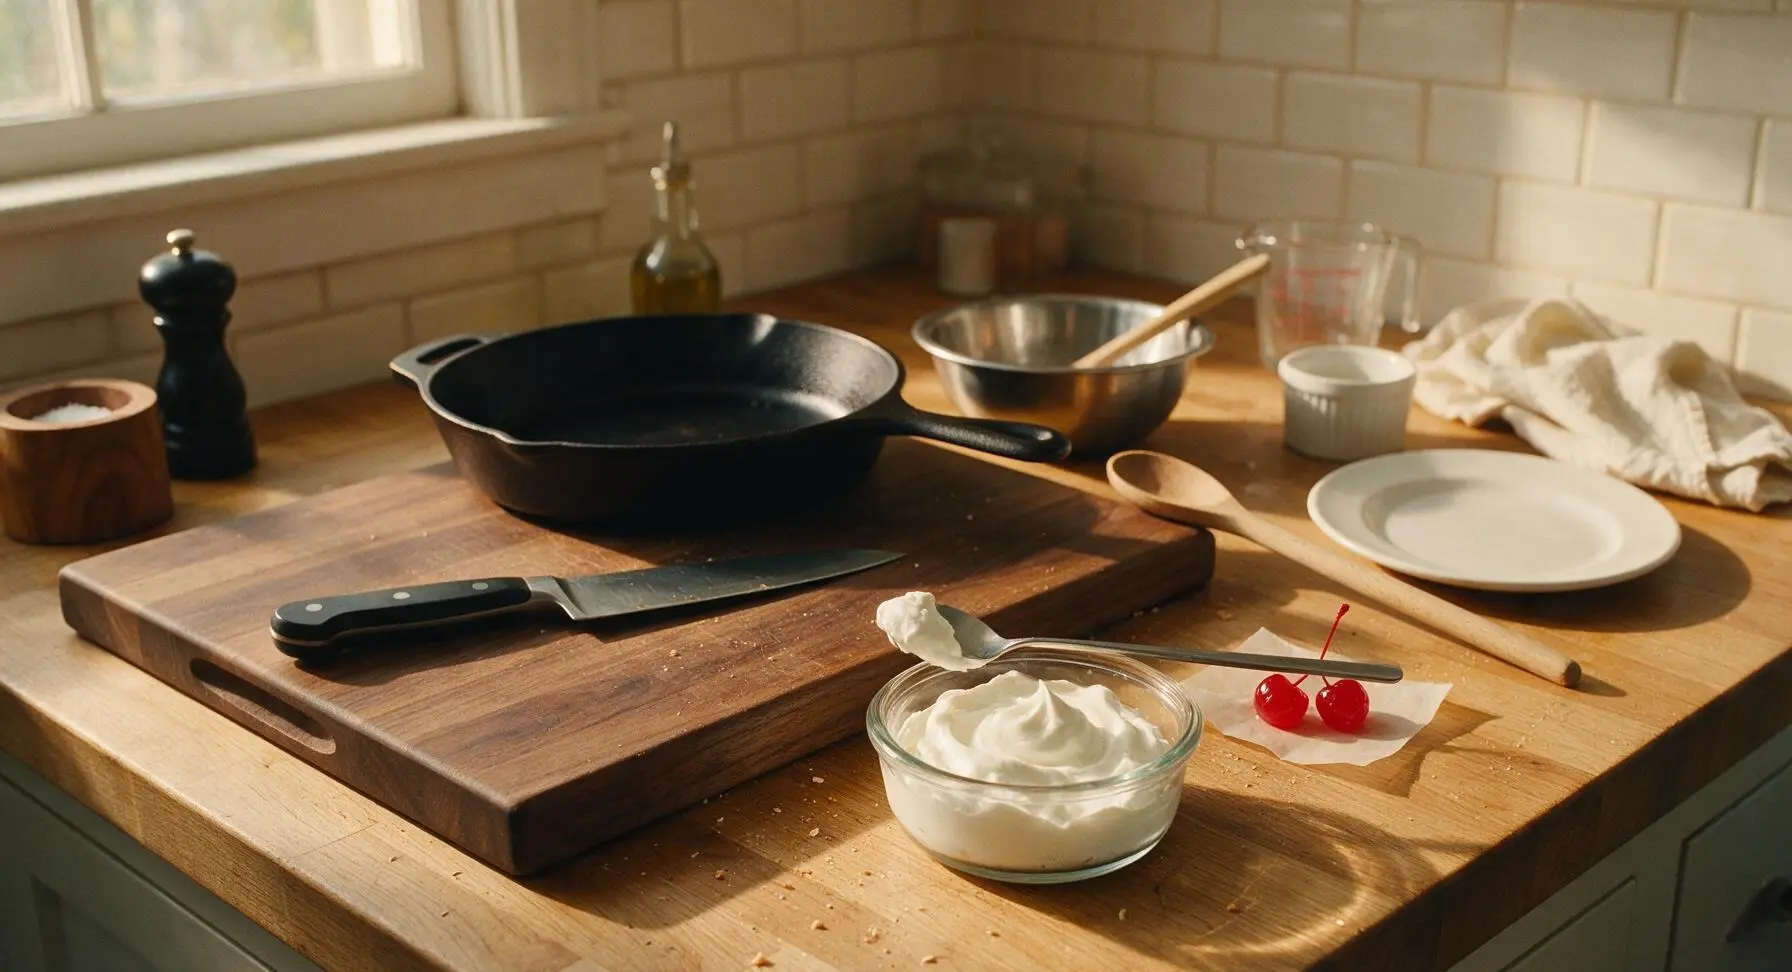
Pour 1/2 cup cold heavy whipping cream into the shallow glass ramekin after moving the cherries to a small square of parchment paper beside the ramekin. Use the long-handled milkshake spoon to whip the cream vigorously for 45-60 seconds, until it forms soft, billowy peaks that gently droop when you lift the spoon. Do not over-whip to stiff, grainy peaks or butter; the finished cream should be light, cloud-like, and spreadable. Set the ramekin of whipped cream in the fridge until ready to use.
Scoop Ice Cream Into Blender
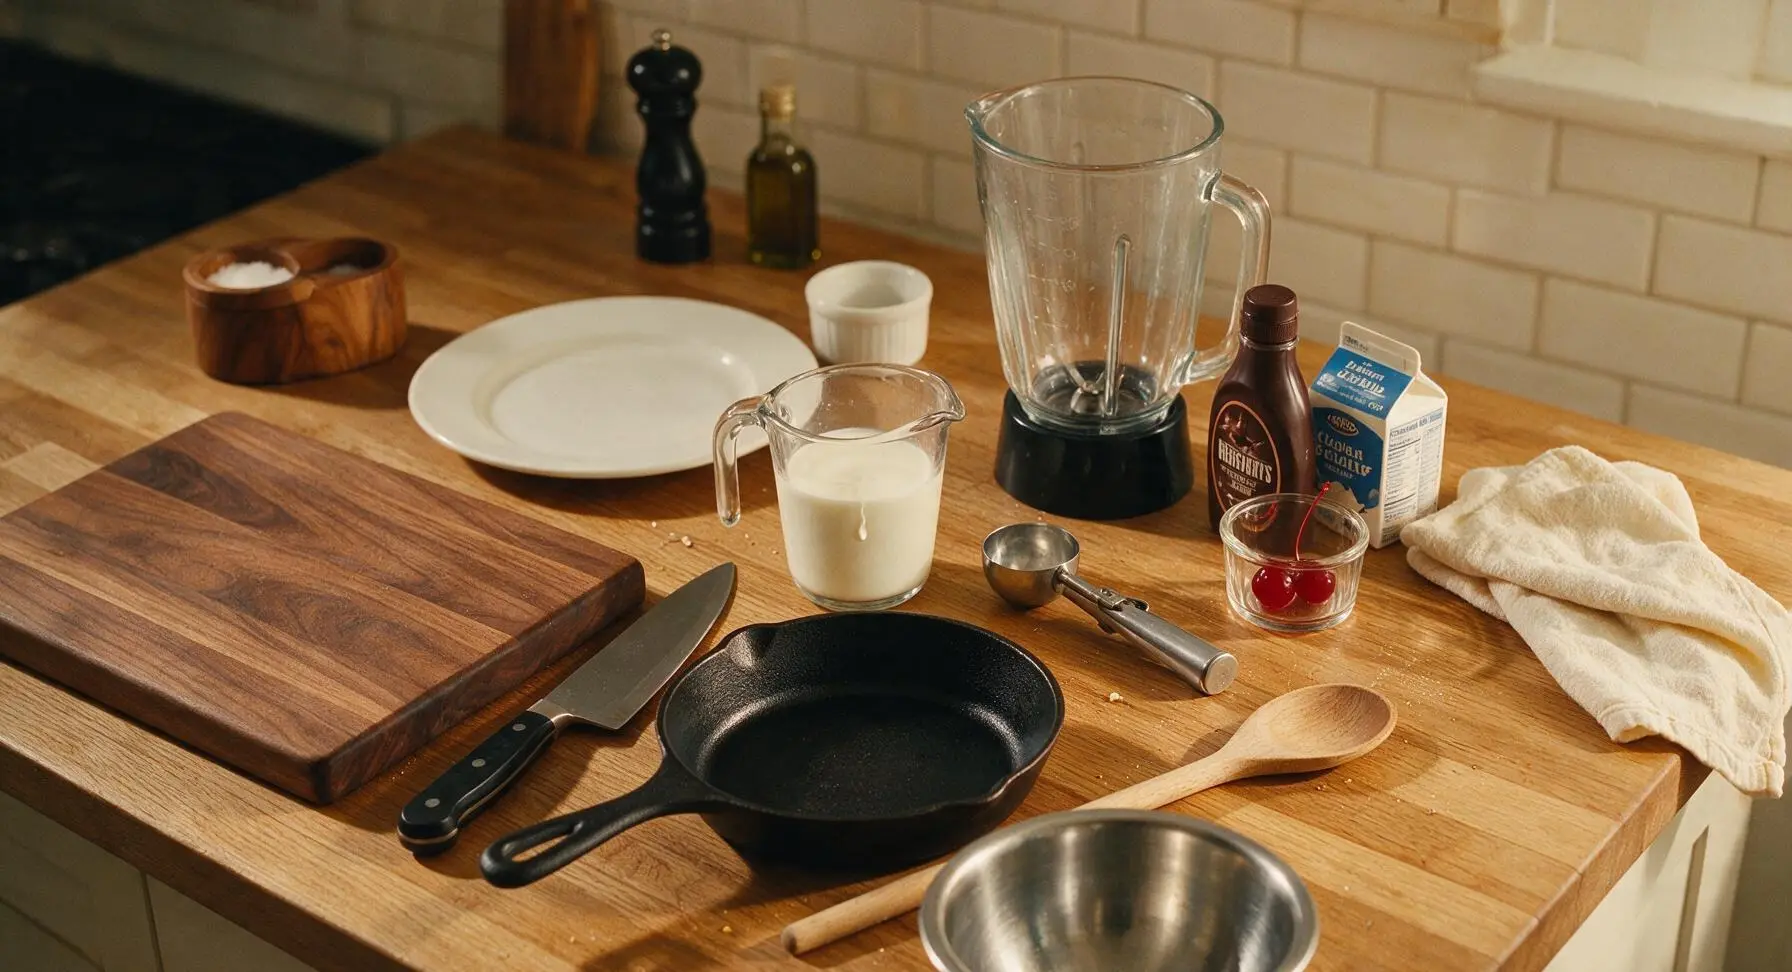
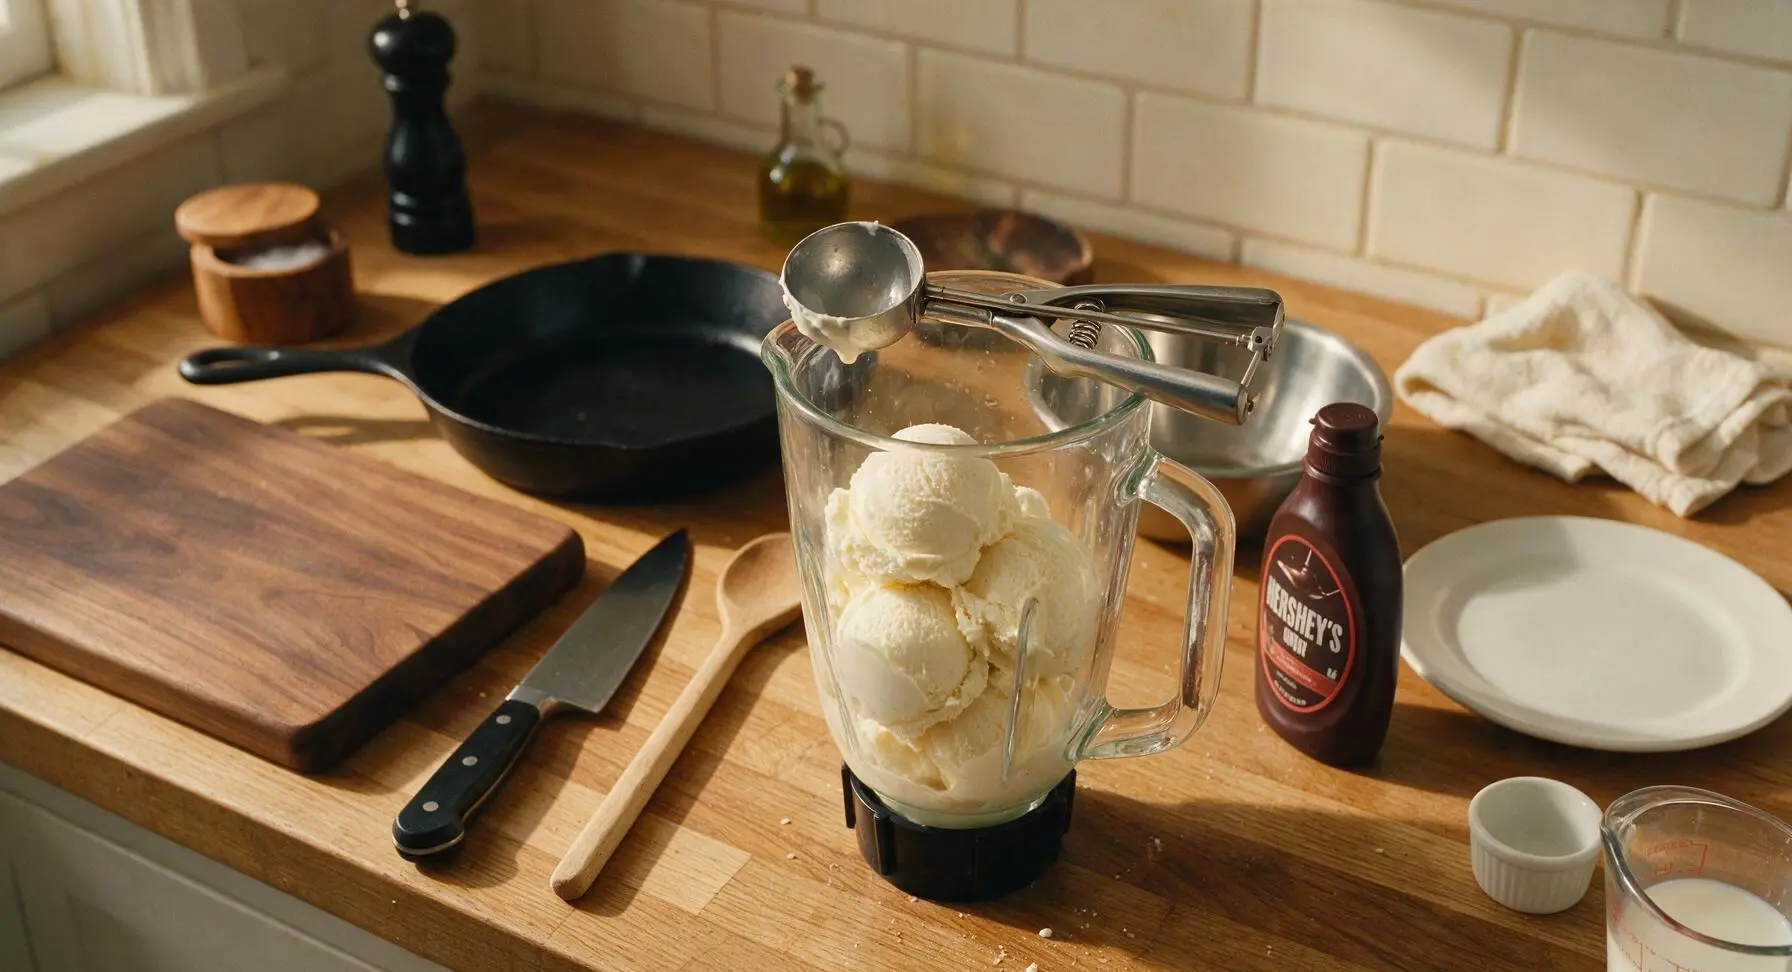
Remove the blender lid. Use the mechanical lever ice cream scoop to add all 3 cups of slightly softened vanilla ice cream into the clear blender jar, packing it down gently with the back of the scoop to eliminate large trapped air gaps. Do not add any liquid ingredients at this stage.
Combine Shake Base Ingredients
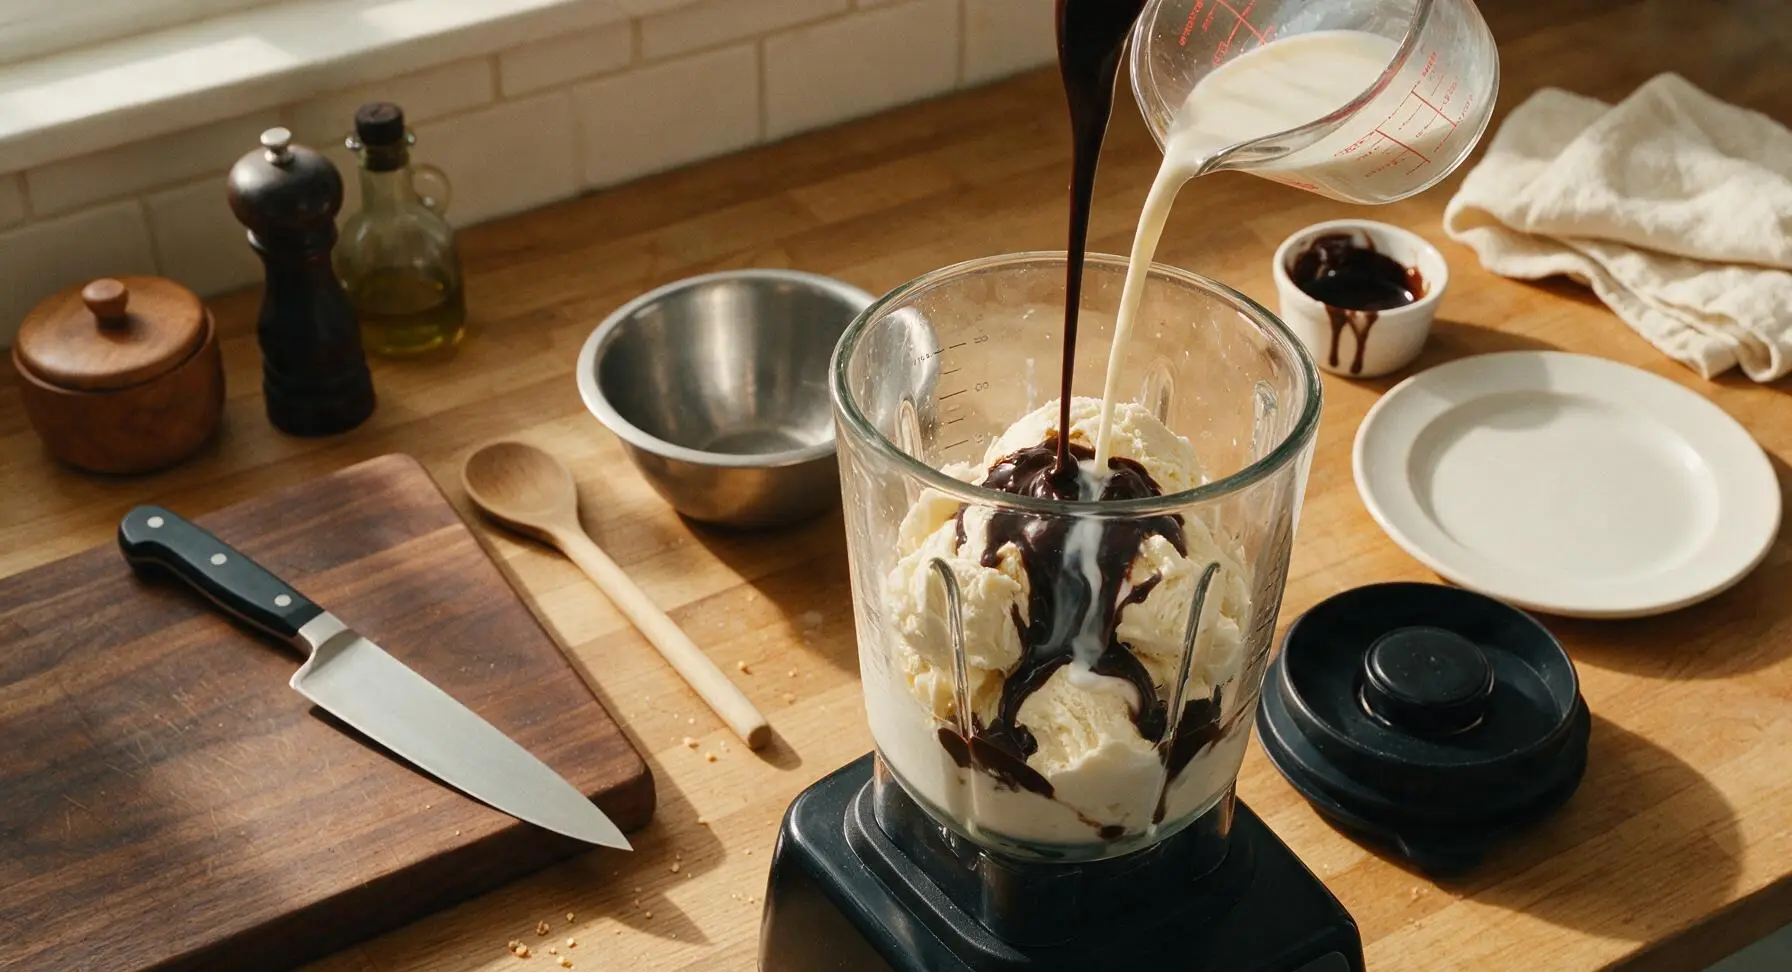
Pour the measured 1/2 cup chilled whole milk, 1/4 cup dark chocolate syrup, and 1/8 tsp fine sea salt into the blender jar over the scooped ice cream. Secure the black blender lid tightly, pressing around the edges to make a tight seal, and confirm the center fill cap is locked in place to prevent splatters during blending.
Blend to Perfect Thickness
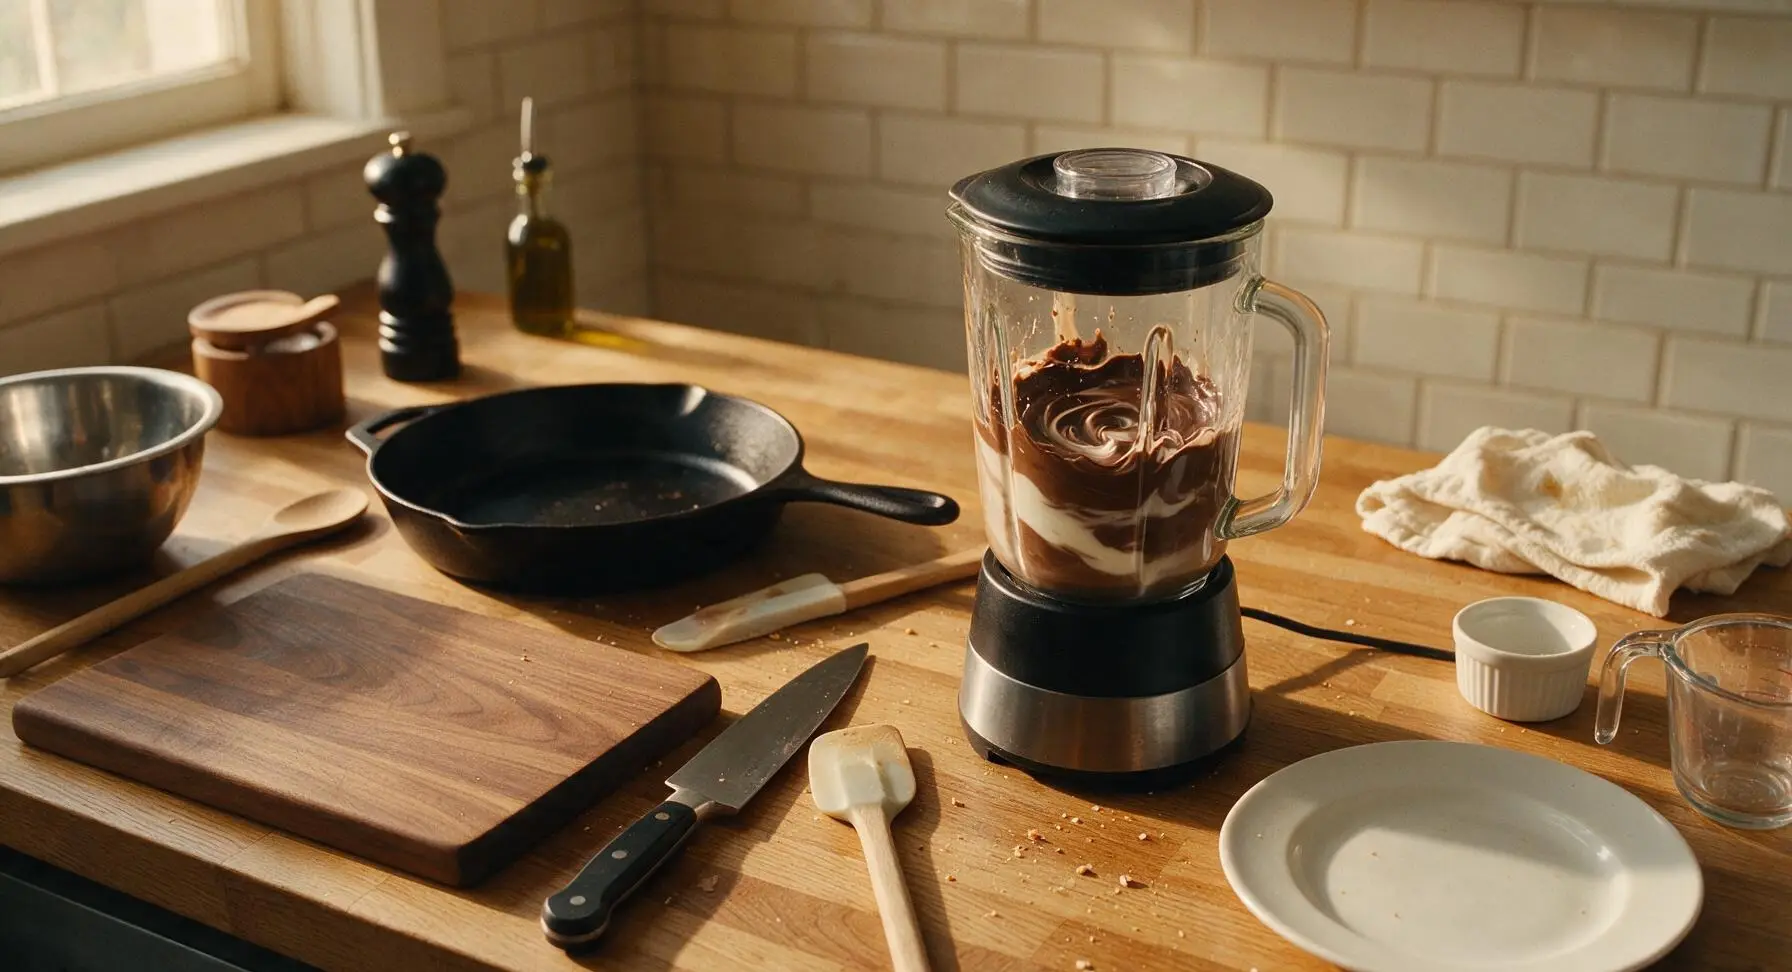
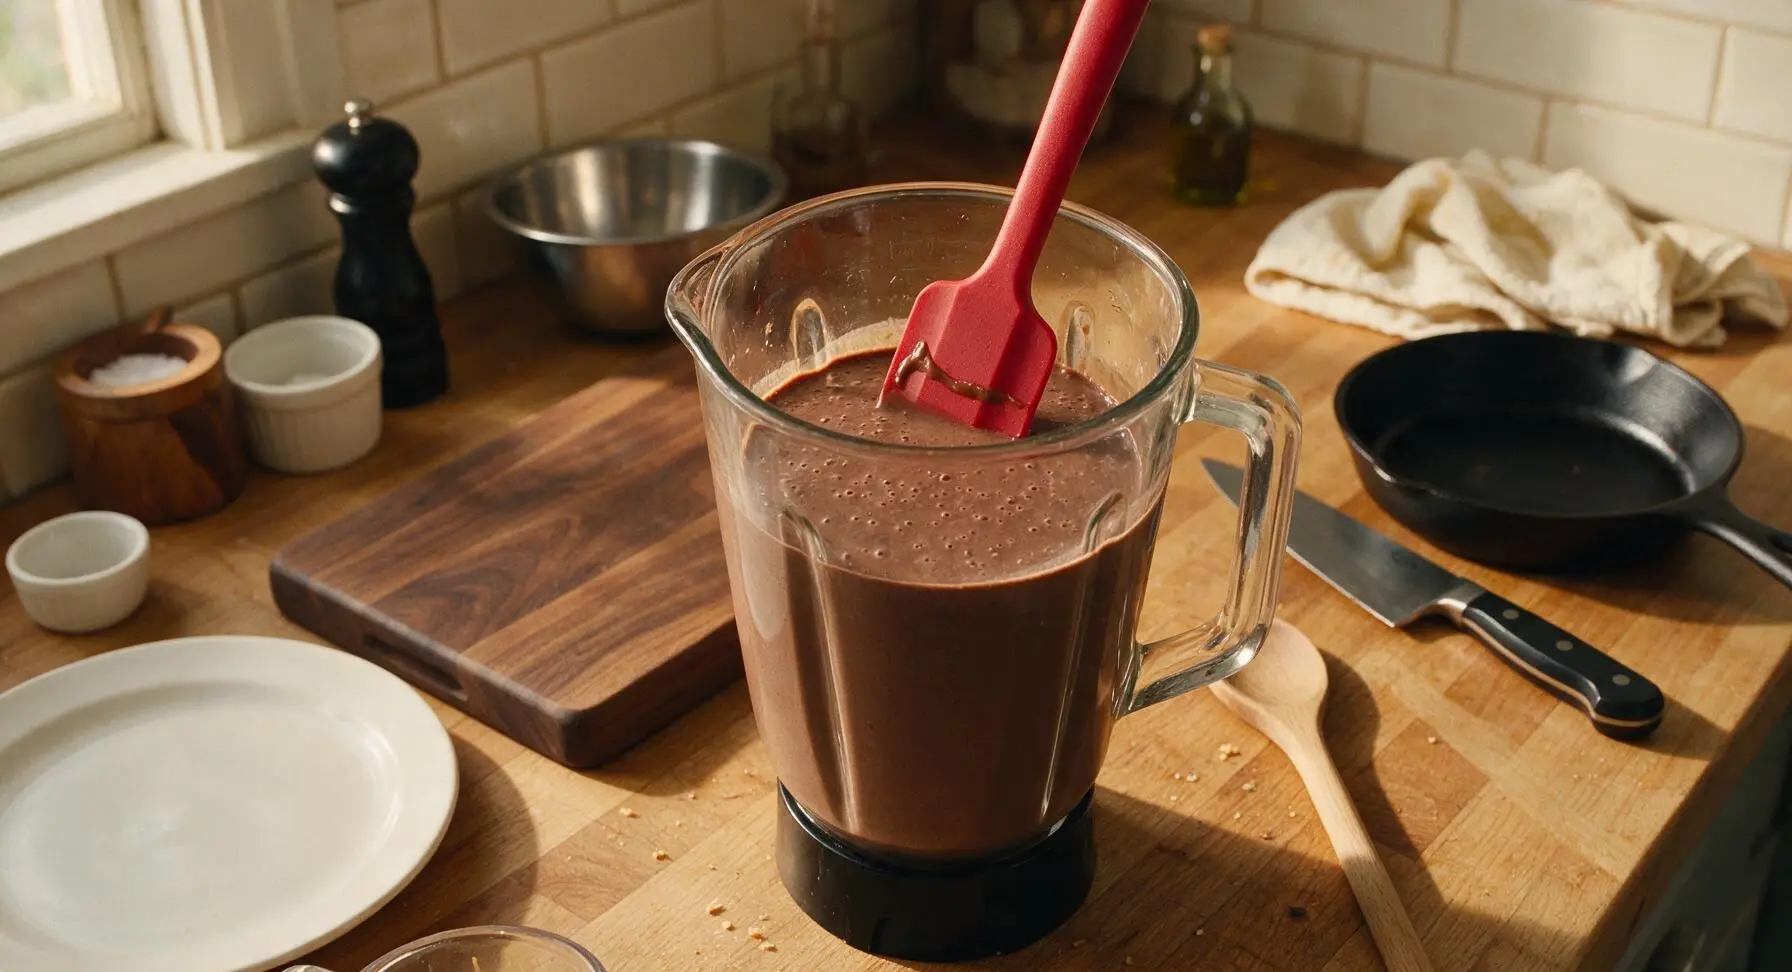
Blend the mixture on medium-low speed for exactly 10-15 seconds, pausing once halfway through to scrape down the sides of the jar with the flexible silicone spatula if any chocolate syrup sticks to the jar walls above the ice cream line. Do not over-blend: the finished shake base should be thick, smooth, and slow-pouring, with no visible lumps of unblended ice cream, but not thin or watery. Over-blending melts the ice cream too quickly and results in a runny, frothy shake.
Pour Into Chilled Glasses
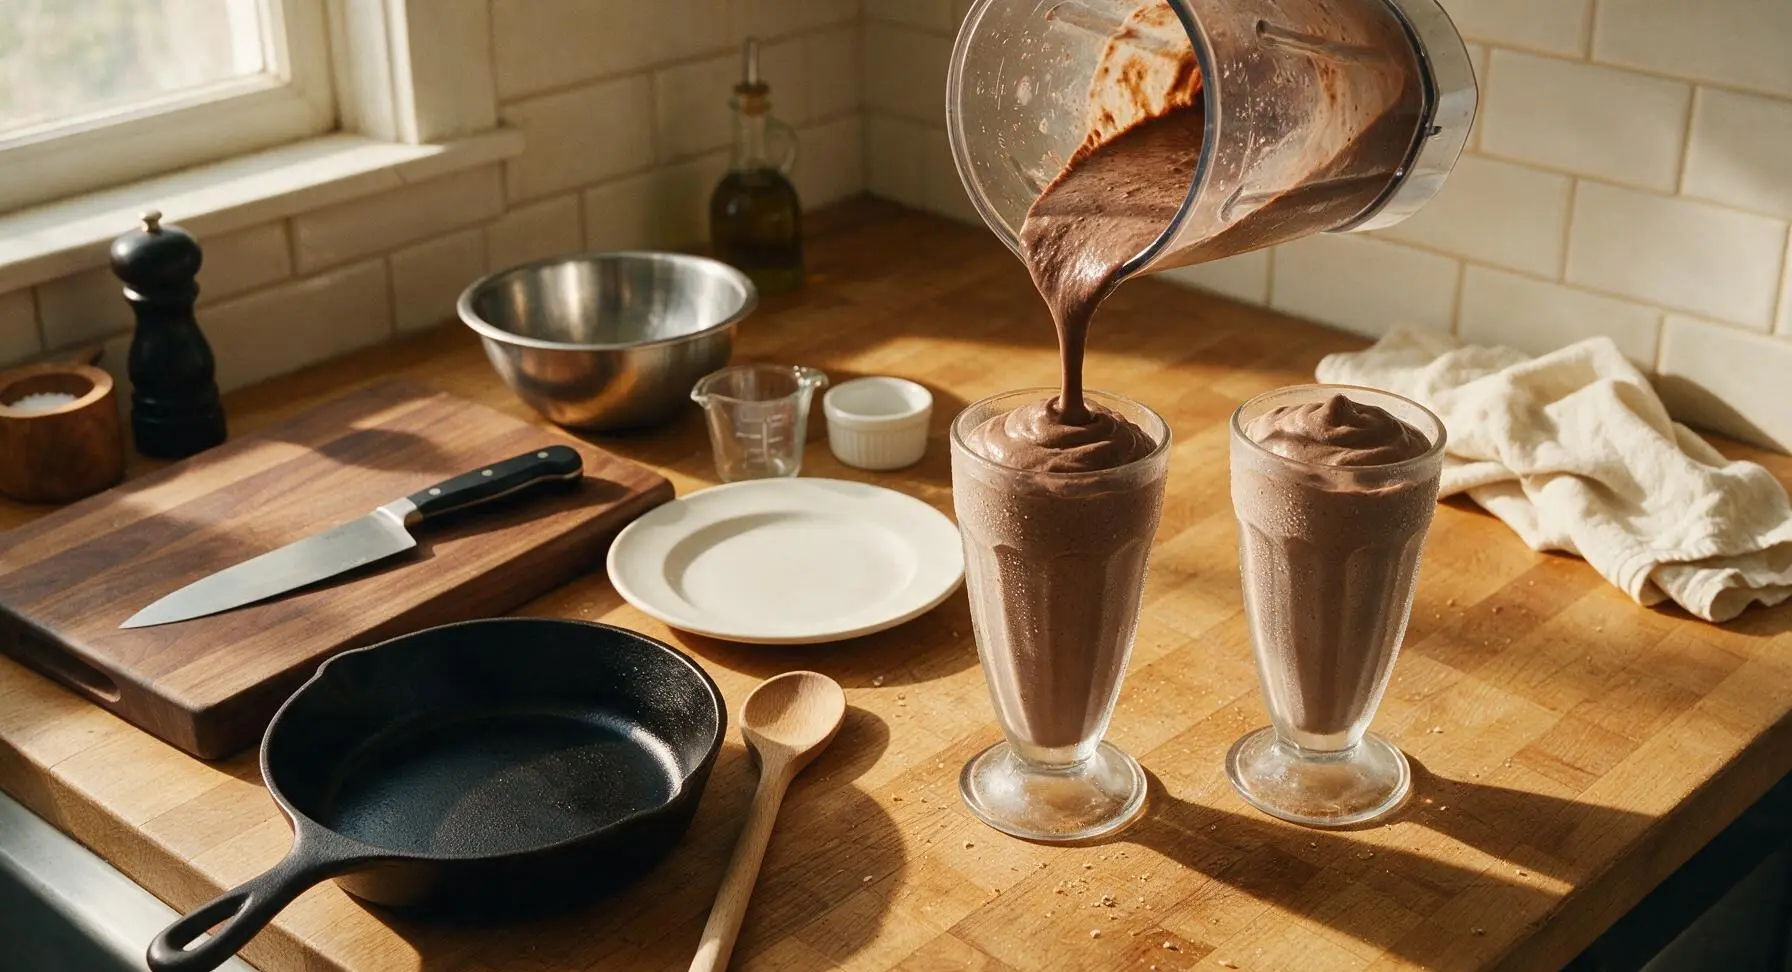
Retrieve the frosted glasses from the freezer and return them to their fixed positions on the counter. Remove the blender lid, and pour the thick chocolate milkshake evenly between the two cold glasses, mounding the shake slightly 1cm above the rim of each glass for that classic over-the-top diner look. If the shake is too thick to pour freely, nudge it gently with the milkshake spoon to help it flow without scraping the jar sides too hard.
Garnish and Serve Immediately
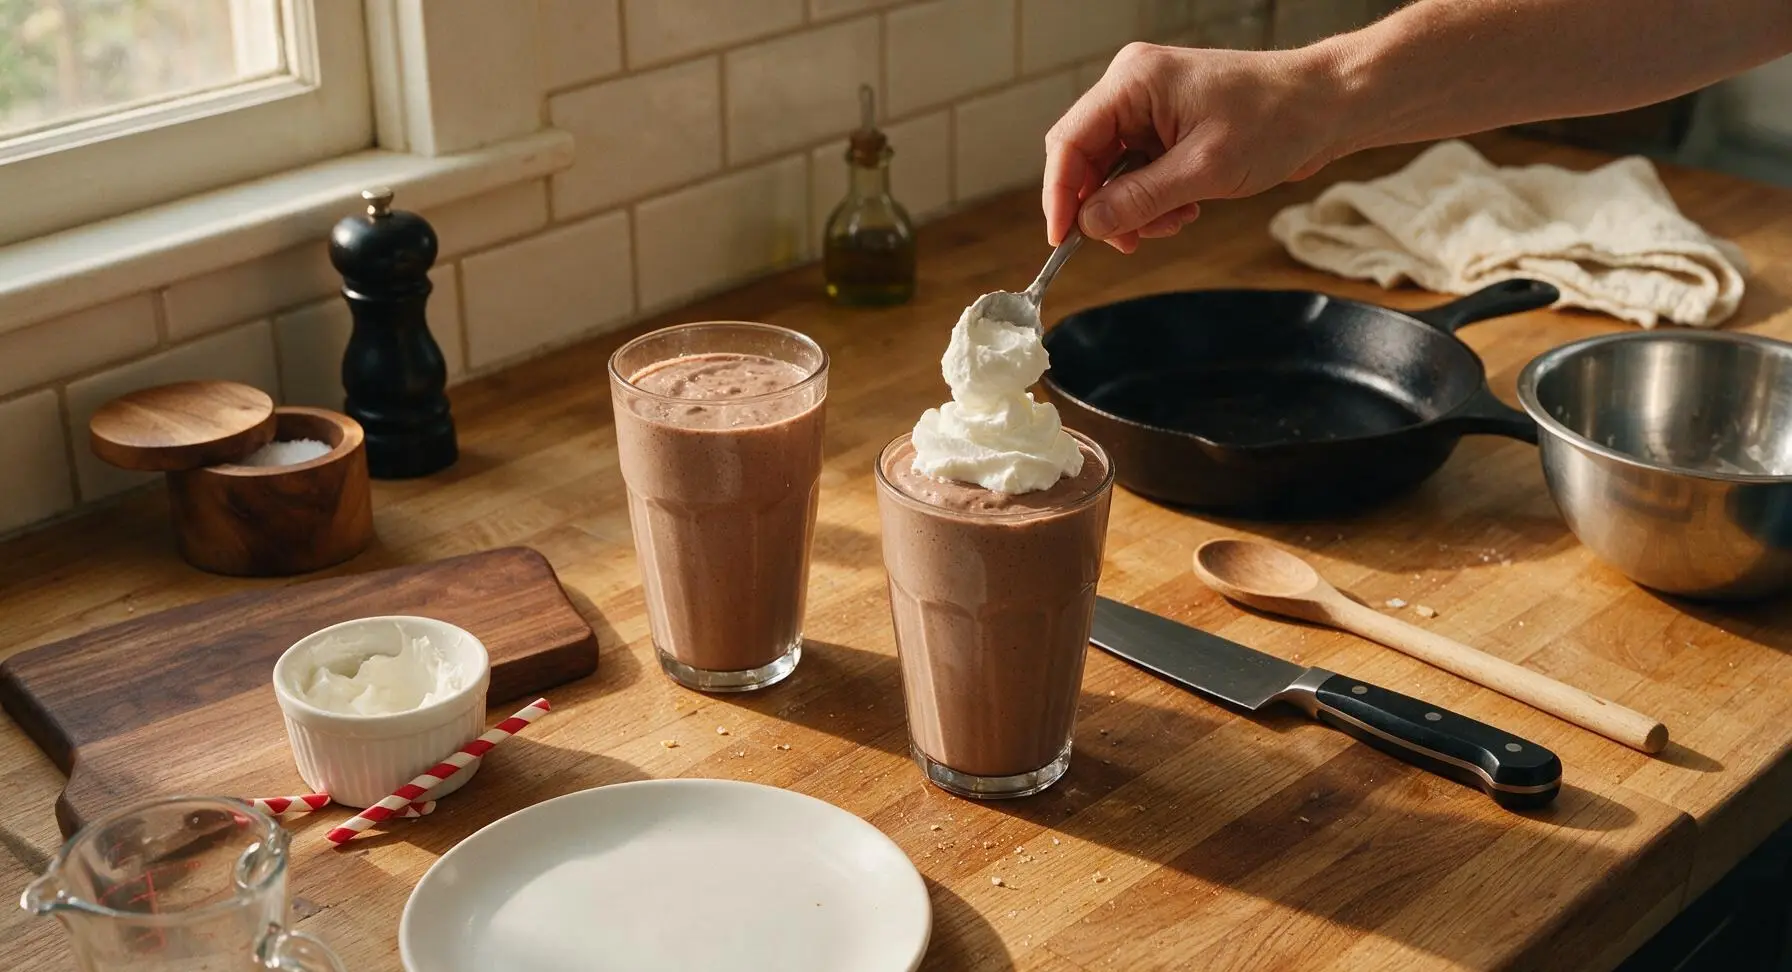
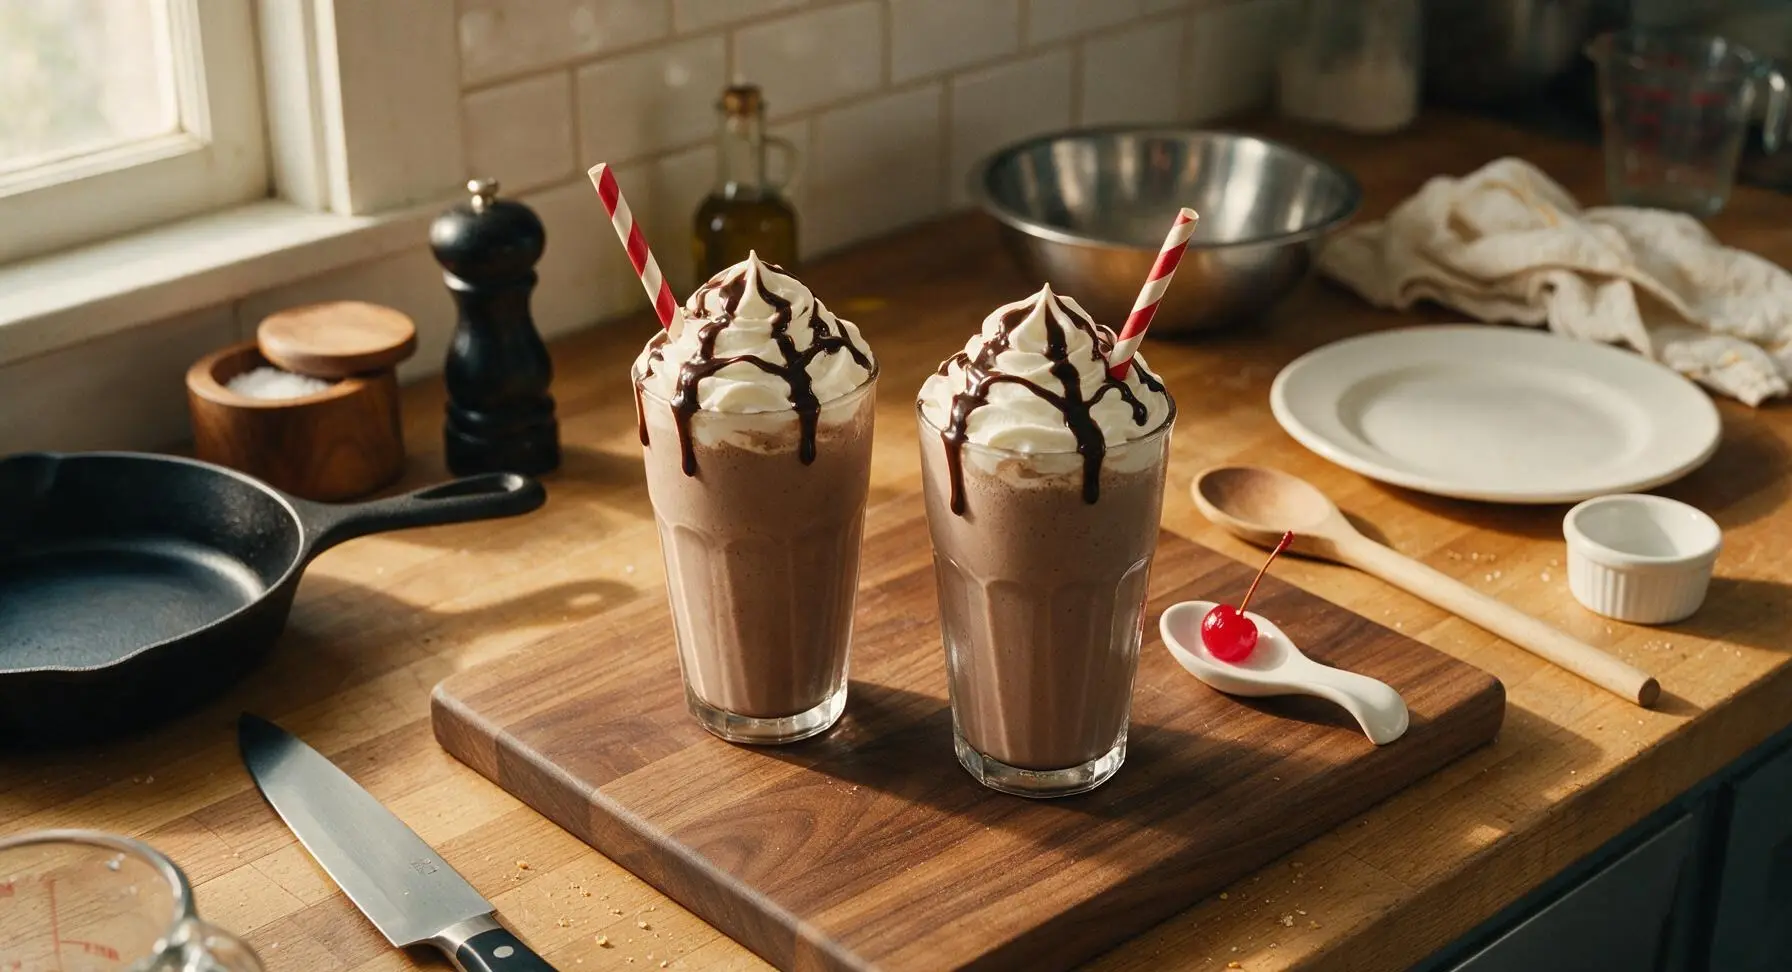
Spoon an equal dollop of the chilled whipped cream on top of each milkshake, swirling it slightly into a soft peak. Drizzle the remaining 2 tablespoons of chocolate syrup over the whipped cream, letting a small amount drip naturally down the sides of the shakes. Place one stemmed maraschino cherry in the center of each cream swirl, then tuck a red-and-white striped paper straw into each shake at a 45-degree angle. Serve immediately, before the ice cream melts and the shake thins.
Tips
2.Keep blending time under 15 seconds on medium-low speed: High speed or long blending times melt the ice cream too quickly, incorporate excess air, and turn your shake watery and frothy instead of rich and thick. Pausing to scrape the jar sides ensures even mixing without extra blend time.
3.Always chill glasses before pouring: Warm room-temperature glasses cause the milkshake to melt instantly on contact, creating a watery layer at the bottom of the glass and making your shake lose its thick, mounded texture 2-3 times faster. A 5-minute chill in the freezer creates a frosted surface that keeps the shake cold longer.






OMG this tastes EXACTLY like the chocolate milkshakes I got at my small-town diner after Friday night high school football games! I used premium vanilla bean ice cream and a tiny splash of extra whole milk like my grandma used to, and it was so thick I could barely get it through a straw. My kids loved it — they’re already begging me to make another batch this weekend for our family movie night. 10/10 no notes!
Total game changer! I’ve been chasing that perfect old-fashioned diner milkshake for literal years and this recipe absolutely nailed it. It’s so easy too, no fancy equipment required — I just used my beat-up 10-year-old countertop blender and it came out perfect in 2 minutes flat. I whipped up a batch for my buddies during our backyard cookout last night and everyone was hounding me for the recipe. My only small tweak was adding a tiny pinch of flaky sea salt on top, which cut the sweetness just right.
SO good! I was worried a 3-ingredient recipe would be too basic to actually taste like the real deal, but nope — the ratio of ice cream to milk to chocolate syrup is absolutely perfect. I made these for my little sister’s birthday sleepover over the weekend and all the girls were raving, even her friend who swears she only likes strawberry milkshakes. This is going straight into my regular summer treat rotation!