1.Can I use quick oats instead of old-fashioned rolled oats for these bars?
▾
You can swap in quick oats in a pinch, but note they’ll produce a softer, less chewy crumb crust and topping since they’re cut finer than old-fashioned rolled oats. Skip instant oats entirely—they turn mushy when mixed with melted butter and won’t hold that satisfying crumbly texture. If using quick oats, reduce the total oat amount by 2 tablespoons to avoid a dry crust.
2.Can I substitute dark brown sugar for the packed light brown sugar the recipe calls for?
▾
Dark brown sugar works perfectly if you prefer a deeper, more molasses-forward flavor! It will make the crust a touch darker and moister, but won’t throw off the recipe’s balance at all. If you only have granulated sugar, add 1 tablespoon of molasses per cup of granulated sugar to mimic light brown sugar’s moisture and flavor for the best results.
3.Why is my crust so crumbly that I can’t press it evenly into the pan?
▾
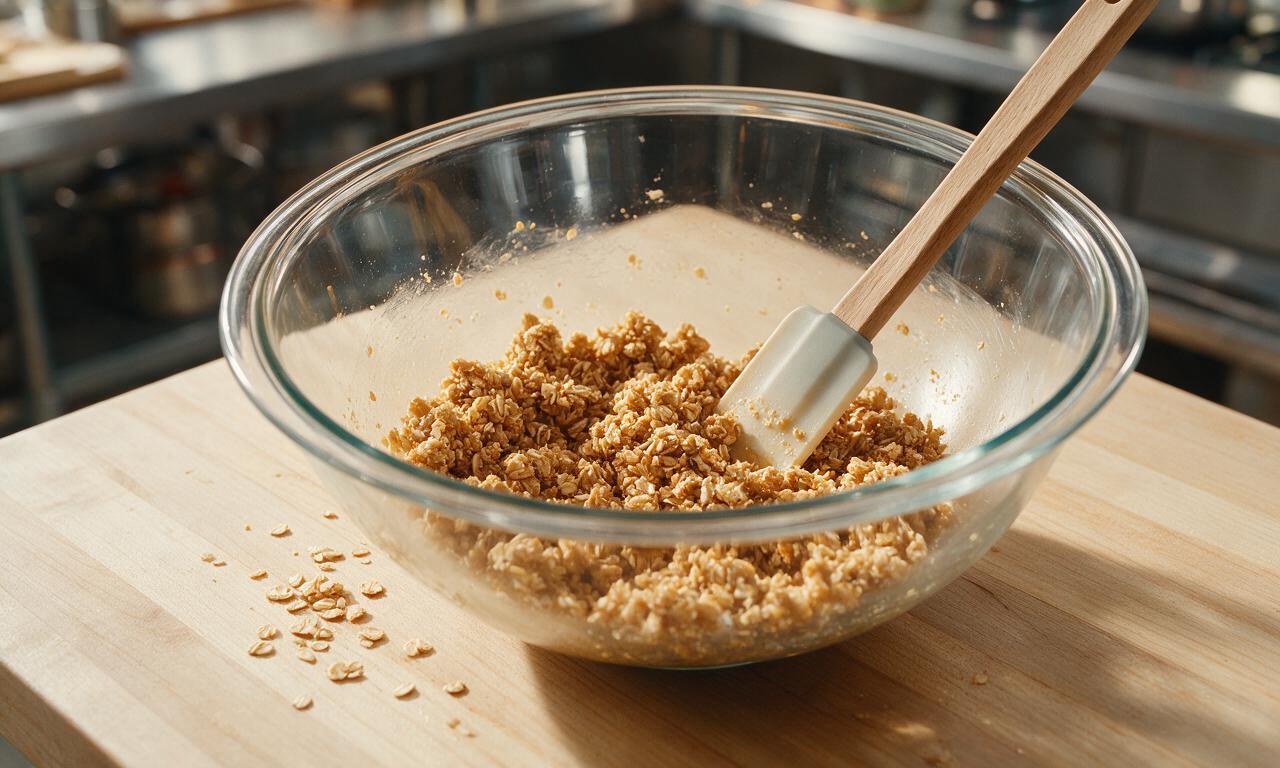
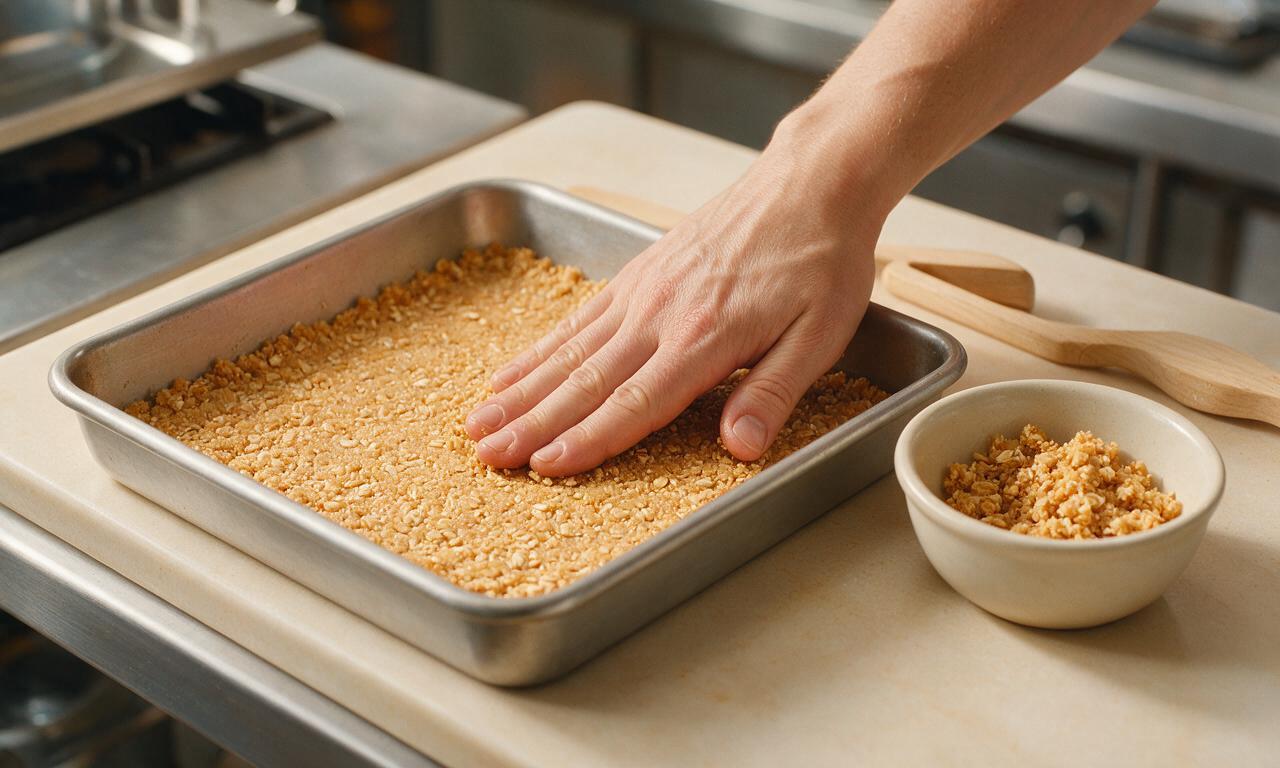
That almost always traces back to two easy fixes: either your melted butter measurement was short, or you didn’t press the mixture firmly enough. Double check your butter amount, reserve ¾ cup of the oat mixture for topping first, then press the rest firmly in an even layer across your pan bottom. A flat measuring cup works perfectly to press it down evenly.
4.Can I adjust this recipe to make it gluten-free for guests with dietary restrictions?
▾
Absolutely! The only swaps you need are to replace all-purpose flour with a 1:1 gluten-free all-purpose baking blend that contains xanthan gum, and use certified gluten-free old-fashioned rolled oats (regular oats often have wheat cross-contamination). All other core ingredients—brown sugar, butter, baking soda, chocolate—are naturally gluten-free if you double check labels for hidden additives.
5.How do I keep the chocolate center from oozing out when I cut the bars?
▾
The number one trick here is letting the bars cool completely for at least 2 full hours at room temperature before slicing; 30 minutes in the fridge speeds this up. If you cut them while warm, the fudgy chocolate hasn’t set yet and will run. Lining your pan with parchment overhang also lets you lift the whole slab out for clean, even cuts.
6.What type of chocolate works best for the rich center layer?
▾
For that perfectly fudgy, not-too-sweet center, use semi-sweet chocolate chips or chopped semi-sweet baking bars (60-70% cacao is ideal). Milk chocolate will make the center overly sweet and soft, while unsweetened baking chocolate will be too bitter. If you love extra texture, toss in a handful of chopped walnuts with the chocolate for a fun twist.
7.Can I use salted butter instead of unsalted butter for this recipe?
▾
You can absolutely use salted butter if that’s what you have on hand! Just cut any added table salt in the recipe by ¼ teaspoon per stick of salted butter you swap in, to avoid the bars tasting overly salty. The small amount of salt in salted butter actually helps amp up chocolate flavor, so it’s a delicious swap that won’t ruin texture.
8.Why did my bars turn out dry instead of chewy and fudgy?
▾
Dry bars usually come from two common missteps: either you baked them too long, or you packed your flour and oats too tightly when measuring. For chewy results, bake just until edges are golden and the center is just set (it will look slightly underdone in the very middle when you pull it out). Always spoon flour into measuring cups instead of scooping straight from the bag.
9.How should I store these chocolate oatmeal bars to keep them fresh as long as possible?
▾
Store fully cooled bars in an airtight container at room temperature for up to 4 days, separated by small sheets of parchment paper if you stack them to keep the crumb topping from sticking. For longer storage, refrigerate for up to a week, or wrap individual bars tightly and freeze for up to 3 months. Thaw frozen bars at room temp for 15 minutes before eating.
10.Do I need to line my baking pan, or is greasing it enough?
▾
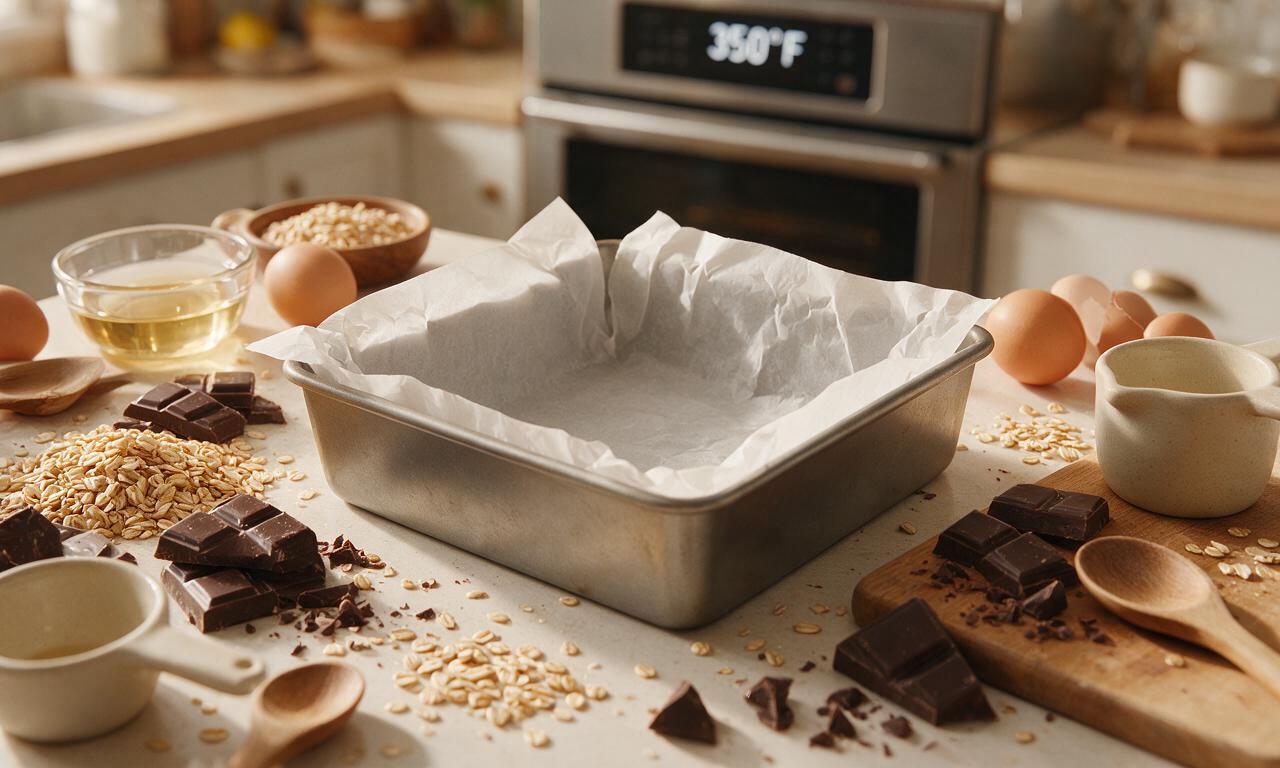
I strongly recommend lining your pan with a strip of parchment paper that hangs over two sides, even if you grease the pan first. The buttery oat crust can stick to bare metal, especially where it meets the fudgy chocolate layer, and the parchment sling lets you lift the entire batch out in one piece for super clean, even slicing.
11.Can I add extra mix-ins to the crust or chocolate center for more flavor?
▾
Absolutely, these bars are super customizable! Try adding ½ teaspoon of ground cinnamon or a pinch of flaky sea salt to the oat crust for extra warmth, or stir toasted pecans, shredded coconut, dried cranberries, or a swirl of peanut butter into the chocolate center. Just keep total mix-ins under 1 cup so you don’t throw off the crust-to-chocolate ratio.
12.What size baking pan works best for this recipe?
▾
A standard 9x9 inch square metal baking pan is ideal for the perfect thick, chewy ratio of crust to chocolate center. If you only have a 9x13 inch pan, scale the recipe up by 1.5x to get the same thickness, and reduce baking time by 3-5 minutes since bars will be thinner. Avoid glass pans if possible, as they heat slower and can make crust soggy.
13.Why is baking soda included in the ingredient list? Can I skip it?
▾
The small amount of baking soda in the oat crust does two key jobs: it helps the crumb topping rise just slightly so it stays light and crumbly instead of turning into a hard, dense disk, and it balances the rich sweetness of the brown sugar and chocolate. Don’t skip it! If you’re out, swap it for 3x the amount of baking powder for a similar result.
14.Can I make these bars ahead of time for a party or casual potluck?
▾
These bars are perfect for making ahead! They actually taste better the second day, as the flavors meld and the crust gets even chewier. Bake them 1-2 days before your gathering, let them cool completely, and keep them stored in an airtight container at room temperature until serving. They hold up great on potluck dessert tables for 3-4 hours.
15.How do I get that perfect, crumbly topping instead of a solid top layer?
▾
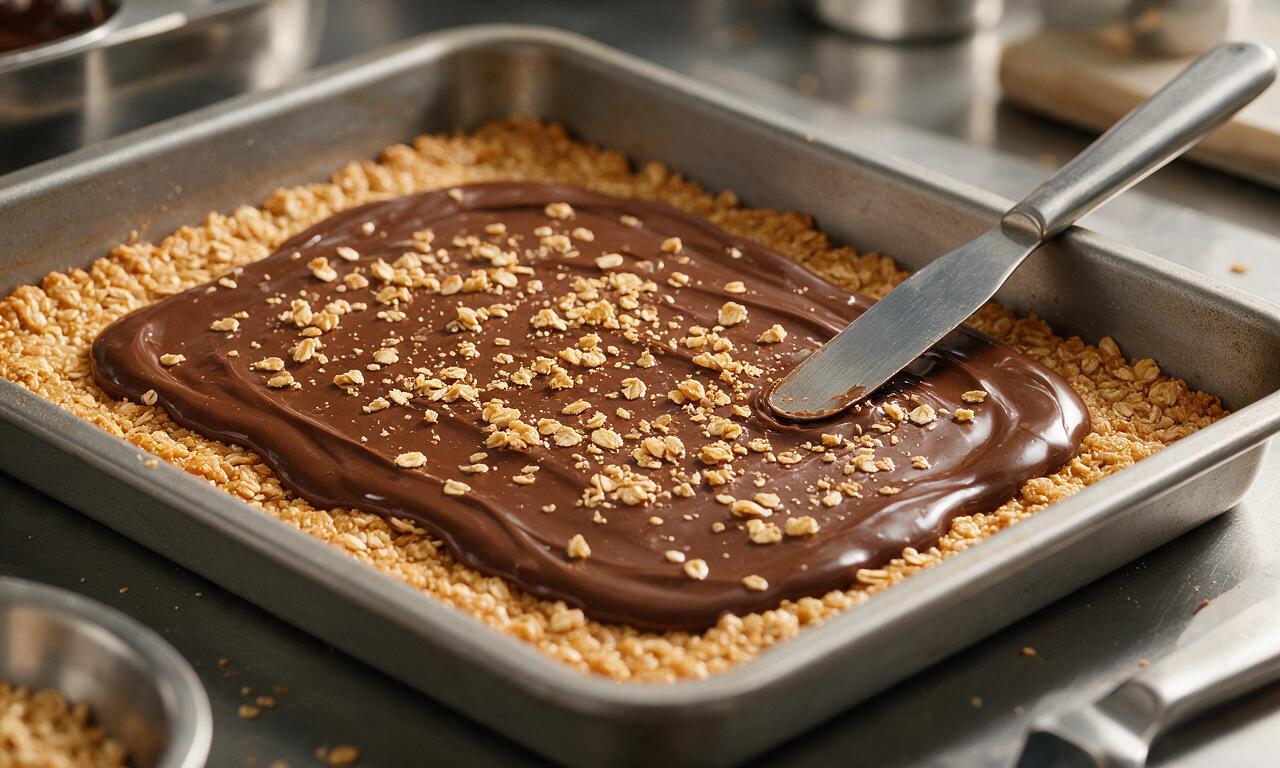
To get that signature buttery, crumbly top, don’t press the reserved oat mixture down into the chocolate! Instead, pinch the reserved ¾ cup of crust mixture into small, pea-sized clumps and scatter them evenly over the chocolate layer right before baking. Leave small gaps between clumps so chocolate peeks through—irregular crumbs make the best textured topping.

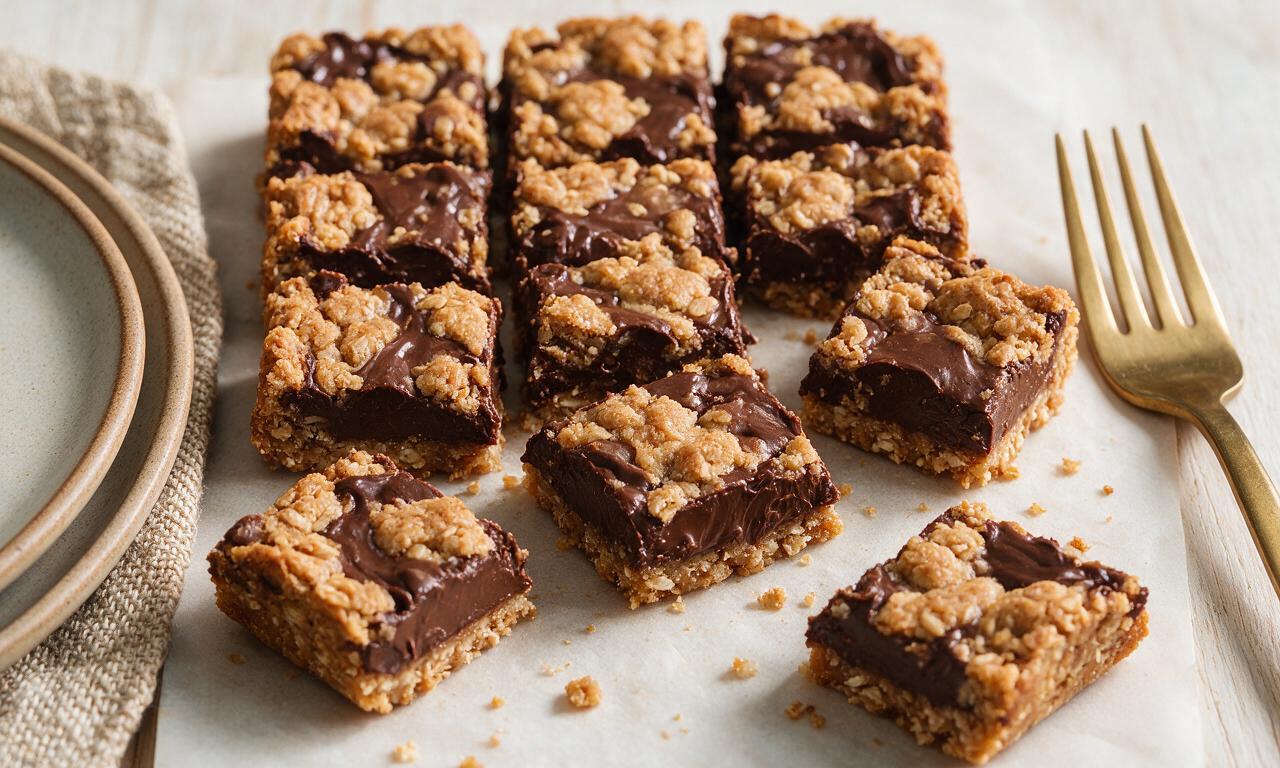
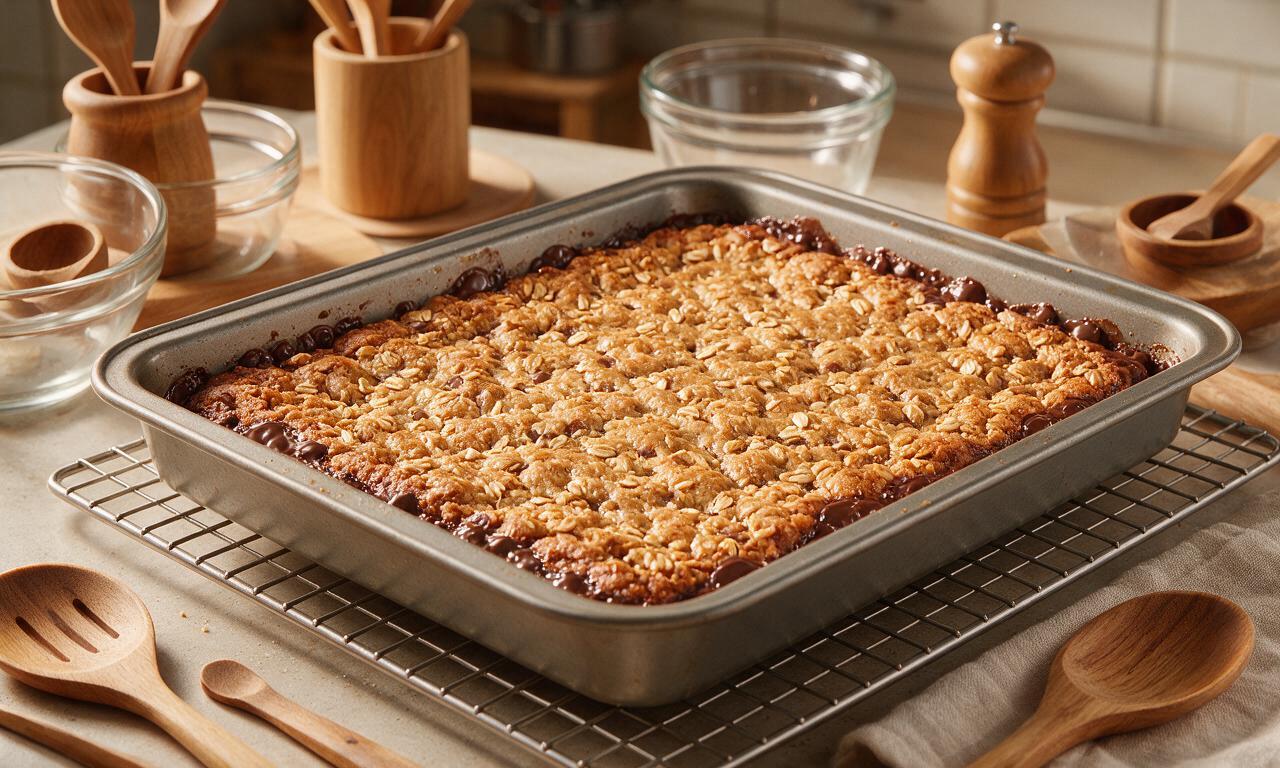






Solid recipe, no frills, comes out exactly like the photos. I added a sprinkle of flaky sea salt on top of the chocolate before baking and it elevated the whole thing so much. Salty + sweet is unbeatable if you ask me.
My kids are obsessed! I’ve made these three times in the last two weeks and they keep begging for more. I even let my 7 year old help stir the oat base and press it into the pan, it’s such a simple recipe that kids can help with which is such a fun weekend activity.
Tasty, but I found the chocolate layer a little too runny when I first pulled it out? I popped the whole pan in the fridge for an hour after it cooled on the counter and that firmed it right up, just a heads up for anyone else who runs into that. Still ate half the pan in one sitting no cap.
Super easy to make, even for someone who burns toast half the time lmao. Cook time was totally accurate too, I had these in and out of the oven in right around 40 minutes while I was prepping dinner for the family. Only note is I used dark chocolate chips instead of milk because that’s what I had in the pantry, still turned out chef’s kiss.
Total game changer for potlucks! I brought these to our neighborhood block party last weekend and people were coming back for seconds and thirds. I was worried they’d be too dry because some oatmeal bar recipes are super crumbly, but these were perfectly chewy and held their shape even when we were eating them outside in the heat.
OMG these are SO good! I whipped these up last night for my kid’s soccer team snack and every single parent asked for the recipe. The chewy oat base paired with that rich chocolate layer is a total game changer, no weird fancy ingredients needed either which is a huge win for busy weeknights.
These are so much better than the chocolate oatmeal bars my grandma used to make (don’t tell her I said that). The ratio of oat to chocolate is spot on, not too much of either. I’ve been keeping a stash in my freezer for late night snack cravings and they thaw in like 2 minutes, 10/10.
Wait has anyone tried making these gluten free? My daughter has a gluten sensitivity and I want to make these for her birthday party next weekend but I need to swap the regular oats for certified GF ones. Curious if anyone’s tested that! They look so good I already know they’ll be a hit.
I messed up the first batch because I forgot to let the melted butter cool a little before mixing in the chocolate, oops. The second batch I followed the directions exactly and they turned out perfect. Don’t be like me, read the whole recipe through first lmao.
Just pulled these out of the oven and tried a warm bite—these are my new go-to meal prep sweet treat! I already cut them into 12 squares to wrap individually for quick work morning grabs. Way better than the overpriced granola bars I used to buy at the grocery store, and I know exactly what’s going in them.