
Chocolate peanut butter cups

title 1
Chocolate peanut butter cups
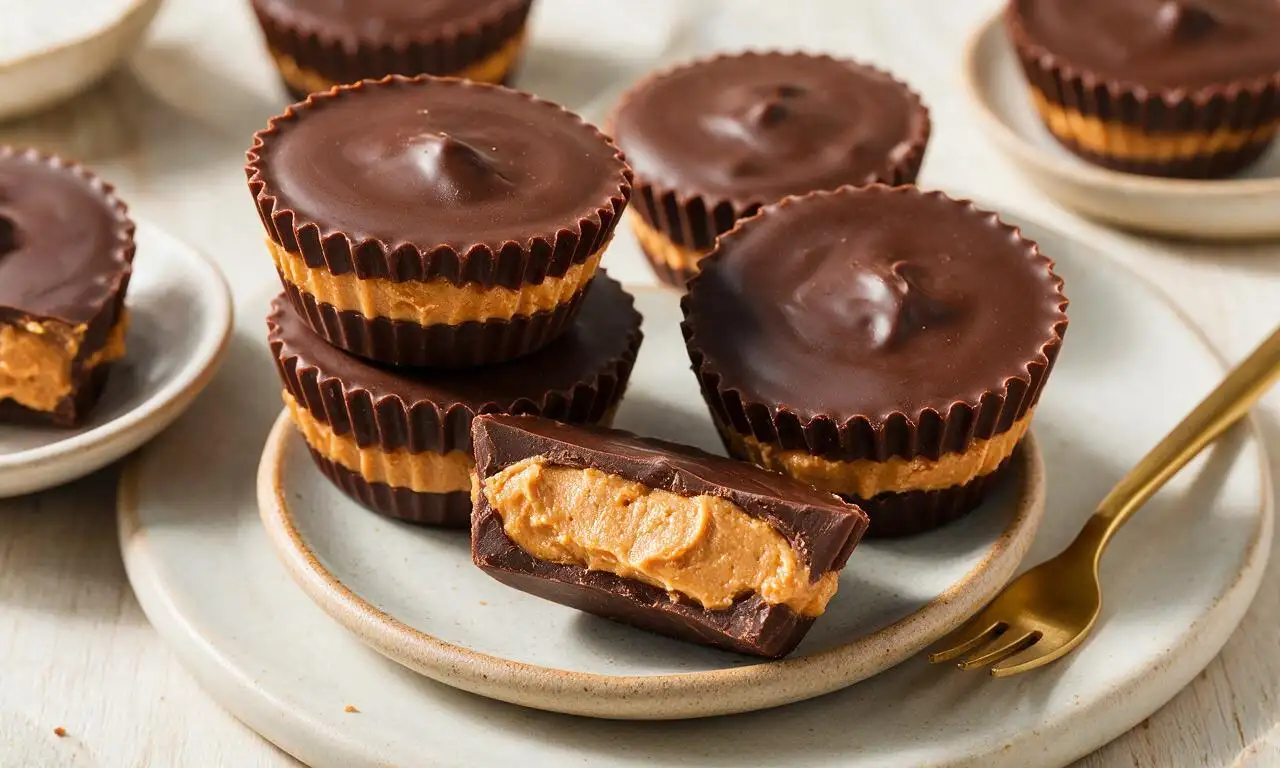
⏱️ cook time 1 hour 15 minutes (includes 55 minutes chill time)
🍽️ servings 12
⚡ Difficulty easy

intro

Snappy, rich chocolate cups filled with creamy salted peanut butter, a nostalgic no-bake homemade candy that tastes better than store-bought versions.

Ingredients

Semi-sweet chocolate, finely chopped 225 grams (1.25 cups)
Milk chocolate, finely chopped 115 grams (2/3 cup)
Creamy no-stir peanut butter 170 grams (3/4 cup)
Unsalted butter, softened 42 grams (3 tablespoons)
Powdered sugar 40 grams (1/3 cup)
Fine sea salt 1/4 teaspoon
Pure vanilla extract 5 milliliters (1 teaspoon)

Steps

1

Prep muffin tin

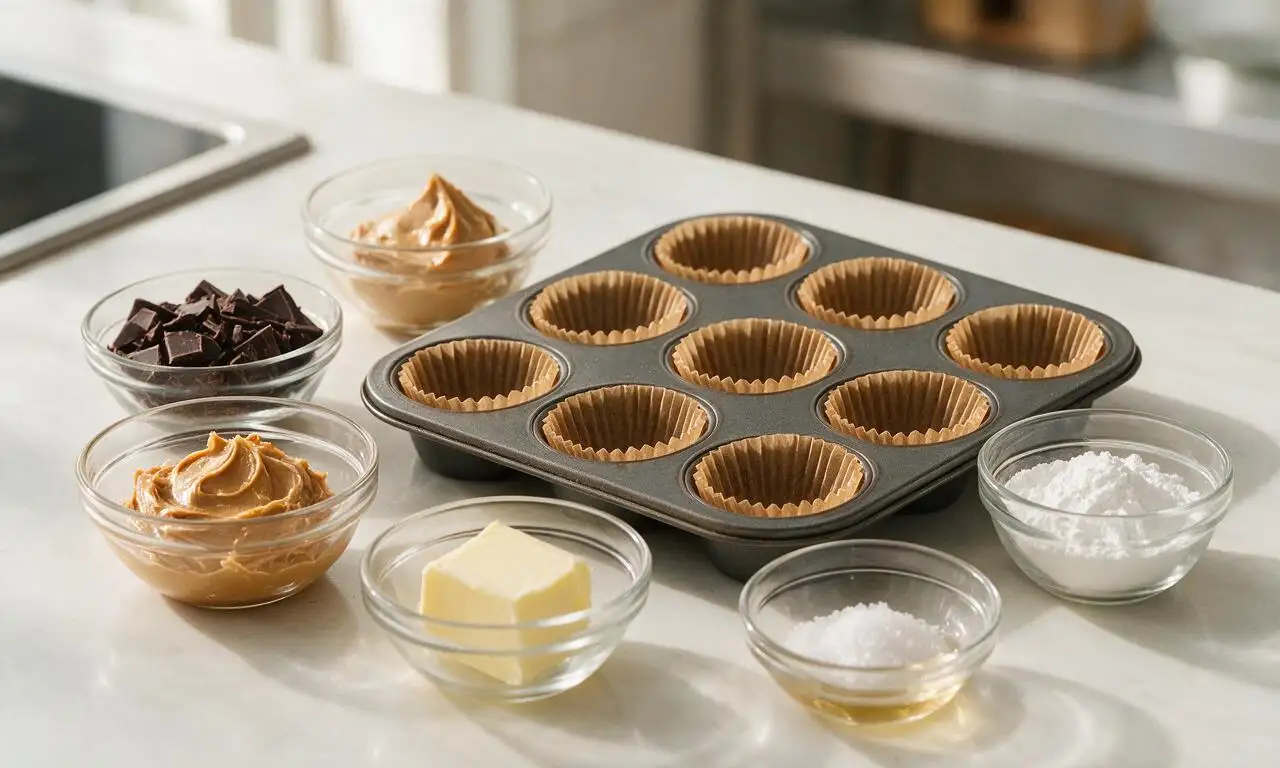
Line a 12-cup mini muffin tin with small paper candy liners and set on a flat work surface. Measure all ingredients into separate small prep bowls, ensuring unsalted butter softens to 21°C (70°F) room temperature before use.
Step 1
step1:Prep muffin tin
2

Melt base chocolate

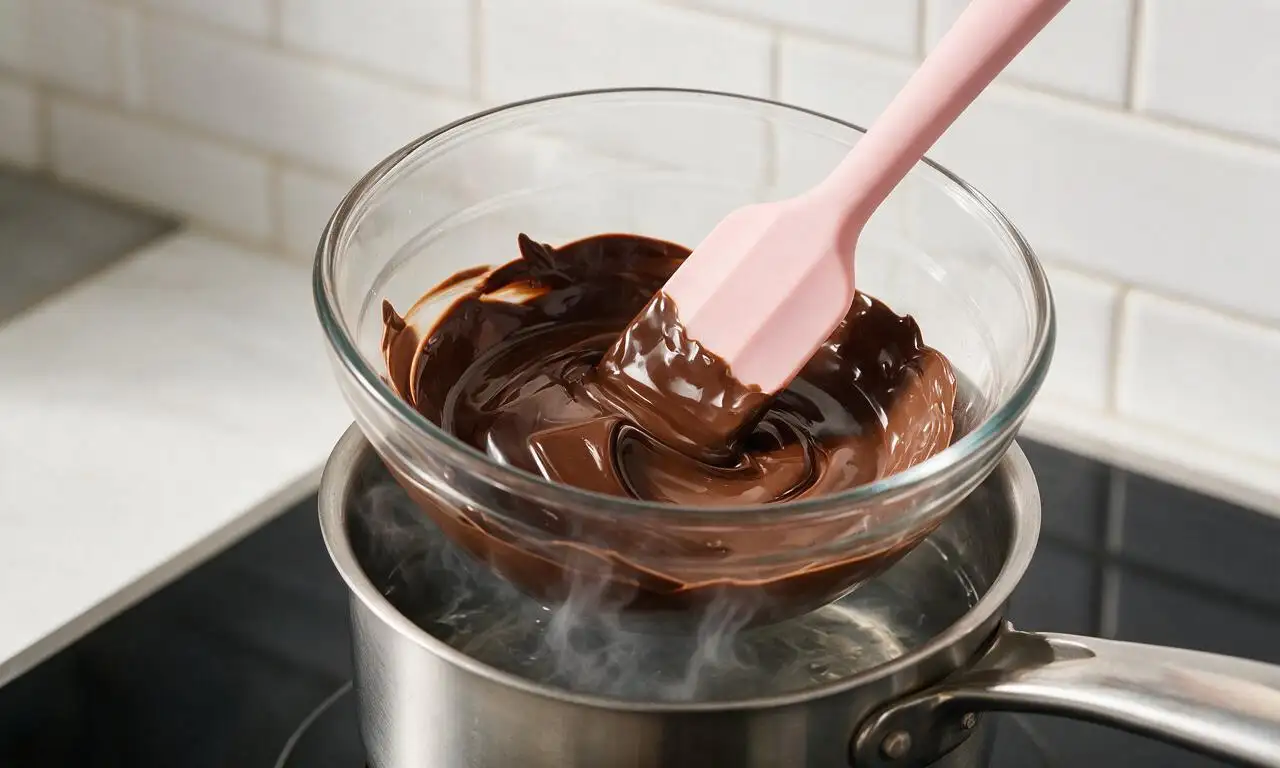
Combine 225g semi-sweet chocolate and 75g milk chocolate in a dry heatproof glass bowl. Set the bowl over a small saucepan of gently simmering water (double boiler setup, ensure no water touches the bowl bottom) over low heat, stirring constantly with a silicone spatula for 3-4 minutes until chocolate is fully smooth and reaches 43°C (110°F). Remove from heat immediately.
Step 2
step2:Melt base chocolate
3

Portion chocolate bases

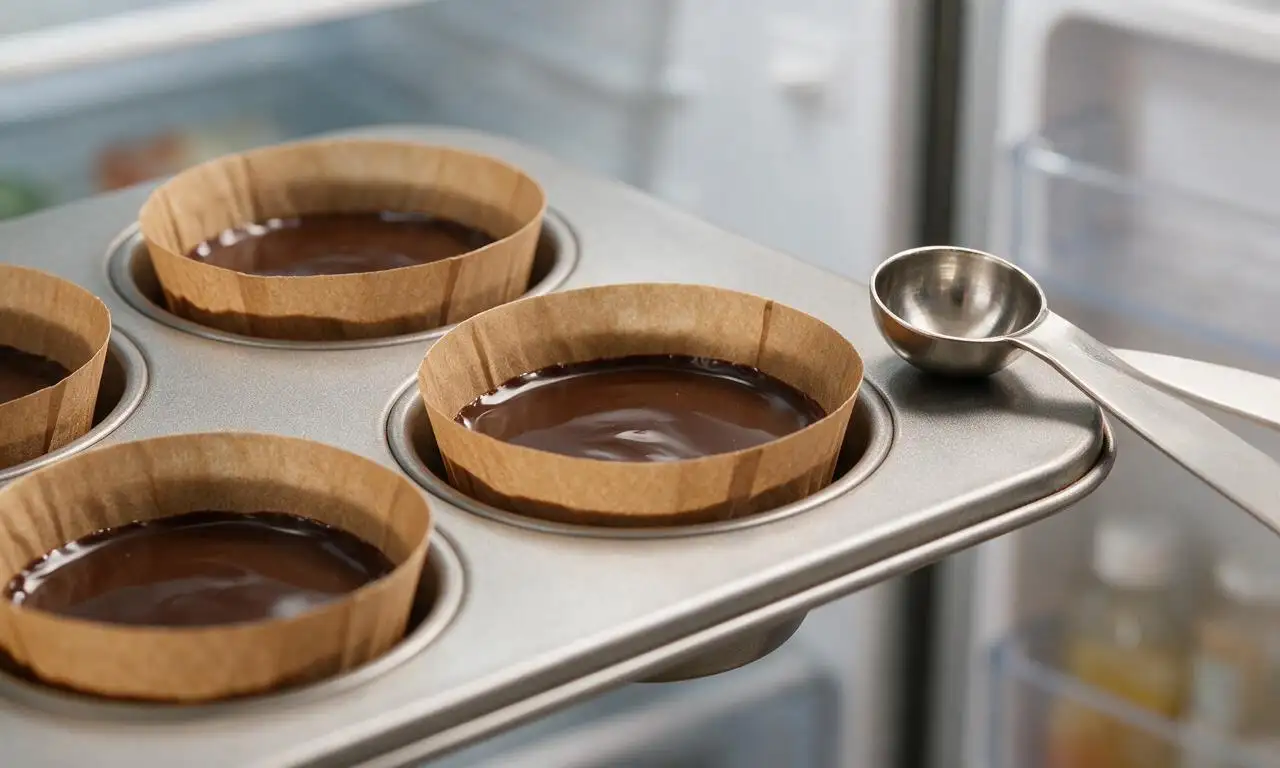
Scoop 1.5 teaspoons of melted chocolate into the bottom of each paper liner. Use the back of the small measuring spoon to push chocolate 1cm up the inner sides of each liner to form a shallow cup shell. Tap the muffin tin firmly on the counter 3-4 times to pop trapped air bubbles, then chill in the refrigerator on a middle shelf for 10 minutes until chocolate is set firm to the touch.
Step 3
step3:Portion chocolate bases
4

Mix peanut butter filling

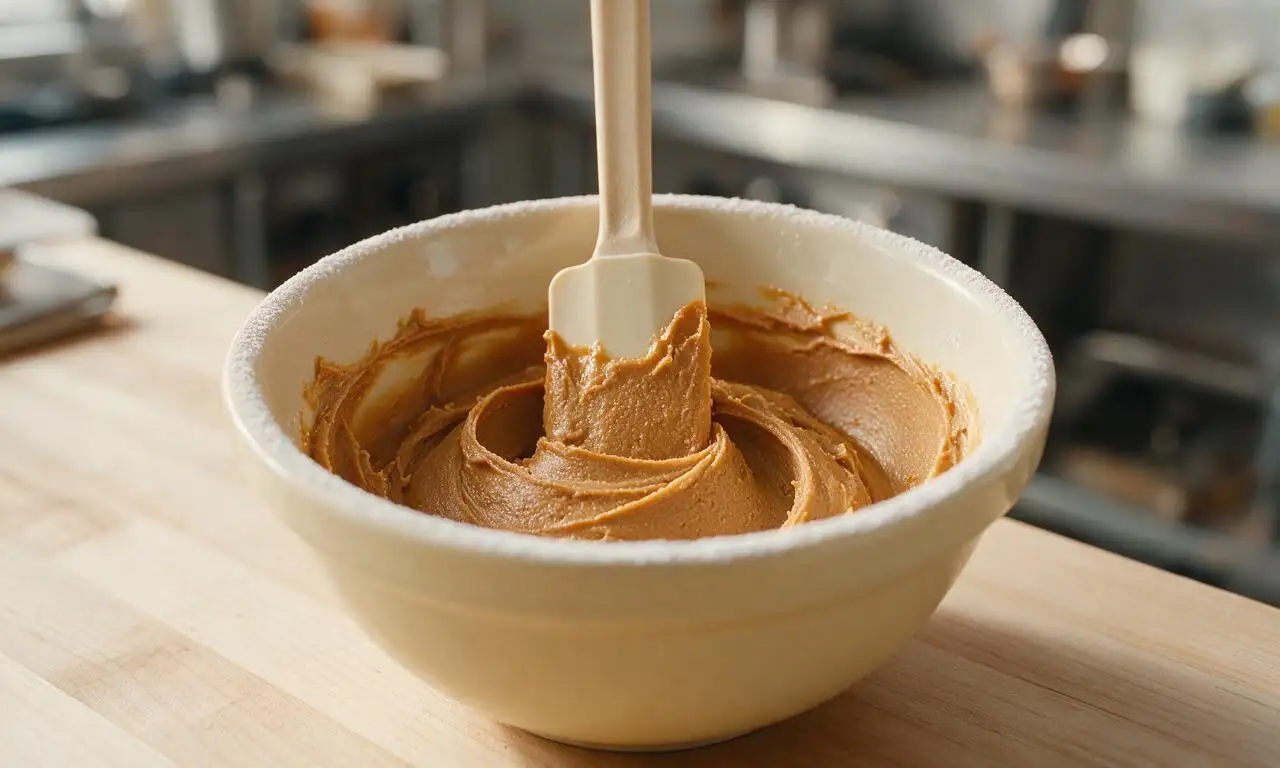
In a medium ceramic mixing bowl, combine 170g creamy no-stir peanut butter, 42g softened unsalted butter, 40g powdered sugar, 1/4 teaspoon fine sea salt, and 5ml pure vanilla extract. Stir vigorously with a spatula for 2 full minutes until completely smooth, with no visible lumps of powdered sugar remaining; the filling should hold its shape when scooped, not runny.
Step 4
step4:Mix peanut butter filling
5

Add peanut butter layers

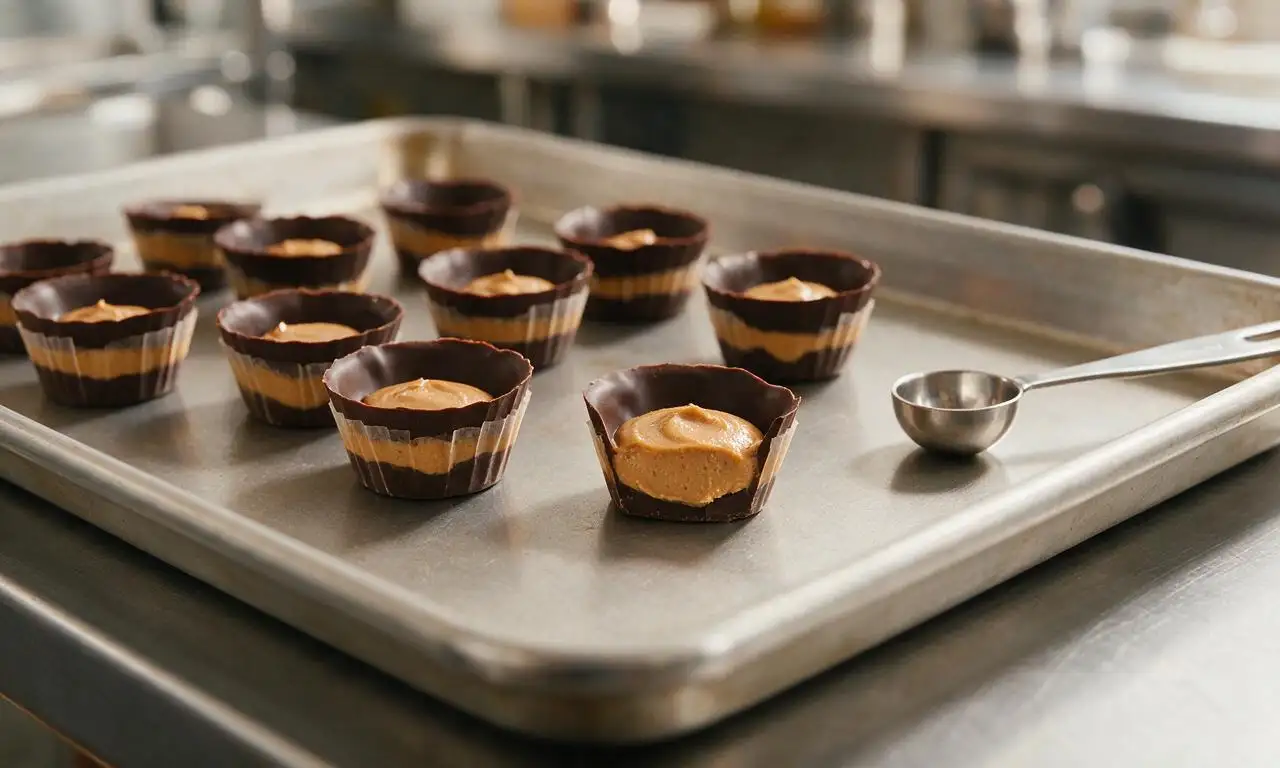
Remove the chilled chocolate bases from the refrigerator. Scoop 1 teaspoon of peanut butter filling into each chocolate cup, pressing gently into a flat, even disc that leaves a 2mm gap from the top edge of the paper liner. Tap the tin lightly on the counter 2 times to settle the filling into an even layer.
Step 5
step5:Add peanut butter layers
6

Melt top chocolate layer

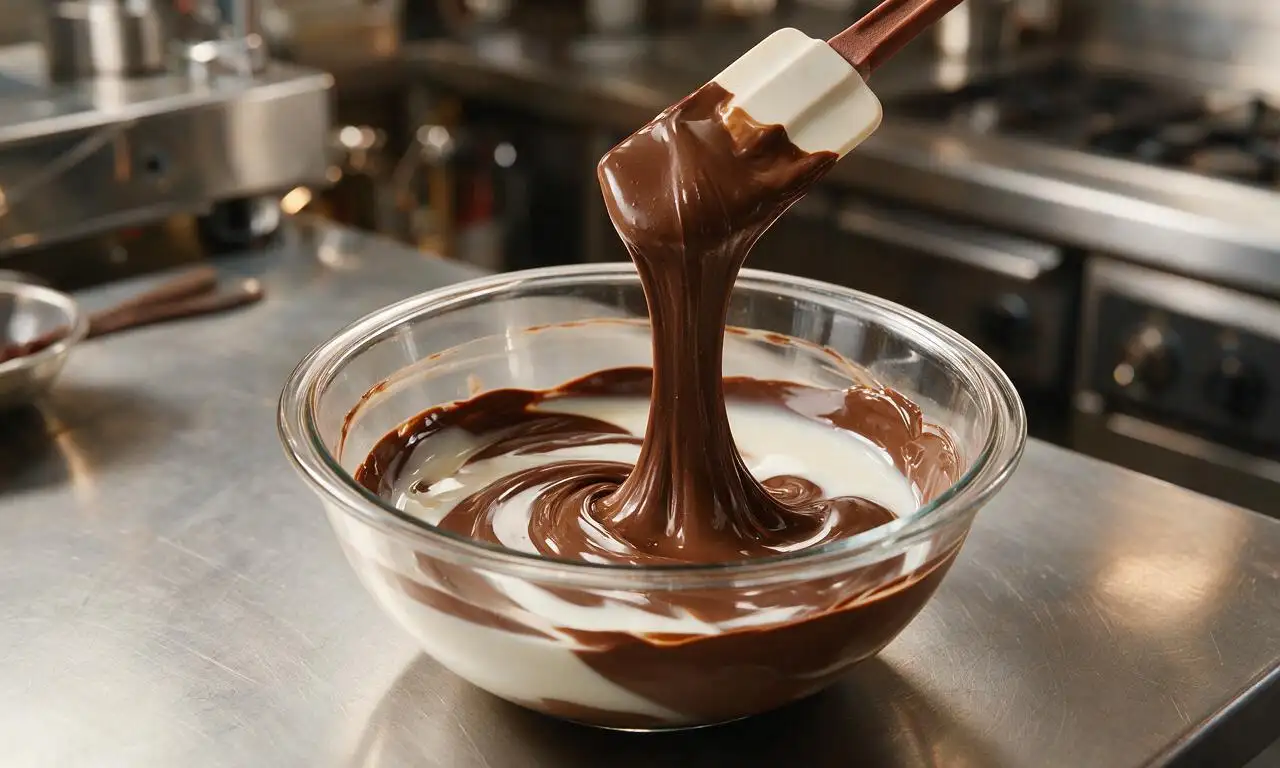
Add the remaining 40g milk chocolate to the leftover melted chocolate from the base layer. Reheat over the low-heat double boiler for 1-2 minutes, stirring constantly, until the chocolate is smooth again and returns to 43°C (110°F). Remove from heat immediately to avoid scorching the chocolate.
Step 6
step6:Melt top chocolate layer
7

Seal and chill cups

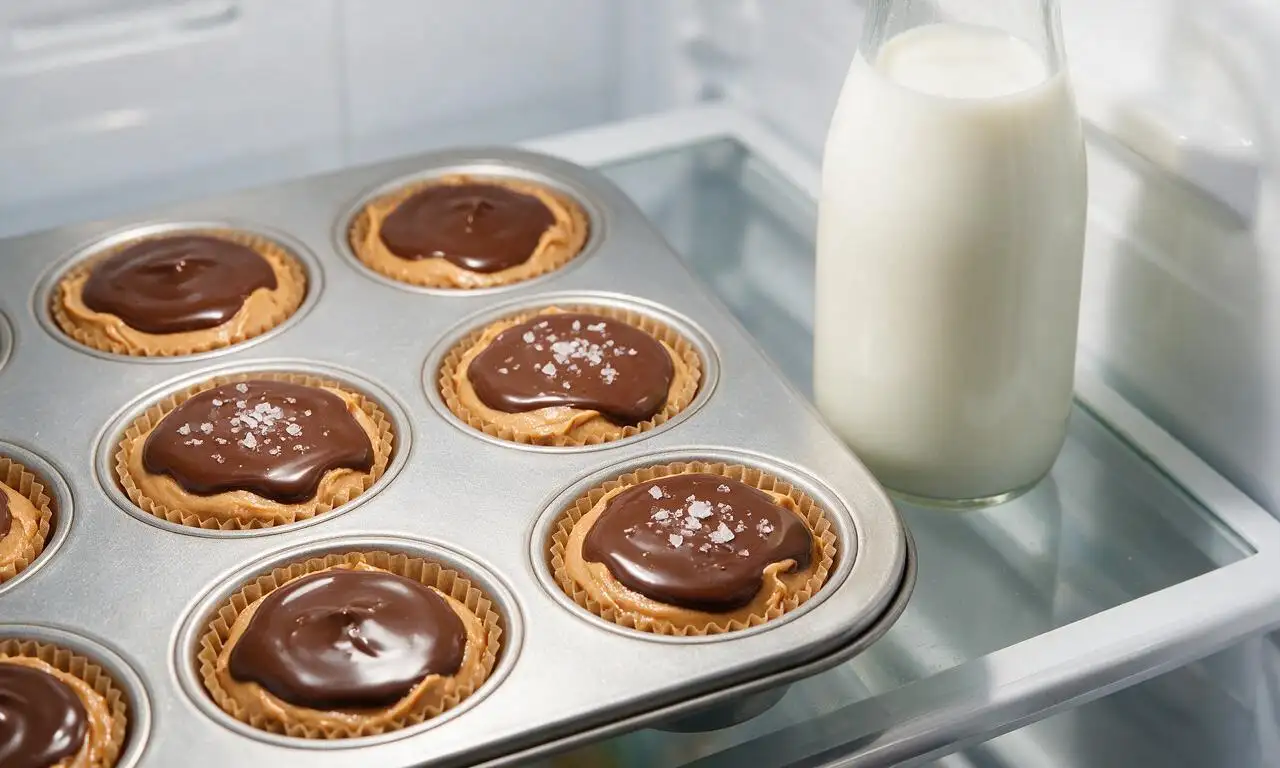
Scoop 1.5 teaspoons of melted chocolate over the top of each peanut butter filling disc, spreading gently with the back of the spoon to fully cover the peanut butter and meet the edges of the bottom chocolate shell. Tap the tin firmly to smooth the chocolate tops, add an optional tiny pinch of flaky sea salt to each cup, then chill on the middle refrigerator shelf for 45 minutes until completely firm and set.
Step 7
step7:Seal and chill cups

Tips

1.Use no-stir creamy peanut butter (not natural, oil-separated peanut butter) for the filling, as natural peanut butter creates an oily, runny filling that can leak through the chocolate shell.
2.Make sure all bowls and utensils used for melting chocolate are completely dry, as even one drop of water will cause melted chocolate to seize into a lumpy, unusable paste.
3.Avoid freezing the cups to speed up setting, as rapid freezing causes chocolate to develop a dull, white powdery 'bloom' on the surface; slow chilling in the refrigerator creates a snappy, shiny finish. Leftover melted chocolate can be stored in an airtight container for up to 3 months for future use.


✨ You May Also Like

Desserts & Baking
🍜 Italy

Creamy, coffee-kissed classic Northern Italian no-bake dessert, with layers of rum-spiked mascarpone cream, soft ladyfingers, and a rich cocoa dusting.

⏱️ 4 hours 3Desserts & Baking ★ 4.7
Desserts & Baking
🍜 France

Flaky, shatteringly crisp, buttery French croissants with golden exteriors and soft, airy layered interiors, perfect for pairing with coffee for a special morning treat.

⏱️ 12 hours Desserts & Baking ★ 4.5
Desserts & Baking
🍜 United States

Warm, spiced baked apples topped with a fluffy golden biscuit crust, this cozy dessert pairs perfectly with vanilla ice cream for cool-weather comfort.

⏱️ 55 minuteDesserts & Baking ★ 4.6
Desserts & Baking
🍜 United States

A star-spangled classic American blueberry pie with buttery flaky crust and bright sweet-tart filling, perfect for summer patriotic gatherings.

⏱️ 1 hour 25Desserts & Baking ★ 4.7
Desserts & Baking
🍜 United States

A beloved no-bake regional Maine candy with a chewy coconut-potato center coated in rich dark chocolate, a New England holiday staple since the 1870s.

⏱️ 2 hours 3Desserts & Baking ★ 4.8
Desserts & Baking
🍜 France

Luxuriously creamy, floral frozen custard made with aromatic Tahitian vanilla beans, boasting a smooth, rich texture that melts slowly on the tongue.

⏱️ 3 hours 3Desserts & Baking ★ 4.5

Chocolate peanut butter cups:Frequently Asked Questions

1.Why do my finished peanut butter cups look dull with a grayish coating instead of a shiny, snappy shell? ▾
That chalky coating is chocolate bloom, caused by improper melting or sudden temperature shifts. To avoid it, melt chocolate slowly over low, indirect heat (a double boiler works great), make sure no water gets into the melted chocolate, and let cups set in the fridge (not the freezer) for 1 to 2 hours for that perfect glossy, snappy shell.
2.Can I use natural stir-style peanut butter instead of the recommended no-stir creamy peanut butter for the filling? ▾
I don’t recommend it for classic, consistent results! Natural separated peanut butter is oilier and runnier, which can leak through the chocolate shell and create a grainy filling. If it’s all you have, stir it thoroughly, chill it for 30 minutes to thicken, and add 2 extra tablespoons of powdered sugar to firm it up before portioning.
3.Do I need special candy molds to make these, or can I use common household supplies? ▾
No fancy specialty molds are required! A standard 12-cup muffin tin lined with paper or silicone cupcake liners works perfectly for full-sized cups, and mini muffin liners make great bite-sized versions. For extra clean, sturdy edges, double up paper liners to prevent them from bending when you pour in melted chocolate.
4.How do I keep the peanut butter filling from poking through the top chocolate layer? ▾
This is an easy fix! First, chill your bottom chocolate layer for 10 minutes until fully set before adding filling. Roll each portion of filling into a small, flat disc that’s slightly narrower than your liner, leaving a 1/8-inch chocolate border around the edge so the top chocolate layer can seal completely around the filling.
5.Can I swap the semi-sweet and milk chocolate for dark chocolate if I prefer less sweet candy? ▾
Absolutely! You can use any chocolate blend you love, including 60-70% dark chocolate for a richer, less sweet finish. Just keep in mind dark chocolate sets firmer than milk or semi-sweet, so stir in 1 teaspoon of neutral coconut oil to the melted chocolate to keep the shell from getting overly brittle when chilled.
6.How long do these homemade peanut butter cups stay fresh, and what’s the best way to store them? ▾
Stored in an airtight container in the refrigerator, these peanut butter cups will stay fresh for up to 2 weeks. You can also freeze them for up to 3 months by stacking them between sheets of parchment paper in a freezer-safe bag to prevent sticking. Let them sit at room temp for 5 minutes before eating for ideal texture.
7.My peanut butter filling turned out too soft and oozes when I bite into the cup—what went wrong? ▾
That usually happens if you used too little powdered sugar, or your butter was too warm when mixing the filling. For a firm, creamy filling that holds its shape, use room-temperature (not melted) softened butter, and add powdered sugar a tablespoon at a time until the filling rolls into a non-sticky firm ball between your fingers.

Comments (18)

2 days ago

OMG these are SO good! I made them for my kid’s soccer team snack last weekend and every single parent asked for the recipe. Way better than the store-bought ones, I can’t believe how easy they are!

1 week ago

Game changer for my weekly meal prep! I keep a stash of these in my work fridge for when that 3pm chocolate craving hits. No weird preservatives, just the perfect ratio of chocolate to peanut butter. 10/10

yesterday

Tried these for our neighborhood potluck last night and they were gone in 10 minutes flat! I used crunchy peanut butter like my mom used to and it added the best little texture. Will be making these monthly for sure.

3 days ago

Quick heads up if you’re a dark chocolate fan — swapping the milk chocolate for 70% cacao works amazing here. I cut the added powdered sugar in the peanut butter filling a tiny bit to balance it and it’s chef’s kiss.

2 weeks ago

My 7 year old has a nut allergy so I swapped the peanut butter for sunflower seed butter and they turned out incredible! She said they’re better than the candy she gets at Halloween. Win for mom!

30 minutes ago

Wait, do I have to use parchment paper liners? I tried making these once before and the chocolate stuck so bad to the paper cups I had to peel half the chocolate off to eat them 😂

5 minutes ago

Great question! I recommend giving the liners a super light spray of nonstick cooking oil before pouring the first layer of chocolate, that keeps them from sticking. You can also use silicone candy molds if you have them, they pop right out with zero mess!

5 days ago

Made these last night for date night with my boyfriend and he asked if I bought them from that fancy candy shop downtown! Little does he know how little effort they took lmao

3 days ago

LMAO same! My husband thought I spent hours in the kitchen, I didn’t tell him the hardest part was waiting for them to chill in the fridge

2 hours ago

How long do these stay good for in the fridge? I want to make a big batch for our upcoming camping trip and don’t want them to go bad before we leave.

30 minutes ago

They’ll stay fresh stored in an airtight container in the fridge for up to 2 weeks! If you’re taking them camping, I’d recommend tucking a small ice pack in your cooler to keep them from melting if it’s warm out, they hold up really well otherwise!

1 week ago

I added a tiny sprinkle of flaky sea salt on top right before I put them in the fridge and I will never make them without it again. The salt cuts the sweetness so perfectly!

5 days ago

Oh that’s such a good call! I always forget how much flaky salt elevates chocolate treats, I’m definitely trying that on my next batch

2 weeks ago

Tried these over the weekend and my only mistake was not making a double batch. My roommates ate almost all of them before I even got to have a second one!

1 week ago

Dude same! I made a single batch first and it was gone in 2 days, now I always double it and freeze half for later. Total game saver

3 days ago

Is there a way to make these vegan? My daughter is vegan and she’s been begging for a copycat of the candy cups she used to love as a kid.

2 days ago

Absolutely! Just use dairy-free chocolate chips (most dark chocolate varieties are accidentally vegan, just double check the label) and swap the regular butter in the peanut butter filling for coconut oil. They turn out just as creamy and delicious, I’ve tested that swap many times!

yesterday

I brought these to my book club meeting last night and everyone was raving! Even my friend who swears she “doesn’t like peanut butter” had two.

2 hours ago

That’s so funny! My anti-peanut butter sister-in-law loved these too when I made them for Easter, I think the chocolate to PB ratio is so balanced it wins over even the pickiest people

5 minutes ago

Wait the chill time says 55 minutes — is that in the fridge or the freezer? I’m impatient and want these as fast as possible lmao

just now

Bro I stuck mine in the freezer for 20 minutes once when I was in a hurry and it worked totally fine! Just don’t leave them in there too long or the chocolate gets that weird frosty look

just now

Tim is totally right! The fridge is the standard method for that smooth, even set, but if you’re crunched for time, 20-25 minutes in the freezer works too. Just like he said, don’t leave them in there longer than that or you’ll get that freezer bloom on the chocolate

1 week ago

My kids loved helping me make these! They got to spoon the peanut butter filling into the cups and add sprinkles on top, it was the perfect rainy Saturday activity.

5 days ago

That’s such a cute idea! My toddler is obsessed with helping in the kitchen right now, I bet he would go crazy for adding sprinkles to these. Saving this for our next rainy weekend!

3 days ago

I did this too! My kids thought they were actual professional candy makers, they were so proud to pass them out to the neighbors after

2 days ago

Ugh, my first batch came out super melty even after chilling — did I do something wrong? I followed the recipe exactly as written.

yesterday

Did you use natural peanut butter that’s super runny? I made that mistake once, I had to stir in a little extra powdered sugar to thicken the filling up and it fixed it right up

yesterday

So sorry they didn’t set up right for you! Greg’s tip about natural peanut butter is spot on — if you’re using the kind that separates, make sure you drain off a tiny bit of the excess oil and mix the filling until it’s thick like cookie dough before adding it to the cups. If your kitchen is super warm, you can also pop them back in the fridge for an extra 15 minutes to firm up!

2 weeks ago

I made these with white chocolate for my best friend’s birthday because she’s obsessed with white chocolate and peanut butter, and they were a massive hit! Who knew the flavor combo worked that well?

1 week ago

Wait white chocolate PB cups sound insane, I need to try that! Do you use the same amount of white chocolate as the recipe calls for milk chocolate?

1 week ago

Yep! Exact same measurement, I just added a tiny extra pinch of salt to cut the super sweet white chocolate taste, came out perfect

3 days ago

Game changer! I’ve been paying like $2 a cup for the fancy organic ones at the grocery store and these taste identical for a fraction of the cost. I’ll never buy store-bought again.

2 days ago

Right?! I did the math once and it works out to like 25 cents a cup when you make them at home, it’s wild how much markup is on the pre-made ones

2 days ago

That’s one of my favorite parts of this recipe too! You can also customize them exactly how you like without paying the premium for specialty flavors, it’s such a win

just now

Brought these to our office potluck today and they were the first dessert gone. My coworker even offered to pay me to make him a batch for his wife’s birthday!

just now

That’s the highest compliment! If people are offering to pay you for them you know they’re good lmao

just now

That’s amazing! Nothing feels better than watching a recipe you make be the hit of the party — so glad everyone loved them



