
Chocolate Peppermint Cookies

title 1
Chocolate Peppermint Cookies
⏱️ cook time 24 minutes
🍽️ servings 12
⚡ Difficulty easy

intro

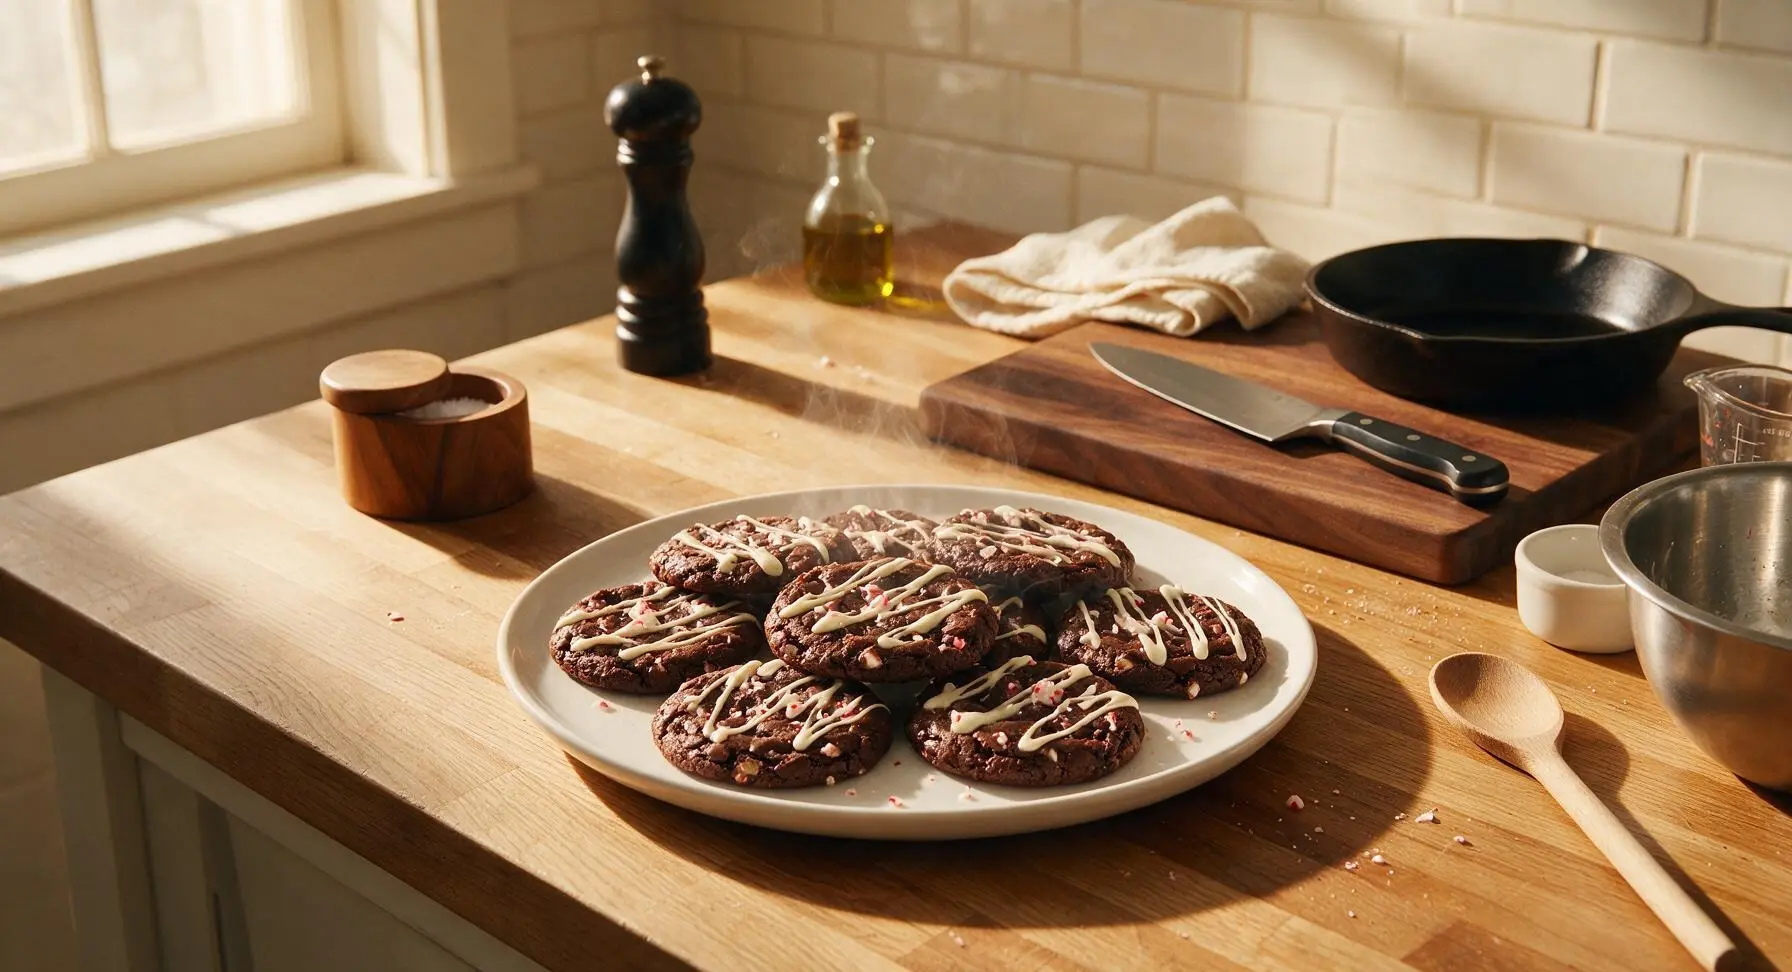
Fudgy, chewy dark chocolate cookies studded with crunchy peppermint bits, topped with smooth white chocolate drizzle—festive winter treats with crisp edges and soft centers.

Ingredients
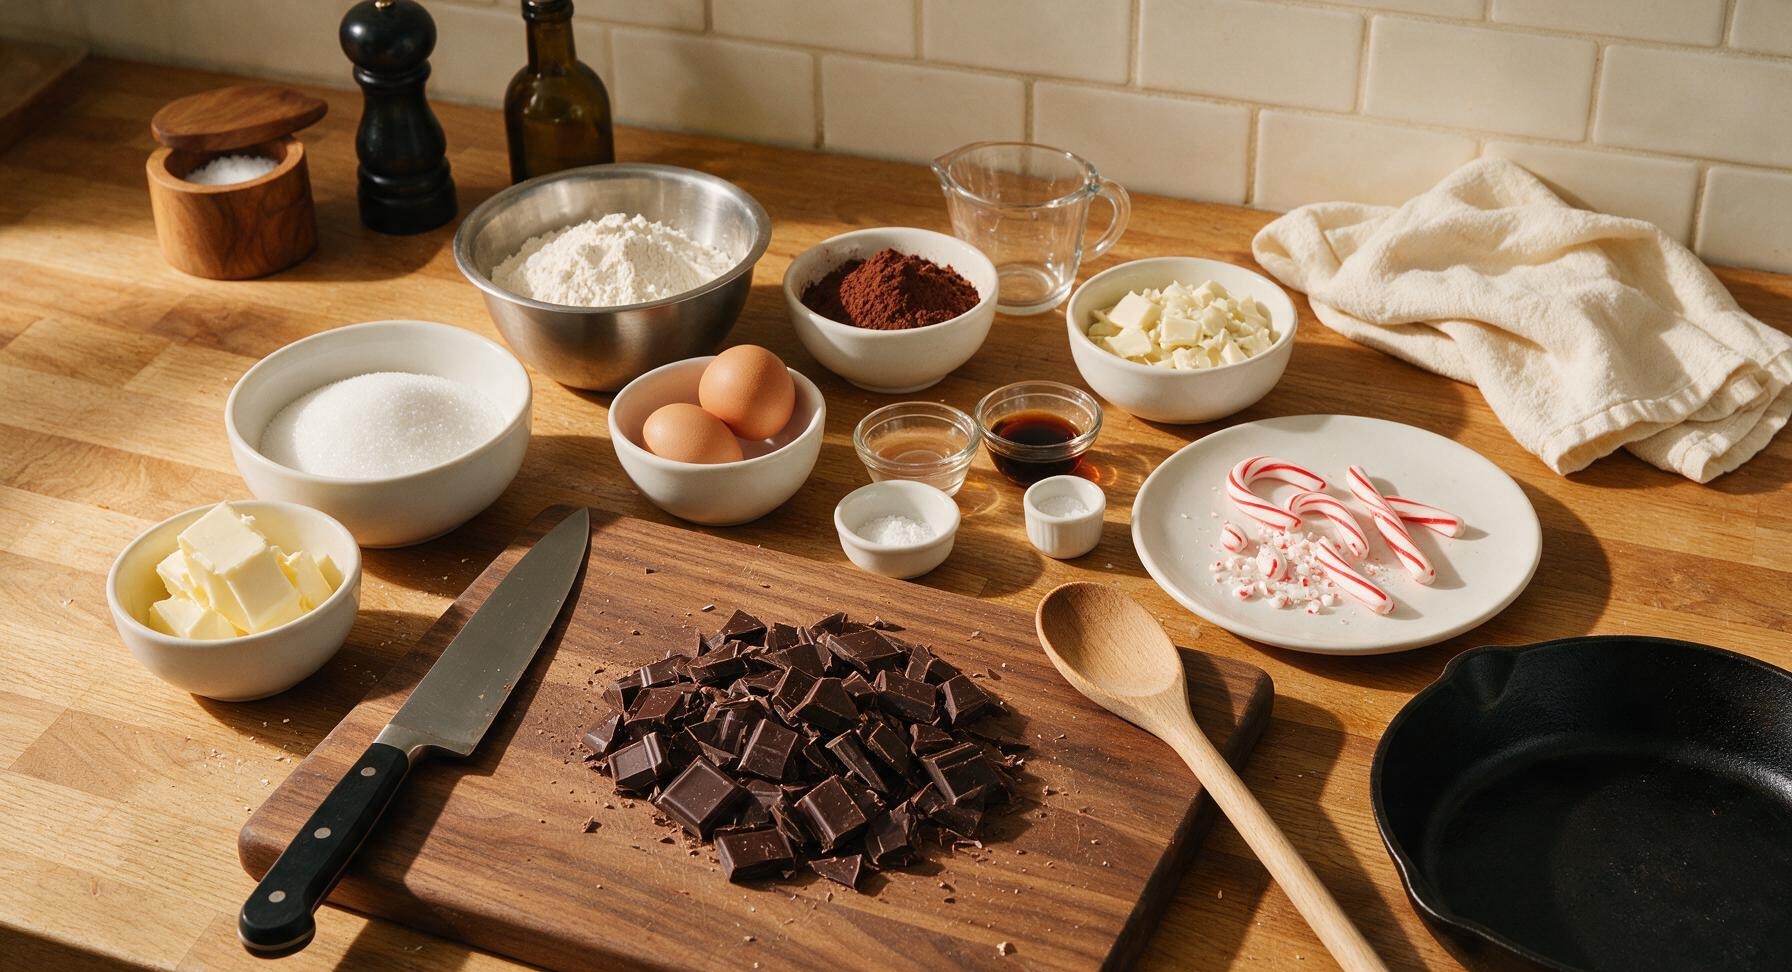
70% dark chocolate, chopped 170g
Unsalted butter, cut into tablespoons 113g (1 stick)
Granulated sugar 150g
Large eggs, room temperature 2
All-purpose flour 100g
Dutch-processed cocoa powder 30g
Baking powder 1 tsp
Fine sea salt 1/4 tsp
Peppermint extract 1 tsp
Vanilla extract 1 tsp
White chocolate, chopped 85g
Candy canes, crushed (divided) 6 (120g total)

Steps

1

Melt Chocolate Base

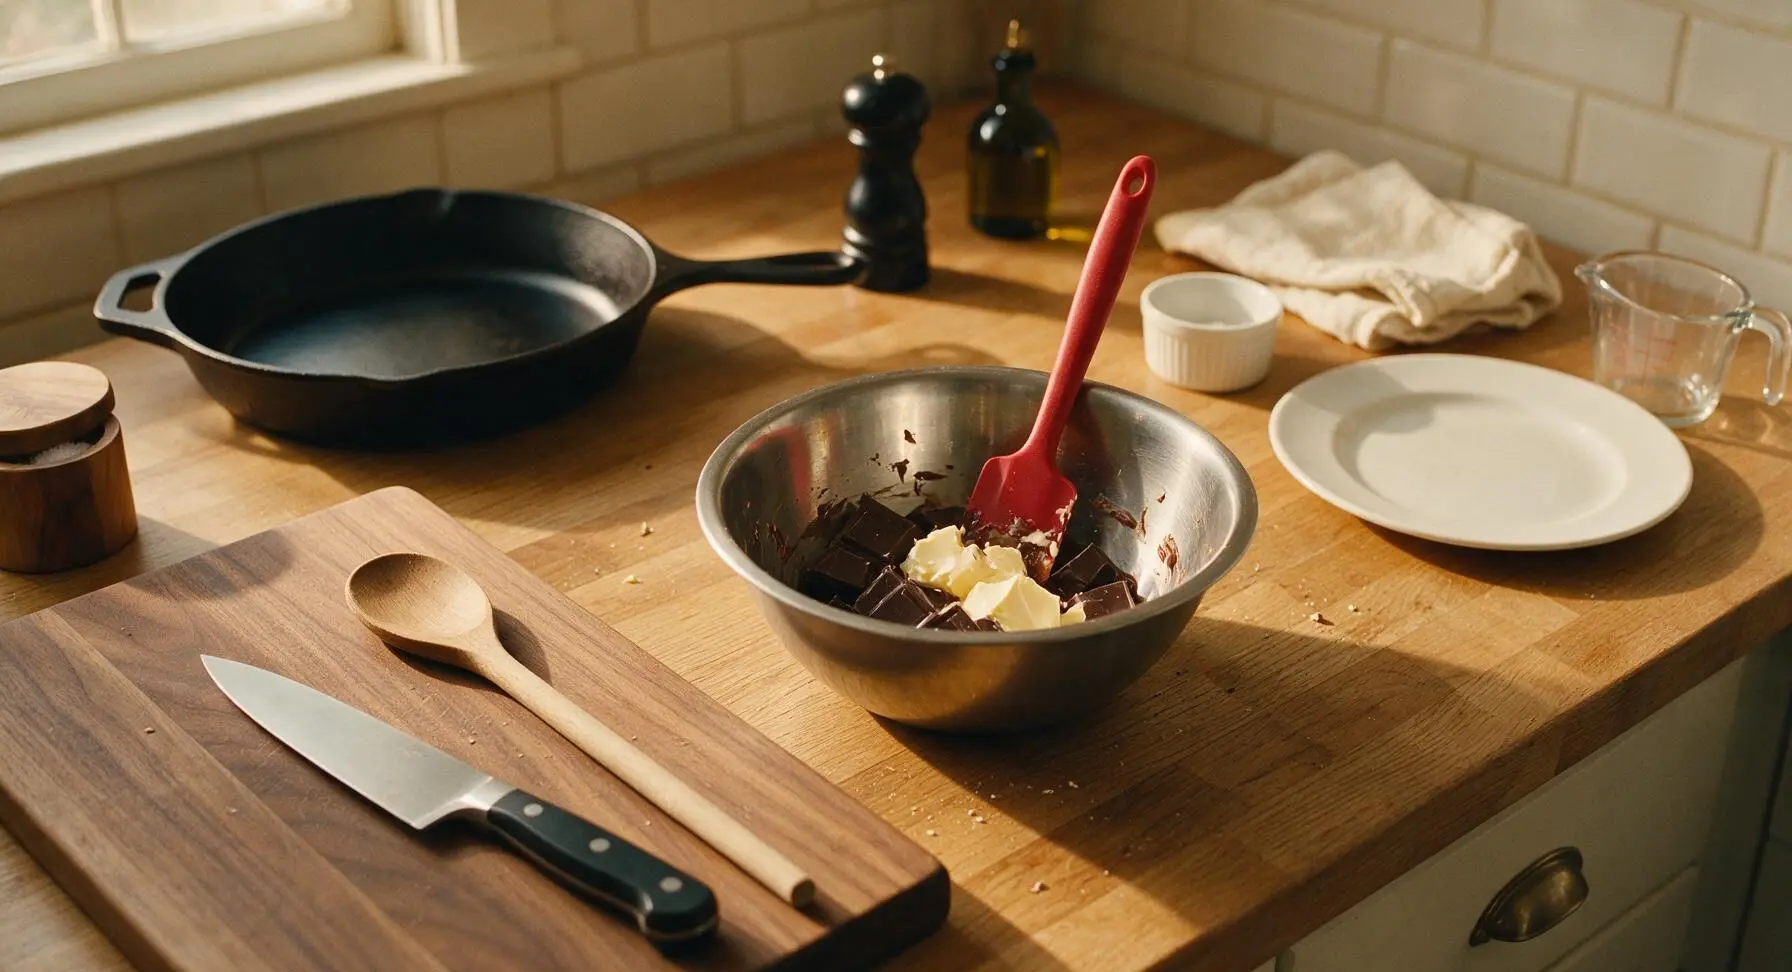
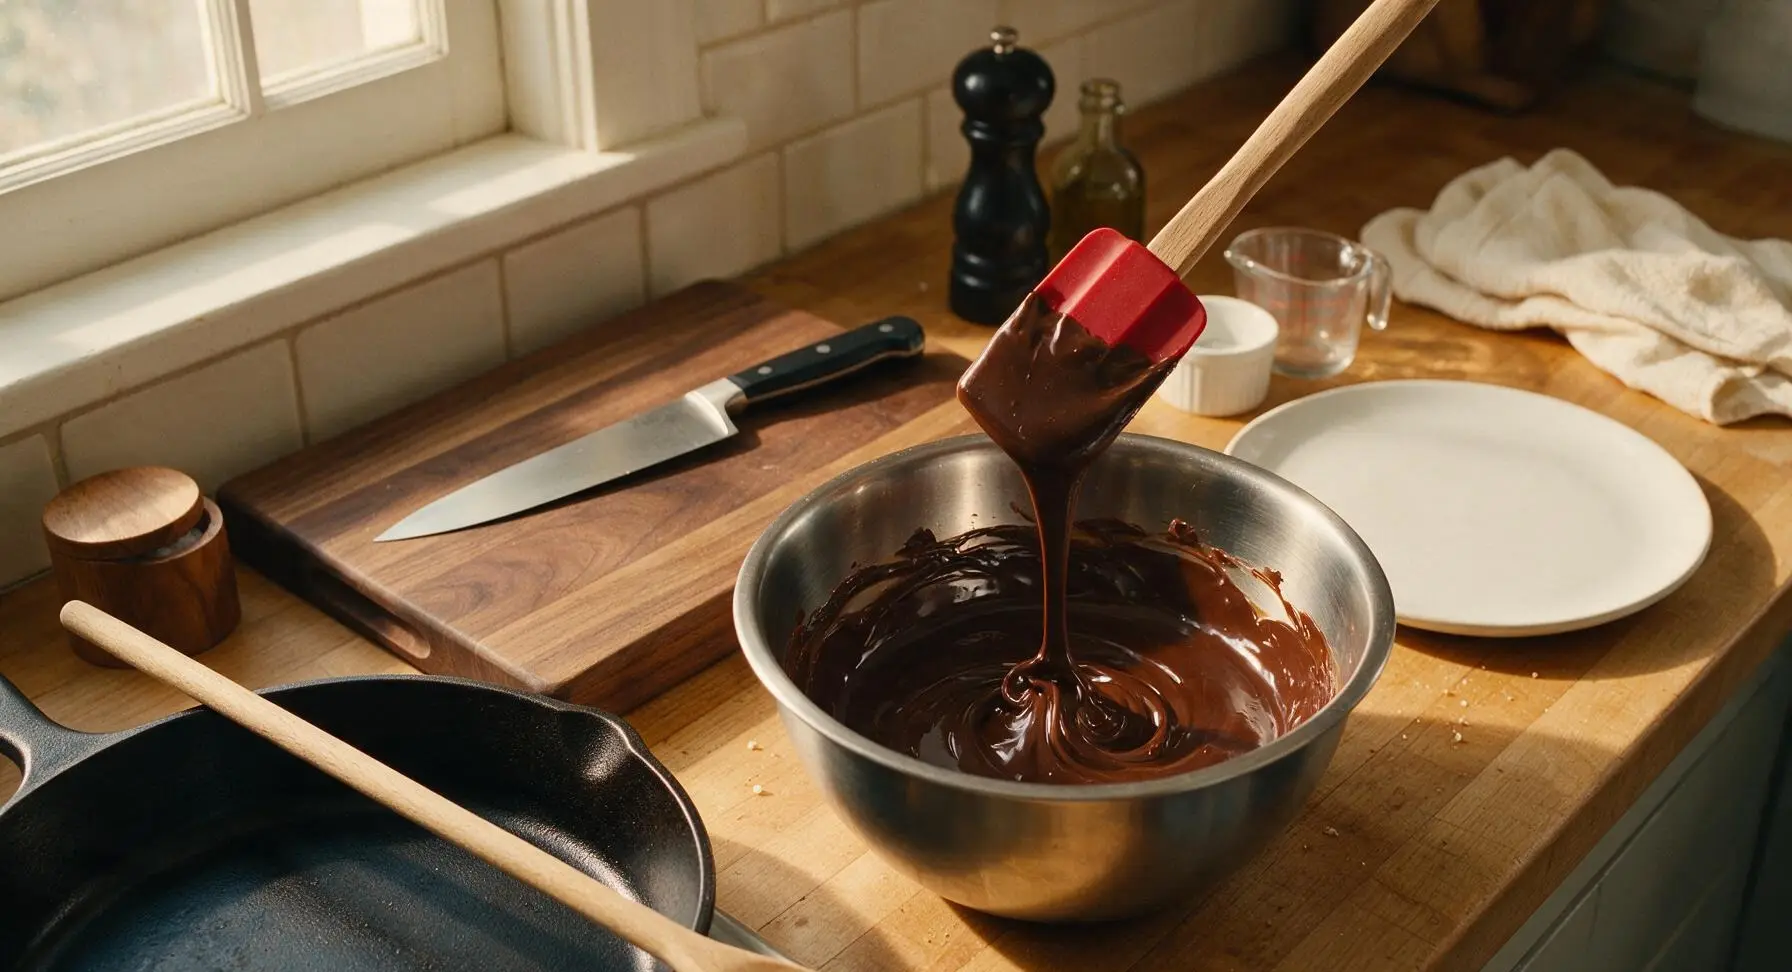
Place chopped 70% dark chocolate and cut unsalted butter in the medium stainless steel mixing bowl. Microwave in 30-second bursts, stirring thoroughly with the red silicone spatula between each burst, for 1.5 to 2 minutes total until the mixture is completely smooth, glossy, and fully melted with no remaining lumps. Set the bowl aside on the counter to cool for 5 minutes, until it is warm to the touch but not hot.
Step 1
step1:Melt Chocolate Base
Step 1
step1:Melt Chocolate Base
2

Whisk Dry Ingredients

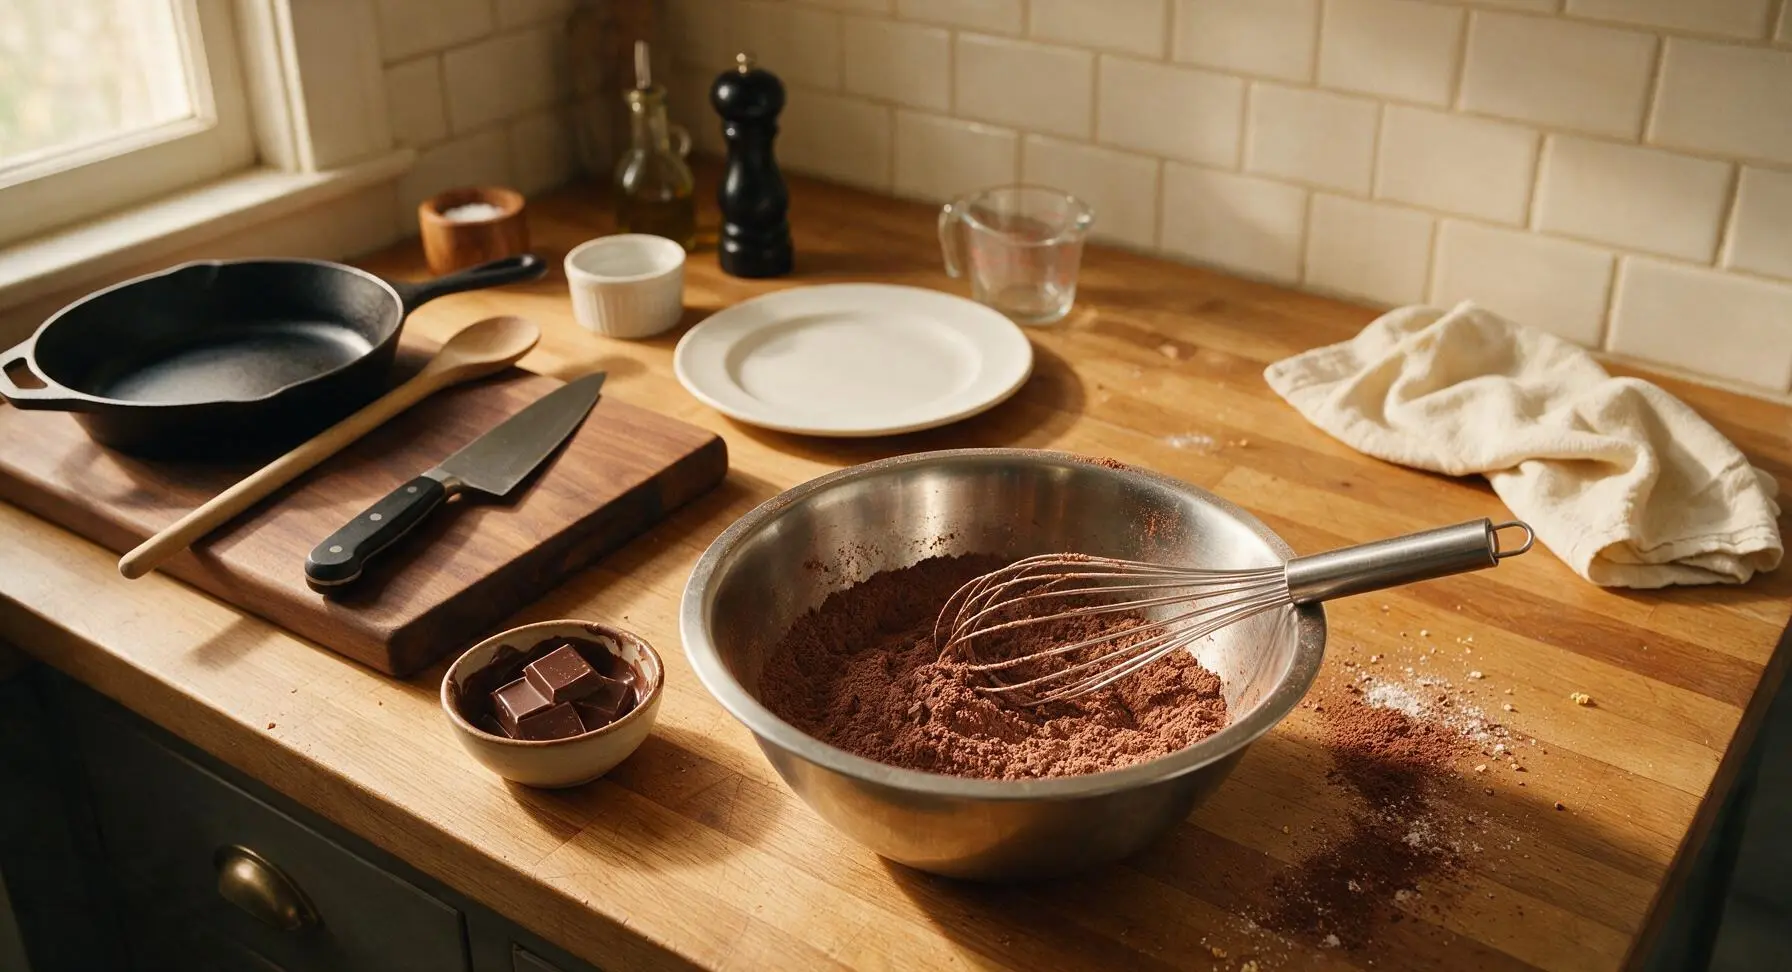
In the small stainless steel mixing bowl, combine all-purpose flour, Dutch-processed cocoa powder, baking powder, and fine sea salt. Whisk vigorously with the stainless steel wire whisk for 30 seconds until the ingredients are fully combined, with no clumps of cocoa powder remaining, and the mixture is a uniform deep brown color.
Step 2
step2:Whisk Dry Ingredients
3

Mix Wet Batter

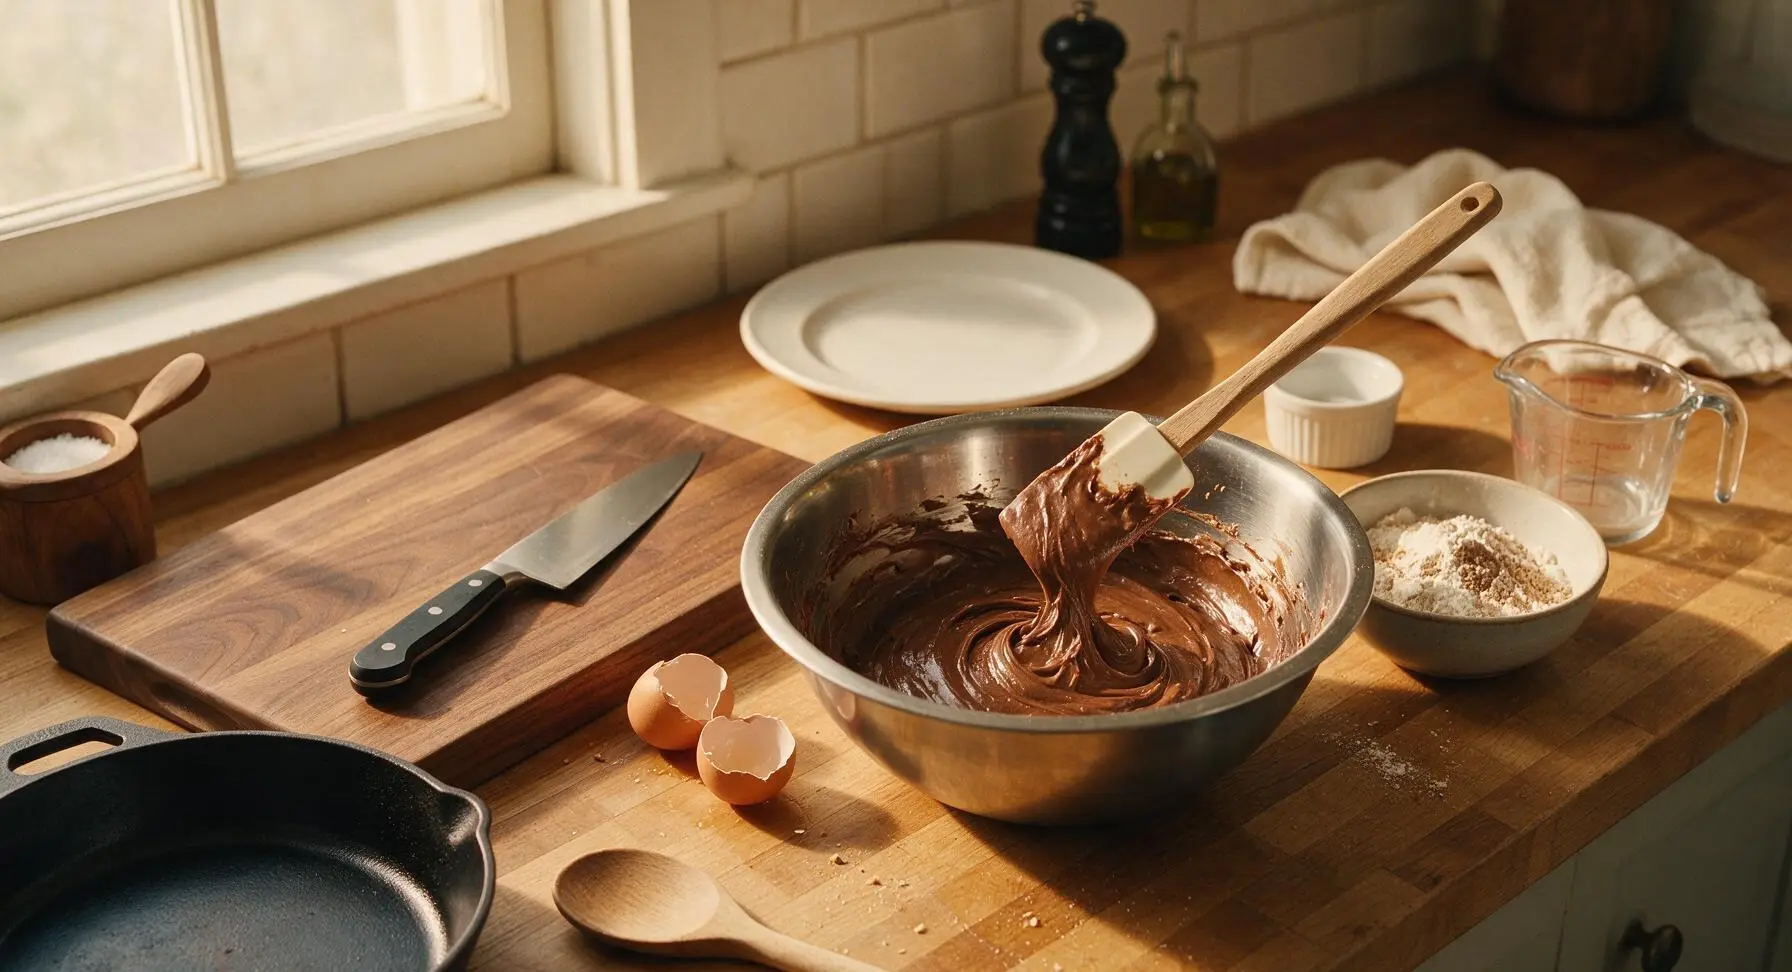
Add granulated sugar to the cooled melted chocolate mixture, stirring with the silicone spatula until fully incorporated. Add the room-temperature eggs one at a time, stirring vigorously for 20 seconds after each addition to ensure the mixture is smooth and emulsified. Stir in peppermint extract and vanilla extract, mixing until the batter is thick, shiny, and pulls away slightly from the sides of the bowl when stirred.
Step 3
step3:Mix Wet Batter
4

Fold in Peppermint Bits

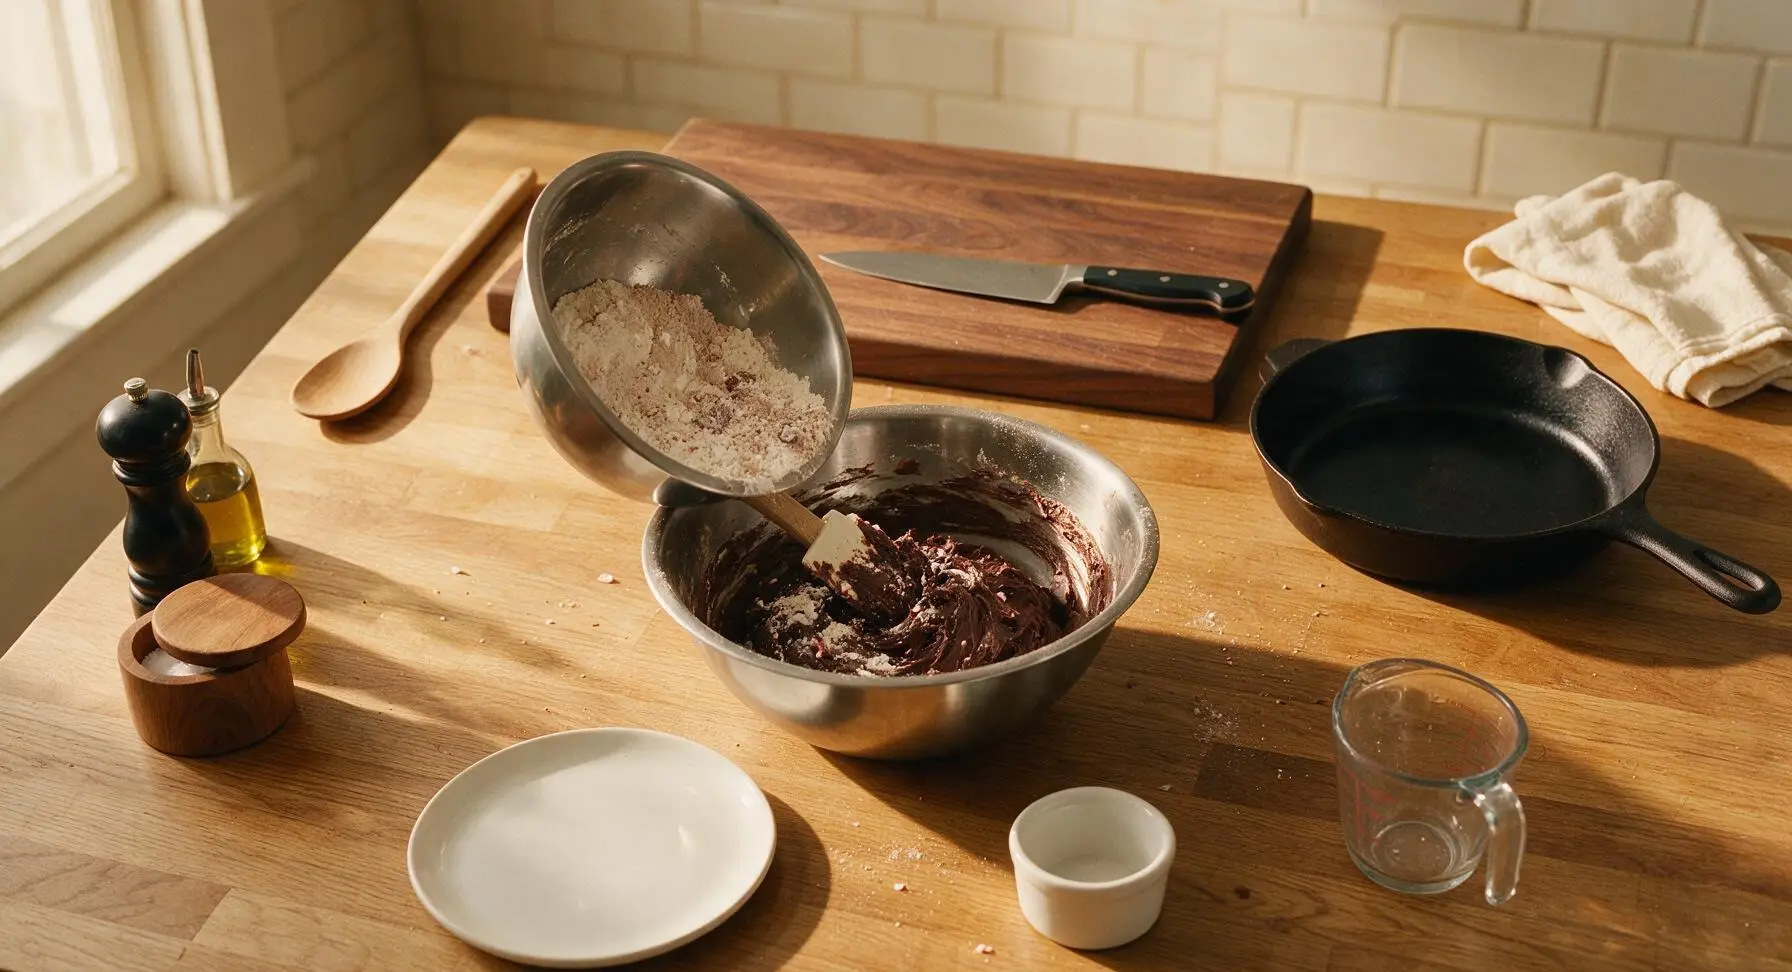
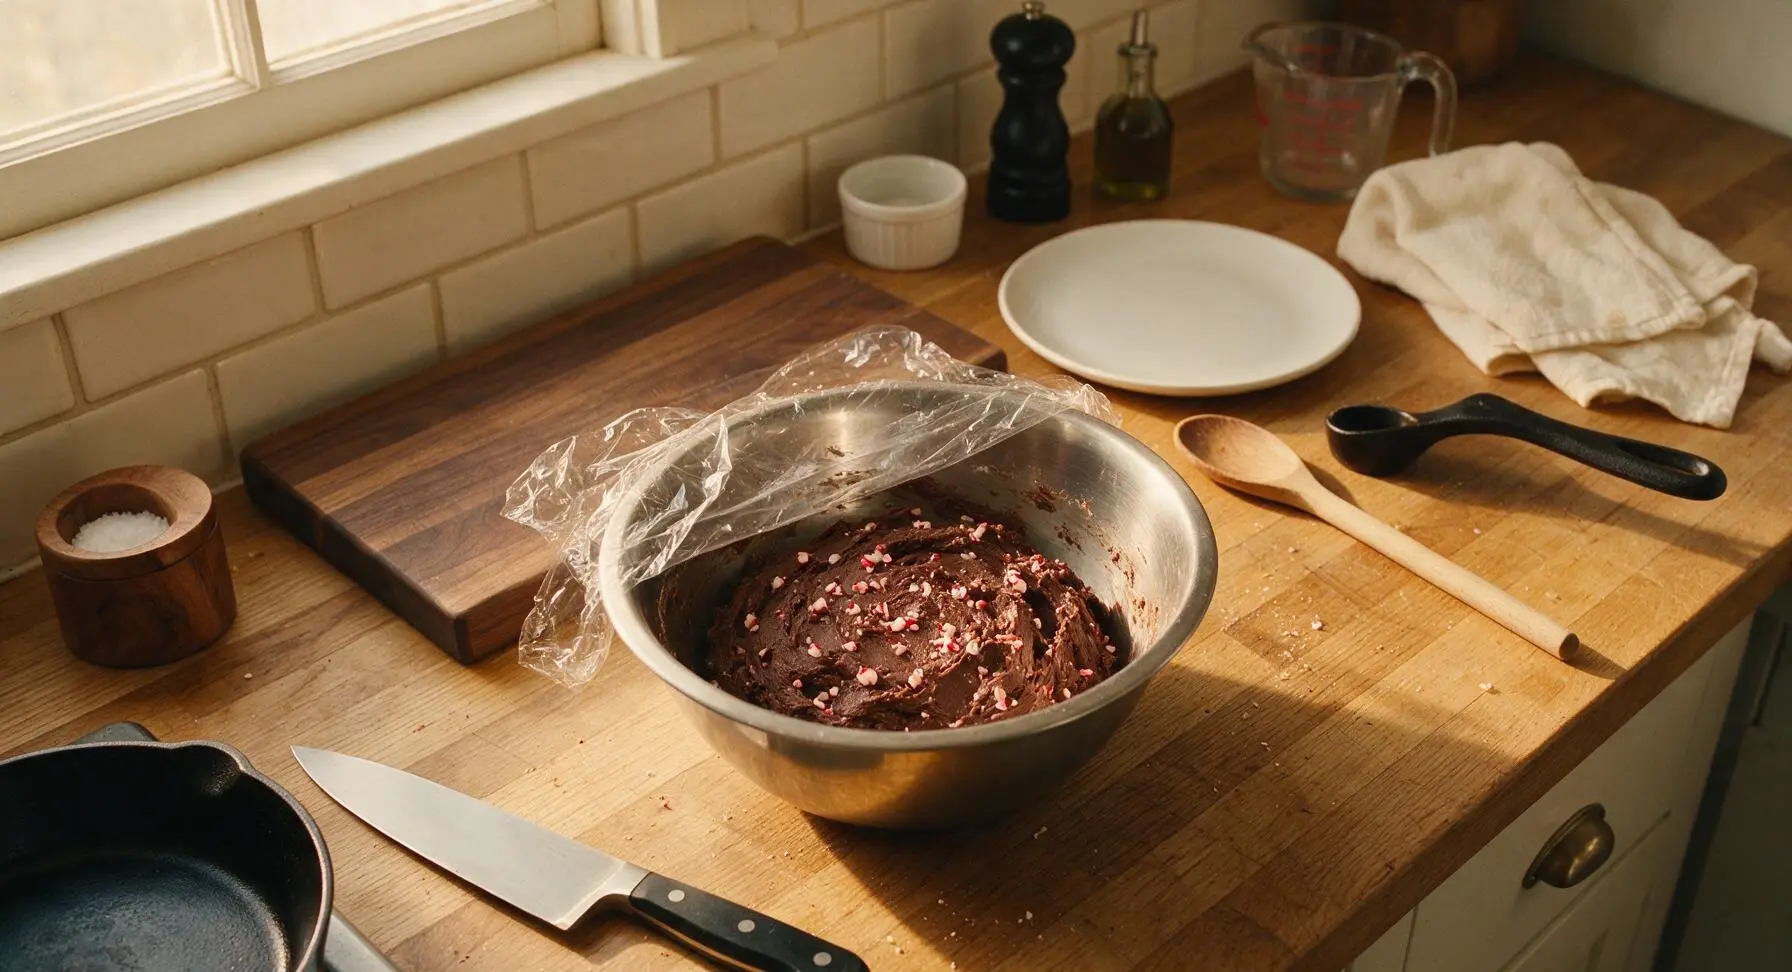
Pour the pre-mixed dry ingredients into the wet chocolate batter, stirring gently with the silicone spatula just until no dry flour streaks remain—do not overmix, as this will make cookies tough. Fold in 2/3 of the crushed peppermint candy pieces, reserving the remaining 1/3 for topping, until evenly distributed throughout the thick dough. Cover the bowl with plastic wrap and chill in the refrigerator for 30 minutes, until the dough is firm enough to scoop without spreading too much during baking.
Step 4
step4:Fold in Peppermint Bits
Step 4
step4:Fold in Peppermint Bits
5

Portion Dough Scoops

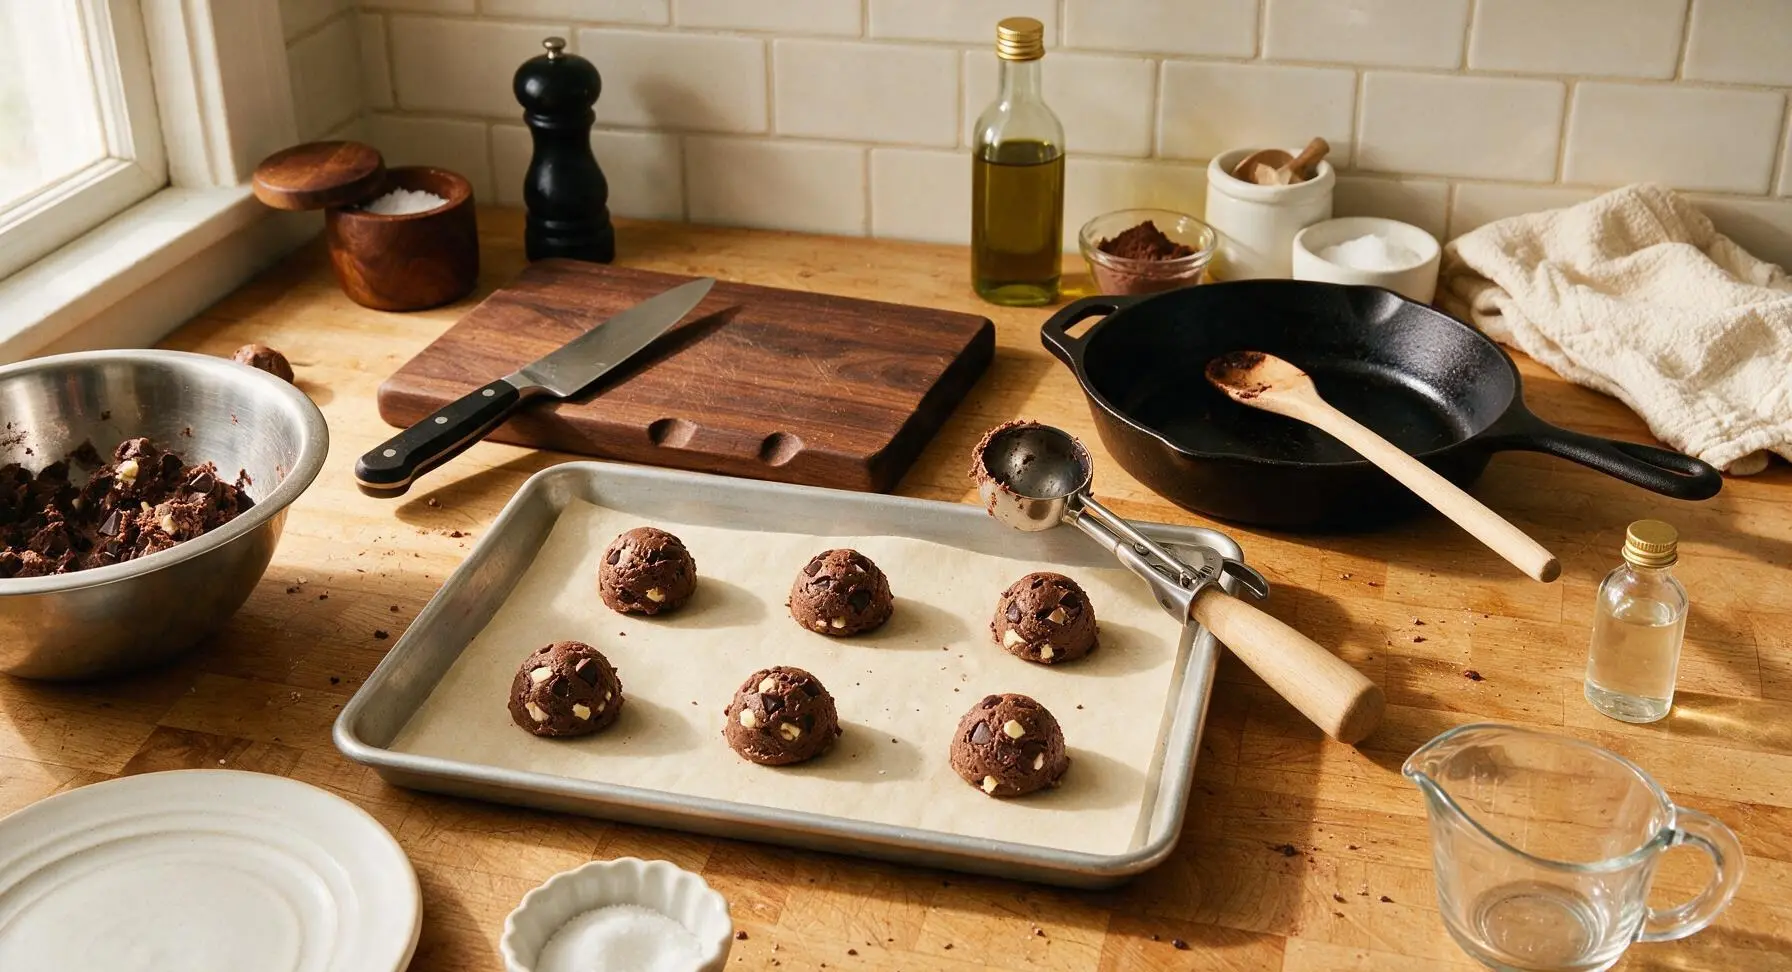
Preheat oven to 175C (350F). Line the rimmed aluminum baking sheet with unbleached parchment paper. Remove the chilled dough from the refrigerator. Use the 3-tablespoon spring-loaded cookie scoop to portion even balls of dough, spacing them 7cm apart on the parchment-lined baking sheet (8 scoops per batch). Do not press the dough balls down, as they will spread naturally as they bake.
Step 5
step5:Portion Dough Scoops
6

Bake Cookie Batches

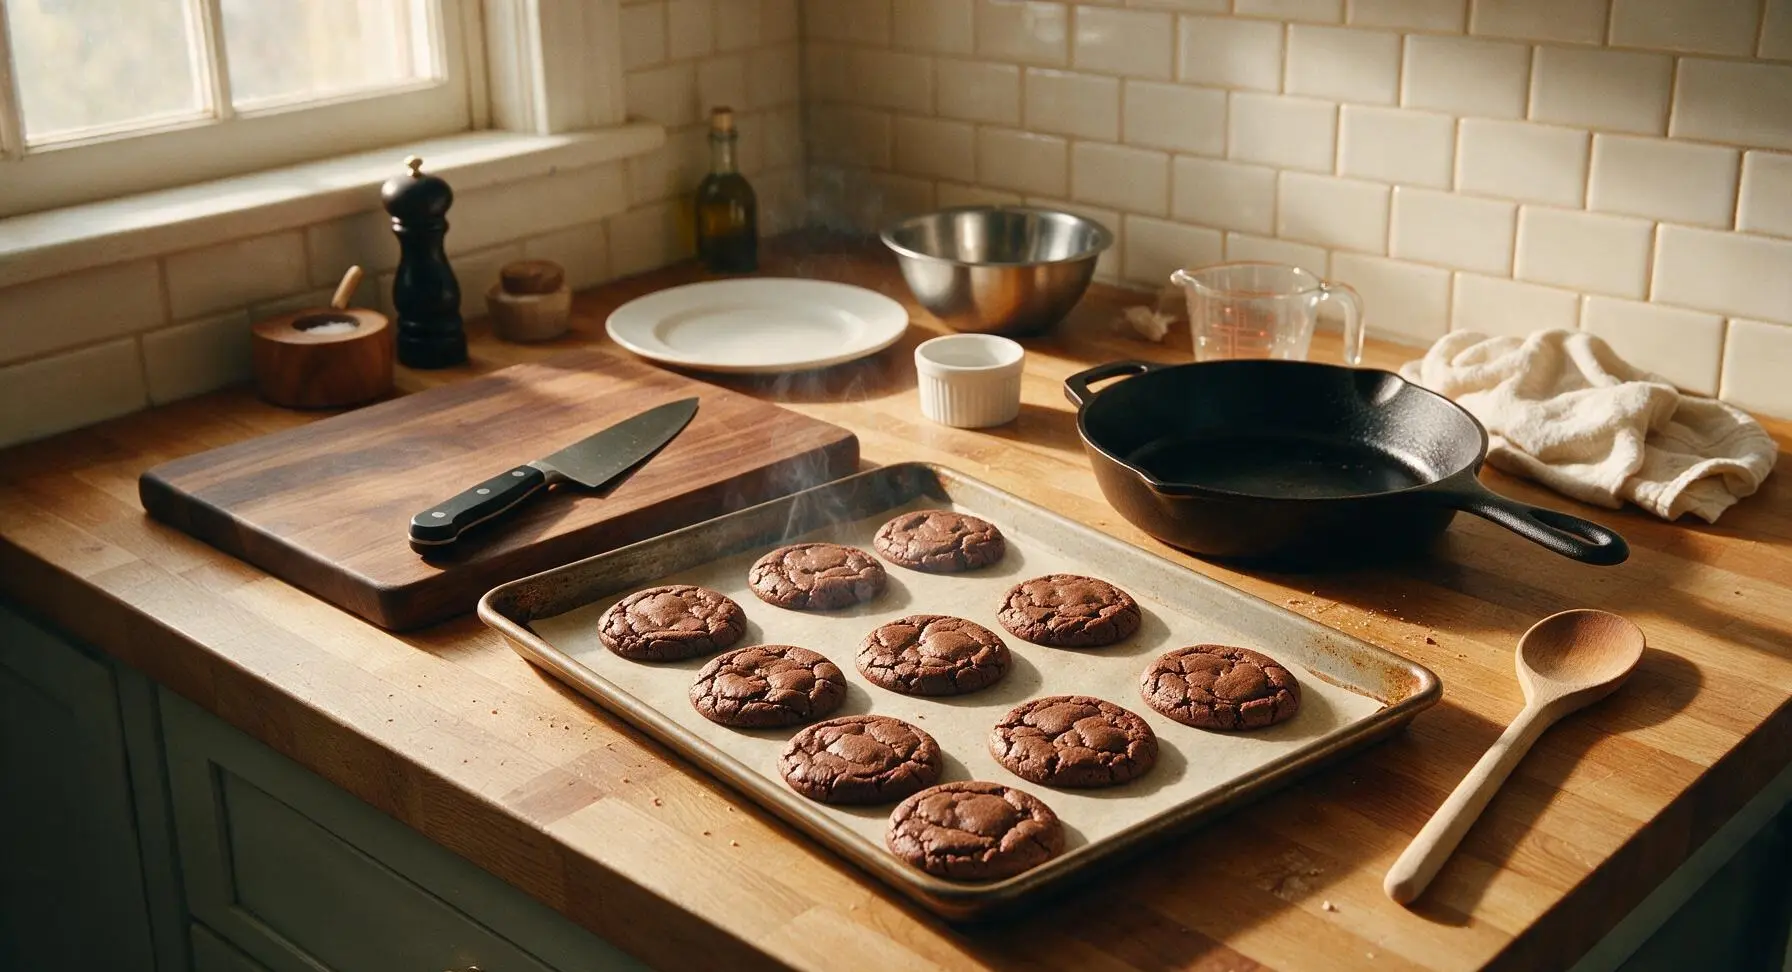
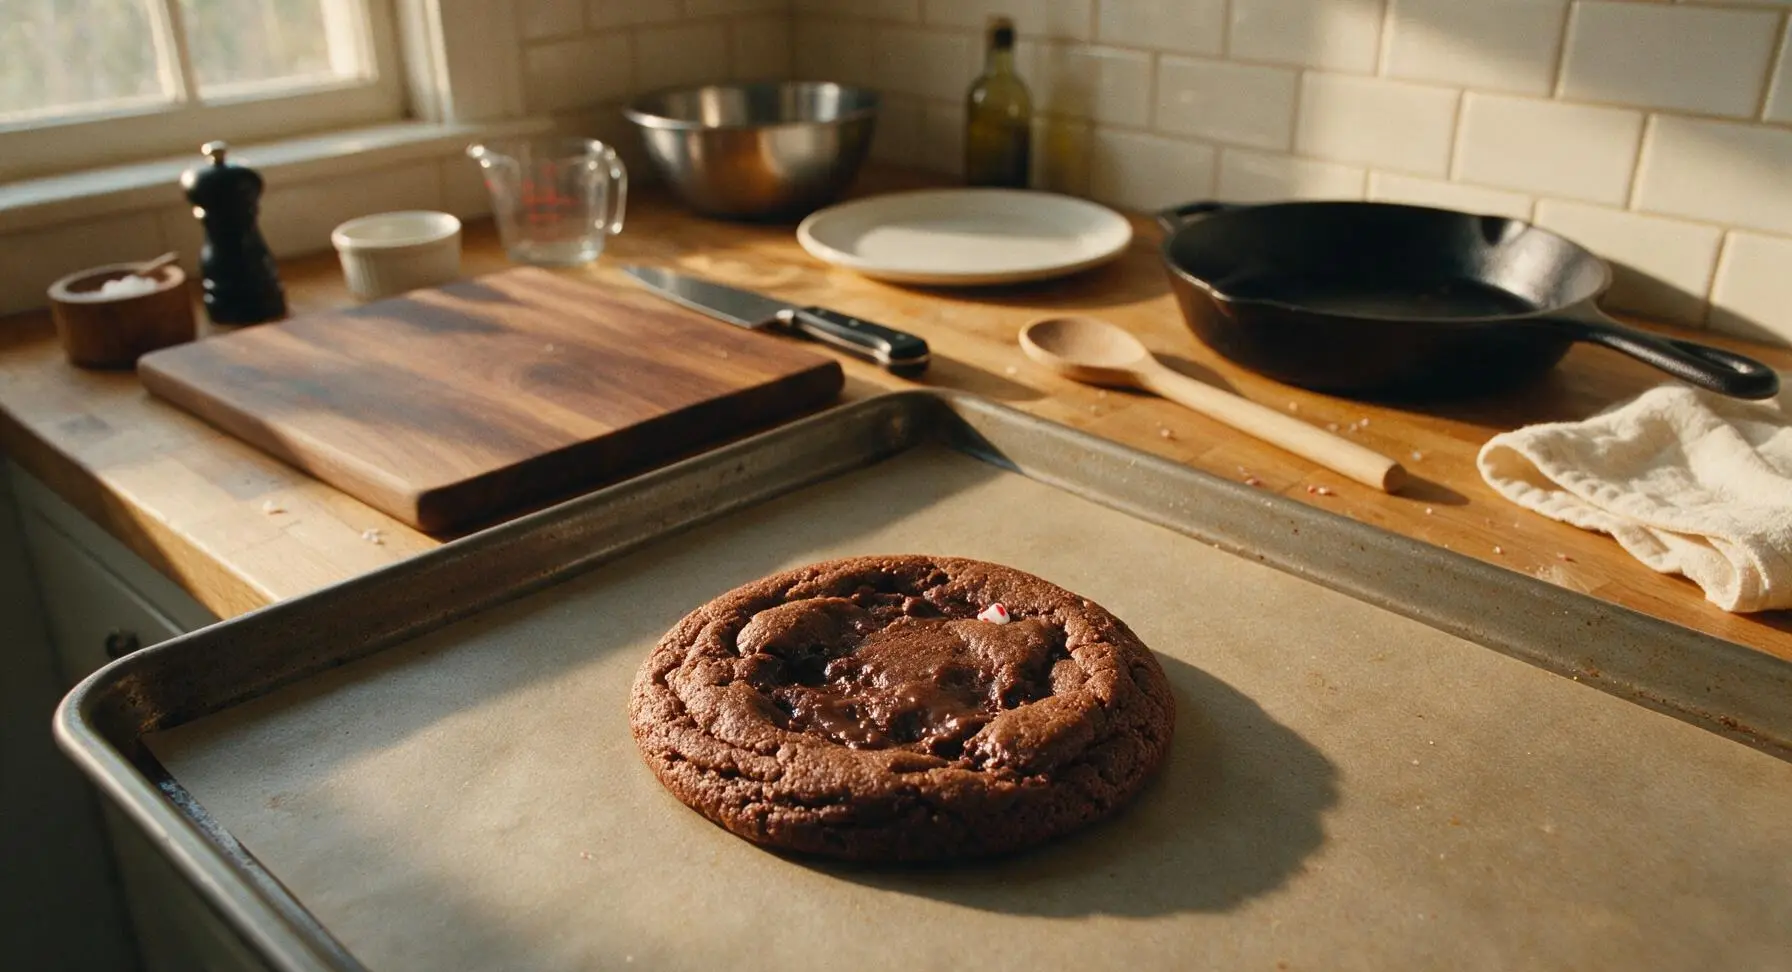
Bake one sheet at a time on the middle oven rack for 10 to 12 minutes. Cookies are done when the edges are set and slightly firm, but the centers still look soft and slightly underbaked—they will continue to set as they cool on the sheet. Remove from the oven and let cookies rest on the baking sheet for 5 minutes before transferring, as they will be very soft immediately after baking.
Step 6
step6:Bake Cookie Batches
Step 6
step6:Bake Cookie Batches
7

Cool Cookies Completely

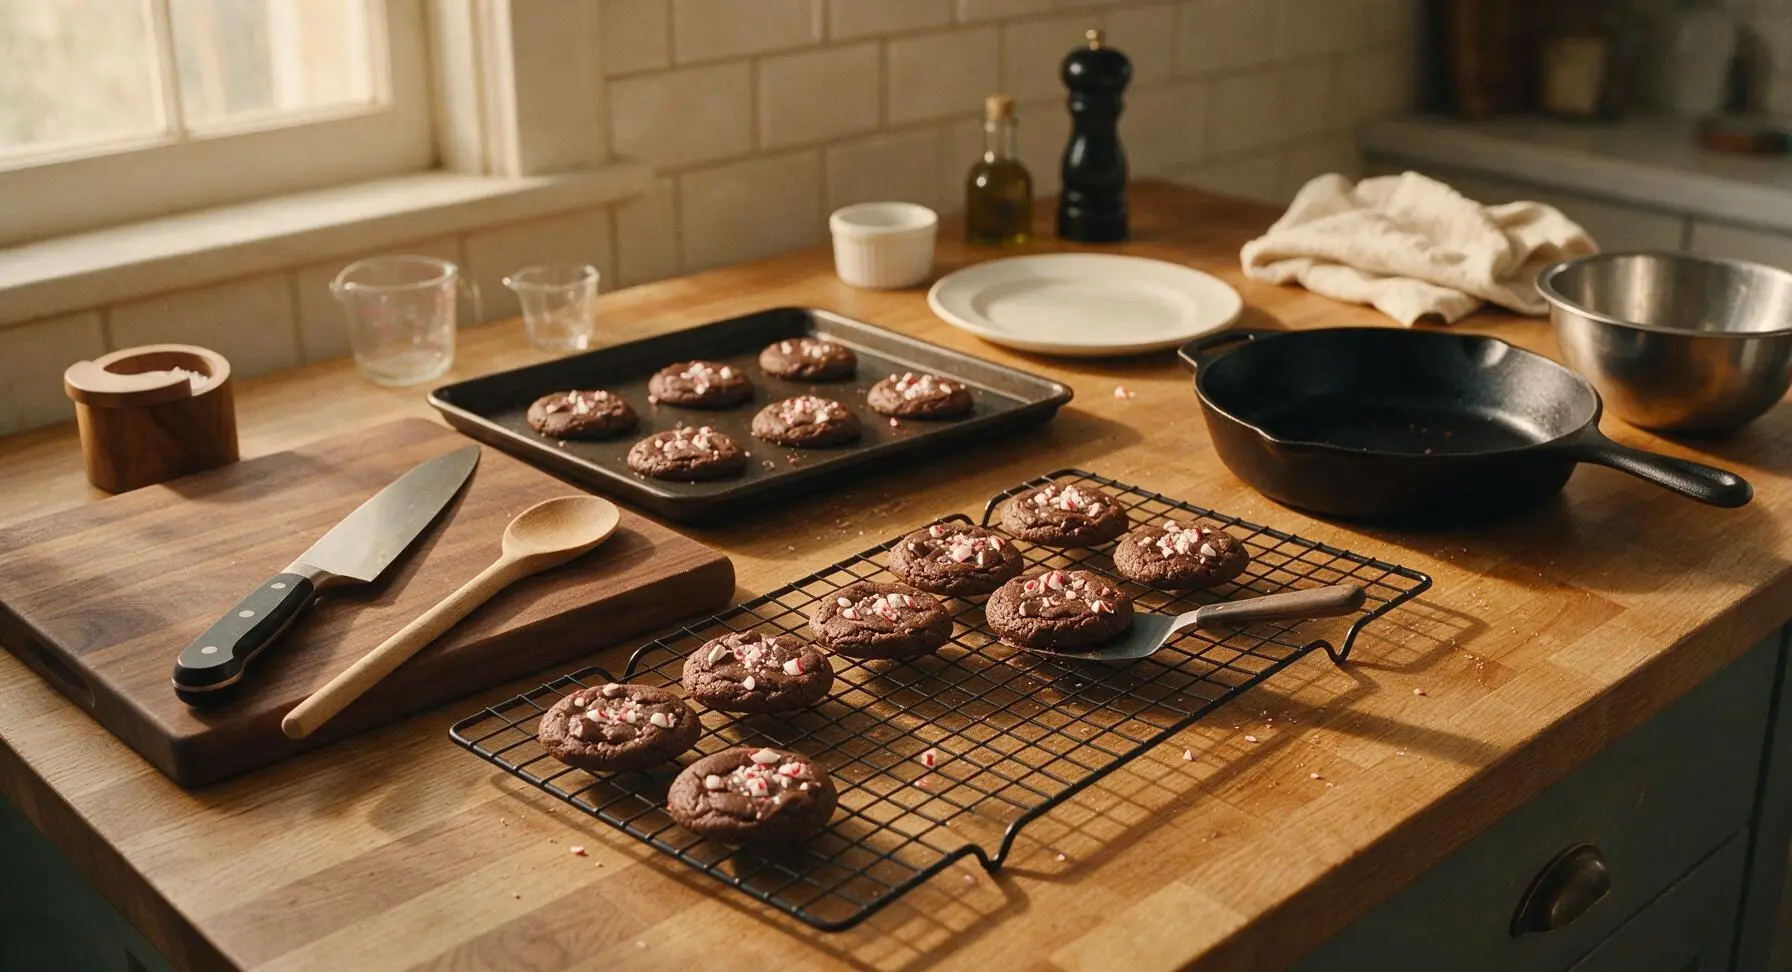
After the 5-minute rest on the baking sheet, use the small offset spatula to transfer the warm cookies to the matte black wire cooling rack. Let cookies cool completely for 20 minutes before adding the white chocolate drizzle—warm cookies will cause the chocolate to melt and slide off instead of setting cleanly.
Step 7
step7:Cool Cookies Completely
8

Drizzle and Top Cookies

While cookies cool, melt the chopped white chocolate in a small microwave-safe bowl using the same 30-second burst method as the dark chocolate, stirring between bursts until completely smooth. Transfer melted white chocolate to a small zip-top bag, snip a 2mm corner off the bag, and drizzle the chocolate in a loose zig-zag pattern across the top of each cooled cookie. Immediately sprinkle the remaining crushed peppermint pieces over the wet white chocolate drizzle so the candy sticks securely. Let the drizzle set for 10 minutes at room temperature before serving.
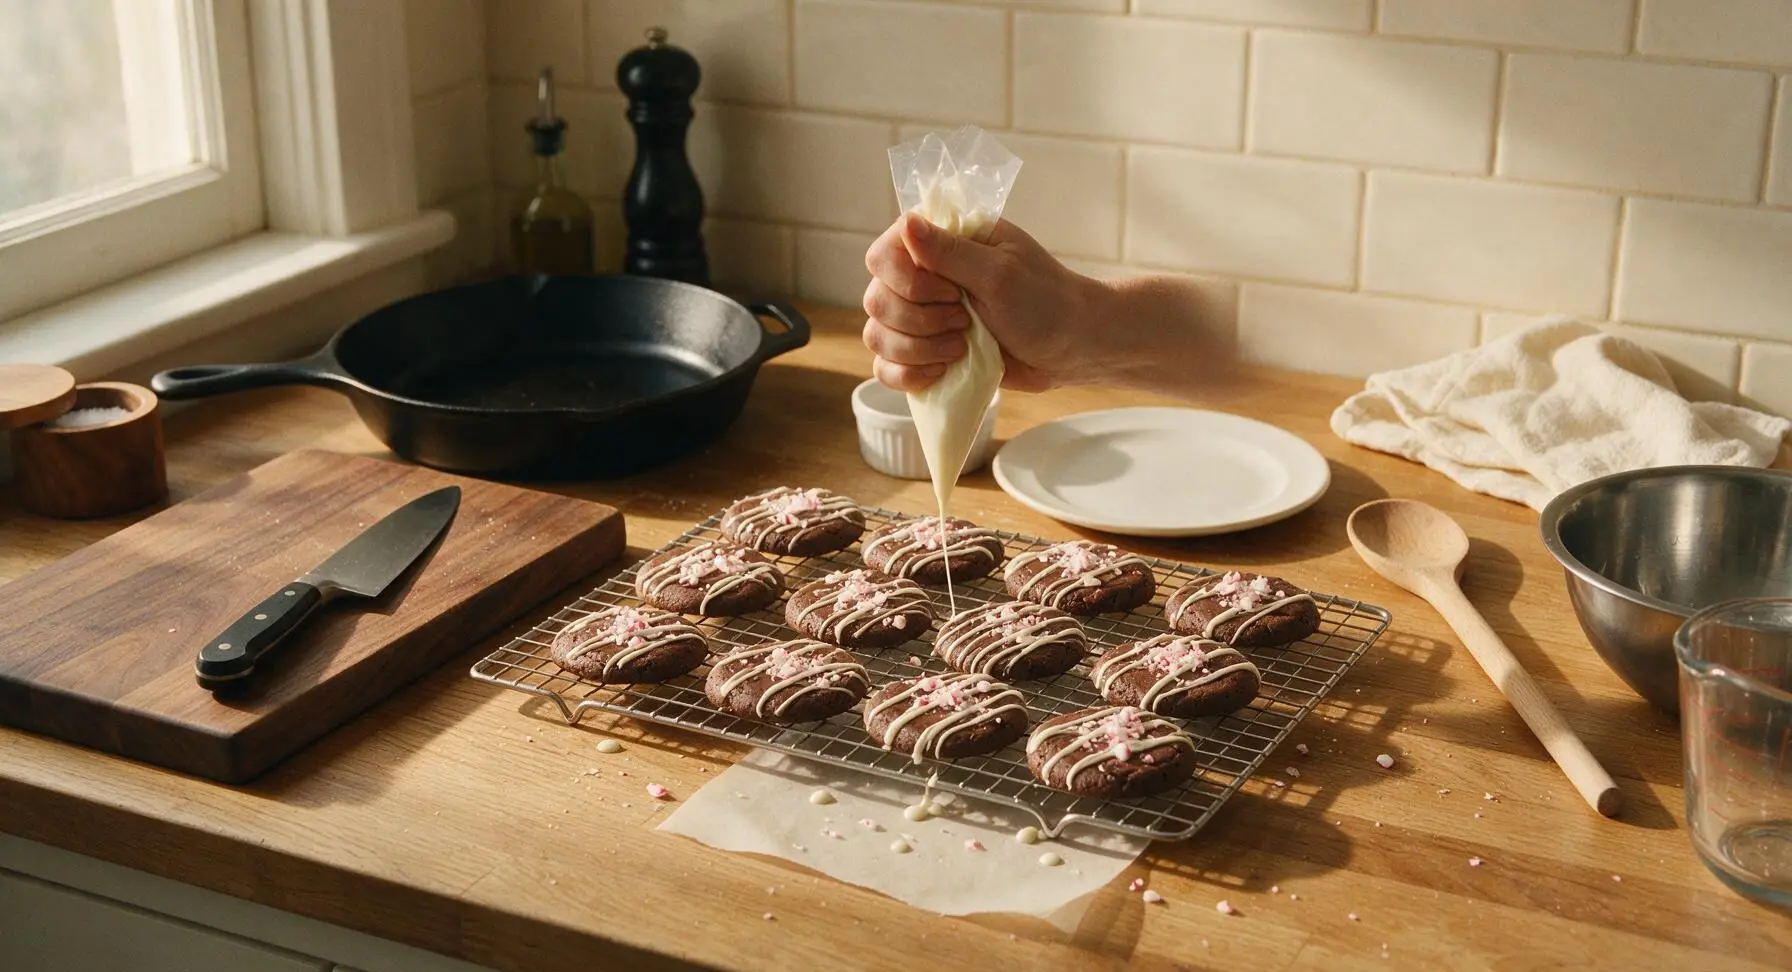
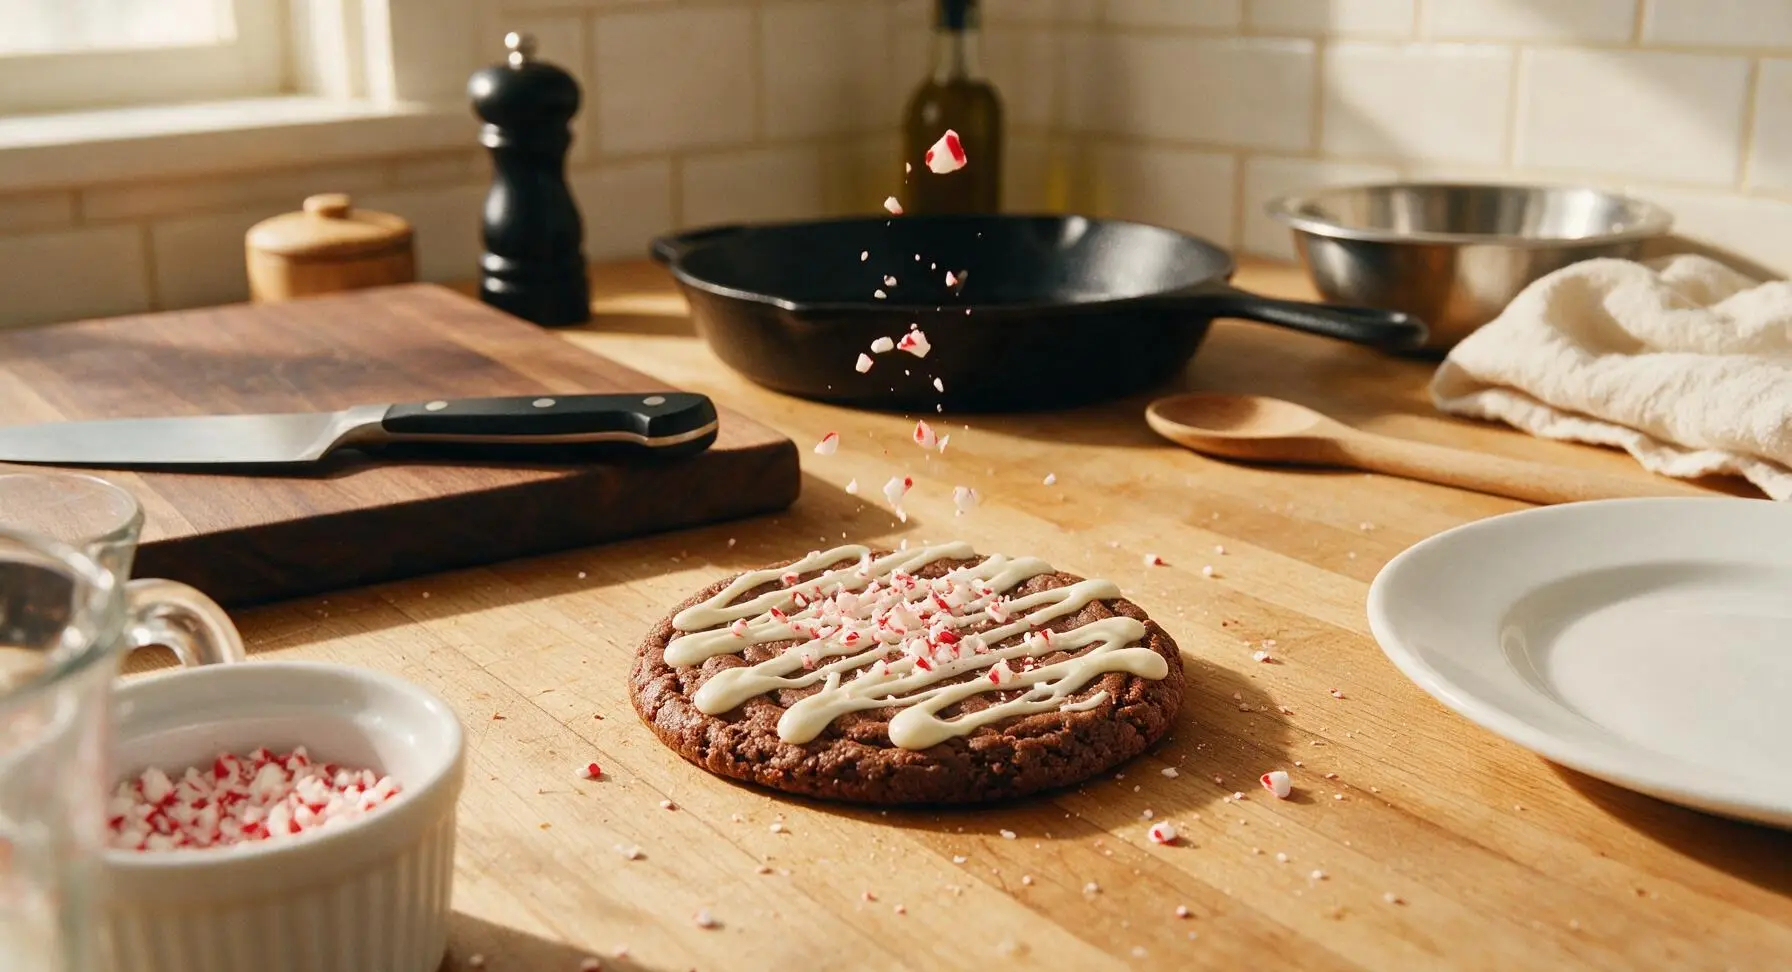
Step 8
step8:Drizzle and Top Cookies
Step 8
step8:Drizzle and Top Cookies

Tips

1.Use room-temperature eggs for this recipe: cold eggs will shock the warm melted chocolate and cause it to seize into a lumpy, grainy mass, rather than forming a smooth, emulsified batter that bakes into fudgy cookies.
2.Resist the urge to overbake the cookies: if the centers look fully set when you pull them from the oven, they will turn dry and crumbly once cool. The soft, slightly underbaked center will set perfectly as the cookies rest on the hot baking sheet, creating that ideal chewy texture.
3.Crush candy canes in a sealed zip-top bag with a rolling pin to avoid flying peppermint shards, and leave some pieces slightly larger (5mm size) instead of crushing them into a fine powder for extra crunch and bright visual contrast on the finished cookies.


✨ You May Also Like

Desserts & Baking
🍜 Italy

Creamy, coffee-kissed classic Northern Italian no-bake dessert, with layers of rum-spiked mascarpone cream, soft ladyfingers, and a rich cocoa dusting.

⏱️ 4 hours 3Desserts & Baking ★ 4.7
Desserts & Baking
🍜 France

Flaky, shatteringly crisp, buttery French croissants with golden exteriors and soft, airy layered interiors, perfect for pairing with coffee for a special morning treat.

⏱️ 12 hours Desserts & Baking ★ 4.5
Desserts & Baking
🍜 United States

Warm, spiced baked apples topped with a fluffy golden biscuit crust, this cozy dessert pairs perfectly with vanilla ice cream for cool-weather comfort.

⏱️ 55 minuteDesserts & Baking ★ 4.6
Desserts & Baking
🍜 United States

A star-spangled classic American blueberry pie with buttery flaky crust and bright sweet-tart filling, perfect for summer patriotic gatherings.

⏱️ 1 hour 25Desserts & Baking ★ 4.7
Desserts & Baking
🍜 United States

A beloved no-bake regional Maine candy with a chewy coconut-potato center coated in rich dark chocolate, a New England holiday staple since the 1870s.

⏱️ 2 hours 3Desserts & Baking ★ 4.8
Desserts & Baking
🍜 France

Luxuriously creamy, floral frozen custard made with aromatic Tahitian vanilla beans, boasting a smooth, rich texture that melts slowly on the tongue.

⏱️ 3 hours 3Desserts & Baking ★ 4.5

Chocolate Peppermint Cookies:Frequently Asked Questions

1.Why do you call for 70% dark chocolate specifically for these cookies? ▾
That 70% cacao content strikes the perfect rich, not-too-sweet balance for the fudgy base. It has enough cacao butter to keep centers chewy without extra added sugar that would make cookies spread too thin, and its slight bitter edge cuts through bright peppermint and sweet white chocolate drizzle perfectly.
2.My cookies came out cakey instead of chewy—what did I do wrong? ▾
Most often, cakey texture comes from over-measuring your all-purpose flour (always spoon flour into measuring cups and level it, don’t scoop directly from the bag!) or overmixing dough once flour is added, which develops too much gluten. Overbaking even by 2 minutes will also turn soft centers dry and cakey instead of fudgy.
3.Do I really need to use room temperature large eggs for this recipe? ▾
Yes, it makes a huge difference in final texture! Cold eggs won’t emulsify smoothly into the melted chocolate and butter mixture, leaving lumpy, uneven dough that bakes up with inconsistent spread and dense, tough spots. Let eggs sit on the counter 30 minutes before baking, or submerge in warm water for 5 minutes if you’re short on time.
4.What kind of peppermint bits work best for that signature crunchy texture? ▾
Skip soft peppermint candy chews—you want crushed hard peppermint candies or crushed candy canes for that iconic crunchy pop in every bite. Aim for a mix of fine crumbs and pea-sized pieces, and fold them into the dough at the very end to keep them from dissolving as you mix.
5.How do I get those perfect crisp edges and soft, fudgy centers everyone raves about? ▾
Start with room temperature ingredients, chill your dough for at least 1 hour before scooping, and bake on a parchment-lined light-colored baking sheet at 350°F for 9 to 10 minutes. Edges will look set, but centers will look slightly underbaked when you pull them out—they’ll finish setting as they cool on the hot sheet.
6.Can I skip the white chocolate drizzle if I don’t like white chocolate? ▾
Absolutely! The drizzle adds a nice creamy, sweet contrast, but these cookies are totally delicious on their own. If you want a fun swap, drizzle with extra melted dark chocolate, a simple powdered sugar and peppermint glaze, or press a mini peppermint patty half into each warm cookie right out of the oven.
7.How long should I chill the cookie dough, and can I chill it overnight? ▾
Chilling for a minimum of 1 hour firms up the butter so your cookies don’t spread too thin in the oven, and it deepens the chocolate and peppermint flavor as the ingredients meld. Chilling overnight is even better! Just let scooped dough sit at room temperature for 10 minutes before baking so it doesn’t need extra oven time.
8.Can I use salted butter instead of the called-for unsalted butter? ▾
You can, just cut any added fine sea salt in the recipe by 1/4 teaspoon to keep the flavor balanced. Unsalted butter lets you control exactly how much salt goes into your dough, which is key for cutting through chocolate and peppermint sweetness so cookies don’t taste one-note. If you use salted, make sure it’s fresh, not stale from long fridge storage.
9.My cookies spread way too much and turned flat—what went wrong? ▾
The most common culprits are butter that was too soft when you mixed the dough, skipping the required dough chilling step, baking on a dark, overheated baking sheet, or over-greasing your pan. Line sheets with parchment instead of extra grease, chill scooped dough, and don’t wait for centers to look fully set before pulling them.
10.Can I swap brown sugar for the granulated sugar in this recipe? ▾
Granulated sugar is key for getting those snappy crisp edges and structured fudgy centers that make these cookies shine. You can swap up to 1/4 cup of the granulated sugar for light brown sugar for a subtle caramel note, but don’t swap more—extra brown sugar will make cookies spread excessively and muddle the bright peppermint flavor.
11.How should I store these cookies to keep them chewy for days? ▾
Let them cool completely first, then store in an airtight container at room temperature for up to 5 days. Tuck a slice of plain white bread into the container with them—the bread releases just enough moisture to keep centers soft and chewy without making the crisp edges soggy, a classic baker’s trick.
12.Can I freeze these cookies for later holiday gifting? ▾
Yes, they freeze beautifully! You can either freeze scooped, unbaked dough for up to 3 months (bake straight from frozen, adding 2 to 3 minutes to the total bake time) or freeze fully baked, cooled cookies (wait to add white chocolate drizzle until after thawing) for up to 2 months.
13.How do I get a smooth, even white chocolate drizzle that doesn’t seize up? ▾
Chop your white chocolate finely and melt it in 20-second bursts in the microwave, stirring between each burst, until it’s 90% melted, then stir until completely smooth. Don’t let any water get into the melting chocolate—even one drop will make it seize into a grainy, lumpy mess that won’t drizzle nicely.
14.Can I add peppermint extract to the dough for extra mint flavor? ▾
You can, but go very light—add no more than 1/4 teaspoon of pure peppermint extract, because it’s extremely potent. Too much extract will give your cookies an artificial, toothpaste-like aftertaste that overpowers the rich dark chocolate. The crushed peppermint bits already add plenty of bright mint flavor, so a tiny boost is all you need.
15.What size cookie scoop gives the best texture for these cookies? ▾
A 2-tablespoon (1-ounce) cookie scoop is ideal, because it bakes up evenly to give you that perfect 3-inch cookie with a crisp edge and soft, fudgy center. If you use a larger scoop, you’ll end up with underbaked centers and overdone edges, while smaller scoops will bake up crispy all the way through with no chewy middle.
16.Do I need to line my baking sheet, or can I just grease it? ▾
I strongly recommend lining sheets with unbleached parchment paper or a silicone baking mat instead of greasing. Greasing adds extra fat that makes cookies spread too much, while parchment creates a non-stick surface that lets edges crisp evenly without sticking, and makes cleanup a total breeze after a long holiday baking session.
17.Why are my peppermint bits melting and disappearing into the dough as they bake? ▾
That usually happens if you crush the candies too finely into dust, or if you mix them into warm dough right after melting the chocolate and butter. Let your melted chocolate-butter mixture cool for 10 minutes before adding the rest of your ingredients, and keep some peppermint in slightly larger, pea-sized pieces to hold their crunch.
18.Can I use chocolate chips instead of chopping a bar of 70% dark chocolate? ▾
While chopped chocolate bars melt into the dough for that signature fudgy, uneven texture, you can swap for high-quality 70% dark chocolate chips in a pinch. Just skip cheap, waxy generic baking chips—they have added stabilizers that keep them from melting smoothly, leading to a chunkier, less fudgy texture overall.

Comments (14)

2 days ago

OMG these chocolate peppermint cookies were a total hit at my neighborhood holiday potluck last weekend! I was worried the peppermint flavor would be too strong for my picky eaters, but both my kids begged for seconds before we even left the house. SO chewy and fudgy, exactly what I wanted for a Christmas cookie swap. 10/10 will be making these every year from now on!

yesterday

These look so good! Quick question for anyone who’s made them — did you use crushed candy canes on top or the pre-crushed peppermint bits from the baking aisle? I’m making these for my office party tomorrow and don’t wanna mess it up!

yesterday

So glad your family loved them! Either option works great, but we find freshly crushed candy canes stick a little better to the warm cookie glaze if you press them on right after drizzling. Enjoy the office party!

3 days ago

Game changer. I’m usually terrible at baking — I burn literally everything I put in the oven — but these were so easy I even pulled them out right at the 24 minute mark and they were perfect. Brought them to my friend’s ugly sweater party and people kept asking who made them. Wild.

3 days ago

That’s what we love to hear! Easy recipes that even self-proclaimed bad bakers can nail are our favorite. So stoked they were a hit at the party!

1 week ago

These are good, but I swapped the semi-sweet chocolate for dark chocolate because that’s what I had in the pantry, and added a tiny extra pinch of sea salt on top. Chef’s kiss. Perfect balance of mint and rich chocolate, not cloyingly sweet at all.

5 days ago

Wait has anyone tried making these ahead and freezing the dough for meal prep? I want to have a bunch of cookie dough stashed in the freezer for last minute holiday guests but don’t wanna ruin the texture.

3 days ago

I froze half my batch of dough for a week before baking last week! Just added 2 extra minutes to the cook time and they turned out exactly the same as the fresh batch. No weird texture issues at all!

3 days ago

Great question! We’ve tested freezing the dough for up to 3 months — just portion it into scoops first so you don’t have to thaw the whole block to bake a few. Add 1-2 minutes to bake time straight from the freezer and you’re good to go!

yesterday

My partner is obsessed with all things peppermint so I made these for our anniversary dessert night. She said they’re better than the fancy bakery ones we get downtown for $4 a cookie. Win for me, no more dropping $20 on cookies every week lmao

2 hours ago

LMAO I feel this, the fancy bakery cookies in Manhattan are so overpriced! I need to make these this weekend instead of hitting up my usual spot.

2 weeks ago

Made these with a 1:1 gluten free all purpose flour blend for my sister who has celiac, and you literally couldn’t tell the difference. The peppermint cuts the rich chocolate so well, even my gluten-eating dad ate three in one sitting.

1 week ago

These are now my official go-to cookie for every Christmas event this month. I’ve already made three batches: one for my kid’s class party, one for book club, and one for us to eat at home. Zero leftovers every single time. So so good.

5 days ago

Three batches! That’s the ultimate compliment. So happy they’re working out for all your holiday events — hope the class party loved them!

30 minutes ago

Quick question — do I have to chill the dough? I’m running super behind on making cookies for my roommate’s birthday and I don’t have an hour to wait for dough to chill 😅

5 minutes ago

I skipped chilling last time I made them and they spread a tiny bit more than the photos but still tasted amazing! If you’re short on time just pop them in the fridge for 15 minutes if you can, it helps but isn’t make or break.

just now

Great question! Chilling helps prevent excess spreading and deepens the chocolate flavor, but if you’re crunched for time you can absolutely bake them right away — just keep a close eye on them at the 20 minute mark so they don’t over-bake. Hope your roommate loves them!

2 hours ago

I ate two of these warm with a mug of peppermint mocha last night and it was the coziest winter night snack ever. The edges are perfectly crispy and the middle is so soft and fudgy, exactly the cookie texture I chase.

30 minutes ago

This combo sounds insane! I’m making these tonight and pairing them with my favorite hot cocoa, can’t wait.

5 minutes ago

Brought these to my office holiday potluck today and the plate was empty in 10 minutes flat. Multiple people asked for the recipe link before I even had a chance to get a second cookie for myself. Worth it, but next time I’m making a double batch so I get more than one!

3 days ago

My teen daughter said these are ‘actually not mid’ which is the highest possible praise from a 16 year old, tbh. I’ll take it. The crushed peppermint on top makes them look super festive without having to do any fancy decorating, which is perfect for my lazy baking style.

2 days ago

‘Not mid’ from a teenager is basically a Michelin star in our book! Love that the low-effort festive vibe works for your baking style — no fancy skills required.

1 week ago

Wait has anyone tried making these vegan? My nephew is vegan and coming for Christmas dinner, I want to make a treat he can enjoy too without making a totally separate dessert.

5 days ago

I made them vegan last week! Used flax eggs instead of regular eggs and vegan butter, swapped the chocolate chips for dairy free dark chocolate, and they came out incredible. No one at my game night could tell they were vegan!

5 days ago

Love this swap! We’ve tested the vegan version with flax eggs and vegan butter too, and it works beautifully — just make sure your peppermint candies don’t have any hidden dairy if you’re making them for a strict vegan diet. Hope your nephew loves them!

yesterday

I was a little worried these would be too minty, like those cheap peppermint patties that taste like toothpaste, but nope! The peppermint is super subtle and pairs so well with the deep chocolate flavor. 10/10, even for people who don’t love super minty desserts (aka me).

2 hours ago

Oh thank god you said this! I hate toothpaste-y mint desserts too, I’ve been on the fence about making these but now I’m grabbing the ingredients on my way home from work today.

2 weeks ago

Made these for my girlfriend’s family dinner last Sunday and her mom asked for the recipe before we even finished dessert. Super easy to throw together, the cook time is totally accurate — I set a timer for 24 minutes exactly and they came out perfectly fudgy. Will absolutely be adding these to my regular holiday baking rotation.



