
Chocolate Pizza
intro
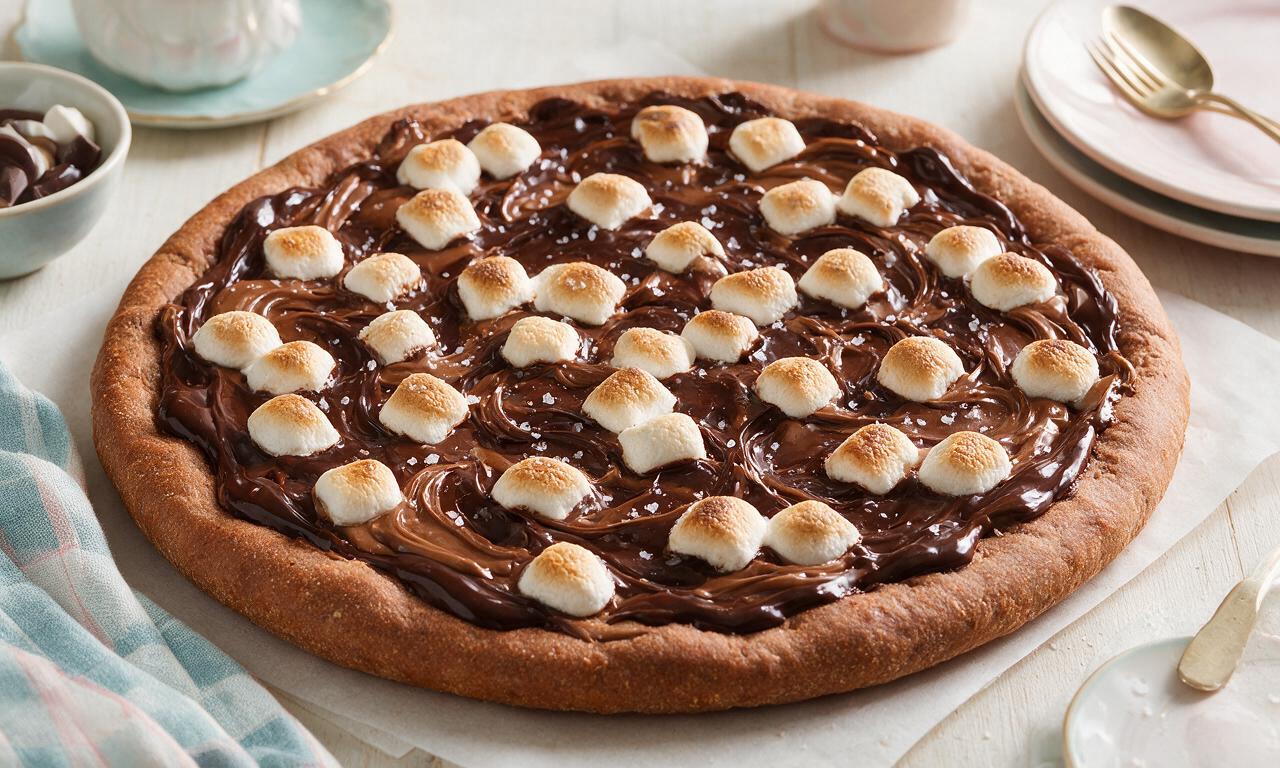
A crispy, chewy pizza crust loaded with melted dark chocolate, hazelnut spread, toasted marshmallows, and flaky salt for a fun, shareable sweet treat.
Ingredients
Steps
Prep oven and dough
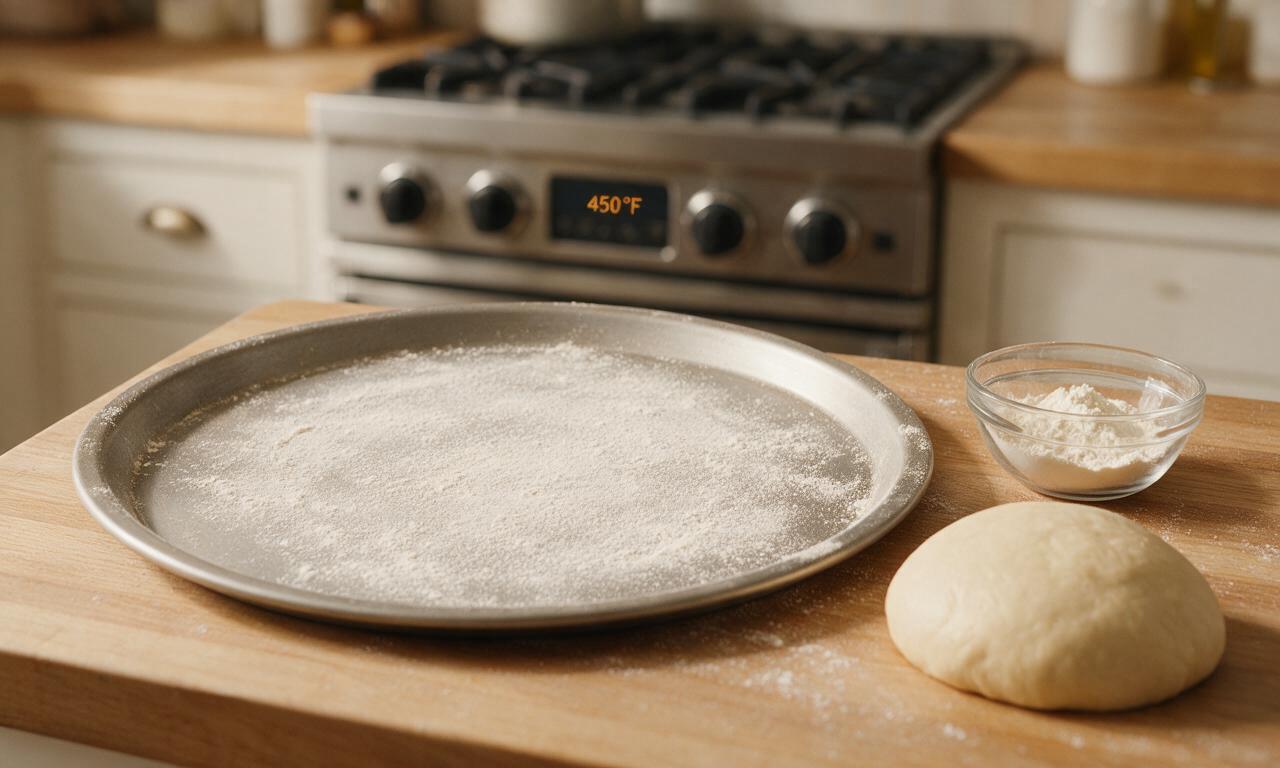
Place a rack in the middle of your oven, preheat to 230°C (450°F). Lightly dust a 12-inch round pizza pan with 1 tablespoon of all-purpose flour to prevent sticking. Let the refrigerated pizza dough rest on the counter for 20 minutes at room temperature to relax gluten, making it easier to stretch without shrinking.
Shape pizza crust
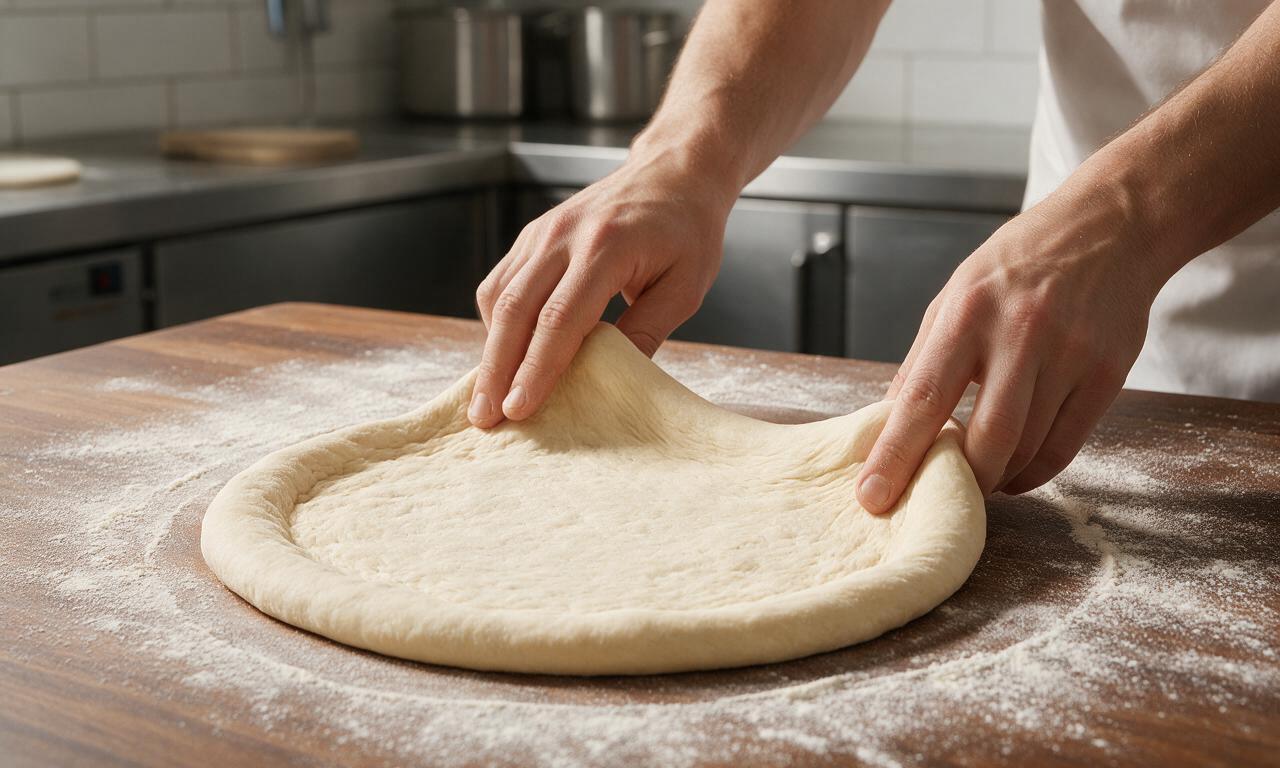
Lightly dust your clean work surface with the remaining 1 tablespoon of all-purpose flour. Press the rested dough into a 12-inch round, using your fingertips to push it out from the center to form a 1/2-inch thick raised crust rim. Transfer the shaped dough carefully to the prepared floured pan, pressing out any small tears to seal them.
Par-bake the crust
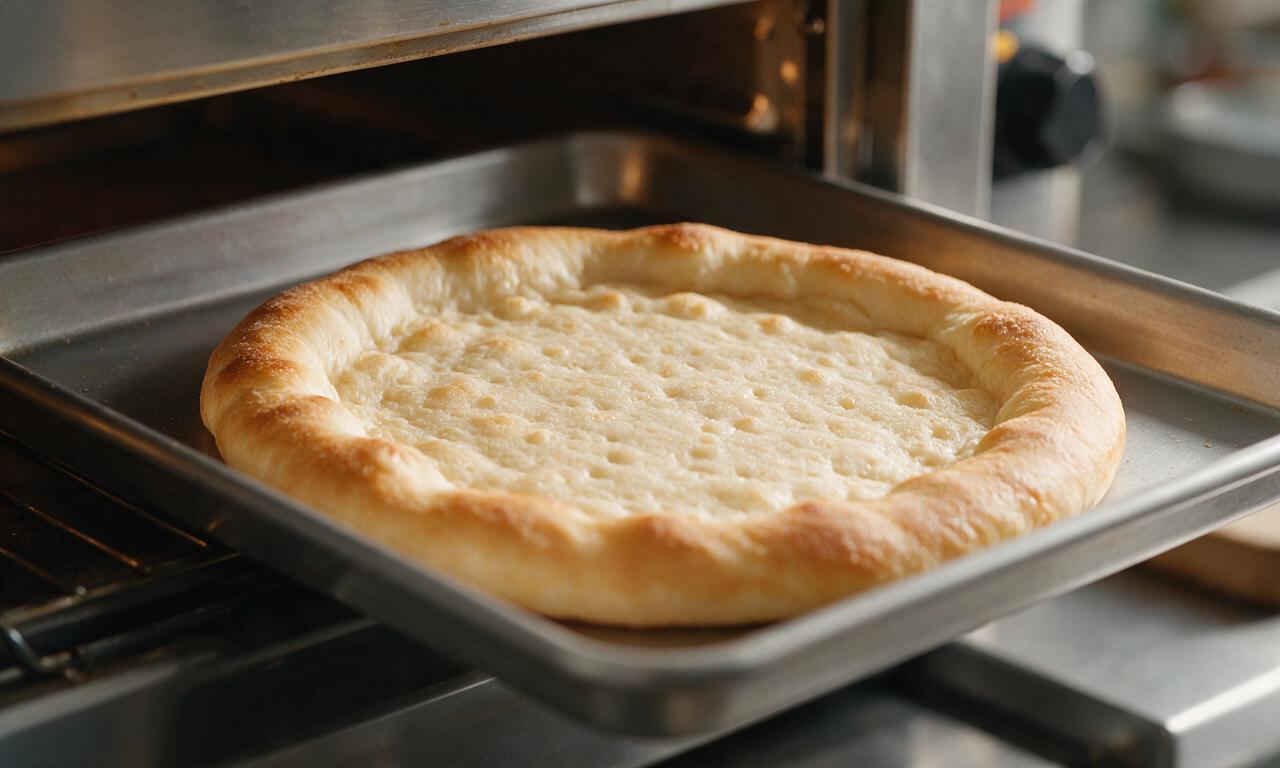
Brush the entire raised crust edge with 1 tablespoon of the melted unsalted butter. Place the pan in the preheated 230°C (450°F) oven and par-bake for 7 minutes, until the crust edges are pale golden and the center is just set, which prevents sogginess from wet chocolate toppings.
Add chocolate layers
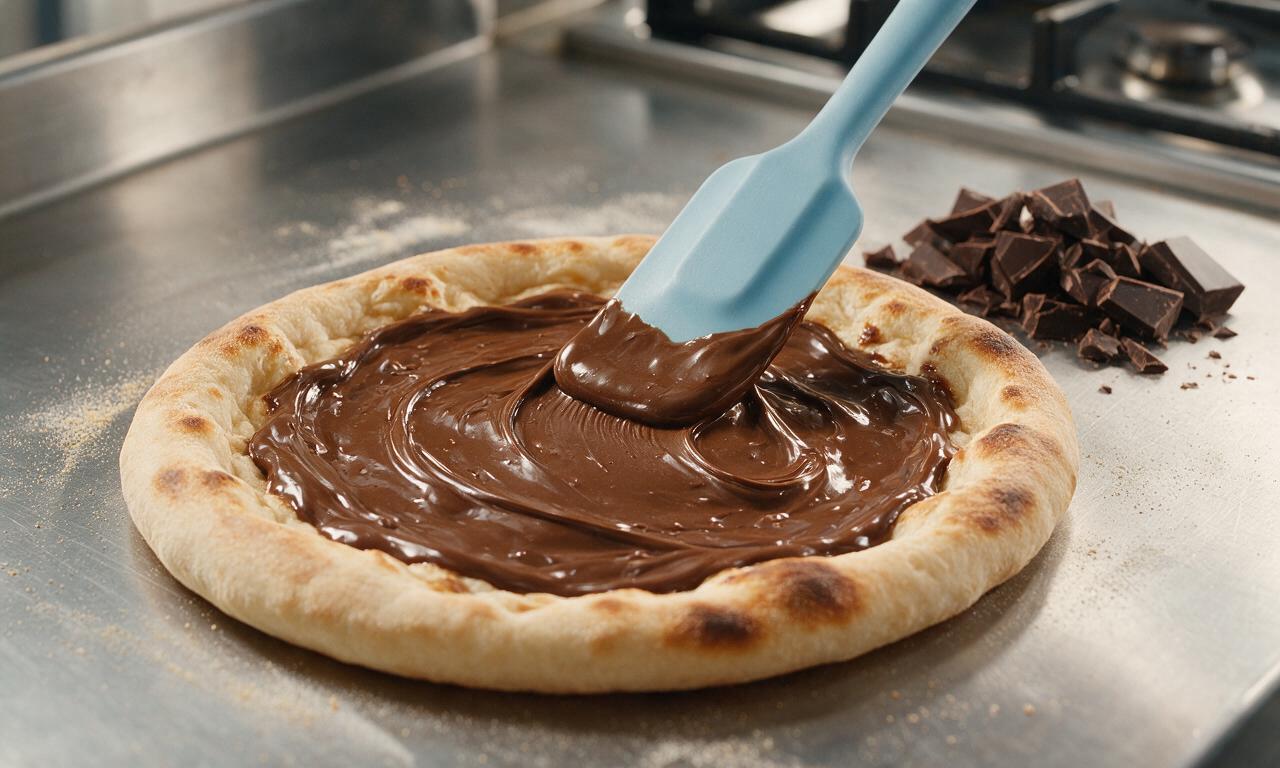
Remove the par-baked crust from the oven, and spread the 1/2 cup (150g) of chocolate hazelnut spread evenly over the warm inner surface of the crust, leaving the raised buttered edge completely bare. Scatter 3/4 of the chopped dark chocolate (128g) over the spread, leaving small gaps between pieces for even melting.
Bake topped pizza
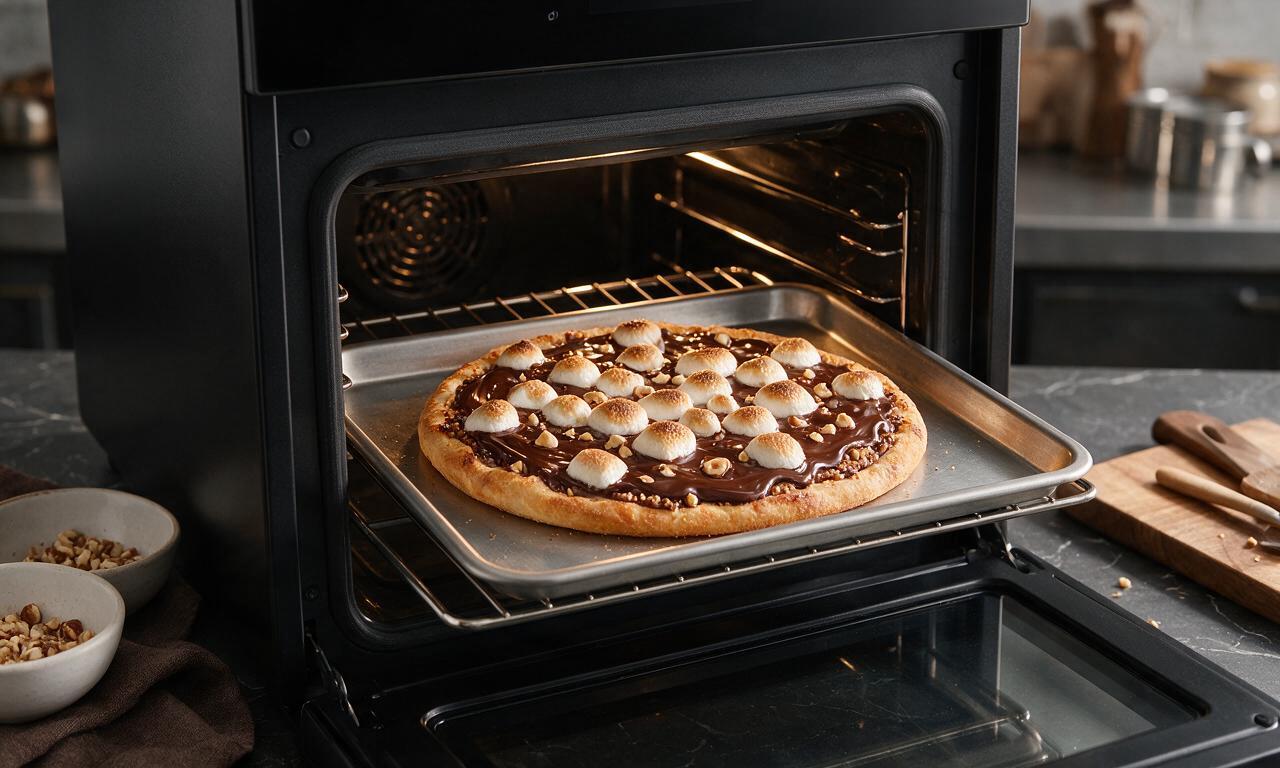
Scatter the chopped hazelnuts and mini marshmallows evenly over the chocolate base, then top with the remaining 42g (1/4 of the total) chopped dark chocolate. Return the pizza to the 230°C (450°F) middle oven rack and bake for 5-6 minutes, until marshmallows are puffed and light golden at the edges, and all chocolate is fully melted.
Finish and serve
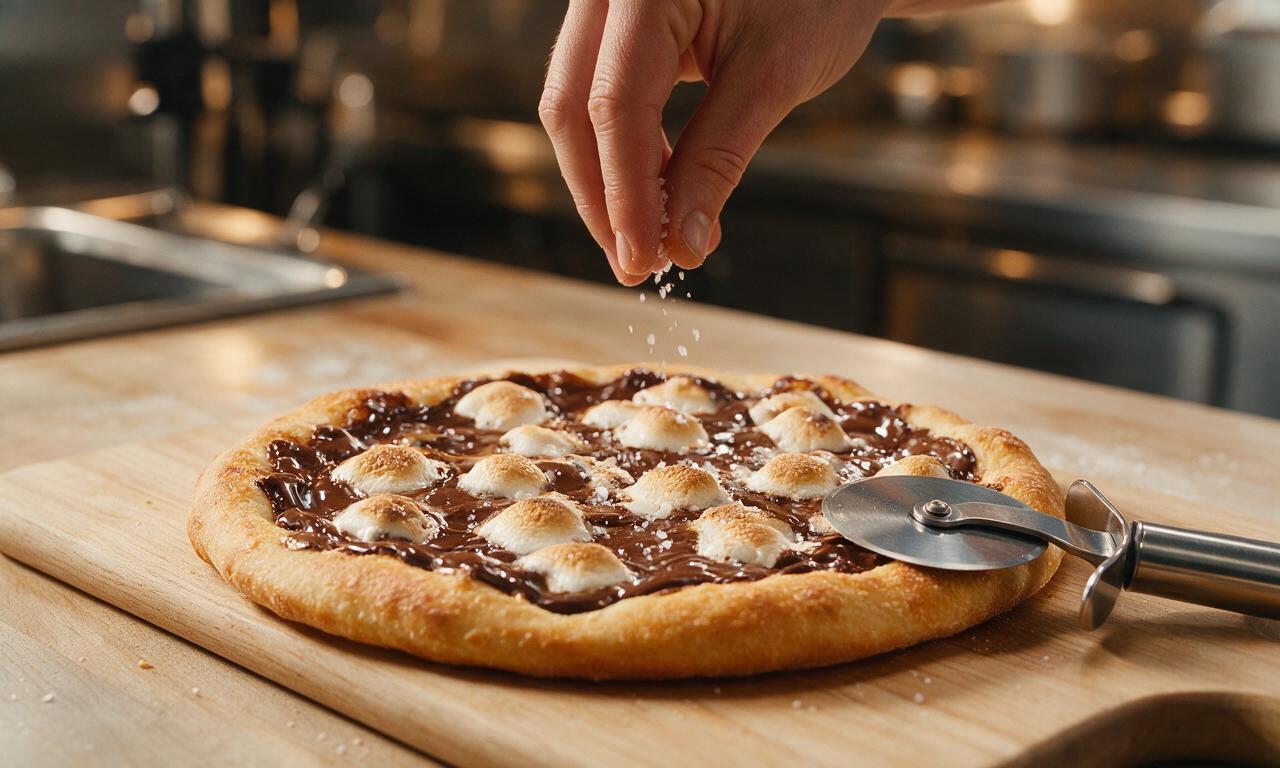
Remove the baked pizza from the oven, immediately brush the remaining 1 tablespoon of melted butter over the warm crust edge, and sprinkle the 1/4 teaspoon of flaky sea salt evenly over the entire chocolate surface. Let the pizza rest for 3 minutes to let the chocolate set slightly, then slice into 8 wedges and serve warm.
Tips
2.For deeper nuttier flavor, toast chopped hazelnuts in a dry small pan over medium heat for 3 minutes, shaking often, before adding them as a topping — watch closely to avoid burning.
3.Wait the full 3 minutes of resting time before slicing; cutting the pizza immediately out of the oven will cause runny molten chocolate to slide off the crust and make slices messy.






OMG this chocolate pizza was an absolute game changer for our family movie night last Friday! My kids went crazy for it, even my super picky 7 year old asked for seconds. I topped mine with crushed pretzels and mini marshmallows for that salty-sweet kick, 10/10 will make again for the next neighborhood potluck.
SO good y’all! I was nervous a dessert pizza would be too complicated for my beginner baking skills but the easy difficulty rating was no lie – whole thing came together in 35 minutes exactly like the recipe said. Took it to my book club potluck and every single person asked for the recipe, I felt like a total rockstar.
Super easy to make in my tiny dorm kitchen, which is a huge win! Only reason I’m not giving 5 stars is I burned the edge a tiny bit because my dorm oven runs super hot, but the middle was so fudgy and good. My roommates devoured the whole thing in 10 minutes flat.
I swapped the regular crust for a gluten-free sugar cookie crust and it turned out PERFECTLY. My gluten sensitive kiddo and all her friends at the birthday party had zero issues, and none of the other parents even realized it was GF! Will be adding this to our regular birthday dessert rotation.
Wait who says dessert can’t be part of meal prep? I prepped the crust ahead of time on Sunday, then added the chocolate spread and toppings and baked it in 15 minutes for our post-soccer practice treat on Wednesday. So easy, no mess, and the whole team was raving about it.
If you love chocolate as much as I do, do NOT sleep on this recipe. I used a mix of milk chocolate and dark chocolate for the spread instead of just milk, and added a drizzle of peanut butter on top. Absolute perfection, I’m already craving another slice.
I’ve brought this to three different potlucks in the last month and I’m telling you, people swarm the dessert table as soon as I set it down. It’s so fun to customize with different toppings so it feels new every time, and it’s way more memorable than bringing regular old cookies or brownies.
This was the first dessert I ever made completely by myself and it actually turned out! I messed up the chocolate spread a little at first (used too much heavy cream oops) but it still tasted amazing. My boyfriend said it’s better than the chocolate pizza we got at the fancy mall food court last month.
Made this for my teen’s sleepover last weekend and the girls went absolutely feral for it. We set up a little topping bar with M&Ms, crushed Oreos, sprinkles, caramel drizzle, and chopped nuts so everyone could customize their own slice before baking. 10/10 will be doing that again for our next movie night, so easy and fun.
Made this on a random lazy Sunday when I was craving something sweet but didn’t wanna run to the grocery store. I used what I already had in the pantry: Nutella for the chocolate layer, crushed graham crackers and leftover Halloween candy for toppings. It was chef’s kiss, zero extra trip needed.
I know some people will think chocolate pizza is weird but trust me, once you take a bite you get it. I even made a savory-sweet version with a little crumbled bacon on top for my husband who hates super sweet desserts and he ate half the pan himself. Absolute keeper recipe, so easy to tweak to anyone’s taste.