
Chocolate Pizza
intro
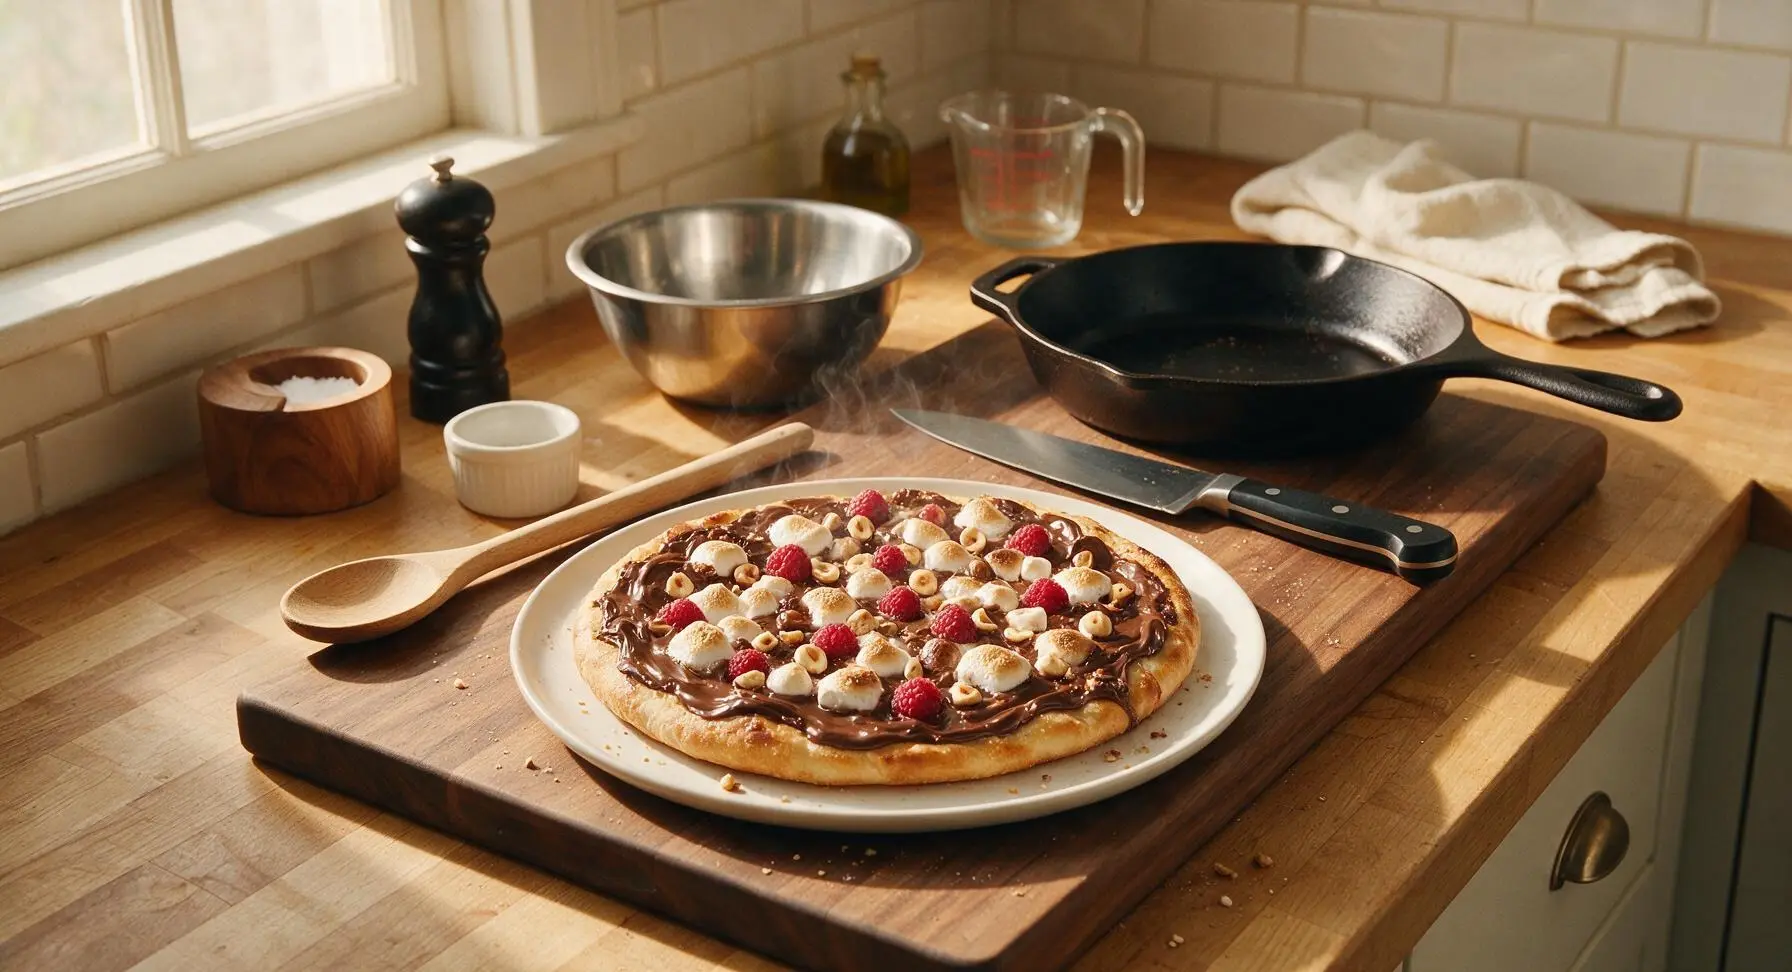
A crisp buttery pizza crust slathered in glossy melted chocolate, topped with toasty marshmallows, crunchy hazelnuts, and bright raspberries—fun, shareable, and perfectly indulgent.
Ingredients
Steps
Preheat Oven, Prep Pan
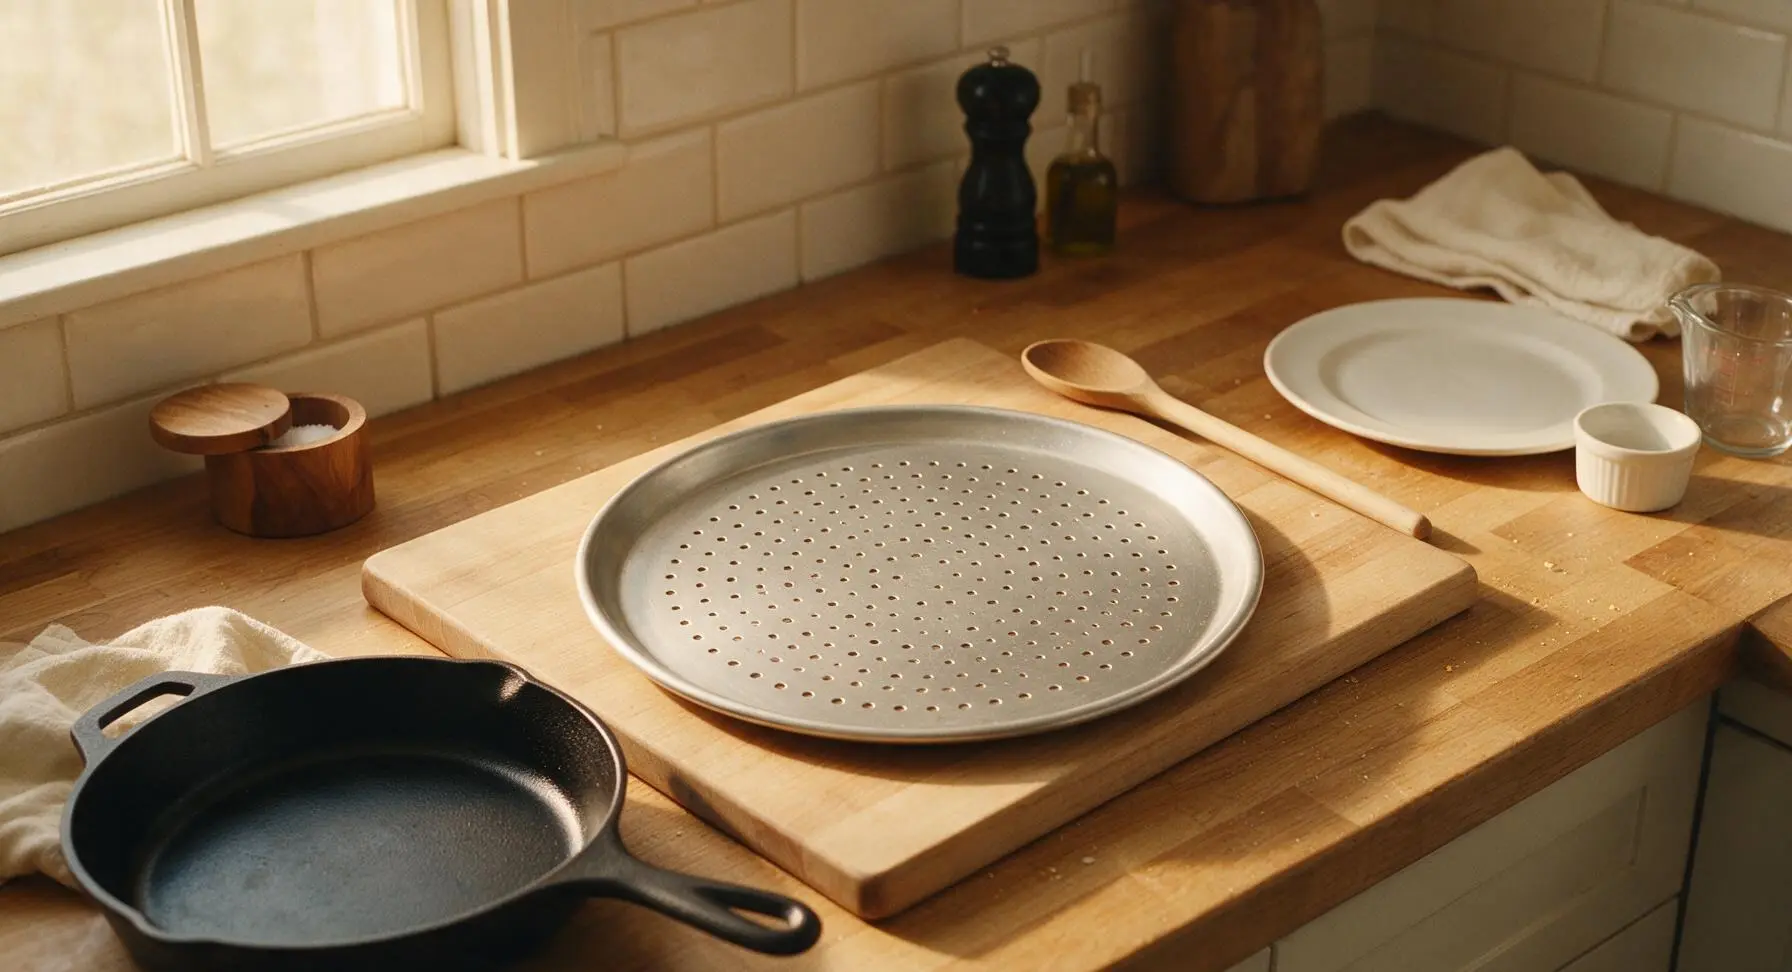
Preheat your oven to 230°C (450°F) with a rack positioned in the center slot. Set the 12-inch perforated matte silver aluminum pizza pan on the maple cutting board as the oven comes to temperature; no pan greasing is required, as the perforations allow air flow to prevent crust sticking.
Roll Out Pizza Dough
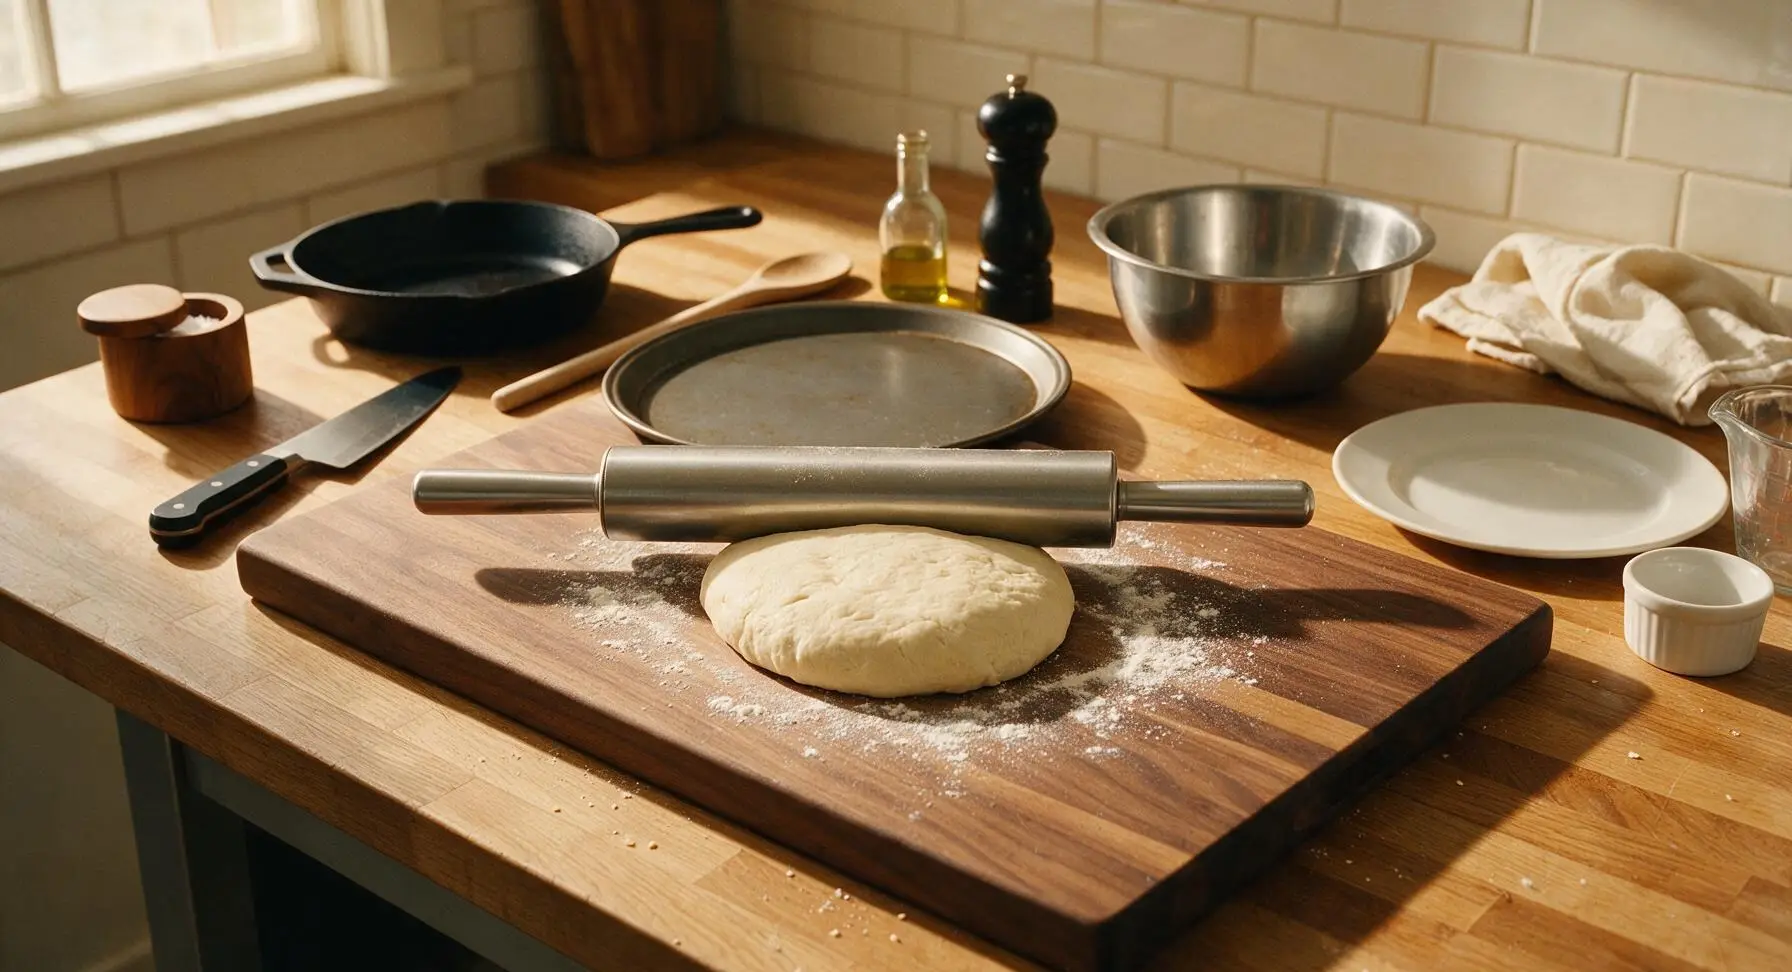
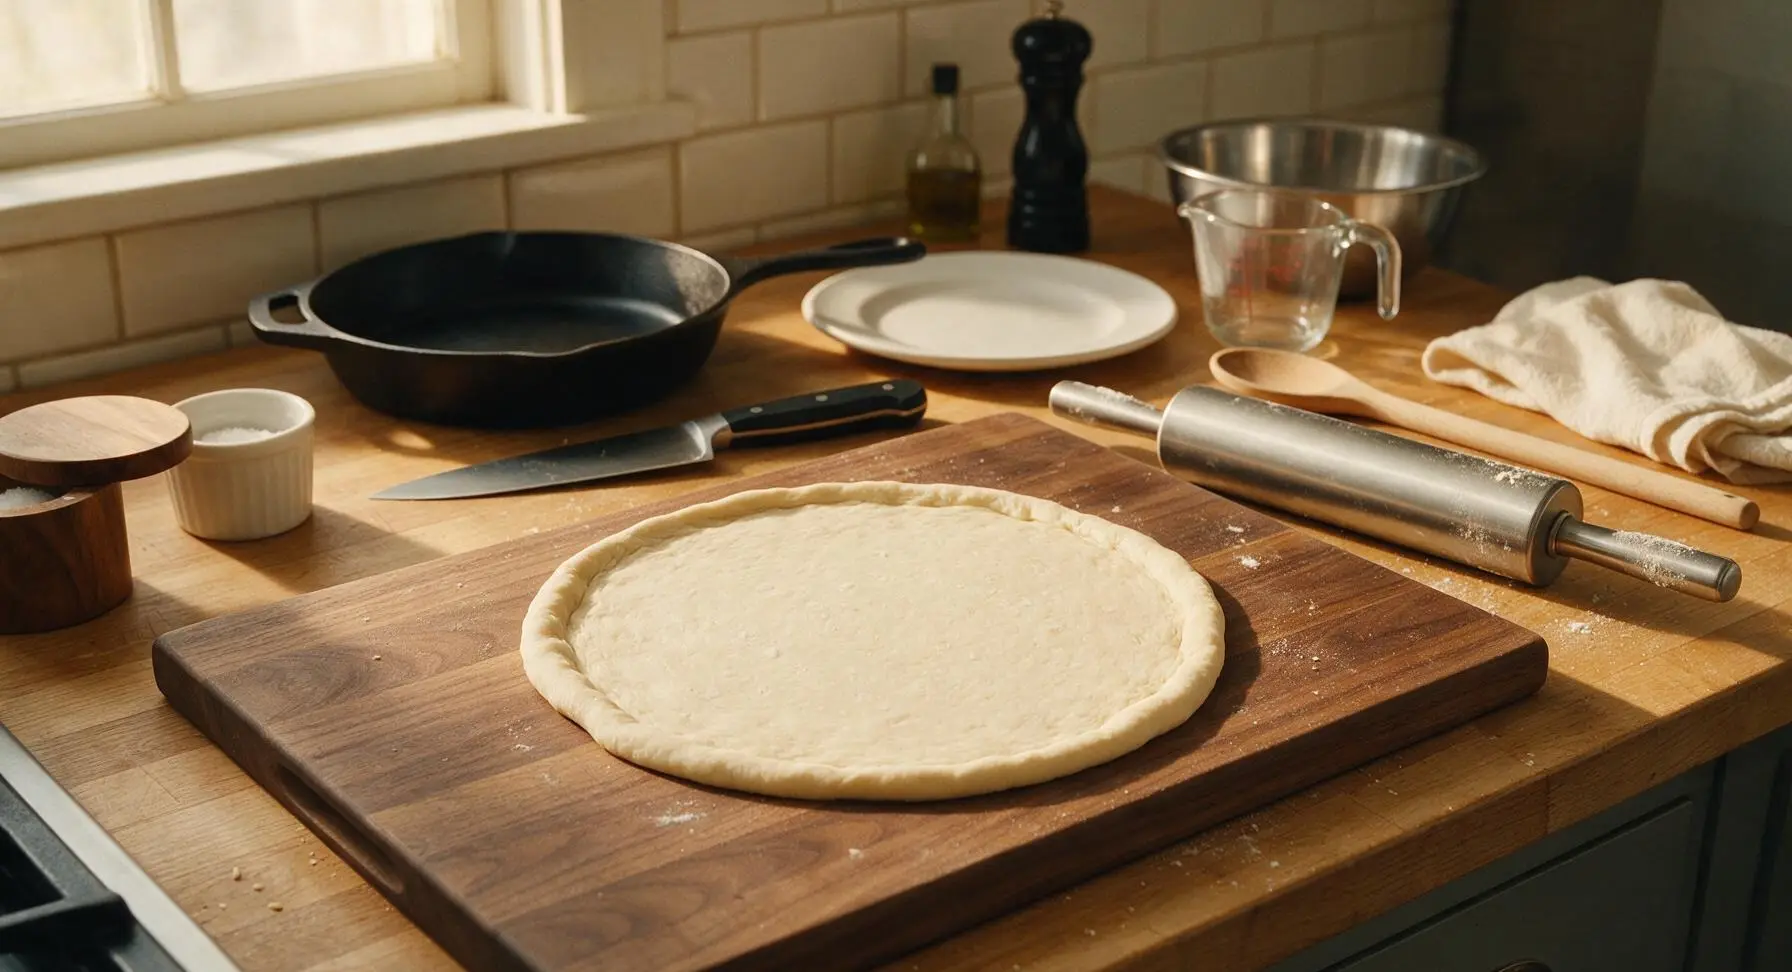
Lightly dust the surface of the maple cutting board with the 1 teaspoon of all-purpose flour to prevent sticking, brushing off any excess. Place the room-temperature pizza dough ball in the center of the board, and use the stainless steel rolling pin to roll it into a 12-inch round circle, roughly 3mm (1/8 inch) thick. Pinch the edges of the dough to create a slight 1cm raised rim around the perimeter, mimicking a traditional pizza crust edge. The dough is ready when it holds its round shape without shrinking back when you lift the rolling pin.
Butter and Par-Bake Crust
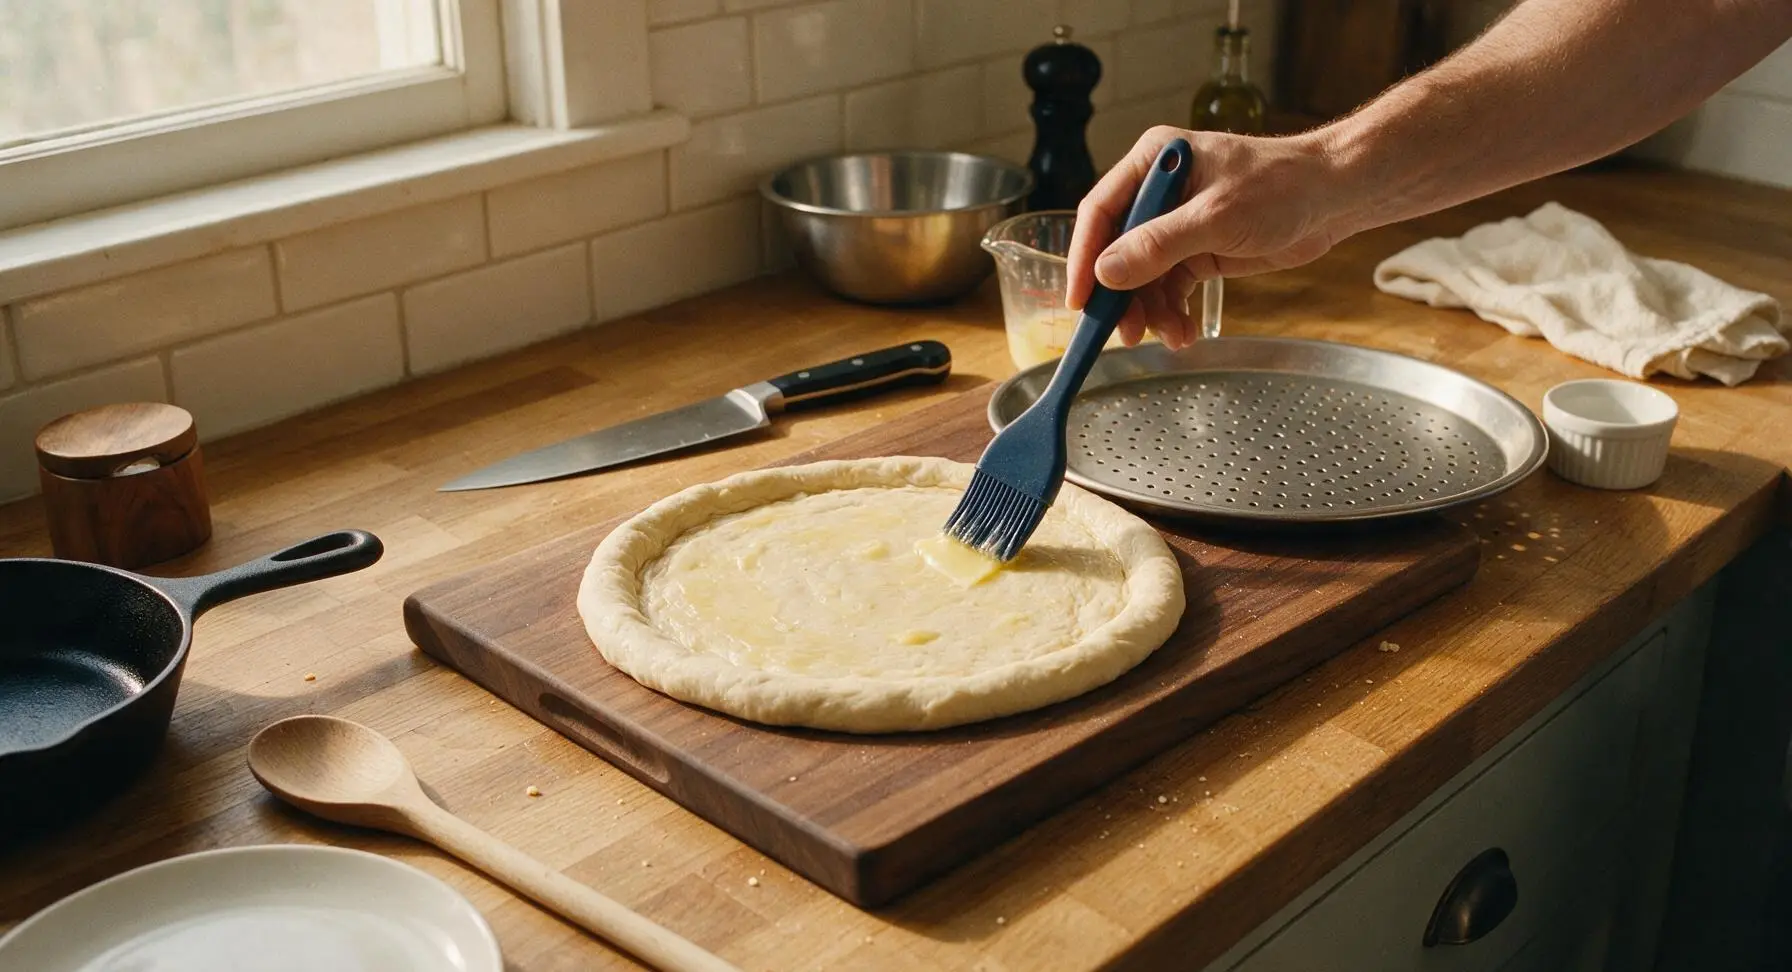
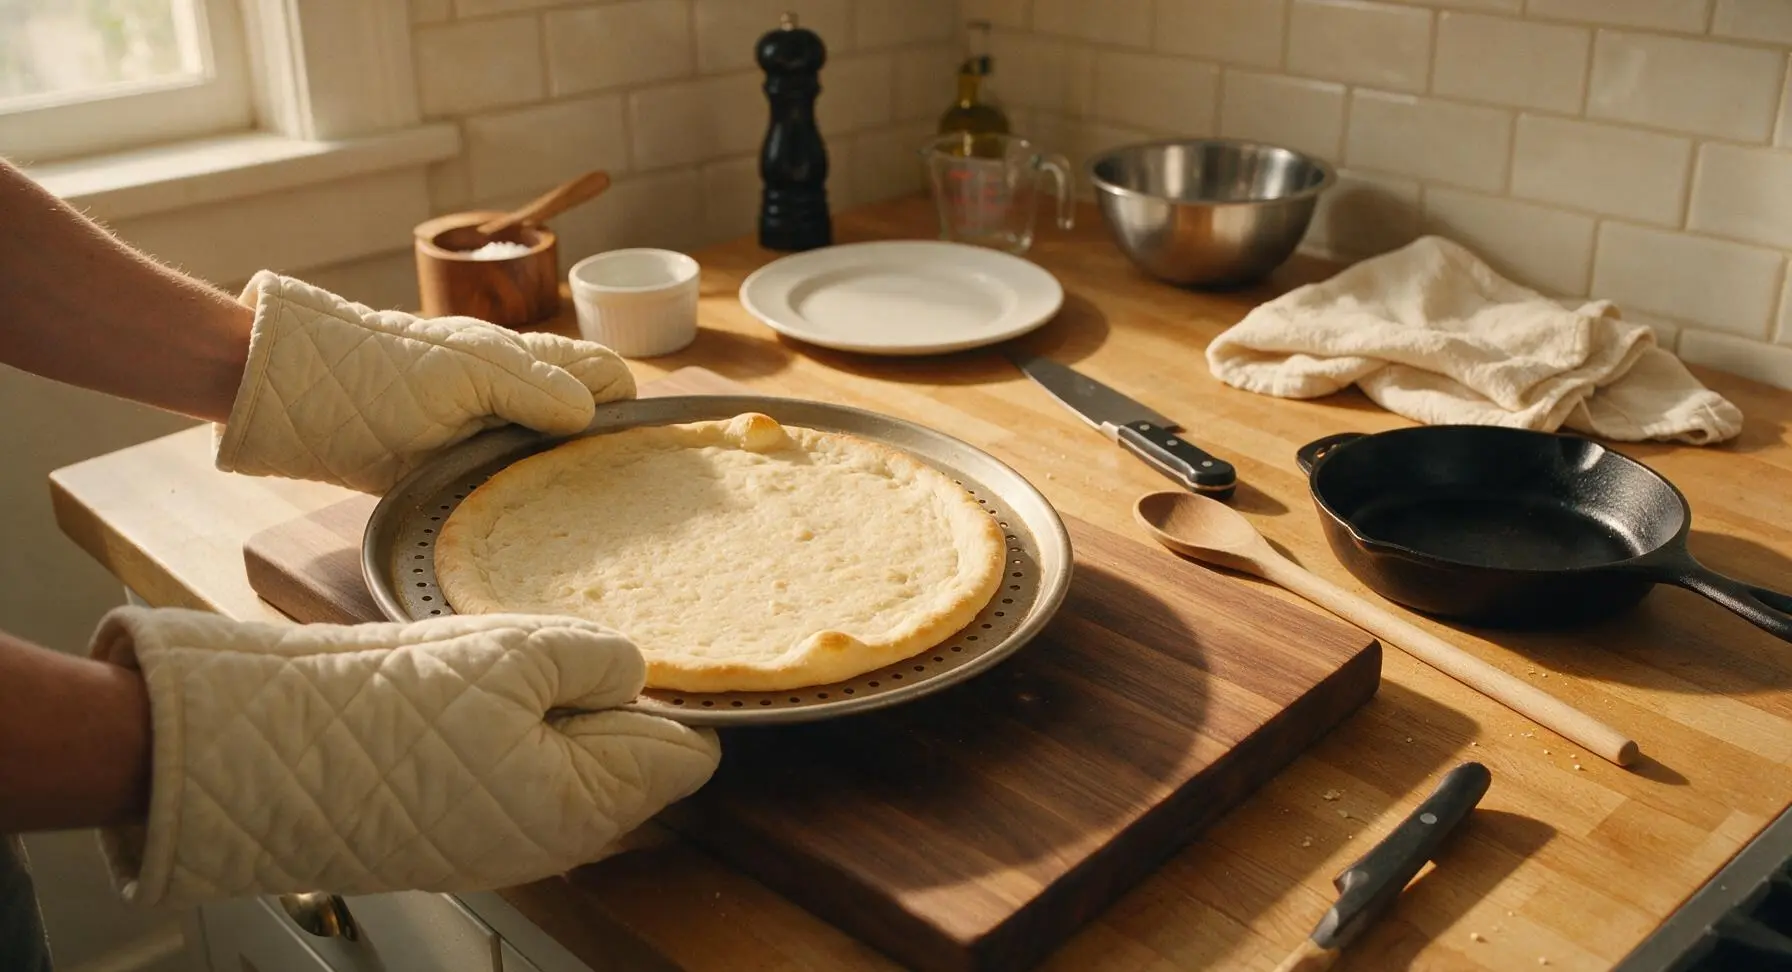
Use the matte navy silicone pastry brush to coat the entire surface of the rolled dough (including the raised rim) with the 2 tablespoons of melted butter from the glass measuring cup. Carefully lift the dough and lay it flat onto the perforated pizza pan, smoothing out any trapped air bubbles with your fingertips. Place the pan in the preheated 230°C (450°F) oven on the center rack and par-bake for 6 minutes, until the crust is pale golden and just set, not fully browned. Use the cream quilted oven mitts to remove the pan from the oven, gently pressing down any large puffed air pockets on the crust with the back of the silicone spatula.
Melt Chocolate Base
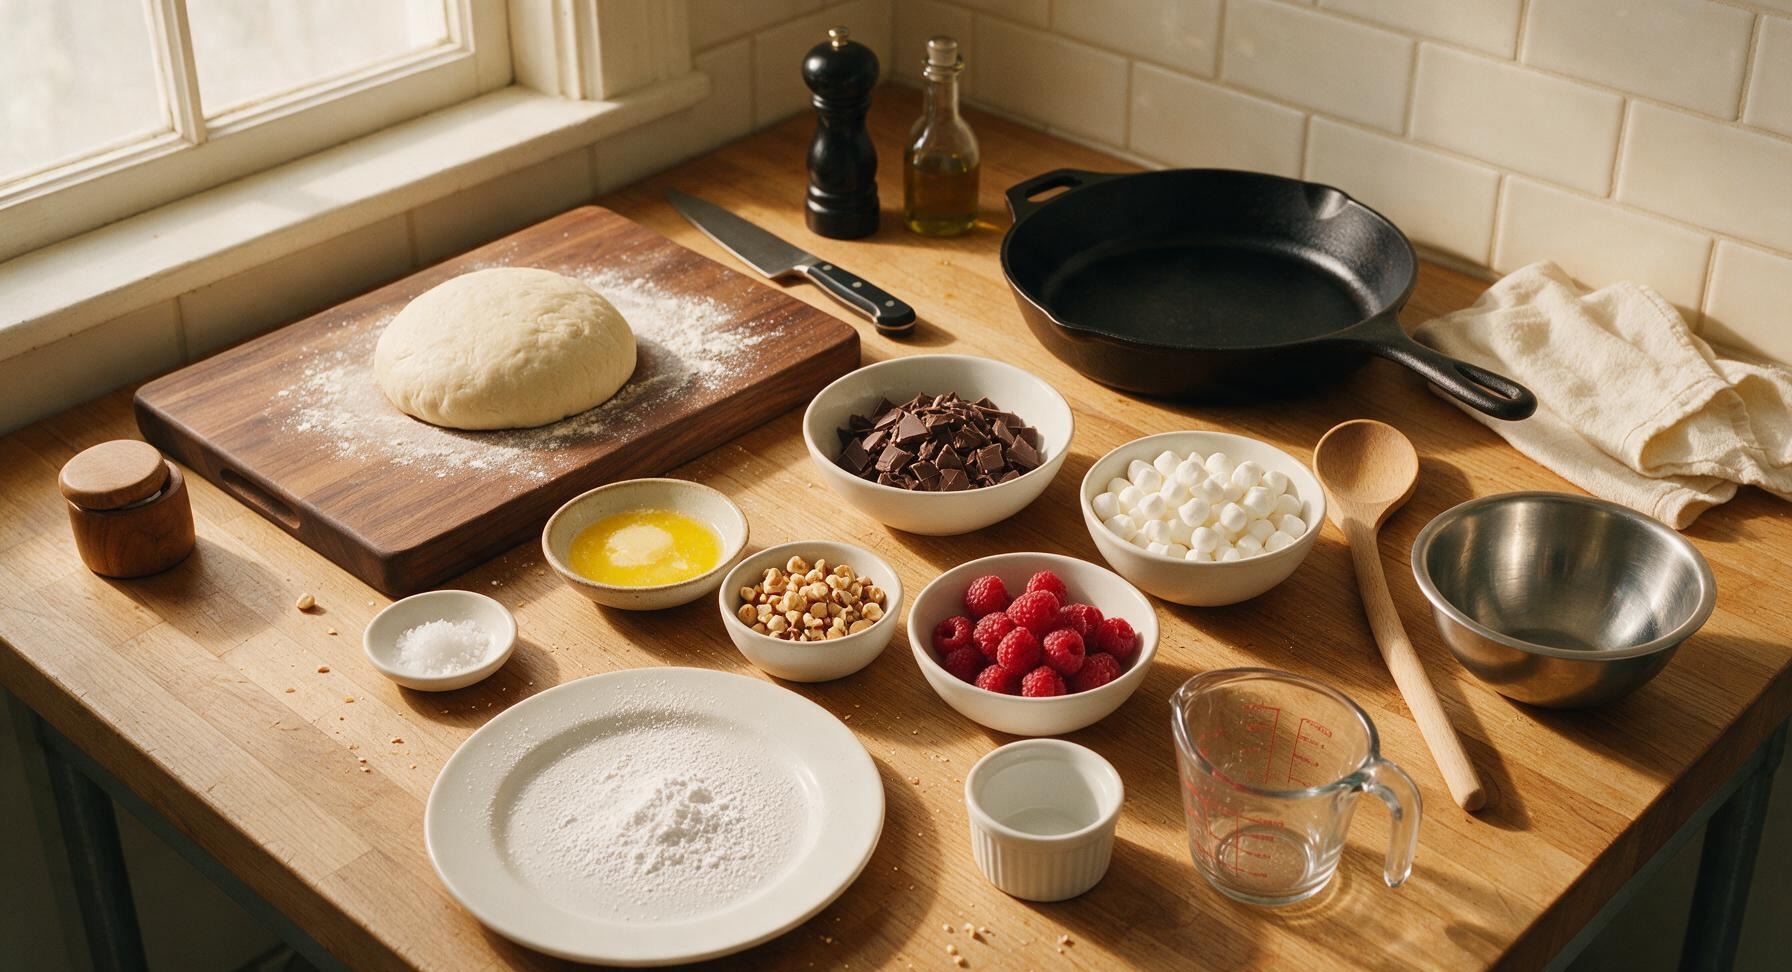
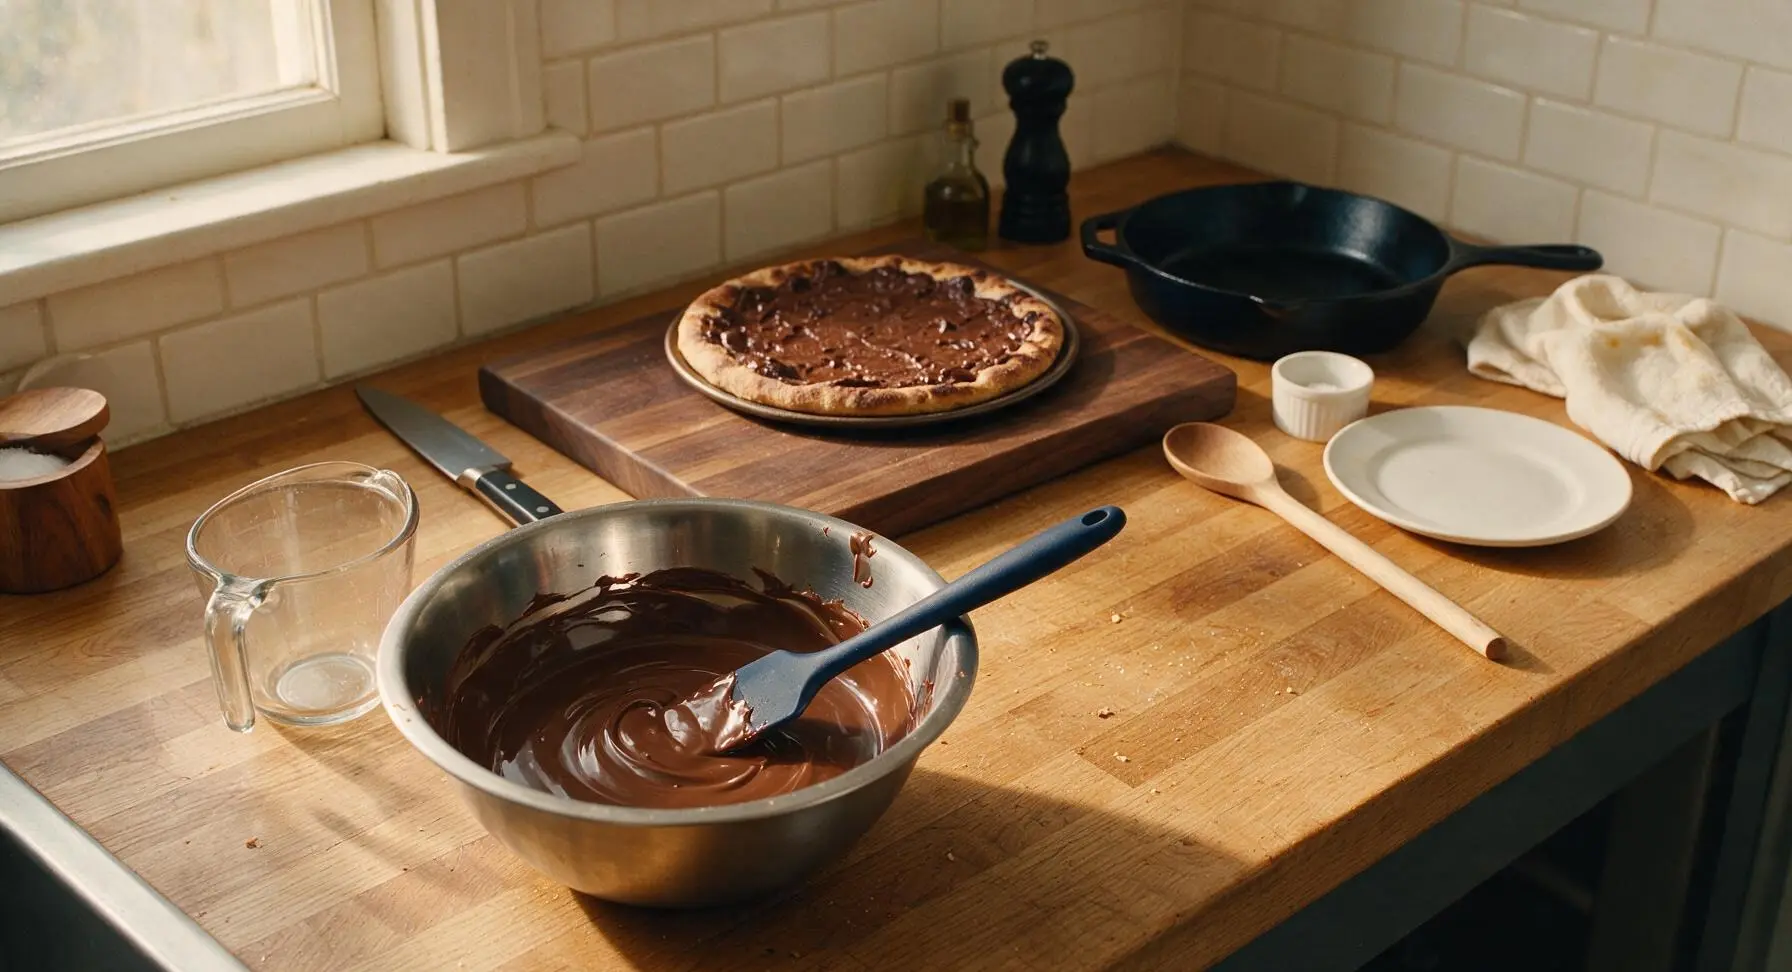
While the crust par-bakes, place the finely chopped semi-sweet chocolate into the medium brushed stainless steel mixing bowl. Microwave the chocolate in 30-second bursts, stirring between each burst with the navy silicone spatula, for a total of 90 seconds or until the chocolate is completely smooth with no remaining lumps. Stop heating as soon as the last few lumps melt while stirring, as overheated chocolate will seize and turn grainy.
Spread Chocolate, Add Toppings
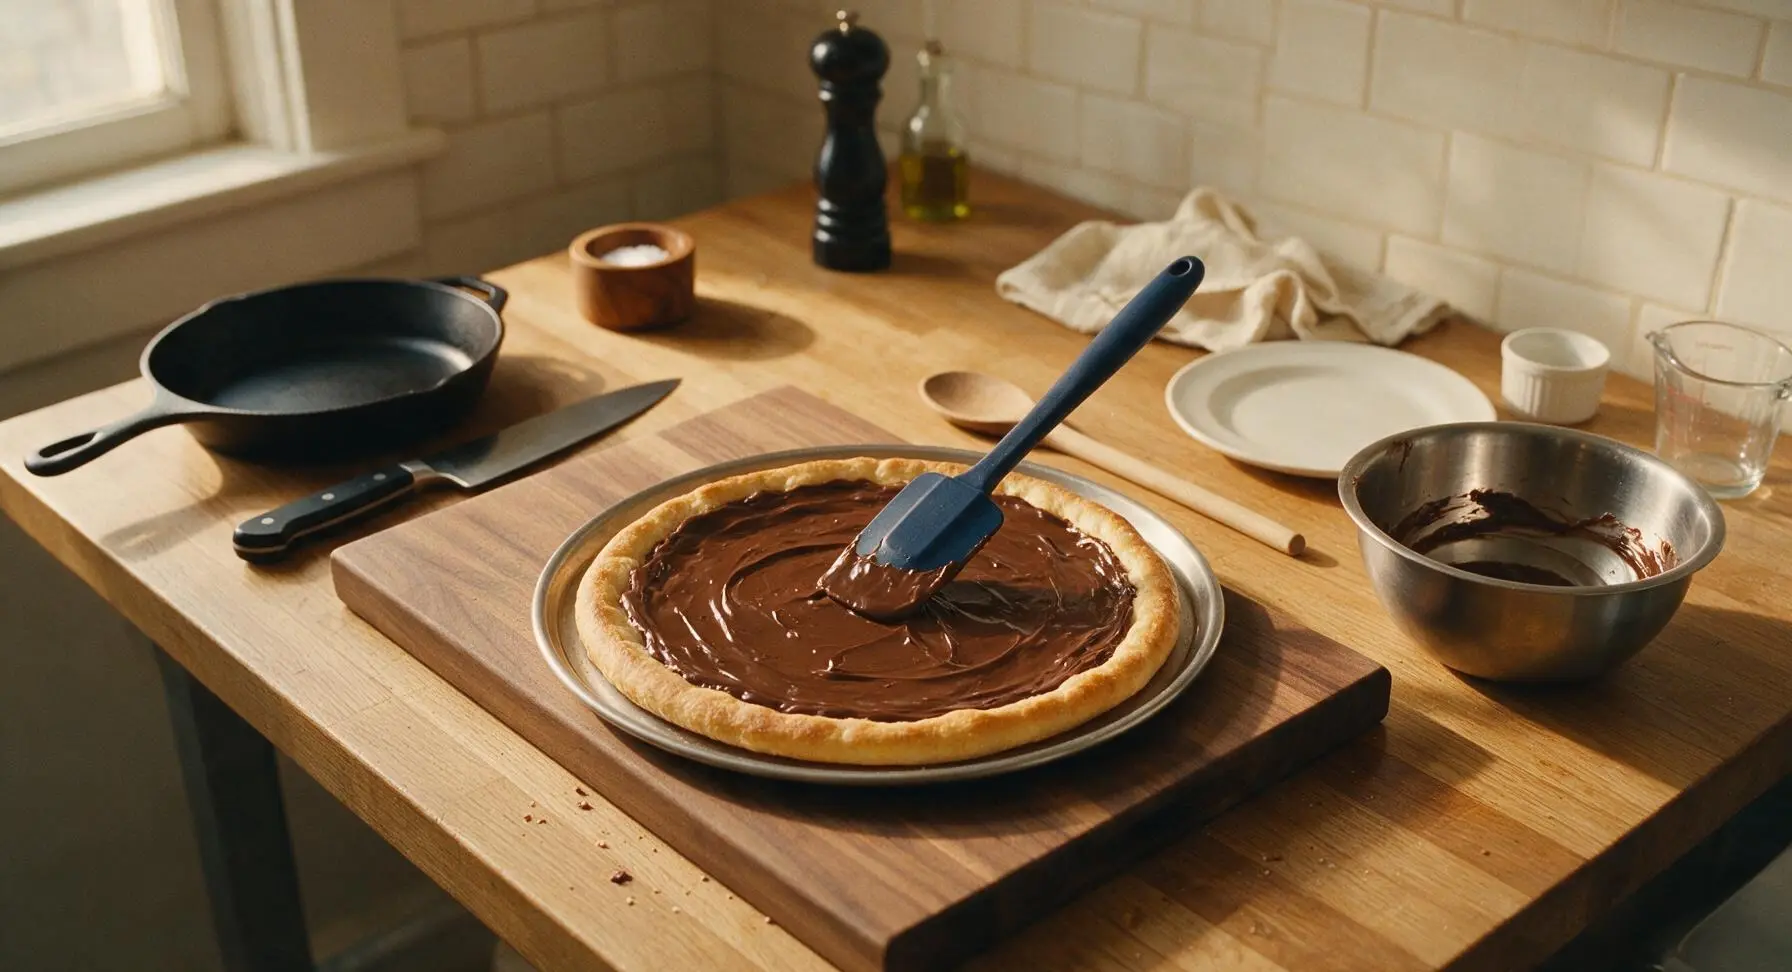
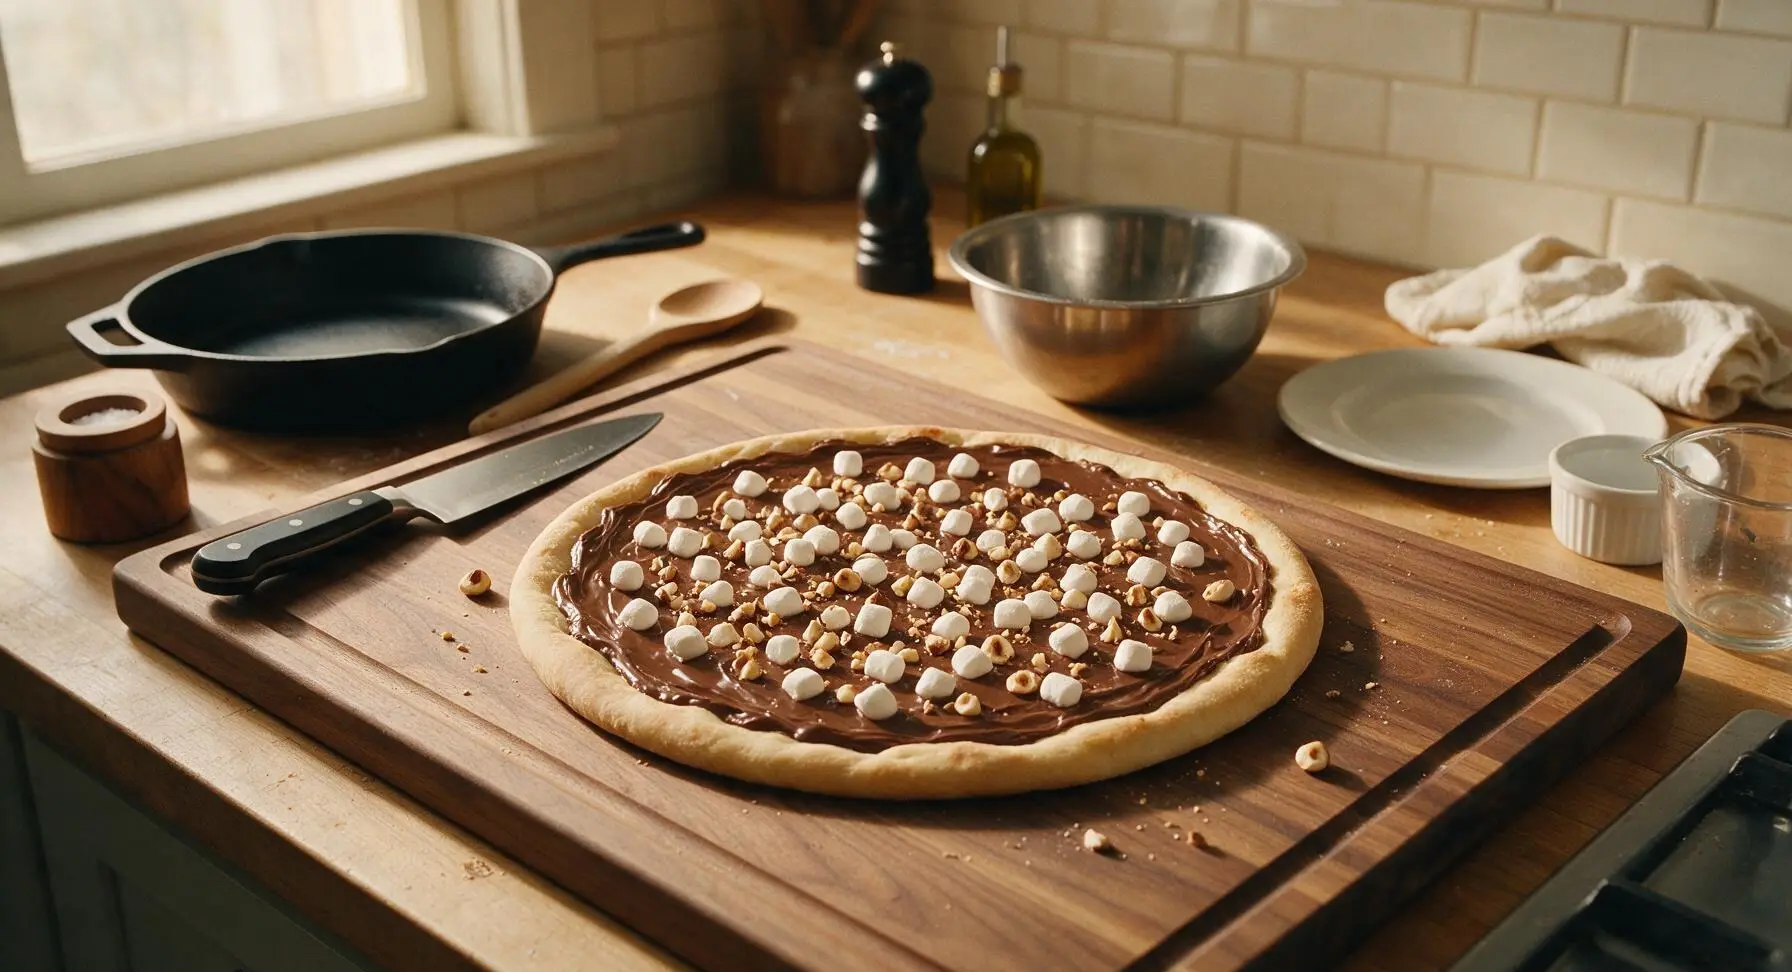
Once the par-baked crust has cooled for 2 minutes, use the navy silicone spatula to spread the smooth melted chocolate evenly across the inner surface of the crust, leaving the 1cm raised rim bare (just like sauce on a traditional pizza). Sprinkle the ½ cup mini marshmallows and ⅓ cup chopped toasted hazelnuts evenly over the melted chocolate, pressing them lightly into the chocolate to ensure they stick. Return the pizza to the 230°C (450°F) oven for 3-4 minutes, just until the marshmallows are puffed and golden brown at the edges, watching closely to avoid burning.
Garnish and Cool Slightly
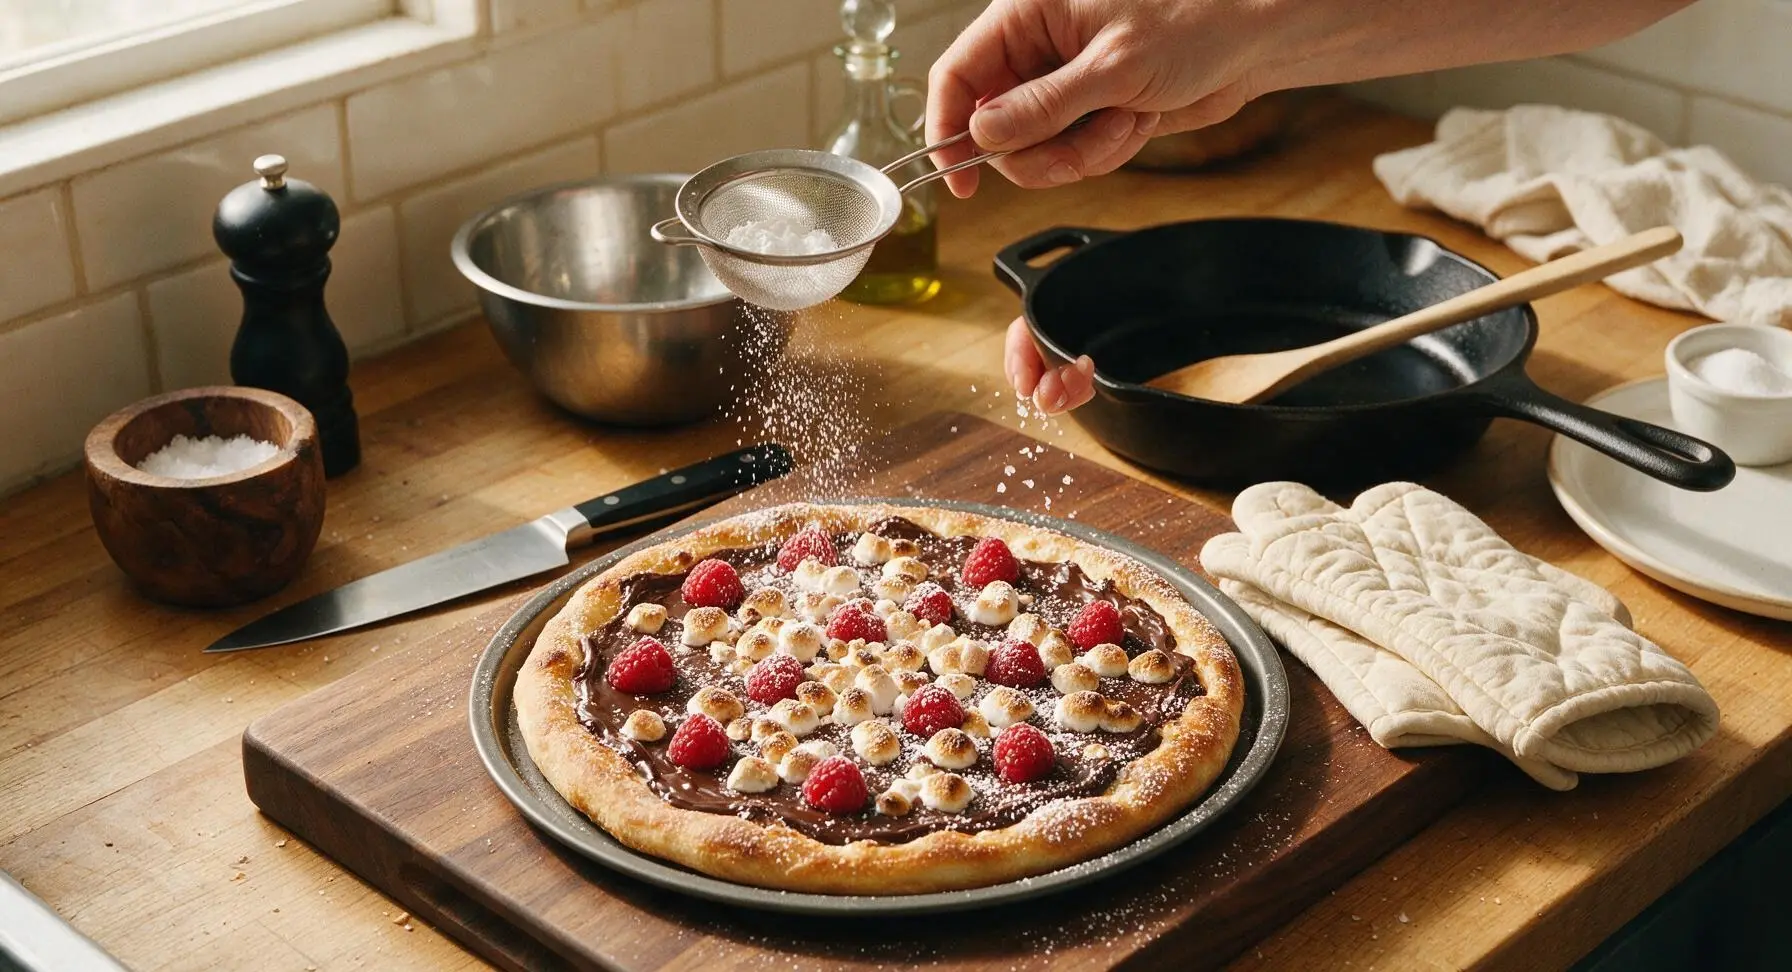
Use the cream oven mitts to remove the pizza from the oven once the marshmallows are puffed and golden-edged. Let the pizza cool on the pan for 3 minutes, allowing the chocolate to set slightly so it does not run when sliced. Scatter the ½ cup fresh raspberries evenly over the top, sprinkle with the ¼ teaspoon flaky sea salt, and dust lightly with the 1 tablespoon of powdered sugar through the small stainless steel fine-mesh sieve, tapping the sieve gently to create an even, light dusting across the crust and toppings.
Slice and Plate Pizza
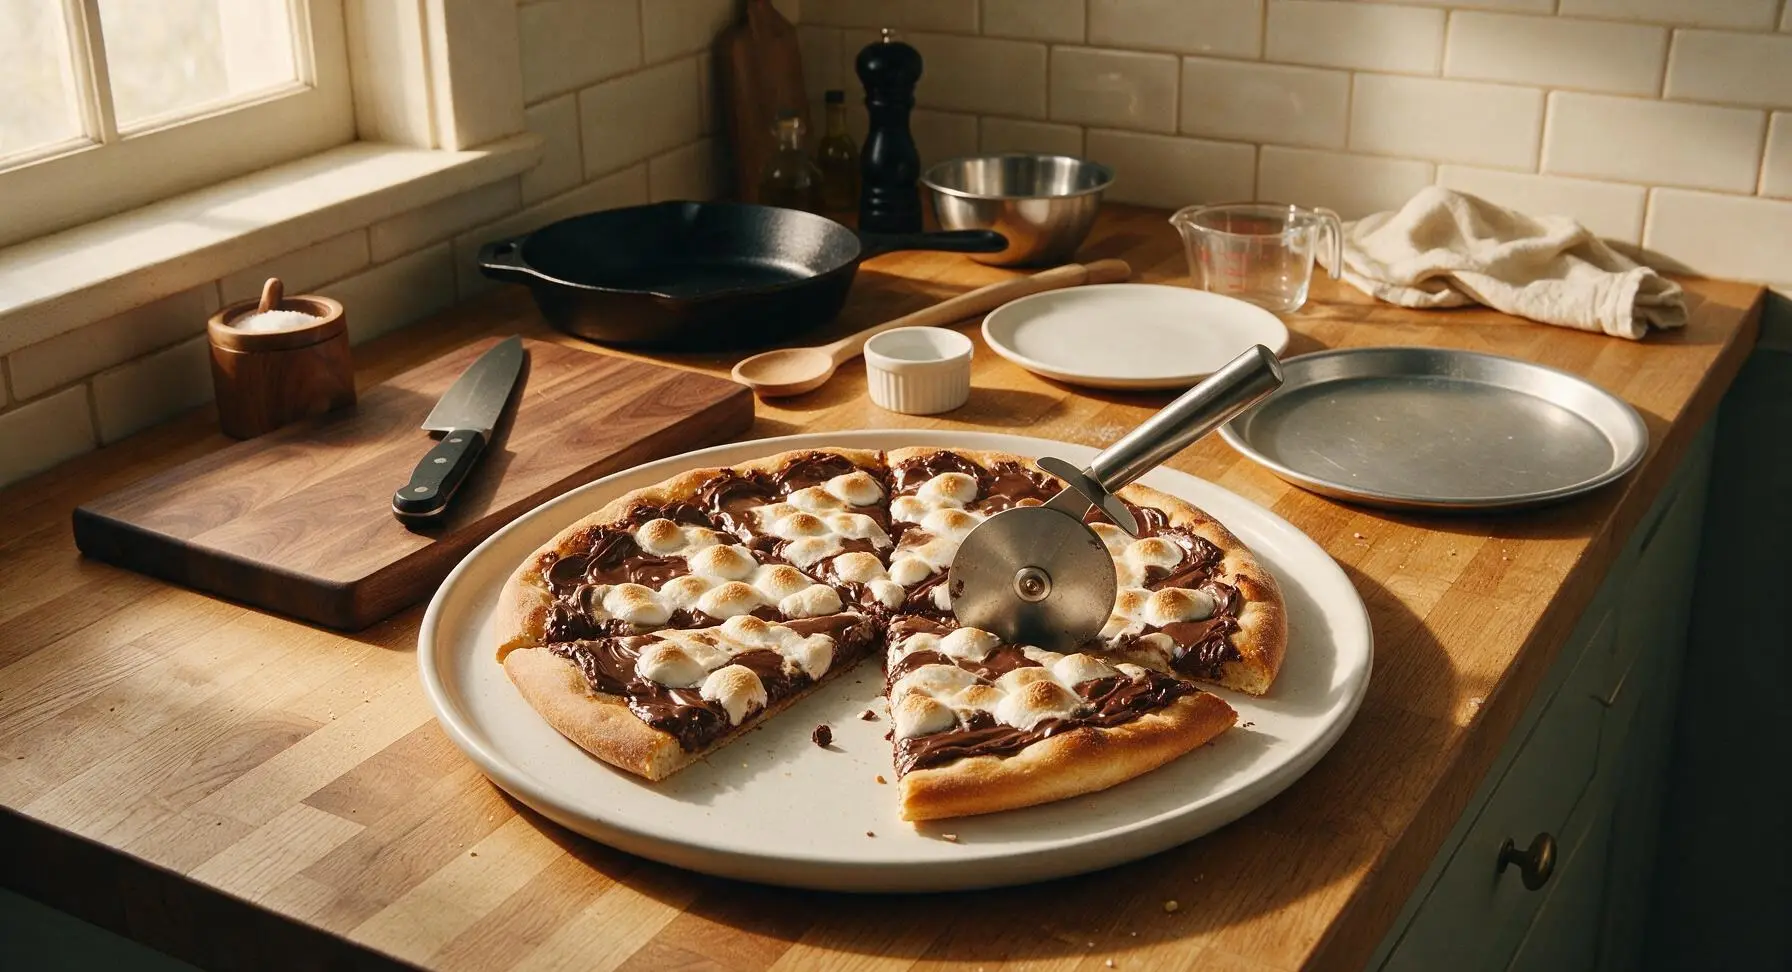
Carefully slide the finished chocolate pizza from the pan onto the large matte white ceramic serving platter. Use the sharp stainless steel pizza cutter to slice the pizza into 8 even triangular slices, cutting cleanly through the crisp crust and soft chocolate layer. Serve warm, while the chocolate is still melted and the marshmallows are soft and stretchy.
Tips
2.Don’t skip the 6-minute par-bake for the crust: Adding melted chocolate directly to raw dough will create a soggy, undercooked base; par-baking sets the crust structure so it stays crisp under the wet chocolate topping.
3.Watch marshmallows closely during the final bake: At 230°C (450°F), marshmallows go from perfectly golden and toasty to burnt and bitter in less than 60 seconds, so stay near the oven and pull the pizza out as soon as the edges turn light amber.






OMG this chocolate pizza is SO good! I made it for my daughter’s sleepover last night and every single kid asked for seconds, even the picky one who turns down every dessert I make. Total game changer for movie nights too. The 10 minute cook time is no joke, I threw it together right after the girls got here and it was done before they finished picking the first movie. 10/10
Tried this for our family pizza night last Friday, usually I do half savory half sweet but this time I made the whole chocolate pizza as the dessert round and my wife is already begging me to make it again this weekend. Quick question though — has anyone tried swapping the milk chocolate drizzle for dark chocolate? I’m a dark chocolate fiend and want to see if it messes with the texture at all.
Wait a chocolate pizza that only takes 10 minutes to cook? I thought this had to be too good to be true but I made it in my dorm’s tiny toaster oven last night and it was insane. Brought a slice down the hall to my RA and he said it’s better than the dessert pizza from the campus pizza place that charges $12 a slice. Total win.
Made this for my son’s soccer team potluck after their big win Saturday and it was gone in literally 5 minutes. I topped mine with crushed pretzels and mini marshmallows for a little salty-sweet crunch and so many parents asked for the recipe. I can’t believe how easy it was, I was running late to the field and still pulled it off no problem.
This looks amazing! Does anyone know if this works with a gluten free pizza crust? My youngest has celiac and I’m always hunting for easy dessert recipes the whole family can enjoy without making separate meals.
I’m not gonna lie, I was skeptical about chocolate pizza at first — I thought it would be too rich or the crust would be weird with sweet toppings. But wow, this completely changed my mind. The hint of cinnamon in the chocolate spread? *Chef’s kiss* I added some sliced strawberries on top after it cooled a little and it was the perfect balance of sweet and fresh.
Made this for a casual brunch with friends yesterday and it was the hit of the spread. I cut it into tiny little squares so people could grab a bite without filling up too much before the savory food, and everyone was raving. Only note: don’t walk away from the oven while it’s cooking! I almost burned the first batch because I got distracted pouring mimosas, lmao.
My granddaughter showed me this recipe last week and we made it together when she came to visit over the weekend. We had so much fun picking out toppings — we used crushed Oreos, rainbow sprinkles, and a little peanut butter drizzle. It was so easy even this old lady could pull it off, and it made her whole weekend. We’re already planning to make it again when she comes for spring break.
Wait, has anyone tried making this ahead for meal prep? I know it’s dessert but I like having little sweet treats pre-portioned for the week so I don’t end up hitting the vending machine at work. Would this hold up in the fridge for a few days?
Made this for my weekly game night with the guys last night and they lost their minds. We usually just order wings and cheap soda but adding this chocolate pizza made the whole night feel way more fun, and it took barely any effort. I topped mine with crushed potato chips for that salty sweet vibe, 10/10 will make again.
I’m literally the worst at baking, I burn even boxed brownies half the time, but this recipe was so easy I actually pulled it off on the first try! My roommate thought I ordered it from a fancy dessert shop until I told her I made it myself. The 10 minute cook time is perfect for people like me who have zero patience for complicated recipes.
I bring a different dessert to every office potluck and this one is officially going into my permanent rotation. It’s easy to transport, feeds a crowd, and literally everyone comes back to ask who brought it. Last time I made it I added a little caramel drizzle and chopped pecans on top and people were literally scraping the serving platter clean. SO good.
Has anyone tried making this vegan? My partner is dairy free and I want to make this for our anniversary date night in, but I’m not sure what dairy free chocolate works best for the spread and drizzle. Any tips would be so appreciated!
My twins turned 7 last weekend and they begged for a pizza themed birthday party, so I made this chocolate pizza alongside the regular cheese and pepperoni pizzas and it was the star of the show. All the kids were crowding around the counter waiting for a slice, and even a few of the parents snuck seconds. So easy to throw together even while juggling 10 screaming 7 year olds.
I’ve made a lot of dessert pizzas in my day and this one is easily top tier. The ratio of chocolate to crust is perfect, not too much that it’s overwhelming but enough that every bite feels indulgent. I added a sprinkle of flaky sea salt on top right after taking it out of the oven and I will never make it without that again. The salt makes the chocolate taste even richer, trust me.
Wait, could you cook this on a grill? We’re going camping next weekend and I’m looking for easy campfire desserts that aren’t just s’mores for once. We have a pizza stone for our camp grill and I was wondering if this would work over the flame.
Made this for my girlfriend for Valentine’s Day instead of buying an overpriced box of chocolates and she said it’s the best gift I’ve ever gotten her. We paired it with a bottle of red wine and watched our favorite movie, total perfect low key date night. 10/10, way cheaper and more thoughtful than store bought dessert.
Okay hear me out — I know this is an indulgent treat, but I made this after my long run last weekend as a little reward and it hit so much better than a regular protein bar. I used a whole wheat thin crust, added a little peanut butter drizzle and some sliced bananas on top, and it was the perfect sweet treat to refuel without making me feel sluggish. Don’t knock it till you try it!