
chocolate pizzelle
intro
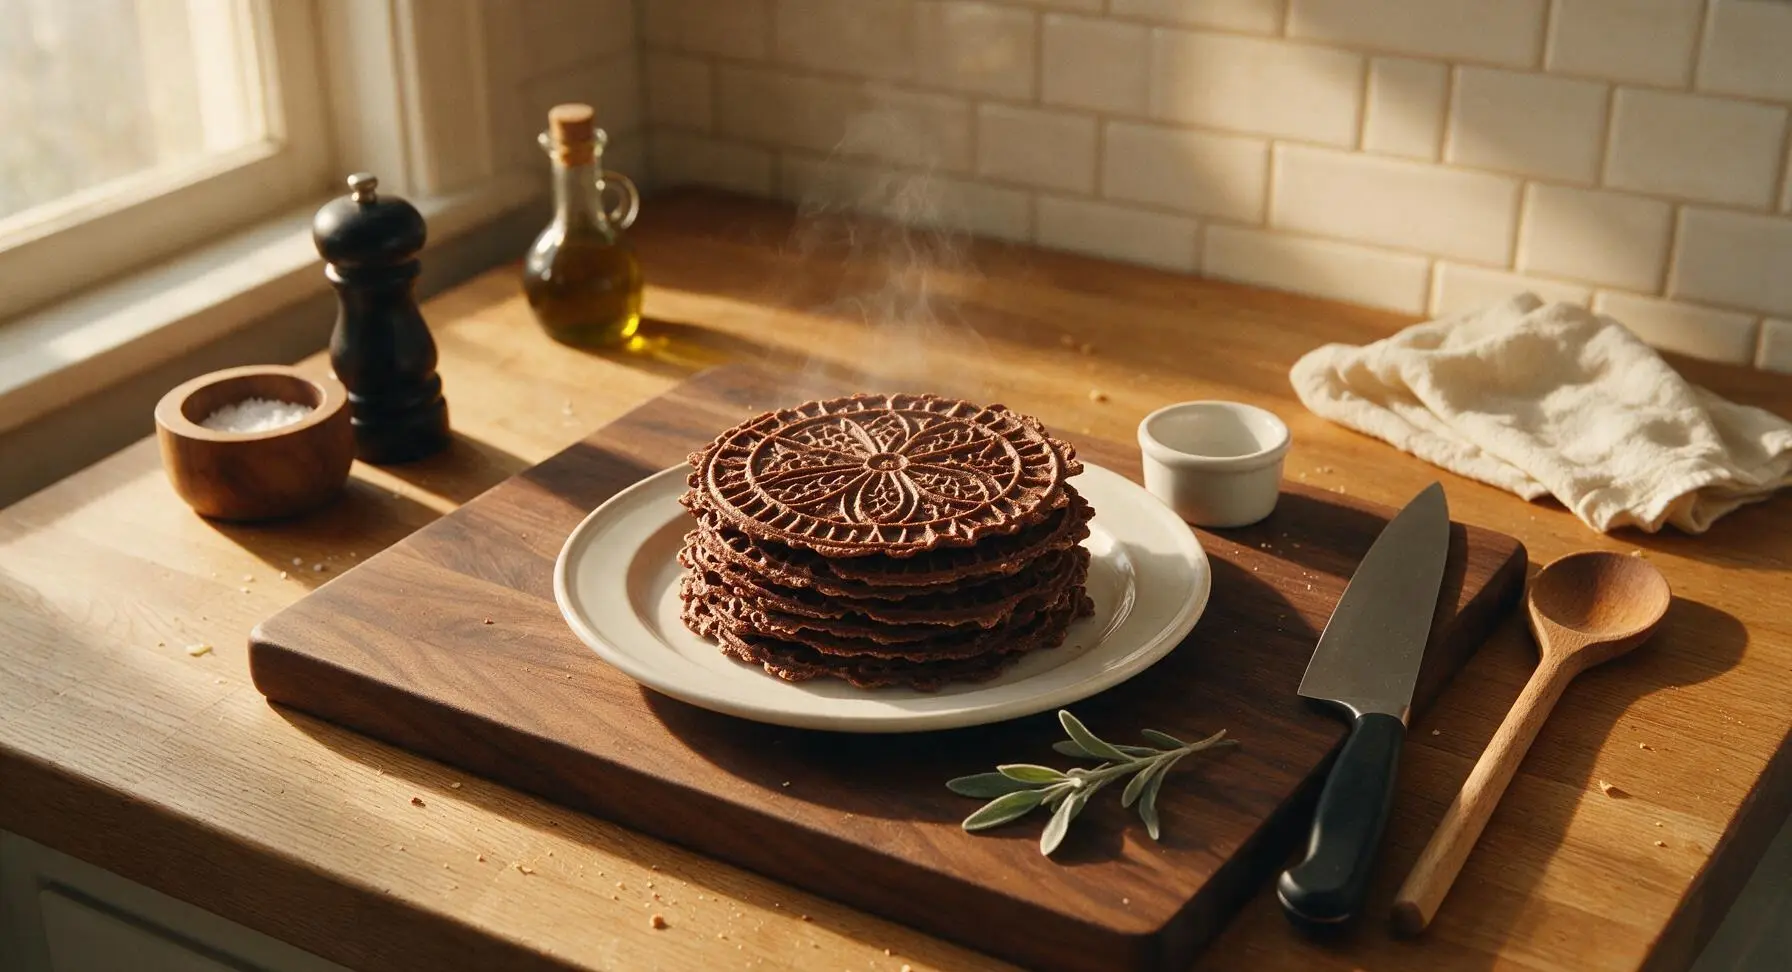
Crisp, lacy deep-chocolate Italian waffle cookies, delicately patterned, perfect for holiday gifting, espresso dipping, or enjoying as a light, not-too-sweet treat.
Ingredients
Steps
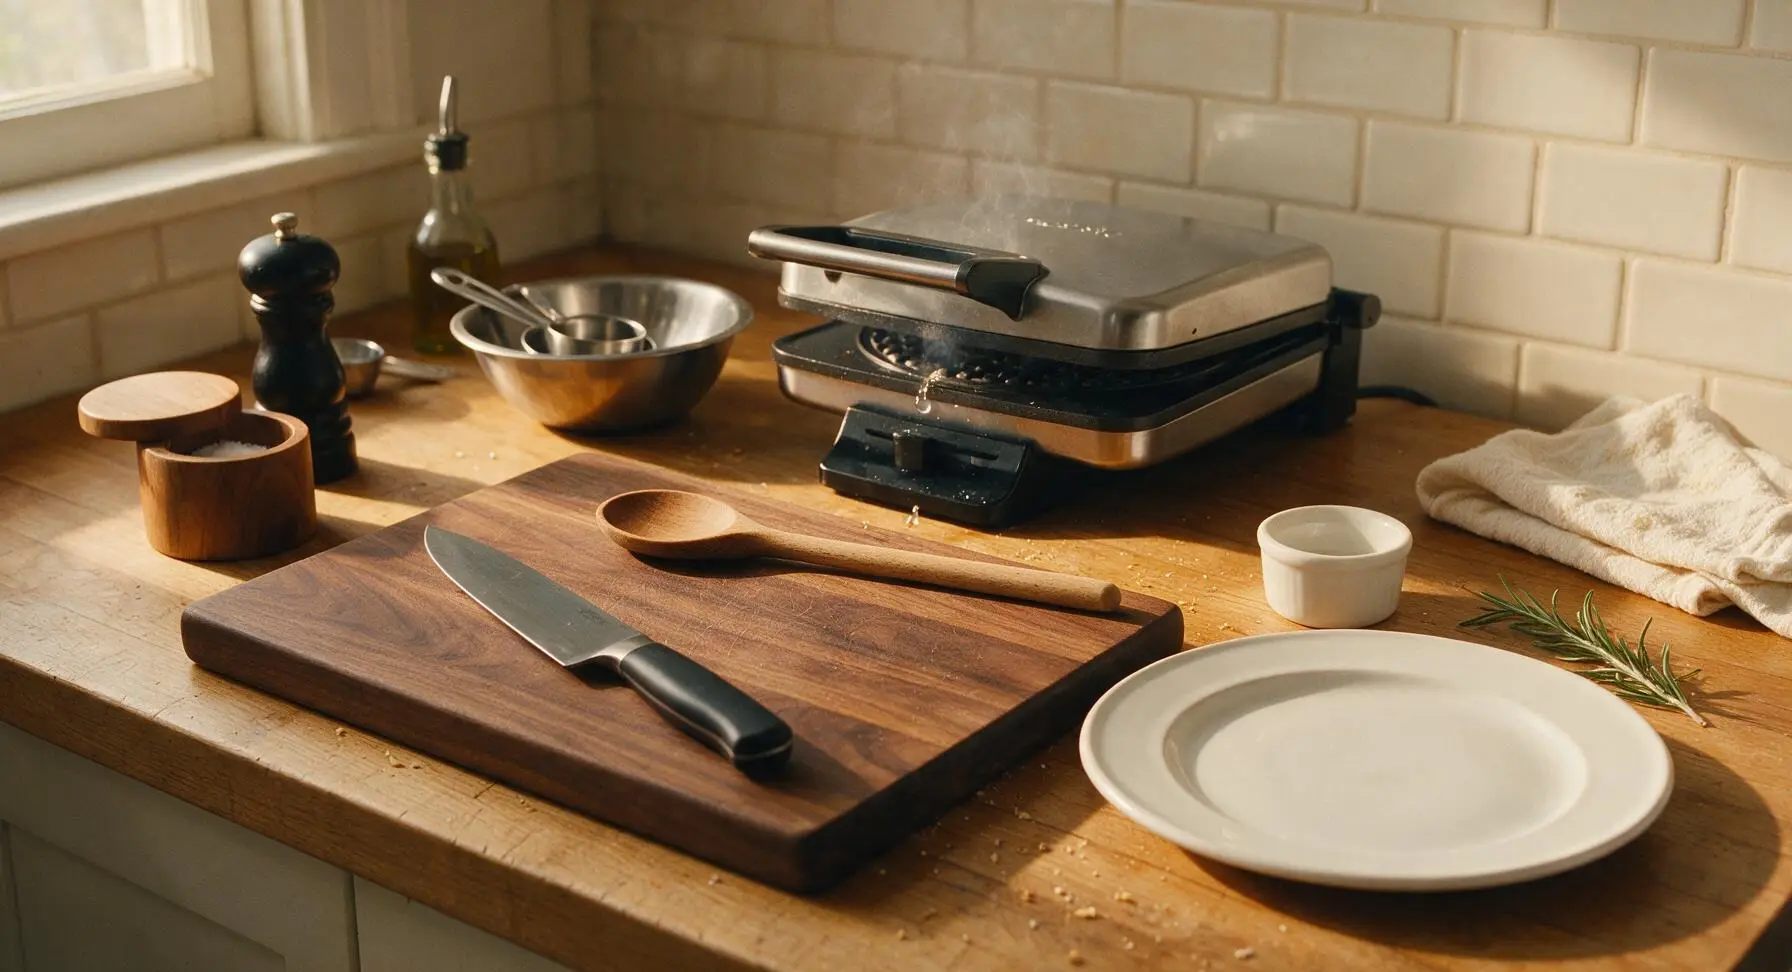
Preheat the Pizzelle Iron
Plug in the silver electric pizzelle maker and preheat it to the medium setting (approximately 375°F / 190°C) while you prepare the batter. Close the lid and allow it to heat fully for 5 minutes; a drop of water placed on the non-stick plate should sizzle and evaporate in 2 seconds when ready. For first use, wipe plates lightly with a paper towel dipped in a tiny amount of melted butter to prevent sticking.
Whisk Dry Ingredients
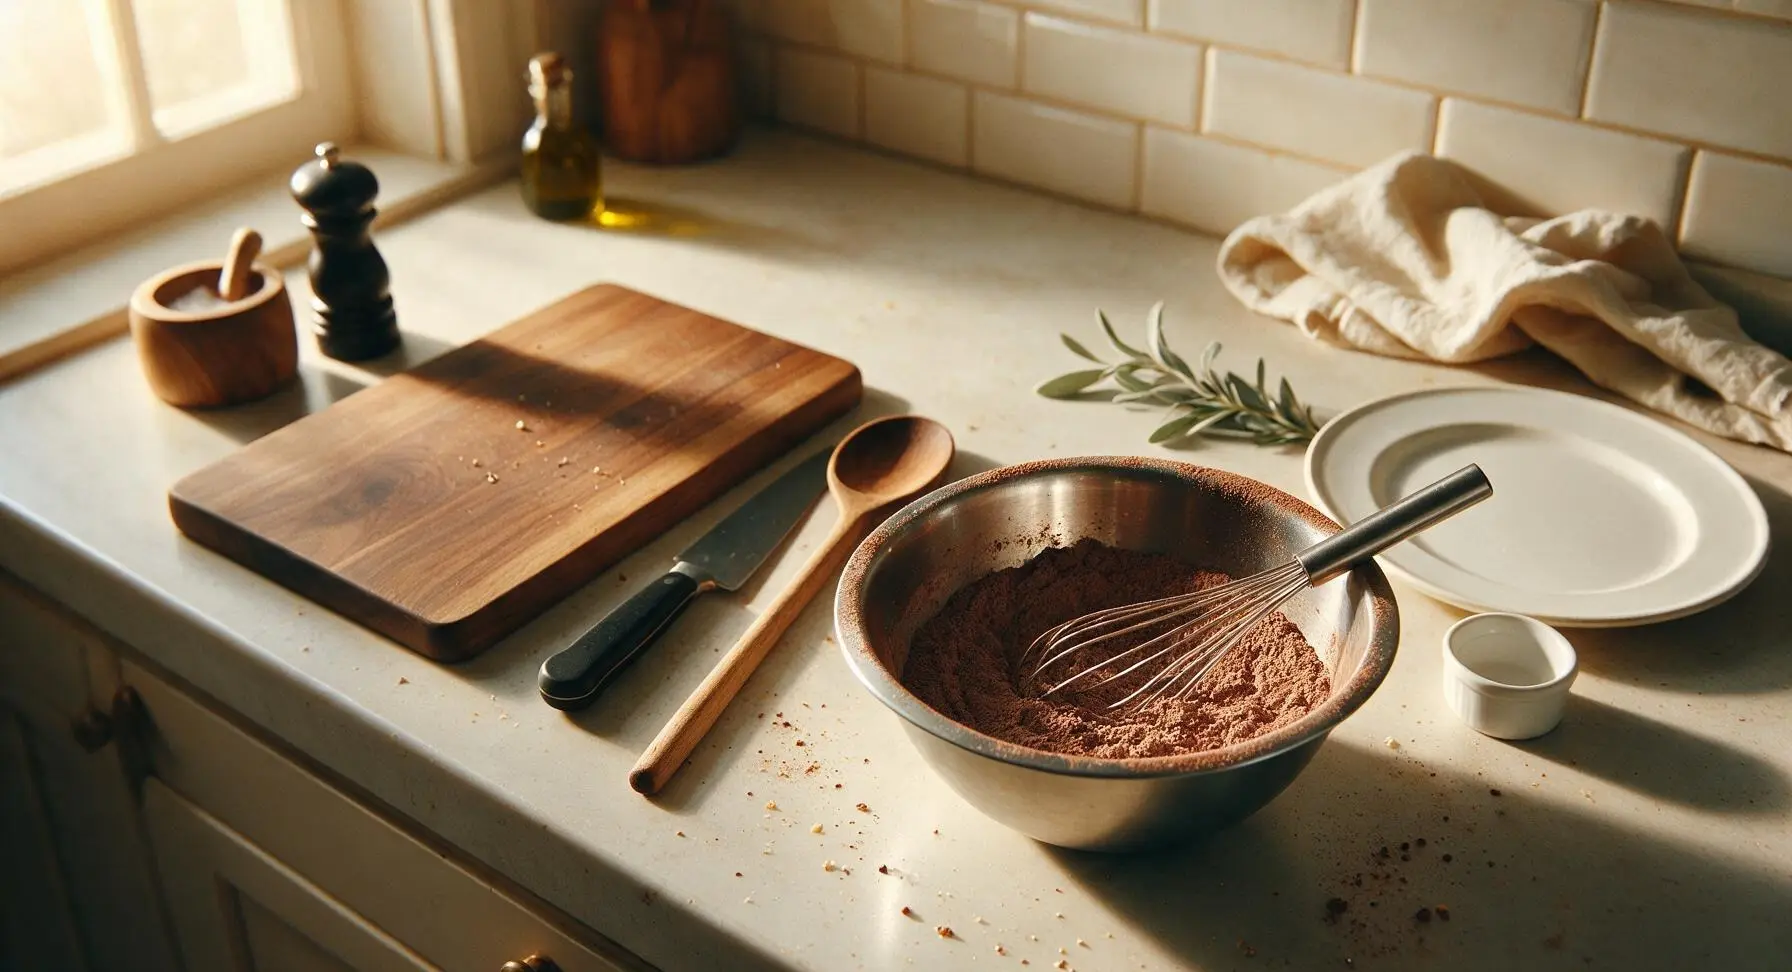
In the medium stainless steel mixing bowl, combine the all-purpose flour, Dutch-processed cocoa powder, baking powder, and fine sea salt. Whisk vigorously with the stainless steel wire whisk for 30 seconds until fully combined, with no dark cocoa clumps remaining. The finished dry mixture should be a uniform deep brown, free of lumps.
Beat Eggs and Sugar
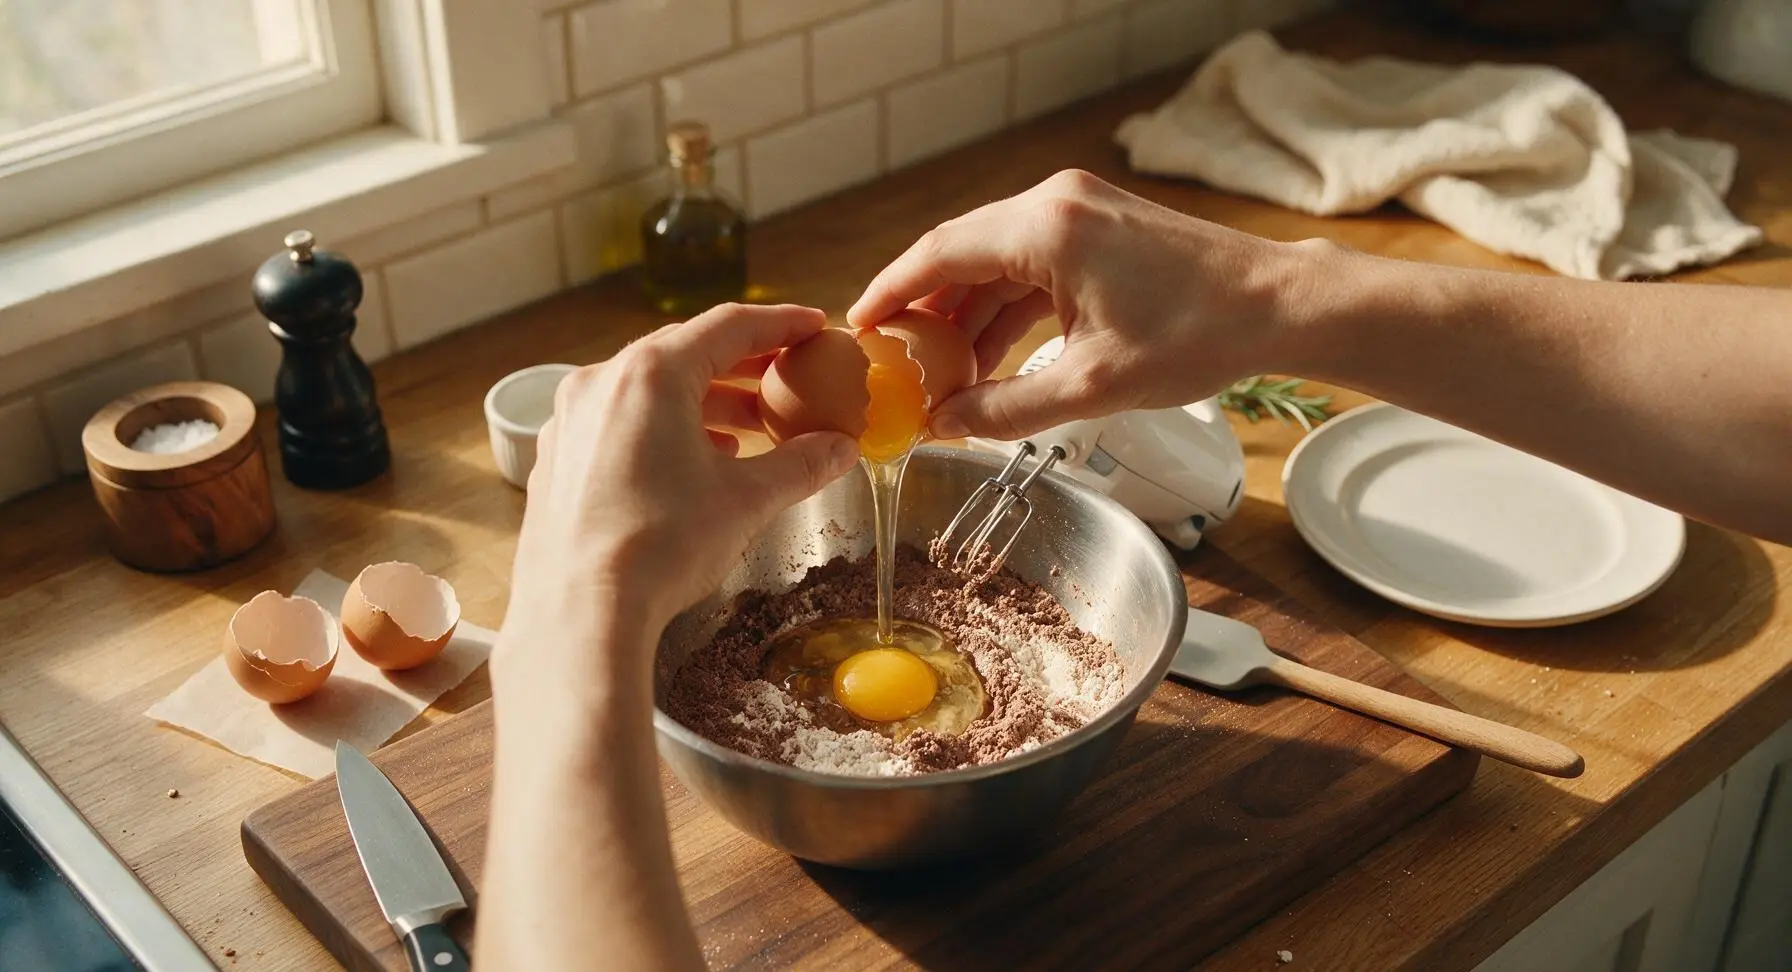
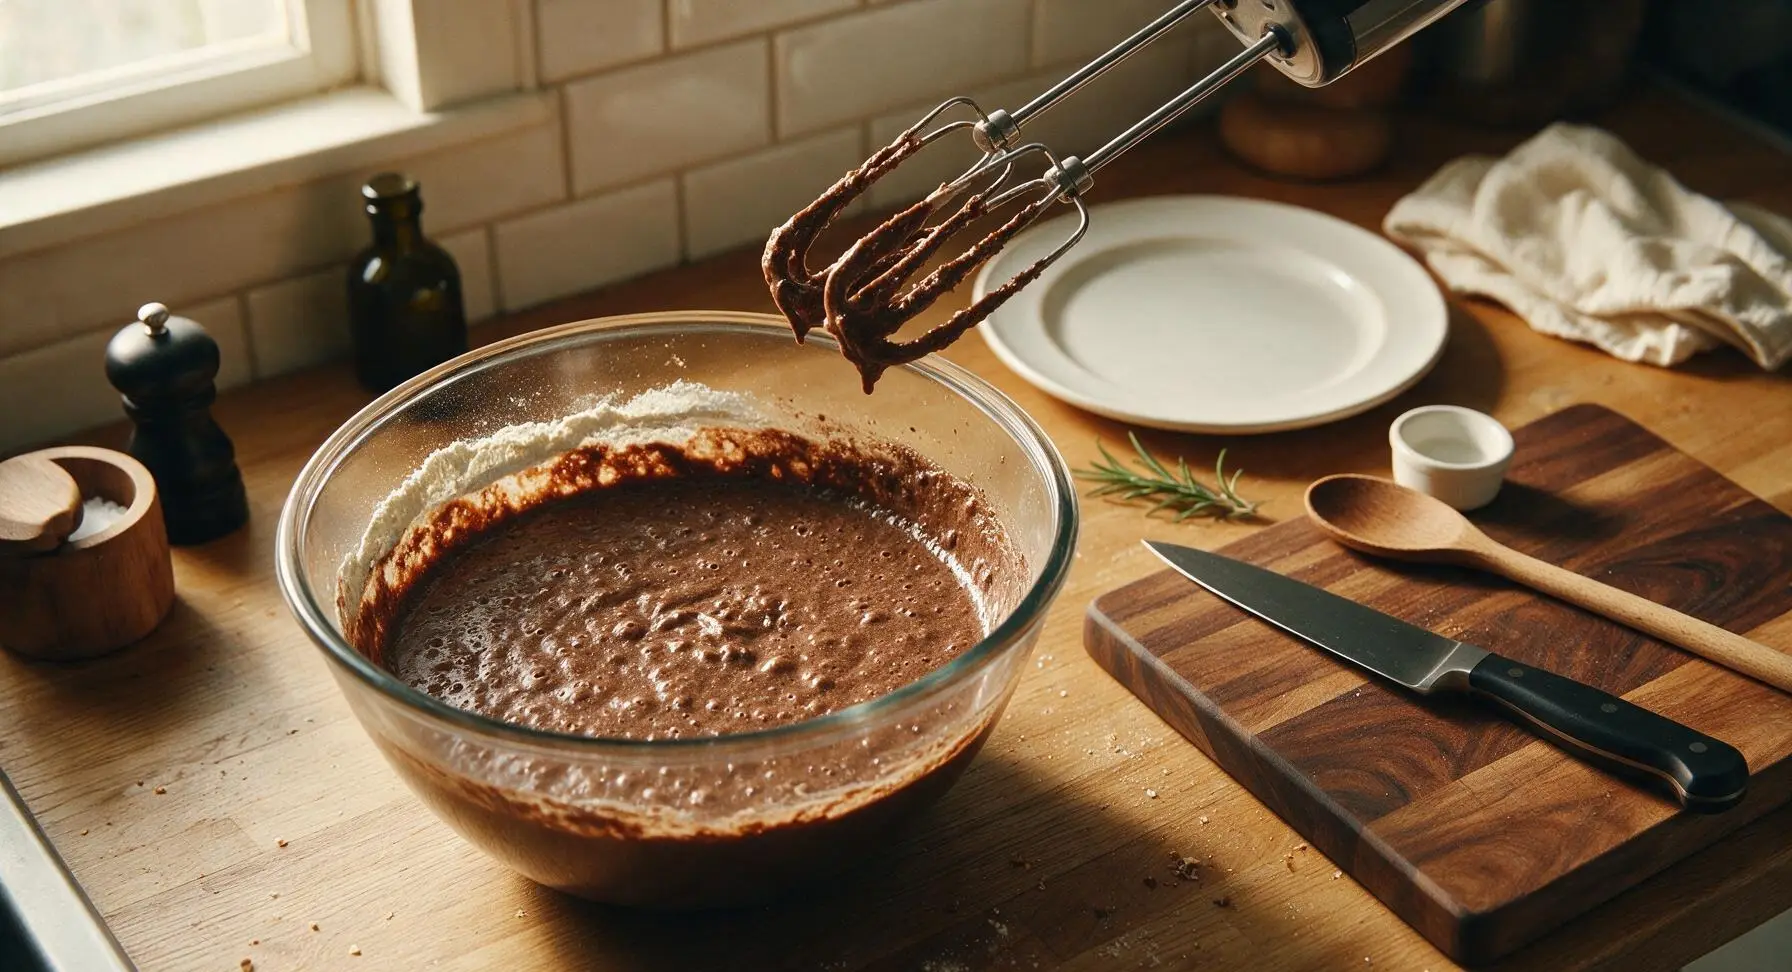
Make a shallow well in the center of the dry ingredient mixture, then crack in the 3 room-temperature large eggs and add the granulated sugar. Using the white handheld electric mixer on medium speed, beat the eggs and sugar for 1 minute until pale and slightly frothy, gradually incorporating the dry ingredients from the edges of the well. Scrape down the bowl sides with the light grey silicone spatula to catch any unincorporated flour.
Incorporate Butter and Vanilla
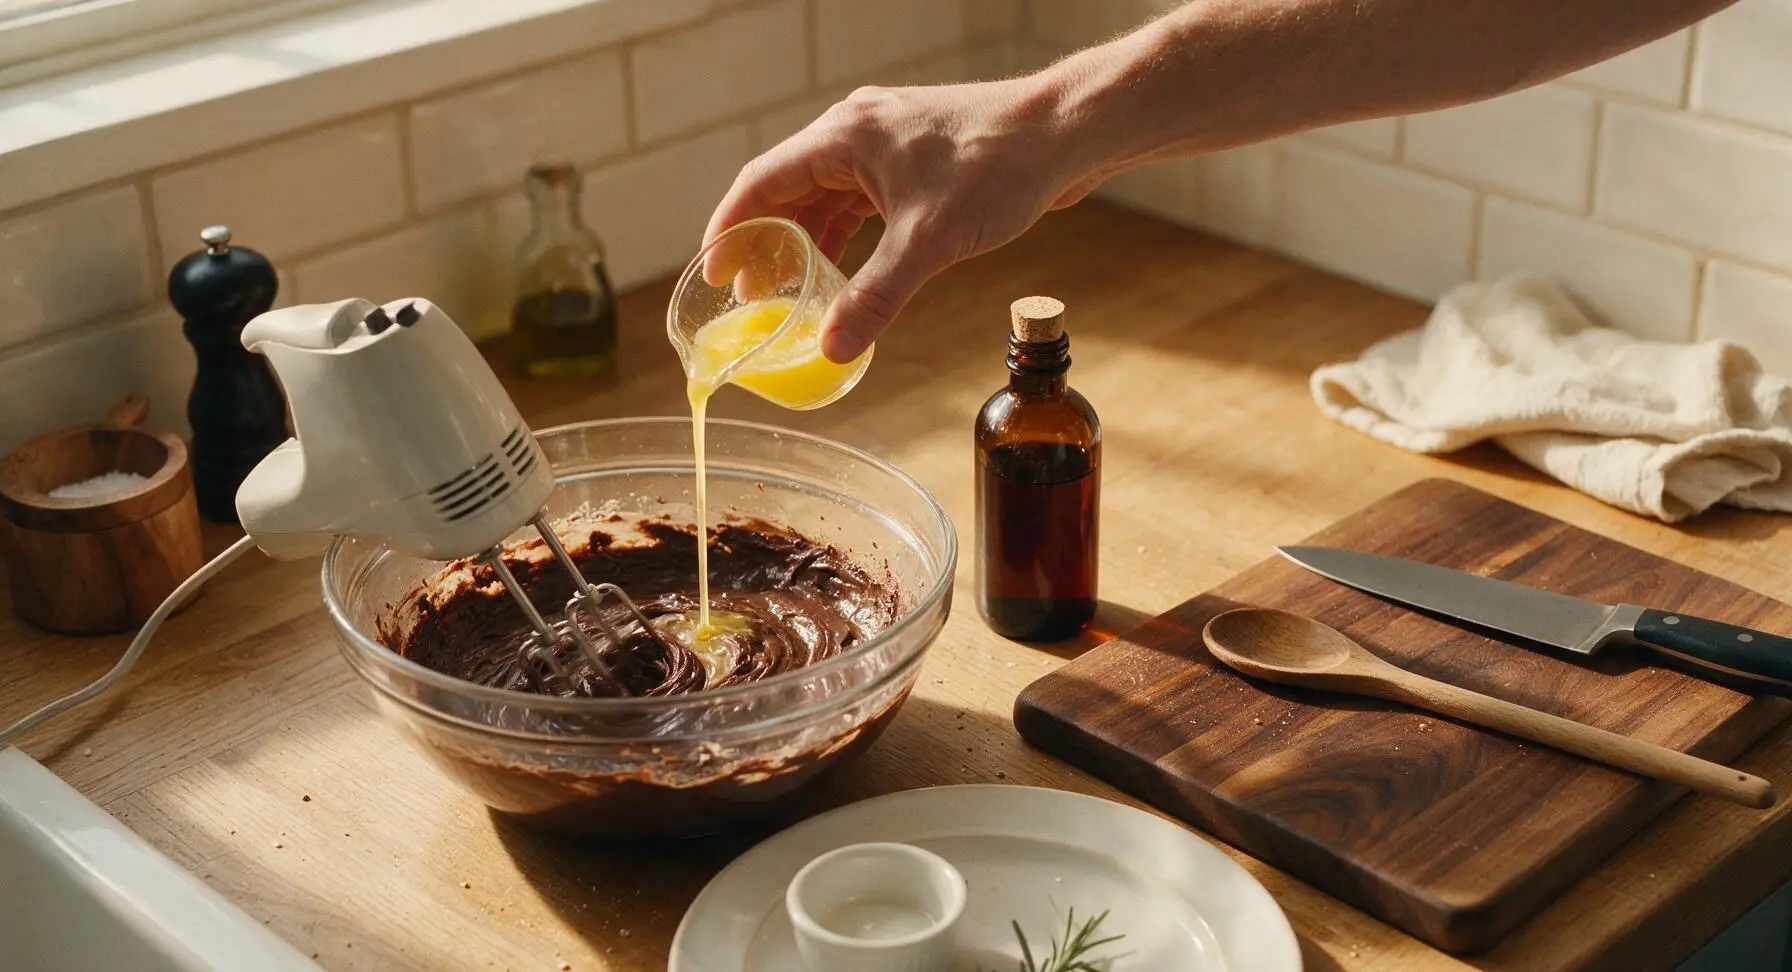
With the mixer running on low speed, slowly pour the slightly cooled melted butter and pure vanilla extract into the batter. Mix for only 30 seconds, until just combined—do not overmix, as this will develop gluten and make tough pizzelles. The finished batter will be thick, glossy, and similar in consistency to loose cake batter.
Portion Batter onto Iron
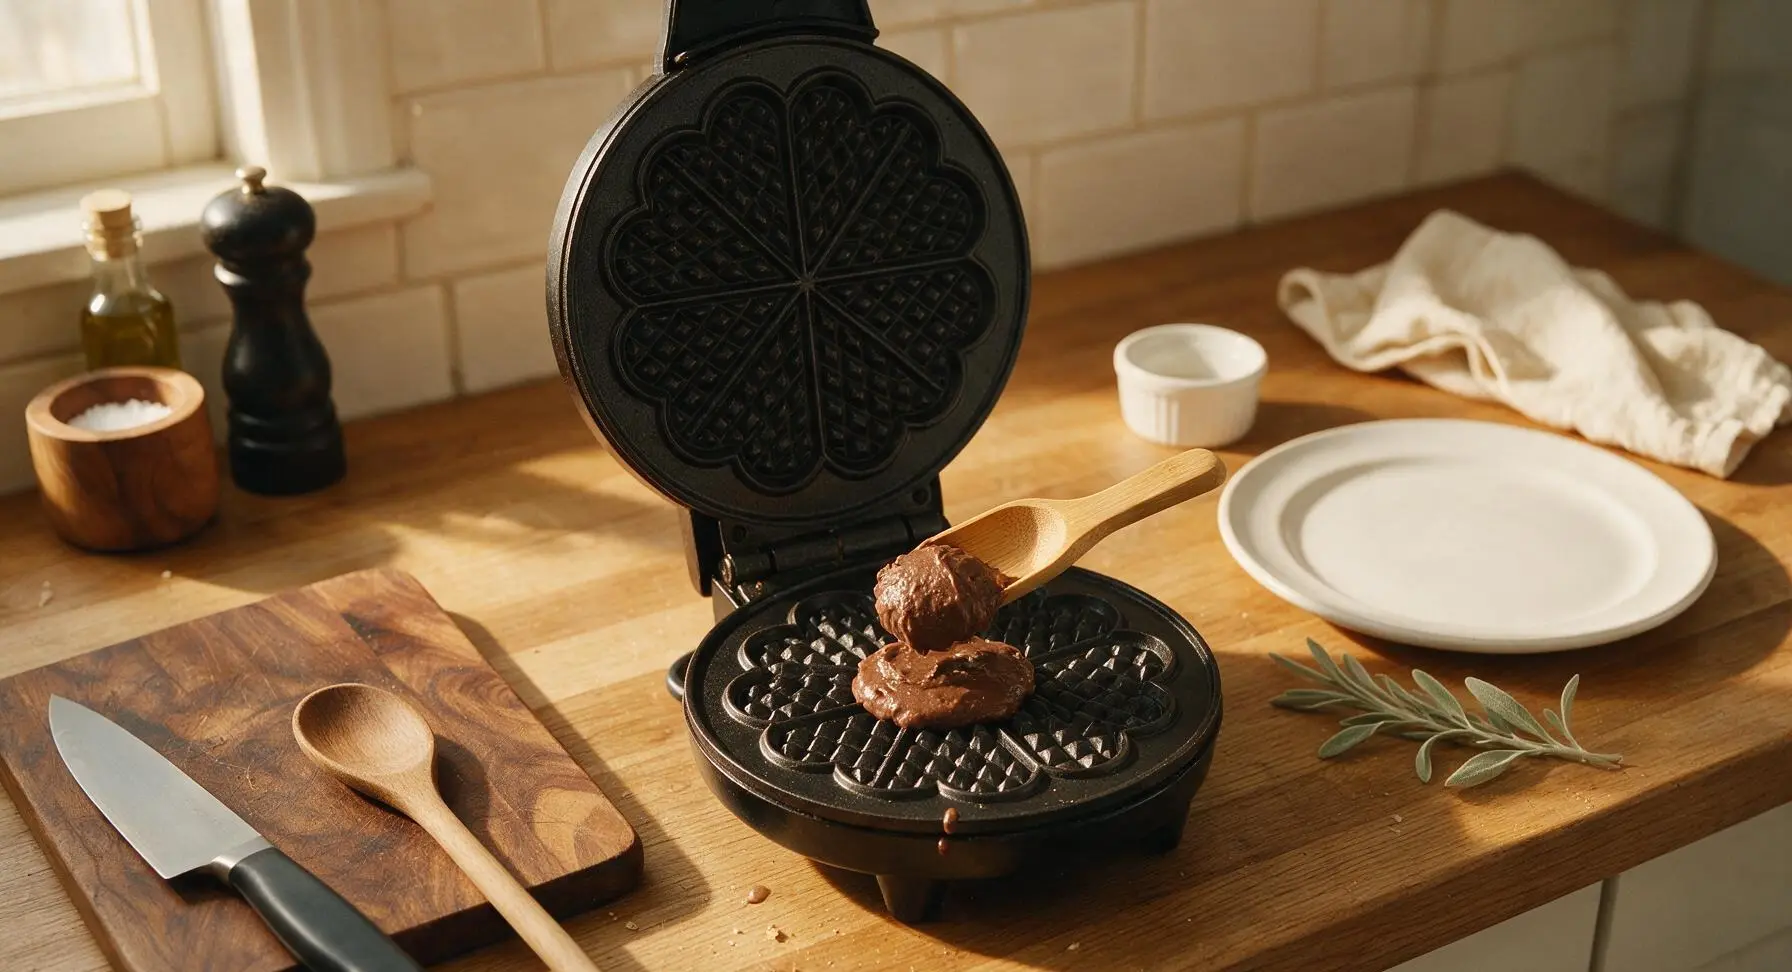
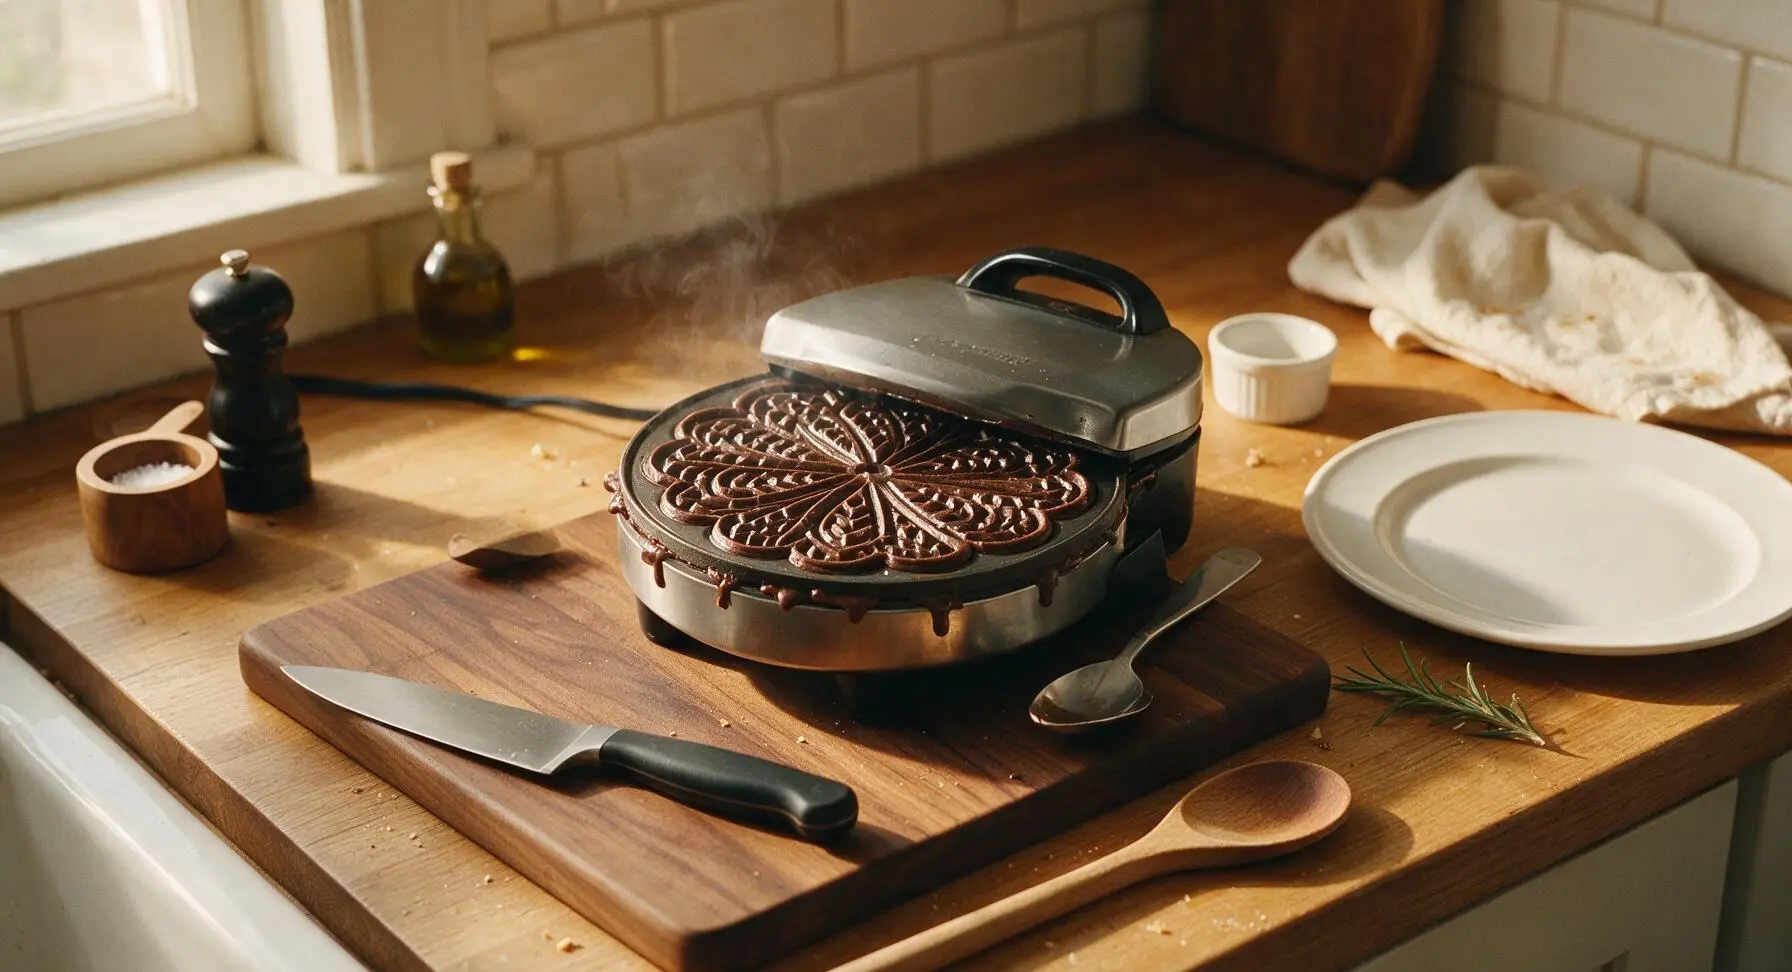
Once the pizzelle maker is fully preheated, open the lid and scoop 1 heaping tablespoon of batter onto the center of each patterned cooking plate (most standard irons cook 2 pizzelles per batch). Close the lid and clamp gently—do not press down hard, as this will squeeze batter out the edges. Cook for 35-40 seconds, until no more steam escapes from the iron edges.
Transfer to Cooling Rack
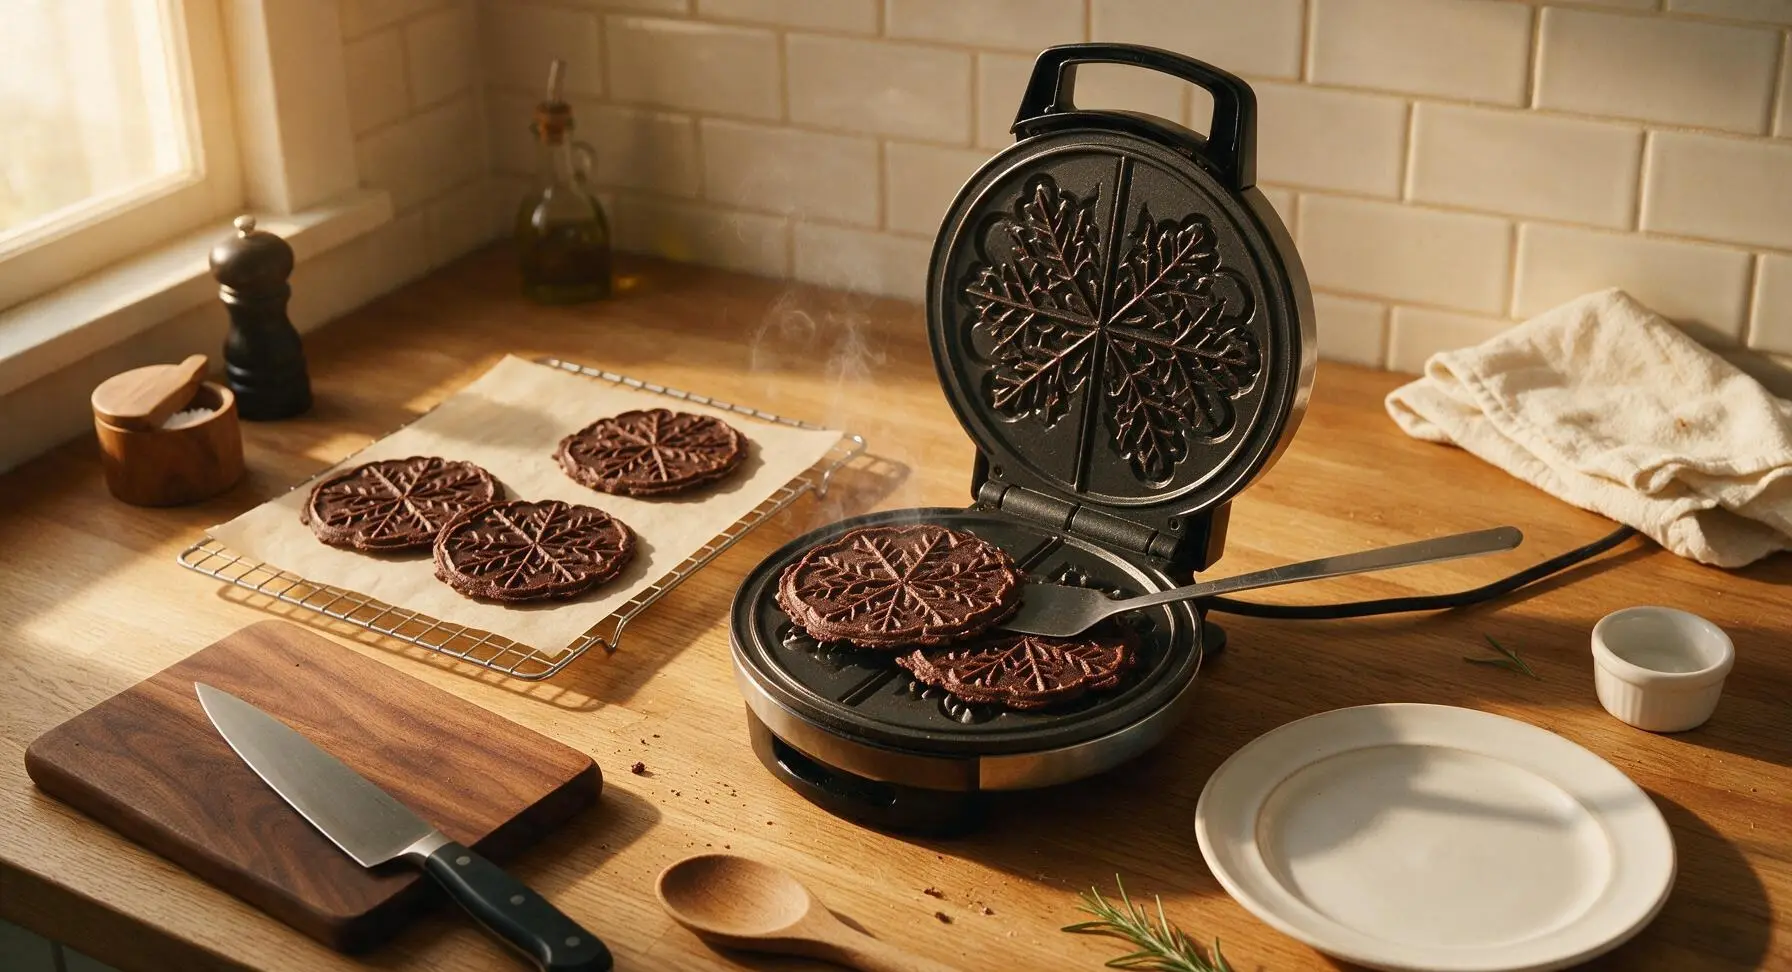
Open the pizzelle maker lid after 35-40 seconds. Use the thin metal turner spatula to gently lift the hot, soft pizzelles immediately, and transfer them in a single layer to the parchment-lined chrome wire cooling rack. Pizzelles will be soft and pliable when hot, but will crisp fully as they cool over 2-3 minutes. Do not stack warm cookies, as they will stick and lose their crisp texture.
Cook Remaining Batches
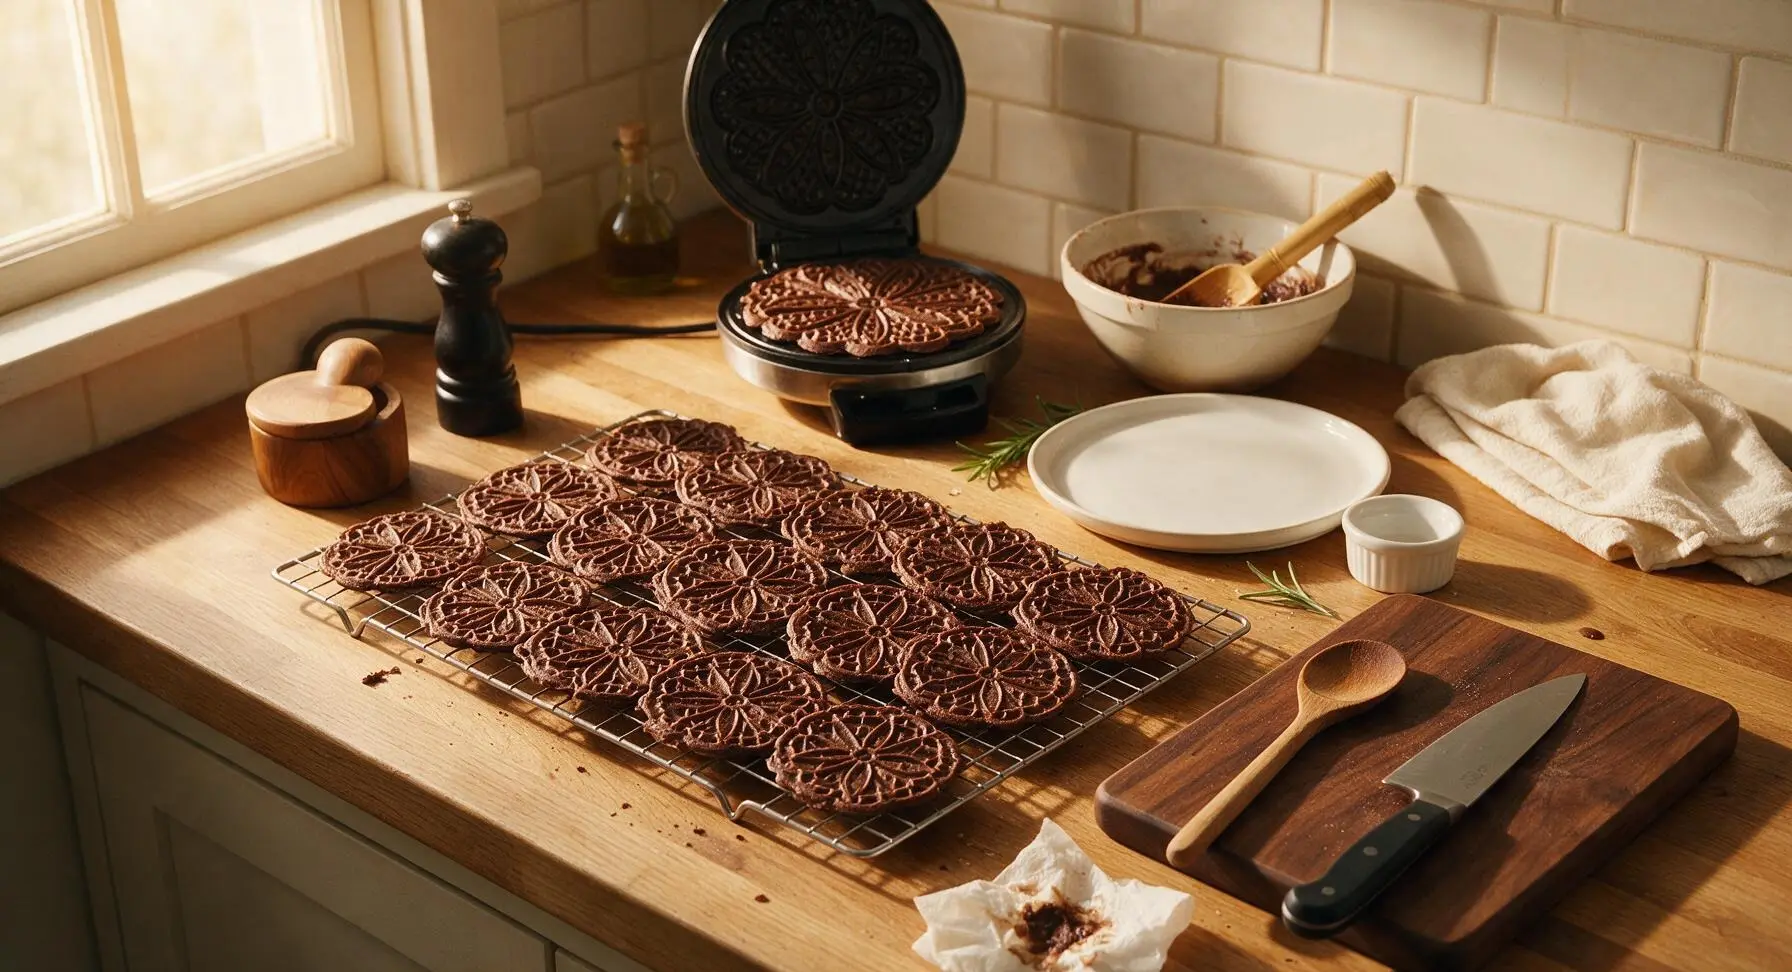
Continue portioning batter, cooking 35-40 seconds per batch, and transferring finished pizzelles to the cooling rack until all batter is used, yielding approximately 30 3-inch cookies total. Wipe any squeezed-out burnt batter from the iron edges with a dry paper towel between batches to prevent bitter residue.
Dust and Plate Cookies
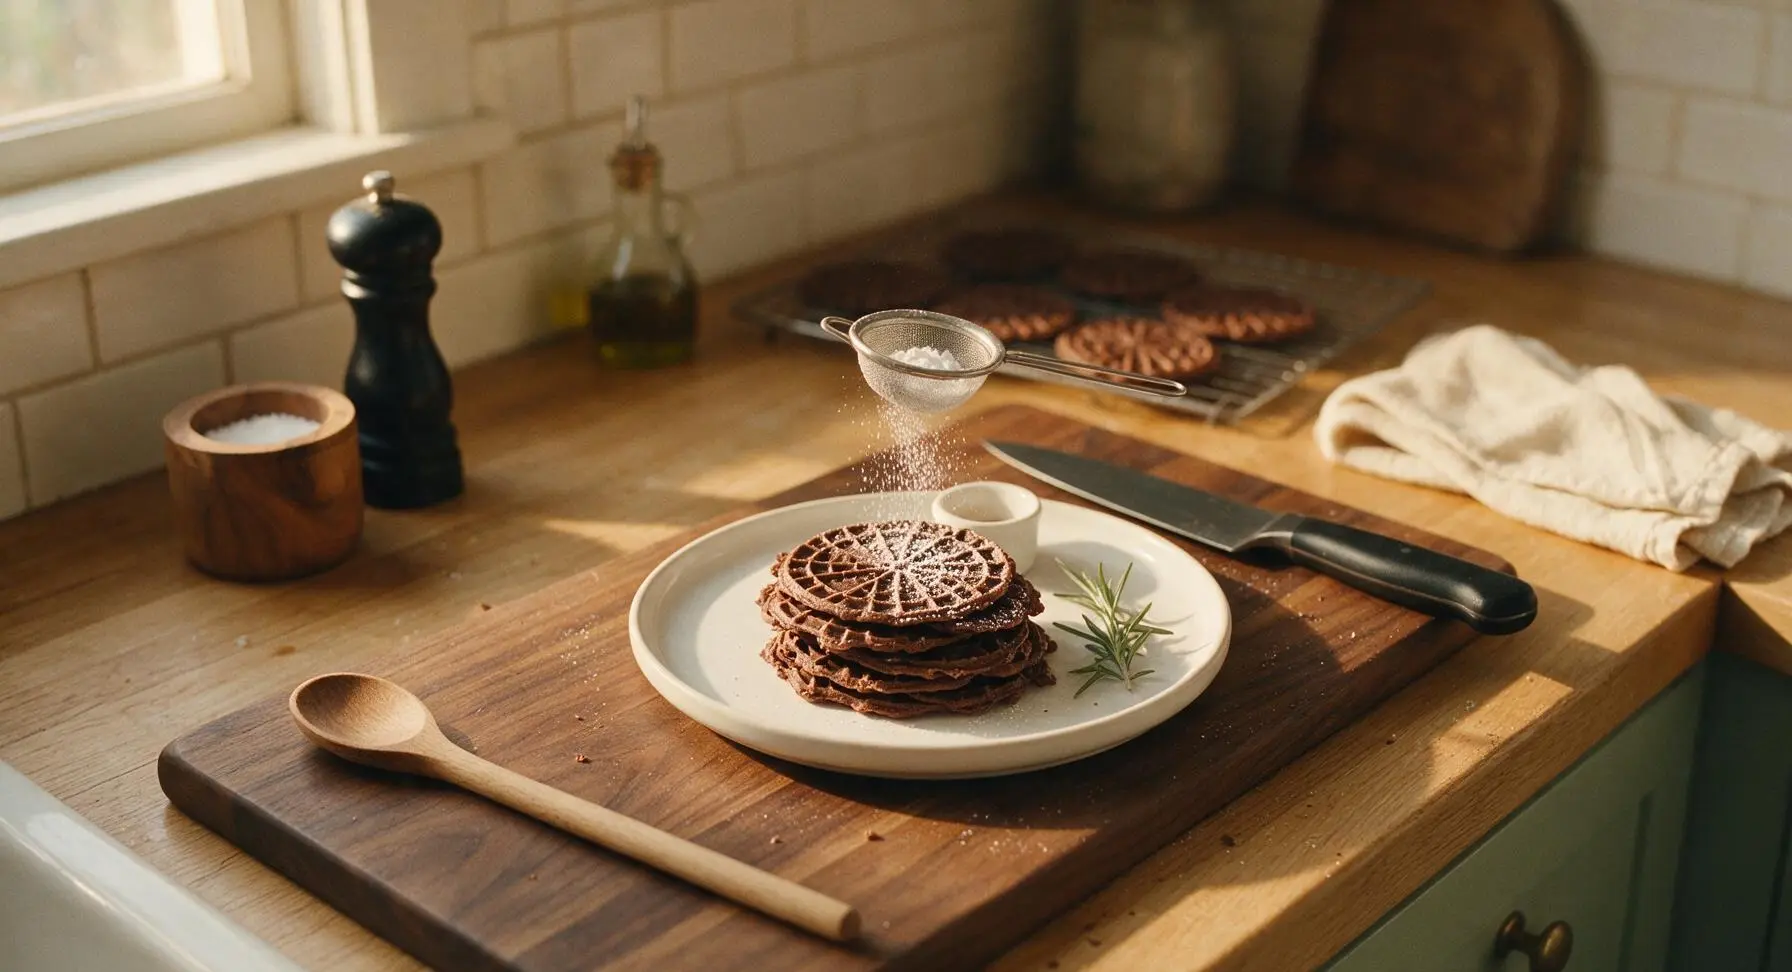
Once all pizzelles are fully cooled and crisp, stack them loosely on the cream white matte ceramic oval serving platter. Place the optional powdered sugar in the small fine-mesh sieve, and tap the sieve edge lightly to dust a thin, even layer of sugar over the cookie stack. Serve immediately, or store in an airtight tin between parchment layers for up to 2 weeks.
Tips
2.Stick to 1 heaping tablespoon of batter per plate: Over-scooping causes batter to squeeze out the iron edges, burn, and create thick, tough cookies that don’t develop the signature lacy crispness.
3.Let cookies cool completely in a single layer before storing: Trapped warmth creates condensation in airtight containers, turning crisp pizzelles soft. Layer between parchment paper in a tin for up to 2 weeks of fresh, crisp texture.






OMG these were SO good! I made them for my kid’s soccer team snack day and every single parent asked for the recipe. So easy to whip up, 15 minutes total cook time is a total game changer for busy weeknights. I added a tiny extra dash of vanilla and they were perfect!
Super straightforward recipe, turned out crispy just like pizzelle should be. I was worried my old pizzelle iron would mess them up but they cooked evenly every single batch. Great chocolate flavor without being too rich.
First time ever making pizzelle and these didn’t disappoint! I was so intimidated but this is genuinely easy, I didn’t even mess up the first batch. Only thing is mine stuck a little to the iron — any tips for next time?
Brought these to my office potluck yesterday and they were gone in 10 minutes flat. People kept saying they tasted like fancy bakery cookies, little did they know I spent barely any time making them! 10/10 will be making these for every holiday gathering from now on.
I’ve been making regular anise pizzelle for 40 years and decided to try the chocolate version for my granddaughter’s birthday. She’s obsessed! The recipe is so simple I don’t know why I waited so long to switch things up. They pair perfectly with a cup of coffee in the afternoon.
These are solid. I made them last minute for a date night dessert plate with fresh berries and whipped cream, and my date was super impressed. Way easier than driving to the bakery for fancy cookies, that’s for sure.
I swapped regular flour for a 1:1 gluten free baking flour and these came out perfect! Crispy, chocolatey, no weird texture at all. My whole family (even the non-gluten free folks) devoured them.
Taste is great but my first batch came out a little softer than I expected, did I take them off the iron too early? I left them on for about 30 seconds like I do with regular pizzelle.
Meal prepped a big batch of these for the week and they stay crispy for days if you keep them in an airtight container! Perfect little sweet snack to grab between work meetings or after the gym. I added a tiny pinch of sea salt on top and *chef’s kiss*.
Made these for my son’s 8th birthday party, the kids went crazy for them! I put little rainbow sprinkles on top right after taking them off the iron and they looked so festive. Way less messy than cake for a house full of rowdy kids, honestly.
These are good but I wish the chocolate flavor was a little more intense. Next time I’ll use Dutch processed cocoa instead of regular to give it that deeper, richer taste. Still super easy to make though, great base recipe!
Made these in our tiny RV kitchen on a road trip last weekend! They came together so fast and didn’t make a huge mess, which is a win when you have limited counter space. We ate them warm while watching the sunset over the mountains, 10/10 experience.
Wait, do I have to use a pizzelle iron? I don’t own one and I really want to make these for my girlfriend for our anniversary. Is there a workaround?
Tested these out for our annual Christmas cookie tin lineup this year and they’re a definite yes! They hold up really well when packed with other cookies and don’t get stale for over a week. The chocolate flavor pairs so well with the butter cookies and jam thumbprints we usually make.
Just made a batch after seeing this recipe pop up on my feed and I’m currently eating the third one warm off the iron. So crispy, so chocolatey, not overly sweet. This is going to be my new go-to late night sweet treat, way better than grabbing a candy bar from the gas station.