
Chocolate Pudding
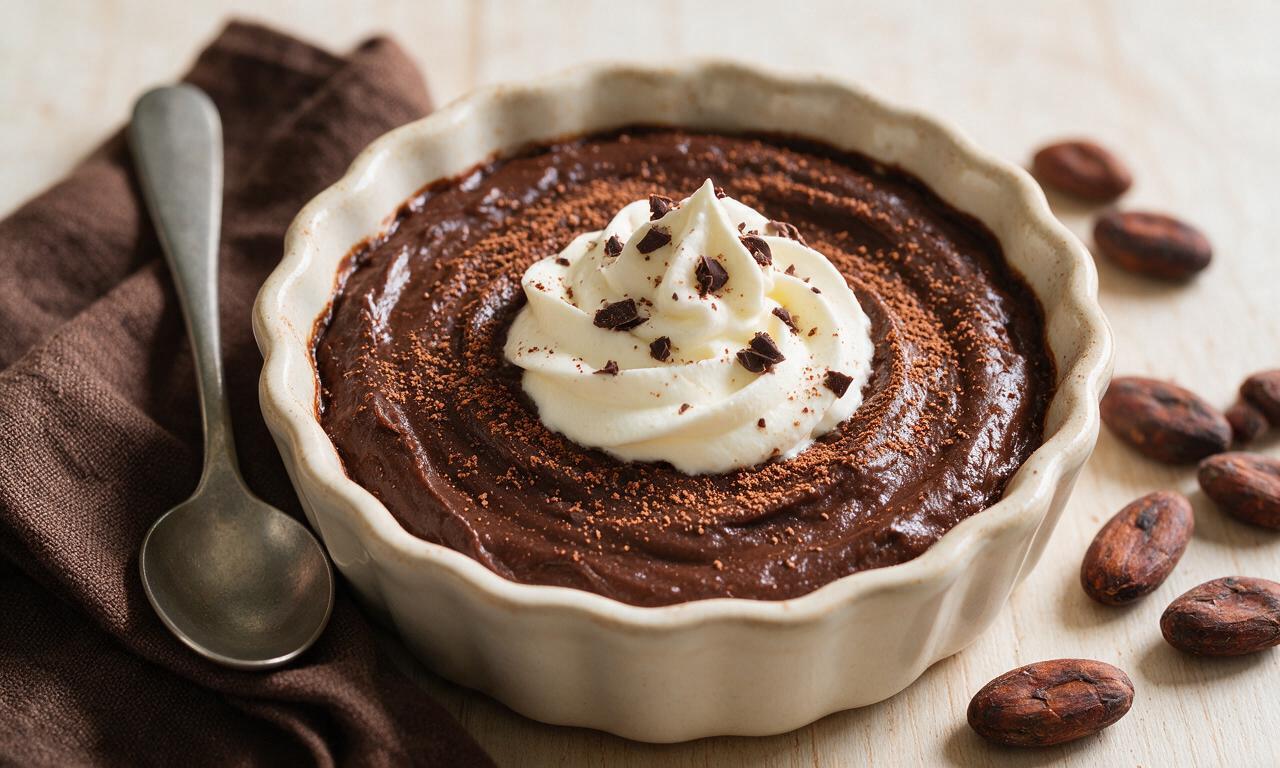
intro
Rich, silky stovetop chocolate pudding with deep cocoa flavor, a creamy, indulgent homemade treat perfect for cozy sweet moments.
Ingredients
Steps
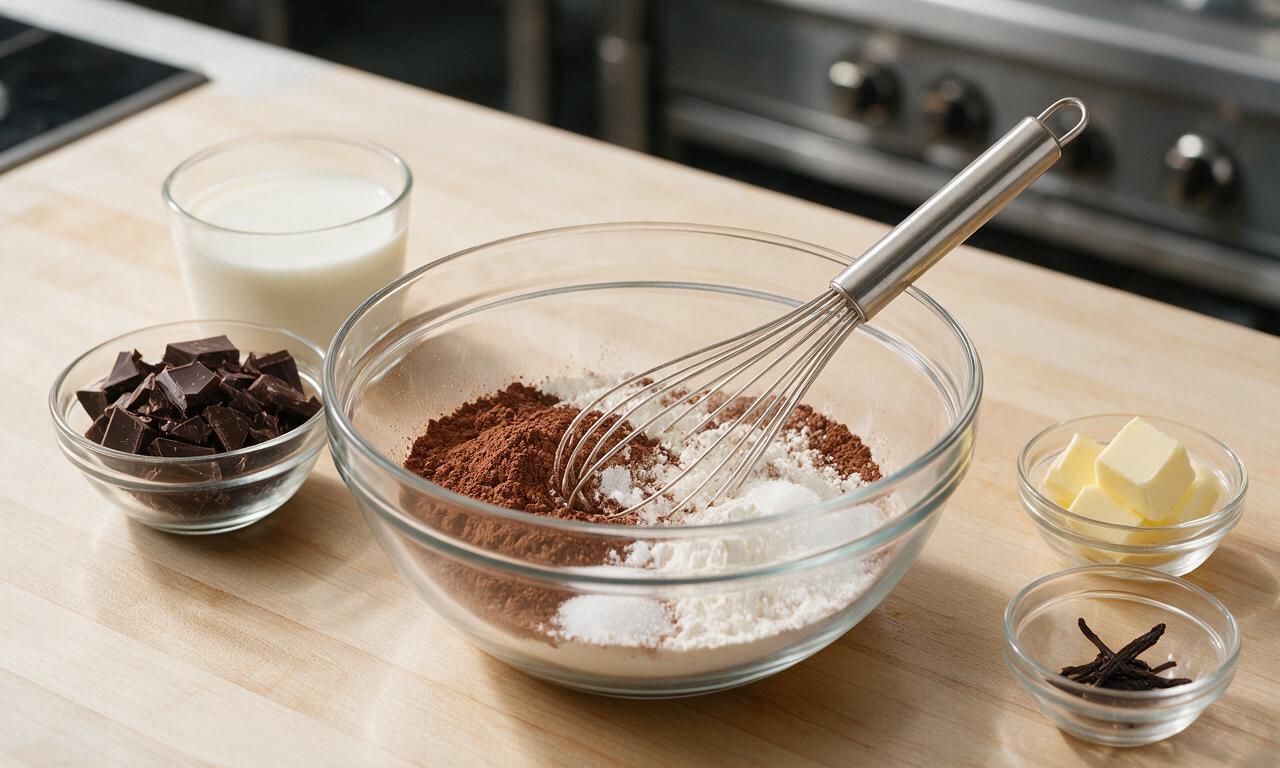
Prep base ingredients
In a medium mixing bowl, whisk together 30g cornstarch, 15g cocoa powder, 60g granulated sugar, and 1g fine sea salt until fully combined, with no visible lumps of cocoa remaining. Measure out all remaining ingredients and set within arm’s reach of the stovetop to avoid scrambling mid-cook.
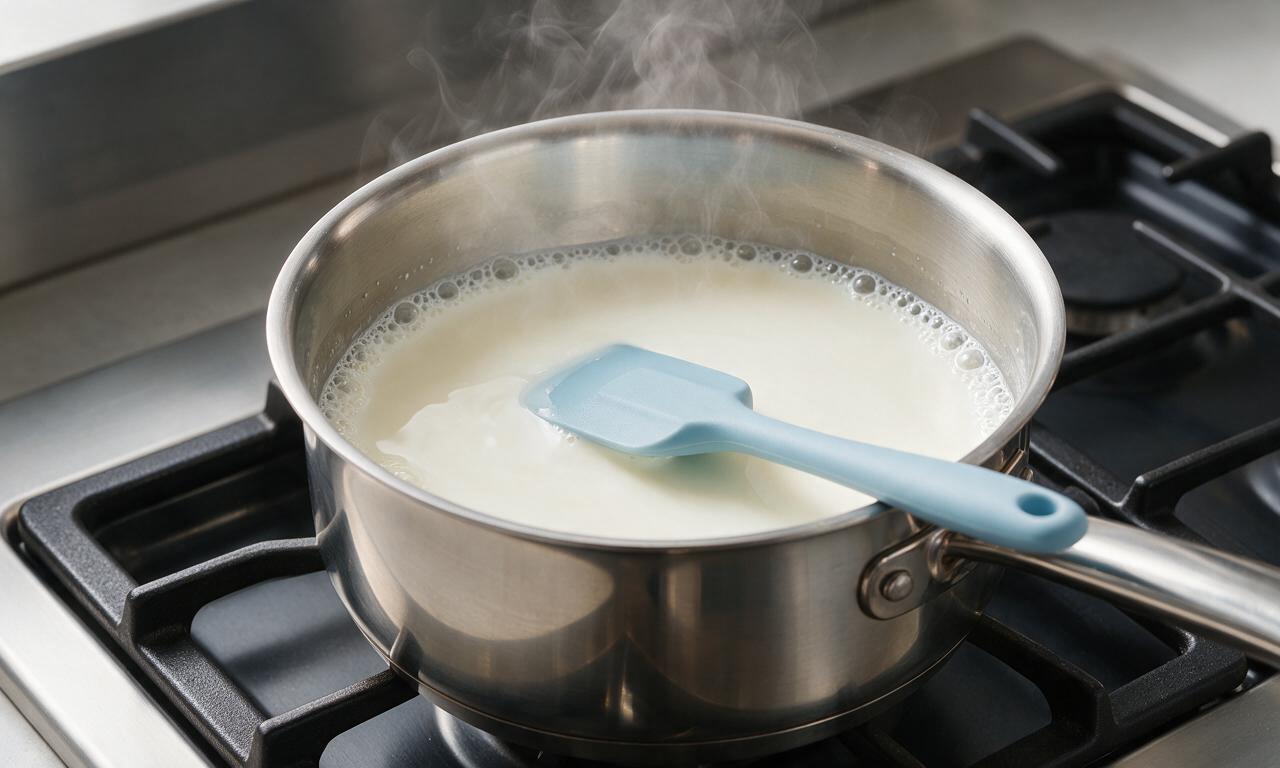
Heat milk to simmer
Pour 500ml whole milk into a heavy-bottomed saucepan over medium-low heat (3/10 heat setting). Warm for 3-4 minutes, stirring occasionally, until the milk reaches a gentle simmer (small bubbles forming around the pan edges, 82°C / 180°F) — do not bring to a rolling boil.
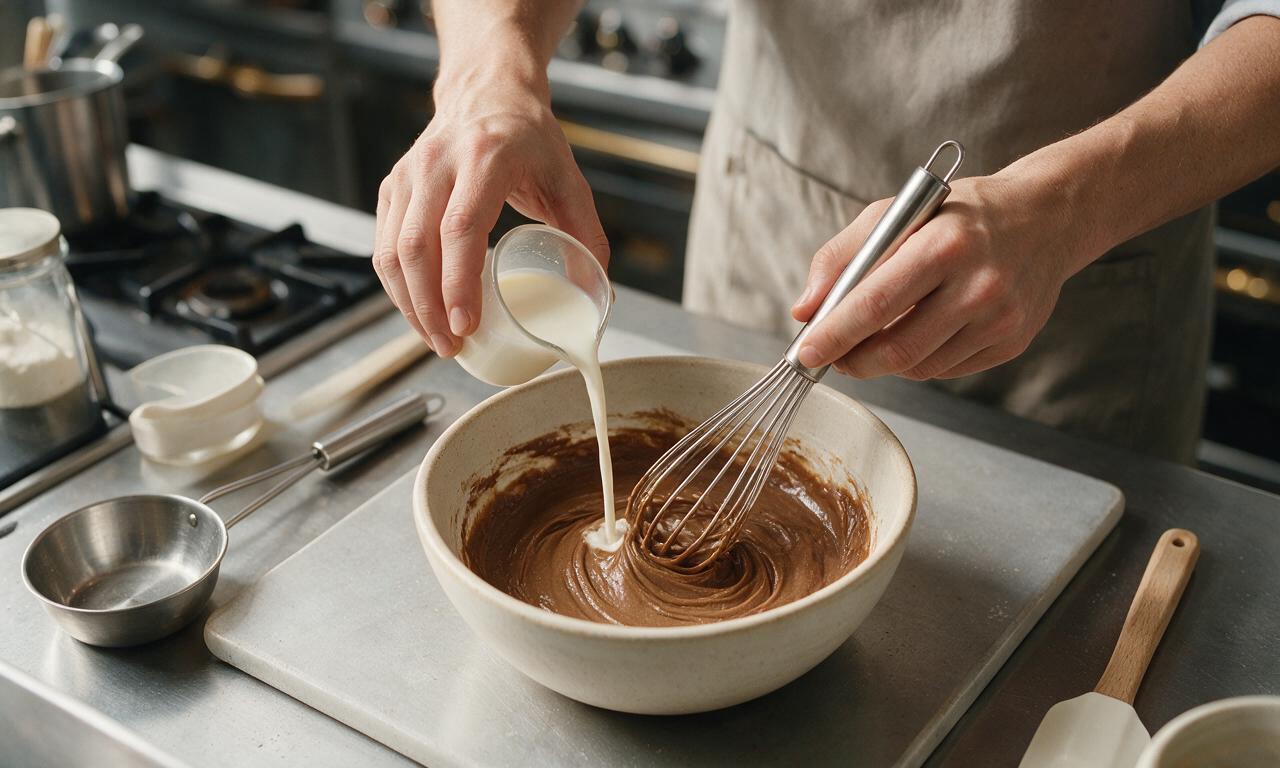
Temper thickener slurry
Slowly pour 120ml (1/2 cup) of the warm milk into the bowl of dry ingredients, whisking constantly at a fast pace to create a smooth, lump-free slurry. Pour the slurry back into the saucepan with the remaining warm milk, stirring continuously to combine.
Cook to thicken
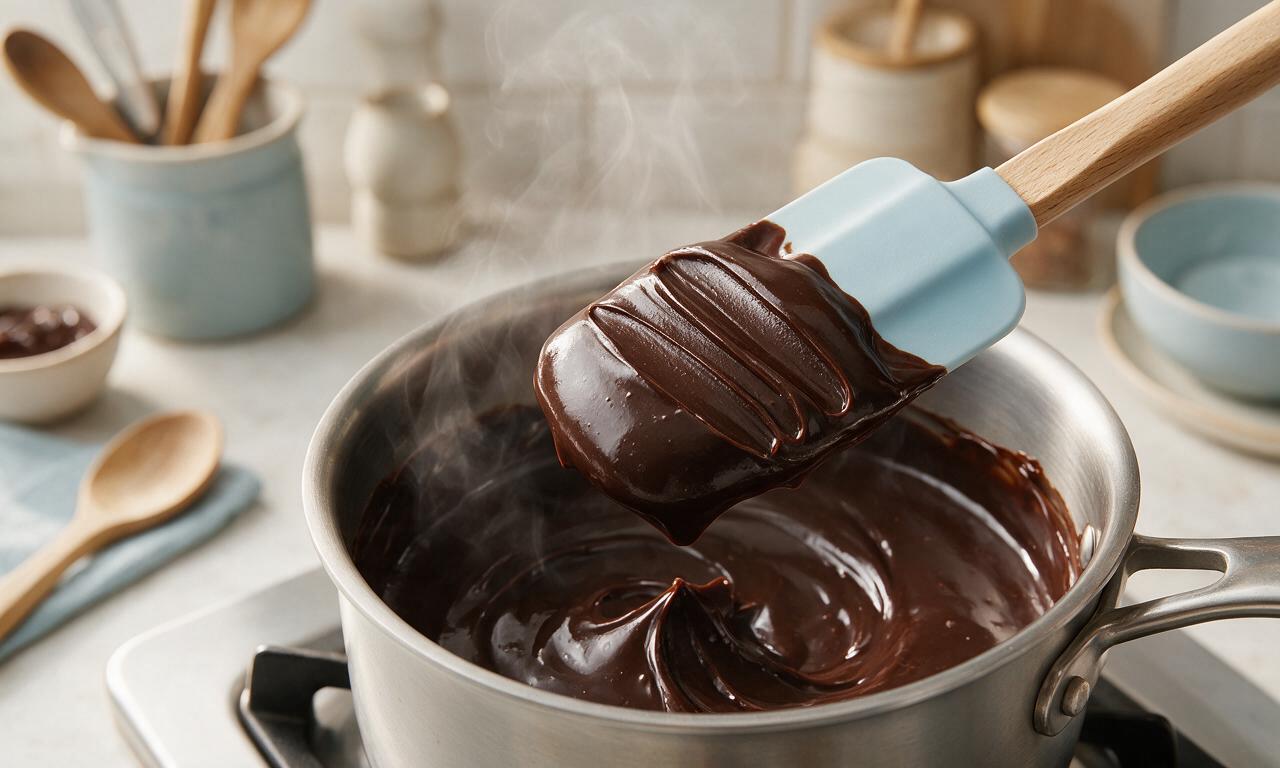
Keep the pan over medium-low heat, stirring constantly with a silicone spatula (scraping the bottom and corners of the pan to prevent burning) for 4-5 minutes, until the mixture thickens to a coat-the-spoon consistency (it will leave a clear, defined line when you run your finger across the coated spatula).
Add chocolate flavorings
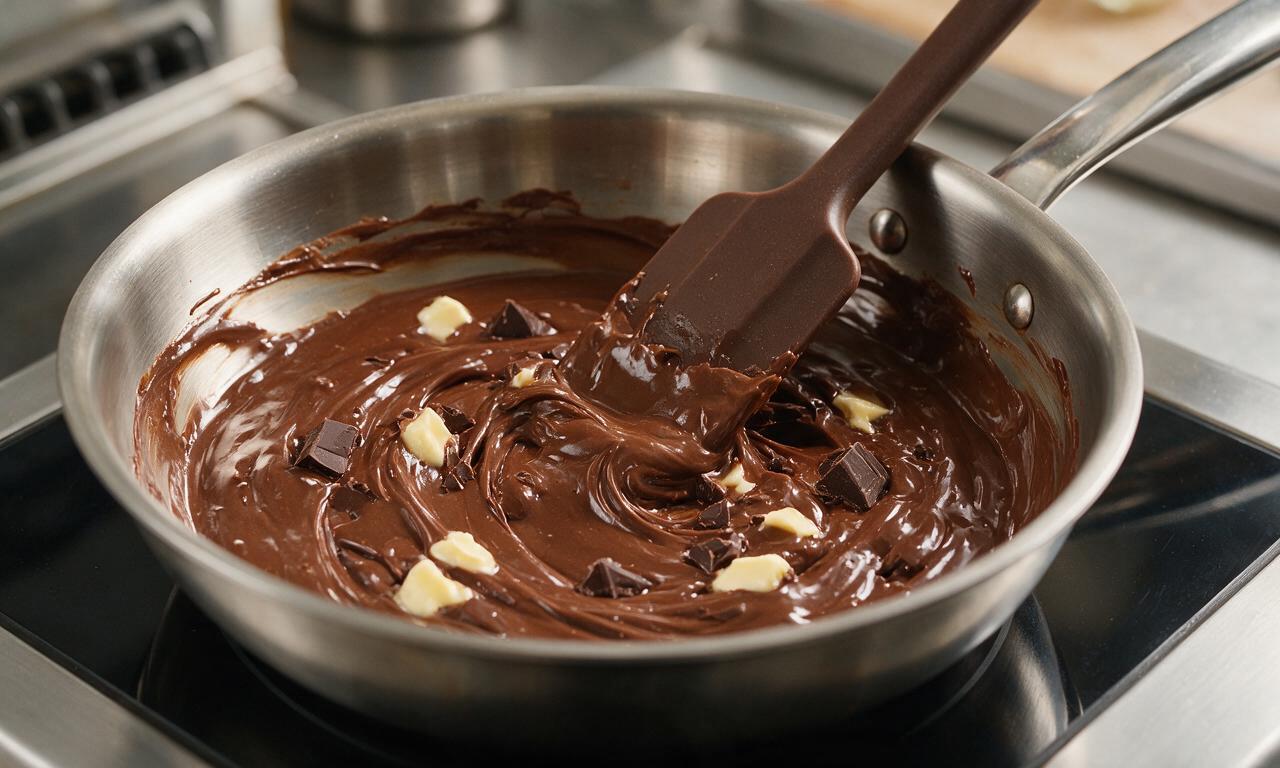
Remove the pan from heat immediately. Add 120g chopped dark chocolate, 28g unsalted butter, and 5ml vanilla extract. Stir vigorously for 1-2 minutes until all chocolate and butter are fully melted, and the pudding is completely smooth and glossy with no streaks.
Chill to set
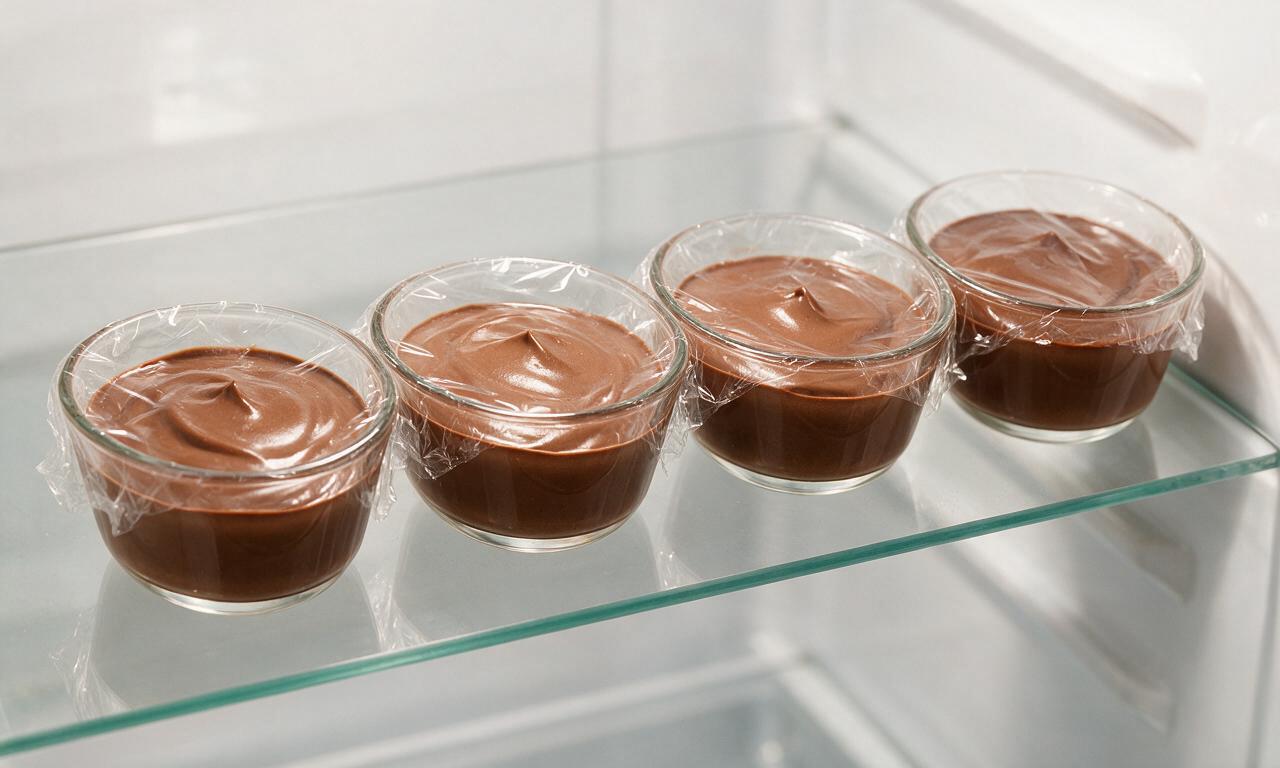
Pour the hot pudding evenly into 4 individual 120ml (1/2 cup) ramekins. Press a small piece of plastic wrap directly onto the surface of each pudding to prevent a skin from forming. Refrigerate for a minimum of 2 hours, until fully chilled and set to a soft, silky consistency.
Tips
2.Press plastic wrap directly onto the surface of the warm pudding (not just stretched over the top of the ramekin) to stop a thick, tough skin from forming as the pudding chills.
3.For an ultra-silky texture, pour the finished hot pudding through a fine-mesh sieve before portioning into ramekins to catch any tiny lumps of undissolved cornstarch or chocolate.






OMG this is SO good! I made this last night for my kids’ after-school snack and they begged for seconds before they even finished their first bowl. My kids loved it so much they asked if we could make it our official Friday movie night treat. I was nervous it’d be lumpy like the old boxed mix attempts I’ve messed up before, but the stovetop method was so easy even for a terrible cook like me. Perfectly rich and creamy, not too sweet. Total game changer for weeknight treats!
Total home run! Super easy to throw together, clocked in at right around 20 minutes of active time like the recipe said, then I just popped it in the fridge to chill while I made dinner. I portioned these out into little 4oz glass jars for my weekly work meal prep snacks, and they held up perfectly in the fridge for four whole days without getting weirdly watery or developing that thick skin on top. I swapped in 70% dark chocolate instead of semi-sweet for a deeper, less sweet flavor, and it was chef’s kiss. Only quick heads up for new cooks: don’t walk away from the stove while it’s thickening! It goes from runny to perfectly pudding consistency in like 60 seconds if you’re not paying attention.
Quick question before I whip this up this weekend! Has anyone tried using barista blend oat milk instead of whole milk? I’m lactose intolerant and have been burned by so many dairy-free pudding attempts that turn out gummy, watery, or straight up chalky, but this homemade stovetop version looks way better than the sad boxed mixes I usually settle for. The easy difficulty level and 20 minute active cook time are right up my alley, since I’m definitely still learning my way around the kitchen and don’t have time for super fussy recipes!