
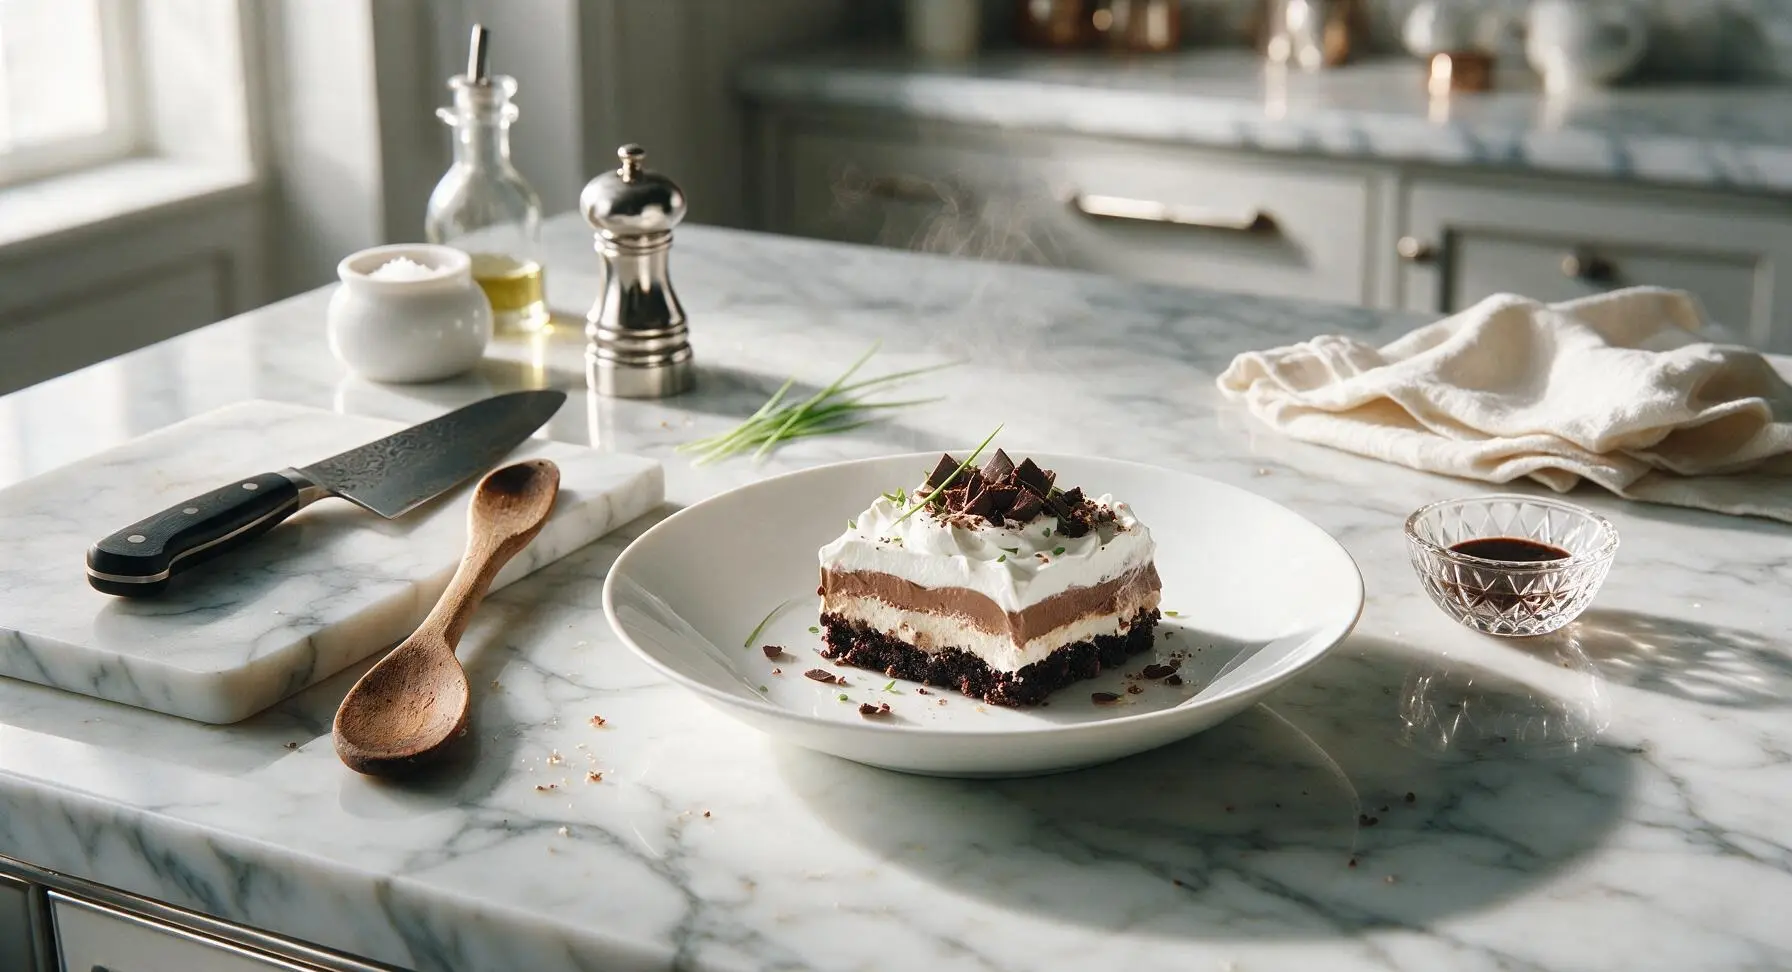
chocolate pudding cool whip dessert

title 1
chocolate pudding cool whip dessert
⏱️ cook time 5 minutes
🍽️ servings 8
⚡ Difficulty easy

intro

Creamy, no-bake layered chocolate pudding cool whip dessert with a crunchy chocolate cookie crust, light fluffy layers, and rich chocolate flavor—perfect for sharing on warm days.

Ingredients
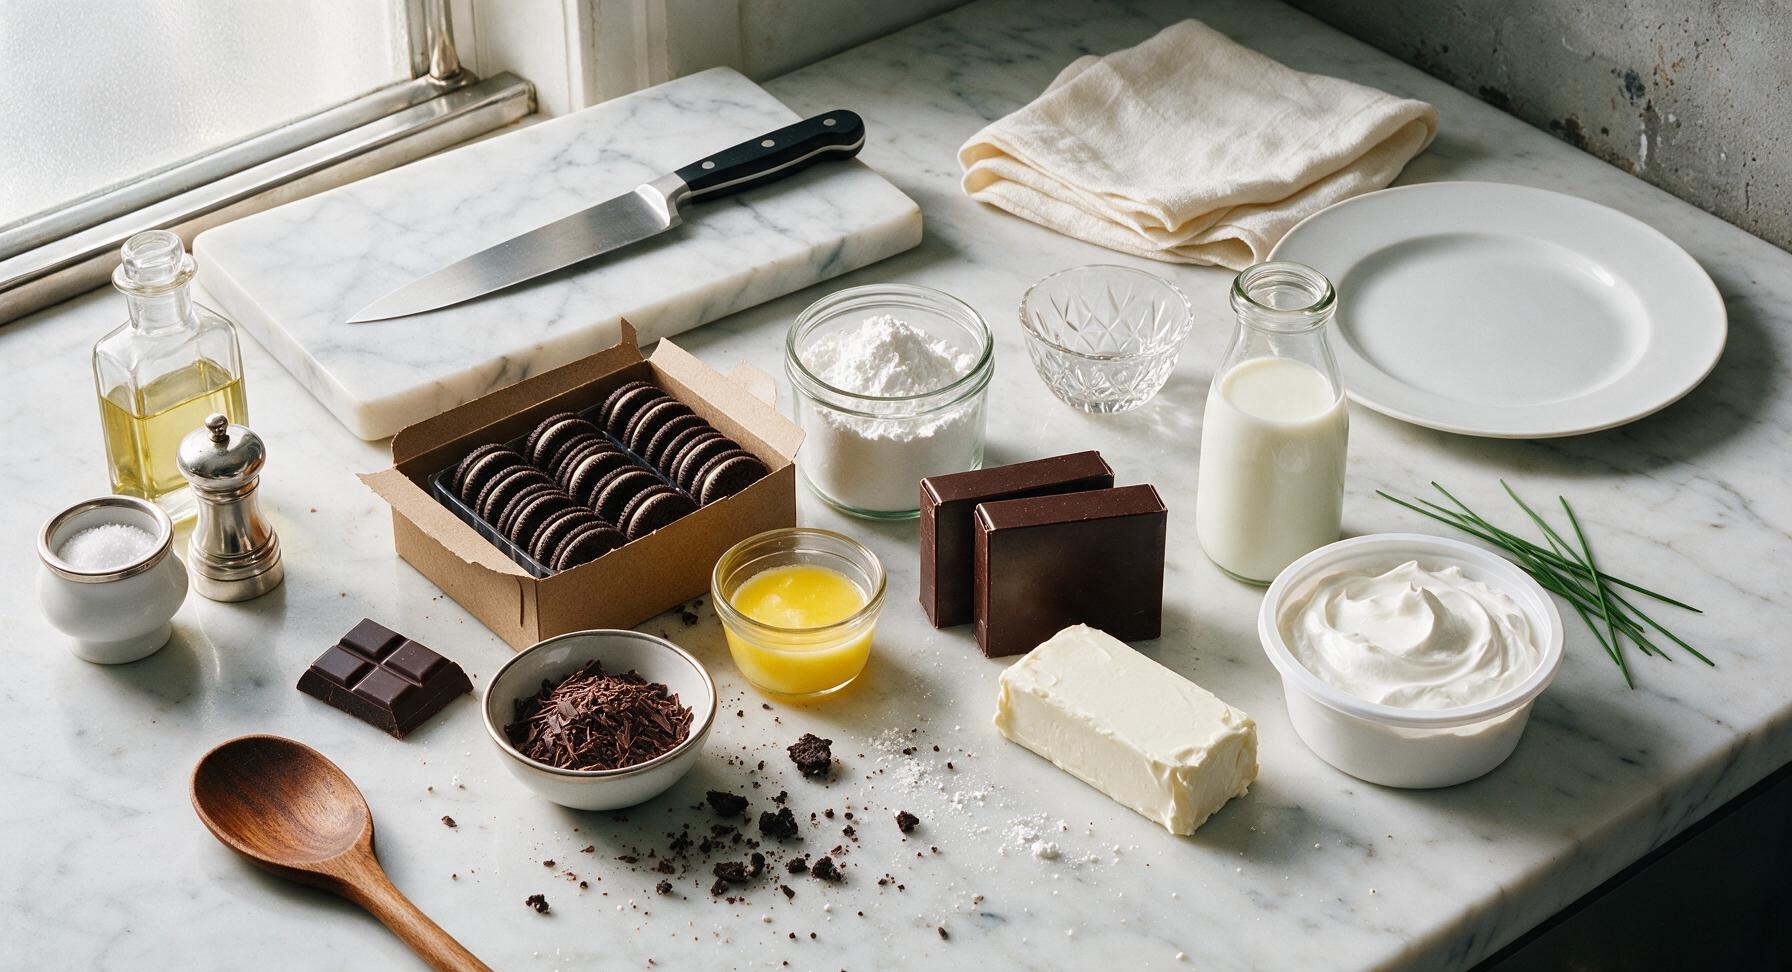
Creme-filled chocolate sandwich cookies 24 whole (2 cups finely crushed)
Unsalted butter 6 tbsp (85g), melted
Full-fat cream cheese 8 oz (226g), softened to room temperature
Powdered sugar 1 cup (120g)
Frozen whipped topping (Cool Whip) 16 oz (454g) tub, thawed, divided
Instant chocolate pudding mix 2 (3.9 oz/110g) boxes
Cold whole milk 3 1/4 cups (770ml)
Dark chocolate bar 1 oz (28g), for shavings

Steps

1

Crush cookie crumbs

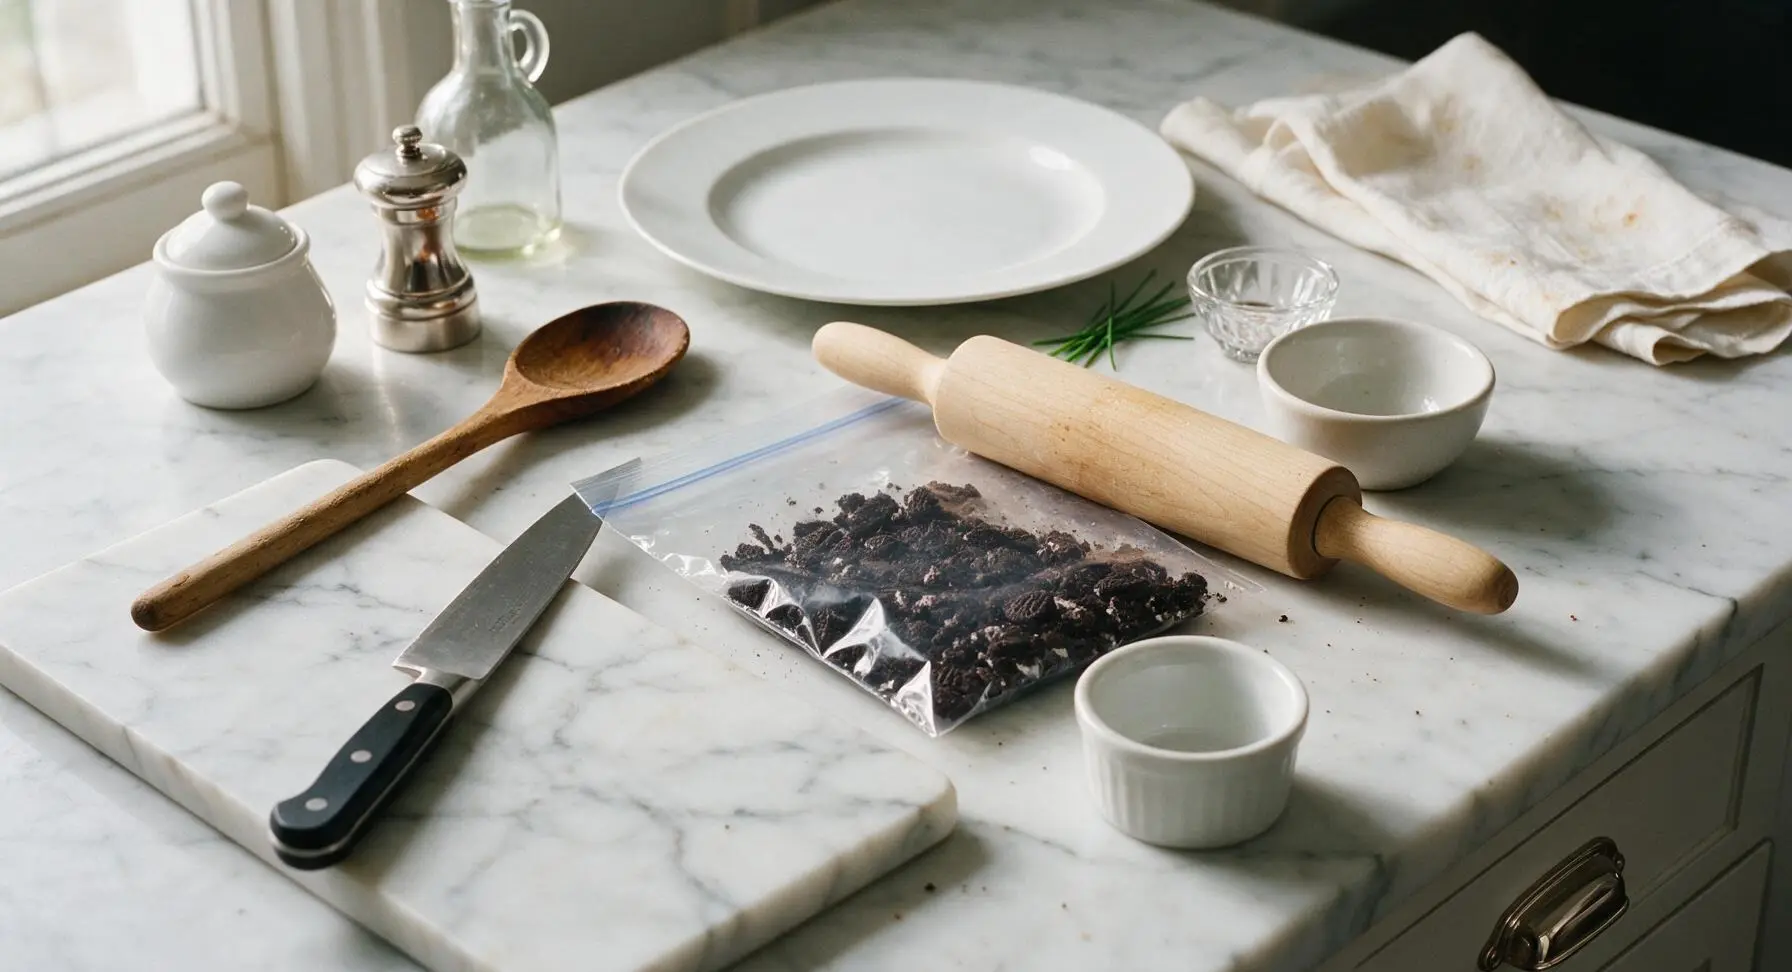
Place all 24 chocolate sandwich cookies into a 1-gallon resealable zip-top bag, press out excess air, and seal completely. Use the light maple rolling pin to firmly roll back and forth over the bag until cookies are crushed into uniform fine crumbs, with no pieces larger than a pea. Measure to confirm you have 2 cups of crumbs, then transfer crumbs to the small matte white ceramic mixing bowl.
Step 1
step1:Crush cookie crumbs
2

Press crust into pan

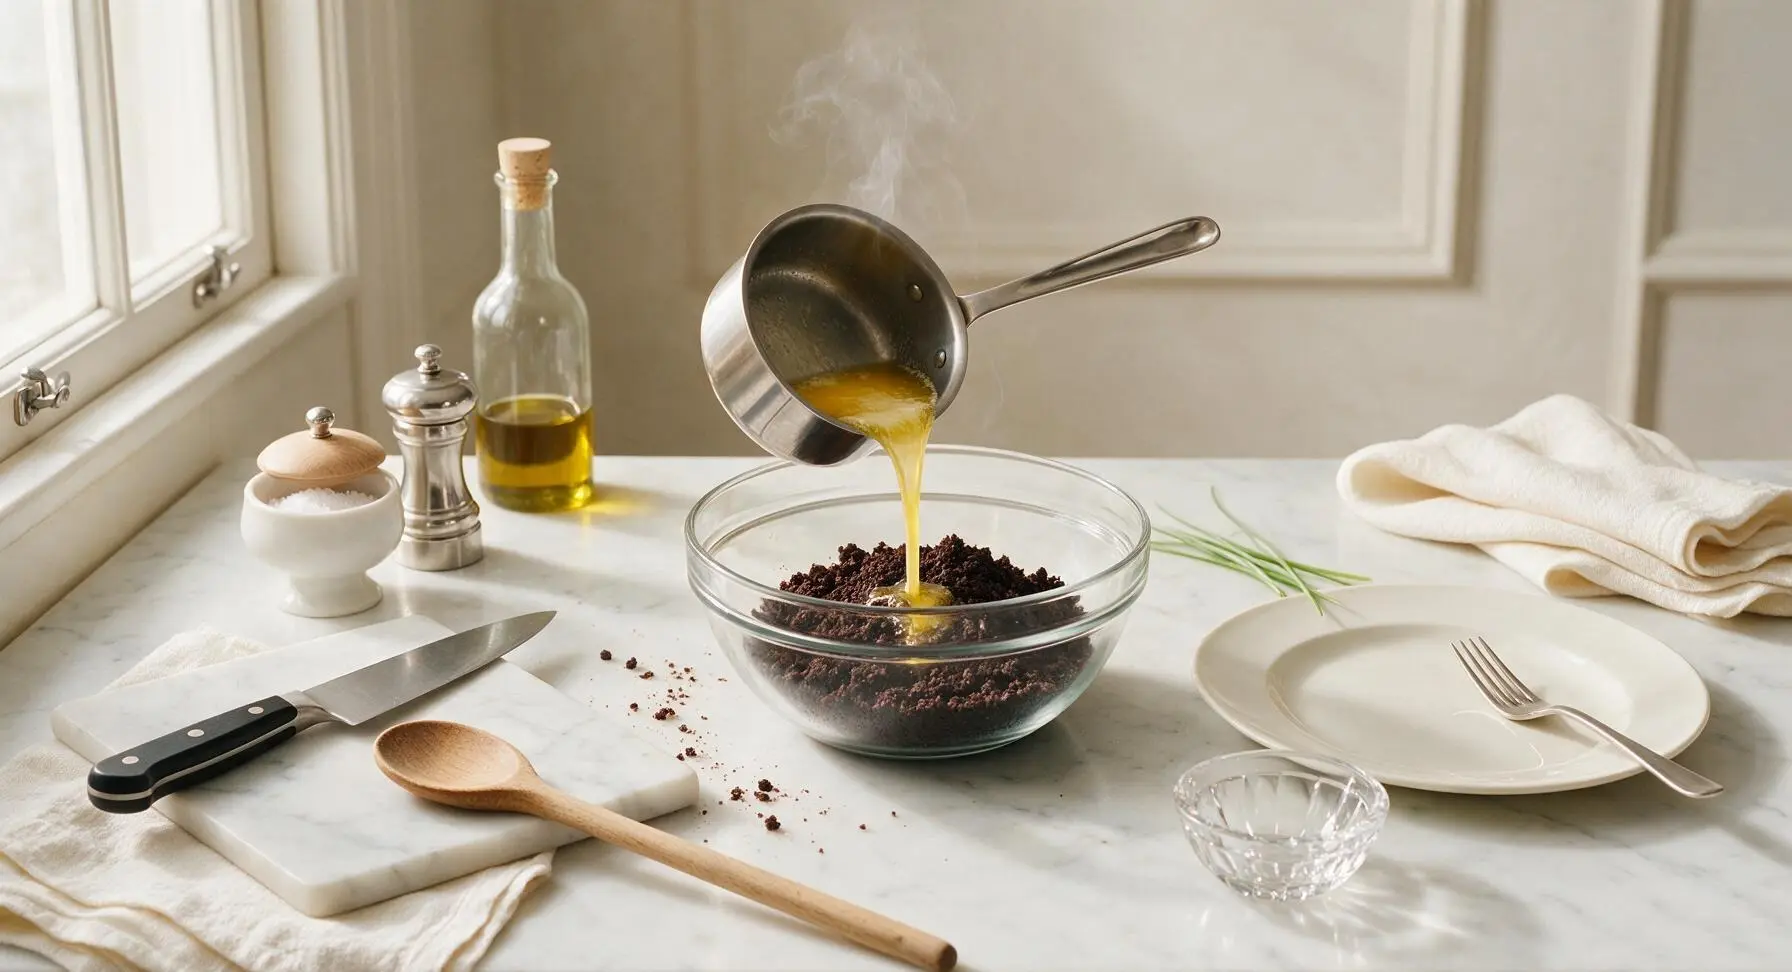
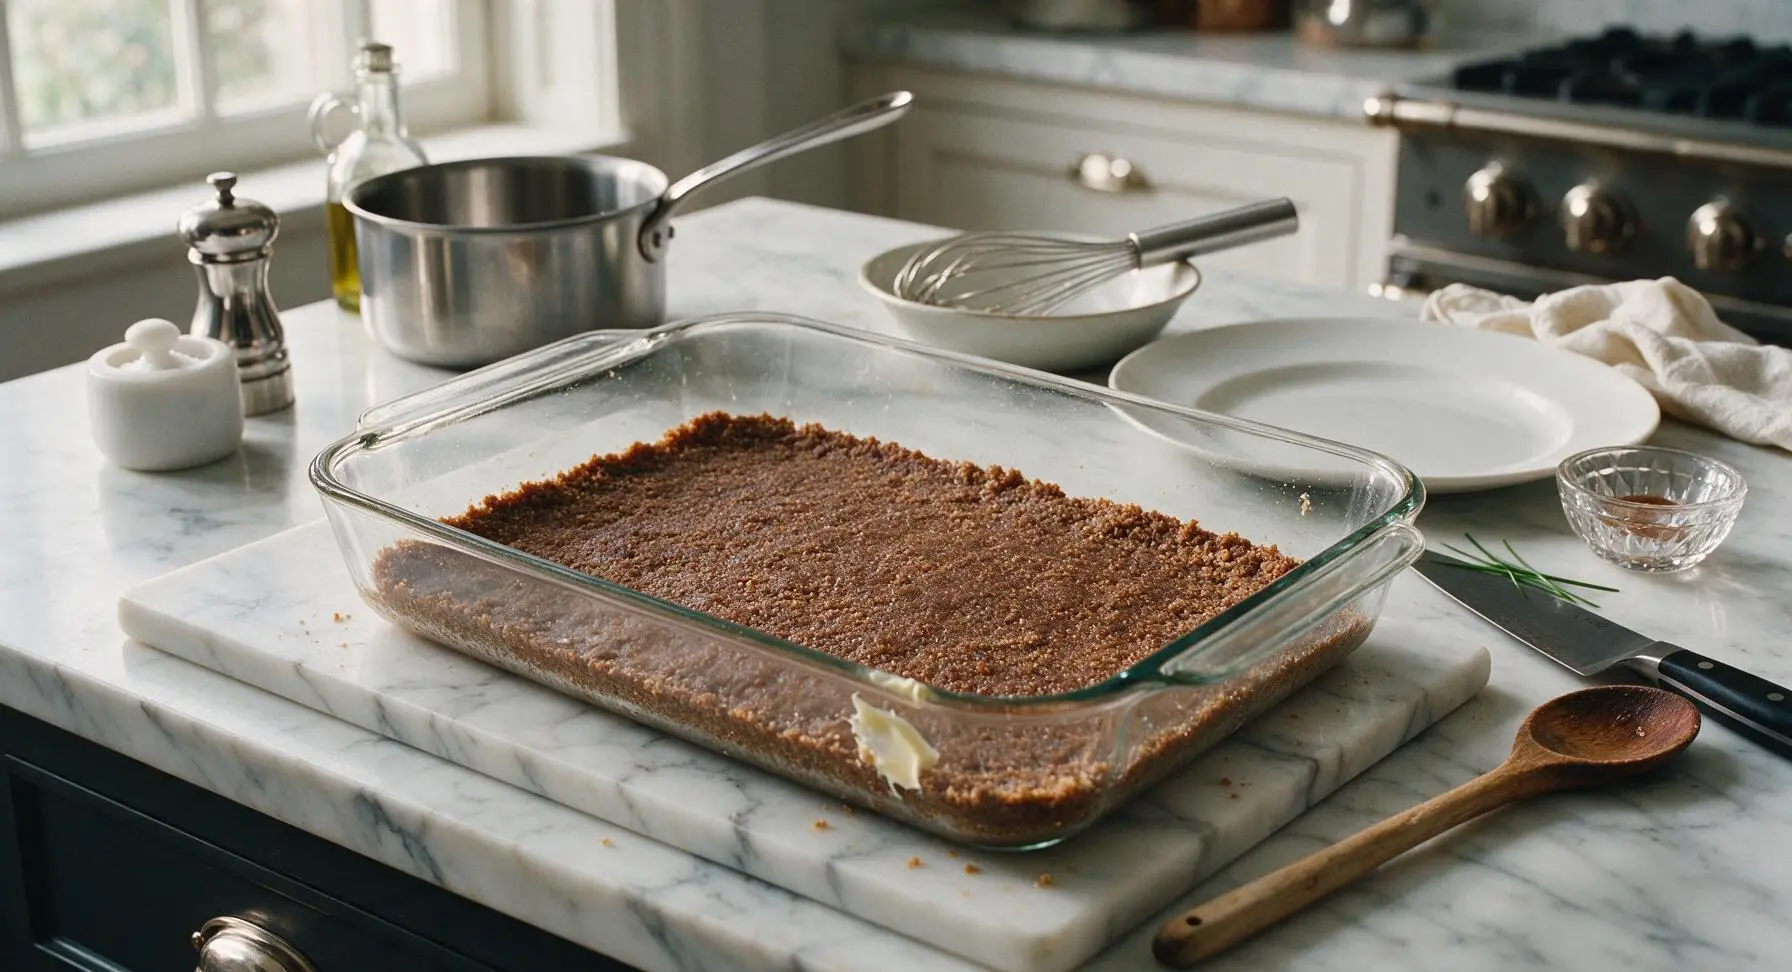
Melt the 6 tbsp unsalted butter in the 1.5L stainless steel saucepan over low heat for 1 minute, until fully liquid with no solid pieces remaining. Pour the melted butter into the small mixing bowl with the cookie crumbs. Use the stainless steel whisk to stir until every crumb is evenly coated with butter, with no dry crumb pockets left. Pour the buttered crumb mixture into the center of the 9x13 inch clear glass baking dish. Use the flat bottom of a dry measuring cup to press the crumbs firmly into an even, compact layer across the entire bottom of the dish, with no gaps or thin spots.
Step 2
step2:Press crust into pan
Step 2
step2:Press crust into pan
3

Mix cream cheese layer

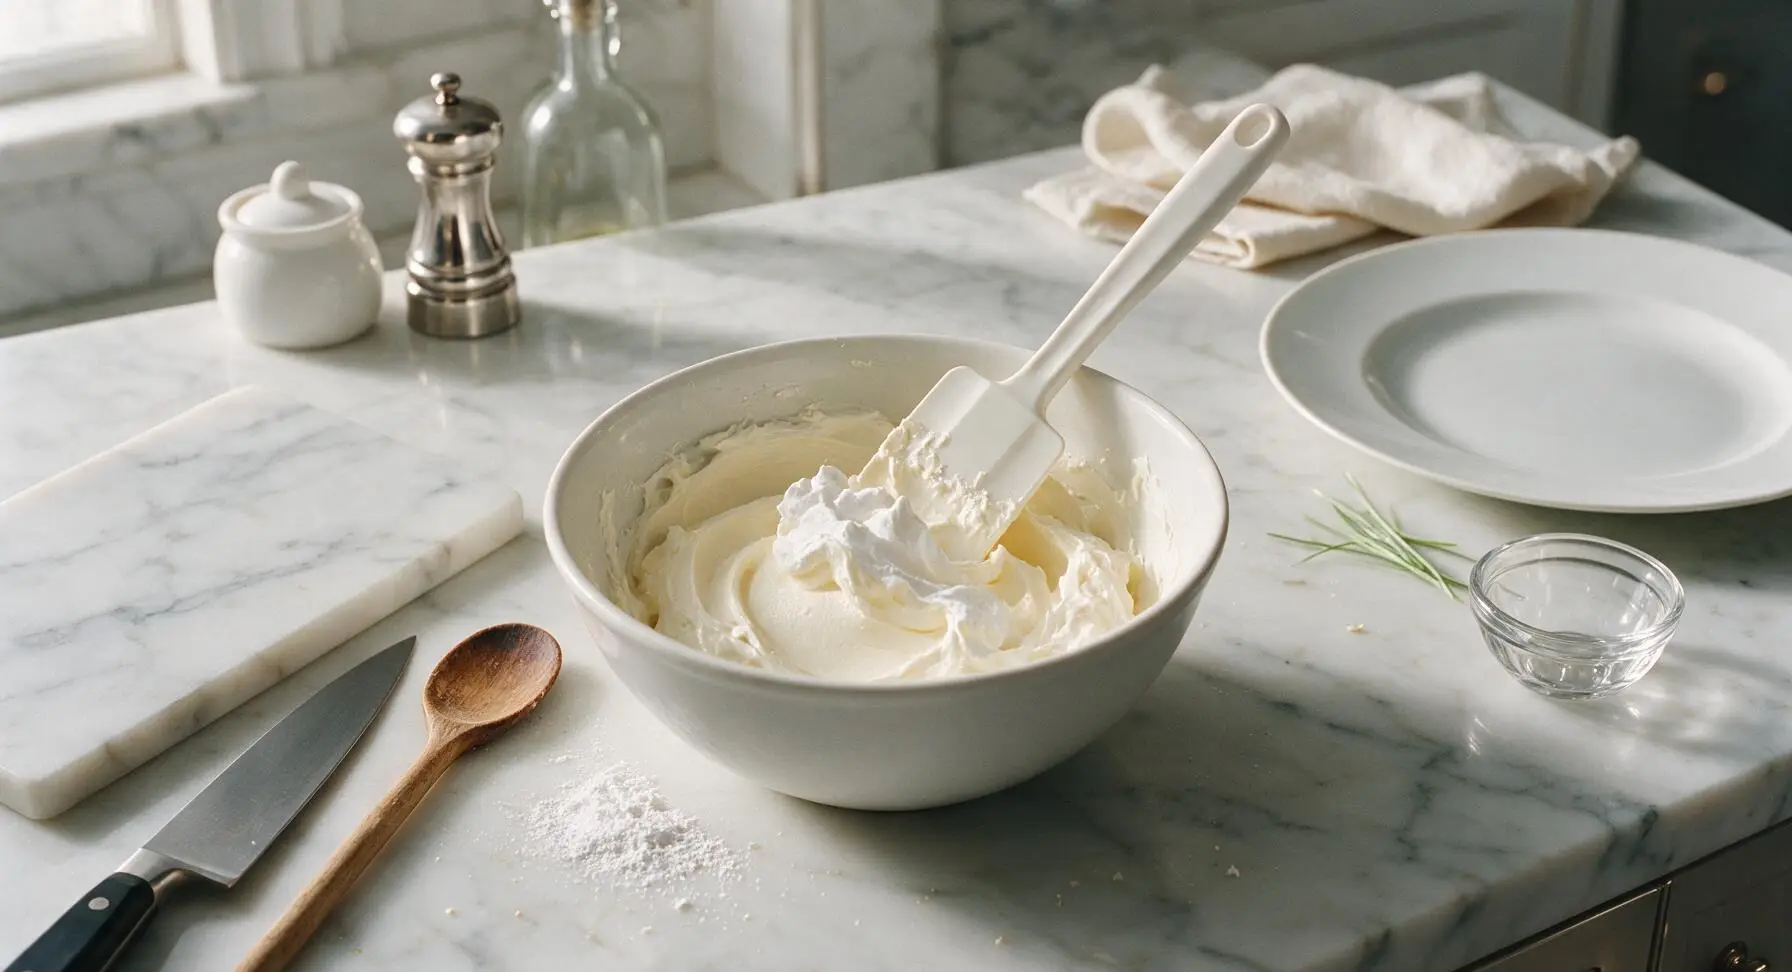
Place the 8 oz softened full-fat cream cheese into the medium matte white ceramic mixing bowl. Use the silicone spatula to beat the cream cheese for 1 minute until it is completely smooth, with no lumps remaining. Add the 1 cup powdered sugar, and stir gently at first to avoid a powdered sugar cloud, then mix for 30 seconds until fully combined. Fold in 1 1/2 cups of the thawed whipped topping, stirring gently until the mixture is light, fluffy, and uniform in pale off-white color, with no white streaks.
Step 3
step3:Mix cream cheese layer
4

Spread cream cheese layer

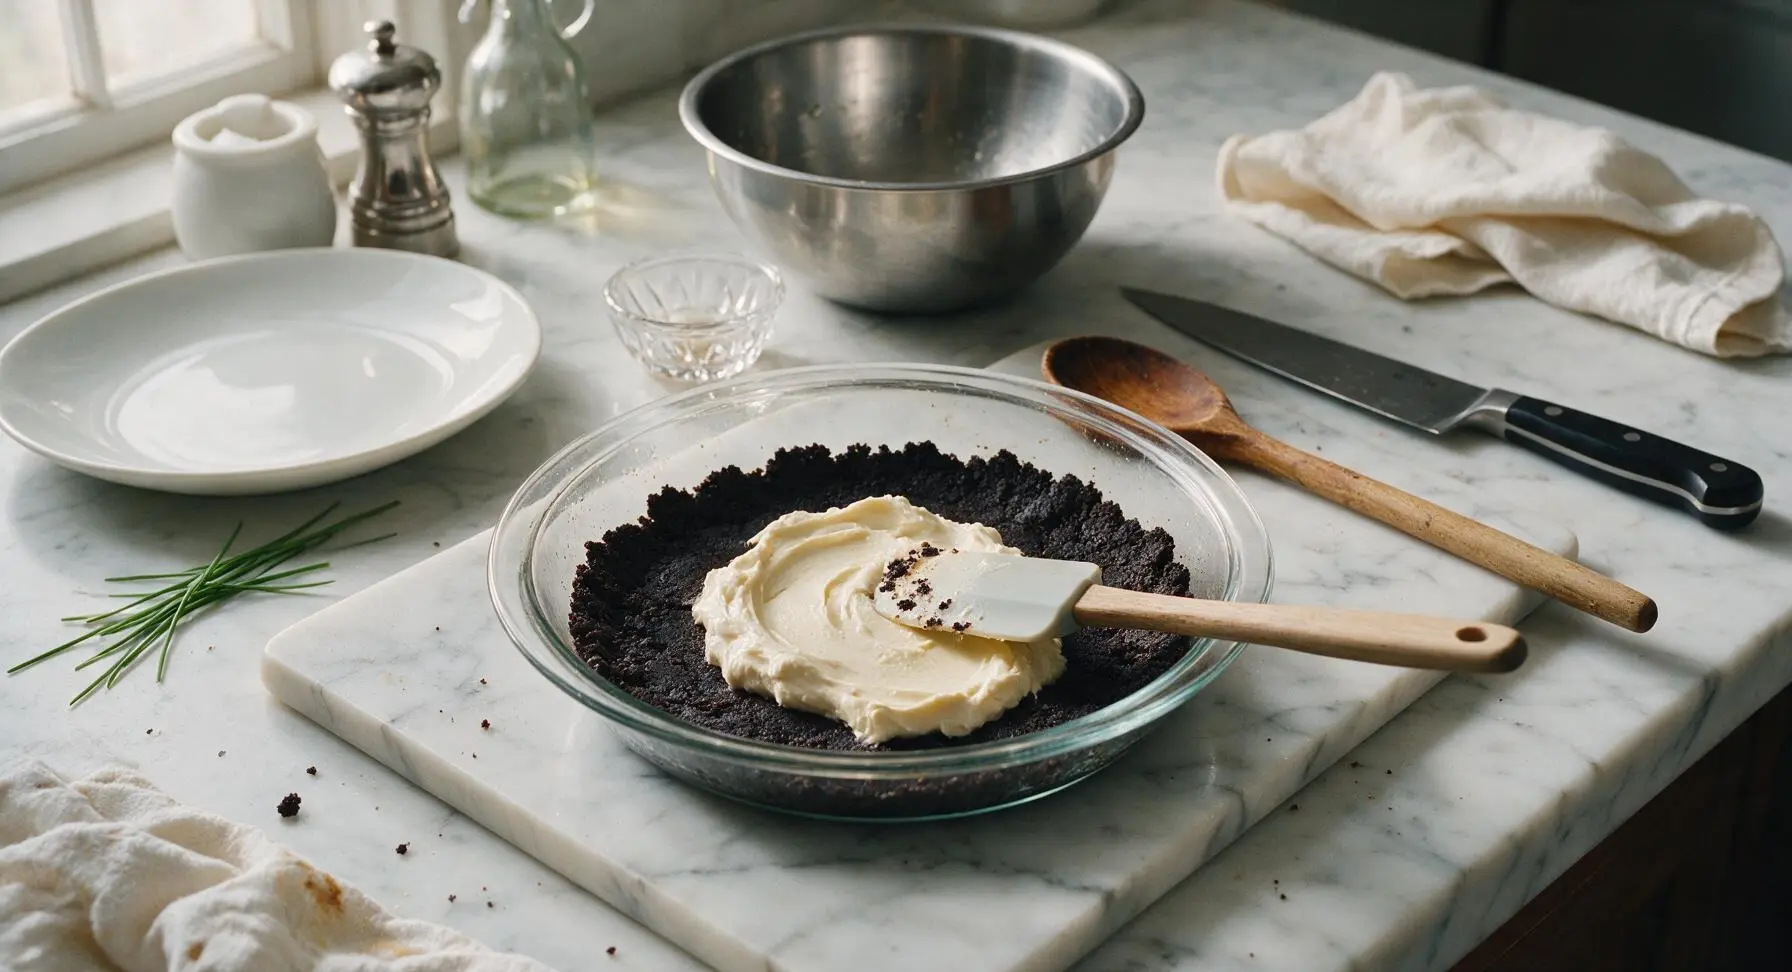
Scoop all of the cream cheese and whipped topping mixture onto the center of the pressed cookie crust in the baking dish. Use the silicone spatula to gently spread the mixture into a thin, even layer across the entire crust, taking care not to lift crumbs up into the cream layer. The layer should be uniform in thickness, with no bare spots of crust showing through.
Step 4
step4:Spread cream cheese layer
5

Mix chocolate pudding

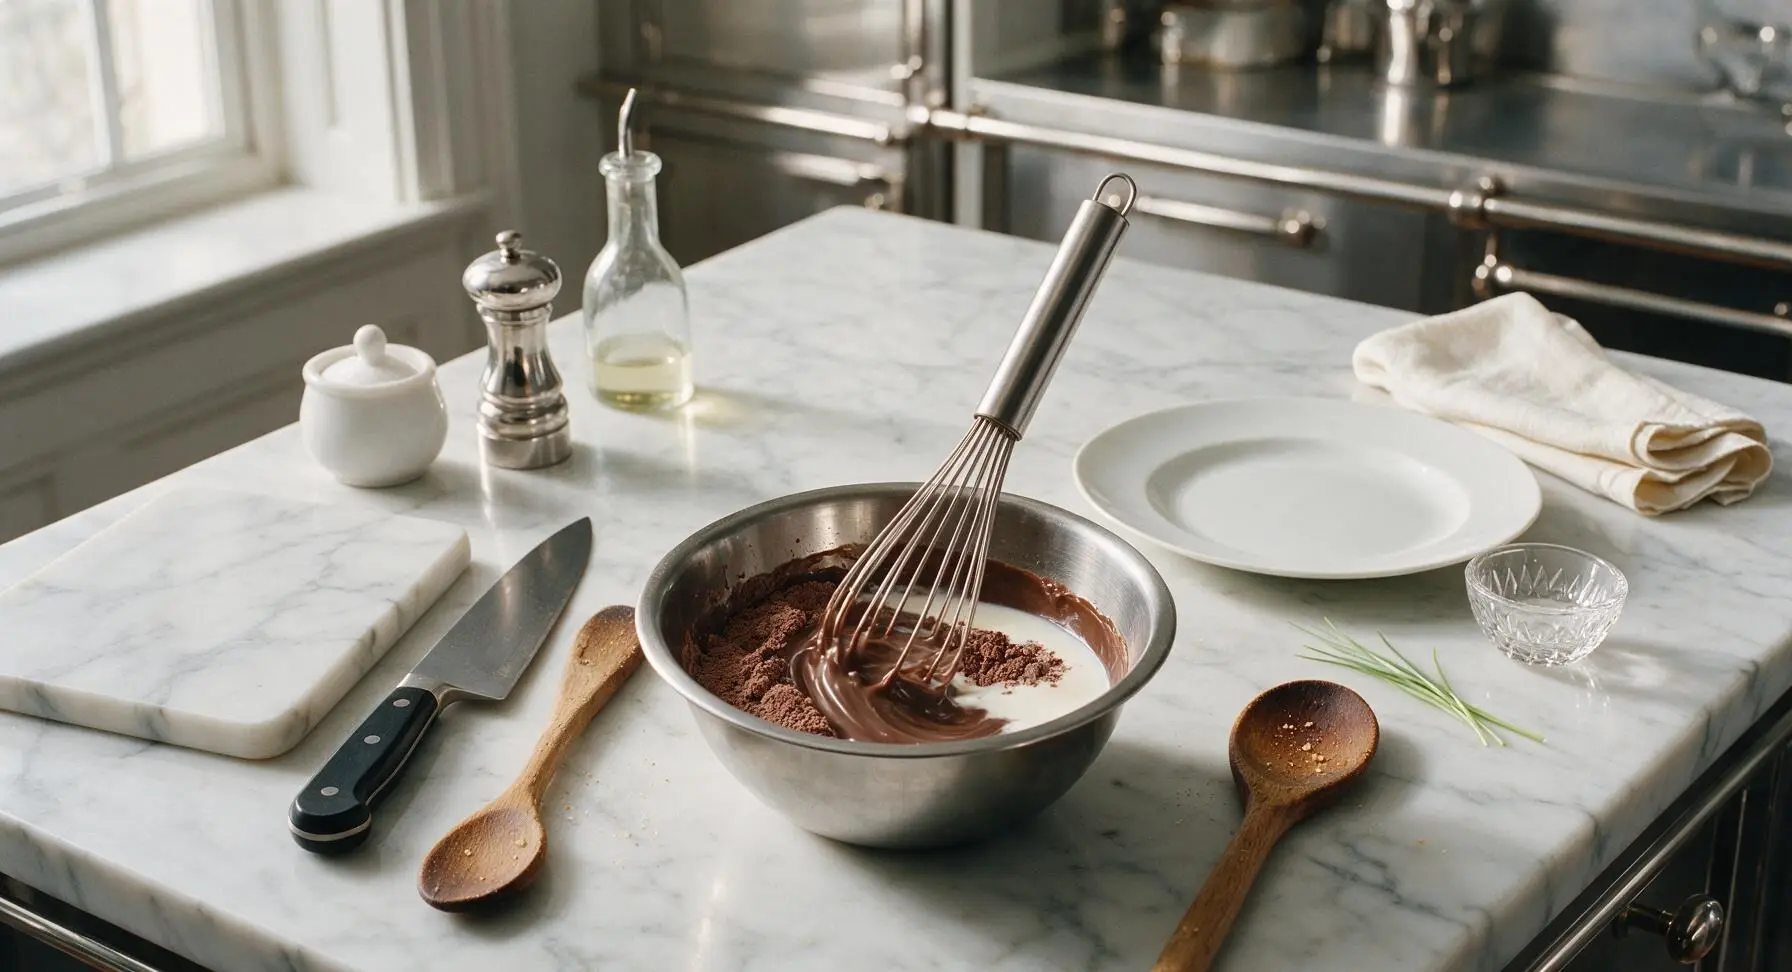
Pour both boxes of instant chocolate pudding mix into the now-empty small mixing bowl. Add 3 1/4 cups cold whole milk, and use the stainless steel whisk to beat continuously for 2 minutes, until the pudding is thick, smooth, and completely free of lumps. Let the pudding rest for 5 minutes to set slightly; it should be thick enough to hold a soft peak when the whisk is lifted.
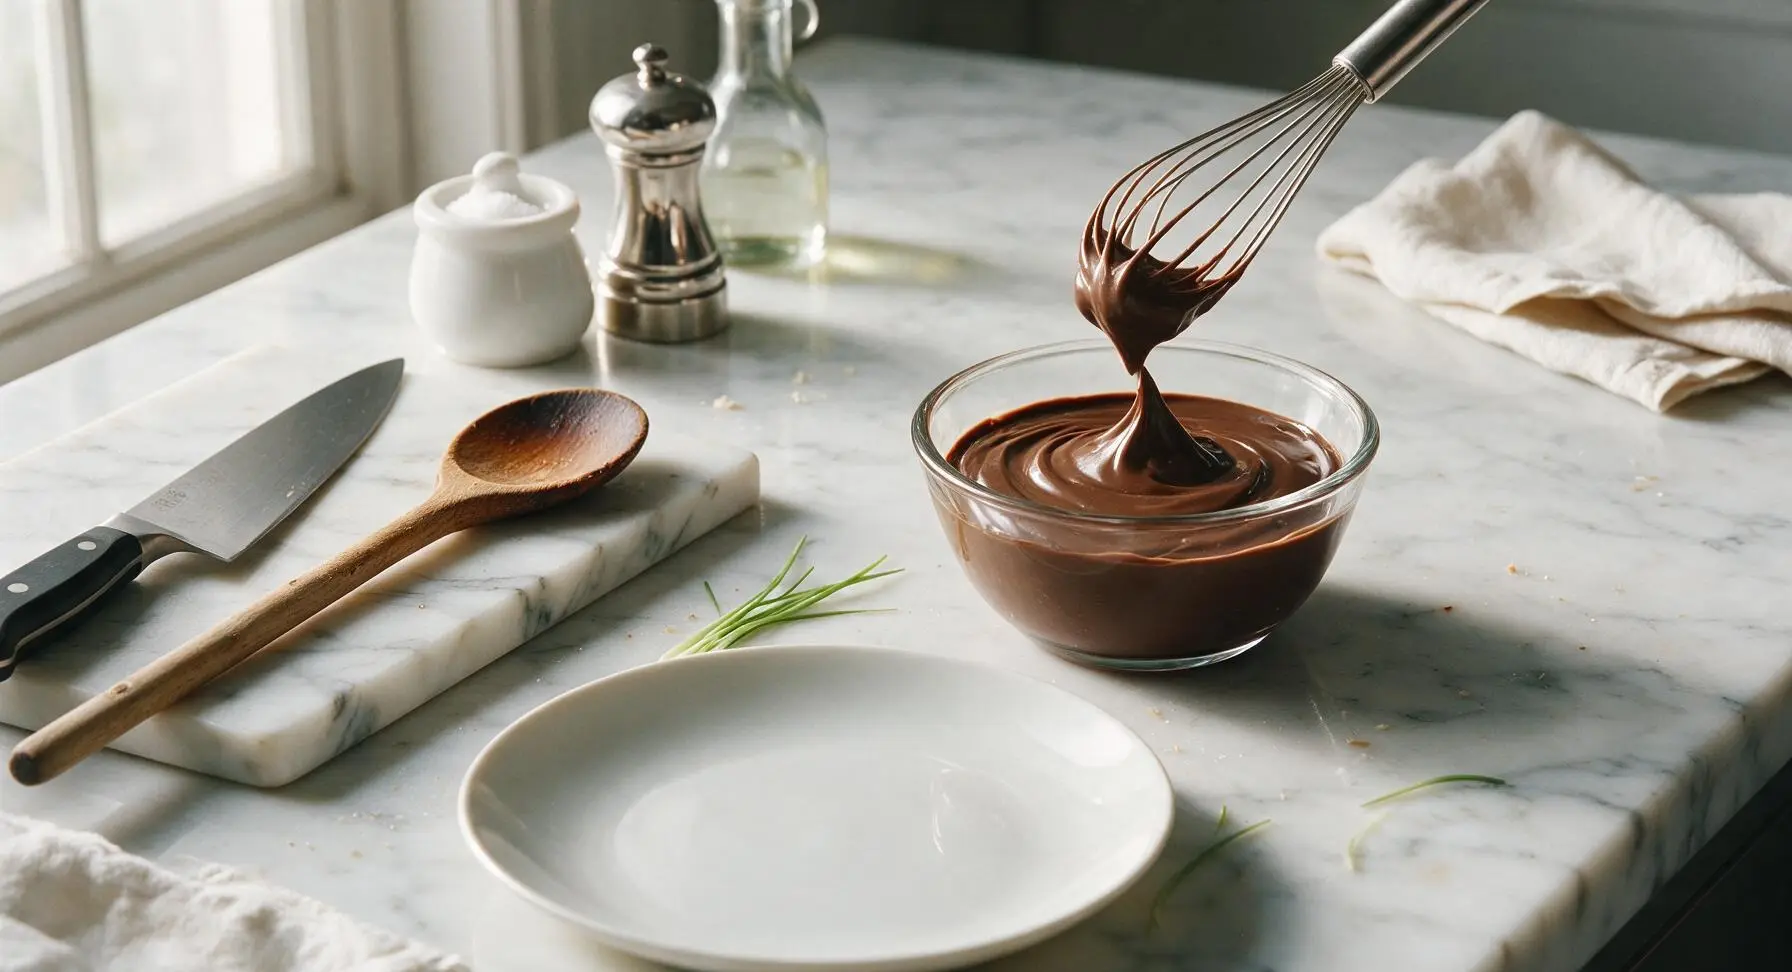
Step 5
step5:Mix chocolate pudding
Step 5
step5:Mix chocolate pudding
6

Add pudding layer

Once the pudding has set slightly, pour all of it over the cream cheese layer in the baking dish. Use the silicone spatula to spread the pudding gently into an even layer across the entire surface of the cream cheese, taking care not to mix the two layers together. The pudding layer should be smooth and of uniform thickness, covering all of the cream cheese below.
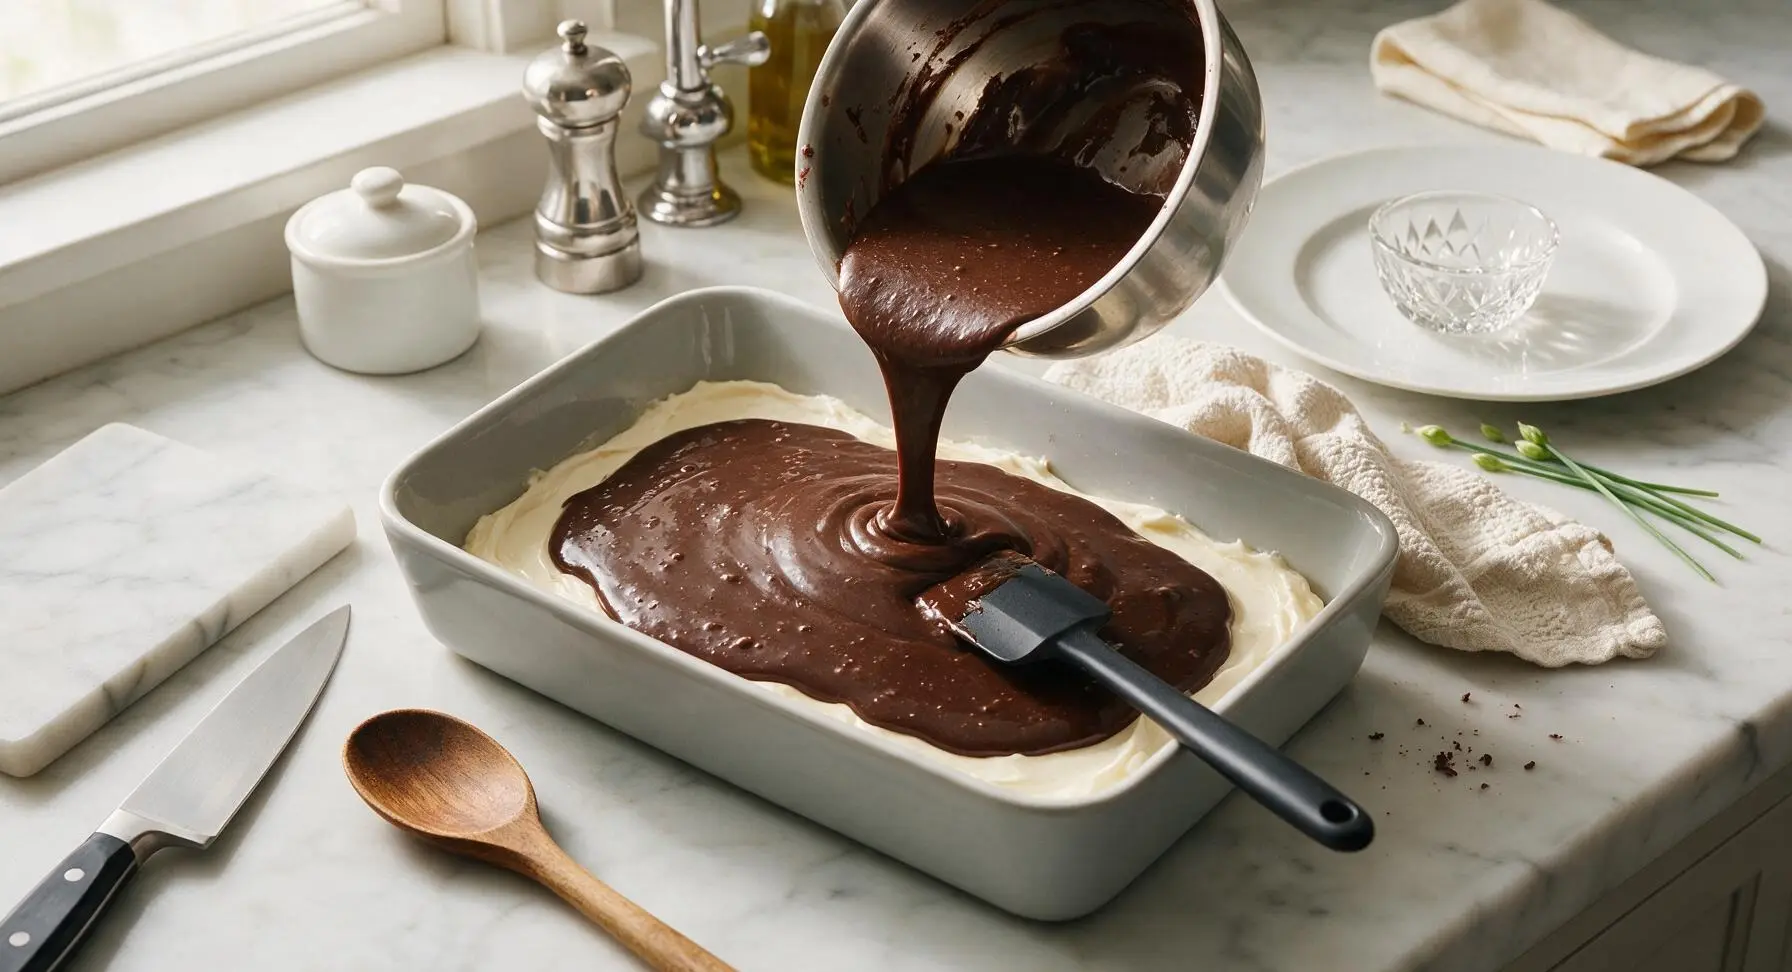
Step 6
step6:Add pudding layer
7

Top with whipped topping

Scoop the remaining thawed whipped topping (approximately 2 1/2 cups) over the set chocolate pudding layer. Use the silicone spatula to spread the whipped topping gently into a fluffy, even layer across the entire top of the pudding, creating soft, decorative swirls in the surface as you spread. Take care not to press too hard, to avoid pulling pudding up into the whipped topping.
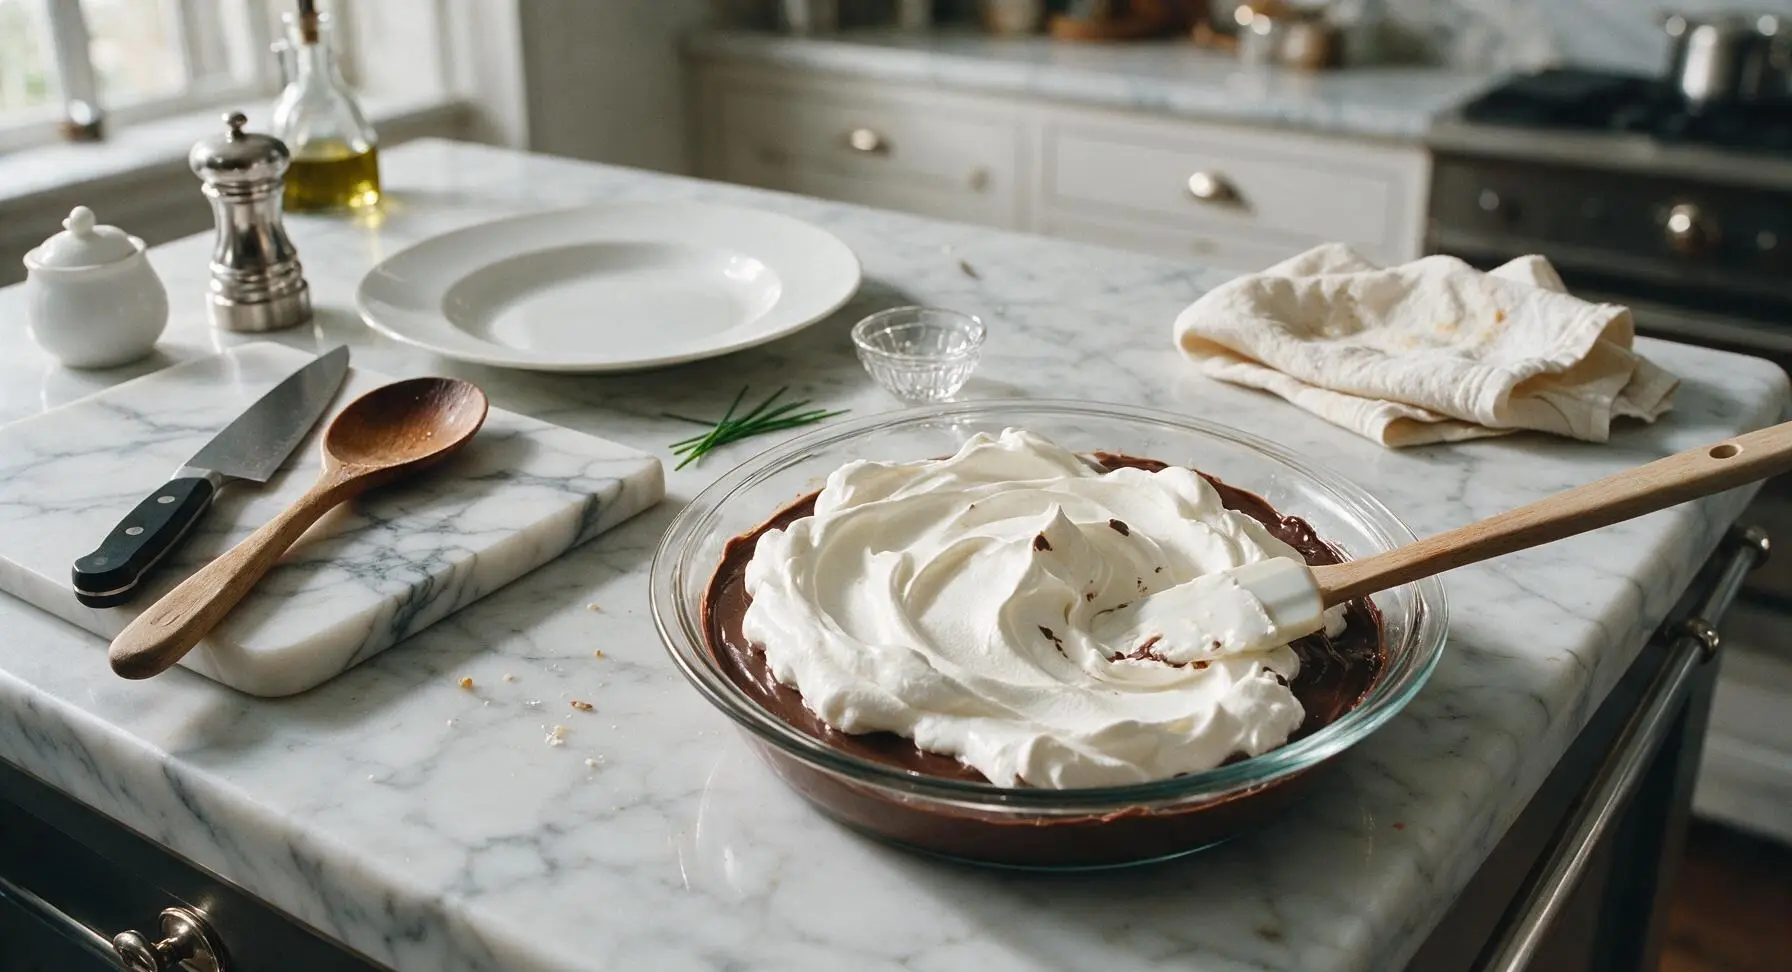
Step 7
step7:Top with whipped topping
8

Chill and garnish

Loosely cover the assembled baking dish with plastic wrap and refrigerate for a minimum of 2 hours (up to 24 hours for make-ahead prep) until layers are firm and fully set. Once chilled, remove plastic wrap, and sprinkle dark chocolate shavings from the glass storage jar evenly across the fluffy whipped topping surface. Use the stainless steel dessert knife to cut into 8 equal square slices, wiping the knife between cuts for clean, sharp edges.
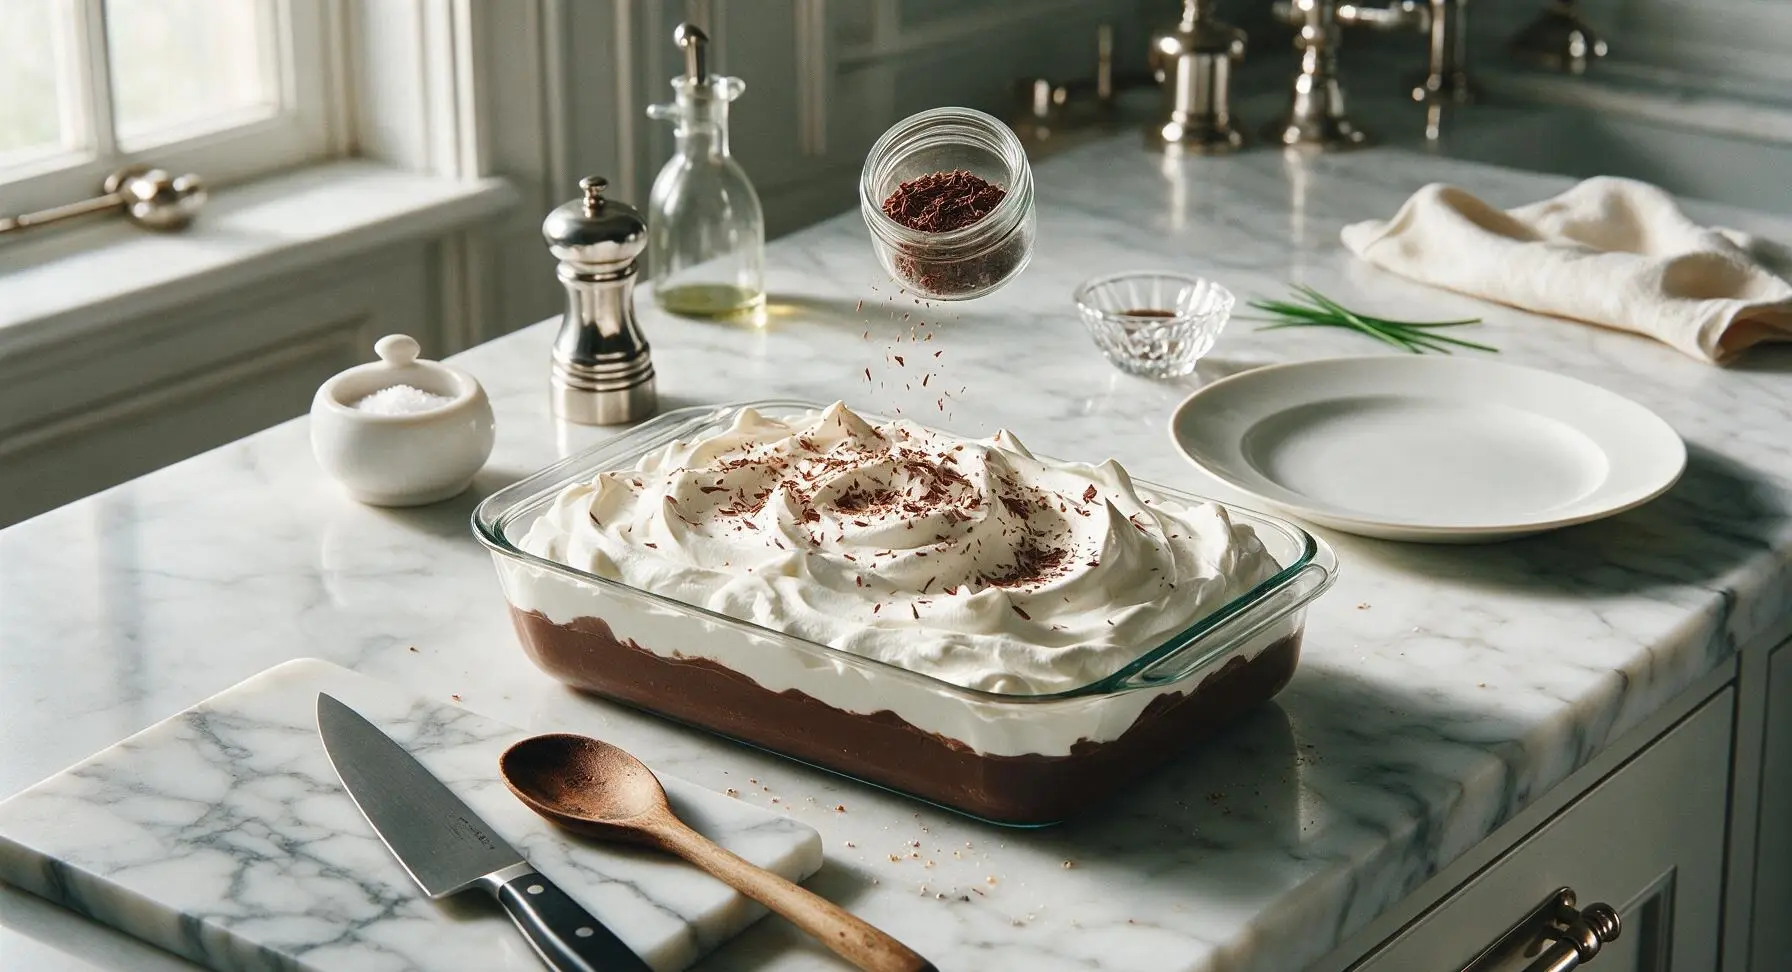
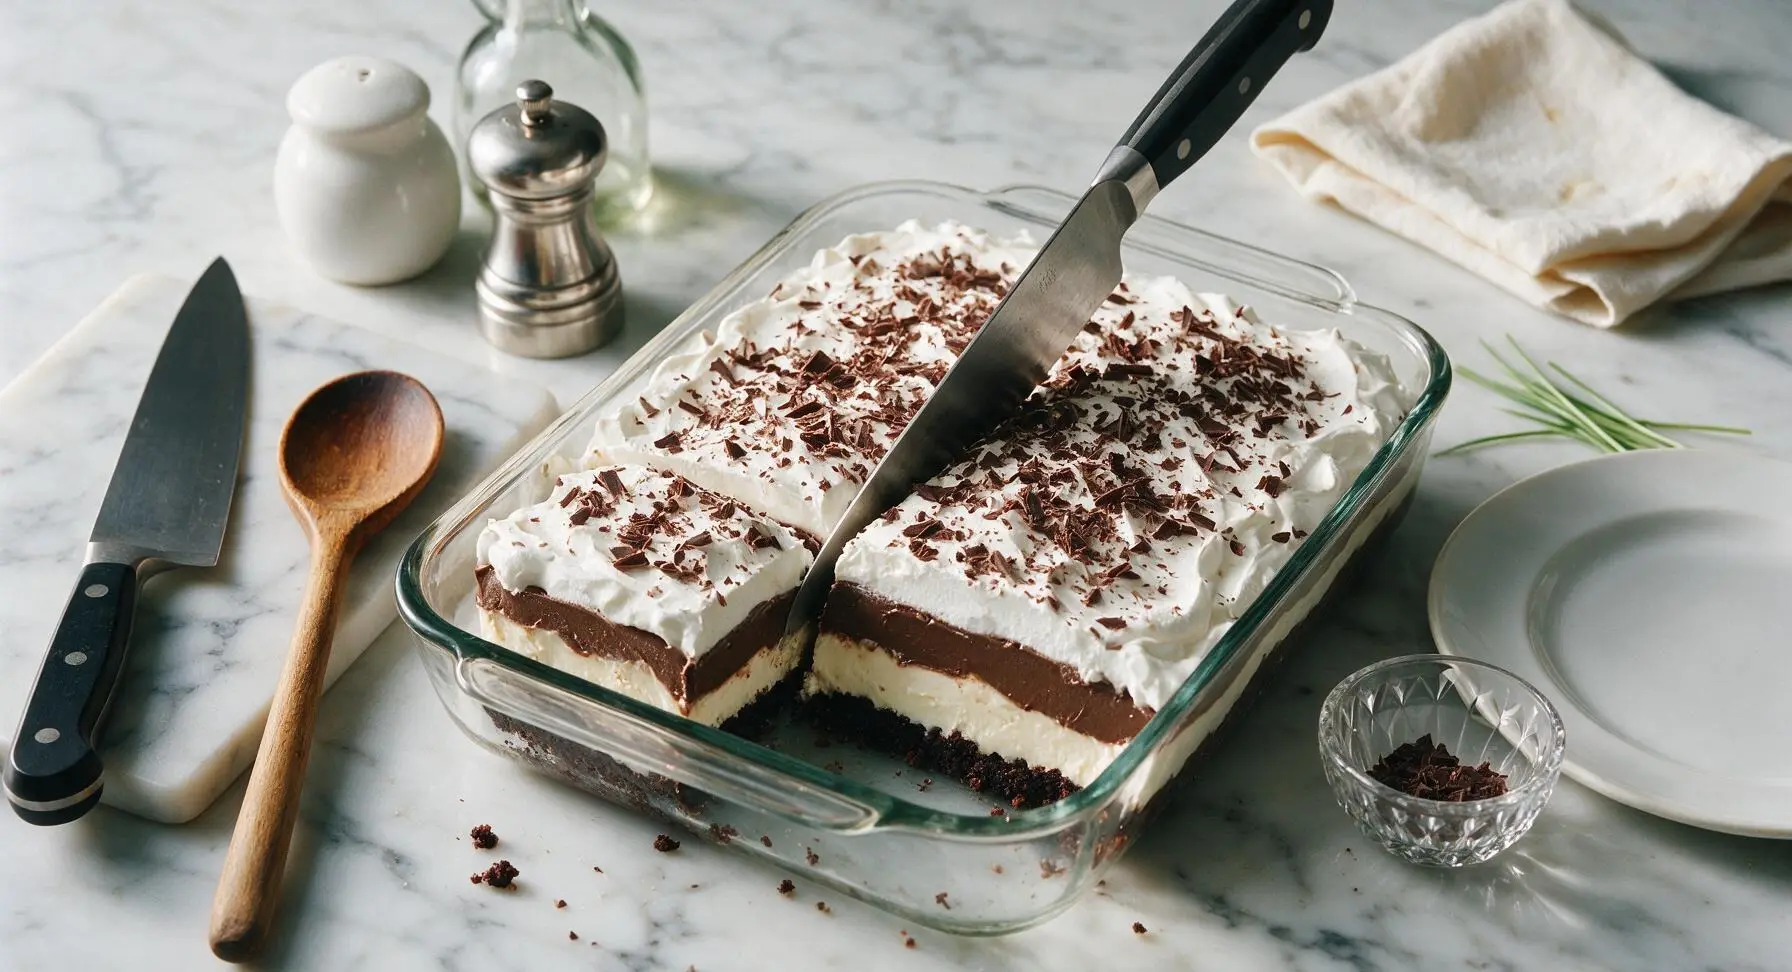
Step 8
step8:Chill and garnish
Step 8
step8:Chill and garnish

Tips

1.Soften cream cheese fully to room temperature (65–70°F/18–21°C) before mixing to avoid lumps in the cream cheese layer. Cold cream cheese will not blend smoothly with powdered sugar and whipped topping, leaving hard white flecks that break the dessert’s smooth texture.
2.Use ice-cold whole milk to mix the instant pudding for the thickest, creamiest texture. Cold milk helps the pudding set quickly and firmly, preventing it from running or mixing into adjacent layers when spread; warm or low-fat milk will create a thin, watery layer that slides when sliced.
3.Spread each layer with a light hand, working from the center of the dish outward with the silicone spatula. Pressing too hard will pull crumbs or pudding up into the layer above, creating muddled, indistinct layers instead of the clean, defined stripes that make this dessert visually appealing.


✨ You May Also Like

Desserts & Baking
🍜 Italy

Creamy, coffee-kissed classic Northern Italian no-bake dessert, with layers of rum-spiked mascarpone cream, soft ladyfingers, and a rich cocoa dusting.

⏱️ 4 hours 3Desserts & Baking ★ 4.7
Desserts & Baking
🍜 France

Flaky, shatteringly crisp, buttery French croissants with golden exteriors and soft, airy layered interiors, perfect for pairing with coffee for a special morning treat.

⏱️ 12 hours Desserts & Baking ★ 4.5
Desserts & Baking
🍜 United States

Warm, spiced baked apples topped with a fluffy golden biscuit crust, this cozy dessert pairs perfectly with vanilla ice cream for cool-weather comfort.

⏱️ 55 minuteDesserts & Baking ★ 4.6
Desserts & Baking
🍜 United States

A star-spangled classic American blueberry pie with buttery flaky crust and bright sweet-tart filling, perfect for summer patriotic gatherings.

⏱️ 1 hour 25Desserts & Baking ★ 4.7
Desserts & Baking
🍜 United States

A beloved no-bake regional Maine candy with a chewy coconut-potato center coated in rich dark chocolate, a New England holiday staple since the 1870s.

⏱️ 2 hours 3Desserts & Baking ★ 4.8
Desserts & Baking
🍜 France

Luxuriously creamy, floral frozen custard made with aromatic Tahitian vanilla beans, boasting a smooth, rich texture that melts slowly on the tongue.

⏱️ 3 hours 3Desserts & Baking ★ 4.5

chocolate pudding cool whip dessert:Frequently Asked Questions

1.Do I have to use full-fat cream cheese for this dessert, or can I swap in low-fat? ▾
I strongly recommend sticking to full-fat cream cheese for the creamiest, most stable texture that won’t turn watery as it chills. Low-fat cream cheese has extra added moisture that can make your middle layer runny, dilute that rich tangy flavor, and cause layers to slide apart, especially on warm days.
2.Can I make this dessert ahead of time for a party? ▾
Absolutely! This is one of the best make-ahead no-bake desserts, since the flavors meld beautifully as it chills. You can assemble the full dish up to 3 days in advance, covered tightly with plastic wrap and stored in the fridge. Just hold off on adding extra cookie crumb garnishes until right before serving to keep them crunchy.
3.My chocolate cookie crust turned out soggy last time I made a similar dessert—how do I avoid that? ▾
First, make sure you mix melted unsalted butter evenly into your fine cookie crumbs, and press the crust firmly into the bottom of your pan. For extra sogginess protection, pop the pressed crust in the fridge for 15 minutes to set before adding your first creamy layer, so it doesn’t absorb moisture from the fillings.
4.Do I need to thaw the Cool Whip before using it in the layers? ▾
Yes, you’ll want to thaw your frozen whipped topping in the fridge for 4 to 6 hours (or overnight) before assembling. If you use partially frozen Cool Whip, you’ll end up with lumpy, uneven layers, and if it thaws too quickly at room temperature, it can turn watery and make your dessert runny instead of light and fluffy.
5.Can I use homemade whipped cream instead of store-bought Cool Whip? ▾
You can, but note that homemade whipped cream is less stable than frozen whipped topping, especially if you’re serving this on a warm day or making it more than a day ahead. If you swap it in, add 1/4 teaspoon of unflavored gelatin dissolved in a tablespoon of cold water to help it hold its shape and prevent weeping.
6.What size pan works best for this layered dessert? ▾
A standard 9x13 inch glass baking dish is ideal for this recipe, since it lets you show off the distinct layers and makes it easy to scoop servings for a crowd. If you want thicker individual layers, you can use a 9x9 inch square pan instead, just note you’ll get fewer total servings out of the batch.
7.Do I need to remove the creme filling from the chocolate sandwich cookies for the crust? ▾
Nope! There’s no need to scrape out the creme filling from your chocolate sandwich cookies—it actually adds subtle sweetness and helps the cookie crumbs bind better with melted butter to form a firm, crunchy crust that holds together when you cut slices, rather than crumbling all over your plate.
8.How long does this dessert need to chill before it’s ready to serve? ▾
You’ll need to let the fully assembled dessert chill in the fridge for at least 4 hours, though overnight is even better. That chill time lets the pudding and cream cheese layers set fully, so you get clean, distinct slices instead of runny, mixed-up layers when you scoop it out to serve.
9.Can I add extra mix-ins to the layers for more texture? ▾
Definitely! Try folding mini chocolate chips, crushed toffee bits, or chopped salted peanuts into the cream cheese or pudding layers for extra crunch. Just avoid adding very juicy mix-ins like fresh berries directly into the layers, since their extra moisture can make the creamy fillings runny and ruin the texture.
10.How do I get clean, neat slices when serving this dessert? ▾
For picture-perfect slices, dip a sharp knife in hot water, wipe it dry with a paper towel, then make your cut. Repeat the hot water wipe between every slice to prevent the creamy fillings from sticking to the knife and smearing the layers, so every serving shows off that pretty stacked chocolate and cream look.
11.Can I make this dessert gluten-free for guests with dietary restrictions? ▾
Absolutely! The only swap you need to make is using your favorite gluten-free creme-filled chocolate sandwich cookies in place of the regular version for the crust. Double check that your instant chocolate pudding is labeled gluten-free (most major brands are), as the rest of the core ingredients are naturally gluten-free.
12.Why is my cream cheese layer lumpy instead of smooth? ▾
Lumps almost always happen when your cream cheese is too cold when you mix it. Let your cream cheese sit out at room temperature for 30 to 45 minutes before beating it with powdered sugar, and mix on medium speed until it’s completely silky before folding in Cool Whip to avoid dense, lumpy spots.
13.Can I freeze this dessert for longer storage? ▾
You can freeze it for up to 2 months, wrapped tightly in a double layer of plastic wrap and aluminum foil. Let it thaw in the fridge for 6 to 8 hours before serving, and note that the cookie crust will soften a bit after freezing, so it won’t have that same sharp crunch as a freshly made, refrigerated batch.
14.Do I need to bake the cookie crust at all, since this is a no-bake recipe? ▾
No baking required at all! The combination of fine cookie crumbs and melted butter will set into a firm, sliceable crust just from chilling in the fridge. Baking the crust would actually make it too hard and dry it out, which throws off the perfect balance of soft, fluffy layers and crunchy crust.
15.Can I use a different flavor of pudding instead of chocolate? ▾
Of course! While chocolate is the classic pick for this recipe, you can swap in vanilla, butterscotch, or even white chocolate pudding for a fun twist. Just stick to instant pudding (not cook-and-serve) to make sure it sets properly with the Cool Whip layers and matches the quick, no-bake prep vibe.
16.What’s the best way to serve this at an outdoor summer party without it getting too soft? ▾
Keep the dish stored in a cooler with ice packs until 15 to 20 minutes before you plan to serve it, and set the serving pan on a bed of crushed ice if it will sit out at a picnic or potluck. Since it’s made with cream cheese and Cool Whip, it will start to soften after 30 minutes in 80°F+ heat, so keep it chilled as long as possible.

Comments (16)

2 days ago

OMG I made this for our Sunday family dinner last night and every single person asked for the recipe! It was SO easy to throw together — literally 5 minutes of prep like the recipe says, no baking, perfect for when I forgot I was supposed to bring dessert. The layers are so creamy, the chocolate pudding pairs perfectly with the Cool Whip, 10/10 will be making this for every potluck from now on.

yesterday

Wait did you add any extra toppings? I’m thinking of throwing crushed Oreos on top for our block party next weekend!

yesterday

Crushed Oreos make such a fun crunchy addition! We’ve also tested it with chopped peanut butter cups and a drizzle of caramel, both are incredible. So glad your family loved the recipe!

30 minutes ago

Game changer for dorm life! I don’t have an oven, so no-bake desserts are all I can make, and this one tastes way fancier than the effort I put in. Used instant pudding I grabbed from the campus convenience store and it turned out SO good. My roommates ate half the pan in 10 minutes lmao

1 week ago

Wait a second — is this recipe easy to adapt for gluten free? I have a celiac kiddo and I’m always hunting for quick desserts the whole family can eat without worrying about cross contamination.

5 days ago

Great question! As long as you use gluten-free instant chocolate pudding (most major brands are GF, but always double check the label) and make sure your Cool Whip is GF (it almost always is!), this recipe is totally gluten free. No fancy swaps needed!

3 days ago

Made this for our backyard cookout this weekend and I swear the guys were scraping the pan clean. I added a layer of crushed pretzels between the pudding and Cool Whip for a salty/sweet kick, chef’s kiss. Super simple, didn’t heat up the kitchen at all which is a win in this Texas summer heat.

2 days ago

Oh the pretzel addition sounds insane! I’m a salty sweet fiend, definitely stealing that idea for my Fourth of July cookout next month.

2 days ago

The salty pretzel twist is such a smart call! We love when people add their own favorite mix-ins to make it their own — that sweet-salty combo is unbeatable.

5 days ago

Meal prepped this for the week’s work snacks and it held up perfectly in the fridge for 4 days! I portioned it into little individual cups so I could just grab and go on my way out the door. Way better than the overpriced pudding cups from the grocery store.

2 hours ago

Wait, how many servings does this make? I’m having 8 people over for book club next week and I don’t want to make too little (though honestly, leftovers of this would not be a problem lmao)

30 minutes ago

I made this for my book club last month! I made one 9x13 pan and it easily fed 10 people, with a little extra for seconds. You’ll be totally fine with a single pan for 8!

5 minutes ago

Uh, total newbie question here — do I make the pudding first according to the box directions before layering? I’ve never made instant pudding before and I don’t want to mess this up for my girlfriend’s birthday.

just now

No silly questions here! Yes, you’ll want to whisk the instant pudding mix with cold milk as directed on the box, let it set for just a couple minutes until it thickens, then layer it in. It’s super forgiving, so don’t stress — it’ll turn out great, happy birthday to your girlfriend!

1 week ago

My grandkids went crazy for this when they visited last weekend! I added a little sprinkle of rainbow sprinkles on top for them and they thought I was a professional baker. So nice to have a dessert that doesn’t require me to pull out my old stand mixer and spend an hour in the kitchen these days.

yesterday

Has anyone tried making this with dairy free alternatives? I’m lactose intolerant but I’ve been craving this exact dessert since I saw the recipe pop up on my feed. Wondering if oat milk pudding and dairy free Cool Whip dupe works?

2 hours ago

I made it last week with almond milk instant pudding and coconut whipped cream and it turned out amazing! You couldn’t even tell it was dairy free, my non-dairy-free husband loved it too.

30 minutes ago

So glad it worked with dairy free swaps! We’ve tested it with oat milk and coconut whipped topping as well, and it holds up perfectly with all the same layers and creamy texture. Great pick for anyone avoiding dairy!

2 weeks ago

Skipped the fancy dessert for our Father’s Day cookout and made this instead. Best call I made all weekend. Even my dad, who swears he ‘doesn’t like sweets’, had two helpings. 10/10, no notes.

1 week ago

LMAO my dad is the exact same way! Says he doesn’t eat dessert then clears half the pan of anything chocolate. Adding this to my Father’s Day list for next year for sure.

2 days ago

Made this for the team’s post-game snack last night and my kids loved it — the whole team was going nuts for it. So much easier than baking 3 dozen cookies, and it traveled way better than I thought it would in the cooler to the away game. Will be on regular rotation this season!

5 days ago

Total win for my monthly grocery budget! All the ingredients cost me less than $8 total, which is way cheaper than buying a pre-made dessert from the grocery store bakery, and it tastes way better. Perfect for when money is tight but I still want a nice treat for the week.

3 days ago

Wait pro tip: stock up on instant pudding when it’s on sale for $1 a box, you can make this for even cheaper! I keep a stash in my pantry for last minute dessert needs.

2 days ago

Love this budget-friendly win! That’s one of our favorite parts of this recipe — it uses super accessible, affordable ingredients that most people already have in their pantry or fridge, no fancy specialty items required.

3 days ago

I stirred a layer of creamy peanut butter into the bottom graham cracker crust I added, and it was insane. Why didn’t I think of this combo sooner? Only note is that I wish I’d made a double batch, it was gone way too fast.

2 days ago

The graham cracker crust and peanut butter addition sounds incredible! Adding a crust layer is such a popular hack for this recipe, it adds that perfect little crunch against the smooth pudding and Cool Whip. We’ll have to test the peanut butter version ourselves soon!

1 week ago

I keep a pan of this in the break room fridge at work and all my coworkers are obsessed. It’s the perfect sweet pick-me-up during long 12 hour shifts, no heating required, easy to grab a quick bite between patients. Absolute lifesaver on rough nights.

2 hours ago

Wait, can this be made fully vegan? I saw the dairy free comment but I’m looking for totally plant based, no animal products at all. Would vegan instant pudding and coconut whip work?

30 minutes ago

I did it last month! Used vegan chocolate instant pudding made with oat milk, and the store brand coconut whipped topping, and it was so good. I added a layer of fresh raspberries too for a little tartness, chef’s kiss.

5 minutes ago

Great to hear the vegan swaps work! We haven’t tested the fully vegan version in our test kitchen yet, but based on reader feedback, it holds up beautifully. The fresh raspberry addition sounds like the perfect bright, tart contrast to the rich chocolate!

1 week ago

I made this for my son’s 10th birthday party, let the kids add their own toppings (sprinkles, mini M&Ms, crushed candy bars) at a little dessert bar and it was such a hit! The kids loved customizing their own servings, and I loved how easy it was to prep ahead of time so I wasn’t running around the kitchen during the party.

5 days ago

The build-your-own topping bar is such a genius idea! I’m stealing that for my daughter’s birthday next month, she’s been begging for a chocolate themed party and this would be perfect.



