
chocolate pudding pie

title 1
chocolate pudding pie
⏱️ cook time 18 minutes
🍽️ servings 8
⚡ Difficulty easy

intro

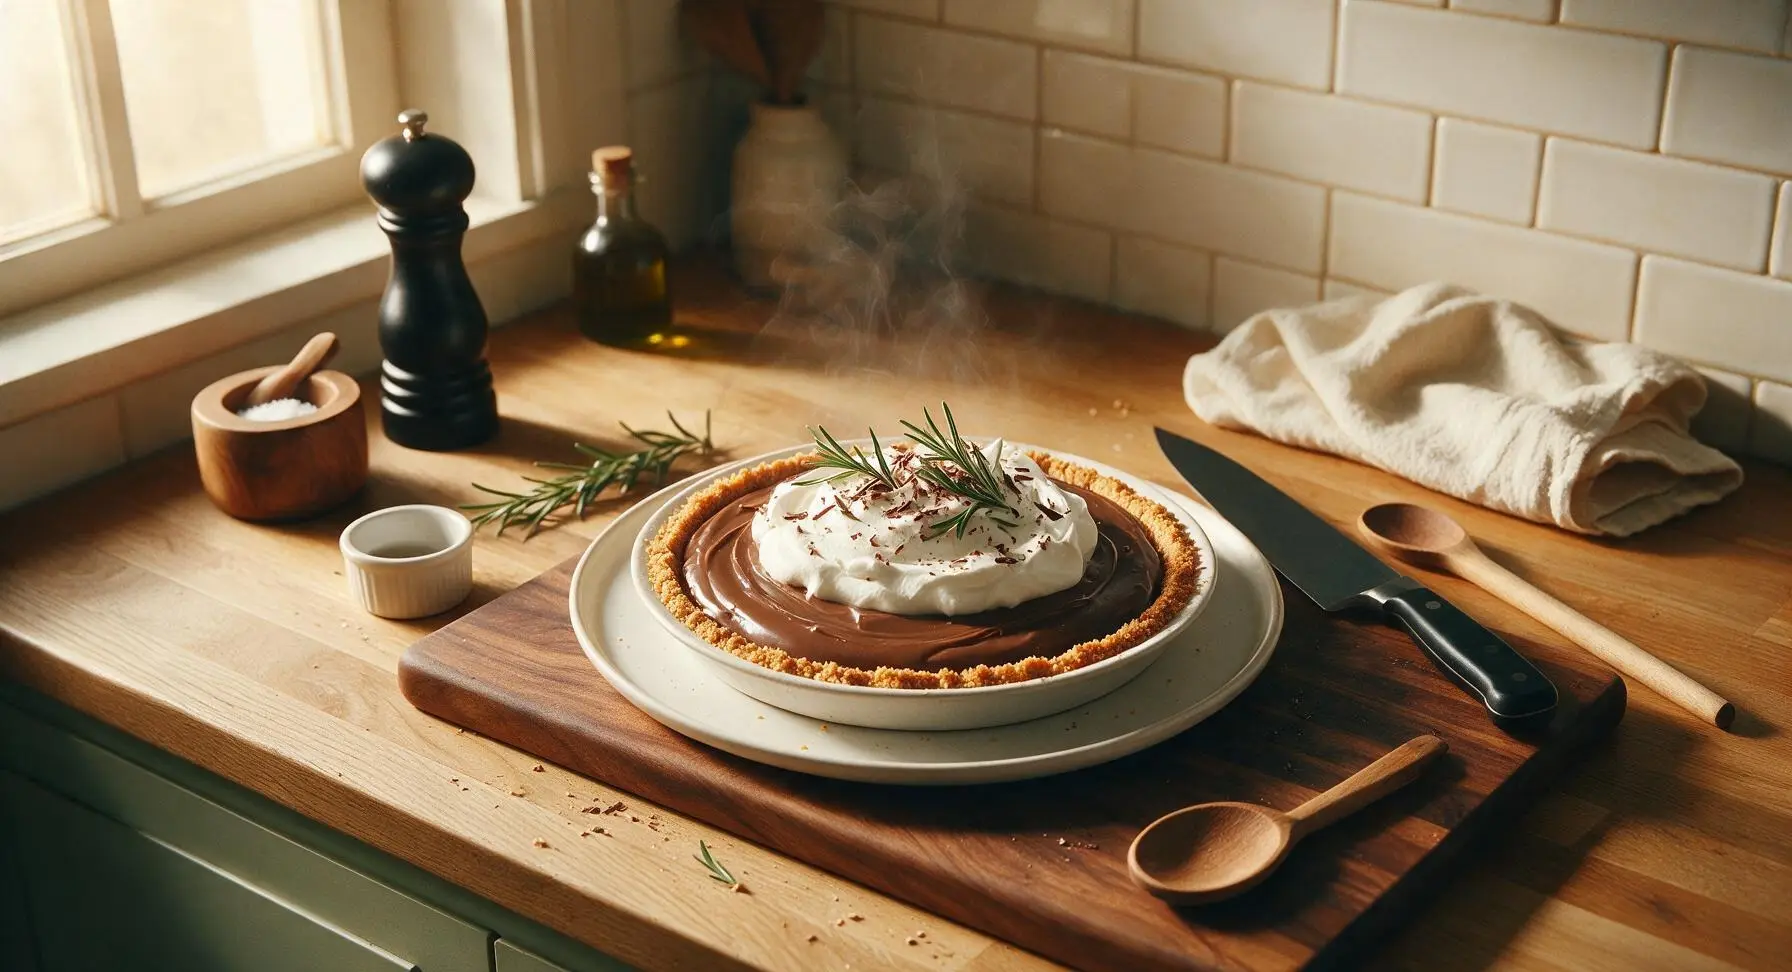
Silky, rich chocolate pudding piled into a crisp buttery graham cracker crust, topped with fluffy whipped cream—this nostalgic, make-ahead pie is pure crowd-pleasing comfort.

Ingredients
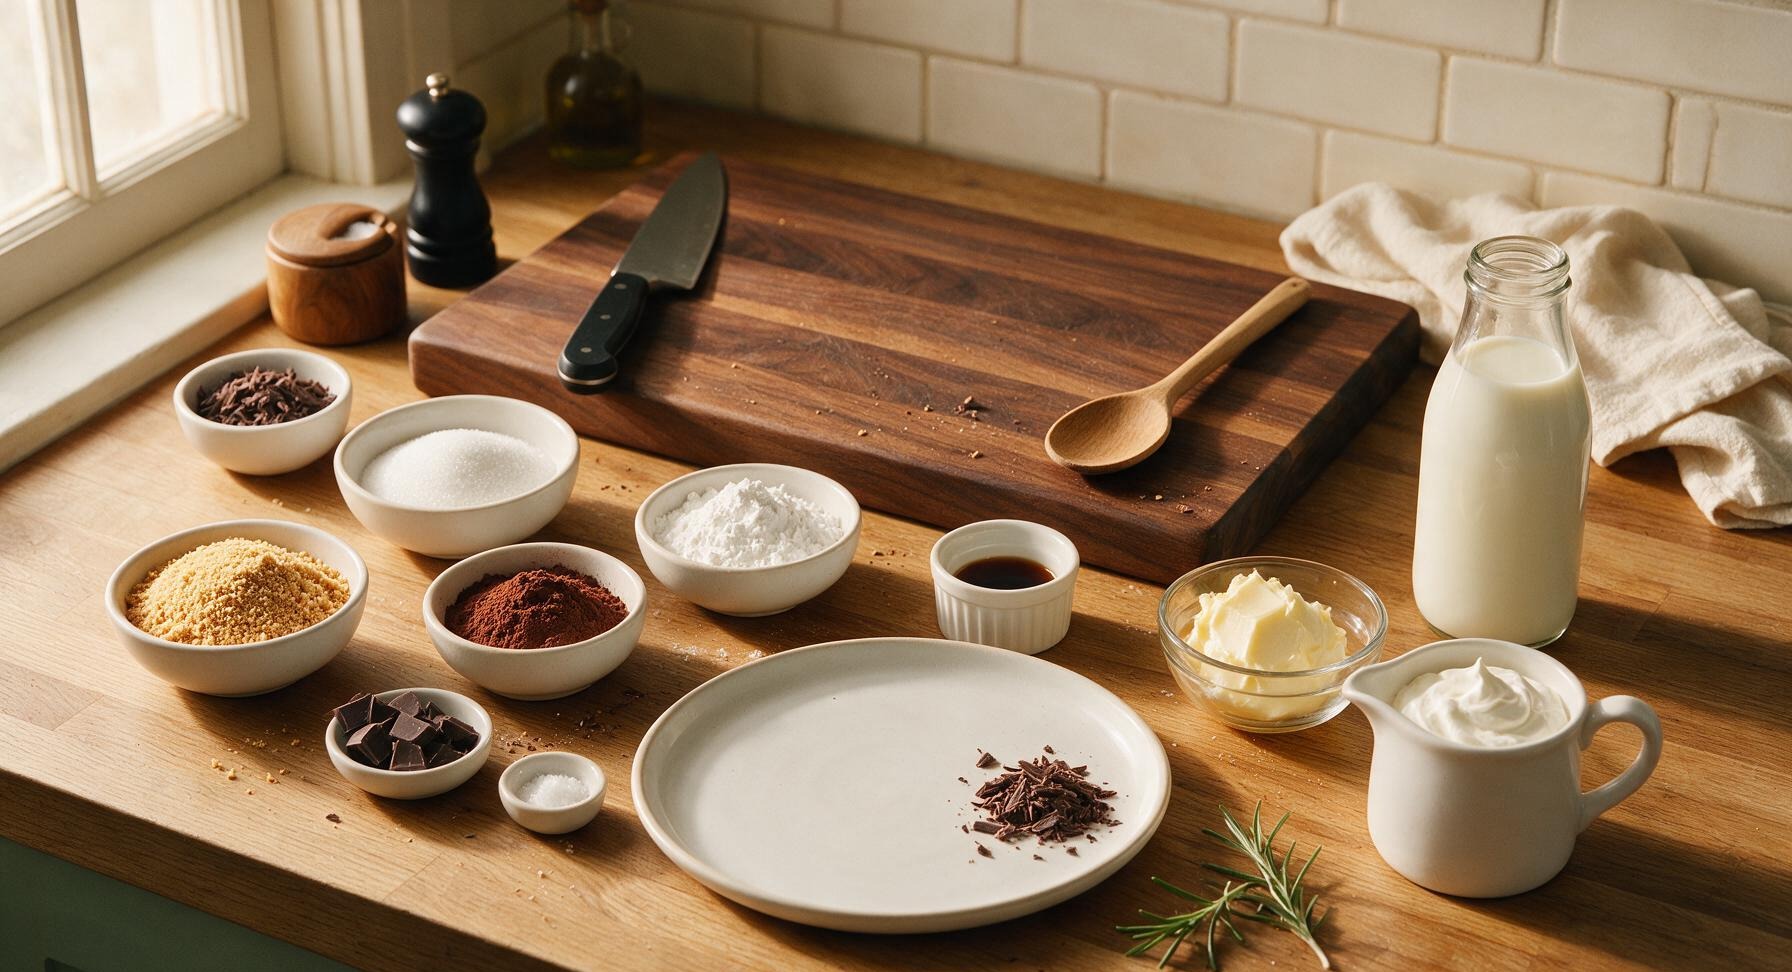
Graham cracker crumbs 1 ½ cups
Unsalted butter 8 tablespoons (1 stick), divided
Granulated sugar ½ cup + 2 tablespoons, divided
Dutch-processed unsweetened cocoa powder ¼ cup
Cornstarch 3 tablespoons
Fine sea salt ¼ teaspoon
Whole milk 2 ½ cups
70% dark chocolate, chopped 4 ounces
Pure vanilla extract 1 teaspoon
Heavy whipping cream 1 cup
Dark chocolate shavings 1 tablespoon

Steps

1

Make Crumb Crust Base

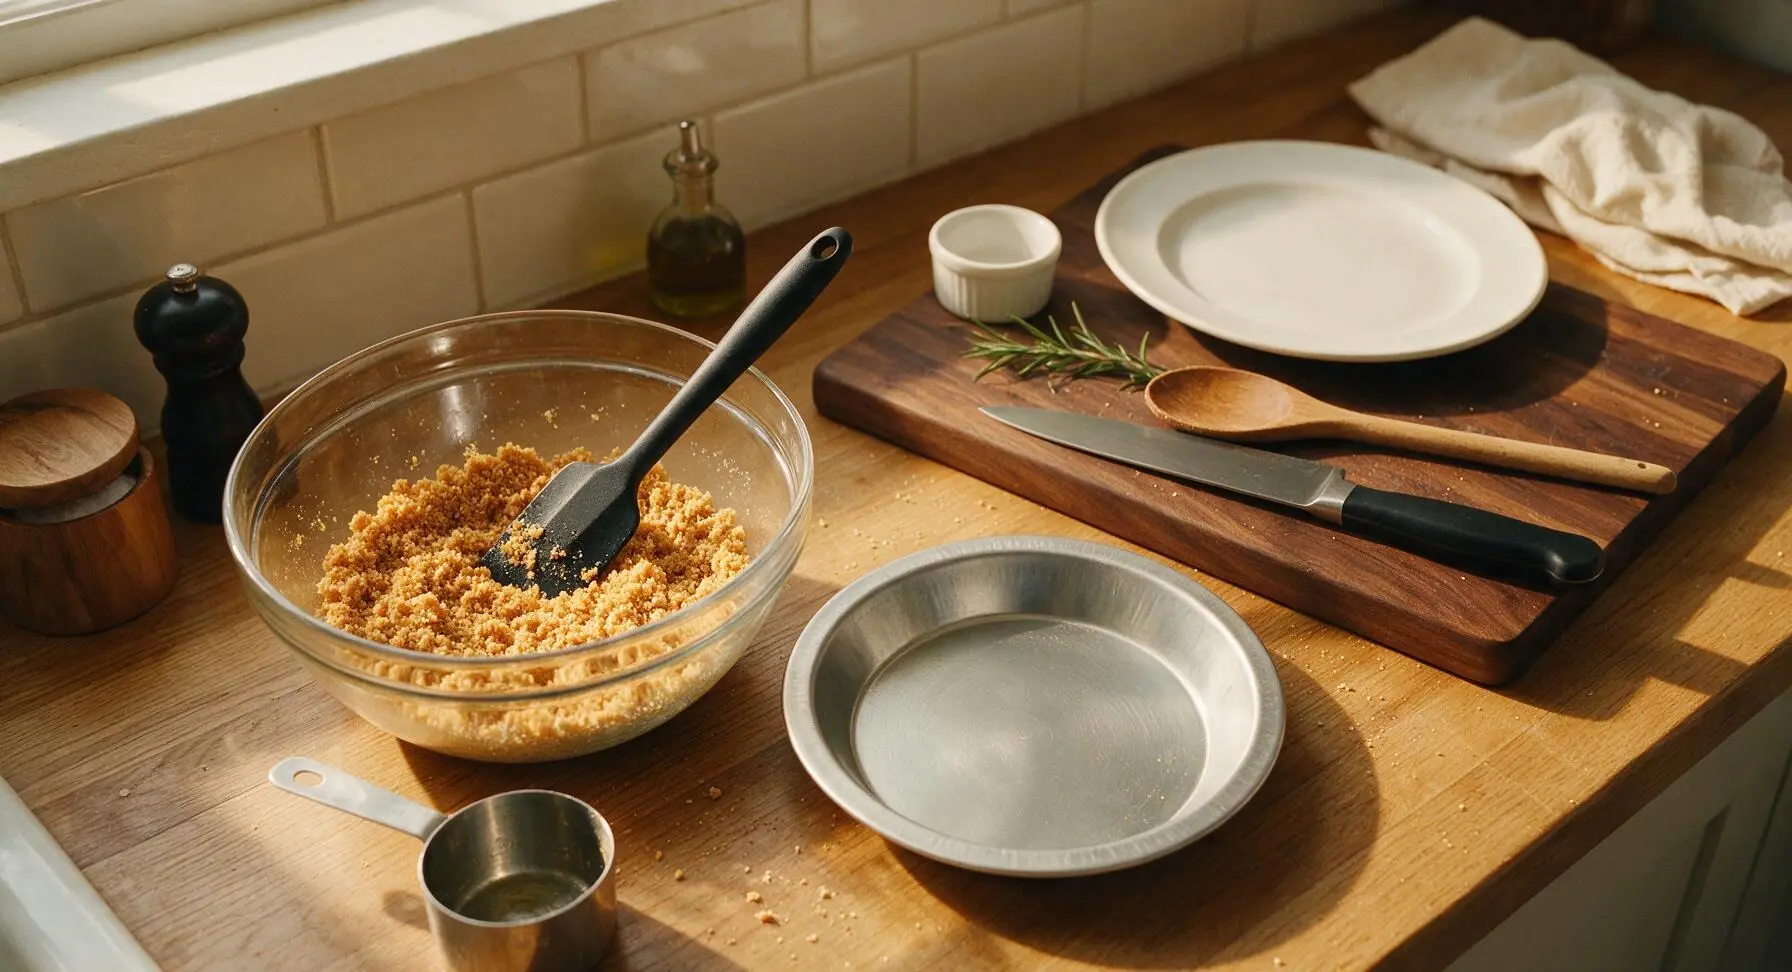
Preheat oven to 375°F (190°C). In the 2-quart clear glass mixing bowl, combine 1 ½ cups graham cracker crumbs, 2 tablespoons granulated sugar, and 6 tablespoons melted unsalted butter. Stir with the black silicone spatula until all crumbs are evenly moistened, reaching a texture similar to damp sand that clumps firmly when squeezed in your palm.
Step 1
step1:Make Crumb Crust Base
2

Press Crust Into Pan

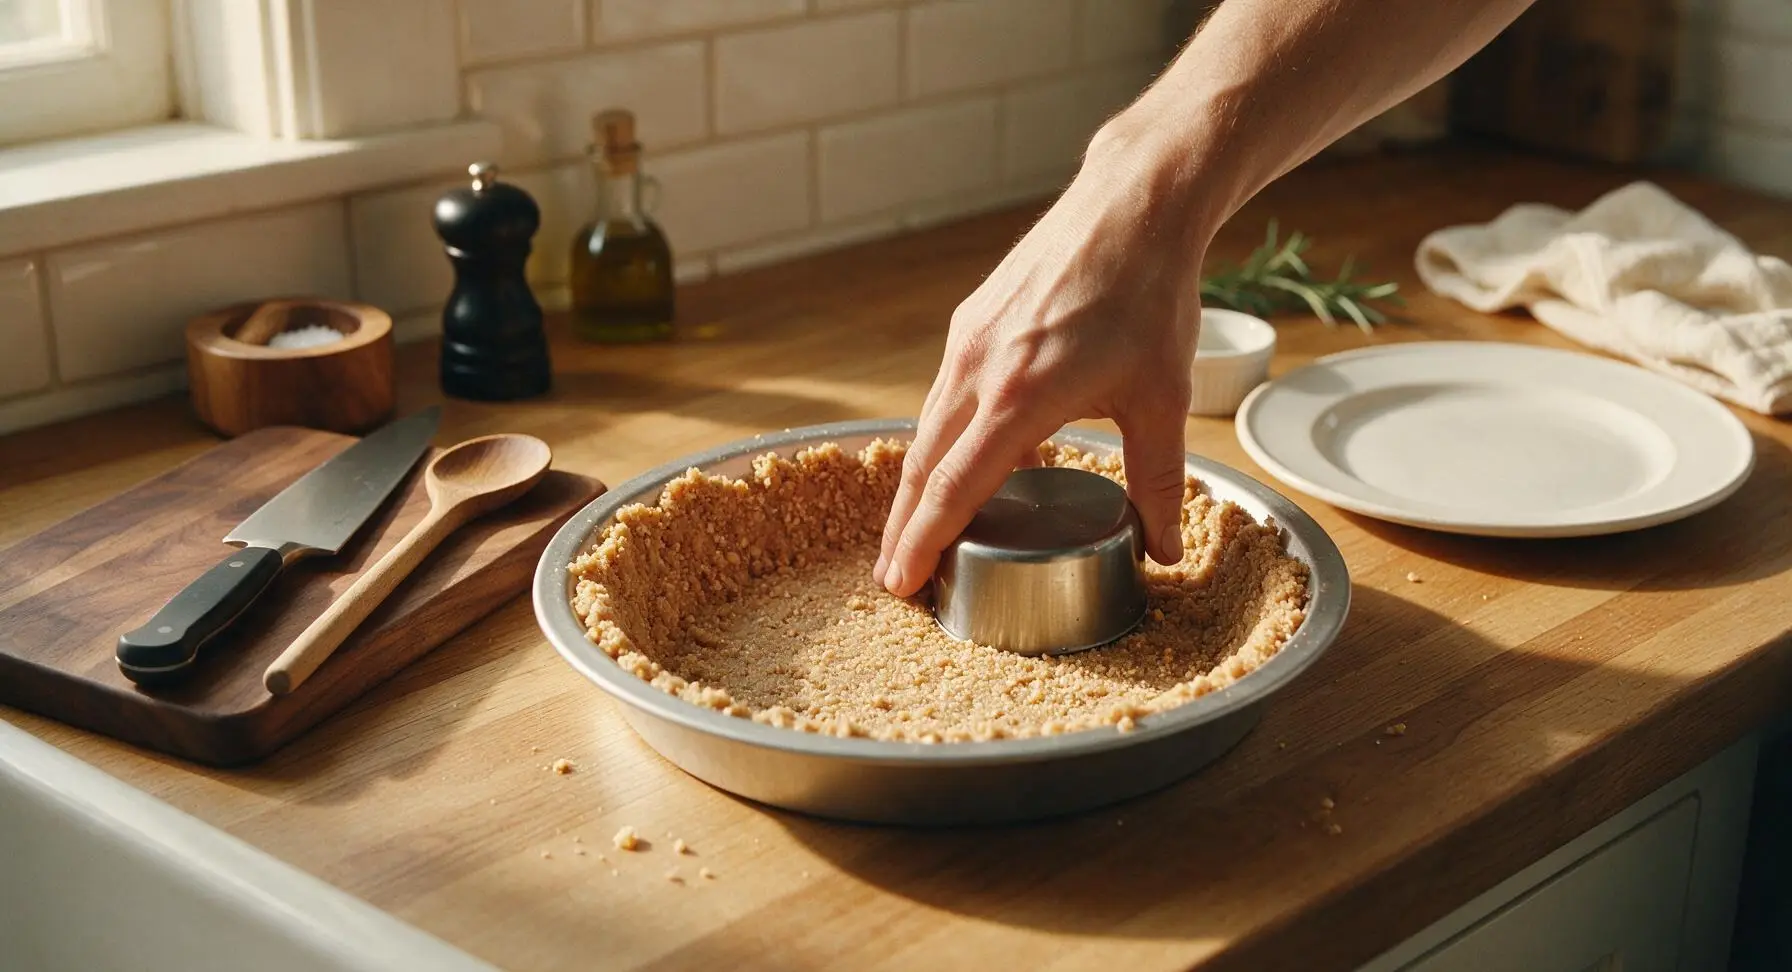
Pour the moistened crumb mixture into the 9-inch silver metal pie tin. Use the flat bottom of the 1-cup dry measuring cup to press the crumbs firmly into an even layer across the tin bottom and 1 inch up the sides, creating a compact, uniform crust with no thin spots. Pay extra attention to pressing firmly where the bottom meets the sides to prevent cracking during slicing.
Step 2
step2:Press Crust Into Pan
3

Bake Crust Until Set

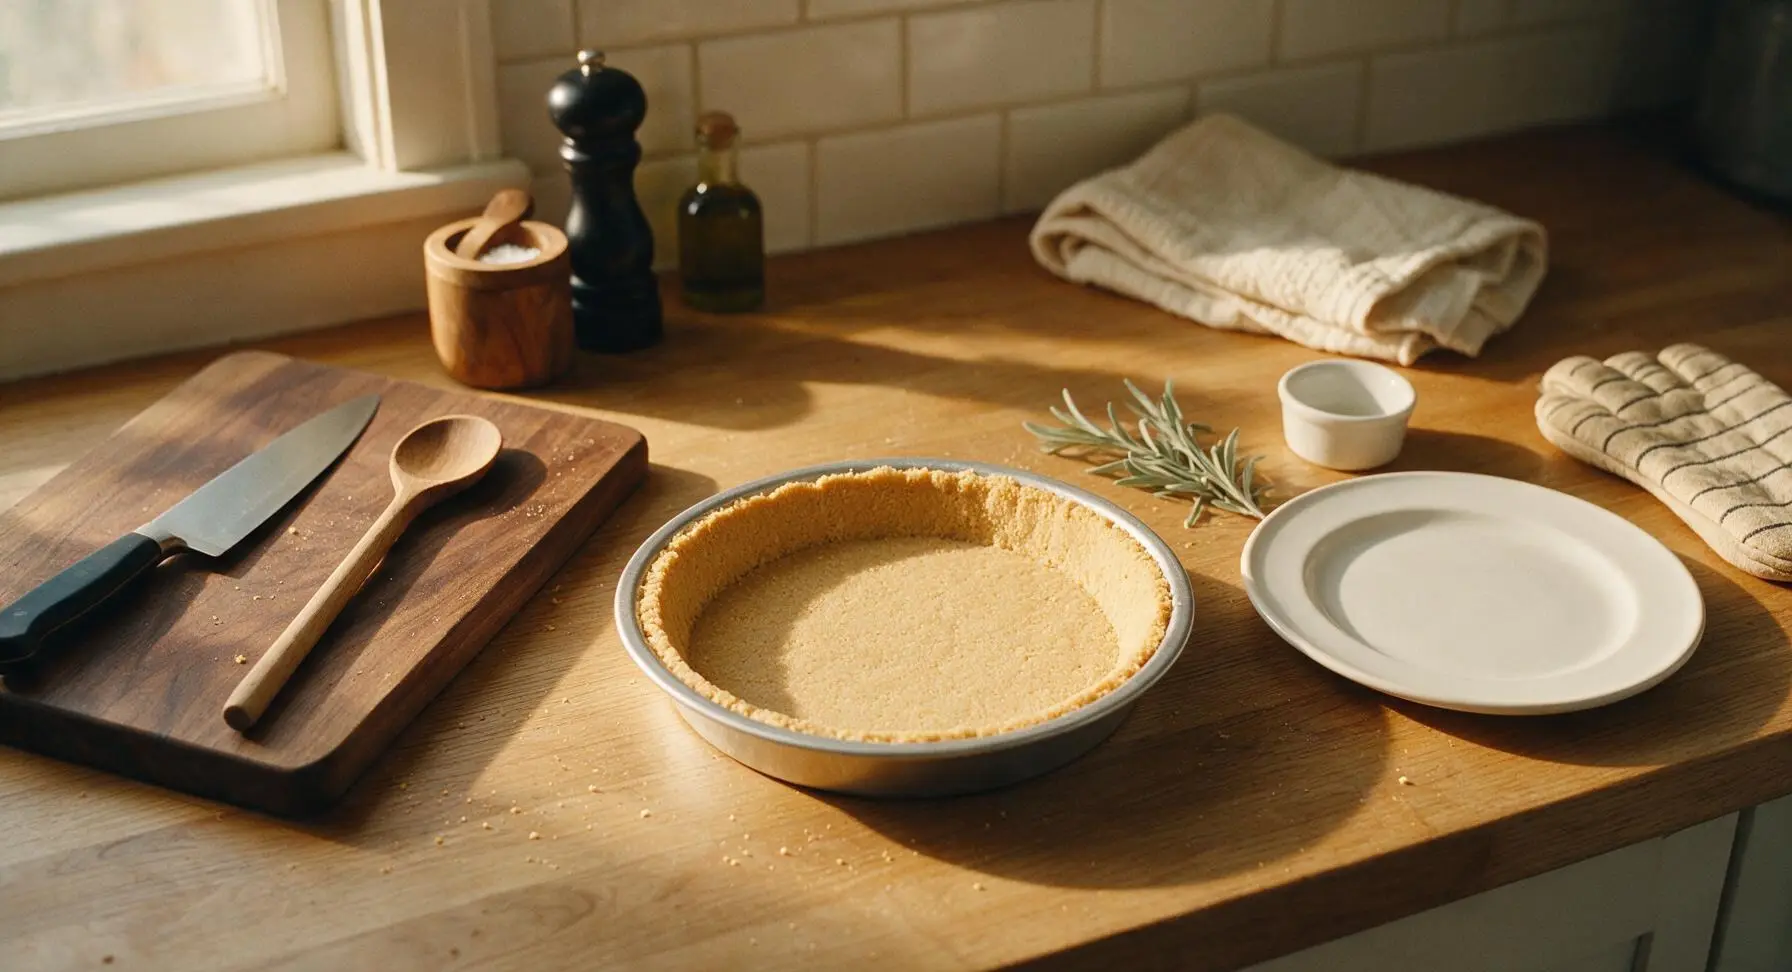
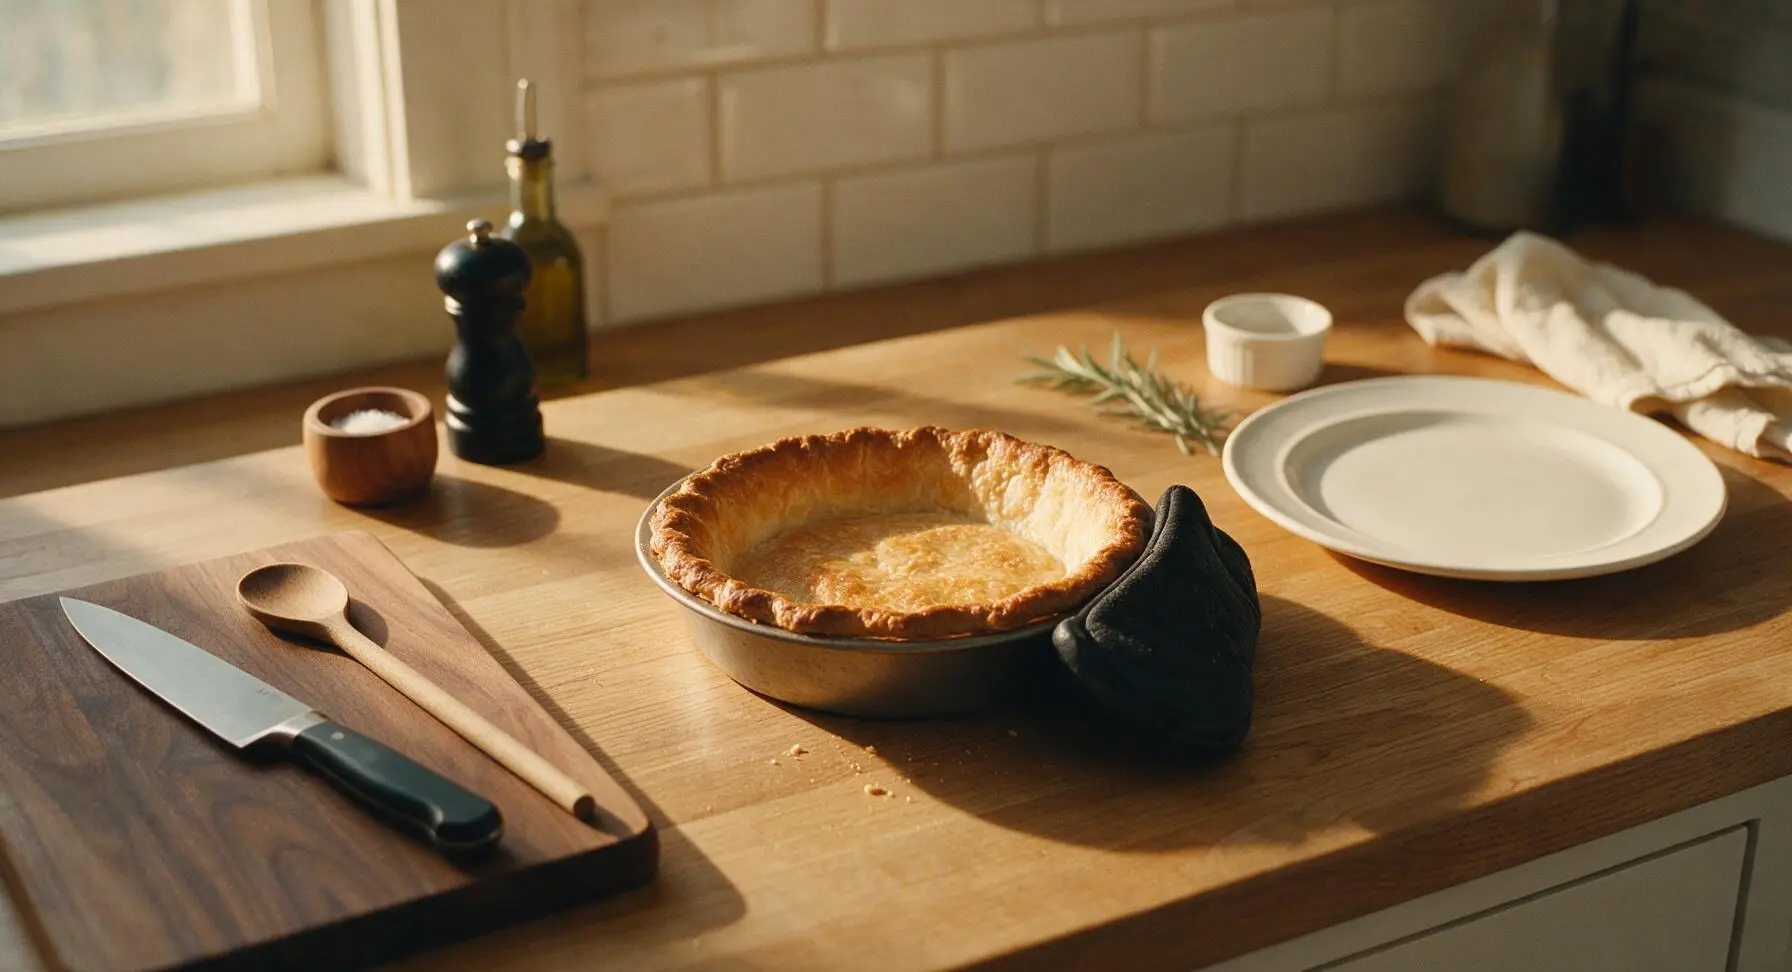
Place the pie tin with pressed crust into the preheated 375°F oven. Bake for 10 minutes, until the crust is fragrant and deep golden at the edges. Remove from oven and set on the counter to cool completely to room temperature (about 30 minutes) before adding pudding—warm crust will melt pudding and create a soggy base.
Step 3
step3:Bake Crust Until Set
Step 3
step3:Bake Crust Until Set
4

Cook Pudding Base

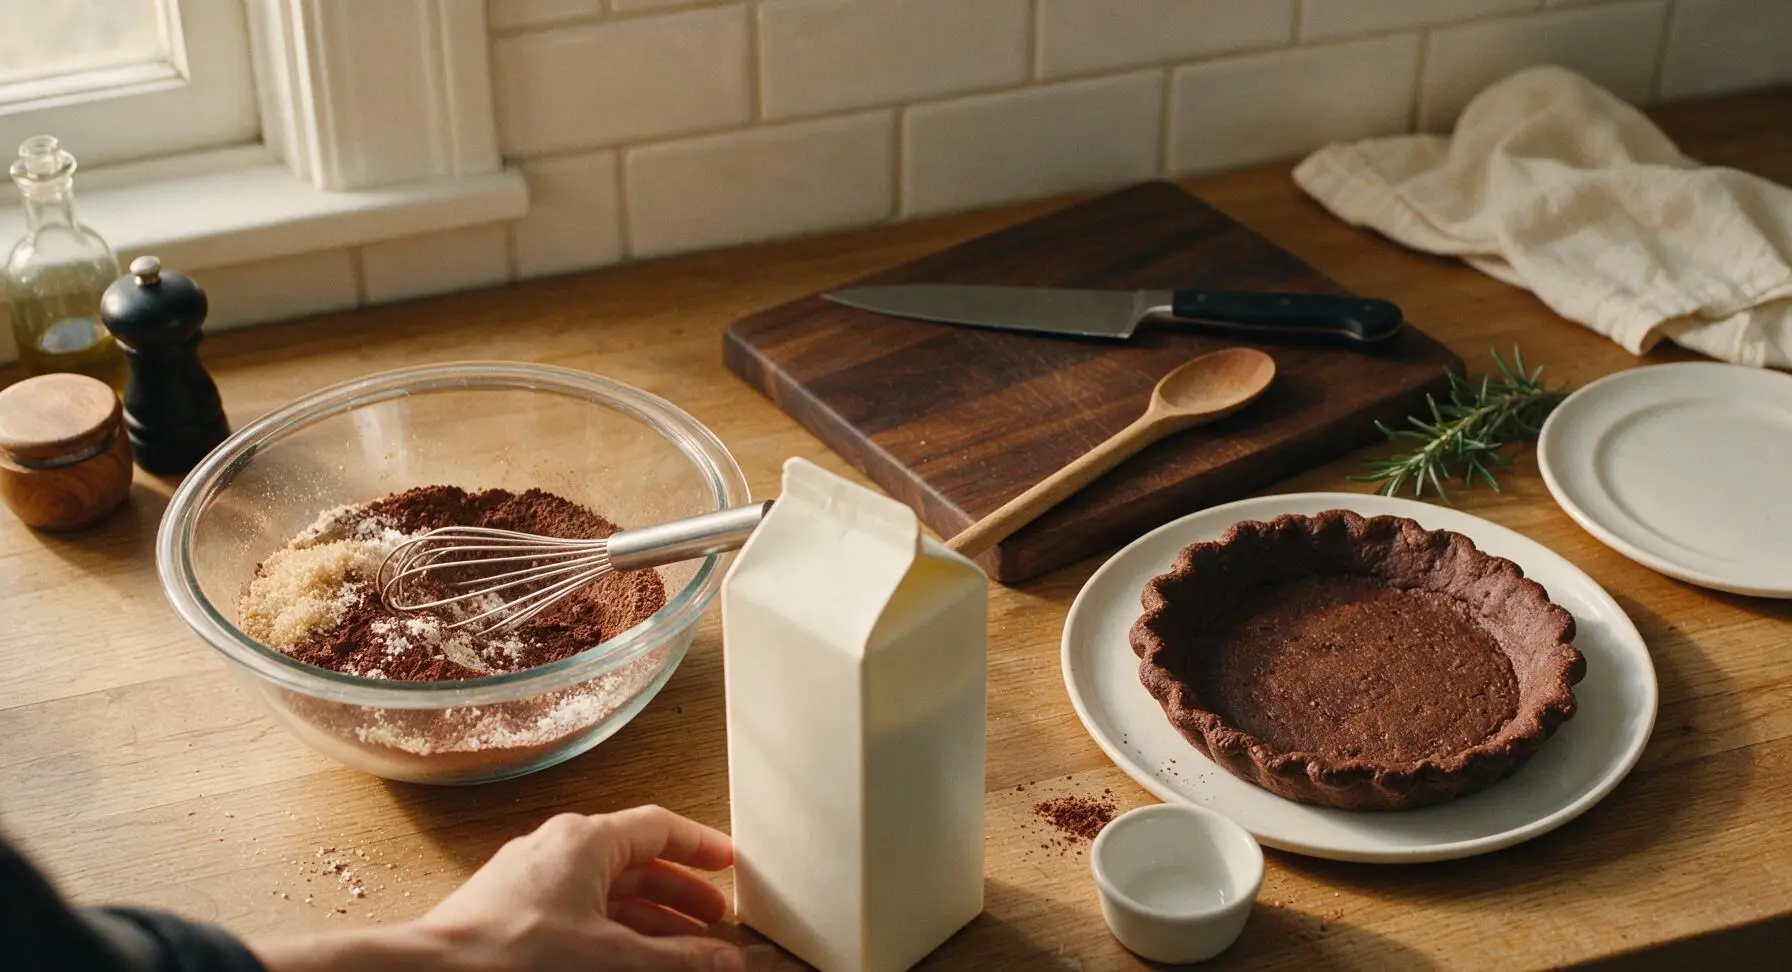
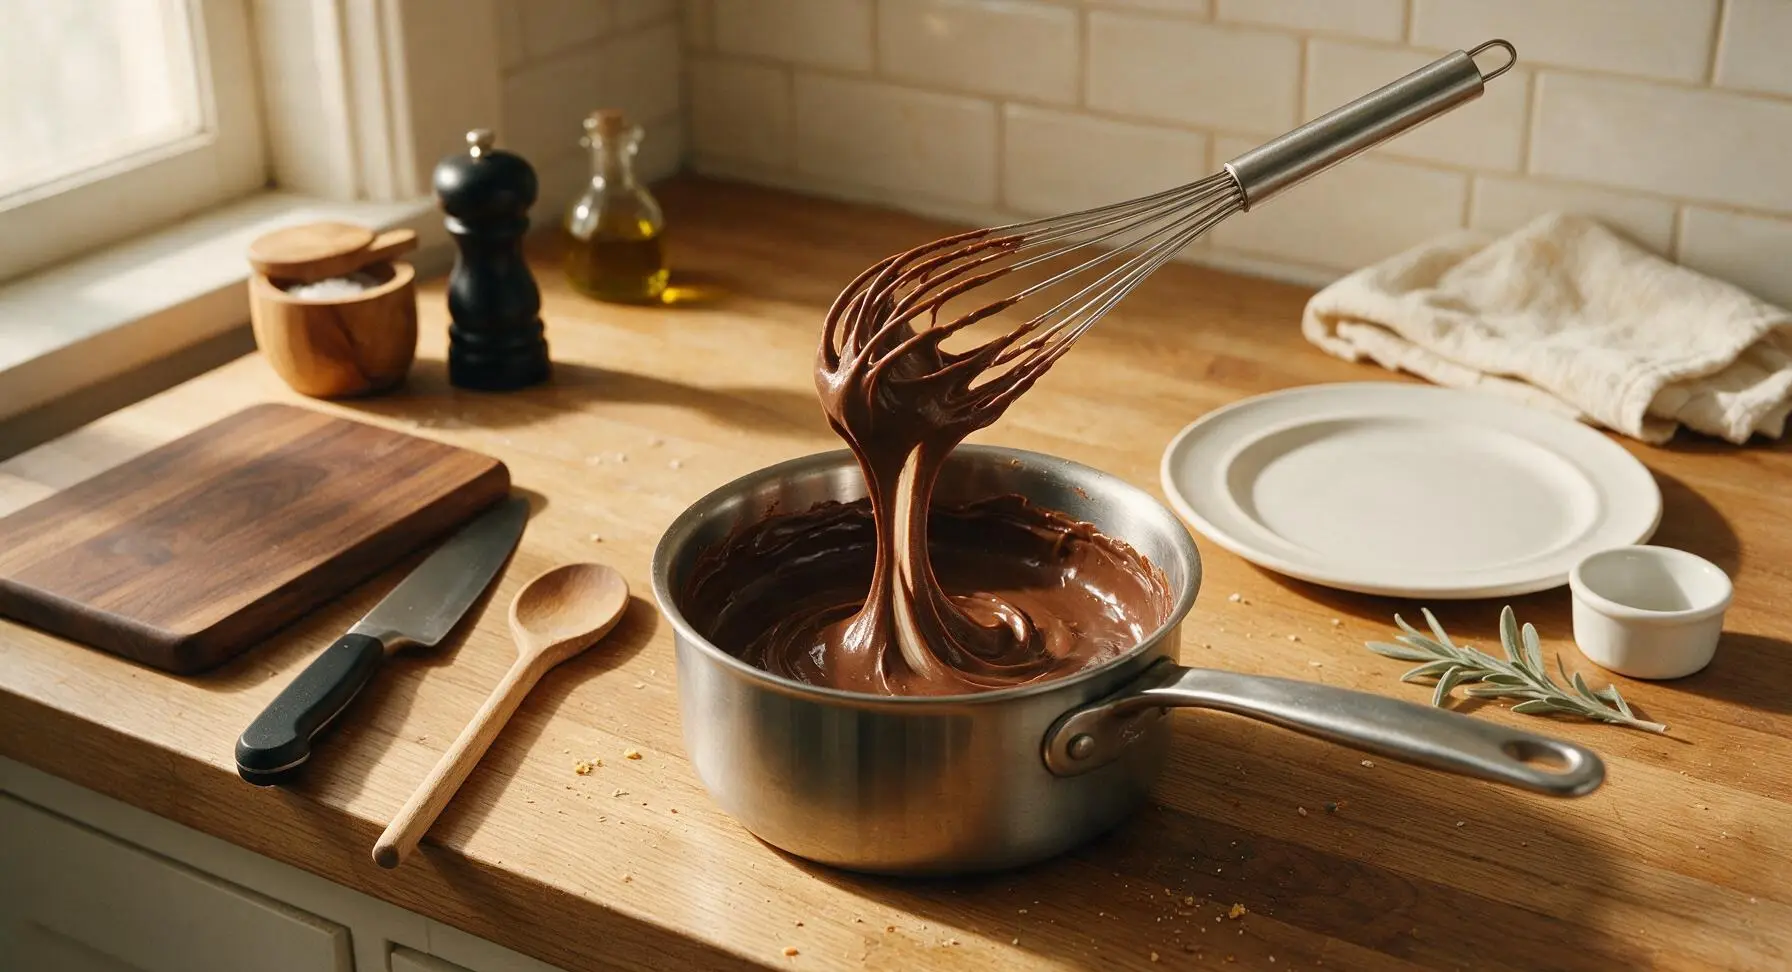
While the crust cools, wipe out the 2-quart glass mixing bowl, then add ½ cup granulated sugar, ¼ cup Dutch-processed cocoa powder, 3 tablespoons cornstarch, and ¼ teaspoon fine sea salt. Whisk slowly to break up dry lumps, then gradually whisk in 2 ½ cups whole milk until completely smooth. Pour the mixture into the 2-quart stainless steel saucepan, set over medium heat, and cook, whisking constantly with the stainless steel whisk, for 6-8 minutes, until the pudding thickens enough to coat the back of the whisk (a finger swiped through the coating will leave a clear line that does not run).
Step 4
step4:Cook Pudding Base
Step 4
step4:Cook Pudding Base
5

Enrich Pudding With Chocolate

Remove the thickened pudding from heat. Add 4 ounces chopped 70% dark chocolate, 2 tablespoons cubed unsalted butter, and 1 teaspoon pure vanilla extract. Stir gently with the black silicone spatula until the chocolate and butter are fully melted, creating a completely smooth, glossy, lump-free pudding. Let the pudding cool for 10 minutes at room temperature, stirring once every 2 minutes to prevent a skin from forming on the surface.
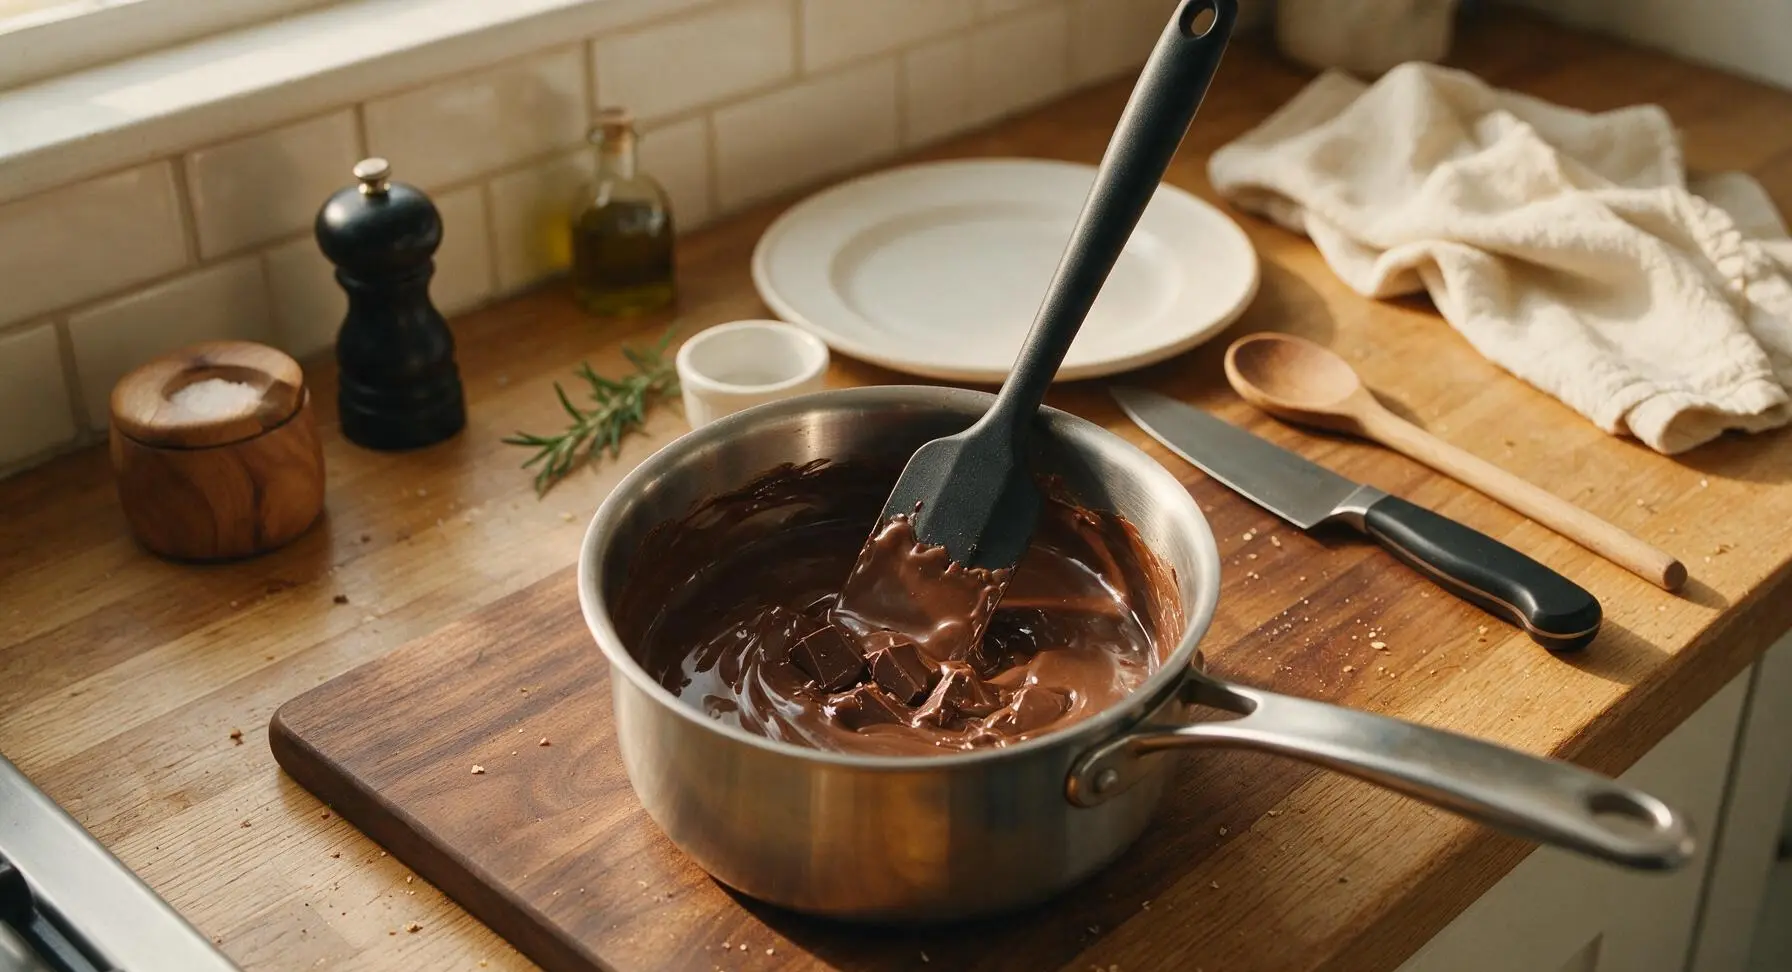
Step 5
step5:Enrich Pudding With Chocolate
6

Fill Crust With Pudding

Pour the slightly cooled, smooth chocolate pudding directly into the fully cooled graham cracker crust, spreading it into an even layer with the silicone spatula. Press a piece of plastic wrap directly against the surface of the pudding (to prevent a tough skin from forming as it chills). Refrigerate for at least 4 hours, or overnight, until the pudding is completely set and firm to the touch.
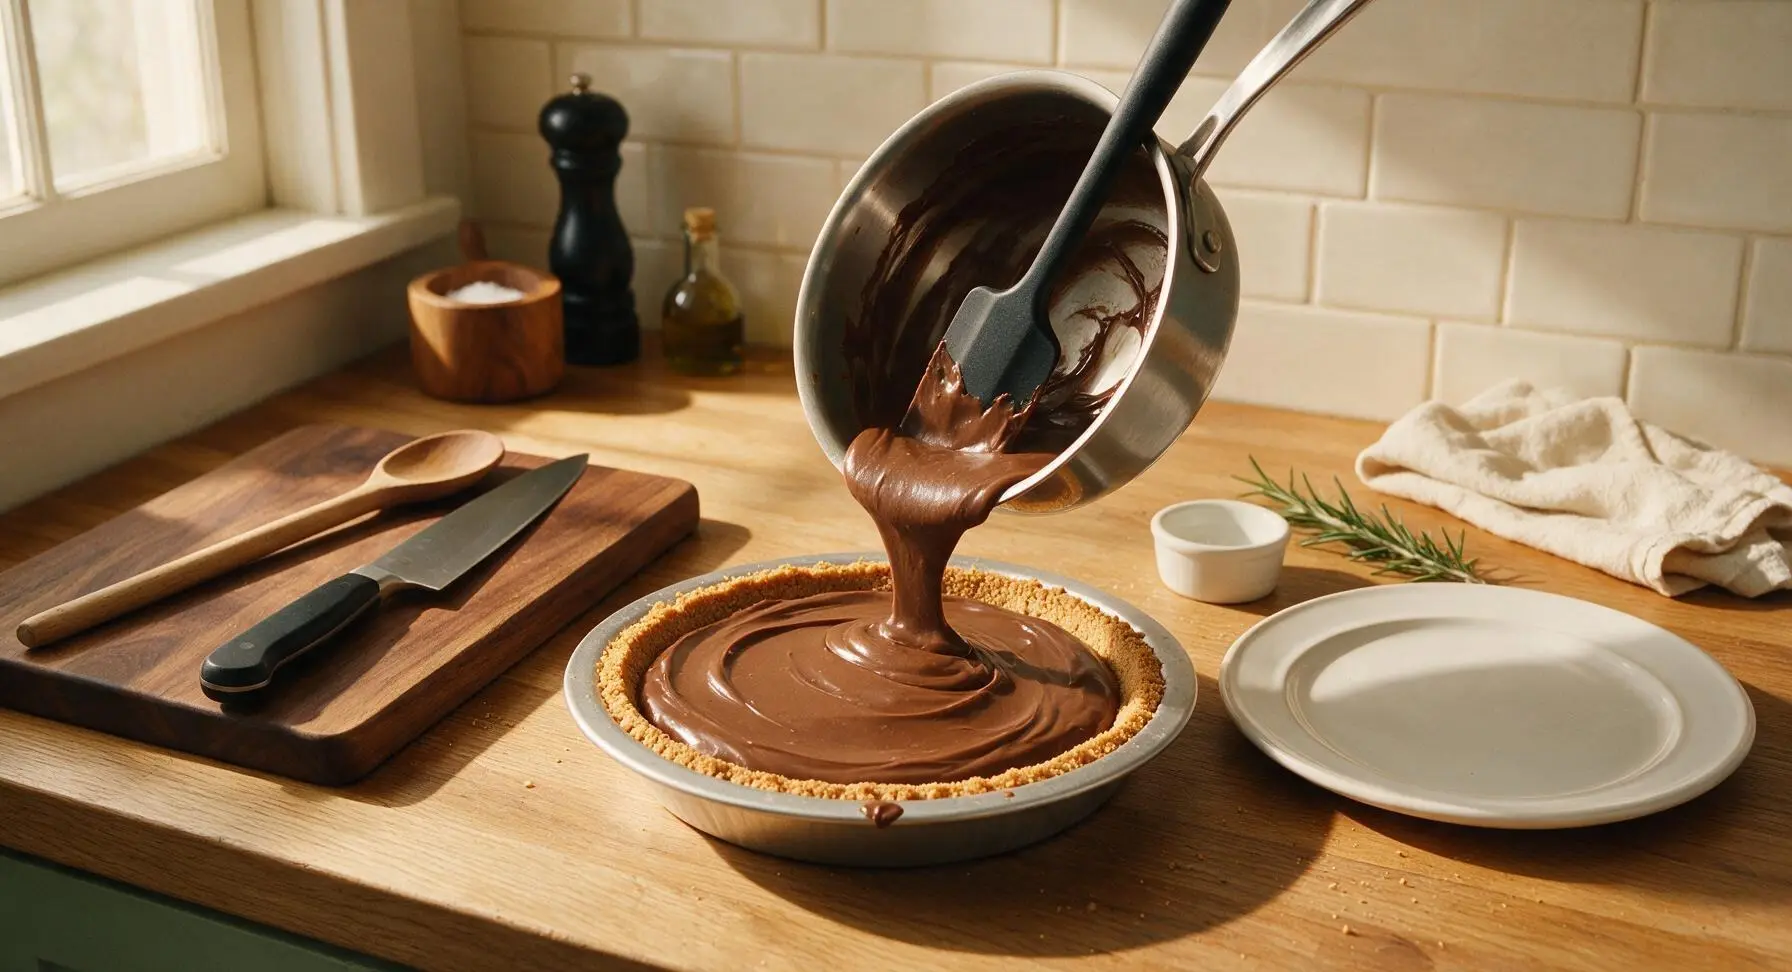
Step 6
step6:Fill Crust With Pudding
7

Top With Whipped Cream

Once the pudding is fully set, peel off the plastic wrap from the pudding surface. Whip 1 cup heavy whipping cream to soft, billowy peaks, then dollop and swirl it over the top of the chilled pudding. Sprinkle with 1 tablespoon dark chocolate shavings for garnish. Slice into 8 even pieces, wiping the knife between cuts for clean edges.
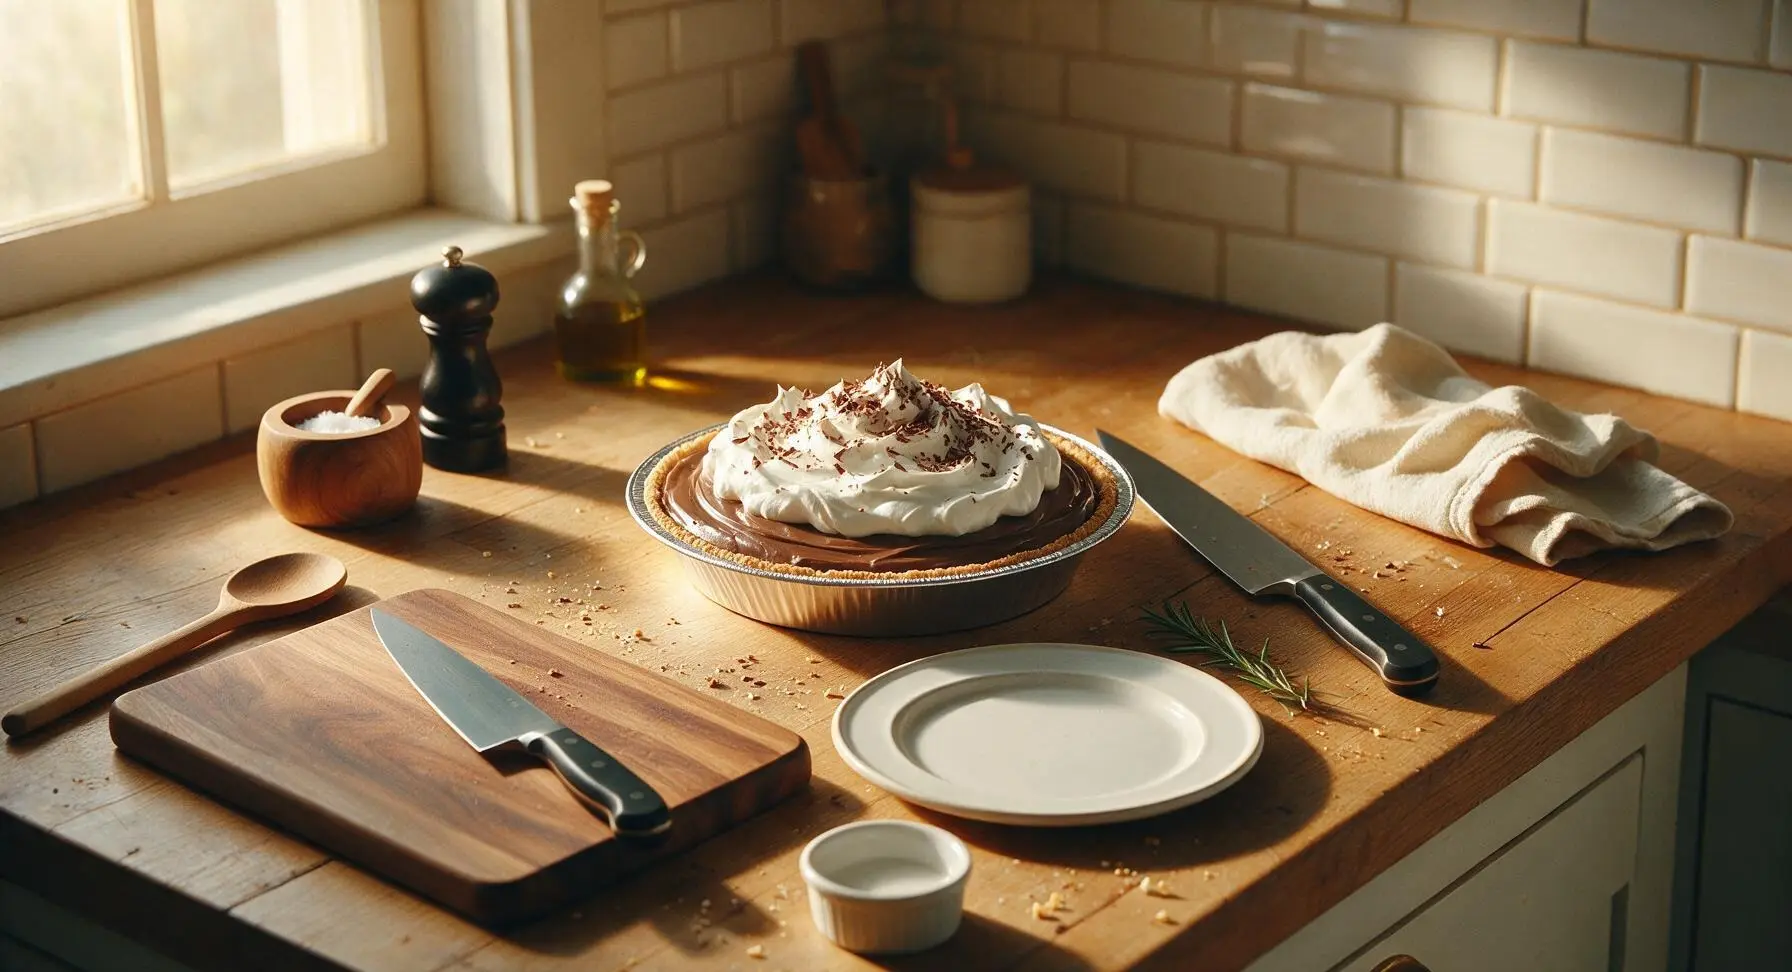
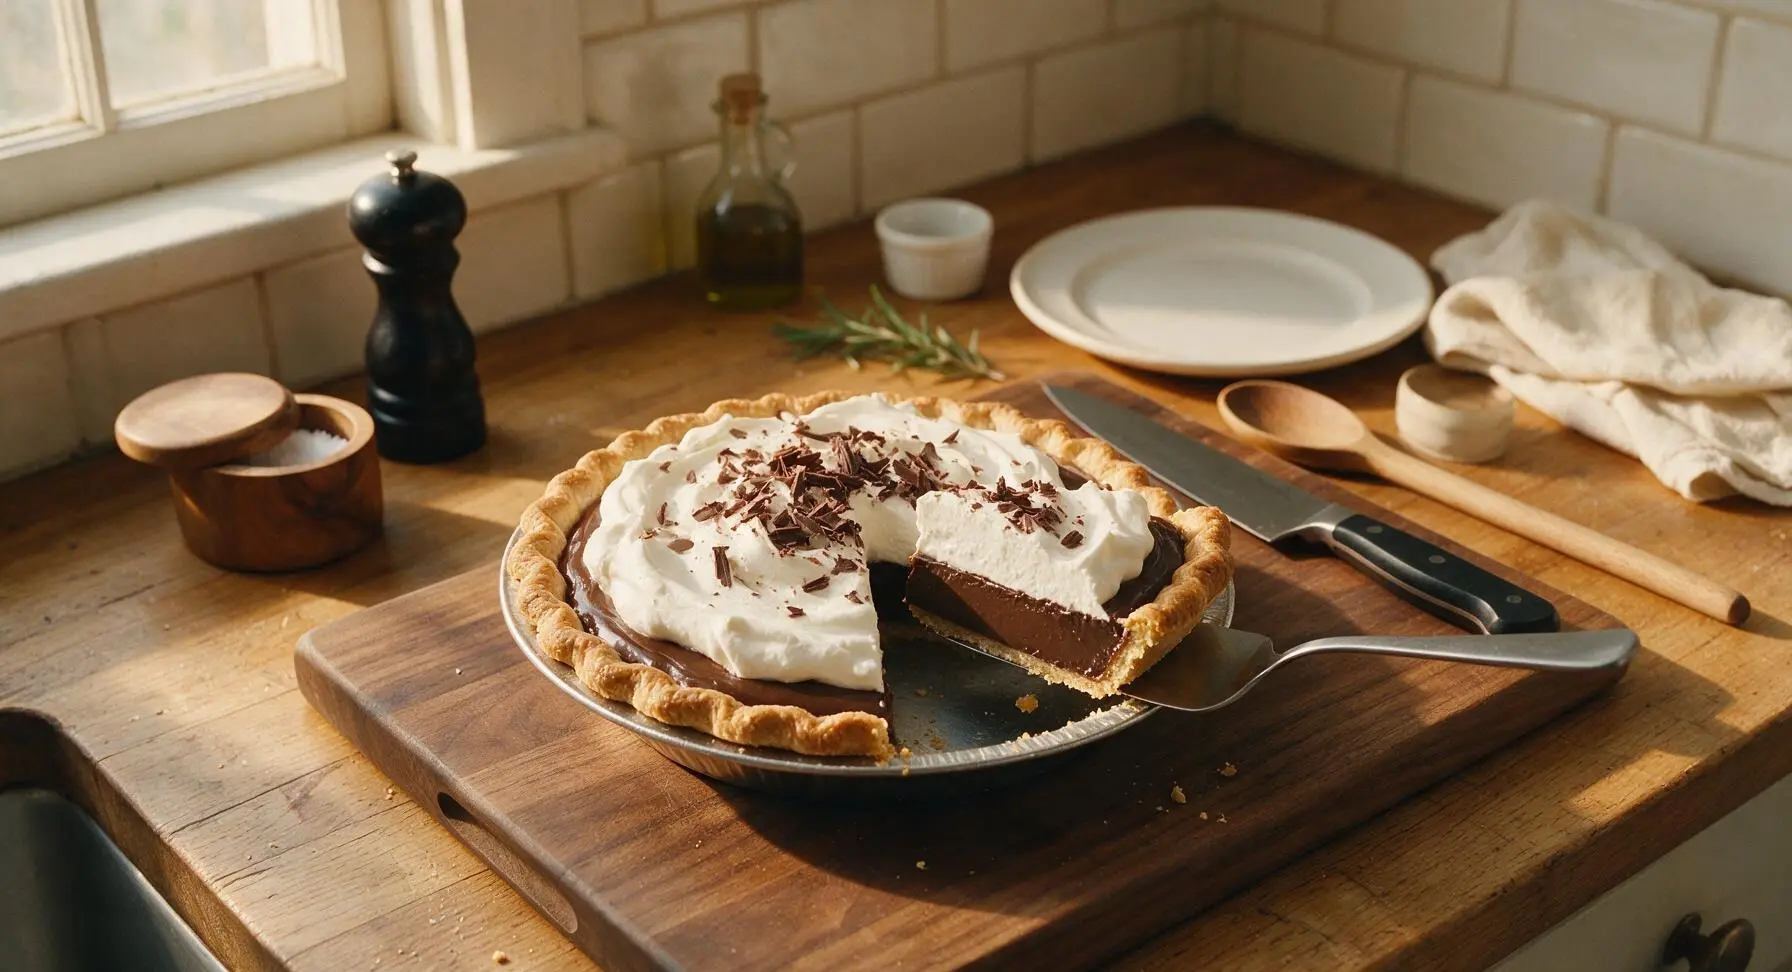
Step 7
step7:Top With Whipped Cream
Step 7
step7:Top With Whipped Cream

Tips

1.Always ensure both the baked crust and cooked pudding are cooled to the recommended temperature before assembling: pouring hot pudding into a warm crust melts the butter in the crumbs, creating a soggy base that slides apart when sliced.
2.Press plastic wrap directly against the surface of the warm pudding before chilling: exposure to air causes a thick, rubbery skin to form on the pudding top, which creates an uneven, lumpy texture under the whipped cream topping.
3.For bakery-perfect clean slices, dip your chef knife in hot water and wipe it completely dry between every cut: this prevents sticky chocolate pudding from clinging to the blade and dragging, creating neat slices with clearly defined crust, pudding, and cream layers.


✨ You May Also Like

Desserts & Baking
🍜 Italy

Creamy, coffee-kissed classic Northern Italian no-bake dessert, with layers of rum-spiked mascarpone cream, soft ladyfingers, and a rich cocoa dusting.

⏱️ 4 hours 3Desserts & Baking ★ 4.7
Desserts & Baking
🍜 France

Flaky, shatteringly crisp, buttery French croissants with golden exteriors and soft, airy layered interiors, perfect for pairing with coffee for a special morning treat.

⏱️ 12 hours Desserts & Baking ★ 4.5
Desserts & Baking
🍜 United States

Warm, spiced baked apples topped with a fluffy golden biscuit crust, this cozy dessert pairs perfectly with vanilla ice cream for cool-weather comfort.

⏱️ 55 minuteDesserts & Baking ★ 4.6
Desserts & Baking
🍜 United States

A star-spangled classic American blueberry pie with buttery flaky crust and bright sweet-tart filling, perfect for summer patriotic gatherings.

⏱️ 1 hour 25Desserts & Baking ★ 4.7
Desserts & Baking
🍜 United States

A beloved no-bake regional Maine candy with a chewy coconut-potato center coated in rich dark chocolate, a New England holiday staple since the 1870s.

⏱️ 2 hours 3Desserts & Baking ★ 4.8
Desserts & Baking
🍜 France

Luxuriously creamy, floral frozen custard made with aromatic Tahitian vanilla beans, boasting a smooth, rich texture that melts slowly on the tongue.

⏱️ 3 hours 3Desserts & Baking ★ 4.5

chocolate pudding pie:Frequently Asked Questions

1.How far in advance can I make this classic chocolate pudding pie? ▾
This nostalgic pie is ideal for prepping ahead! You can bake the graham cracker crust and fill it with fully cooled chocolate pudding up to 2 days before serving, stored tightly covered in the refrigerator. Hold off on adding the fluffy whipped cream topping until 1 to 2 hours before serving to prevent sogginess and keep the cream light and fresh.
2.My graham cracker crust always falls apart when I slice the pie—what am I doing wrong? ▾
This common issue usually comes down to two easy fixes. First, mix your graham cracker crumbs thoroughly with melted unsalted butter so every crumb is evenly coated, then press it very firmly across the bottom and up the sides of your pie plate. Second, bake the crust for 10 minutes at 350°F and let it cool completely before adding filling to let it set firm.
3.Why does this recipe call for Dutch-processed unsweetened cocoa instead of regular natural cocoa? ▾
Dutch-processed cocoa is treated to neutralize its natural sharp acidity, which delivers that deep, smooth, rich old-fashioned chocolate flavor everyone loves in this pie. It also mixes more seamlessly into the pudding base without leaving dry, bitter clumps, for that perfectly silky, luxurious texture. Natural cocoa works in a pinch, but will have a brighter, tarter chocolate profile.
4.My chocolate pudding filling came out lumpy instead of silky—how do I prevent that? ▾
Lumps almost always trace back to cornstarch mishaps or too-high heat. First, whisk your cornstarch, cocoa, and granulated sugar together fully before adding any liquid to eliminate dry clumps. Cook the pudding over medium-low heat, whisking constantly, and if small lumps do form, pour the warm pudding through a fine-mesh sieve before adding it to the crust for flawless smoothness.
5.Can I use a store-bought pre-made graham cracker crust to cut down on prep time? ▾
Absolutely! A pre-made graham cracker crust is a great time-saver that doesn’t take away from that classic cozy flavor. I recommend popping it in a 350°F oven for 5 minutes first to toast the crumbs and amp up that buttery flavor, then letting it cool completely before pouring in your warm pudding to avoid a soggy crust.
6.How do I keep my whipped cream topping from deflating or turning runny? ▾
For fluffy, stable whipped cream that holds its shape for hours, start with ice-cold heavy cream straight from the fridge, and whip it to soft peaks with 1 tablespoon of granulated sugar per cup of cream. If you’re serving the pie at a potluck on a warm day, fold in 1/4 teaspoon of dissolved unflavored gelatin for extra hold that won’t weep.
7.Why does my pudding form a thick, tough skin on top as it cools? ▾
That unappetizing skin forms when the top layer of pudding is exposed to air, causing moisture to evaporate and leave a tough, chewy film. The simple fix is to press a piece of plastic wrap directly onto the surface of the warm pudding right after you pour it into the crust, so no air touches the top. Remove the plastic right before adding whipped cream.
8.Can I freeze this chocolate pudding pie for longer storage? ▾
I don’t recommend freezing the fully assembled pie, as the cornstarch-thickened pudding will turn grainy and watery when it thaws, and the buttery graham cracker crust will turn soggy. You can freeze the baked, fully cooled crust tightly wrapped for up to 3 months, though—just thaw it in the fridge overnight before adding fresh pudding and whipped cream to serve.

Comments (8)

2 days ago

OMG this classic chocolate pudding pie was an absolute hit at our Sunday family dinner! My kids devoured half the pan before I even got a second slice, it’s SO rich and creamy without being too sweet. 18 minute cook time is no joke too — I threw this together last minute after soccer practice and it was perfect. 10/10 will be making this for every potluck from now on!

yesterday

Wait did you make the crust from scratch or use a store-bought graham cracker crust? I need to bring this to my work potluck Friday and am trying to cut corners where I can lol

yesterday

So glad your family loved it! A store-bought graham cracker crust works perfectly for this recipe if you’re short on time — just make sure to pre-bake it for 5 minutes first so it doesn’t get soggy!

3 days ago

This was my first ever homemade pie and it turned out perfectly! I was so nervous I’d mess up the pudding consistency but the instructions were super straightforward, even for someone as clumsy in the kitchen as me. Only tiny note: I added a tiny extra pinch of sea salt on top and it made the chocolate flavor pop so much.

2 days ago

That sea salt hack is chef’s kiss! So proud of you for nailing your first pie — that’s the exact reason we love sharing easy, approachable recipes like this. Can’t wait to hear what you bake next!

5 days ago

Game changer. I’ve been buying those frozen chocolate pudding pies from the grocery store for years and this tastes a million times better for barely any effort. Topped mine with whipped cream and chocolate shavings, felt like I was eating dessert from a fancy diner. So good.

1 week ago

Made this in my dorm kitchen with like 3 basic tools and it still slapped! Used instant chocolate pudding once when I didn’t have cocoa powder (don’t judge) and it was still great, but making the cooked pudding from the recipe is next level. Super easy, cheap to make, perfect for late night study snacks. Only tiny knock is I wish the recipe noted how long it needs to chill in the fridge before serving, I cut into mine a little too early the first time and it was runny.

5 days ago

Wait how did you cook it in a dorm? Did you use a hot plate? I’ve been dying to make real desserts but my dorm only has a microwave lmao

1 week ago

I took this to our church potluck last Sunday and people were asking me for the recipe before we even got to the dessert table! The creamy chocolate filling is perfectly smooth, no lumps at all if you whisk constantly like the recipe says. I used an Oreo crust instead of graham cracker because my family prefers it, 10/10 would recommend that swap.

5 days ago

Oh the Oreo crust swap sounds insane! Did you add any extra butter to the Oreo crumbs to make it stick together, or is it the same ratio as graham cracker crumbs?

3 days ago

I used the same 6 tablespoons of melted butter with the Oreo crumbs! It held together perfectly and the chocolate-on-chocolate vibe was unbeatable

2 weeks ago

Meal prepped this for our weekend camping trip and it held up way better than I expected! Kept it in the cooler for two days and the filling was still perfectly creamy, no weird soggy crust or anything. My hiking buddies kept making fun of me for bringing a ‘fancy dessert’ until they ate a slice, then they begged for the recipe. Worth every minute.

yesterday

Made this with a gluten-free graham cracker crust for my sister’s birthday last weekend and it was perfect! I was worried the texture would be off with GF crumbs but you couldn’t even tell the difference. Quick question though — can I freeze leftover slices for later? We had about a quarter of the pie left and I hated throwing it out.

30 minutes ago

Yay, so happy the GF crust swap worked for your sister’s birthday! You can absolutely freeze leftover slices — just wrap them tightly in plastic wrap and they’ll keep for up to a month. Thaw in the fridge for a couple hours before eating and it’ll taste just as fresh!

2 hours ago

Wait why did I sleep on this recipe for so long?? The chocolate filling is so rich and velvety, way better than any boxed pudding mix I’ve ever used. I topped mine with fresh raspberries and a dollop of homemade whipped cream, and my partner said it’s the best dessert I’ve ever made. Total win for a weeknight treat!

30 minutes ago

The raspberry addition sounds incredible! I bet the tartness cuts through the rich chocolate perfectly, I’m definitely stealing that idea for when I make this this weekend

5 minutes ago

We love that raspberry pairing idea! The bright, tart fruit balances the deep chocolate flavor so well — we might just have to add that as a serving suggestion in the recipe notes. Thanks for the tip!



