
chocolate pudding pie with cool whip
intro
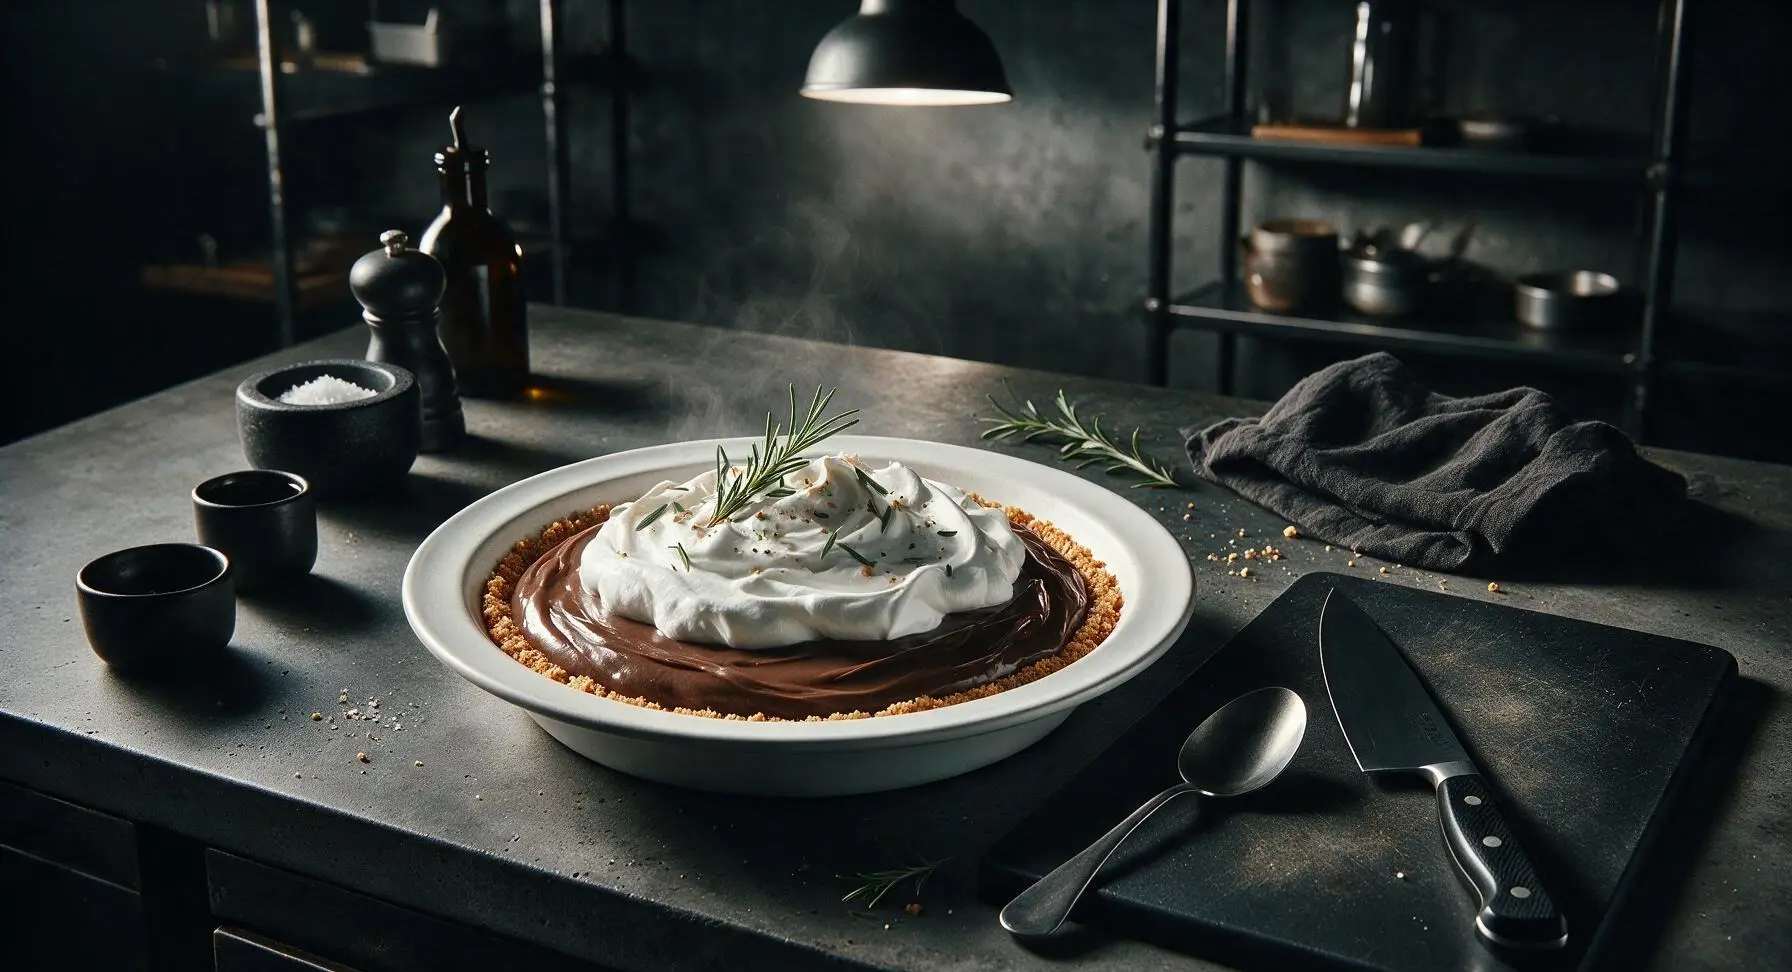
Rich, silky chocolate pudding layered over a buttery crisp graham cracker crust, topped with fluffy Cool Whip for a nostalgic, no-bake summer crowd-pleaser.
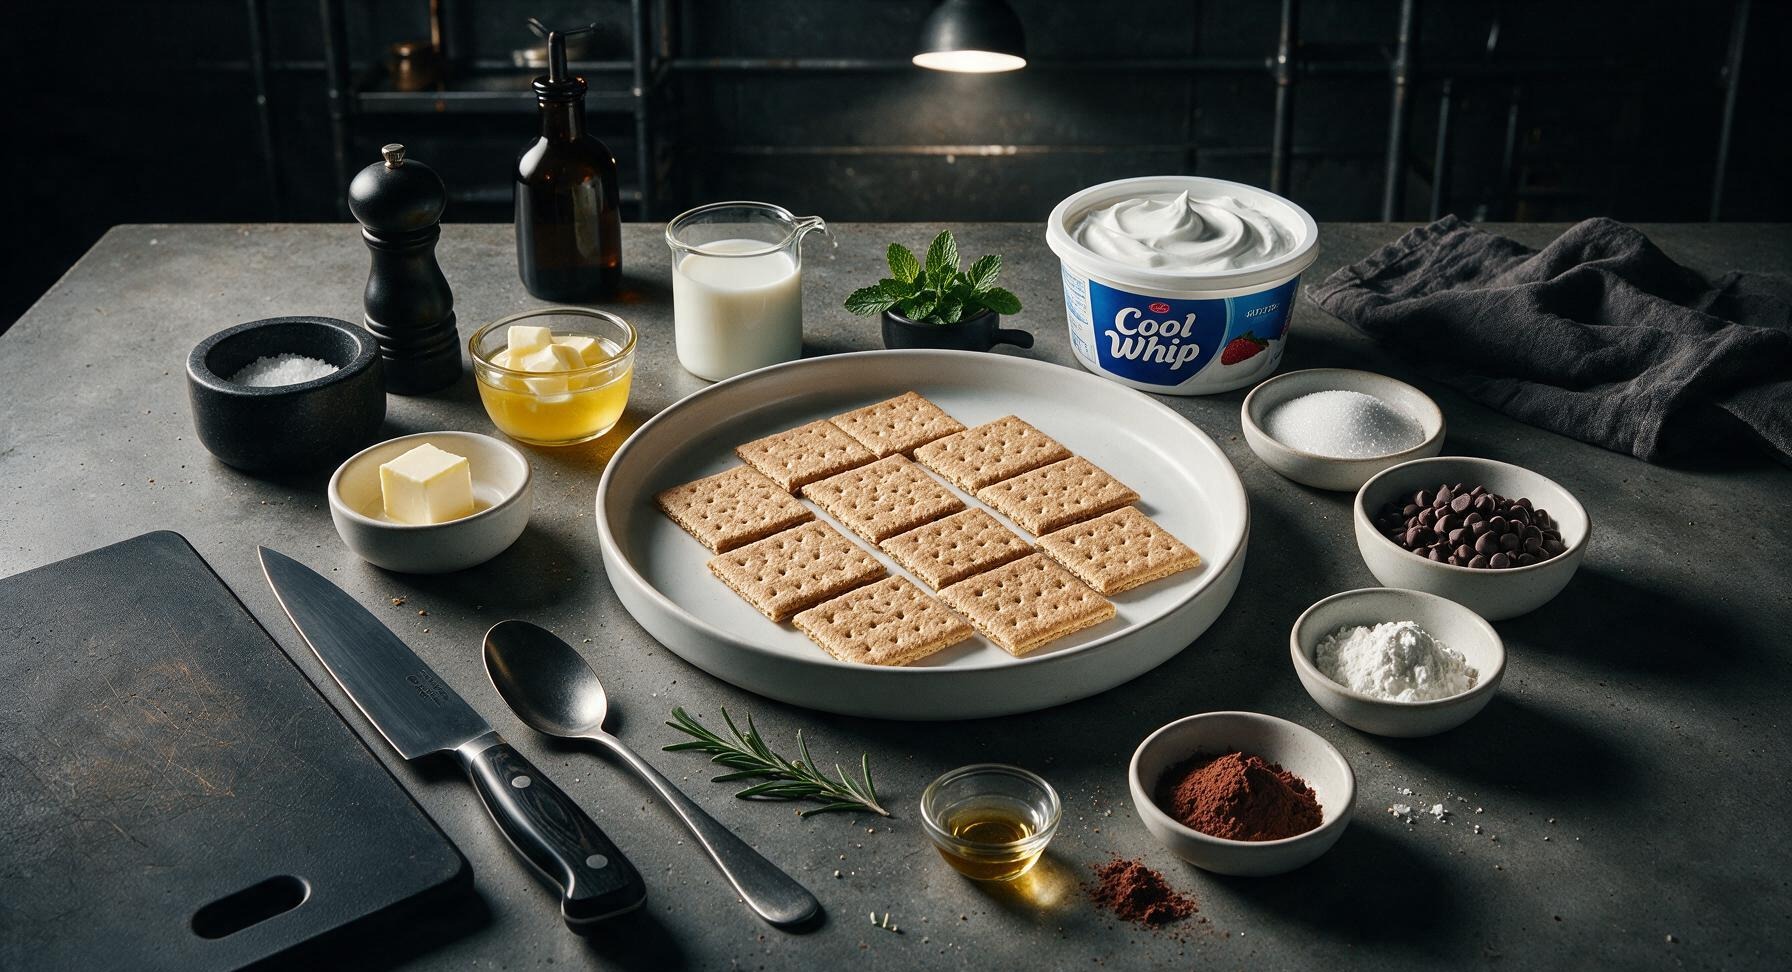
Ingredients
Steps
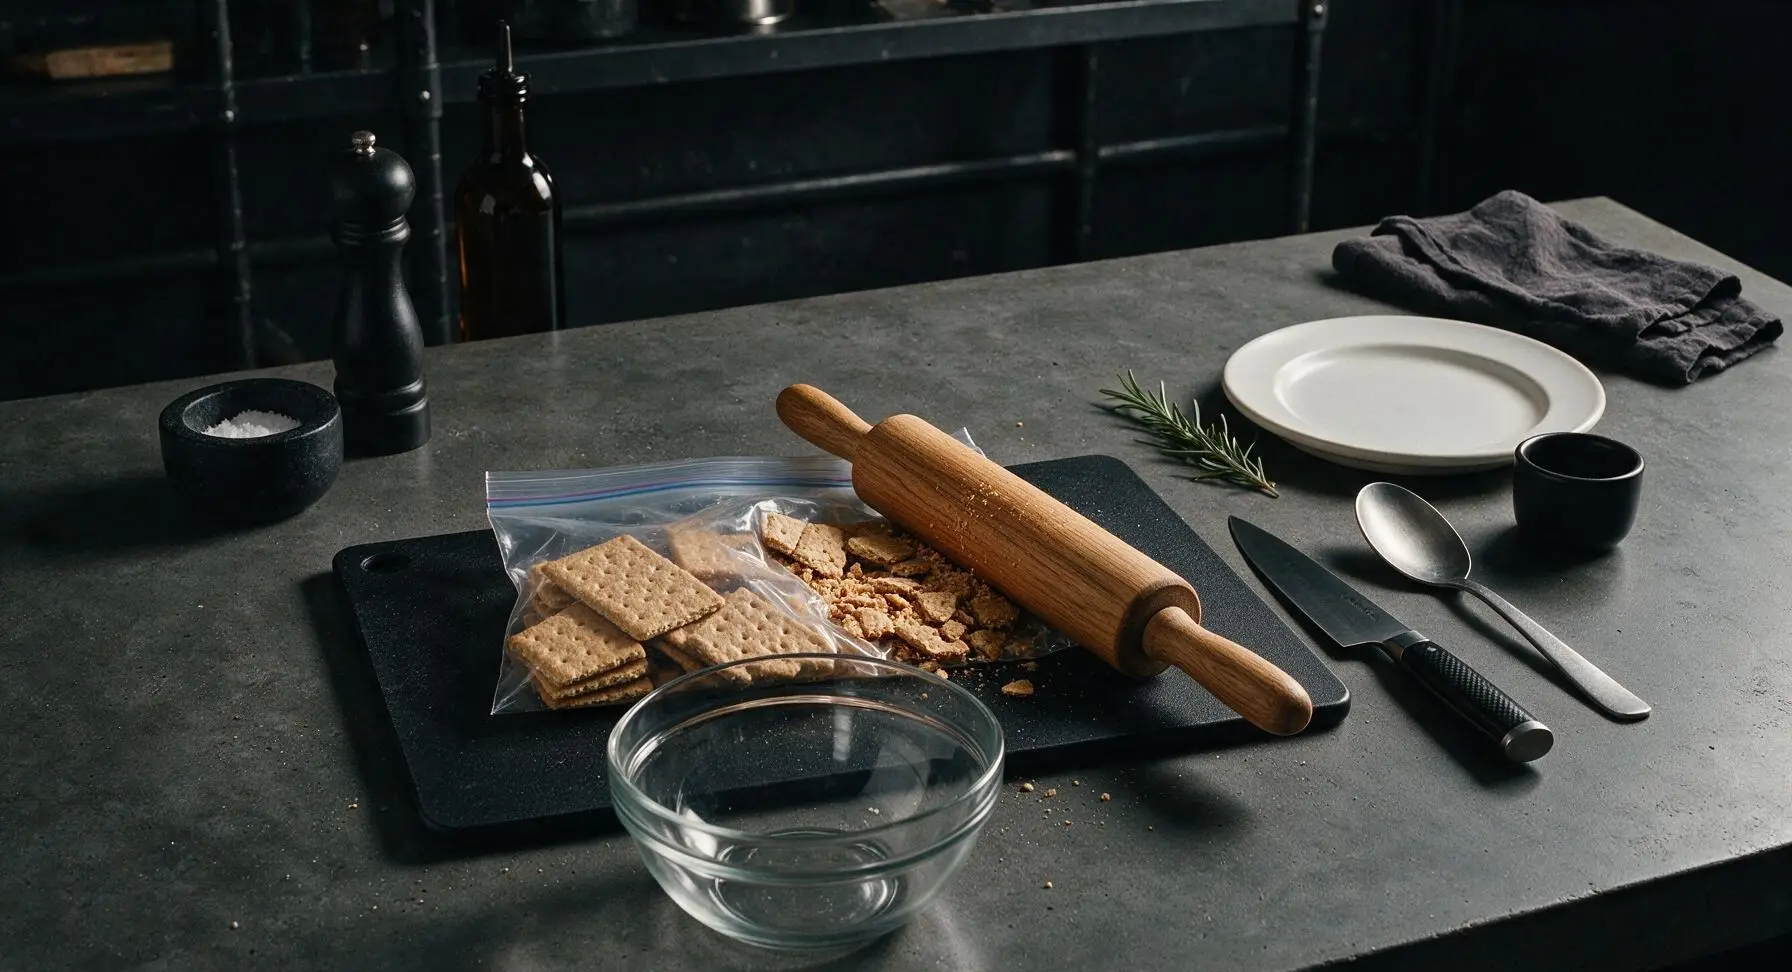
Crush Graham Crackers
Place 10 whole graham cracker sheets (yielding 1 ½ cups fine crumbs) into a sealed quart-sized zip-top bag set on the bamboo cutting board. Use the light honey oak rolling pin to roll firmly over the bag, crushing crackers into uniform fine crumbs with no pea-sized or larger chunks remaining. Pour finished crumbs into the 1-quart clear glass mixing bowl.
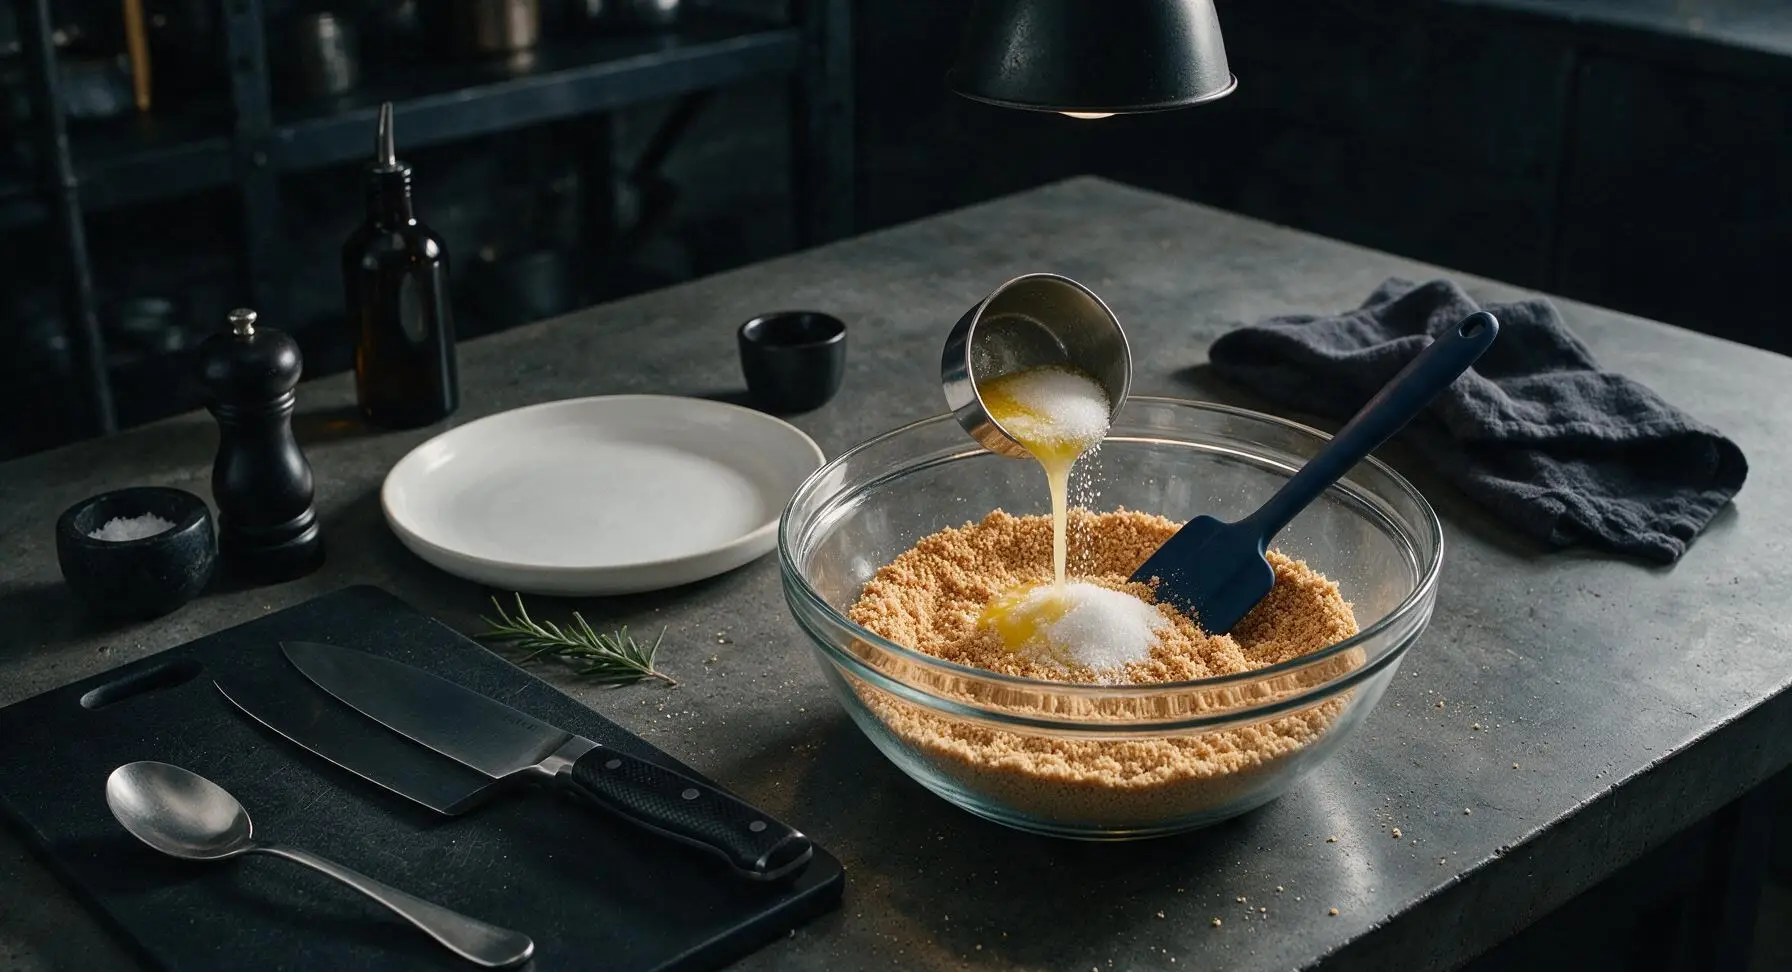
Mix and Press Crust
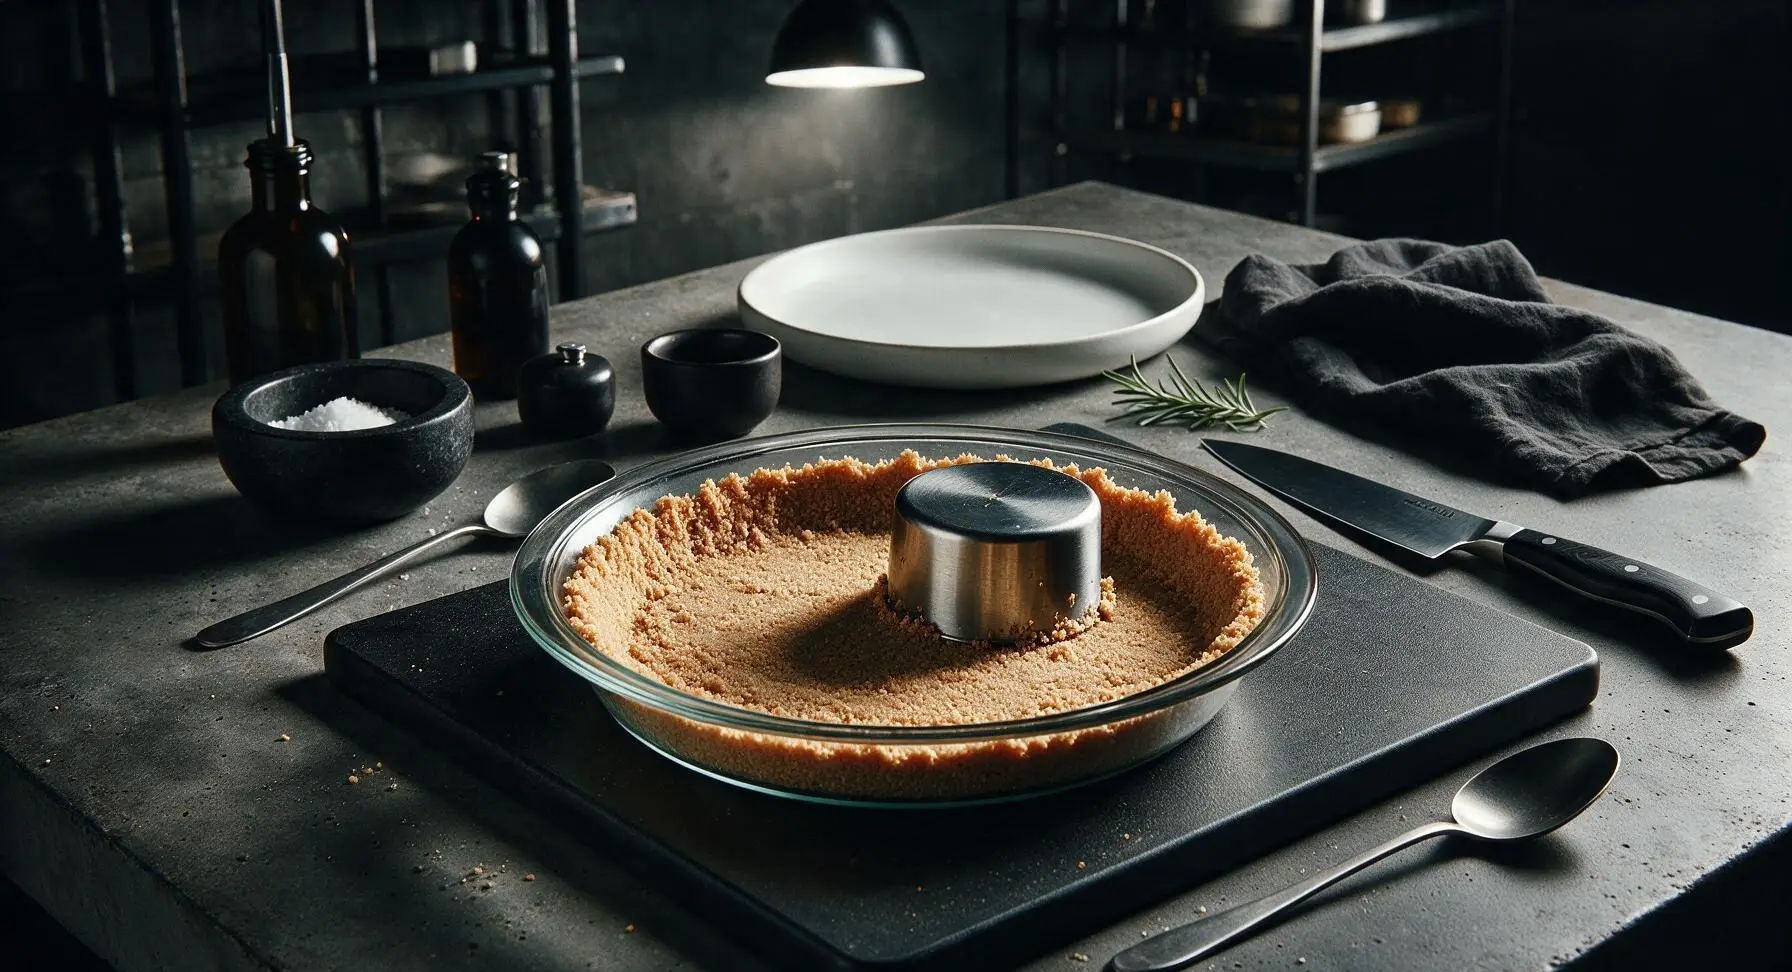
Add 2 tablespoons granulated sugar and 6 tablespoons melted, cooled unsalted butter to the graham cracker crumbs in the glass mixing bowl. Stir with the navy blue silicone spatula until all crumbs are evenly moistened, reaching the texture of damp sand that clumps when squeezed in your hand. Pour the crumb mixture into the center of the clear glass pie plate, and press firmly into an even ¼-inch thick layer across the bottom and 1 inch up the sides of the dish, using the flat bottom of a stainless steel measuring cup to compact crumbs tightly to prevent crumbling when sliced. Place the crust in the refrigerator to chill for 30 minutes while you prepare the pudding.
Whisk Pudding Base
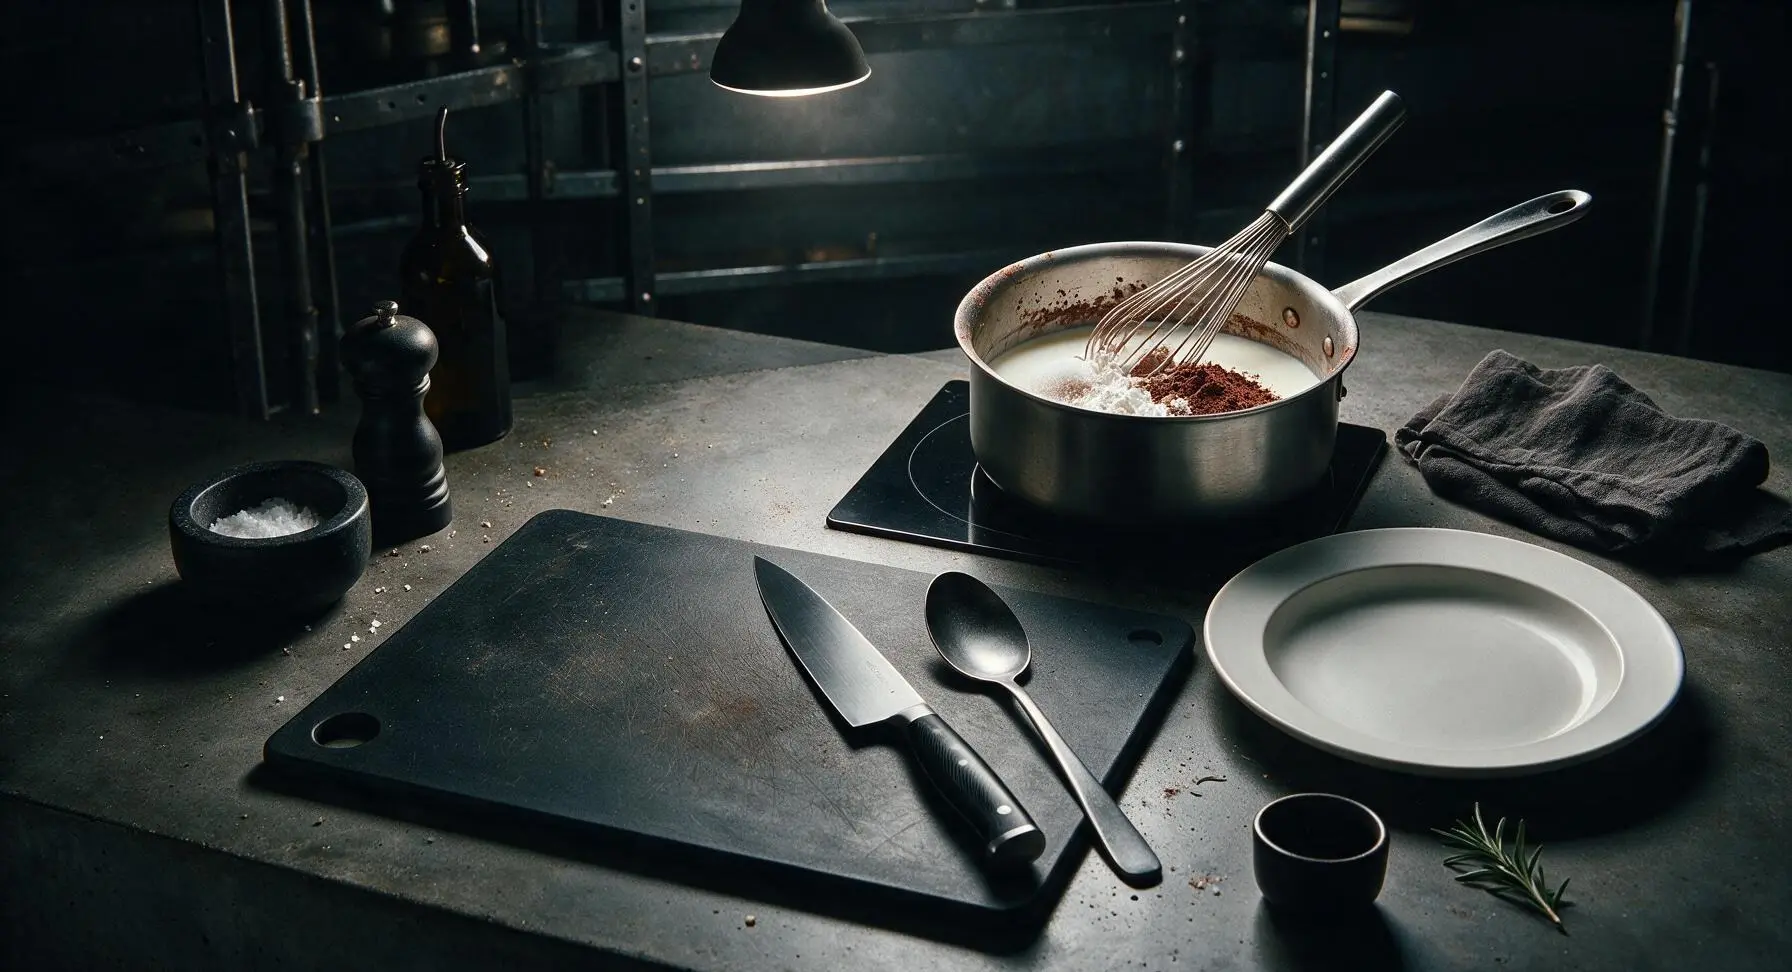
Retrieve the 2-quart matte stainless steel saucepan from its resting position and set it on the fixed matte black induction burner at back right. Add 2 ½ cups whole milk, ¼ cup granulated sugar, 3 tablespoons cornstarch, 2 tablespoons unsweetened cocoa powder, and ¼ teaspoon fine sea salt to the pan. Whisk continuously with the stainless steel wire whisk over medium heat (350°F on the induction burner) until the mixture is completely smooth, with no visible lumps of cornstarch or cocoa, about 2 minutes.
Cook Chocolate Pudding
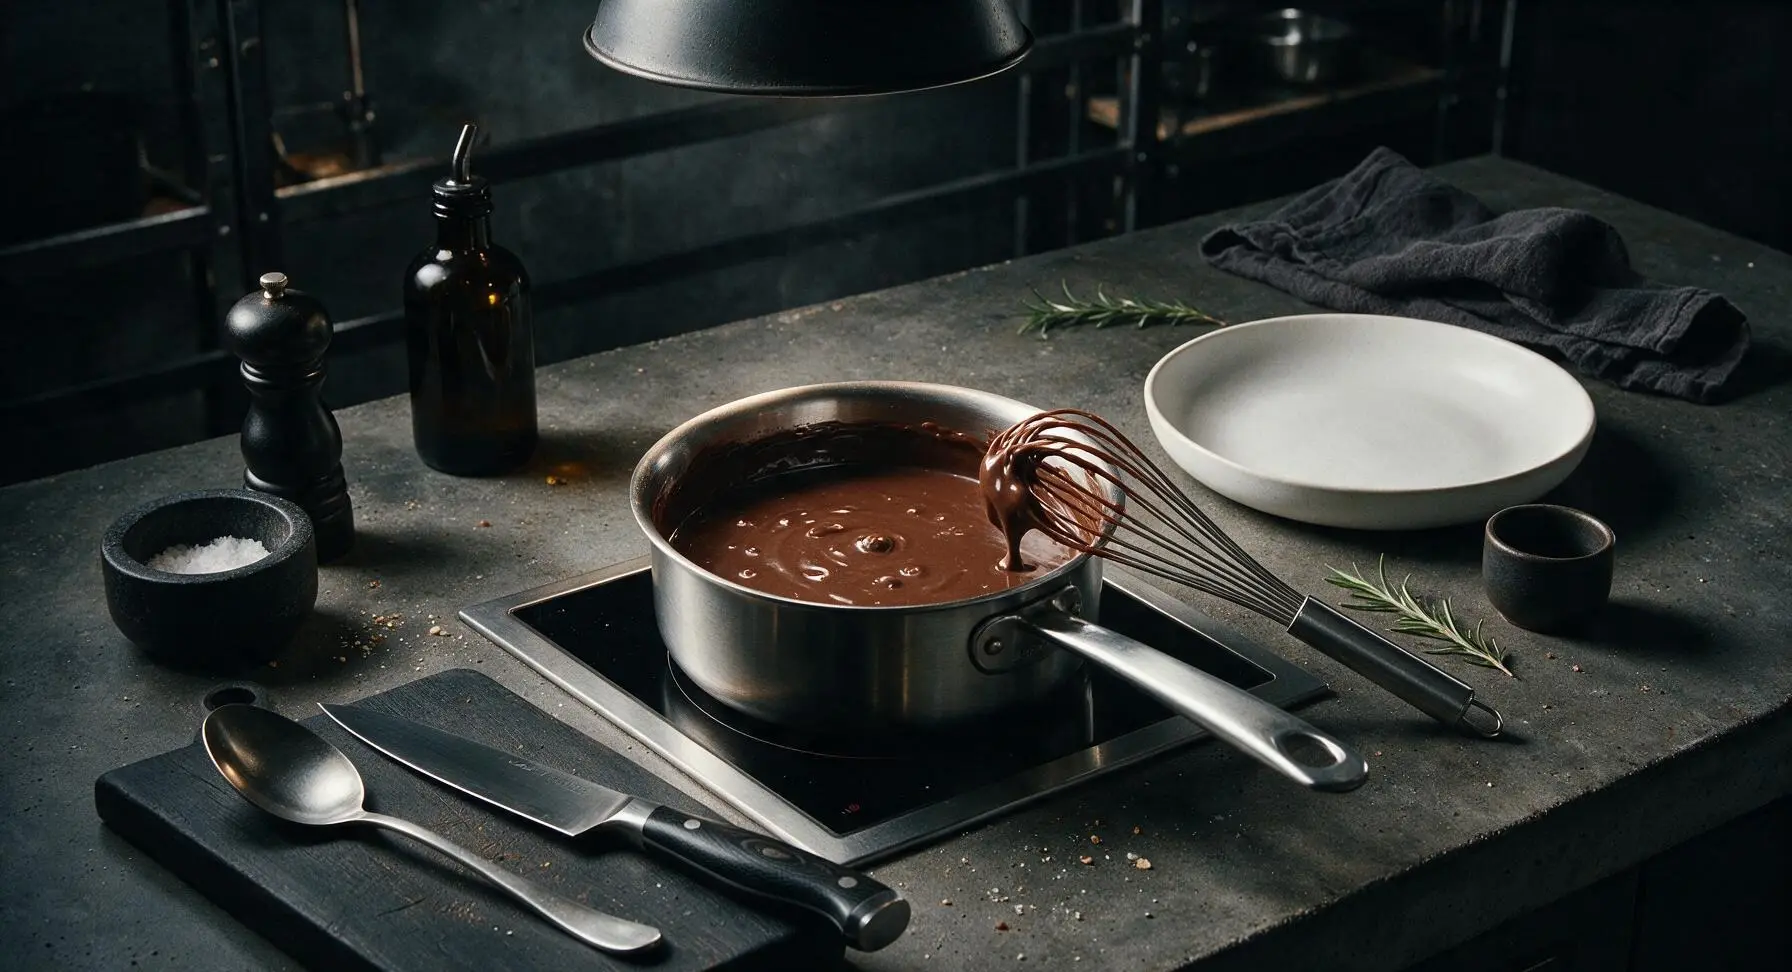
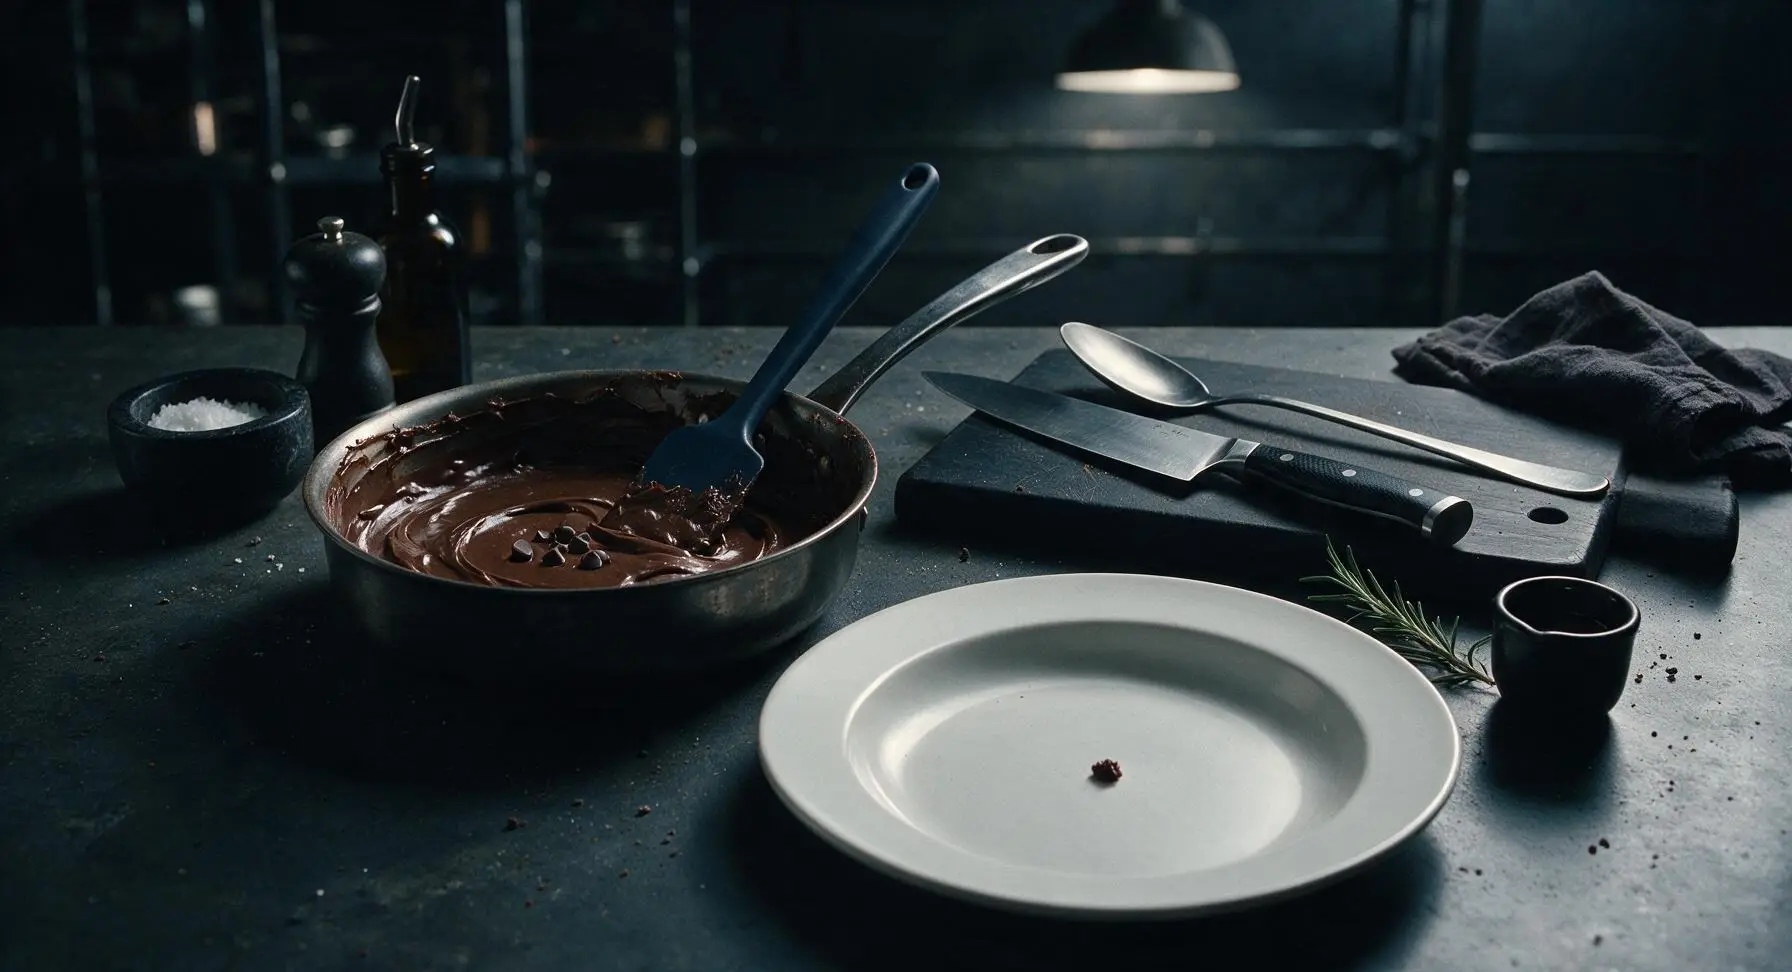
Continue cooking the pudding base over medium heat, whisking constantly to prevent scorching on the pan bottom, until it comes to a low, rolling bubble and thickens enough to coat the back of a spoon (a line drawn through the pudding on the spoon with your finger will hold its shape), 3-4 minutes. Once thickened, turn off the induction burner and remove the pan from heat. Add 1 cup semi-sweet chocolate chips, 1 tablespoon unsalted butter, and 1 teaspoon pure vanilla extract, stirring with the silicone spatula until chocolate and butter are fully melted and the pudding is glossy, uniformly dark brown, and completely smooth. Let the pudding cool for 15 minutes at room temperature, stirring once every 5 minutes to prevent a thick skin from forming on the surface.
Fill and Chill Pie
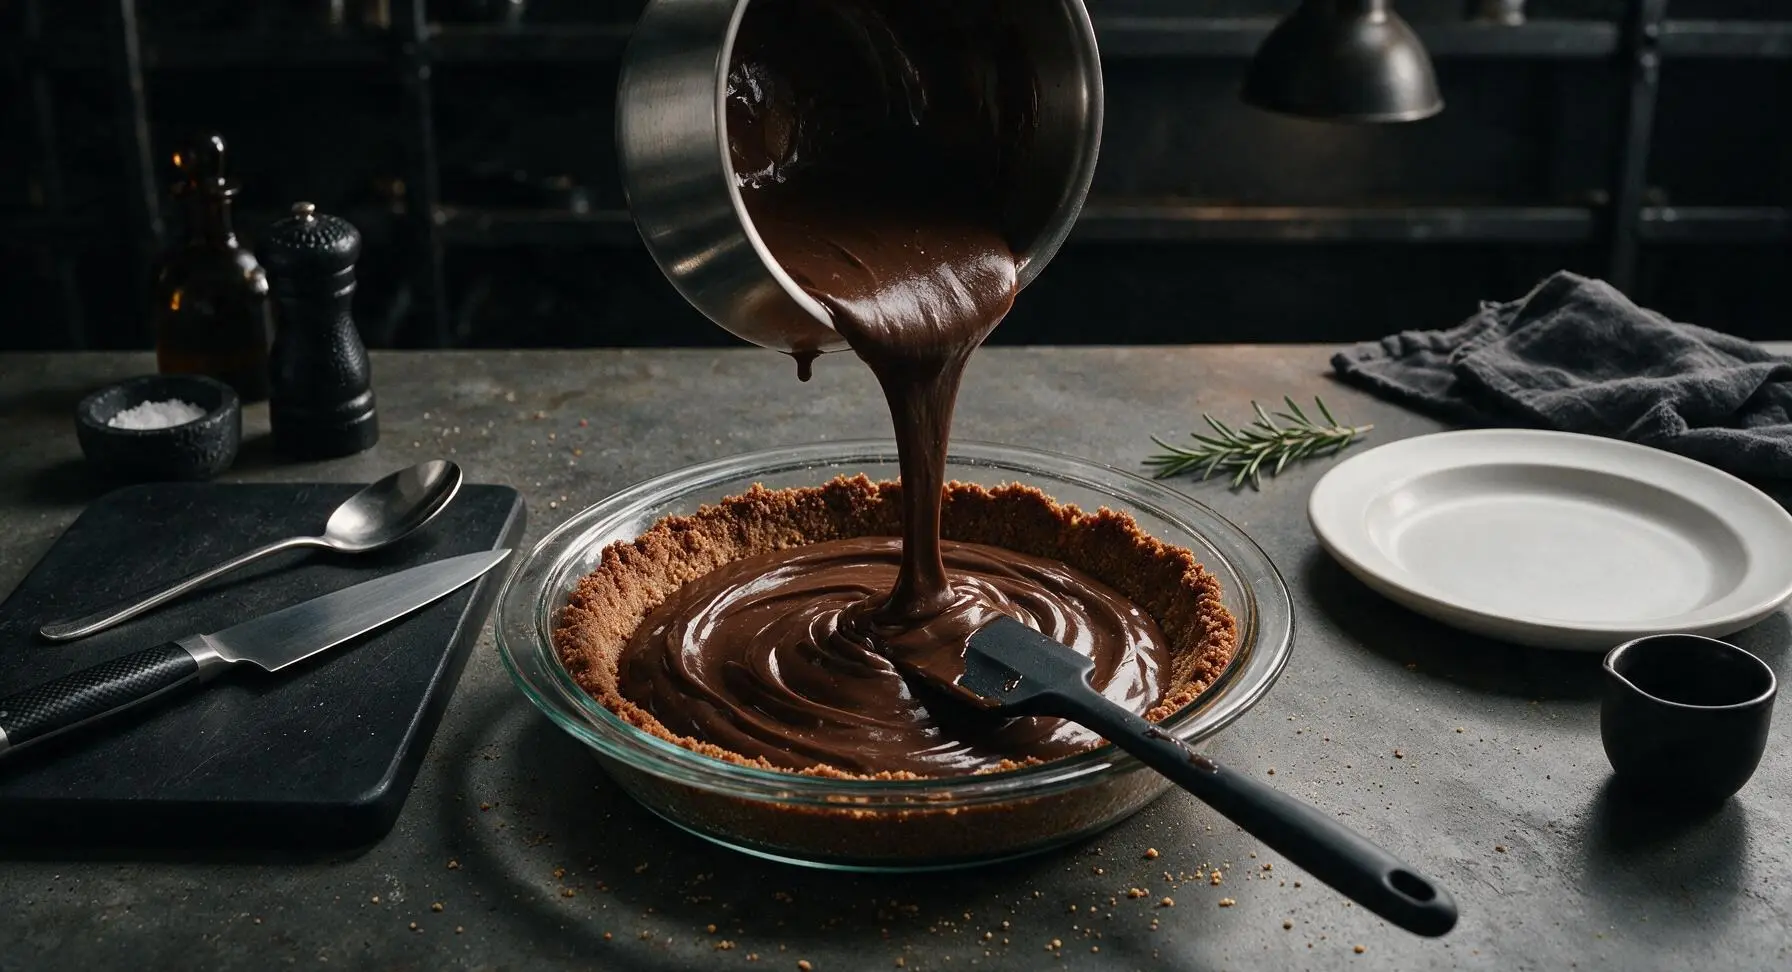
Retrieve the chilled graham cracker crust from the refrigerator and return it to its central counter position. Pour the cooled, smooth chocolate pudding directly into the crust, spreading it into an even layer with the silicone spatula so it reaches all edges of the crust and is level across the top. Cover the pie loosely with plastic wrap, pressing the wrap directly against the entire surface of the pudding to prevent skin formation. Refrigerate for a minimum of 4 hours (or up to 24 hours for make-ahead prep) until the pudding is completely set and firm to a light touch in the center.
Top with Cool Whip
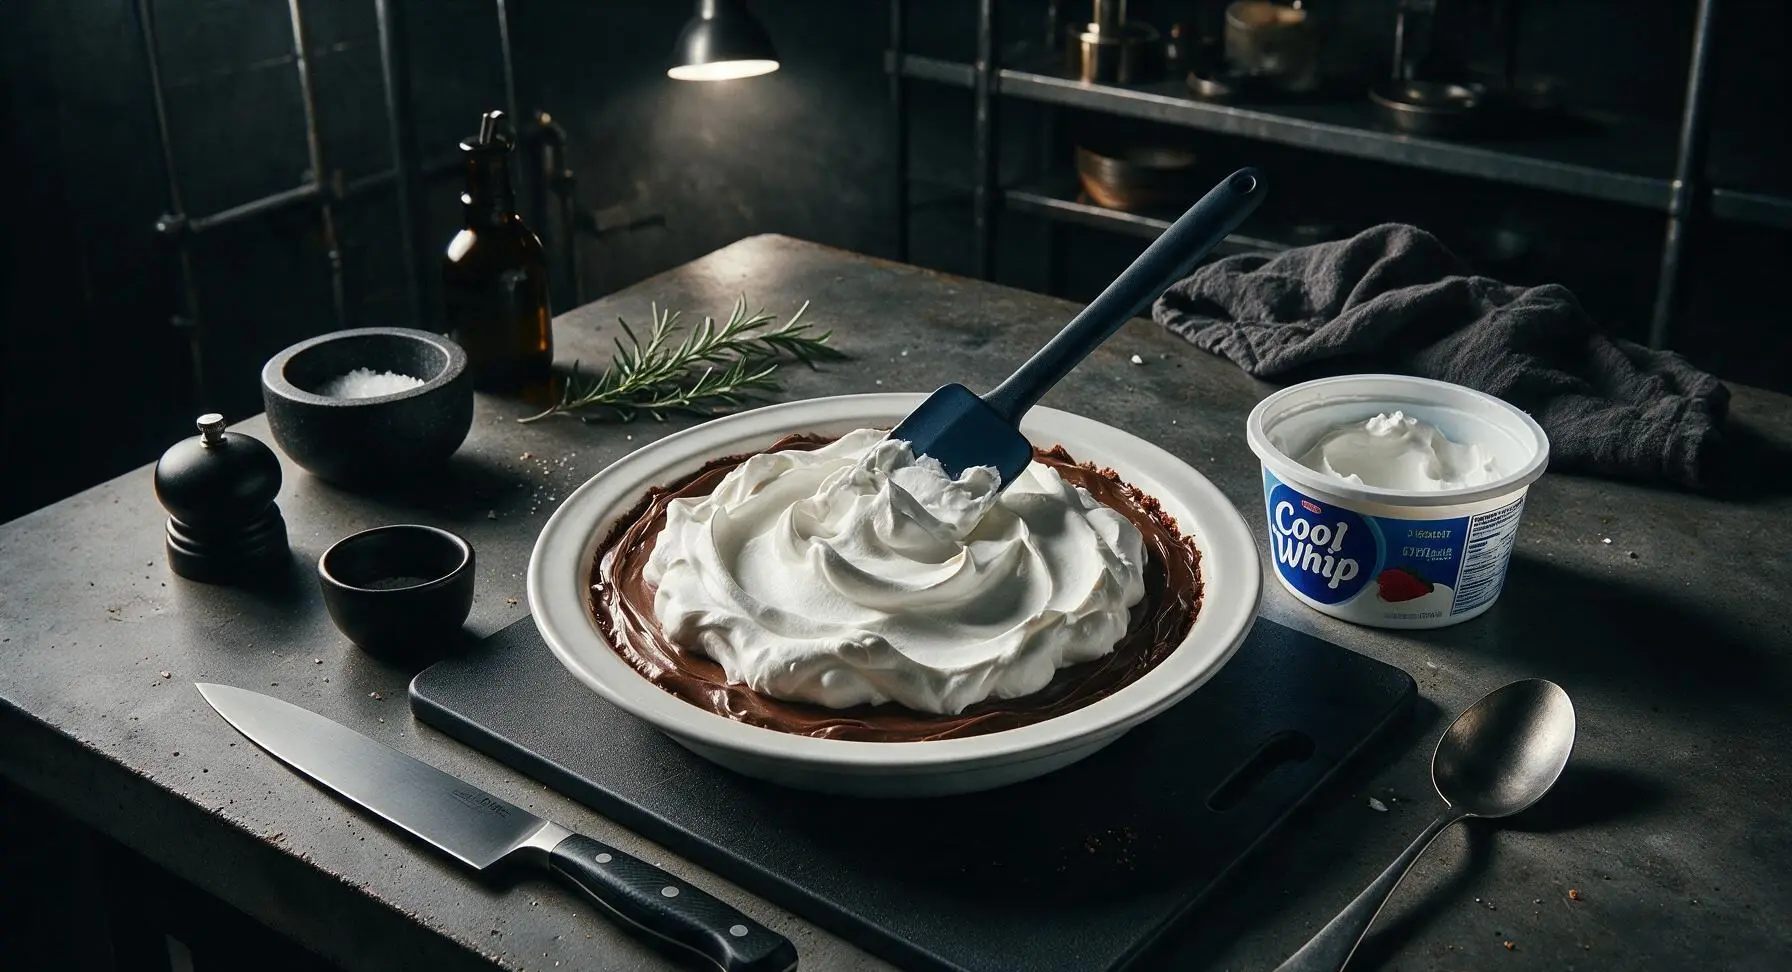
Once the pudding is fully set, remove the plastic wrap from the pie. Open the fully thawed 8-oz tub of Cool Whip, and scoop all of the fluffy topping onto the center of the set pudding. Use the silicone spatula to spread the Cool Whip into soft, natural billowy peaks across the entire surface of the pie, leaving an optional ½-inch border of dark chocolate pudding visible around the edge for contrast.
Garnish and Serve
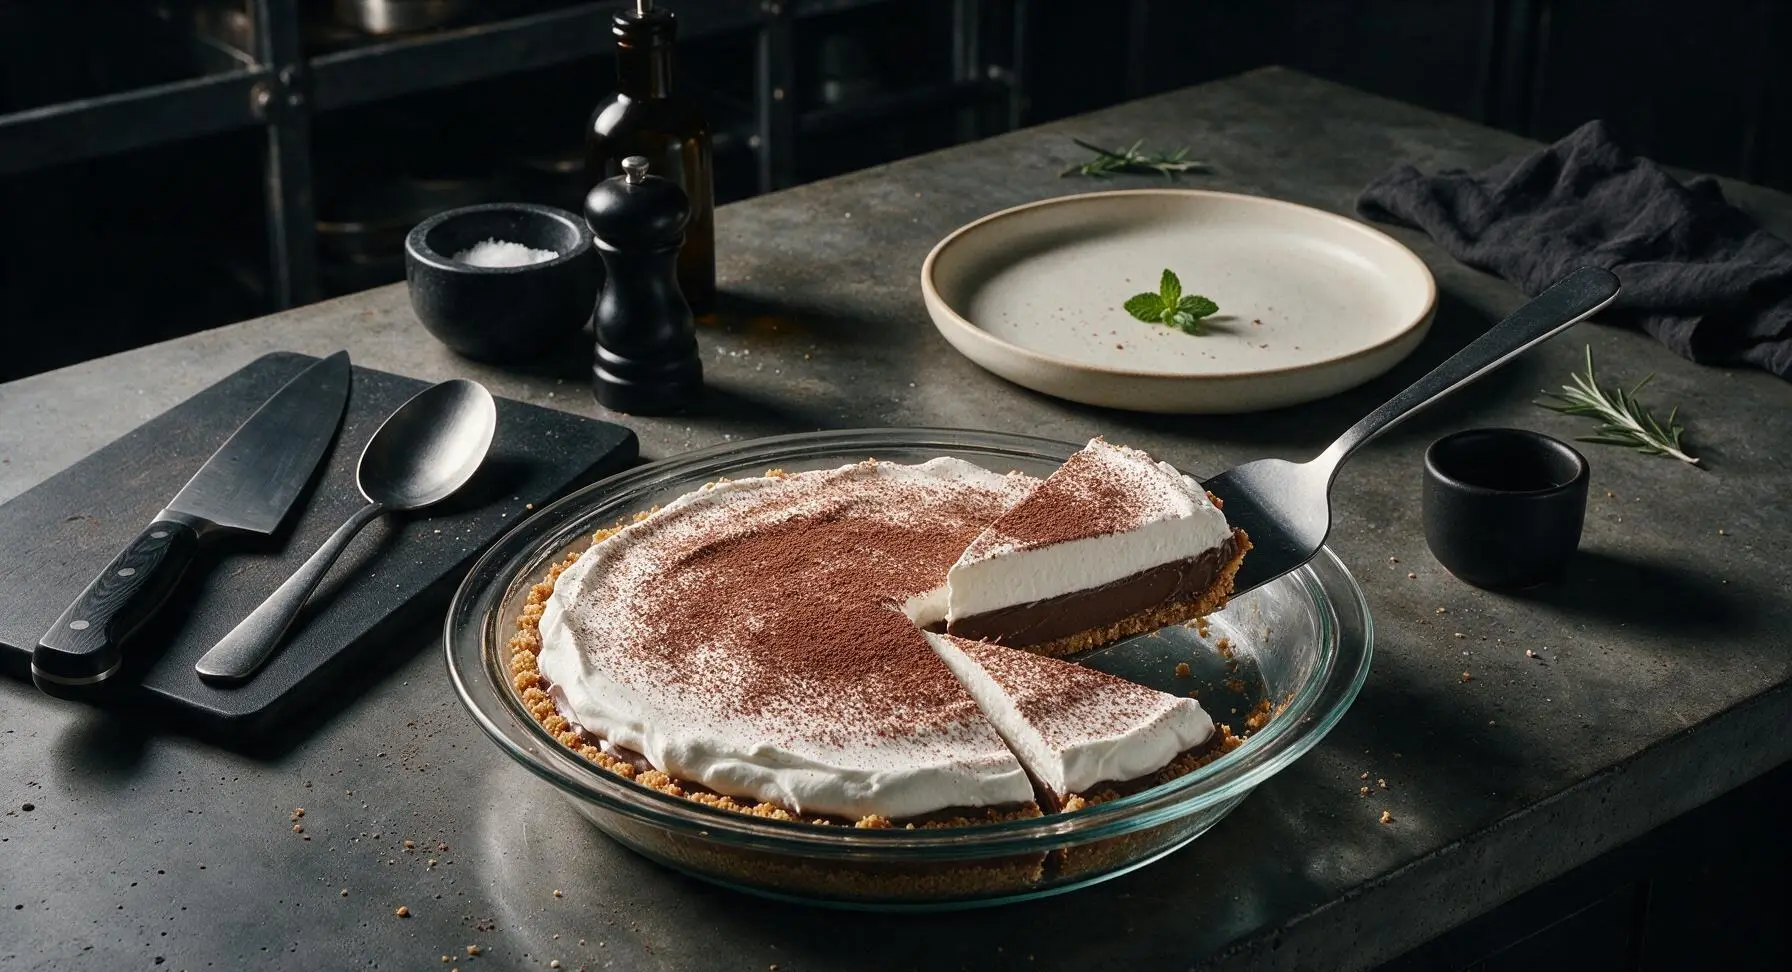
Lightly dust the top of the Cool Whip with ¼ teaspoon unsweetened cocoa powder, tapped through a small fine sieve for even coverage, if desired. Slice the pie into 8 even wedges, using the stainless steel pie server to lift slices cleanly from the dish. Serve each slice on a matte cream ceramic dessert plate, garnished with one small fresh mint sprig, and keep leftover pie covered in the refrigerator for up to 3 days.
Tips
2.Press plastic wrap directly against the surface of the warm pudding before chilling to prevent a thick, rubbery skin from forming; this skin will create a lumpy, uneven layer under the Cool Whip topping.
3.Thaw Cool Whip in the refrigerator for 4 hours before use rather than on the countertop; room temperature thawing can cause the topping to become watery and slide off the set pudding surface.






OMG this was such a game changer for our last minute potluck! I forgot I signed up to bring a dessert until an hour before we had to leave, threw this together in literally 10 minutes, and people were asking me for the recipe all night! I used extra dark chocolate pudding because that’s what I had in the pantry and it was *chef’s kiss*. SO good.
As someone who can barely boil water without burning it, this recipe was totally foolproof. No fancy equipment, no weird ingredients I had to run to three grocery stores to find, and it tastes like I spent hours making it. Already made it twice this week for my dorm floor hangouts.
Made this for our family Sunday dinner and my kids went back for seconds before anyone else even got a first slice! Topped it with extra chocolate shavings and a handful of mini marshmallows for a little s'mores vibe, 10/10 will be adding this to my regular rotation.
Wait is there a way to make this a little less sweet? I love chocolate pie but the regular Cool Whip and instant pudding combo is usually a little too sugary for my taste. Was thinking of swapping in sugar free pudding and light Cool Whip, has anyone tried that?
How long does this keep in the fridge? I want to make it ahead for my partner’s birthday picnic on Saturday but I don’t wanna make it too early and have it get all soggy.
Made this with my 7 year old last rainy Saturday and it was the perfect kid-friendly activity! No hot stoves to worry about, she got to dump all the ingredients in and stir, and we had a delicious dessert to eat after dinner. 10 minutes of prep for hours of happy kid, can’t beat that.
Okay I know this sounds extra but I added a layer of peanut butter between the crust and the pudding and oh my GOD it was life changing. Tastes like a giant peanut butter cup in pie form, I will never make this plain again.
This is such a perfect cheap meal prep dessert! I made one on Sunday, cut it into slices, and had little treats to pack in my lunch all week. Cost me like $6 total for all the ingredients, way cheaper than buying pre-made desserts from the grocery store bakery.