
chocolate pudding with cocoa powder
intro
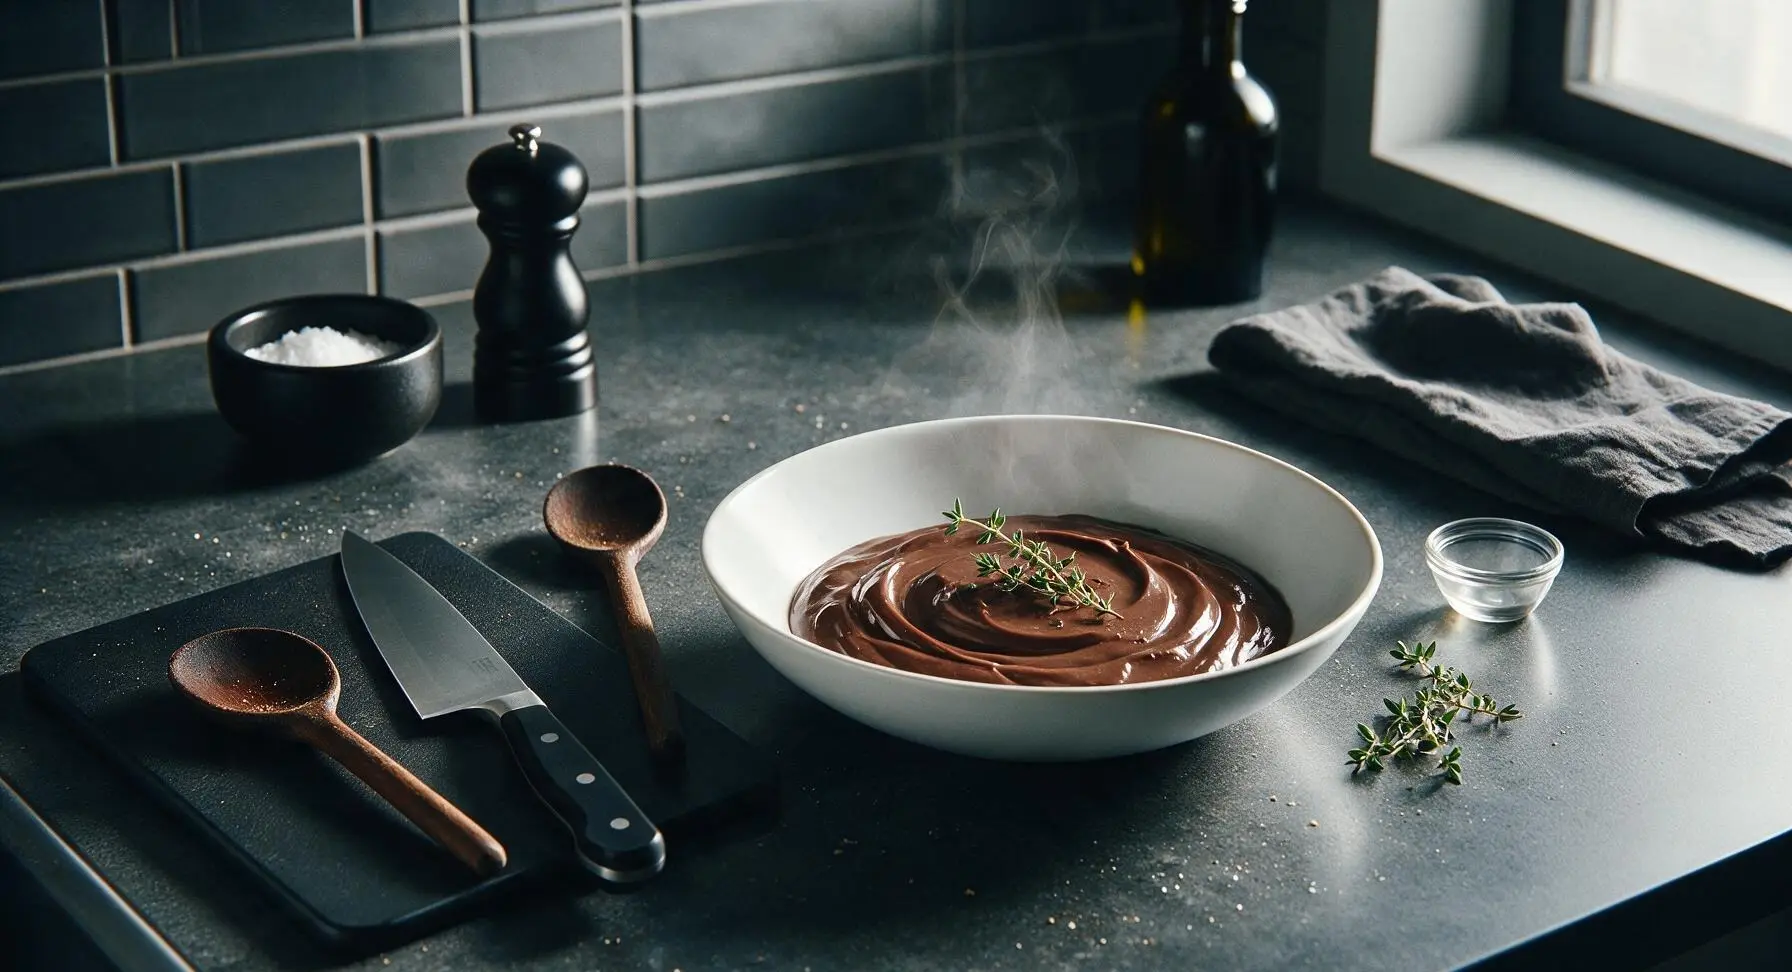
Silky, deeply chocolatey stovetop pudding made with pantry-staple cocoa powder, no fancy chocolate required. Luxuriously smooth, perfectly set, ideal for cozy winter date nights.
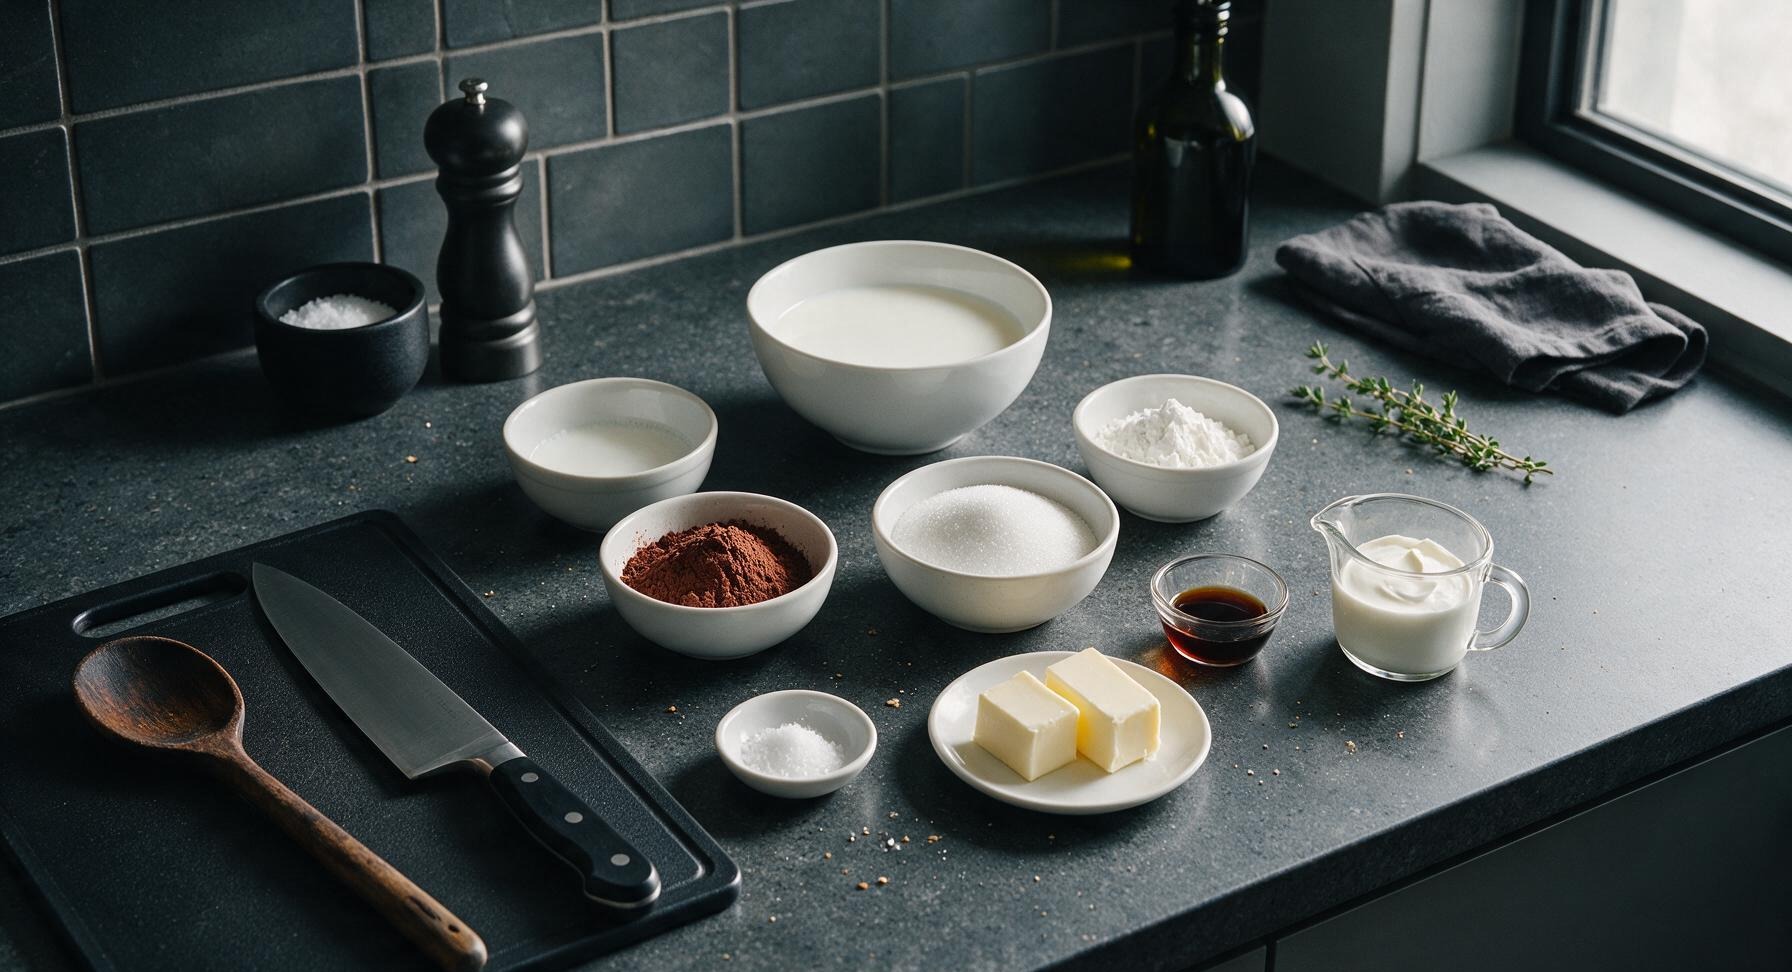
Ingredients
Steps
Sift Dry Ingredients
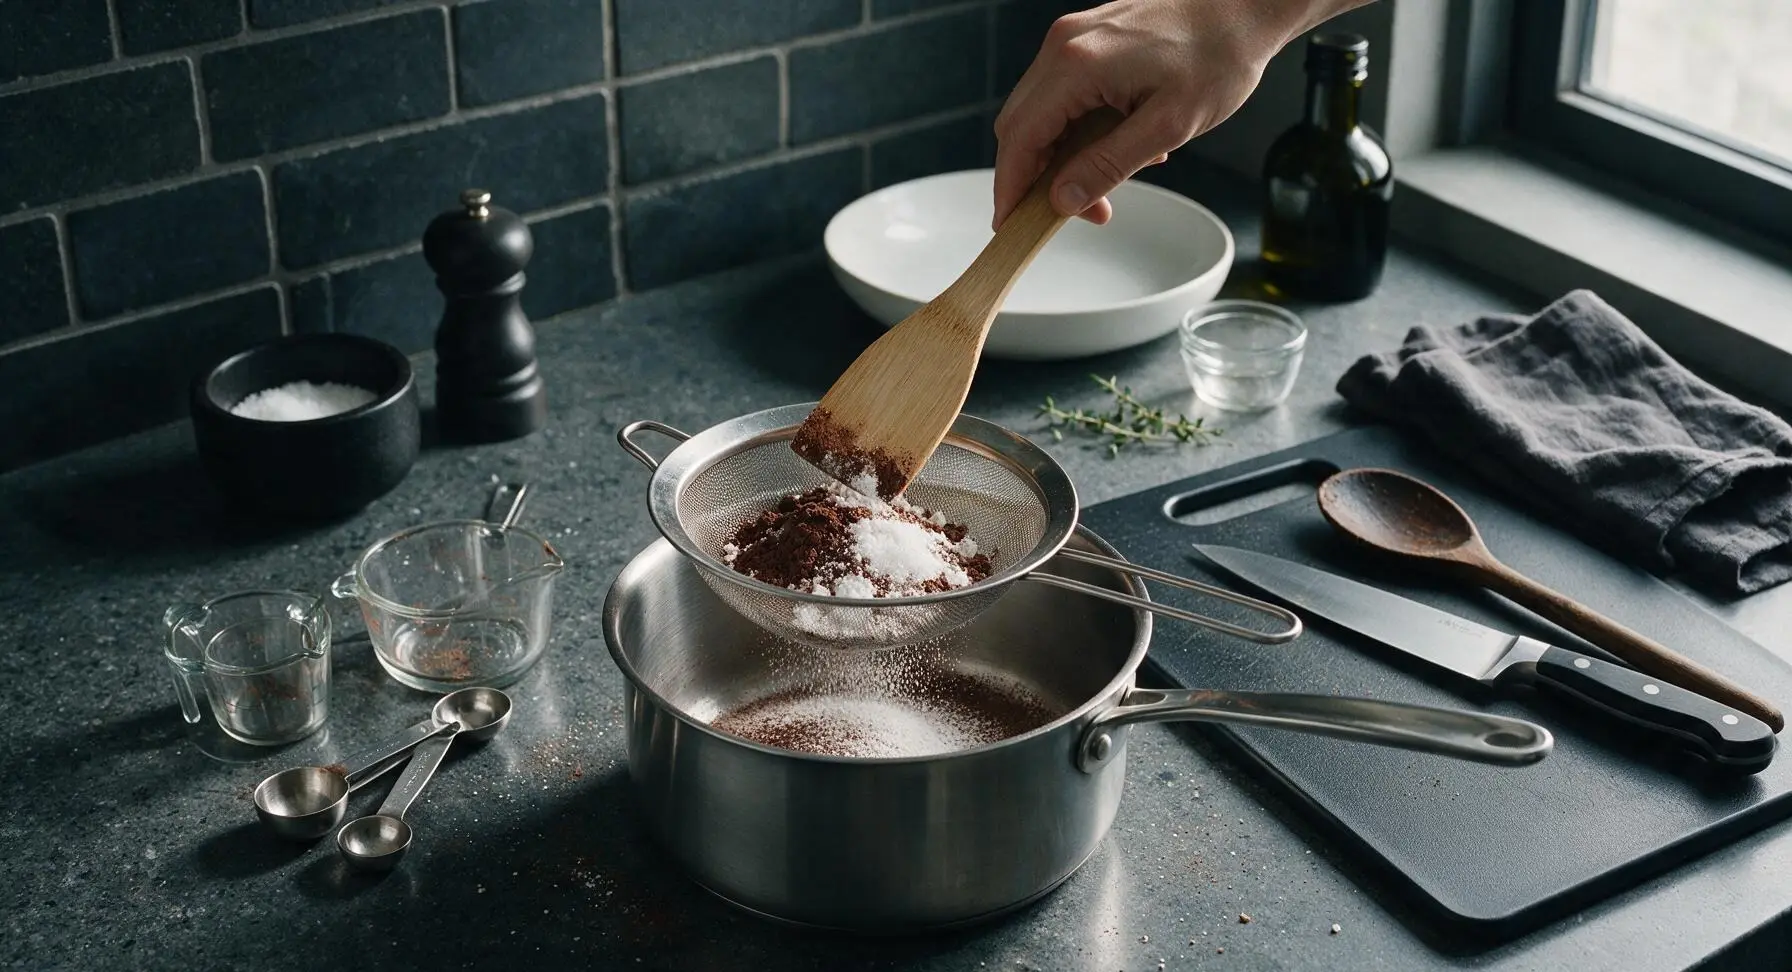
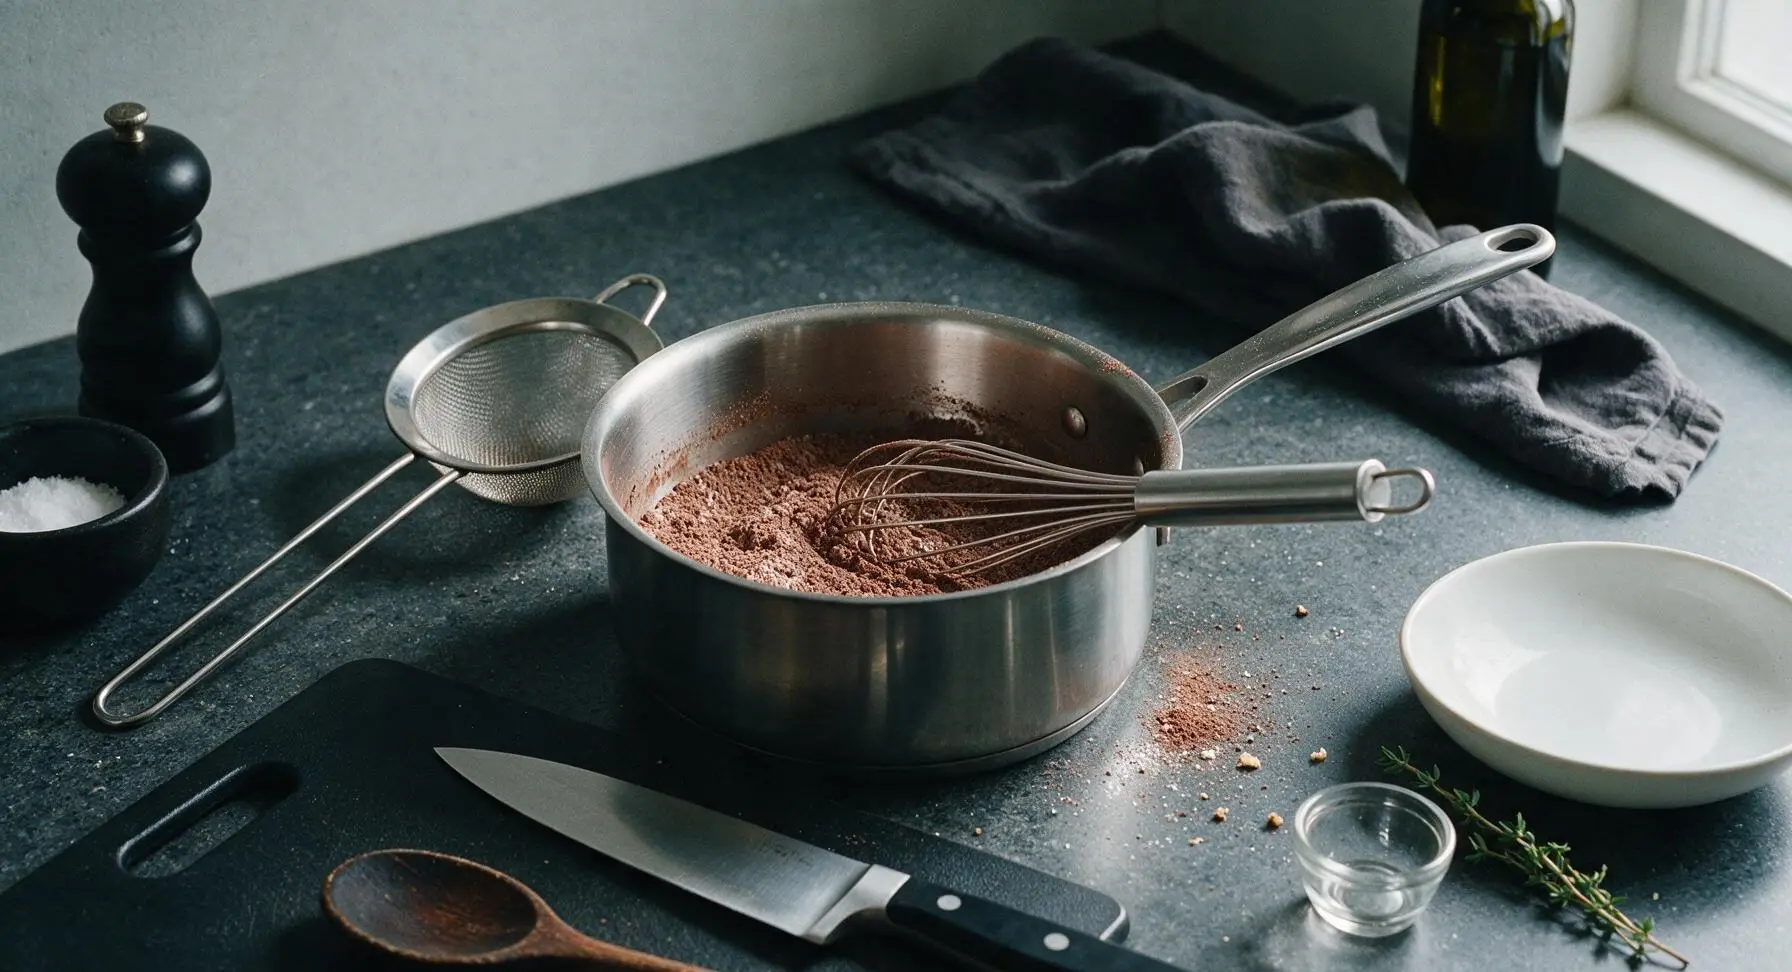
Set the 1.5L stainless steel saucepan at the center of the counter. Rest the fine-mesh stainless steel sieve across the pan opening, then add 1/3 cup unsweetened cocoa powder, 1/2 cup granulated sugar, 3 tablespoons cornstarch, and 1/4 teaspoon fine sea salt to the sieve. Press the mixture through the sieve with the light bamboo spatula to break up all cocoa lumps, which cause grainy pudding. Once sifted, lift the sieve away and use the matte stainless steel whisk to stir the dry mixture for 20 seconds until it is a uniform deep brown, with no visible white streaks of cornstarch.
Whisk in Cold Milk
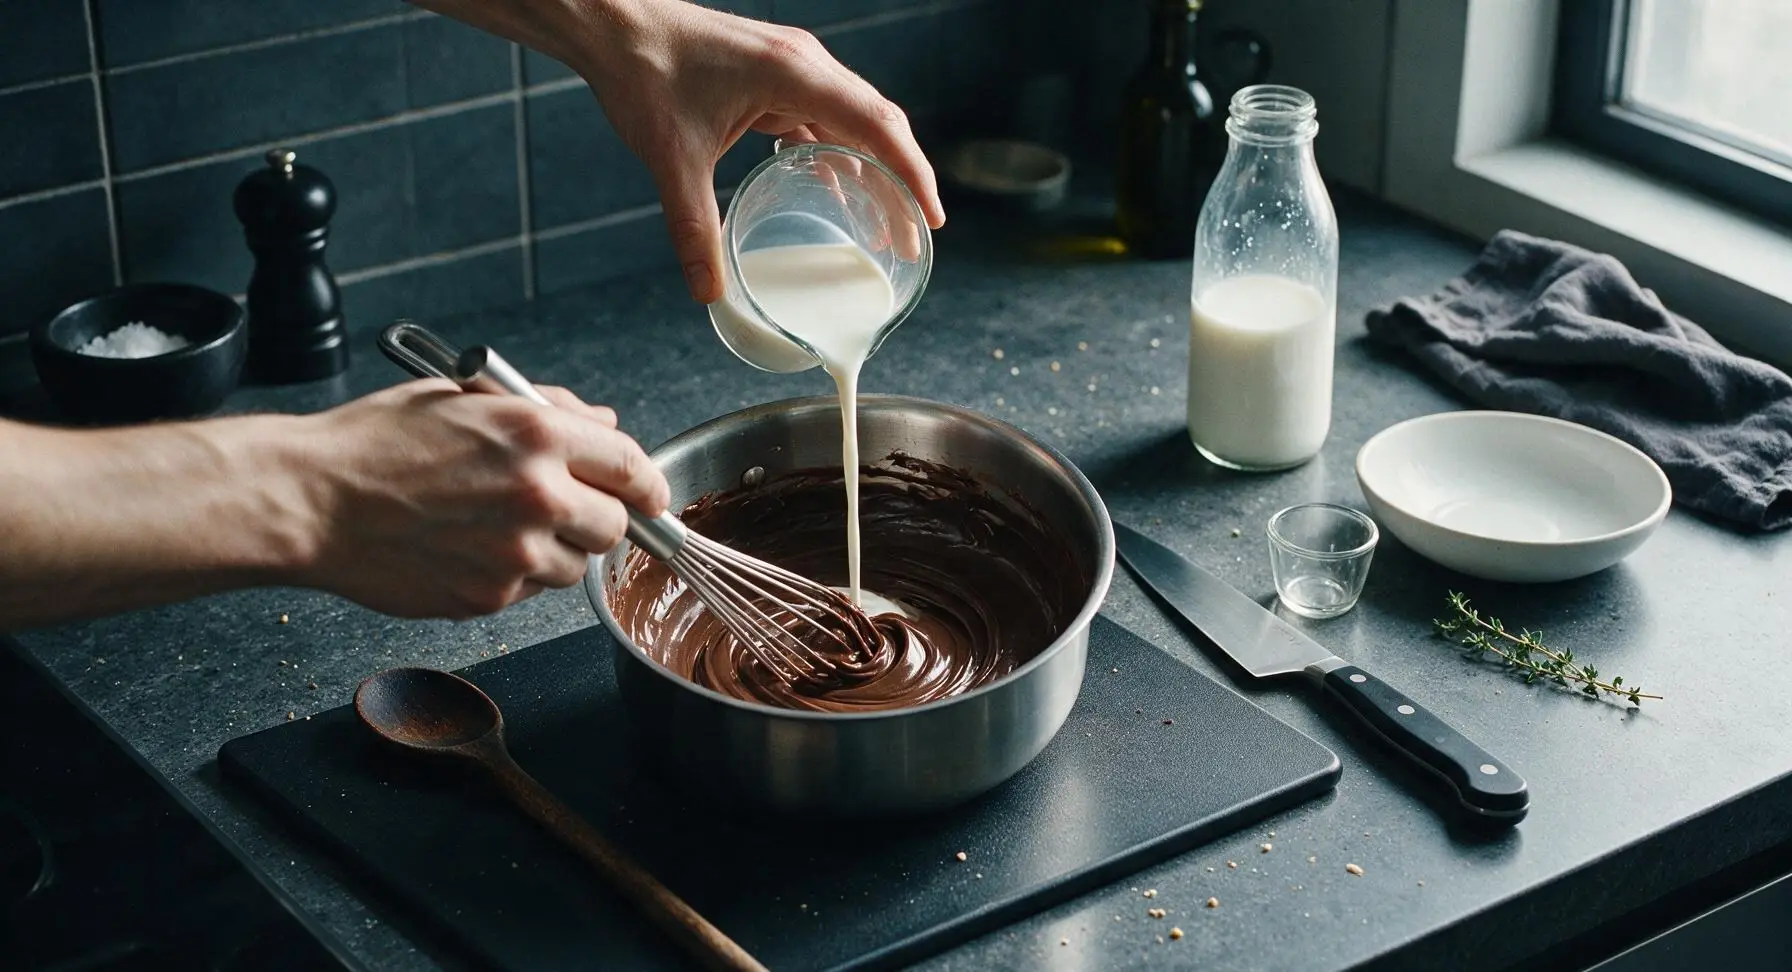
Slowly pour 1/4 cup of cold whole milk into the pan with the mixed dry ingredients, whisking constantly with the stainless steel whisk to form a thick, completely smooth dark brown paste with no visible lumps. Once the paste is fully smooth and lump-free, gradually stream in the remaining 1 3/4 cups cold whole milk, whisking nonstop to fully incorporate, until you have a thin, uniform dark brown liquid with no clumps floating on the surface.
Cook Until Thickened
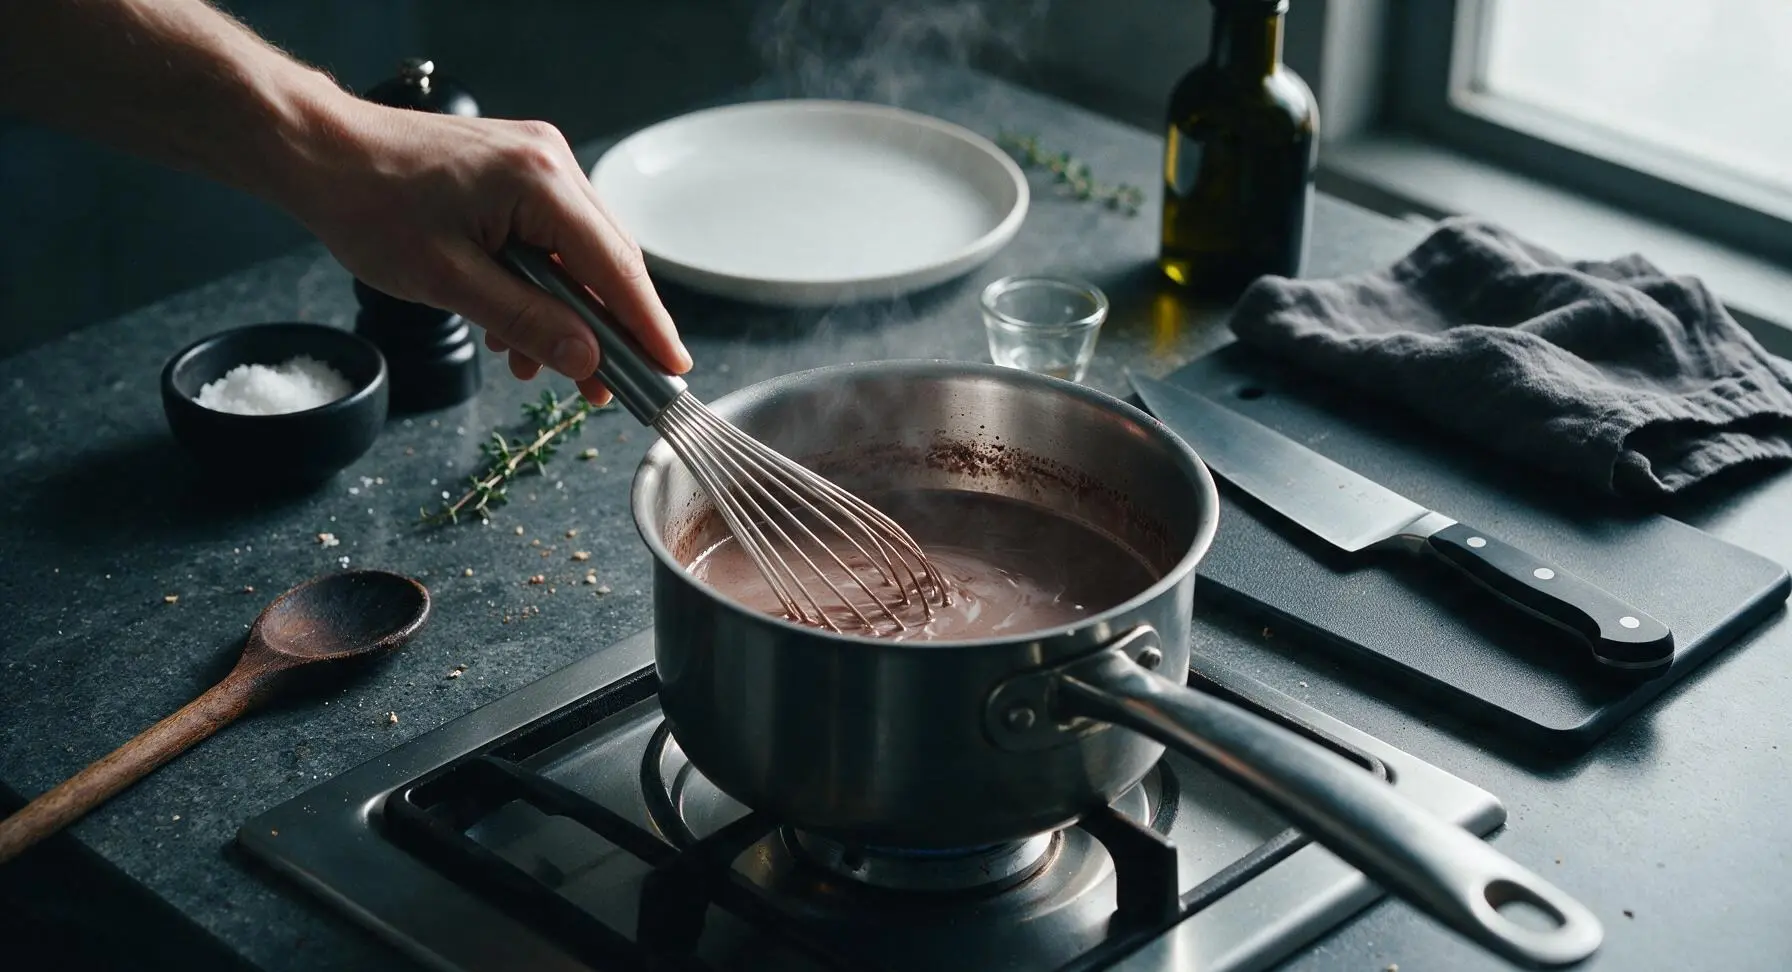
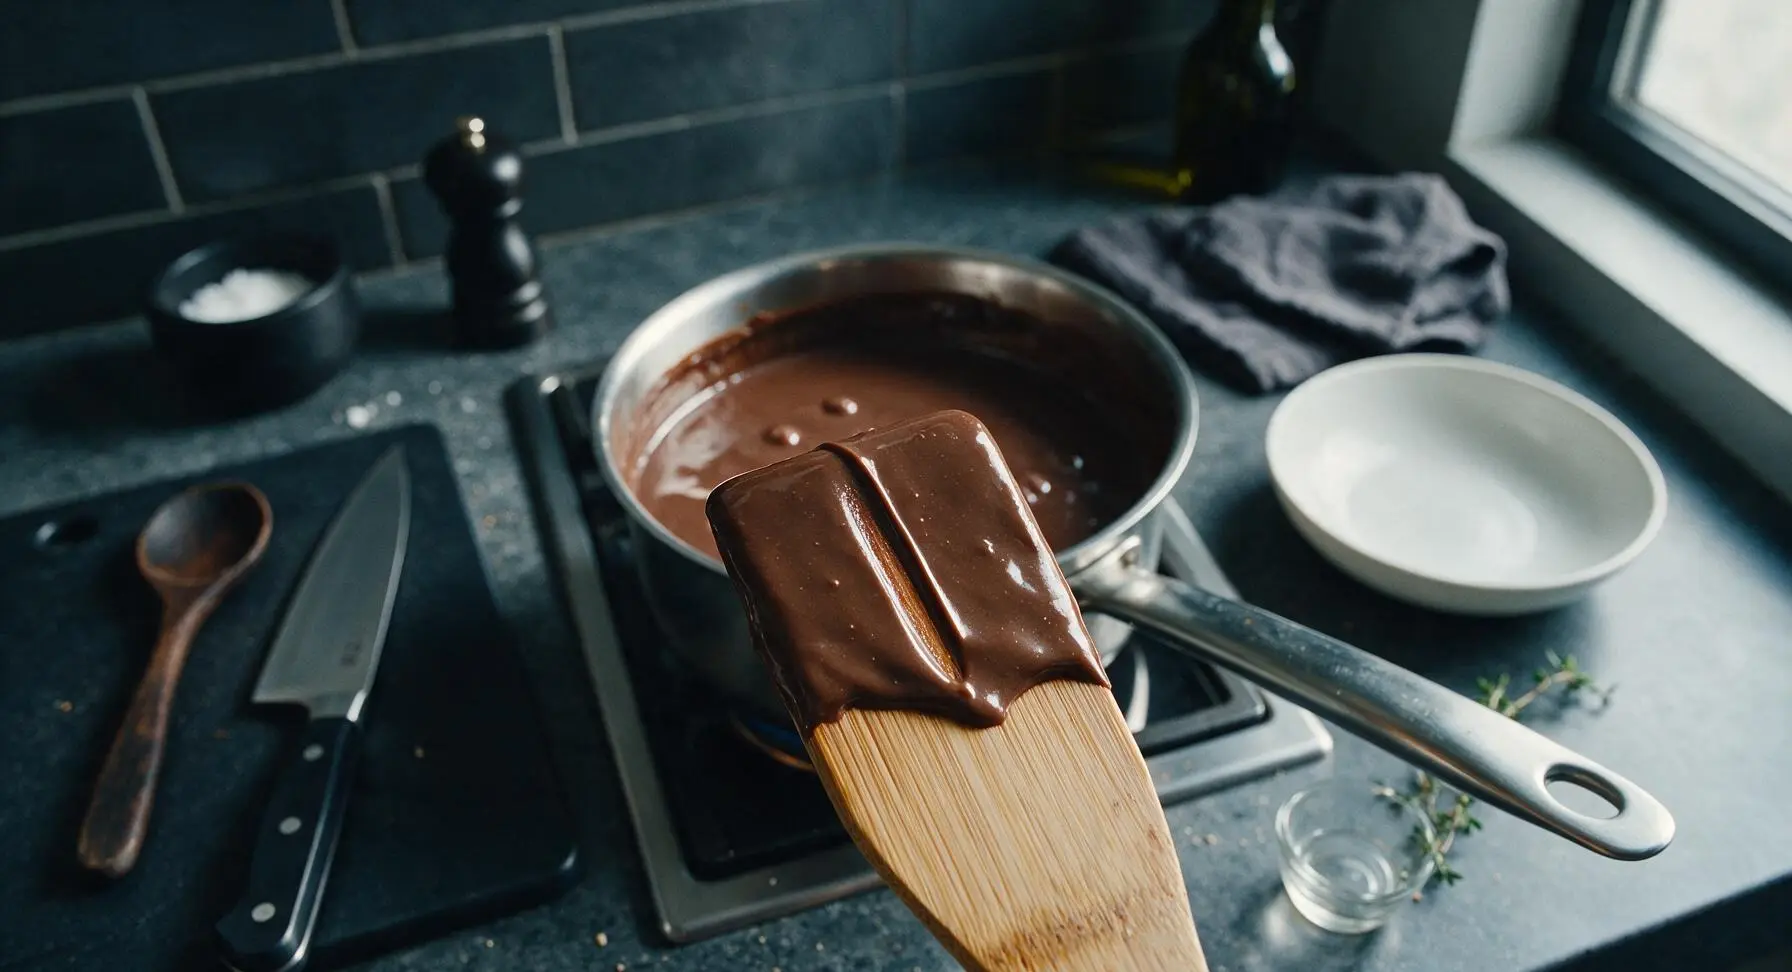
Place the saucepan on a stovetop burner set to medium-low heat. Cook the pudding mixture, whisking constantly and scraping the bottom and corners of the pan to prevent burning, for 6 to 8 minutes. The pudding is done when it comes to a gentle, slow bubbling simmer (not a violent rolling boil) and coats the back of the bamboo spatula thickly enough that you can draw a clear line through the coating with your finger, leaving a clean track that does not drip.
Stir in Butter Vanilla
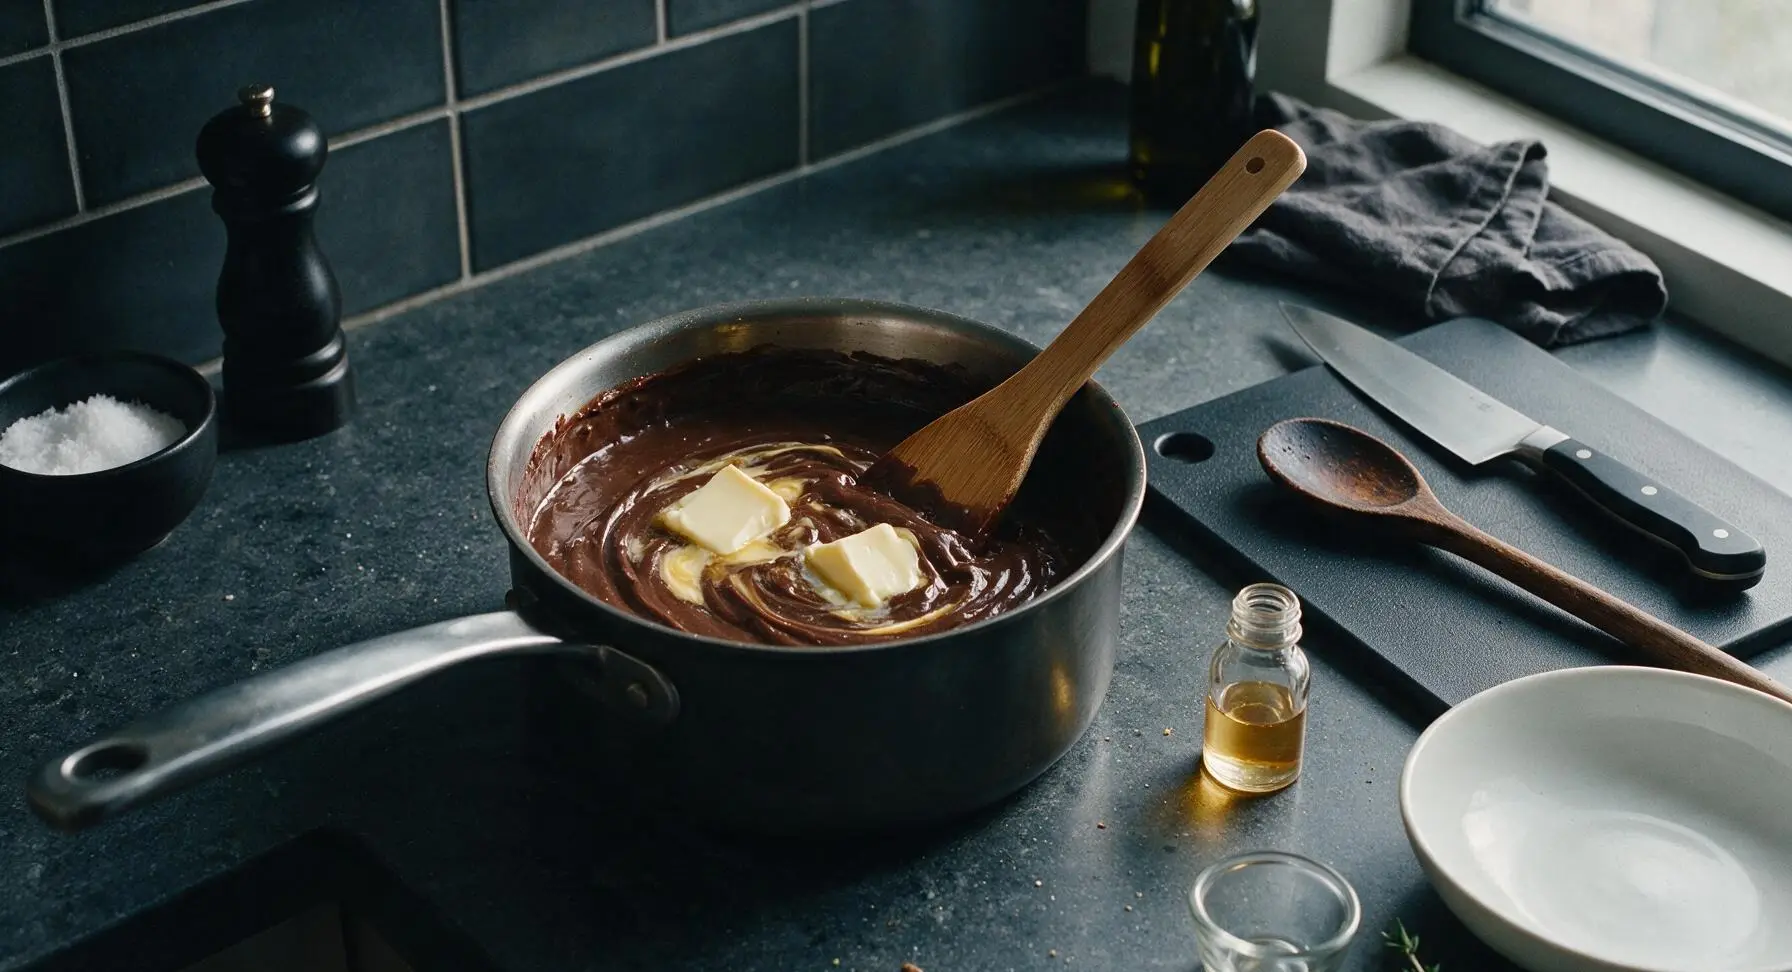
Remove the saucepan from heat immediately once the pudding reaches the correct thick consistency. Add the 2 tablespoons of cut unsalted butter and 1 teaspoon of pure vanilla extract, stirring gently with the bamboo spatula until the butter is fully melted and incorporated, leaving the pudding silky and glossy. Do not over-stir, as this can break down the cornstarch thickener and lead to runny pudding.
Strain for Smooth Texture
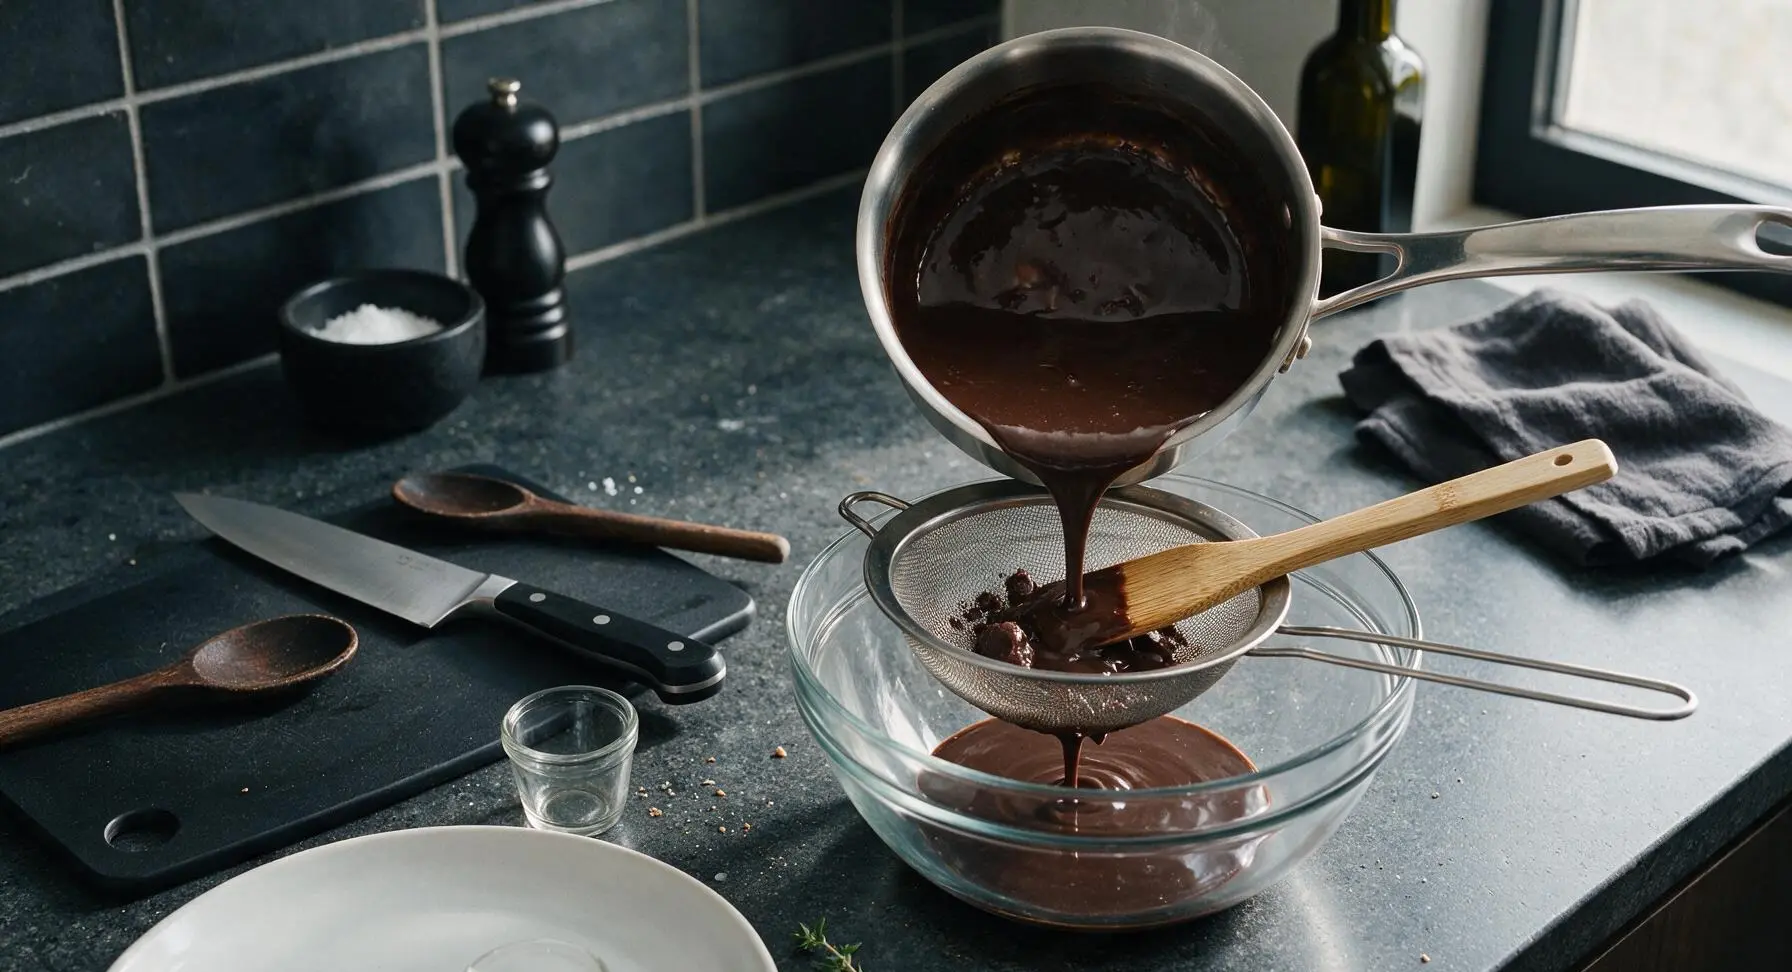
Place the clean fine-mesh sieve over the 2L clear heatproof glass mixing bowl. Pour the hot pudding through the sieve, using the bamboo spatula to press it through gently, catching any small cornstarch lumps or bits of pudding that stuck to the pan bottom during cooking. Discard any tiny solid bits left in the sieve for a perfectly silky, restaurant-smooth final texture.
Portion into Cups
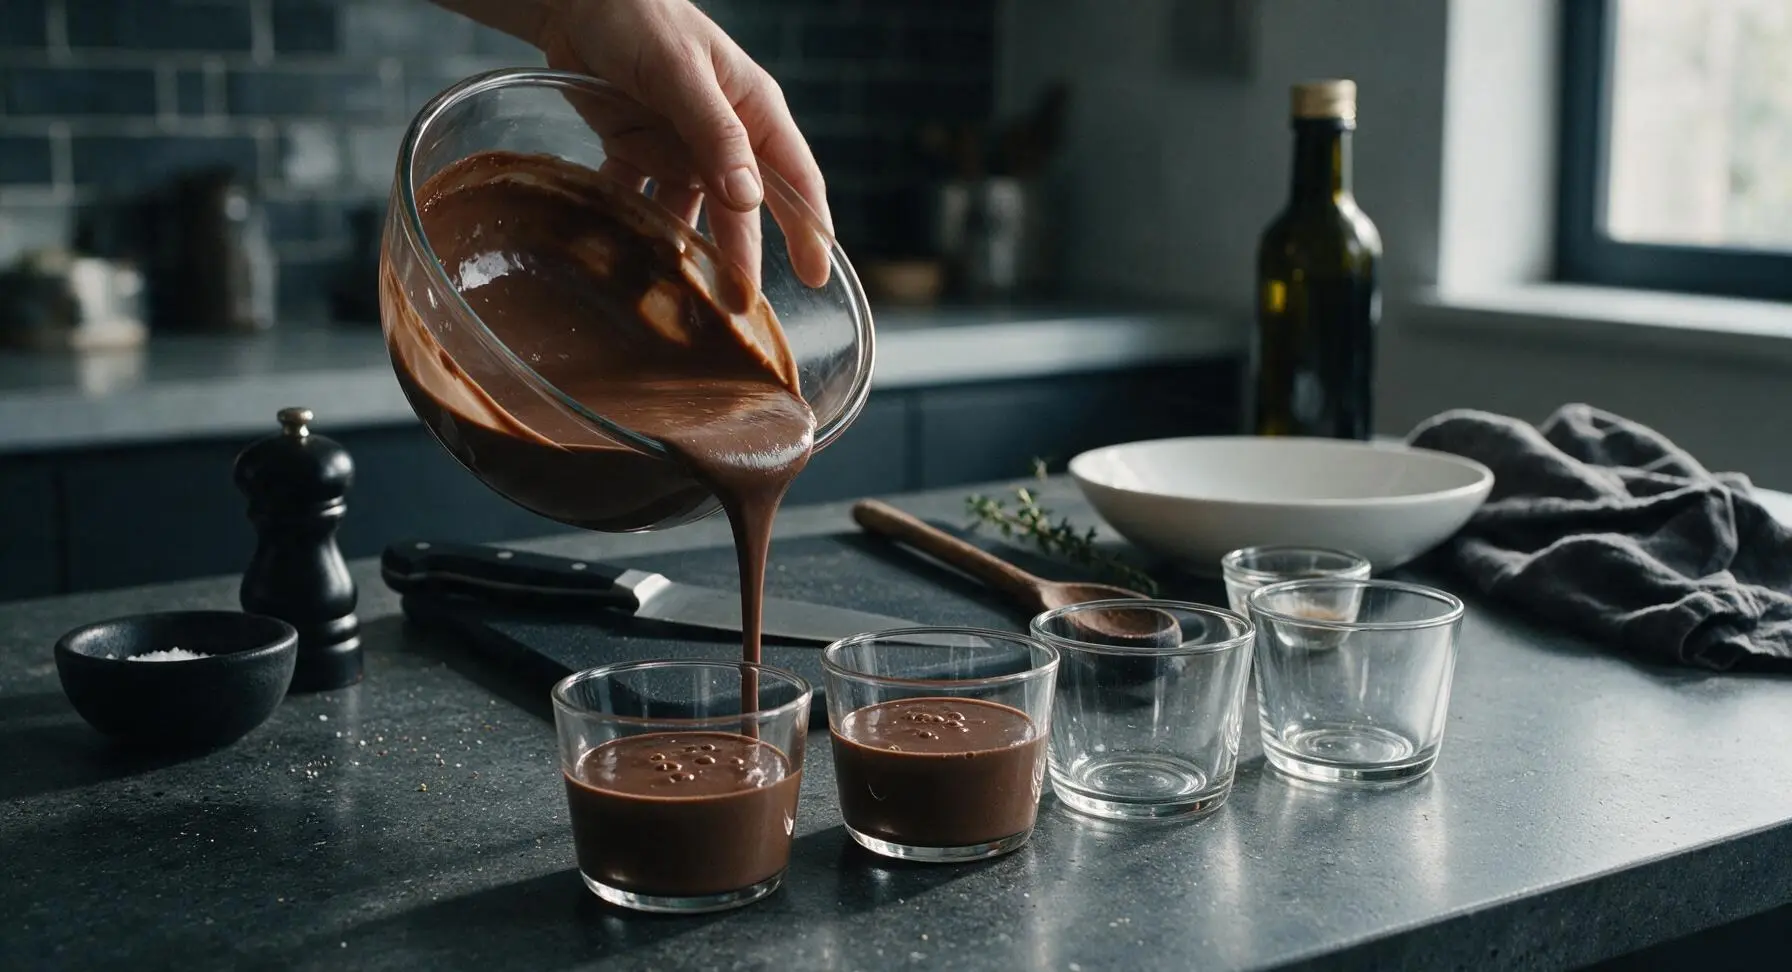
Divide the strained warm pudding evenly between the four 180ml clear glass dessert cups, filling each to 1cm below the rim. Tap each cup gently on the counter 2-3 times to pop any trapped air bubbles on the pudding surface, which will leave the top perfectly smooth as the pudding sets.
Chill to Set Fully
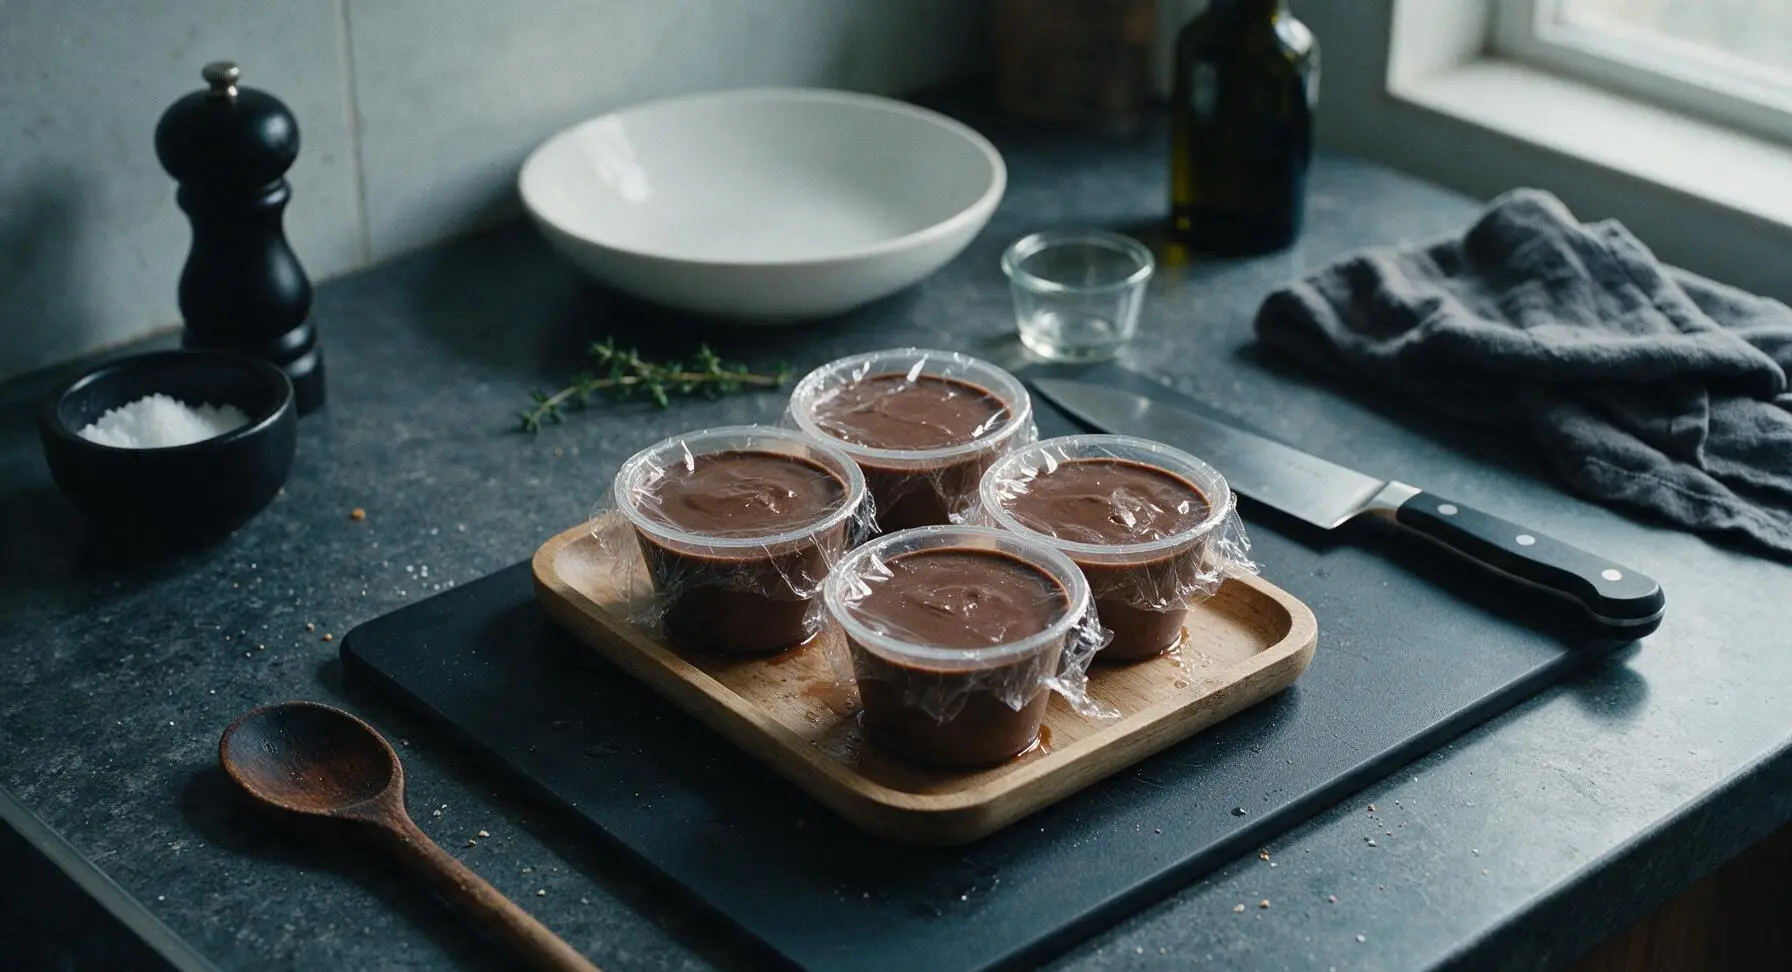
Press a small square of plastic wrap directly onto the surface of each pudding cup to prevent a thick, chewy skin from forming as it cools. Place the cups in the refrigerator for at least 2 hours, until the pudding is completely firm to the touch and jiggles slightly when tapped, with no liquidy, runny center. Do not freeze the pudding, as this will break its smooth, creamy texture.
Garnish and Serve
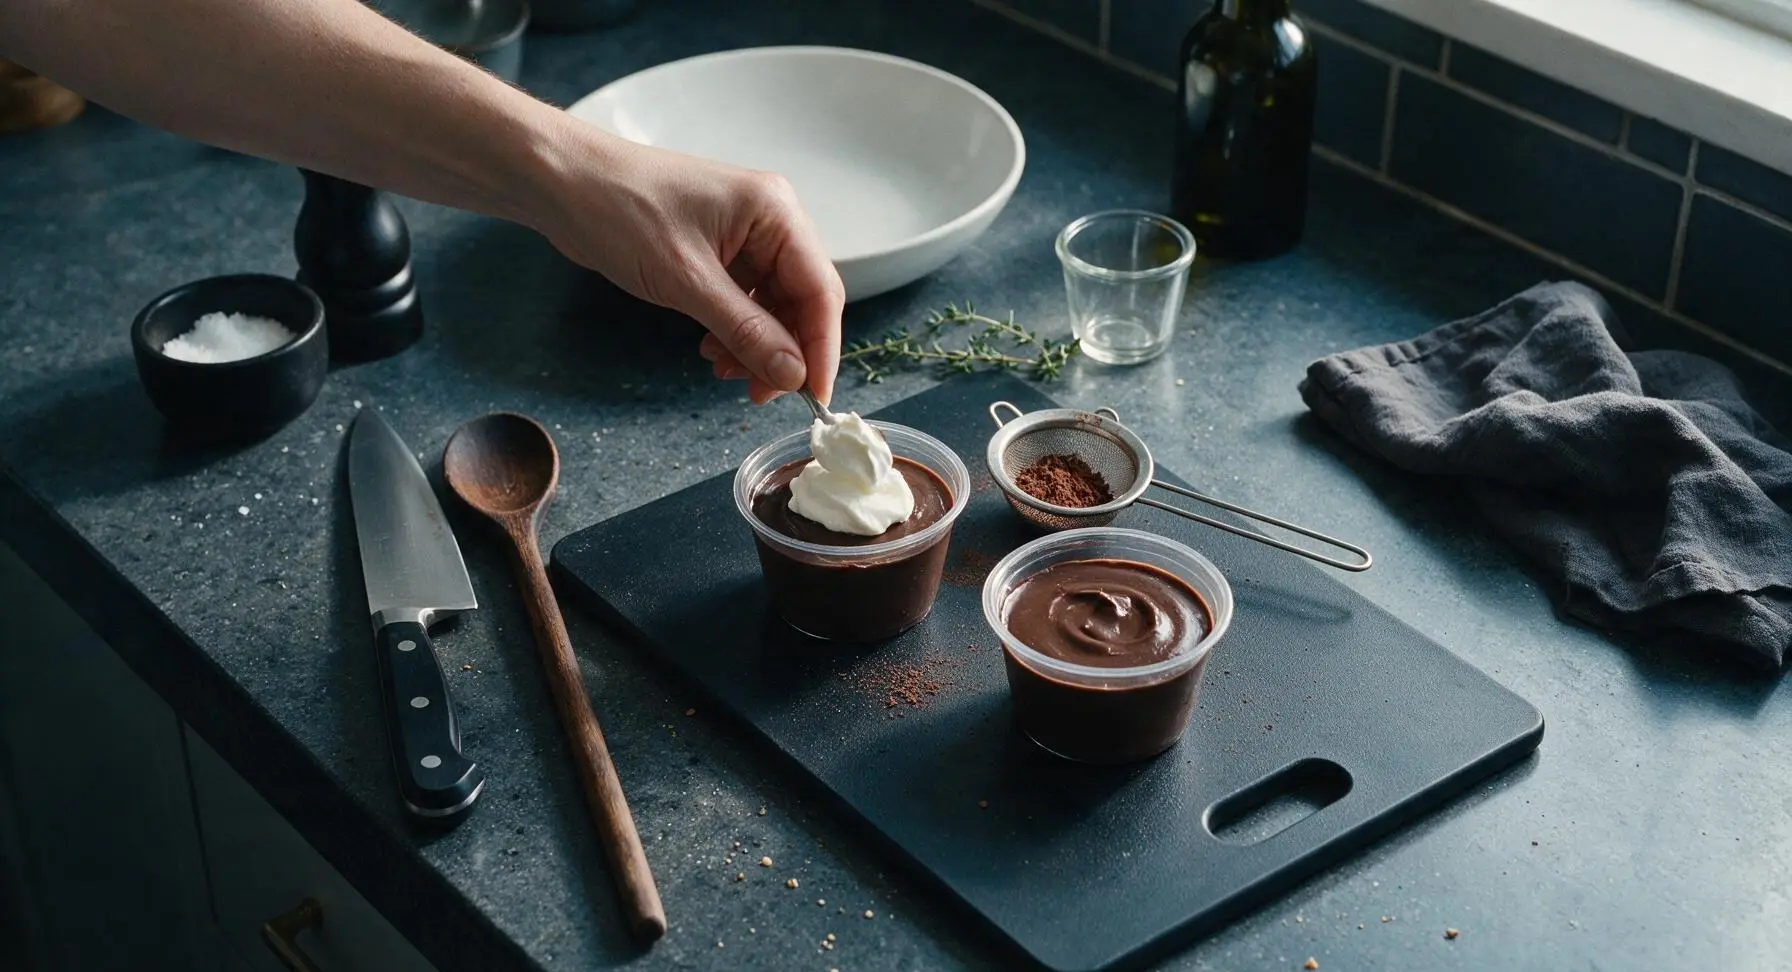
When ready to serve, remove the plastic wrap from each fully chilled pudding cup. Whip the chilled heavy cream to soft, billowy peaks, then dollop 2 tablespoons of whipped cream on top of each pudding. Dust lightly with a pinch of extra cocoa powder, and serve immediately.
Tips
2.Press plastic wrap directly onto the surface of the warm pudding before chilling: this stops a tough, chewy 'pudding skin' from forming on top as the pudding cools, ensuring a perfectly smooth, creamy texture from first bite to last.
3.Use Dutch-processed cocoa powder for the deepest, smoothest chocolate flavor: it is treated to reduce natural acidity, resulting in a richer, less bitter chocolate taste than natural unsweetened cocoa, though natural cocoa will work as a substitute if needed.






OMG this stovetop chocolate pudding is such a game changer! I needed a last minute dessert for our family taco night and this came together in literally 10 minutes, no fancy ingredients needed. My kids devoured it before I even got the whipped cream out. SO good, will be making this on repeat.
Brought this to my neighborhood potluck over the weekend and people were begging for the recipe! It’s so creamy, no weird artificial aftertaste like the boxed stuff, and it was so easy to whip up while my toddler was napping. 10/10, no notes.
Perfect for my weekly meal prep! I portioned this into little mason jars with a few fresh raspberries on top and it held up great in the fridge all week for quick after-work snacks. The texture stayed perfectly silky, no weird tough skin forming on top if you press a little plastic wrap directly to the surface before chilling.
Wait, this only uses regular unsweetened cocoa powder? I thought you needed fancy expensive baking chocolate to make good homemade pudding! I was skeptical but tried it last night and wow, it’s so rich and chocolatey. I might have eaten half the batch straight out of the pan while it was still warm, oops.
Super easy recipe for my tiny dorm kitchen! I don’t have an oven so stovetop-only desserts are all I can make, and this is way better than any instant pudding I’ve ever bought. I almost didn’t make it because I thought I was out of cornstarch, but I borrowed a couple tablespoons from my roommate down the hall and it turned out perfect. 10 minutes start to finish, barely any dishes to wash after.
Made this for my Sunday brunch spread instead of my usual chocolate mousse and it was a total hit. It’s lighter than mousse but still super indulgent, and I loved that I didn’t have to whip heavy cream for ages to make it. Topped with crushed graham cracker crumbs for a little crunch, highly recommend that add-in.
Finally, a chocolate pudding recipe that’s naturally gluten free without any weird modified ingredients! I have celiac so I’m always paranoid about cross contamination with boxed mixes, but making this from scratch with simple pantry staples means I know exactly what’s in it. My whole family loved it, even the non-gluten free folks.
Okay, full transparency: I burn literally every stovetop recipe I try. I was sure I’d mess this up, but the cook time is so short and the instructions are so straightforward it turned out perfectly on the first try! No lumps, no burnt bits stuck to the bottom of the pan, just perfectly creamy, rich chocolate pudding. I’m so proud of myself lol.
Made this for a casual at-home date night with my partner last night, we had it warm with a scoop of vanilla ice cream on top and it was better than any restaurant dessert we’ve had lately. It felt fancy but took basically no effort, which is my favorite kind of recipe.
This tastes exactly like the chocolate pudding my grandma used to make on the stove when I was a kid! I haven’t had homemade pudding in years because I thought it would be too complicated, but this took me right back. I added a little extra cocoa because I love super dark chocolate, and it was perfect.
Love that this isn’t cloyingly sweet! I cut the sugar by a tablespoon like I do with most dessert recipes and it was perfectly balanced, the cocoa flavor really shines through. Great post-workout treat when I’m craving something chocolatey but don’t want a total sugar bomb.
Quick heads up for anyone wondering: if you turn your back for 2 seconds while this is cooling, your golden retriever will absolutely try to lick the bowl. Learned that the hard way, but luckily I made a double batch so I still had plenty left for me. 10/10, dog approved too I guess.