
chocolate sandwich cookies

title 1
chocolate sandwich cookies
⏱️ cook time 12 minutes
🍽️ servings 18
⚡ Difficulty easy

intro

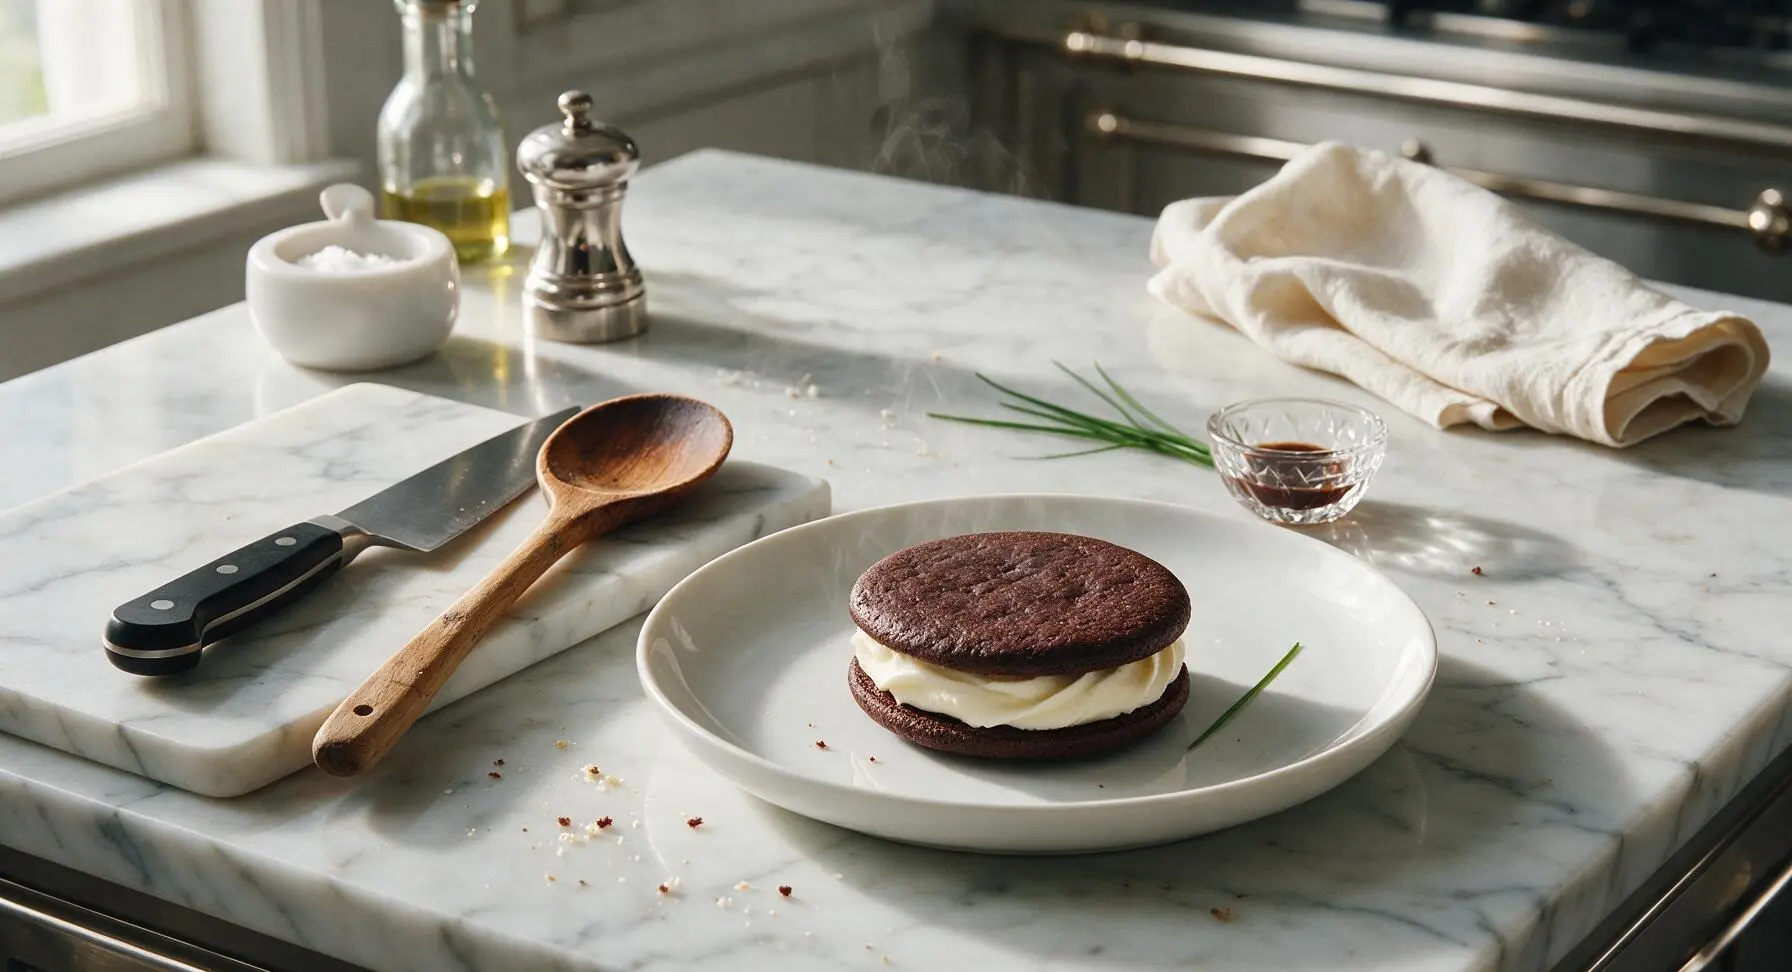
Crisp, deeply chocolate wafer cookies sandwiched around smooth, creamy vanilla buttercream—these nostalgic, perfectly sweet homemade treats beat any store-bought version, ideal for cookie tins and casual snacking.

Ingredients
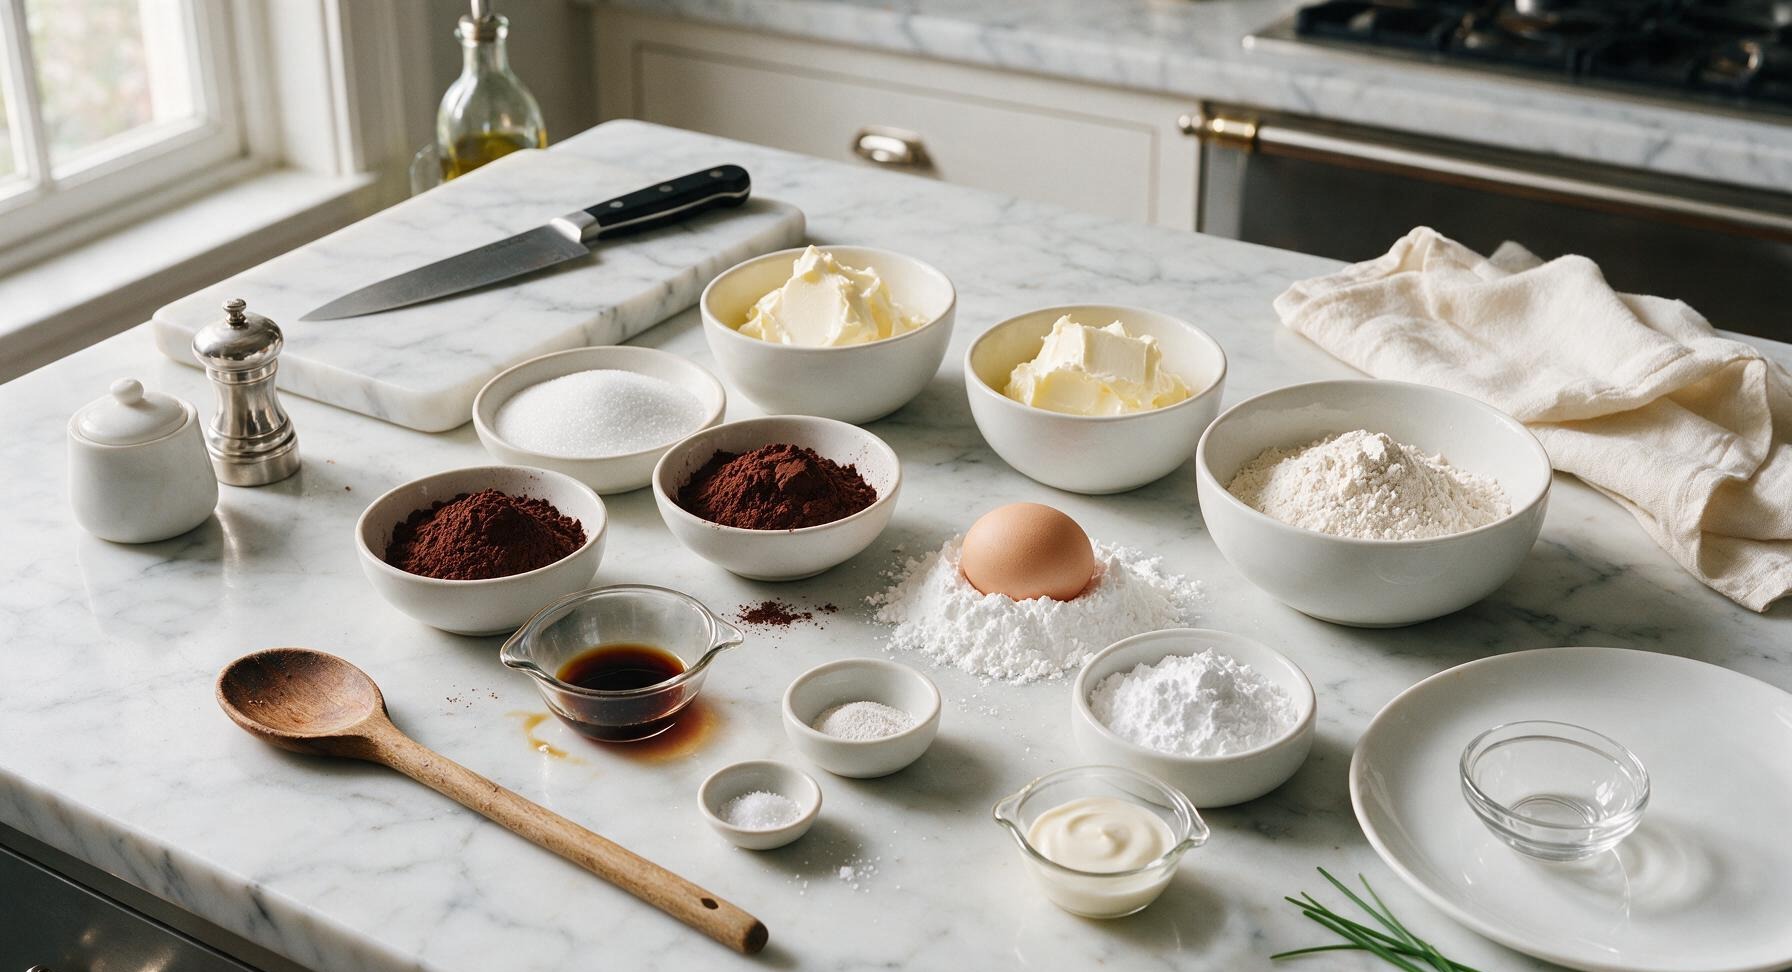
Unsalted butter (divided, softened) 1 cup (226g)
Granulated sugar 3/4 cup (150g)
Dutch-processed unsweetened cocoa powder 2/3 cup (65g)
All-purpose flour 1 1/4 cups (150g)
Large egg (room temperature) 1 (50g)
Pure vanilla extract (divided) 2 tsp
Baking soda 1/2 tsp
Fine sea salt (divided) 1/4 tsp plus 1 pinch
Powdered sugar 1 1/2 cups (180g)
Heavy cream (room temperature) 1 tbsp

Steps

1

Prepare Chocolate Dough

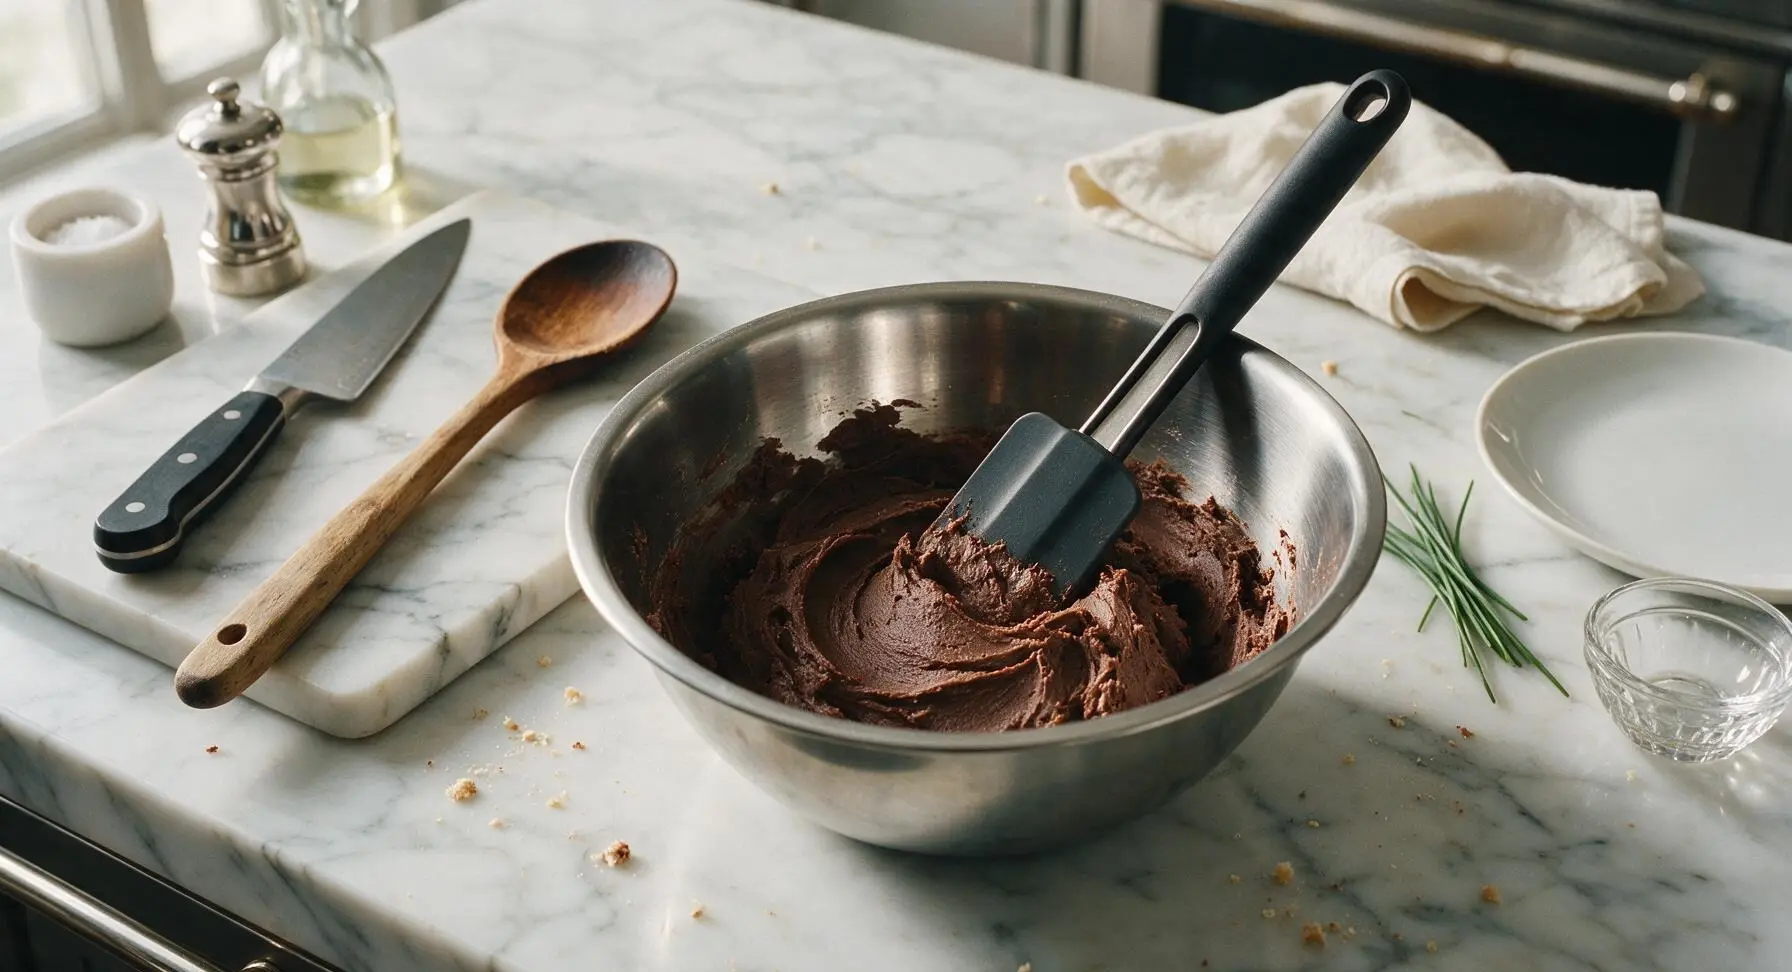
Place 1/2 cup (113g) softened unsalted butter and granulated sugar in the medium stainless steel mixing bowl. Using the electric mixer, beat on medium speed for 2 minutes until light and fluffy, with the texture of softly whipped cream. Add the egg and 1 tsp vanilla extract, beat for 30 seconds until fully combined, scraping down the bowl sides with the silicone spatula as needed. In the small stainless steel mixing bowl, use the stainless steel balloon whisk to stir together flour, cocoa powder, baking soda, and 1/4 tsp fine sea salt until evenly mixed, with no clumps of cocoa remaining. Add the dry ingredient mix to the wet ingredients in 2 additions, mixing on low speed just until no dry flour remains—do not overmix, as this will produce tough cookies. The finished dough will be thick, dark brown, and hold its shape when pressed.

Step 1
step1:Prepare Chocolate Dough
Step 1
step1:Prepare Chocolate Dough
2

Chill Dough Thoroughly

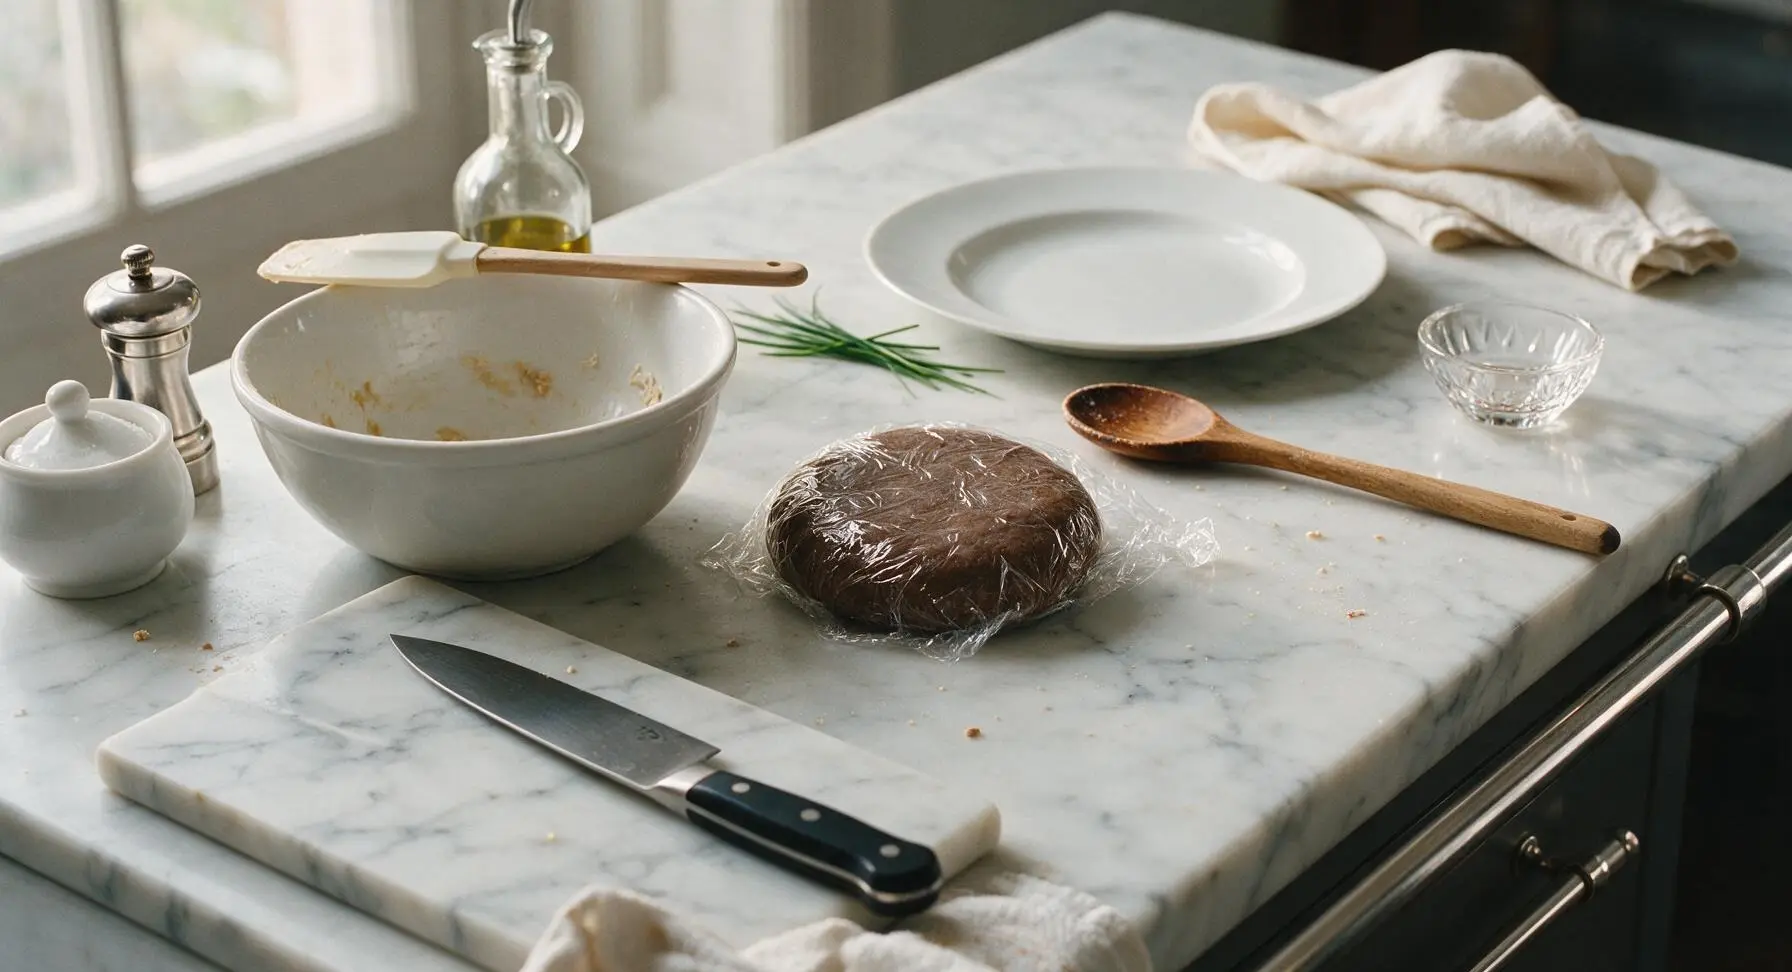
Turn the dough out onto a 12-inch sheet of plastic wrap, form into a 1-inch thick flat disk, wrap tightly, and refrigerate for at least 1 hour (and up to 3 days) until firm enough to roll. Chilling prevents the cookies from spreading too much during baking, so do not skip this step—if the dough leaves a deep indent when pressed with a finger, it needs more time to chill.
Step 2
step2:Chill Dough Thoroughly
3

Roll and Cut Wafers

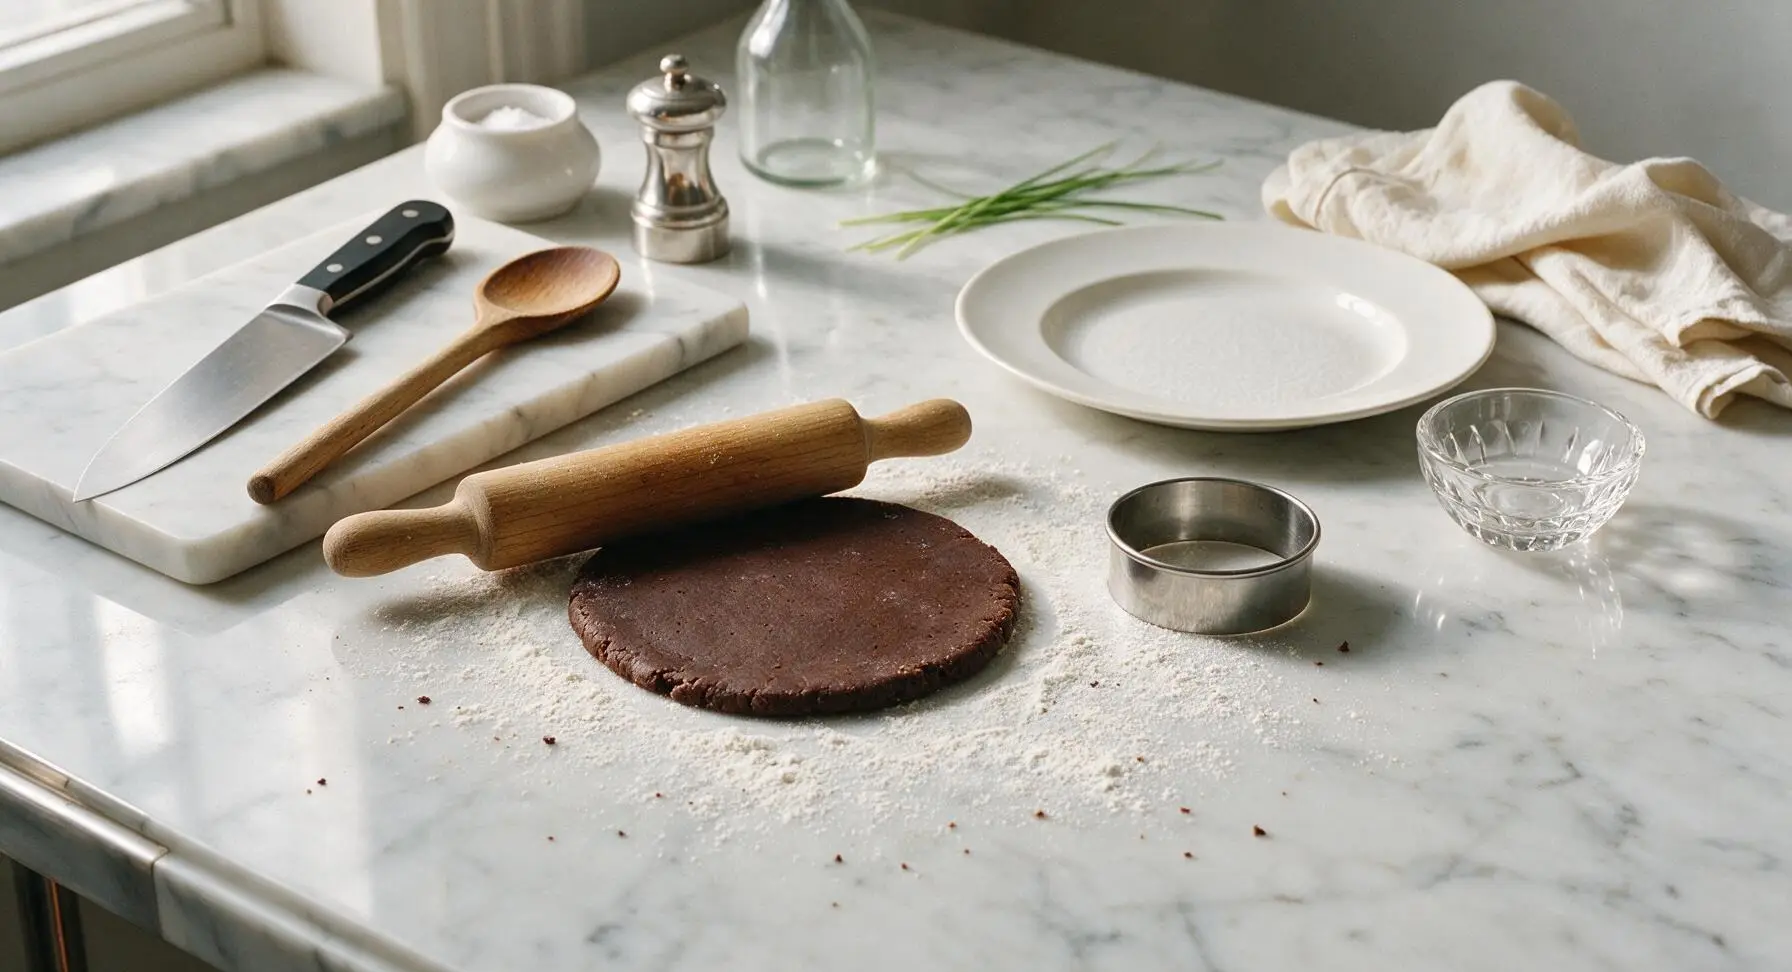
Once chilled, unwrap the dough and place it on a lightly floured section of the counter. Using the beech wood rolling pin, roll the dough to an even 1/8-inch thickness, lifting and turning the dough every few rolls to prevent sticking. Use the 5cm round stainless steel cookie cutter to cut out even circles, gathering and re-rolling dough scraps once to cut additional wafers. You will yield 36 total wafers, enough for 18 sandwich cookies. Arrange the cut wafers 1 inch apart on the parchment-lined baking sheet.

Step 3
step3:Roll and Cut Wafers
Step 3
step3:Roll and Cut Wafers
4

Bake Crisp Wafers

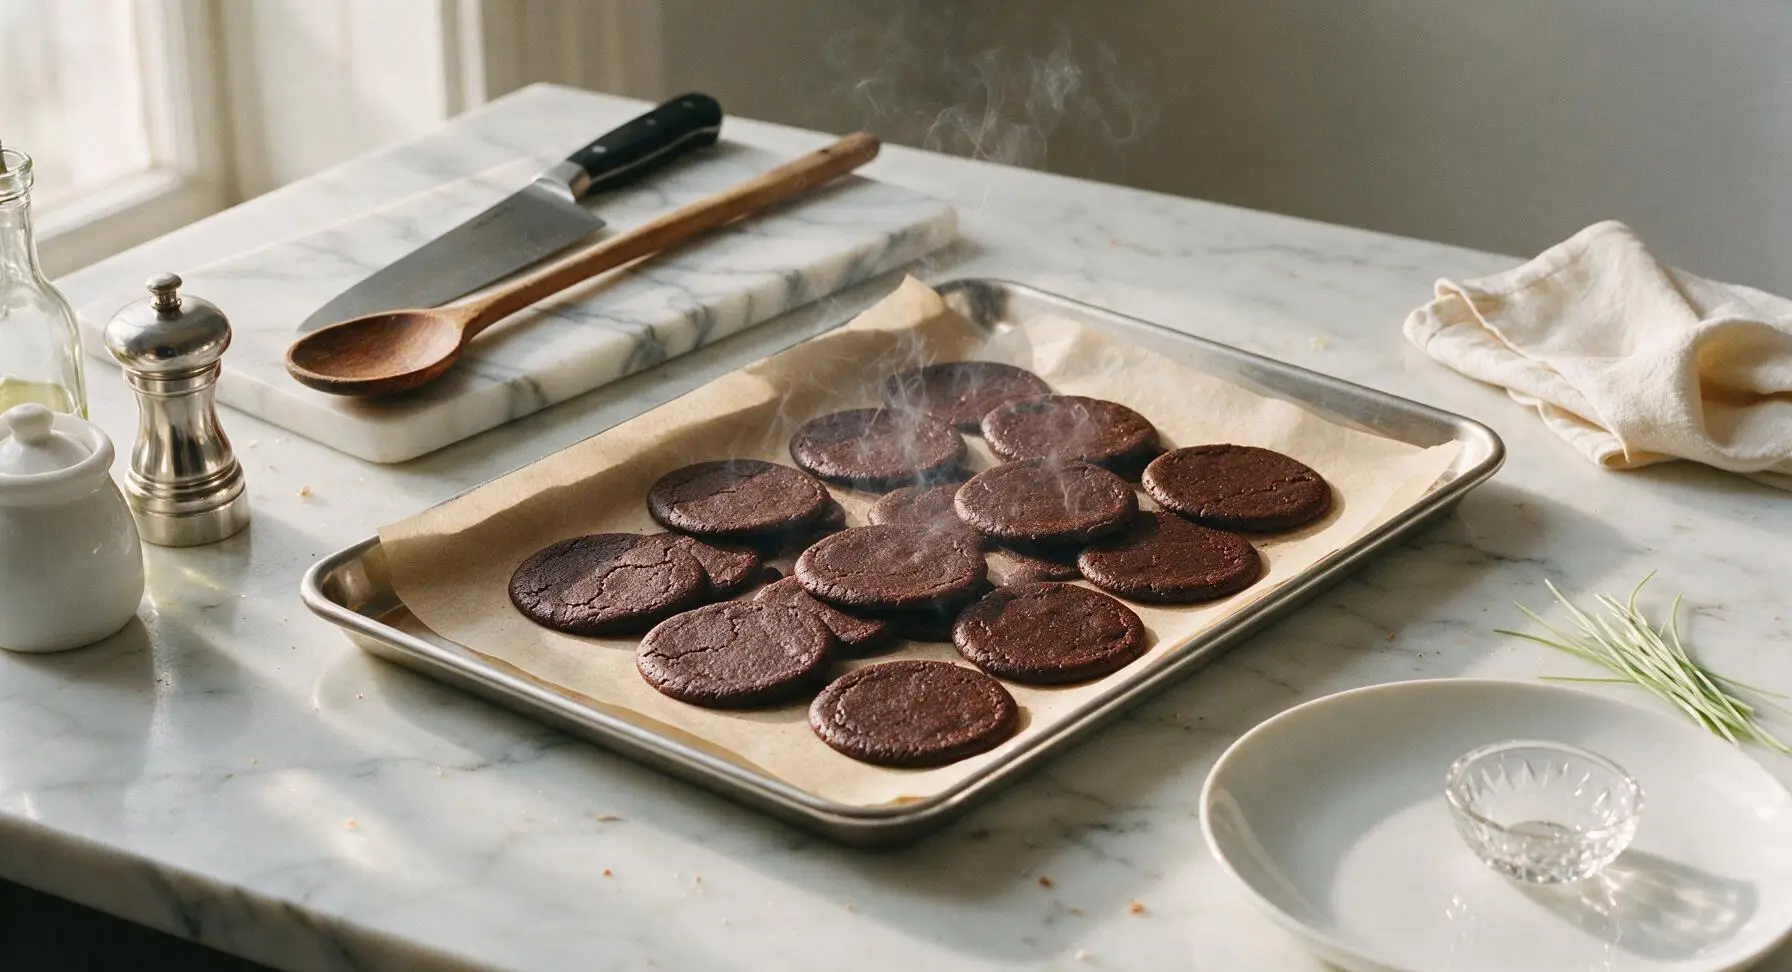
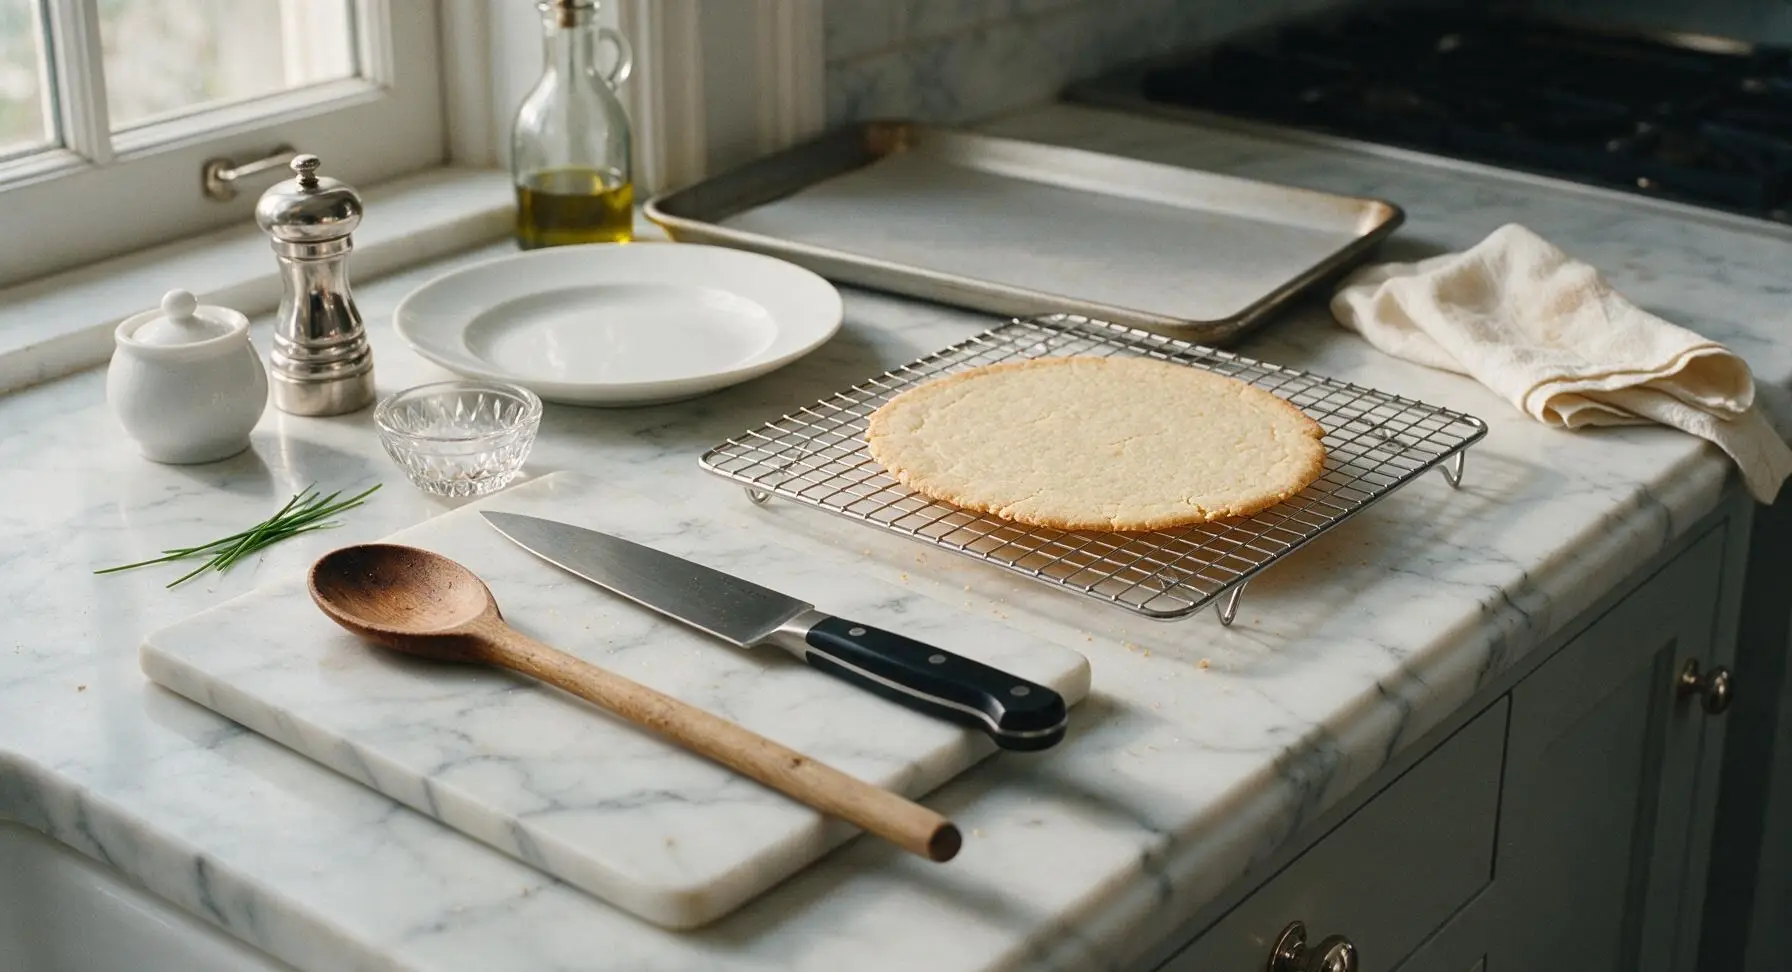
Place the baking sheet in a preheated 350°F (175°C) oven and bake for 10-12 minutes. The wafers will look slightly set around the edges and may have tiny cracks on the surface when done—they will crisp further as they cool, so do not overbake or they will develop a bitter burnt flavor. Remove from the oven and let the wafers rest on the baking sheet for 5 minutes before transferring them to the wire cooling rack to cool completely to room temperature, about 20 minutes. Warm wafers will melt the buttercream filling, so ensure they are fully cool before assembling.
Step 4
step4:Bake Crisp Wafers
Step 4
step4:Bake Crisp Wafers
5

Whip Buttercream Filling

While the wafers cool, place the remaining 1/2 cup (113g) softened unsalted butter in the now-clean small stainless steel mixing bowl. Using the electric mixer, beat the butter on medium speed for 3 minutes until pale and completely smooth, with no lumps remaining. Add powdered sugar, remaining 1 tsp vanilla extract, heavy cream, and pinch of fine sea salt. Beat on low speed for 1 minute to combine, then increase to medium-high and beat for 2 minutes until light, fluffy, and easily spreadable. If the filling is too thick, add 1/2 tsp more heavy cream; if too thin, add 2 tbsp more powdered sugar.

Step 5
step5:Whip Buttercream Filling
6

Assemble Cookie Sandwiches

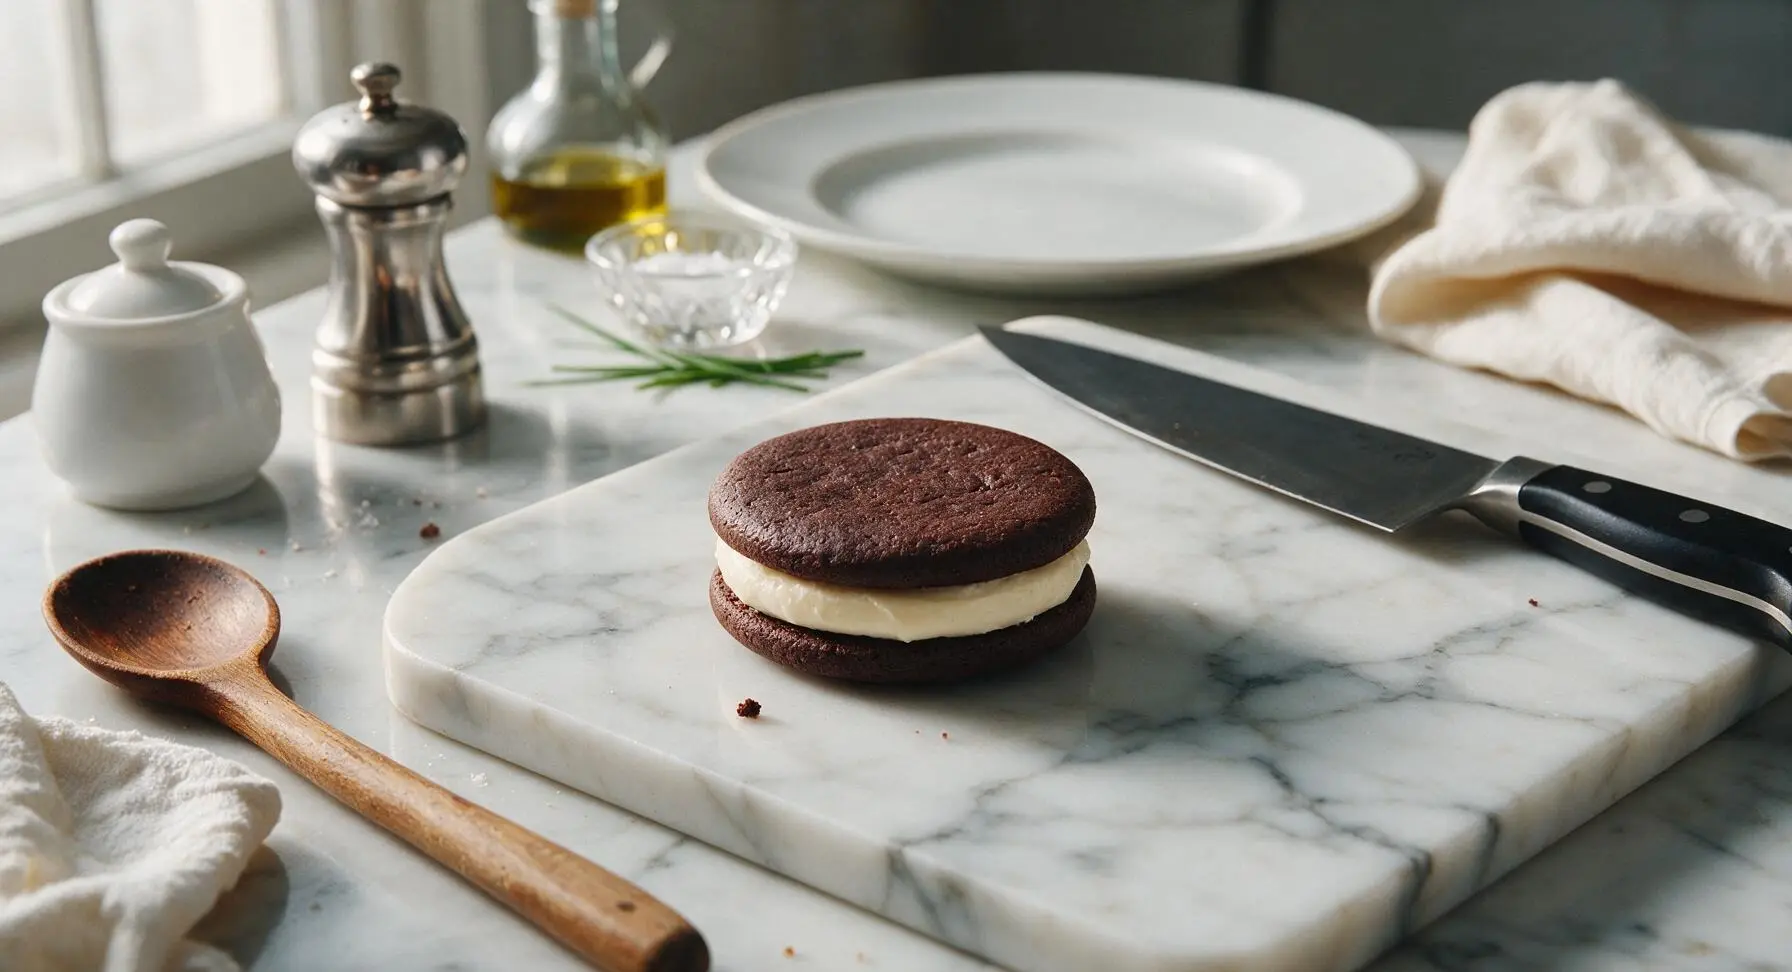
Match cooled wafers into pairs of similar size and shape. Scoop 1 tsp of buttercream onto the flat side of one wafer from each pair, then press the second wafer on top, applying even gentle pressure until the buttercream spreads to just reach the edge of the cookies. Twist slightly as you press to adhere the wafers evenly to the filling. Wipe any excess buttercream from the cookie edges with a clean finger if needed.

Step 6
step6:Assemble Cookie Sandwiches
Step 6
step6:Assemble Cookie Sandwiches
7

Set and Serve Cookies

Transfer all assembled sandwich cookies to the matte cream white ceramic serving platter. Let the cookies rest at room temperature for 15 minutes to allow the buttercream to firm slightly and adhere fully to the wafers. Serve immediately, or store in an airtight container at room temperature for up to 5 days, separated by layers of parchment paper to prevent sticking.

Step 7
step7:Set and Serve Cookies

Tips

1.Do not skip chilling the dough: Warm, soft dough will spread excessively in the oven, resulting in thin, misshapen wafers instead of crisp, uniform rounds. For faster prep, you can freeze the dough disk for 20 minutes instead of refrigerating for 1 hour.
2.Use Dutch-processed cocoa powder for the best flavor: It has a smoother, deeper chocolate taste and darker color than natural unsweetened cocoa, which produces lighter, more acidic-tasting wafers that don’t match the classic sandwich cookie profile.
3.Ensure wafers are fully cool before adding filling: Even slightly warm wafers will melt the buttercream, causing it to ooze out the cookie edges and create a soggy texture instead of the signature crisp, clean bite.


✨ You May Also Like

Desserts & Baking
🍜 Italy

Creamy, coffee-kissed classic Northern Italian no-bake dessert, with layers of rum-spiked mascarpone cream, soft ladyfingers, and a rich cocoa dusting.

⏱️ 4 hours 3Desserts & Baking ★ 4.7
Desserts & Baking
🍜 France

Flaky, shatteringly crisp, buttery French croissants with golden exteriors and soft, airy layered interiors, perfect for pairing with coffee for a special morning treat.

⏱️ 12 hours Desserts & Baking ★ 4.5
Desserts & Baking
🍜 United States

Warm, spiced baked apples topped with a fluffy golden biscuit crust, this cozy dessert pairs perfectly with vanilla ice cream for cool-weather comfort.

⏱️ 55 minuteDesserts & Baking ★ 4.6
Desserts & Baking
🍜 United States

A star-spangled classic American blueberry pie with buttery flaky crust and bright sweet-tart filling, perfect for summer patriotic gatherings.

⏱️ 1 hour 25Desserts & Baking ★ 4.7
Desserts & Baking
🍜 United States

A beloved no-bake regional Maine candy with a chewy coconut-potato center coated in rich dark chocolate, a New England holiday staple since the 1870s.

⏱️ 2 hours 3Desserts & Baking ★ 4.8
Desserts & Baking
🍜 France

Luxuriously creamy, floral frozen custard made with aromatic Tahitian vanilla beans, boasting a smooth, rich texture that melts slowly on the tongue.

⏱️ 3 hours 3Desserts & Baking ★ 4.5

chocolate sandwich cookies:Frequently Asked Questions

1.Why does the recipe call for Dutch-processed unsweetened cocoa instead of natural cocoa? ▾
Dutch-processed cocoa has a smoother, deeper, less bitter chocolate flavor and darker color that gives these wafers their signature rich, nostalgic taste. If you only have natural cocoa, you can swap it 1:1, but add 1/8 teaspoon of baking soda per 3 tablespoons of cocoa to balance acidity, though the flavor will be slightly brighter and less mellow.
2.Do I really need to use room temperature butter and egg for the cookie dough? ▾
Yes, it makes a huge difference in final texture! Room temperature butter creams smoothly with granulated sugar to create a uniform, workable dough that doesn’t spread too much in the oven, and a room-temperature egg mixes in evenly without curdling the butter-sugar base. Cold ingredients lead to lumpy dough and unevenly baked, misshapen wafers.
3.Why is the unsalted butter listed as “divided” in the ingredients? ▾
Great catch! The unsalted butter is split between the recipe’s two components: roughly two-thirds goes into the crisp chocolate wafer dough, and the remaining third is whipped into the smooth vanilla buttercream filling. You don’t need to separate it ahead of time—just measure the total amount, then portion what you need as you work through each step.
4.How thin should I roll the cookie dough to get crisp wafers? ▾
Aim for a consistent 1/8-inch thickness for that perfect snappy, crisp wafer texture. If you roll dough too thick, cookies will turn out soft and cakey instead of crisp; too thin, and they’ll burn easily around the edges before the center sets. Rolling between two parchment sheets helps keep thickness even without extra flour.
5.Can I make the cookie dough ahead of time to bake later? ▾
Absolutely! Form the dough into a flat disk, wrap it tightly in plastic wrap, and store it in the fridge for up to 3 days, or in the freezer for up to 3 months. Thaw frozen dough in the fridge overnight before rolling, and let chilled dough sit at room temp for 10 minutes so it rolls smoothly without cracking.
6.Why do my baked wafers spread too much and lose their shape in the oven? ▾
Spreading usually stems from one of three easy-to-fix issues: your butter was too warm when you mixed the dough, you didn’t chill rolled, cut dough for 15 minutes before baking, or your oven was running too cool. Use an oven thermometer to confirm temp, and give cut dough a quick chill to help wafers hold their sharp shape.
7.How do I get evenly sized wafers so my sandwich cookies look uniform? ▾
For perfectly matched pairs, use a 2-inch round cookie cutter to punch out shapes, and gather and re-roll dough scraps only once to keep thickness consistent. As you cut, sort wafers into similar-sized pairs right after baking (while they’re slightly flexible) so you don’t end up with mismatched tops and bottoms at filling time.
8.Can I use a different filling instead of classic vanilla buttercream? ▾
Of course! While vanilla buttercream pairs perfectly with the deep chocolate wafers, you can swap it for peppermint buttercream, thick salted caramel, creamy peanut butter frosting, or even marshmallow fluff for a s’mores twist. Just make sure your filling is thick enough that it doesn’t squish out the sides when you press cookies together.
9.How long do I need to bake the wafers to get them crisp without burning? ▾
Bake 1/8-inch thick wafers at 350°F for 8 to 10 minutes, rotating the baking sheet halfway through. Edges will be set and slightly darker, and centers will look dry—don’t worry if they feel soft right out of the oven, they’ll crisp up fully as they cool on the sheet for 5 minutes before moving to a wire rack.
10.Do I need to dust my work surface with flour when rolling out the dough? ▾
You can, but use a very light hand—too much extra all-purpose flour will make wafers dry and dull their rich chocolate flavor. A better pro trick is to roll dough between two sheets of parchment paper, which requires zero extra flour, prevents sticking, and makes it easy to transfer cut shapes straight to the baking sheet without deforming them.
11.How should I store assembled sandwich cookies to keep them fresh? ▾
Store assembled cookies in an airtight container at room temperature for up to 5 days, or in the fridge for up to 10 days. If you stack them, place a sheet of parchment between layers to prevent sticking. The wafers will soften slightly next to the buttercream over time, creating that perfect nostalgic tender-crisp texture many people love.
12.Can I freeze these cookies for later use, like for holiday cookie tins? ▾
Yes, these freeze beautifully! Place assembled, fully cooled cookies in a single layer on a baking sheet to freeze solid first, then transfer them to a labeled freezer bag or airtight container with parchment between layers for up to 3 months. Thaw in the container at room temp for 20 minutes to avoid condensation making wafers soggy.
13.My buttercream is too runny to hold its shape between cookies—how do I fix it? ▾
Runny buttercream almost always comes down to temperature. If your butter was too soft when you whipped it, pop the frosting in the fridge for 10 to 15 minutes, then re-whip for 30 seconds to thicken it up. If it’s still too loose, beat in an extra 2 tablespoons of powdered sugar a little at a time until it holds a soft, spreadable peak.
14.Can I make these cookies gluten-free for friends with dietary restrictions? ▾
You can easily make these gluten-free by swapping the all-purpose flour for a 1:1 gluten-free all-purpose baking blend that contains xanthan gum. Make sure your cocoa powder is certified gluten-free to avoid cross-contamination, and keep the rest of the recipe exactly the same for crisp, chocolatey wafers with no noticeable texture difference.
15.Why do my cooled wafers turn out soft instead of snappy and crisp? ▾
Soft wafers usually mean either the dough was rolled too thick, the cookies were underbaked, or they were stored before cooling fully. If your wafers are soft after cooling, pop them back on a baking sheet in a 300°F oven for 3 to 4 minutes, then let them cool completely on the sheet to drive off extra moisture and bring back crispness.
16.Can I add mix-ins to the dough or filling for extra flavor? ▾
Absolutely! For the wafers, stir in 2 tablespoons of finely chopped dark chocolate or a pinch of espresso powder to amp up the chocolate depth. For the buttercream, try adding 1/4 teaspoon of peppermint extract, a tablespoon of crushed candy canes, or a swirl of melted chocolate to switch up flavor without ruining the core texture.

Comments (3)

2 days ago

OMG these homemade chocolate sandwich cookies are a total game changer! I baked them for my kid’s soccer team potluck last weekend and every single last cookie was gone before the first half even ended. The cook time was only 12 minutes which was perfect for my chaotic weeknight schedule, no fancy steps needed even for a self-proclaimed terrible baker like me. SO good, I already made a second batch to stash in the freezer for after school snacks!

yesterday

Wait did you freeze them fully assembled? I’ve been nervous to stash filled cookies in the freezer because I thought the cream filling would get all grainy and weird!

2 hours ago

So thrilled these were such a hit at the soccer potluck, Mia! Quick answer for Jake too – these freeze perfectly fully assembled for up to 3 months! Just let them thaw at room temp for 10 minutes before eating, and the filling stays perfectly smooth, no weird grainy texture at all.

1 week ago

Super easy recipe, came together with totally standard pantry staples I already had on hand! I swapped the plain vanilla filling for a little peppermint extract and crushed candy cane bits to make them holiday-themed when we had family dinner last week, and my whole crew went crazy for them. Only tiny heads up: my oven runs super hot, so my first batch got a little crispy when I left them in the full 12 minutes. Definitely start checking them at the 10 minute mark if your oven runs warm!

5 days ago

Thanks so much for the great hot oven tip, that’s such a helpful note for other bakers! The peppermint candy cane version sounds absolutely incredible, I’m definitely going to test that variation for our holiday recipe roundup this year. So glad your family enjoyed them!

30 minutes ago

Just pulled these out of the oven and my whole apartment smells like an upscale downtown bakery! The dough came together so fast I almost couldn’t believe it — I was worried an “easy” cookie recipe would mean bland, boring flavor, but these are so rich and chocolatey, and the filling is perfectly sweet without being cloying. Already planning to bring a double batch to my office book club potluck next week, I know everyone is going to hound me for the recipe!



