
Chocolate Sandwich Cookies

title 1
Chocolate Sandwich Cookies
⏱️ cook time 1 hour 10 minutes total (30 minutes inactive chill time)
🍽️ servings 12
⚡ Difficulty easy

intro

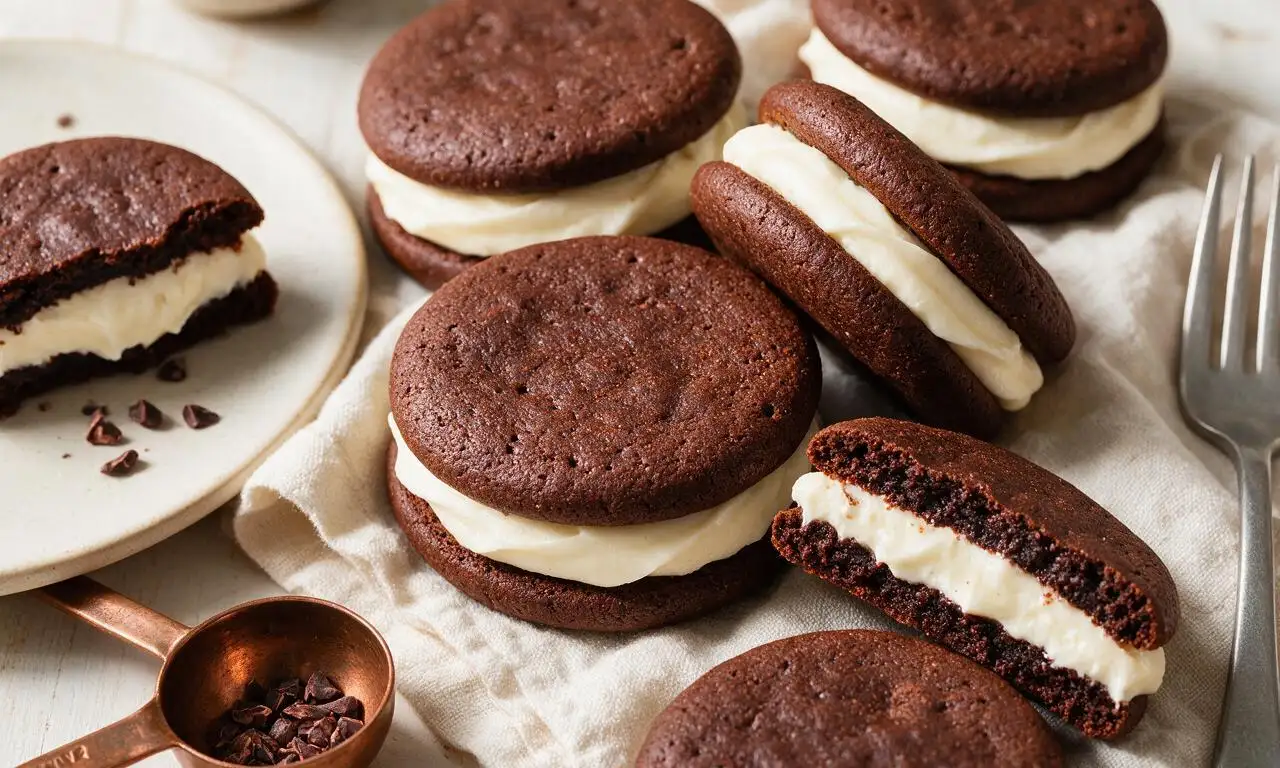
Crisp, rich cocoa shortbread cookies sandwiched with smooth vanilla buttercream, a nostalgic, shareable homemade take on a beloved classic treat.

Ingredients

All-purpose flour 1 1/4 cups (150g)
Dutch-process unsweetened cocoa powder 2/3 cup (65g)
Unsalted butter (for cookie dough) 1/2 cup (113g, room temperature)
Granulated sugar 3/4 cup (150g)
Large egg 1 (50g, room temperature)
Vanilla extract (for cookie dough) 1 tsp (5ml)
Baking soda 1/2 tsp (2.5g)
Fine table salt 1/4 tsp (1.5g)
Unsalted butter (for filling) 1/4 cup (57g, room temperature)
Powdered sugar 1 1/2 cups (180g, sifted)
Vanilla extract (for filling) 1/2 tsp (2.5ml)
Heavy cream 1 tbsp (15ml)

Steps

1

Whisk dry cookie ingredients

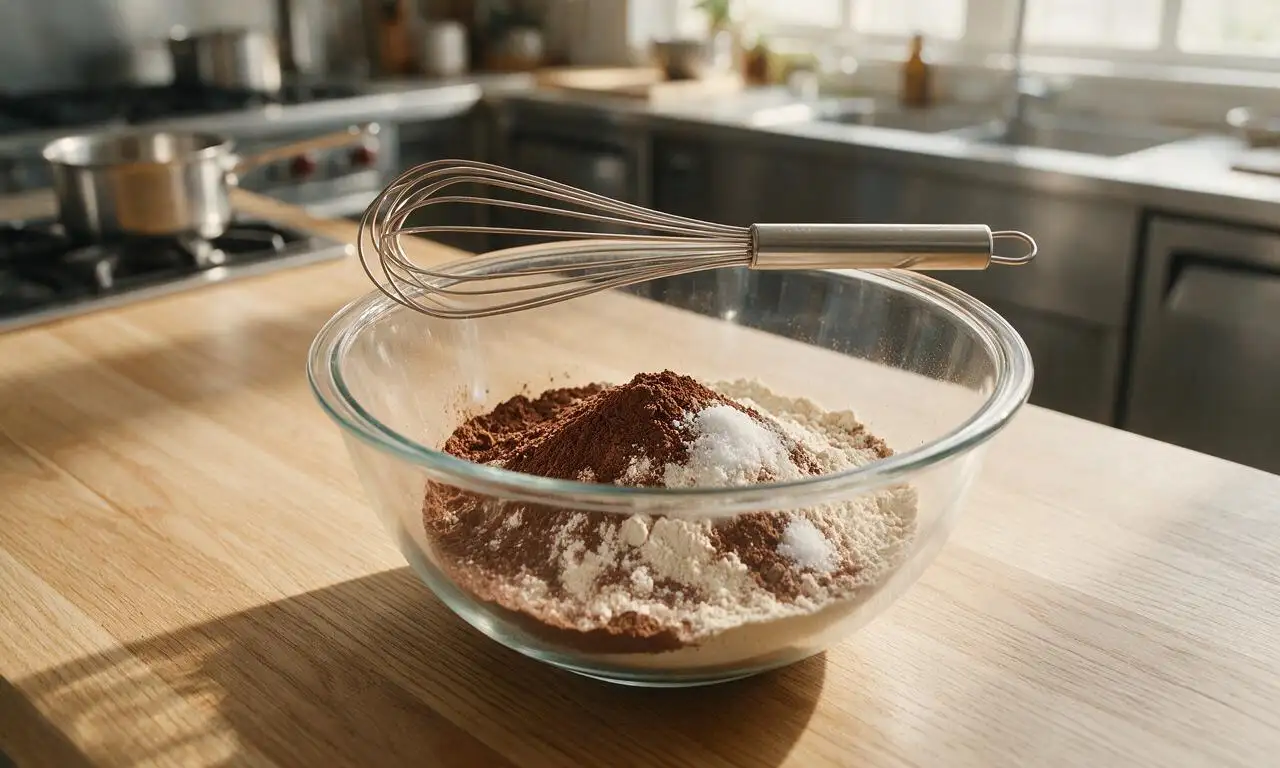
In a medium mixing bowl, combine 150g (1 1/4 cups) all-purpose flour, 65g (2/3 cup) Dutch-process cocoa powder, 2.5g (1/2 tsp) baking soda, and 1.5g (1/4 tsp) fine table salt. Whisk vigorously for 30 seconds to fully combine, breaking up any clumps of cocoa with the back of the whisk, then set the bowl aside at room temperature.
Step 1
step1:Whisk dry cookie ingredients
2

Cream butter and sugar

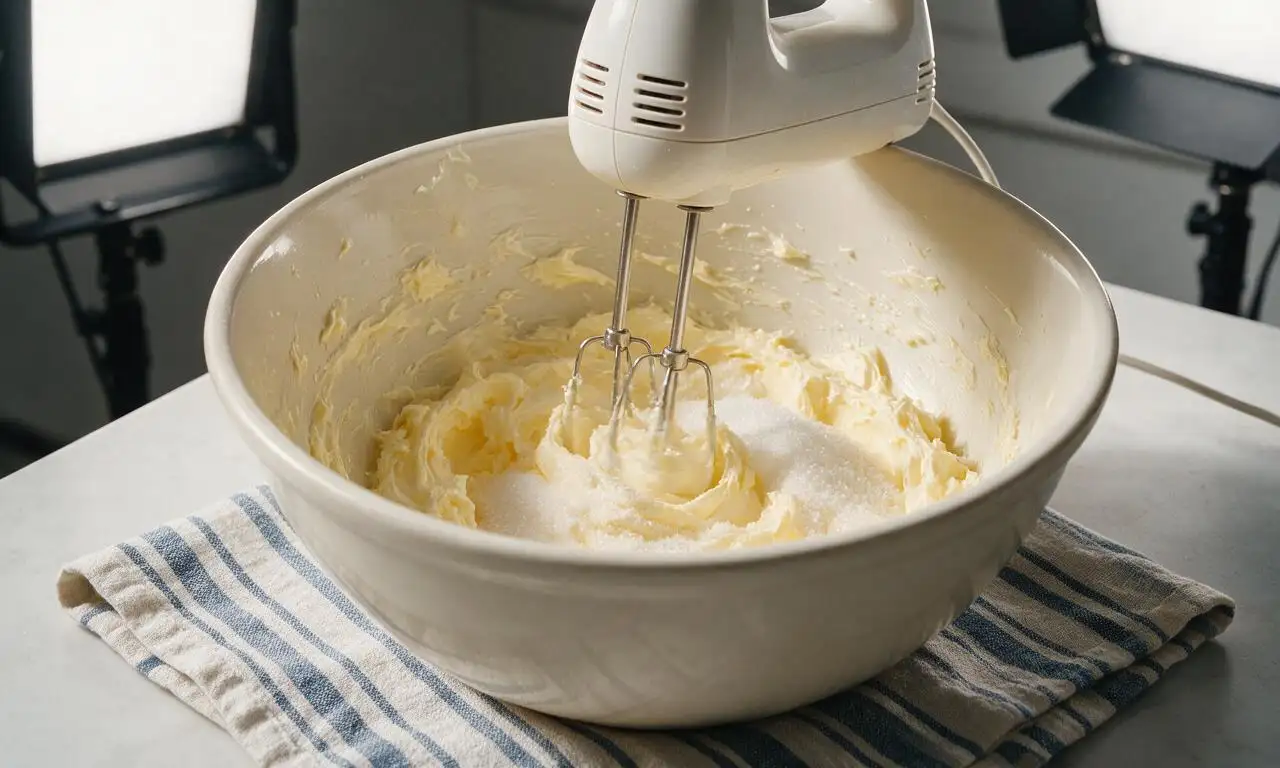
In a large mixing bowl, use a hand mixer (or stand mixer with paddle attachment) on medium-high speed to beat 113g (1/2 cup) softened room-temperature unsalted butter and 150g (3/4 cup) granulated sugar for 2 full minutes, until the mixture is pale, light, and fluffy. Scrape down the bowl sides with a spatula, add 1 room-temperature large egg and 5ml (1 tsp) vanilla extract, then beat on medium speed for 1 additional minute until fully smooth.
Step 2
step2:Cream butter and sugar
3

Mix and chill dough

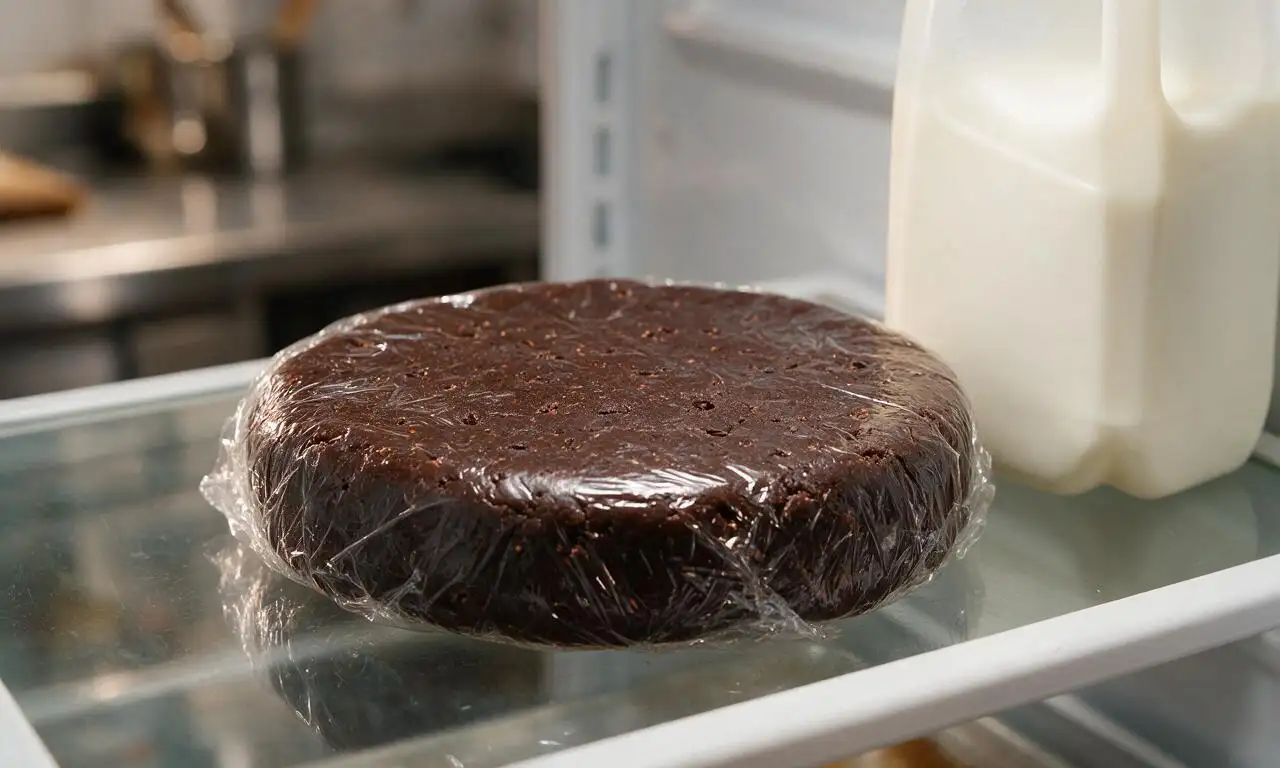
Turn the mixer to the lowest speed, then gradually add the dry flour-cocoa mixture to the wet butter mixture, mixing only until no dry flour streaks remain (about 45 seconds total; do not overmix). Turn the dough out onto plastic wrap, form into a 2.5cm (1-inch) thick flat disk, wrap tightly, and chill in the refrigerator for 30 minutes until firm enough to roll without sticking.
Step 3
step3:Mix and chill dough
4

Bake cookie rounds

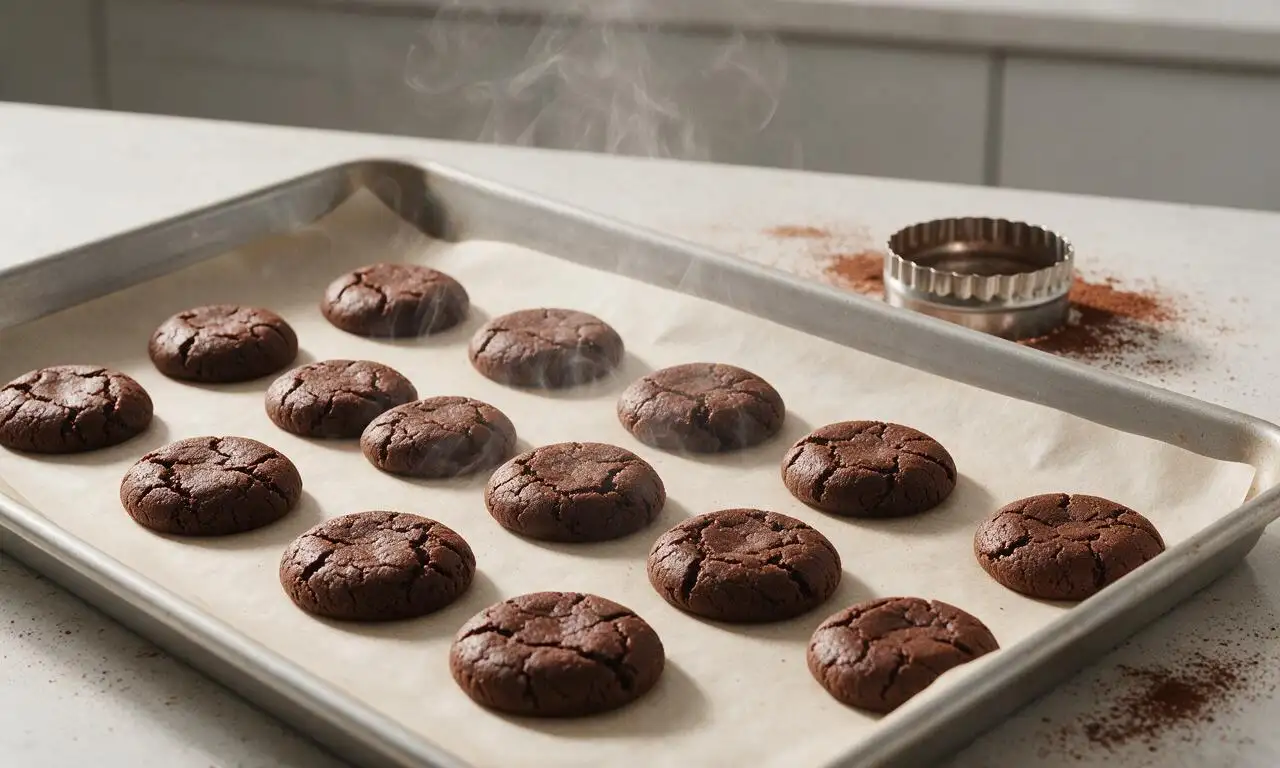
Preheat your oven to 175°C (350°F) and line two rimmed baking sheets with parchment paper. Roll the chilled dough on a light cocoa-dusted counter to 3mm (1/8-inch) thickness, then use a 5cm (2-inch) round fluted cutter to cut even circles, placing them 2.5cm (1 inch) apart on the prepared sheets. Bake for 10 minutes, then transfer cookies immediately to a wire rack to cool completely for 15 minutes before filling.
Step 4
step4:Bake cookie rounds
5

Make vanilla filling

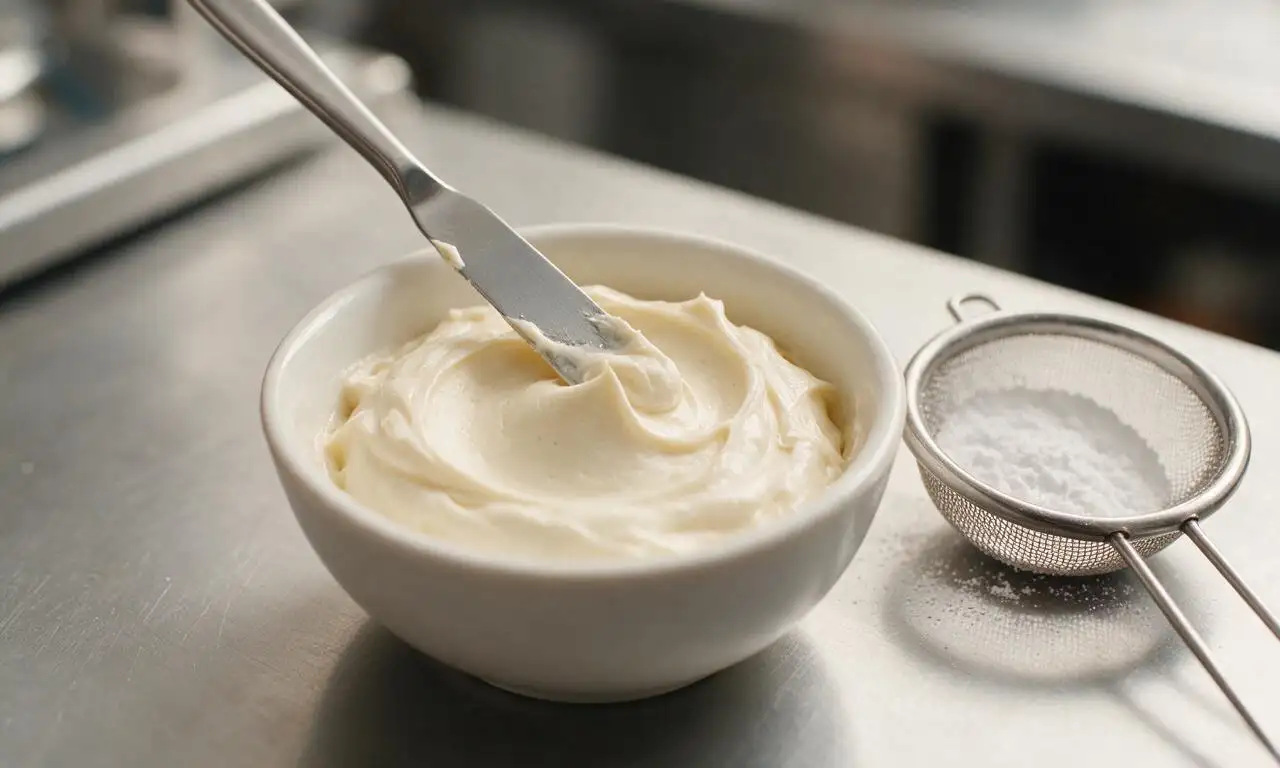
While cookies cool, prepare the buttercream: in a small bowl, beat 57g (1/4 cup) softened room-temperature unsalted butter on medium speed for 1 minute until completely smooth. Gradually add 180g (1 1/2 cups) sifted powdered sugar, 2.5ml (1/2 tsp) vanilla extract, and 15ml (1 tbsp) heavy cream, beating on medium-low speed for 2 minutes until thick, smooth, and spreadable; add 5ml (1 tsp) extra cream if the filling is too stiff to spread.
Step 5
step5:Make vanilla filling
6

Assemble sandwich cookies

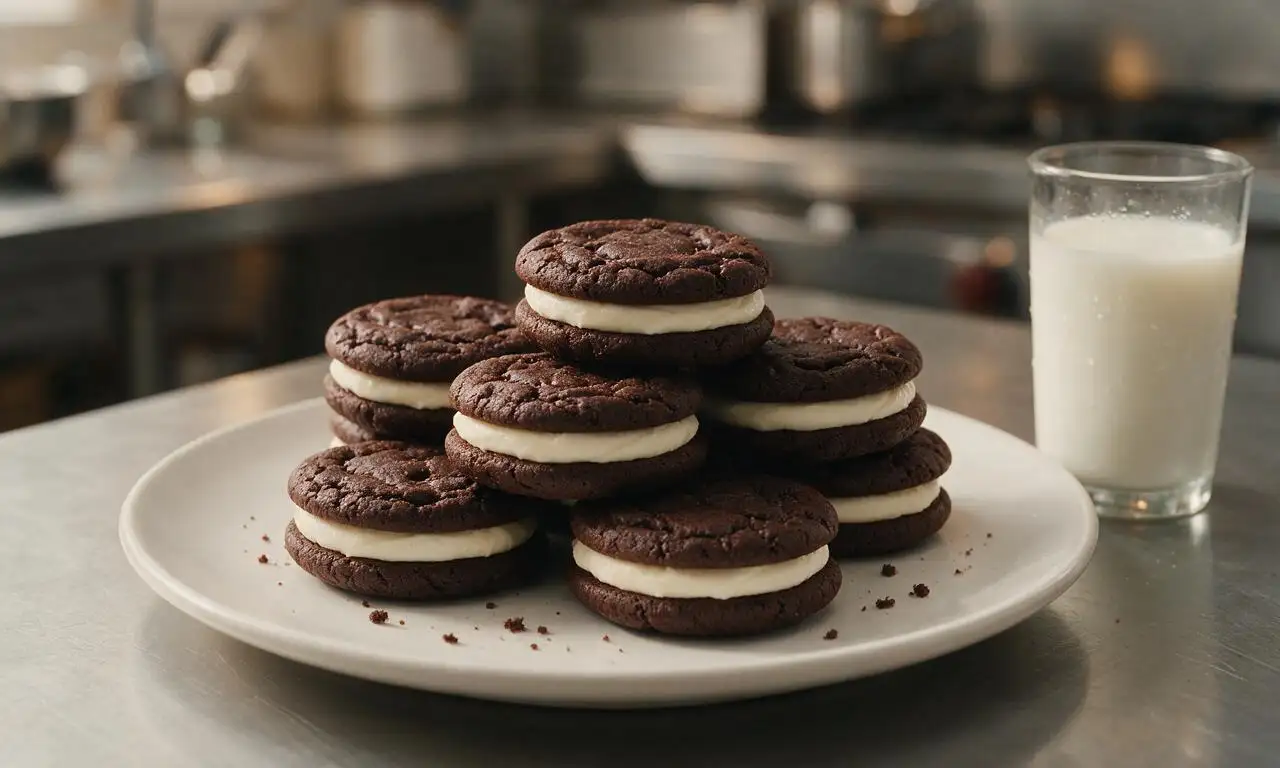
Once cookies are fully cooled, scoop 5g (1 tsp) of buttercream filling onto the flat bottom side of half the cookie rounds. Top each frosted cookie with a second cookie, flat side facing the filling, and twist gently to press the filling evenly until it reaches the cookie edges. Serve immediately, or store in an airtight container at room temperature for up to 5 days.
Step 6
step6:Assemble sandwich cookies

Tips

1.Always let baked cookies cool fully on a wire rack before adding filling; warm cookies will melt buttercream, causing it to slide out and create messy, oozing sandwiches.
2.Do not overmix the cookie dough once dry ingredients are added; overmixing develops gluten in the flour and will result in tough, dense cookies instead of crisp, tender ones.
3.Dip your cookie cutter in cocoa powder between each cut to prevent sticking, which helps create clean, smooth-edged cookie rounds without tearing the soft dough.


✨ You May Also Like

Desserts & Baking
🍜 Italy

Creamy, coffee-kissed classic Northern Italian no-bake dessert, with layers of rum-spiked mascarpone cream, soft ladyfingers, and a rich cocoa dusting.

⏱️ 4 hours 3Desserts & Baking ★ 4.7
Desserts & Baking
🍜 France

Flaky, shatteringly crisp, buttery French croissants with golden exteriors and soft, airy layered interiors, perfect for pairing with coffee for a special morning treat.

⏱️ 12 hours Desserts & Baking ★ 4.5
Desserts & Baking
🍜 United States

Warm, spiced baked apples topped with a fluffy golden biscuit crust, this cozy dessert pairs perfectly with vanilla ice cream for cool-weather comfort.

⏱️ 55 minuteDesserts & Baking ★ 4.6
Desserts & Baking
🍜 United States

A star-spangled classic American blueberry pie with buttery flaky crust and bright sweet-tart filling, perfect for summer patriotic gatherings.

⏱️ 1 hour 25Desserts & Baking ★ 4.7
Desserts & Baking
🍜 United States

A beloved no-bake regional Maine candy with a chewy coconut-potato center coated in rich dark chocolate, a New England holiday staple since the 1870s.

⏱️ 2 hours 3Desserts & Baking ★ 4.8
Desserts & Baking
🍜 France

Luxuriously creamy, floral frozen custard made with aromatic Tahitian vanilla beans, boasting a smooth, rich texture that melts slowly on the tongue.

⏱️ 3 hours 3Desserts & Baking ★ 4.5

Chocolate Sandwich Cookies:Frequently Asked Questions

1.Can I use natural unsweetened cocoa powder instead of Dutch-process for these cookies? ▾
You can, but note Dutch-process cocoa is treated to cut sharp natural acidity, delivering the deep, smooth, classic chocolate cookie flavor most people expect. If you swap for natural cocoa, cookies will taste slightly tangier and have a lighter, warmer brown hue—no other measurement adjustments are needed for this shortbread base.
2.Why do my chocolate cookies turn out tough instead of light and crisp? ▾
Tough cookies almost always come from overworking the dough after you add the all-purpose flour. Overmixing develops excess gluten, which creates a chewy, dense bite instead of that delicate crisp shortbread texture. Mix just until no dry flour streaks remain, and chill dough for 30 minutes before rolling to reduce spread.
3.Do I have to use unsalted butter for the cookie dough, or can I use salted? ▾
Unsalted butter lets you control exactly how much salt goes into your dough, which is key for balancing deep cocoa flavor. If you only have salted butter on hand, cut any added salt in the recipe by 1/4 teaspoon per stick of butter you use, so the final cookies don’t end up overly salty.
4.Can I make the cookie dough ahead of time? ▾
Absolutely! This shortbread dough holds beautifully in the fridge for up to 3 days, wrapped tightly in plastic wrap, or in the freezer for up to 3 months. Thaw frozen dough in the fridge overnight before rolling, and you’ll get the same crisp, evenly baked results as freshly mixed dough.
5.What thickness should I roll the cookie dough to for the best texture? ▾
Aim for a consistent 1/8-inch thickness when rolling your chilled dough. This produces thin, crisp cookies that hold their shape when baked, and creates the perfect ratio of chocolate cookie to vanilla buttercream filling without being so thin they burn or crack when you sandwich them.
6.Why do my cookies spread too much in the oven and lose their cut shape? ▾
Excess spread usually happens when your dough is too warm when it hits the oven, or if you over-creamed the butter and sugar to a fluffy, too-light consistency. Always chill rolled, cut cookie shapes for 15 minutes before baking, and make sure your oven is fully preheated to 350°F to set the dough fast before it can spread.
7.Can I use a different type of sugar instead of granulated sugar for the dough? ▾
Granulated sugar creates that signature crisp, snappy shortbread texture because it dissolves evenly as the cookies bake. Swapping for brown sugar will make chewier, softer cookies with a molasses note, while powdered sugar creates more melt-in-your-mouth, less snappy cookies, so stick to granulated for the classic result.
8.Do I really need to bring my large egg to room temperature before mixing it into the dough? ▾
It’s highly recommended! A room-temperature large egg mixes smoothly into the creamed butter and sugar without causing the mixture to curdle, which creates a more uniform dough that bakes evenly. If you’re short on time, submerge a cold egg in warm tap water for 5 minutes to take the chill off fast.
9.How do I know when the cookies are done baking so I don’t burn the dark dough? ▾
Because these are deep chocolate cookies, visual doneness cues can be tricky. Bake for 10 to 12 minutes at 350°F: the edges will feel just set to the touch, and the center will look slightly matte instead of glossy. Let them cool 5 minutes on the baking sheet, where they’ll crisp up as they set.
10.Can I make the vanilla buttercream filling ahead of assembling the cookies? ▾
You sure can. Store prepared buttercream in an airtight container in the fridge for up to 1 week, or freeze for up to 3 months. Let it come to room temperature, then whip it for 30 seconds with a hand or stand mixer to restore its smooth, spreadable texture before sandwiching your cooled cookies.
11.My buttercream is too runny to hold its shape between cookies—how do I fix that? ▾
Runny buttercream usually comes from butter that was too soft when mixed, or too much added liquid. Pop the bowl of frosting in the fridge for 10 to 15 minutes to firm up the butter, then beat again. If it’s still too soft, mix in 2 to 3 tablespoons of sifted powdered sugar until it holds a soft peak.
12.How should I store assembled chocolate sandwich cookies to keep them crisp? ▾
Store fully assembled cookies in an airtight container at room temperature, layered between sheets of parchment paper to prevent sticking, for up to 5 days. Avoid storing them in the fridge, as moist fridge air will soften the crisp cookie layers and make them lose their signature snappy texture.
13.Can I freeze these assembled cookies for later snacking? ▾
Absolutely! Arrange assembled cookies in a single layer on a baking sheet to freeze solid first, then transfer them to a freezer-safe airtight bag or container for up to 2 months. Thaw them at room temperature for 15 minutes before serving, and they’ll taste nearly as good as fresh.
14.Can I add mix-ins to the cookie dough, like chocolate chips or crushed peppermint? ▾
You can customize these cookies to taste, but keep mix-ins small so they don’t distort the cookie shape or throw off the crisp texture. Mini chocolate chips, finely crushed peppermint, or a pinch of espresso powder to amp up chocolate flavor all work great—stick to 1/2 cup total mix-ins per batch.
15.Why do my cooled cookies stick to the baking sheet when I try to move them? ▾
Sticking usually happens if you try to move the cookies too soon after baking, or if you skipped lining your sheet with parchment paper or a silicone baking mat. Let cookies rest on the hot baking sheet for 5 full minutes after coming out of the oven to set fully, then transfer them to a wire rack to cool completely.
16.Can I make these cookies gluten-free for friends with dietary restrictions? ▾
Yes, you can swap the all-purpose flour for a 1:1 gluten-free all-purpose baking blend that includes xanthan gum for the closest texture match. Double check that your cocoa powder is certified gluten-free to avoid cross-contamination, and the cookies will have the same crisp, rich bite as the original version.
17.What can I use instead of vanilla buttercream for the filling if I want to switch flavors? ▾
You have tons of easy, delicious filling swaps! Try mint buttercream, salted caramel, seedless raspberry jam, peanut butter frosting, or even a thin layer of melted dark chocolate for a fun twist. Just make sure any spreadable filling is thick enough that it won’t ooze out the sides when you take a bite.

Comments (3)

2 days ago

OMG these homemade chocolate sandwich cookies are SO good! I brought a batch to my office potluck yesterday and they were gone in, like, 10 minutes flat. I was worried the 30 minute chill time would be a hassle, but it was totally worth it for that perfect chewy chocolate cookie texture. The vanilla filling tastes exactly like the nostalgic store-bought version I loved as a kid, but way fresher and less artificially sweet. My 7 year old already asked if we can make them every weekend for his after-school snack. 10/10, no notes!

yesterday

Wait did you roll the dough to the exact thickness the recipe calls for? I tried a different chocolate sandwich cookie recipe last month and the cookies spread so much in the oven they turned into one giant sheet pan mess, curious if this recipe avoids that!

yesterday

So glad these were such a hit at your potluck, Mia! Quick tip for Jake and anyone else worried about cookie spread: make sure your butter is softened to cool room temperature (not melted!) and don’t skip that 30 minute dough chill step — that’s the secret to keeping those perfect round, chewy shapes every time.

1 week ago

Total game changer for weekly meal prep sweet treats! I made a double batch on Sunday, stashed them in an airtight container, and they stayed perfectly chewy all week for quick after-dinner bites. The difficulty rating is totally spot on as easy — I’m a super novice baker and I didn’t mess up a single step, even when it came to sandwiching the filling evenly. The only tiny tweak I made was sprinkling a pinch of flaky sea salt on top of the filling before closing the cookies, *chef’s kiss*

5 days ago

Love that flaky sea salt hack, Lindsey! That sweet-salty combo is such a good upgrade, we might have to add that as an official variation note to the recipe. So stoked these worked out for you even as a new baker!

30 minutes ago

Made these for my daughter’s soccer team snack after practice last night and every single kid asked for seconds! I was worried the chocolate cookies would be too rich or bitter for the 8-10 year old crowd, but they were perfectly balanced, and the creamy filling is just sweet enough without being cloying. It was so easy to whip up even after a long work day — the total time didn’t feel bad at all since half of it is just the dough chilling in the fridge while I got dinner on the table. Will absolutely be adding this to my regular baking rotation!



