
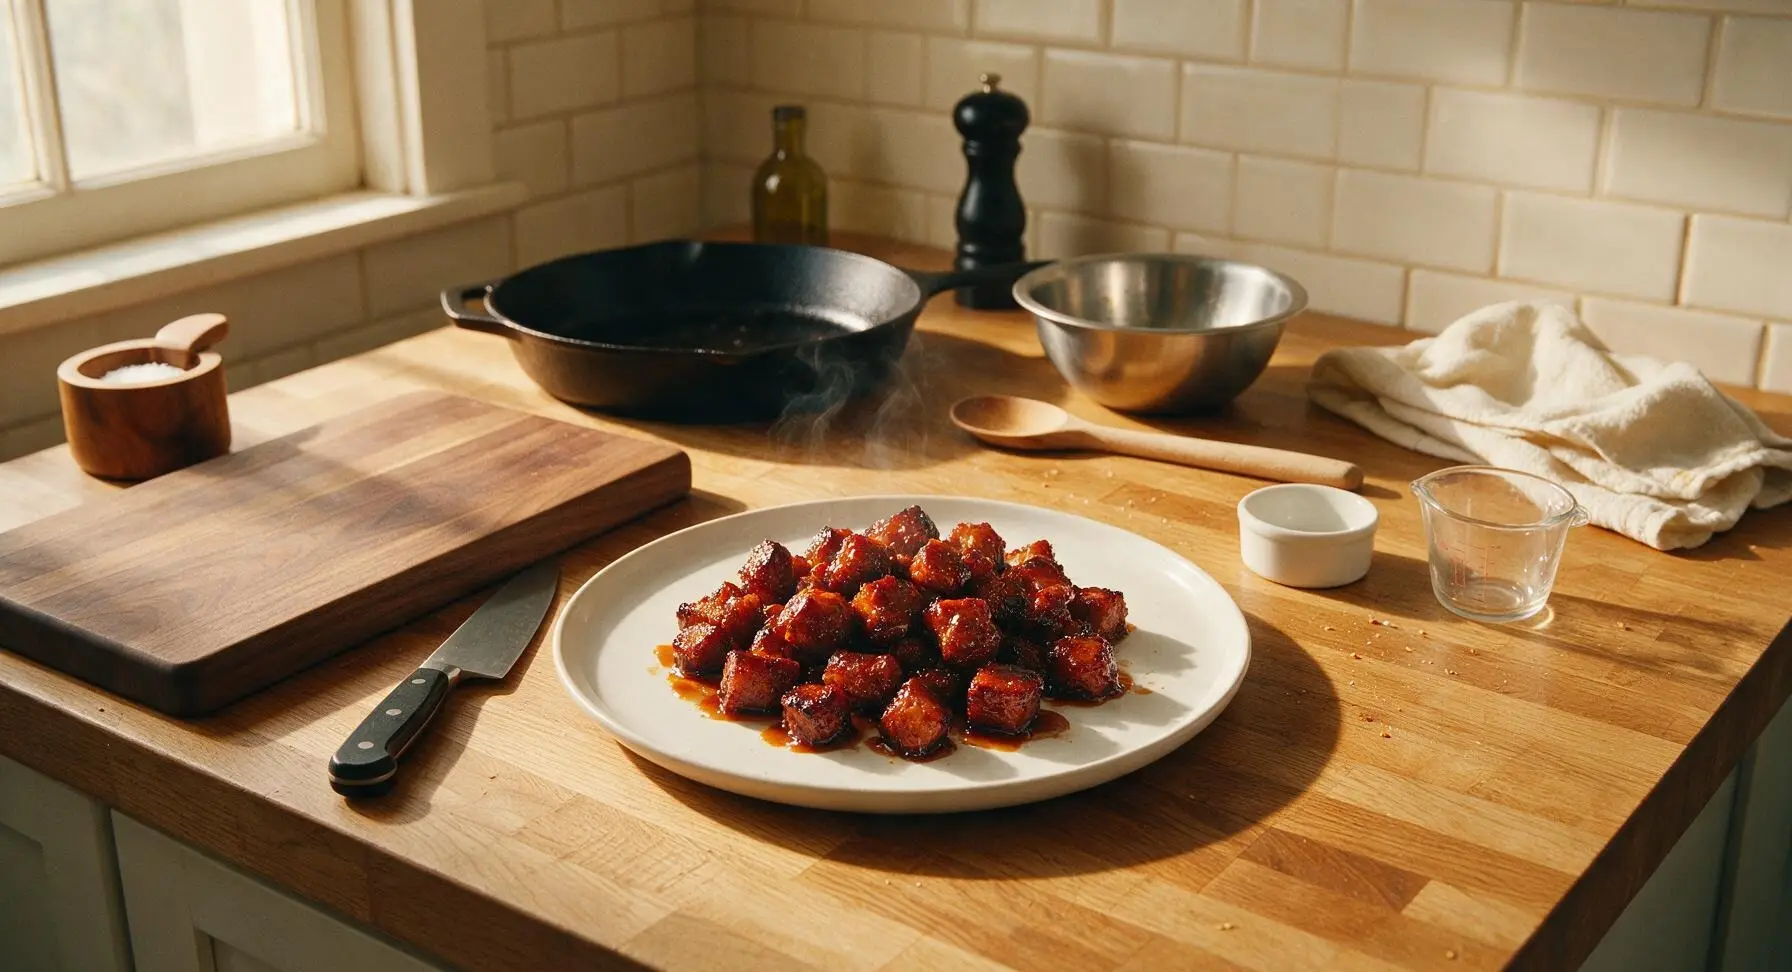
Chorizo Burnt Ends

title 1
Chorizo Burnt Ends
⏱️ cook time 1 hour 10 minutes
🍽️ servings 6
⚡ Difficulty easy

intro

Crispy, caramelized chorizo cubes tossed in sticky, smoky BBQ sauce, with a spicy, savory kick—these bite-sized burnt ends are the ultimate summer crowd-pleasing appetizer.

Ingredients
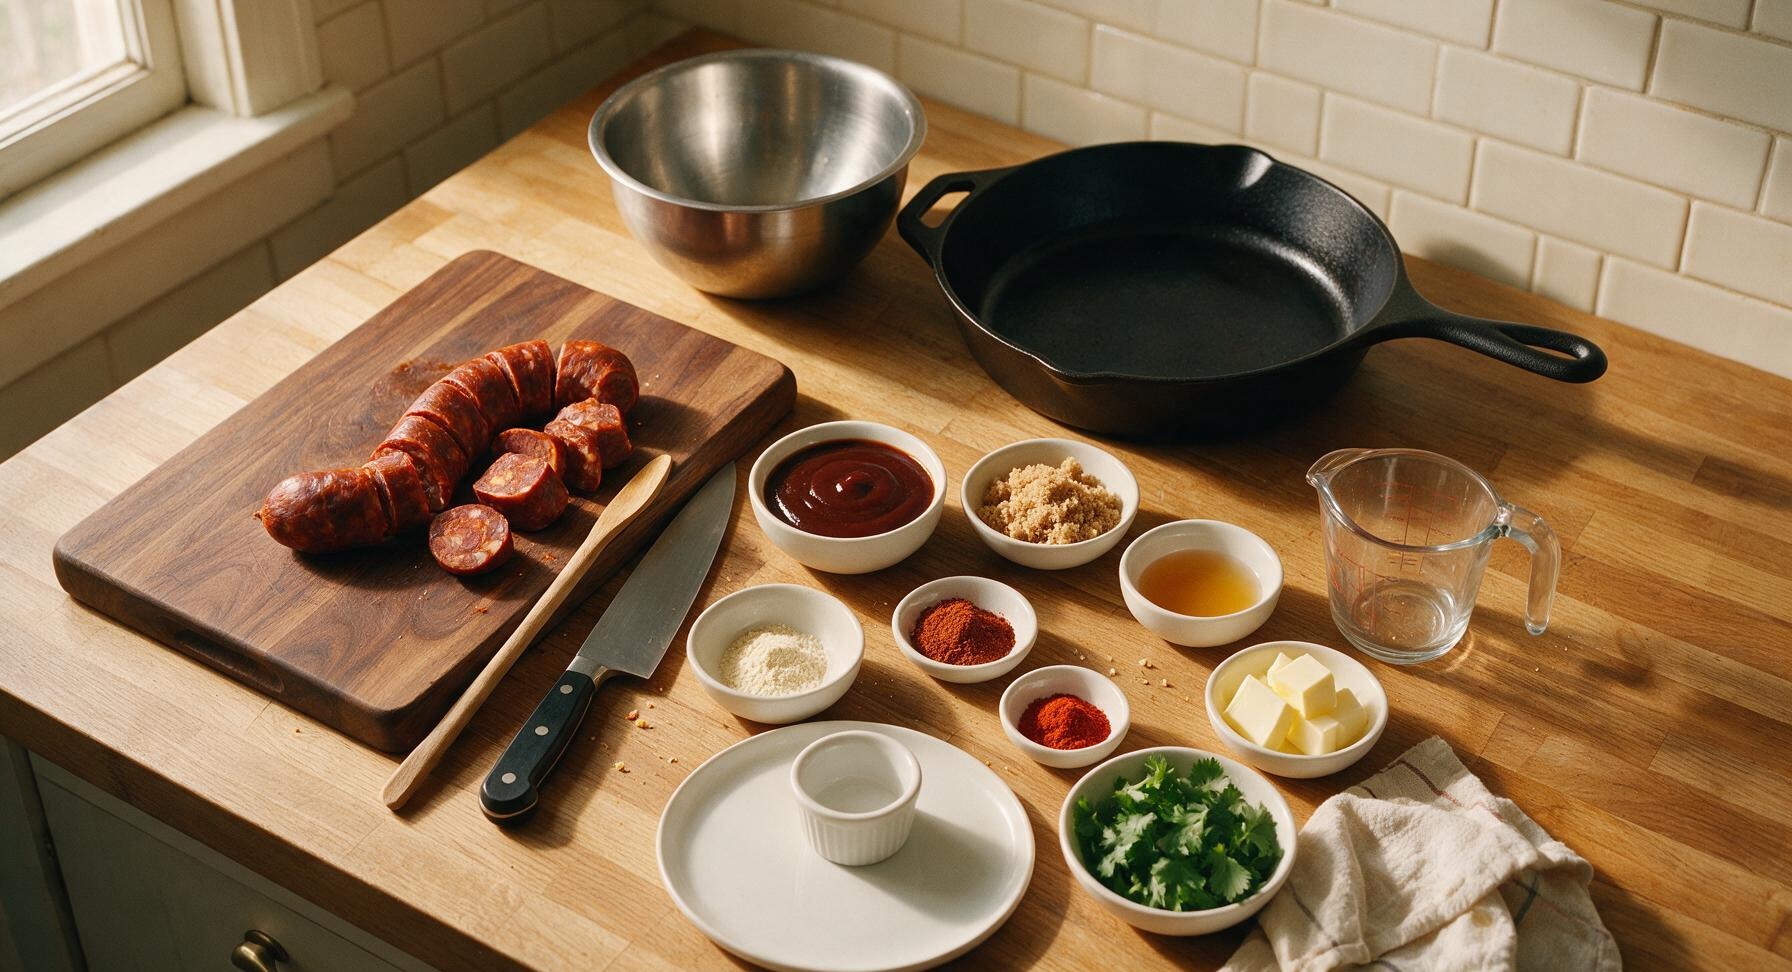
Firm cured Spanish chorizo sausage 900g (2 lbs)
Hickory-smoked BBQ sauce 180ml (3/4 cup)
Light brown sugar (packed) 2 tbsp
Apple cider vinegar 1 tbsp
Smoked paprika 1 tsp
Garlic powder 1/2 tsp
Cayenne pepper 1/4 tsp (optional)
Unsalted butter 2 tbsp (cut into 5mm cubes)
Fresh cilantro leaves 1/4 cup (loosely packed)

Steps

1

Cube the Chorizo

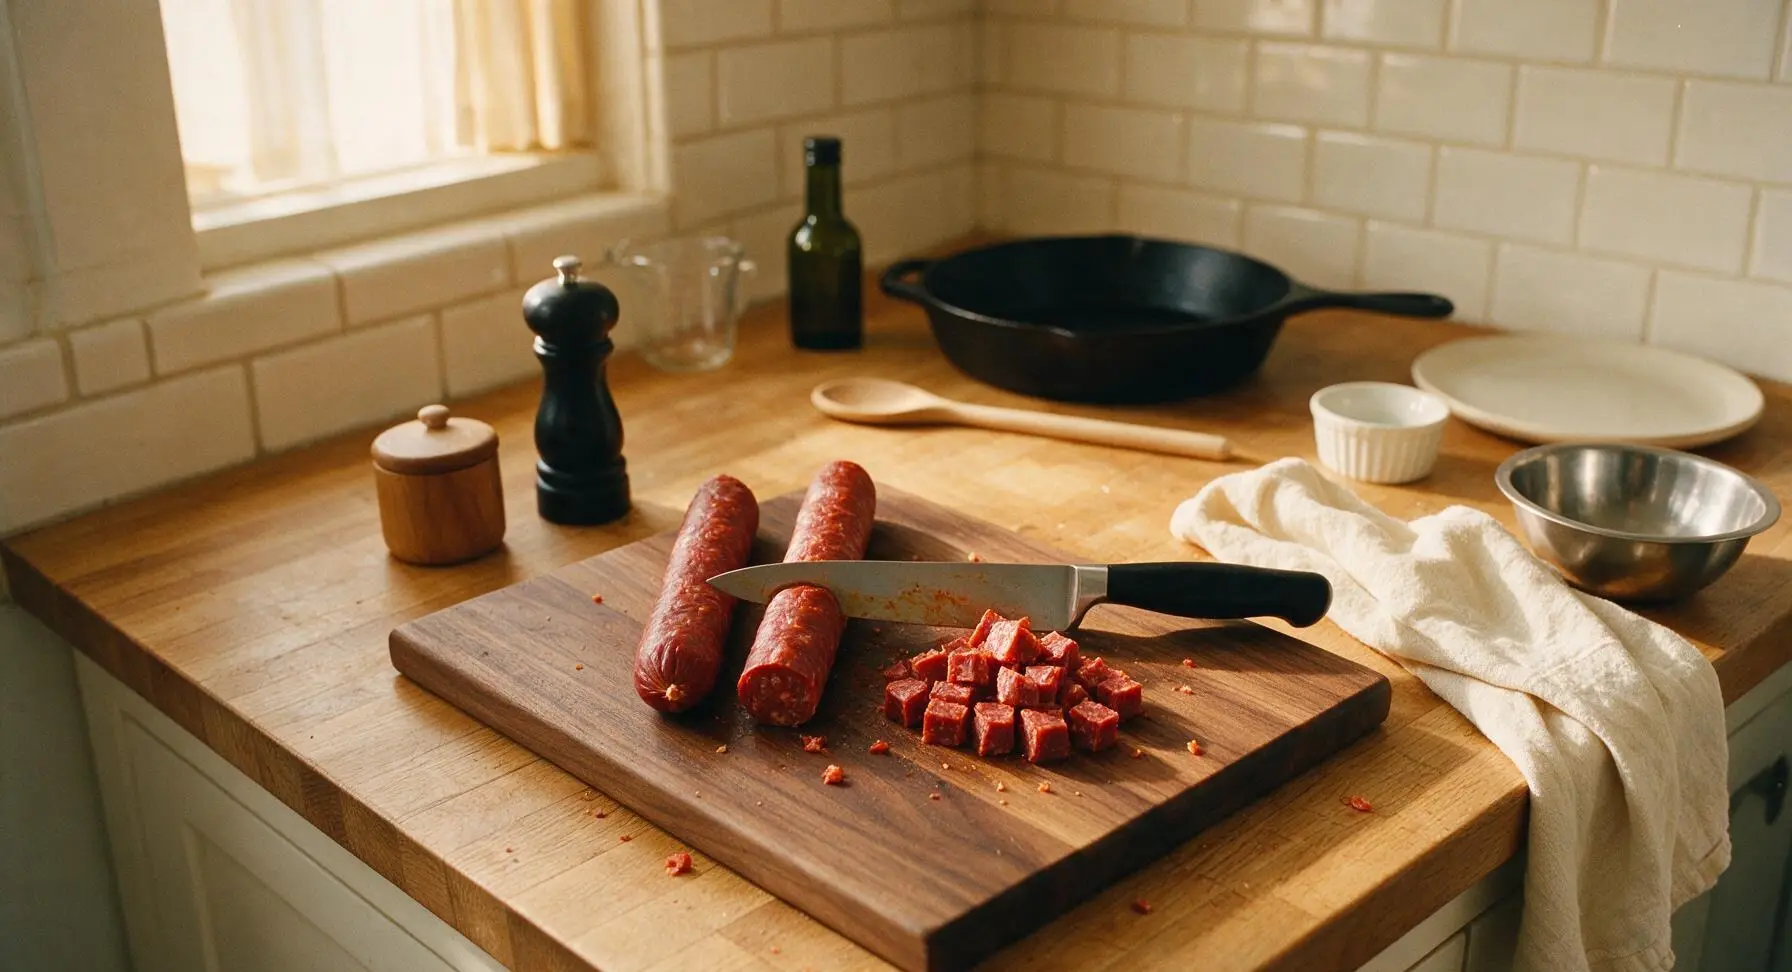
Remove any thin plastic or natural casing from the firm cured chorizo sausages. Place the whole sausages on the acacia wood cutting board. Using the 8-inch chef knife, cut the chorizo into uniform 2.5cm (1-inch) cubes, keeping pieces as even as possible to ensure consistent cooking. Set aside any small crumbled bits that break off during cutting to avoid burning during the cook.
Step 1
step1:Cube the Chorizo
2

Arrange Cubes on Rack

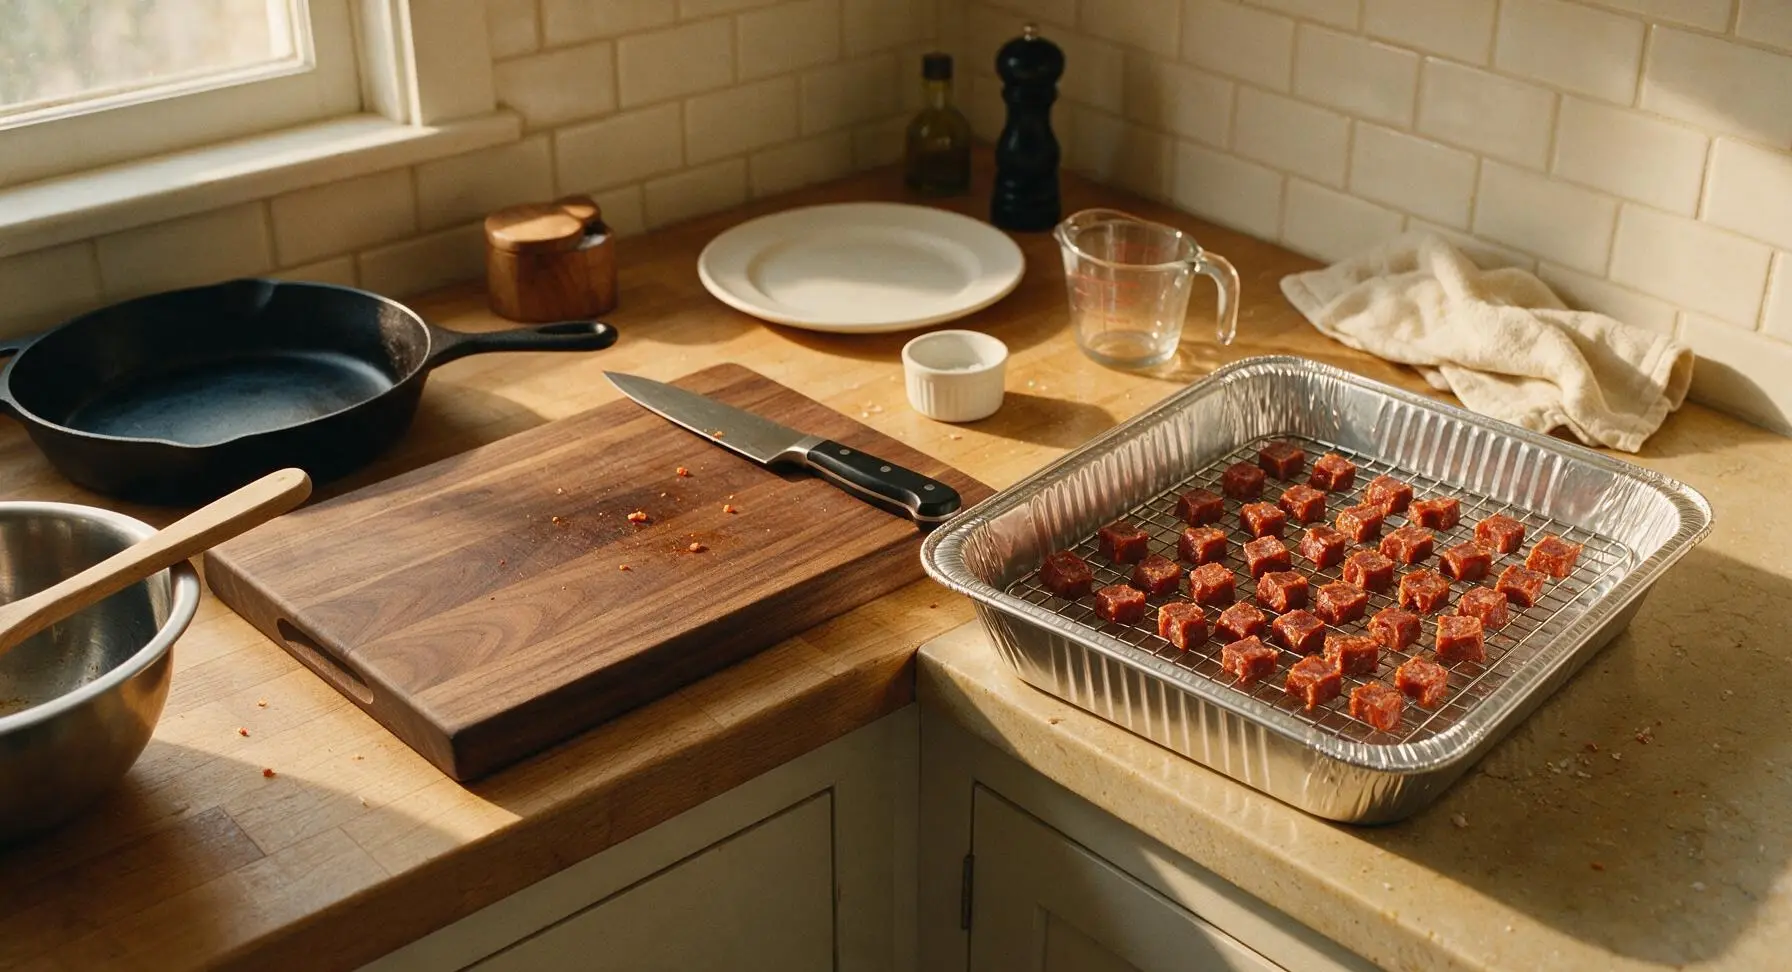
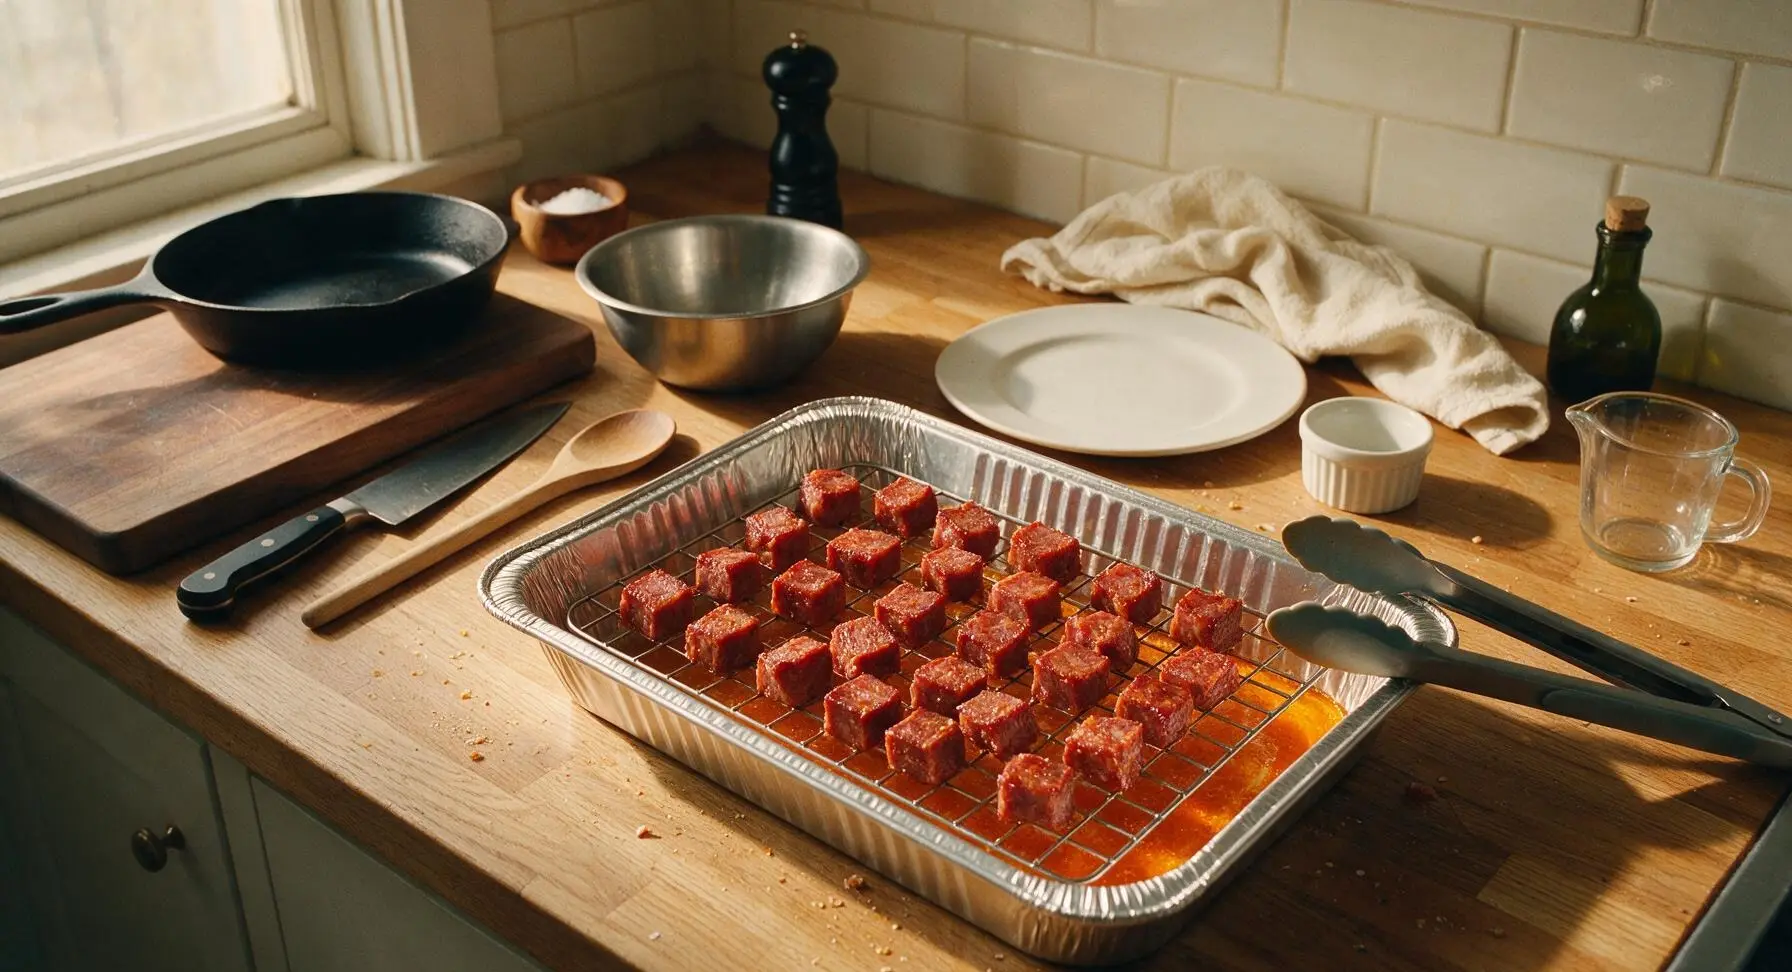
Set the chrome wire cooling rack inside the heavy-duty aluminum foil pan. Spread the cut chorizo cubes in a single even layer across the rack, leaving 5mm of space between each cube to allow hot air to circulate on all sides. Do not overcrowd the pan; if cubes are too tightly packed, they will steam instead of crisping.
Step 2
step2:Arrange Cubes on Rack
3

Cook Low and Slow

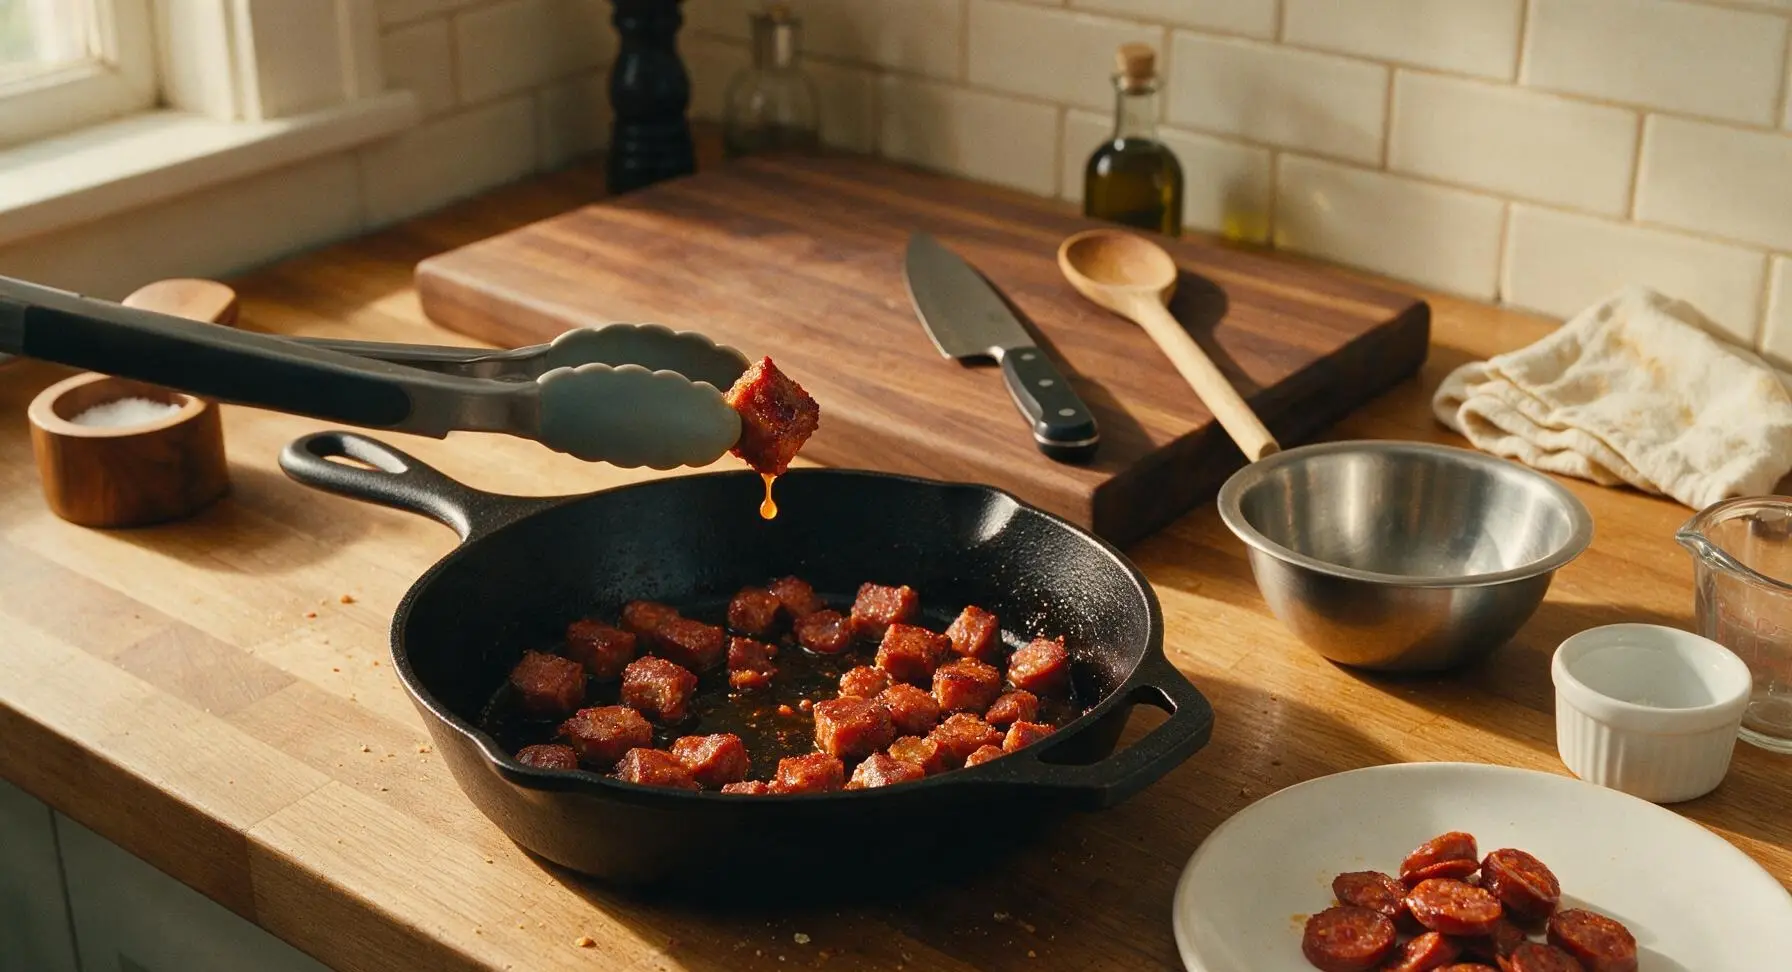
Preheat your grill, smoker, or oven to 120C (250F). Place the foil pan with racked chorizo on the middle grill grate or oven rack. Cook for 45 minutes total, using the silicone-tipped tongs to flip each cube at the 22-minute halfway mark for even browning. The chorizo is ready for the next step when edges are slightly crisp, and bright orange rendered fat has dripped into the bottom of the foil pan.
Step 3
step3:Cook Low and Slow
Step 3
step3:Cook Low and Slow
4

Mix the Glaze

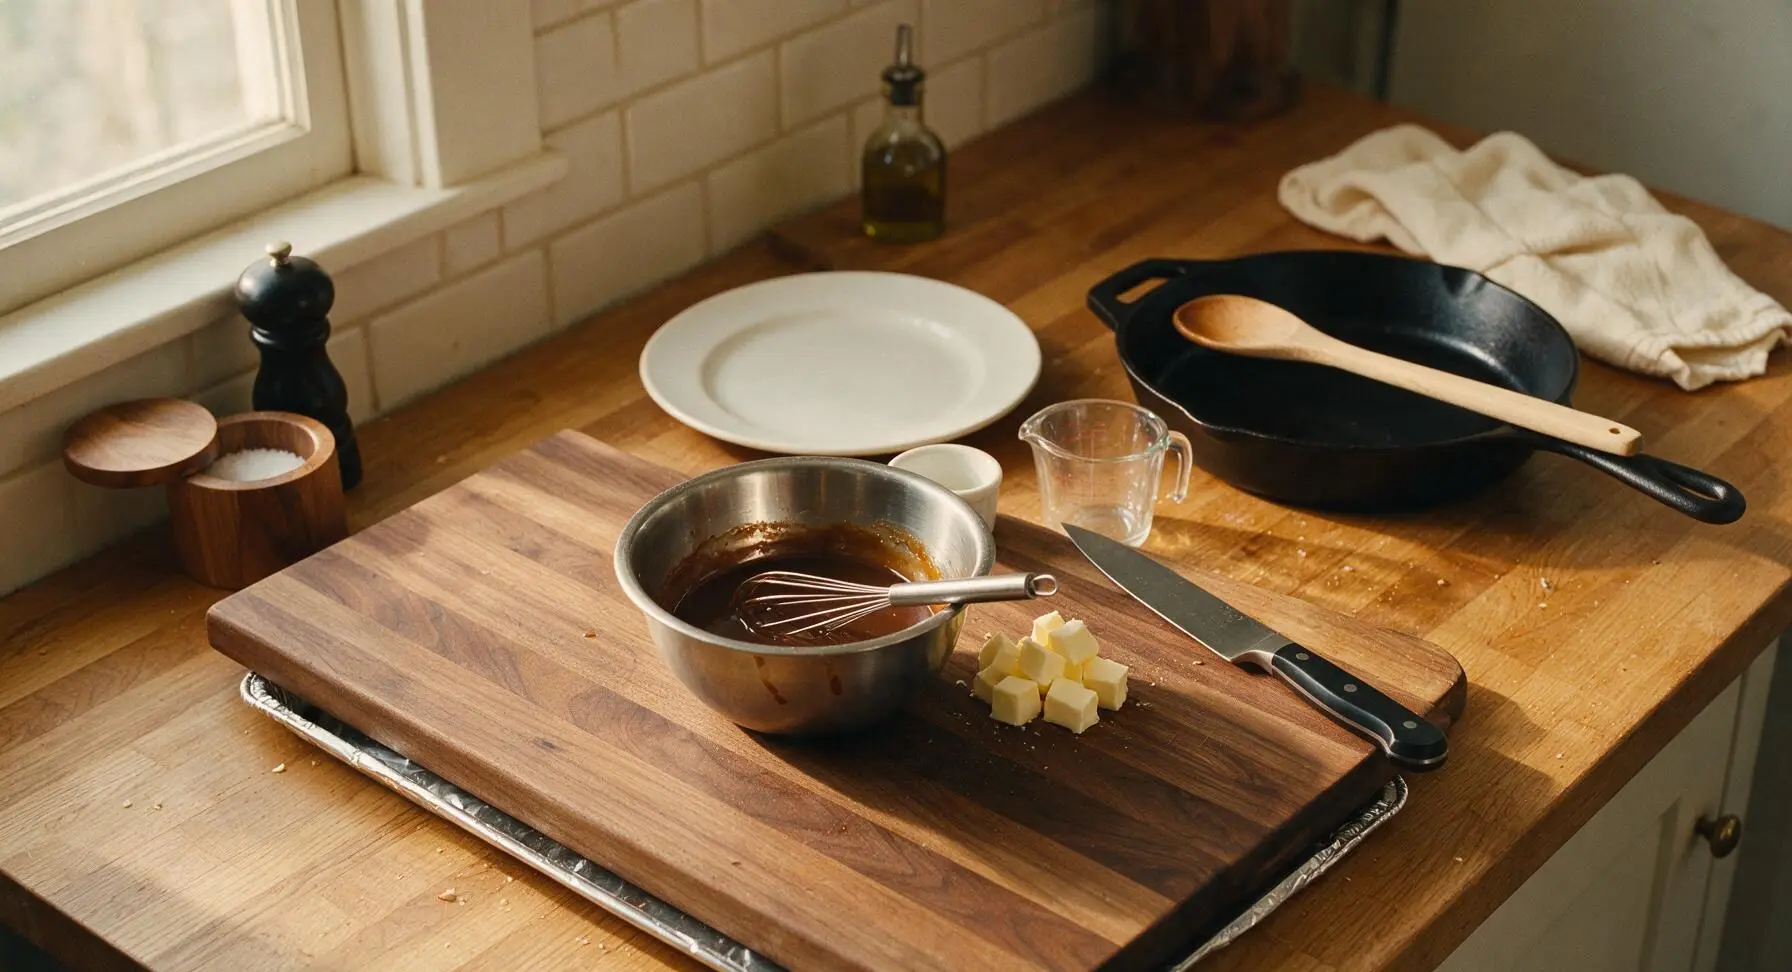
While the chorizo cooks, combine the hickory-smoked BBQ sauce, packed light brown sugar, apple cider vinegar, smoked paprika, garlic powder, and optional cayenne pepper in the stainless steel mixing bowl. Use the small stainless steel whisk to stir until the brown sugar fully dissolves and the sauce is completely smooth, with no visible clumps of spice. Set the glaze aside until needed.
Step 4
step4:Mix the Glaze
5

Toss Cubes in Glaze

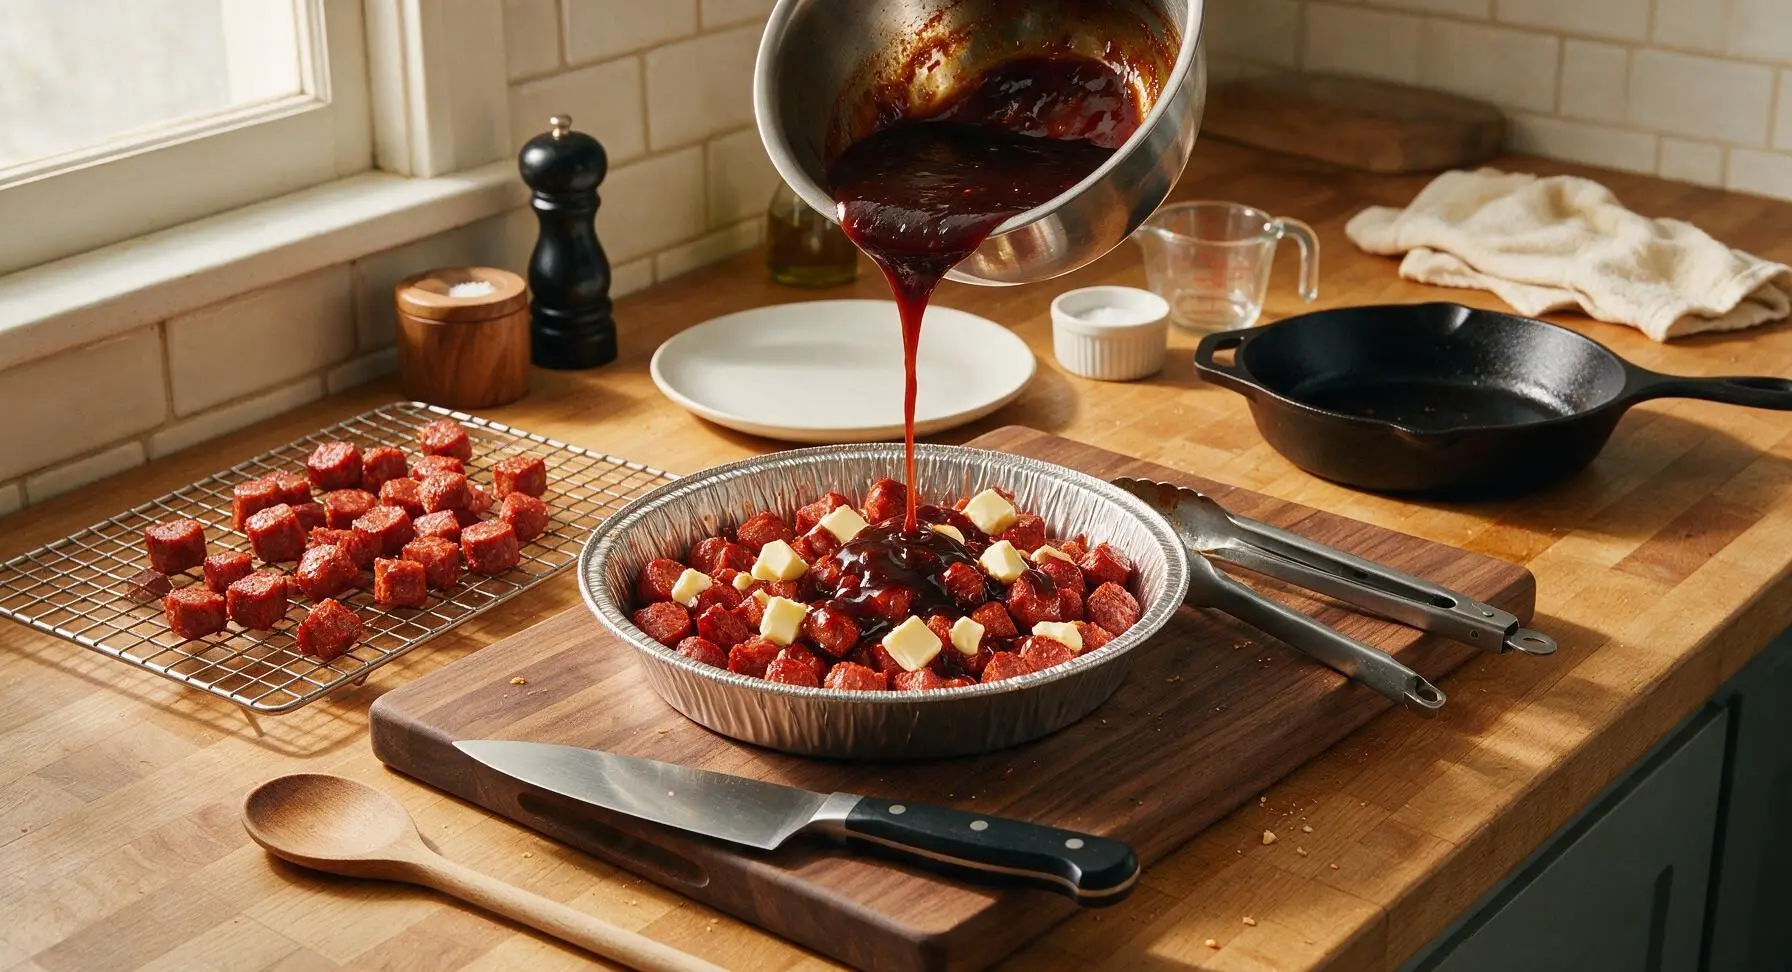
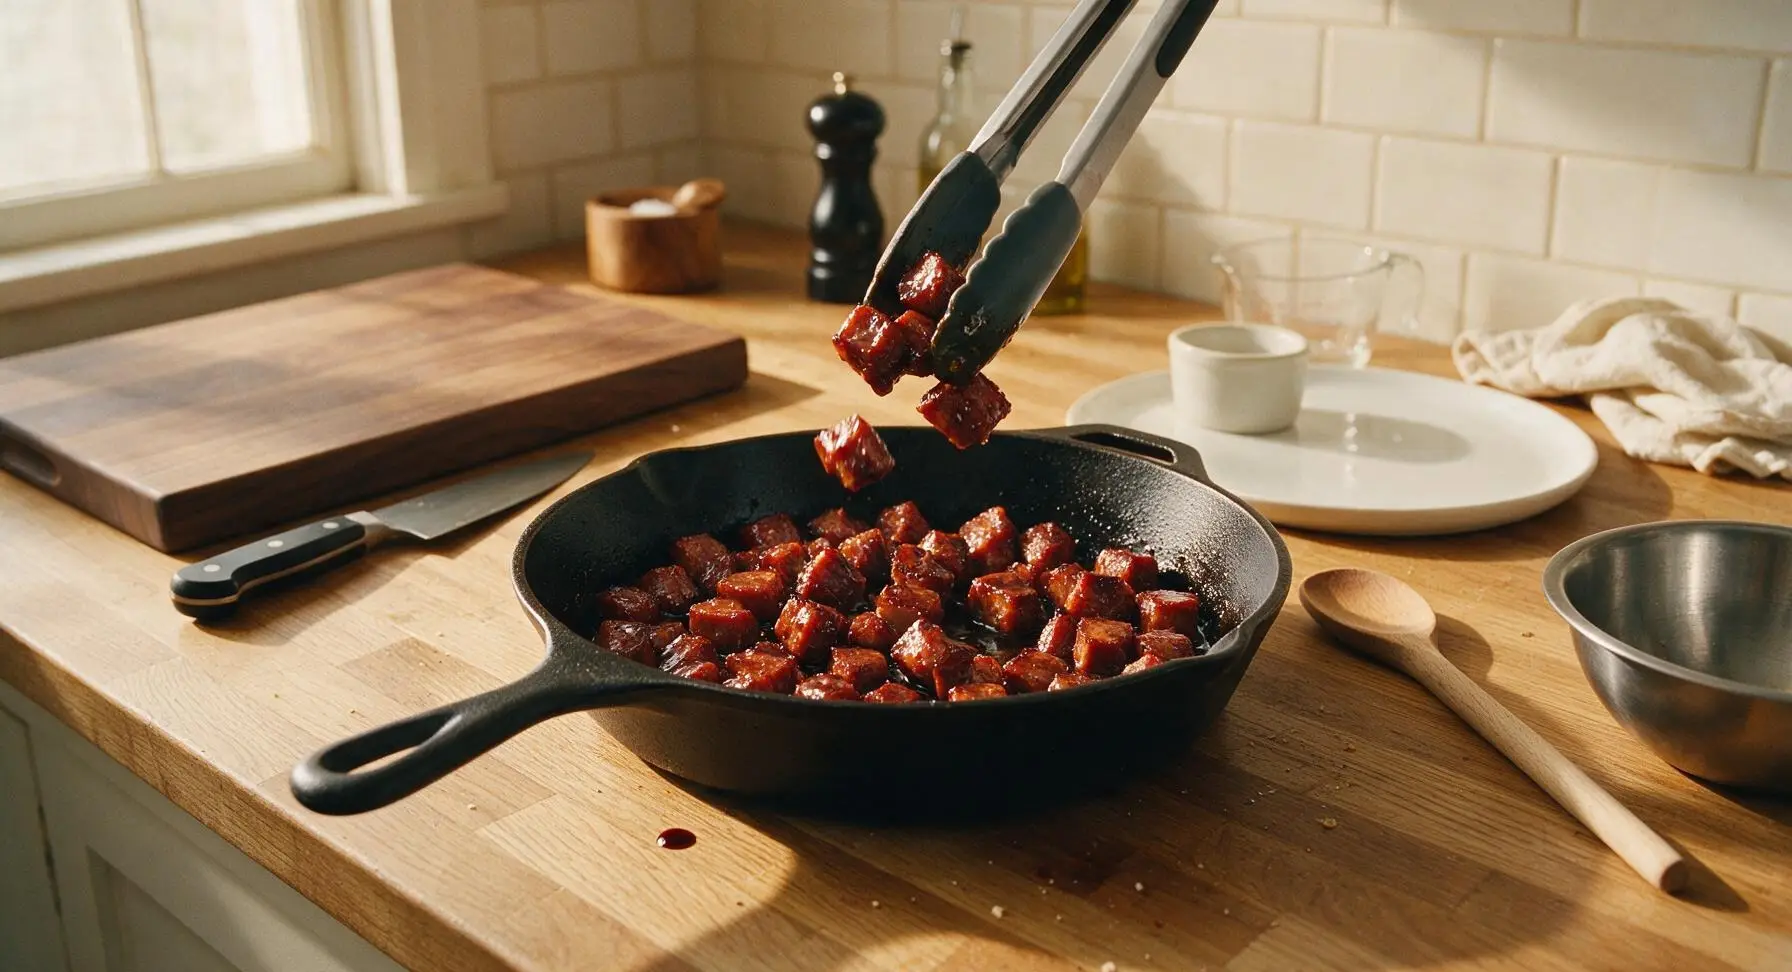
Carefully lift the wire rack of partially cooked chorizo out of the foil pan, pour out and discard all rendered fat from the bottom of the pan. Transfer the chorizo cubes directly into the empty foil pan, add the cubed unsalted butter, then pour 2/3 of the BBQ glaze over the top. Toss gently with the tongs until every cube is evenly coated in sauce and melting butter.
Step 5
step5:Toss Cubes in Glaze
Step 5
step5:Toss Cubes in Glaze
6

Caramelize Burnt Ends

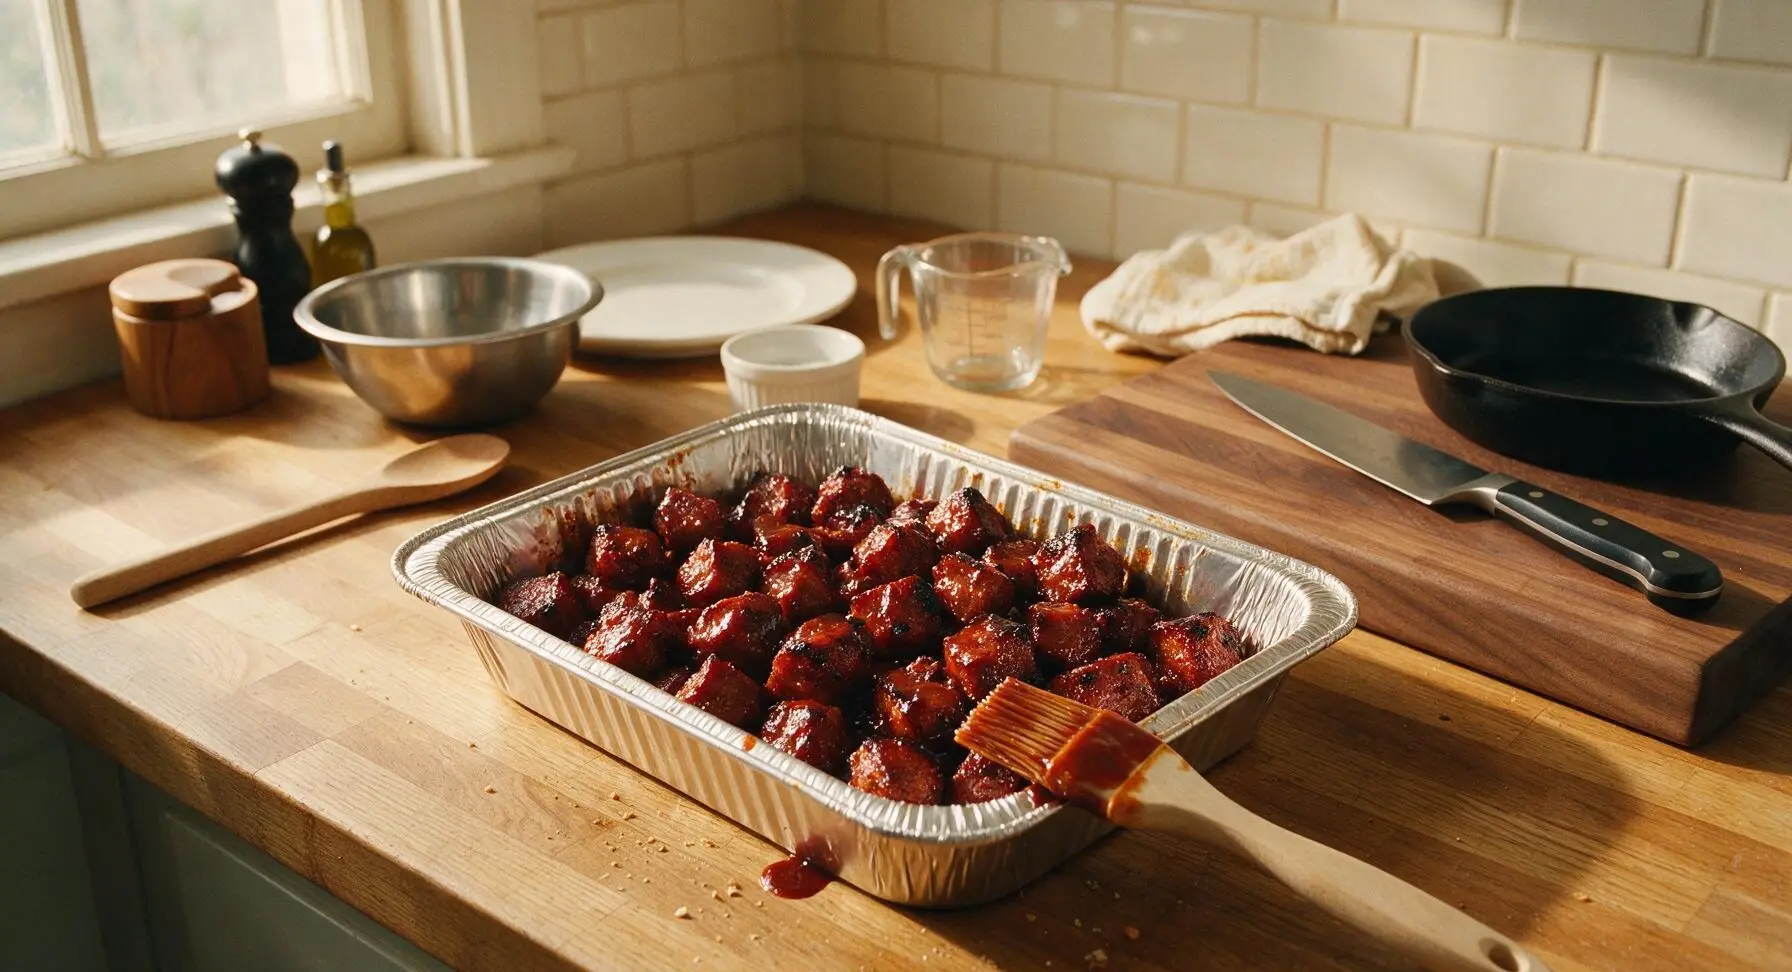
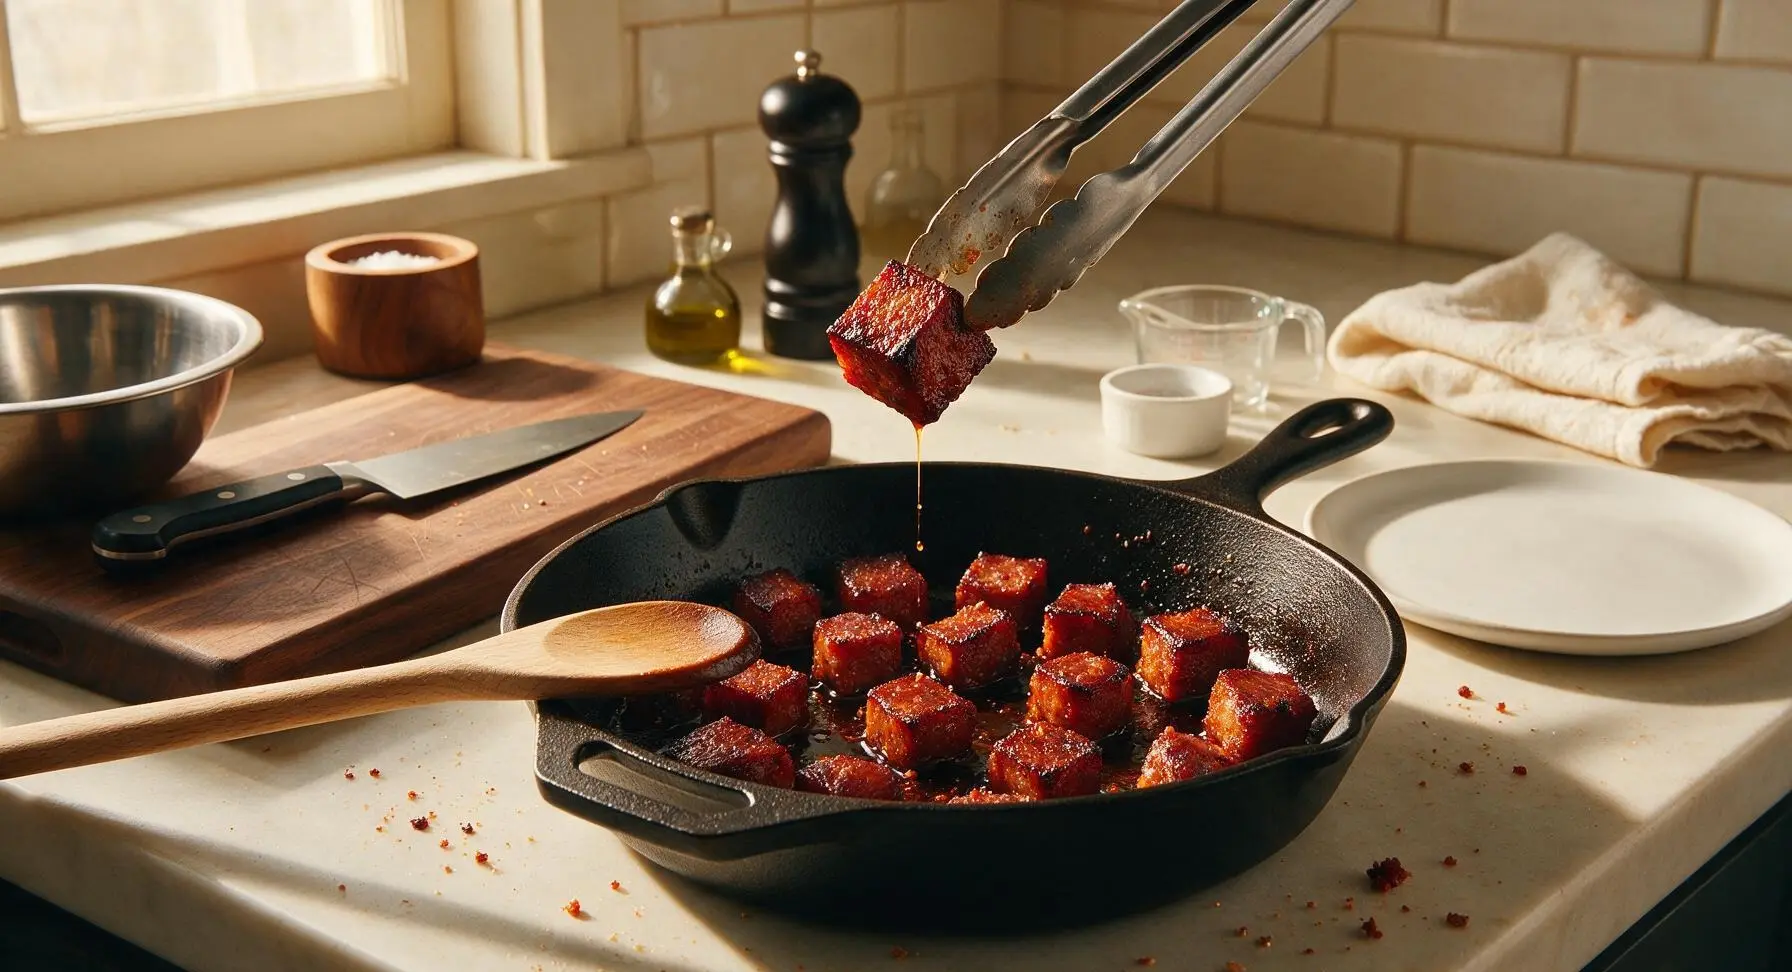
Return the uncovered foil pan of sauced chorizo to the grill/oven, increase the temperature to 200C (400F). Cook for 25 minutes total, stopping every 8 minutes to baste the cubes with the remaining 1/3 of the glaze using the silicone basting brush. The burnt ends are done when the sauce is sticky, caramelized, and slightly charred at the cube edges, with a deep mahogany red-brown color. If the sauce starts to turn black, reduce heat by 25C (50F) immediately to avoid bitter burnt sugar.
Step 6
step6:Caramelize Burnt Ends
Step 6
step6:Caramelize Burnt Ends
7

Plate and Garnish

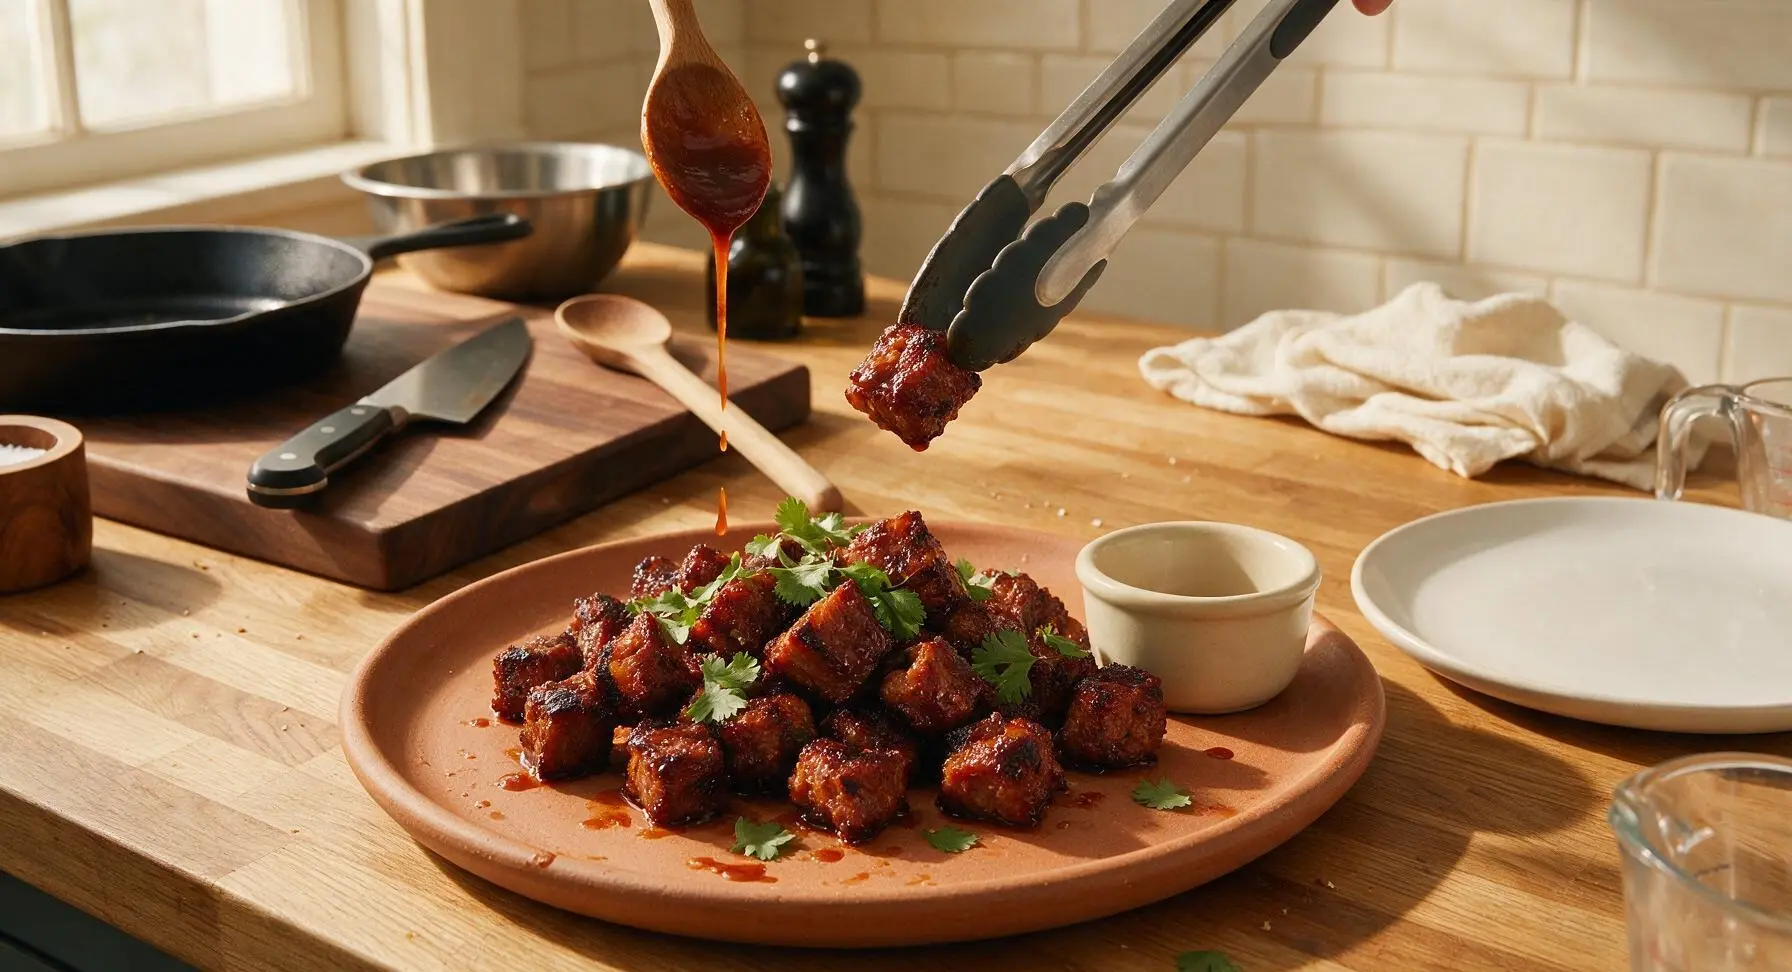
Transfer the hot caramelized chorizo burnt ends to the matte terracotta serving platter, piling them loosely in the center. Drizzle any remaining glaze from the foil pan over the top, then scatter fresh cilantro leaves across the pile. Pour any extra reserved BBQ sauce into the small cream ramekin to serve on the side.
Step 7
step7:Plate and Garnish

Tips

1.Choose firm cured Spanish chorizo rather than soft raw Mexican chorizo for this recipe: raw chorizo has a high moisture content and will crumble apart during cooking, while firm cured chorizo holds its cube shape and develops a crisp, snappy exterior.
2.Always use a wire rack to elevate chorizo for the first low-temperature cook: elevating the cubes allows hot air to circulate around every side, preventing soggy, steamed spots and letting excess rendered fat drip away cleanly instead of making the cubes greasy.
3.Do not raise the oven/grill temperature above 200C (400F) for the final caramelization step: the brown sugar in the glaze will burn quickly at higher temperatures, turning bitter and black instead of forming the signature sticky, sweet caramelized crust on the burnt ends.


✨ You May Also Like

BBQ & Grilling
🍜 United States

Tender, melt-in-your-mouth beef brisket with a crisp, spiced bark, slow-smoked to deep smoky perfection, the iconic centerpiece of Texas backyard barbecue.

⏱️ 12 hours BBQ & Grilling ★ 4.4
BBQ & Grilling
🍜 Korea

Tender, sweet-savory marinated beef short ribs, a beloved Korean BBQ staple with caramelized, slightly charred edges and deep umami flavor, perfect for outdoor summer gatherings.

⏱️ 4 hours 2BBQ & Grilling ★ 4.8
BBQ & Grilling
🍜 United States

Juicy grilled beef patties topped with smoky homemade chili, melted cheddar, and tangy pickles on toasted brioche buns for a hearty, flavor-packed handheld meal.

⏱️ 40 minuteBBQ & Grilling ★ 4.7
BBQ & Grilling
🍜 United States

A sweet, smoky, tangy BBQ sauce brightened with peak-season dark cherries, ideal for glazing grilled ribs, chicken, pork, or summer roasted veggies.

⏱️ 35 minuteBBQ & Grilling ★ 4.7
BBQ & Grilling
🍜 United States

Rich, smoky, slightly sweet homemade bourbon BBQ sauce with deep caramel notes, ideal for glazing grilled ribs, chicken, and burgers at cookouts.

⏱️ 25 minuteBBQ & Grilling ★ 4.7
BBQ & Grilling
🍜 United States

Iconic Alabama-style BBQ featuring tender hickory-smoked chicken slathered in tangy creamy white sauce, a beloved regional Southern cookout staple.

⏱️ 3 hoursBBQ & Grilling ★ 5

Chorizo Burnt Ends:Frequently Asked Questions

1.Can I use fresh Mexican chorizo instead of firm cured Spanish chorizo for these burnt ends? ▾
I don’t recommend it as a direct swap—fresh Mexican chorizo is raw, high in loose fat, and will fall apart or turn mushy instead of holding a crisp, cubed shape. Cured Spanish chorizo is firm, shelf-stable, and crisps beautifully without losing structure. If fresh is all you have, par-cook it, drain all excess fat, and pat it completely dry before cubing, though texture will differ.
2.Do I need to remove the outer casing from the chorizo before cubing it? ▾
Yes, always peel the thin, papery cured casing off Spanish chorizo before cutting. The casing is tough, chewy, and won’t crisp up nicely, and it can leave stringy, unpleasantly chewy bits in your final burnt ends. Use a small paring knife to score the length of each sausage link, then peel the casing away in one easy strip before slicing into cubes.
3.Can I make these burnt ends in a regular indoor oven if I don’t have a smoker? ▾
Absolutely! These turn out fantastic in a standard home oven. Preheat your oven to 375°F, arrange the cubed chorizo on a wire rack set over a rimmed baking sheet to let air circulate for even crisping, and follow the same saucing step at the end. For extra smoky flavor, add a pinch more smoked paprika to the BBQ sauce mix.
4.Why did my chorizo burnt ends turn out soggy instead of crisp? ▾
Sogginess usually traces back to two common missteps: saucing too early, or crowding your cooking surface. Cook plain chorizo cubes for 25–30 minutes first to render excess fat and crisp up the edges before adding any sauce. Leave ½ inch of space between cubes so steam can escape, rather than getting trapped and softening the bites.
5.Can I use a different flavor of BBQ sauce instead of hickory-smoked? ▾
Of course! Hickory adds that classic smoky burnt end vibe, but you can swap it for any thick, high-quality BBQ sauce you love. Spicy jalapeño BBQ works great for extra heat, sweet honey BBQ pairs beautifully with chorizo’s savoriness, and tangy Carolina gold sauce adds a bright, fun twist. Avoid thin, watery sauces that make bites soggy.
6.How far in advance can I prep these for a party or summer cookout? ▾
You can cube the chorizo and mix up the sauce blend 2 days ahead of time, stored separately in airtight containers in the fridge. I don’t recommend cooking them fully more than 30 minutes before serving, though—they lose that perfect crisp, caramelized edge as they sit. Reheat leftovers on a baking sheet at 350°F for 8 minutes to crisp back up.
7.Do I need to add extra oil to the pan when cooking the chorizo cubes? ▾
Nope, no extra oil is required! Cured Spanish chorizo releases plenty of its own rich fat as it cooks, which is more than enough to crisp the edges and keep cubes from sticking. Adding extra oil will make the final bites greasy, weigh them down, and prevent the sticky BBQ sauce from adhering properly to the caramelized cube surfaces.
8.What’s the best way to serve these chorizo burnt ends? ▾
These are perfect as a standalone grab-and-go appetizer with toothpicks, but they work in tons of fun serving setups. Pile them on top of mac and cheese, tuck them into small corn tortillas for mini street tacos, scatter them over loaded nachos, or pair them with cool ranch or blue cheese dip to cut the rich, sweet-spicy flavor.
9.Can I adjust the sweetness level if I don’t love super sugary appetizer bites? ▾
Absolutely! The light brown sugar helps the sauce caramelize and balance the chorizo’s savoriness and apple cider vinegar tang, but you can cut it by half if you prefer less sweet bites. You can also swap the brown sugar for a baking-friendly zero-calorie brown sugar substitute if you’re cutting added sugars, as long as it caramelizes well.
10.How do I store leftover chorizo burnt ends, and how long do they keep? ▾
Let leftover burnt ends cool completely to room temperature, then transfer them to an airtight container and store them in the fridge for up to 4 days. I don’t recommend freezing them, as the sauce will turn watery and the chorizo will lose its crisp texture when thawed. Reheat in the oven, not the microwave, to bring back that perfect crisp edge.
11.What size should I cut the chorizo cubes to get the perfect burnt end texture? ▾
Aim for uniform 1-inch cubes for the most consistent, ideal results. If you cut the chorizo much smaller, it will over-render and turn into hard, dry crumbles before the sauce can caramelize on the surface. If you cut cubes too large, the centers won’t heat through evenly, and outer edges will burn before you get that perfect sticky, crisp coating.

Comments (3)

3 days ago

OMG these chorizo burnt ends are a total game changer! I brought them to my neighborhood block party potluck last weekend and every single person came up to ask me for the recipe. The crispy, caramelized edges with that smoky, slightly spicy chorizo flavor? *Chef’s kiss* Even my super picky 7 year old ate three helpings without complaining! I will 100% be adding these to my regular summer cookout rotation, they are SO good.

2 days ago

Wait, quick question—did you use fresh Mexican chorizo or the hard cured Spanish kind? I tried making a version of chorizo burnt ends a few weeks back and mine turned into a total greasy puddle on the smoker, I think I grabbed the wrong product at the grocery store! These look way better than what I made.

yesterday

Hi Jake! Great question. We recommend using fresh raw Mexican chorizo for this recipe, and draining off any excess rendered fat about 40 minutes into the cook time to avoid that greasy puddle issue — it makes all the difference! And Mia, so glad these were such a hit at your block party!

5 days ago

Super easy recipe for a busy weeknight! I made these for family dinner last night, paired with cilantro lime rice and grilled street corn, and everyone cleaned their plates. My only tiny note is that I wish I’d added a little honey drizzle at the end to cut the spice a bit for my husband who can’t handle much heat, but overall it’s a really solid dish. Cook time was exactly as listed too, which is always a huge win when I’m juggling after-school soccer practice and homework time.

3 days ago

Love that honey drizzle hack, Luke! That sweet-spicy balance sounds absolutely delicious, we might have to test that variation ourselves for a future recipe update. So happy your family enjoyed the dish!

1 week ago

Y’all, I made a big batch of these for meal prep this week and they held up perfectly all week long! I tossed them into breakfast burritos with scrambled eggs and pepper jack cheese, threw some on top of taco salads for lunch, even ate a handful straight out of the container as a quick snack when I was running late to work. For how low-effort and easy these are (seriously, even a beginner could nail them!), the flavor payoff is insane. 10/10, no notes, will be making these monthly.



