

Christmas Cookie

title 1
Christmas Cookie
⏱️ cook time 2 hours 20 minutes (includes 1 hour inactive dough chilling time)
🍽️ servings 24
⚡ Difficulty easy

intro

Buttery, crisp-tender cut-out cookies decorated with colorful royal icing, perfect for festive Christmas gifting, tree trimming, and fun family baking sessions.

Ingredients

All-purpose flour 340 grams (2 ¾ cups)
Unsalted butter 226 grams (1 cup / 2 sticks, room temperature)
Granulated white sugar 150 grams (¾ cup)
Large egg 50 grams (1 piece, room temperature)
Pure vanilla extract 5 ml (1 teaspoon)
Baking powder 2 grams (½ teaspoon)
Fine table salt 1 gram (¼ teaspoon)
Powdered sugar 360 grams (3 cups, for royal icing)
Meringue powder 15 grams (2 tablespoons, for royal icing)
Warm water 45 ml (3 tablespoons, for royal icing)
Gel food coloring (assorted holiday shades) as needed

Steps

1

Cream butter and sugar

In a large mixing bowl, beat 226 grams of softened unsalted butter and 150 grams of granulated sugar with an electric mixer on medium speed for 2 minutes, until the mixture is pale, light, and fluffy with no visible sugar grit. Scrape down the sides of the bowl halfway through mixing to ensure even incorporation.
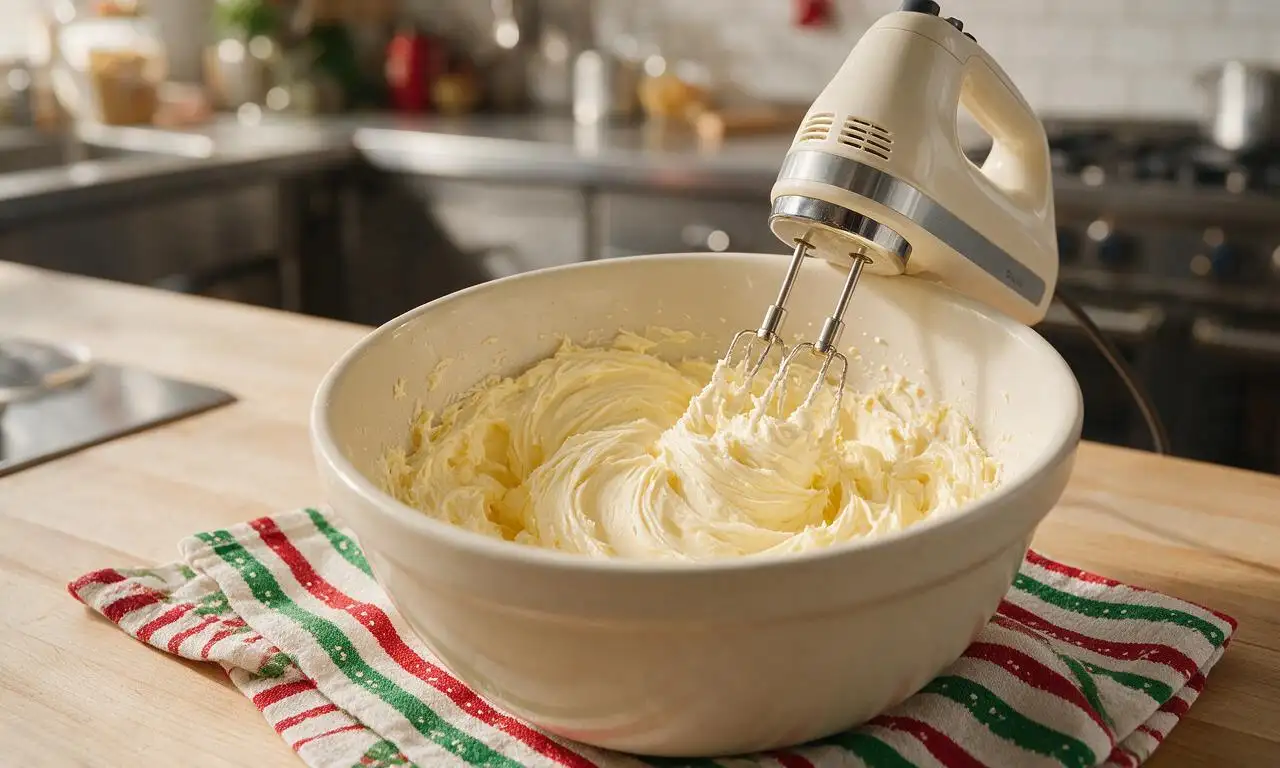
Step 1
step1:Cream butter and sugar
2

Mix the cookie dough

Add 1 room-temperature large egg and 5 ml of pure vanilla extract to the creamed butter mixture, beating on low speed for 30 seconds until fully combined. In a separate bowl, whisk together 340 grams of all-purpose flour, 2 grams of baking powder, and 1 gram of fine salt. Gradually add the dry ingredient mix to the wet ingredients on low speed, mixing only until no dry flour remains—do not overmix, as this will produce tough cookies.
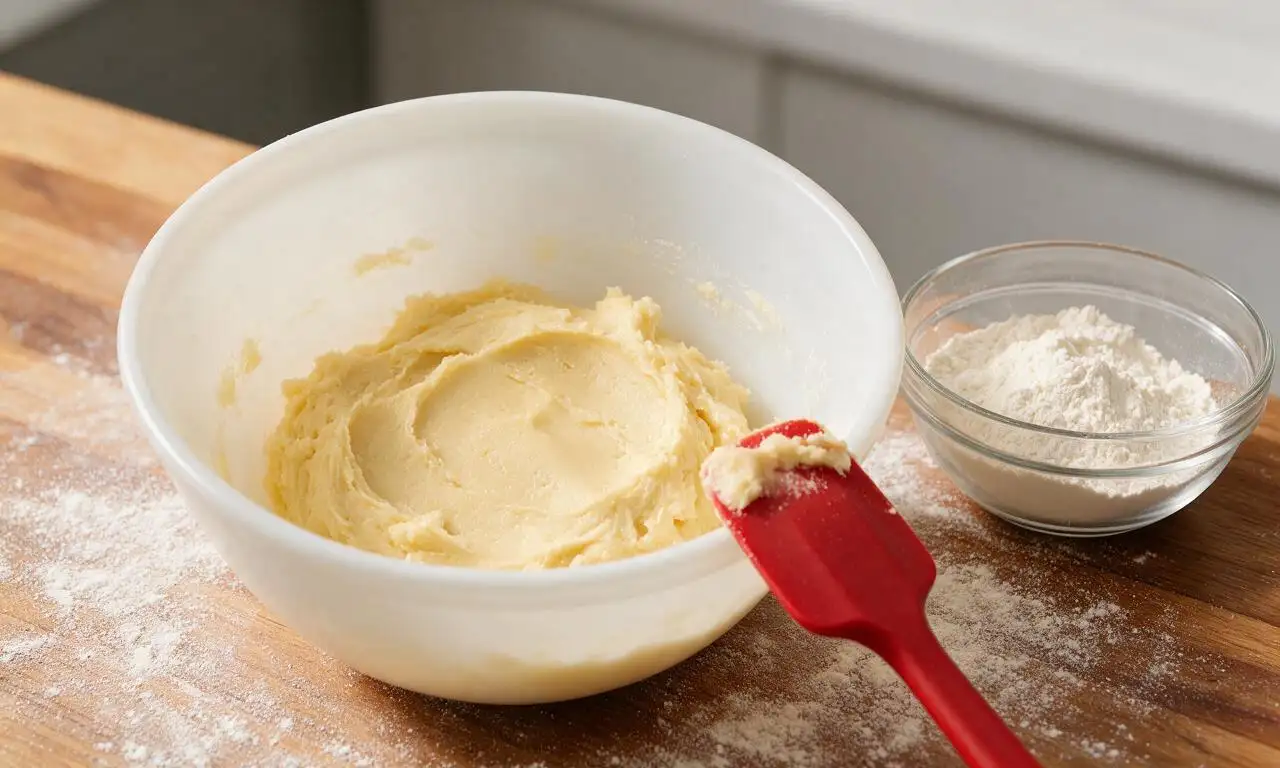
Step 2
step2:Mix the cookie dough
3

Chill the dough

Divide the finished dough into two equal, 2.5cm (1 inch) thick flat disks, wrap each disk tightly in plastic wrap, and refrigerate for 60 full minutes. Chilling solidifies the butter in the dough, preventing cookies from spreading and losing their crisp shape during baking; do not skip this step.
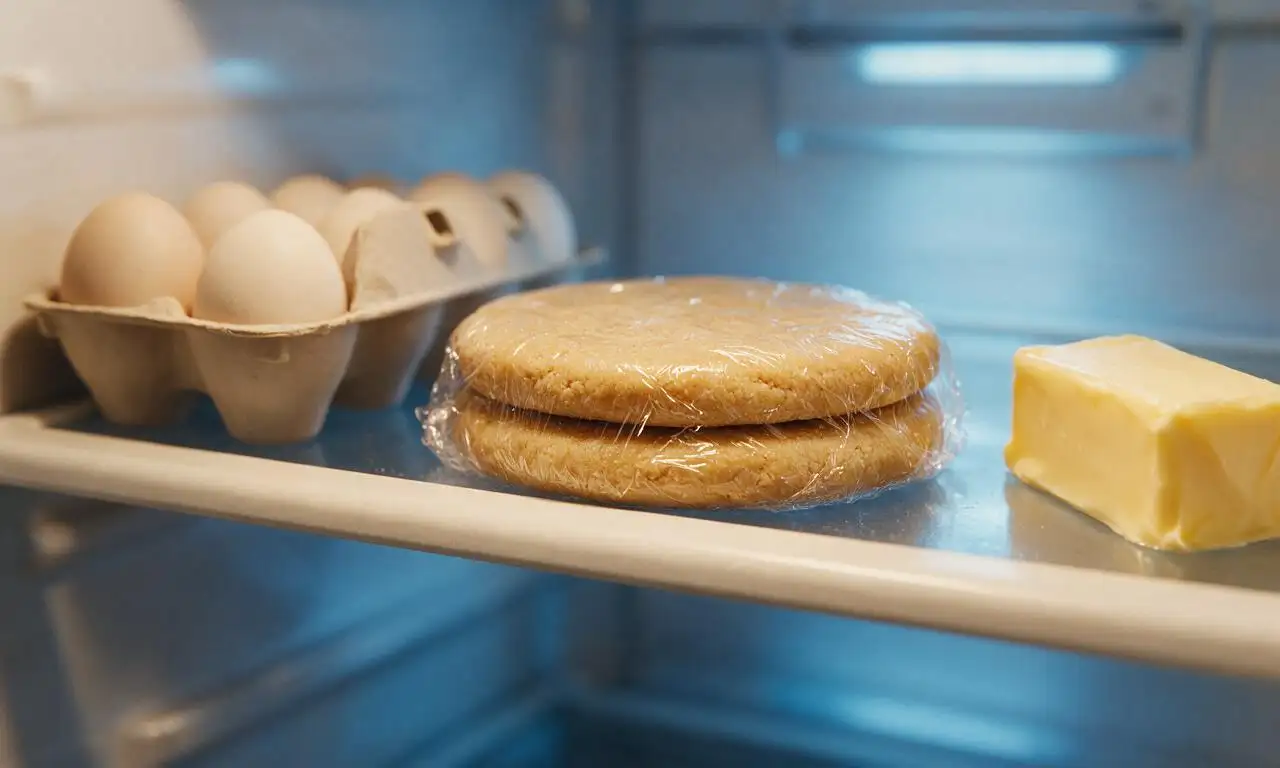
Step 3
step3:Chill the dough
4

Cut cookie shapes

Preheat your oven to 190°C (375°F) and line two rimmed baking sheets with parchment paper. Lightly flour a clean work surface, roll one chilled dough disk to a uniform 6mm (¼ inch) thickness, and press holiday-shaped cookie cutters (pine trees, stars, snowmen, candy canes) into the dough to cut shapes. Place cutouts 2.5cm (1 inch) apart on the prepared baking sheets, re-rolling dough scraps only once to cut additional shapes to avoid tough cookies.
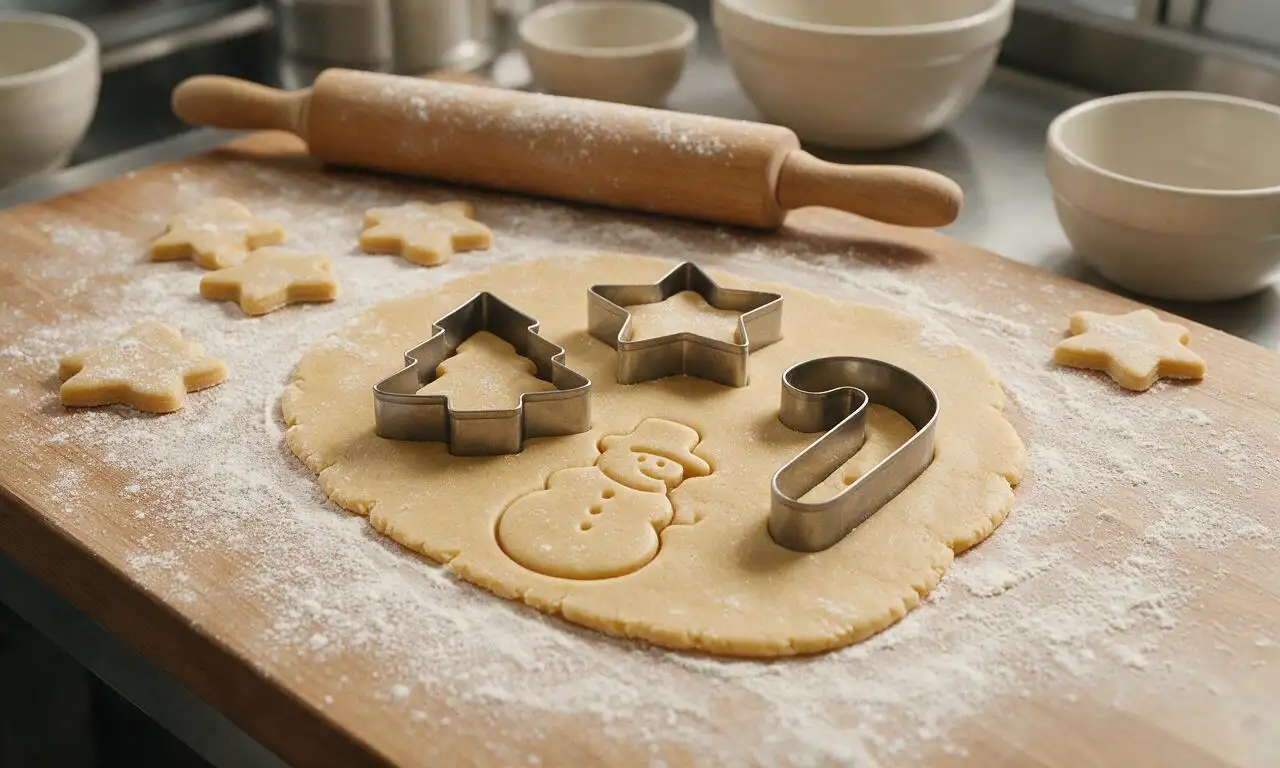
Step 4
step4:Cut cookie shapes
5

Bake the cookies

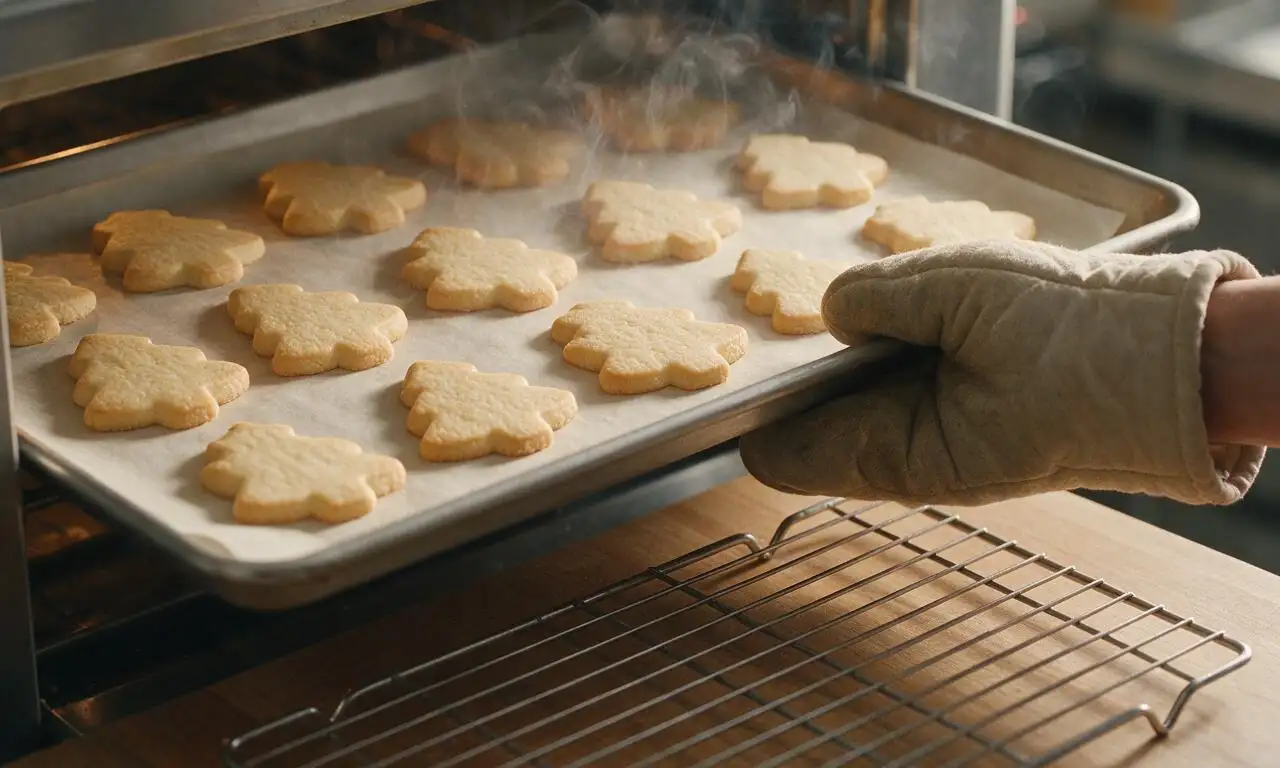
Bake one sheet at a time on the oven’s middle rack for 8 to 9 minutes, until the cookie edges are just barely light golden—cookie centers will look slightly soft, but will fully set as they cool. Let cookies rest on the hot baking sheet for 5 minutes before transferring them to a wire rack to cool completely to room temperature (approximately 20 minutes) before decorating.
Step 5
step5:Bake the cookies
6

Make royal icing

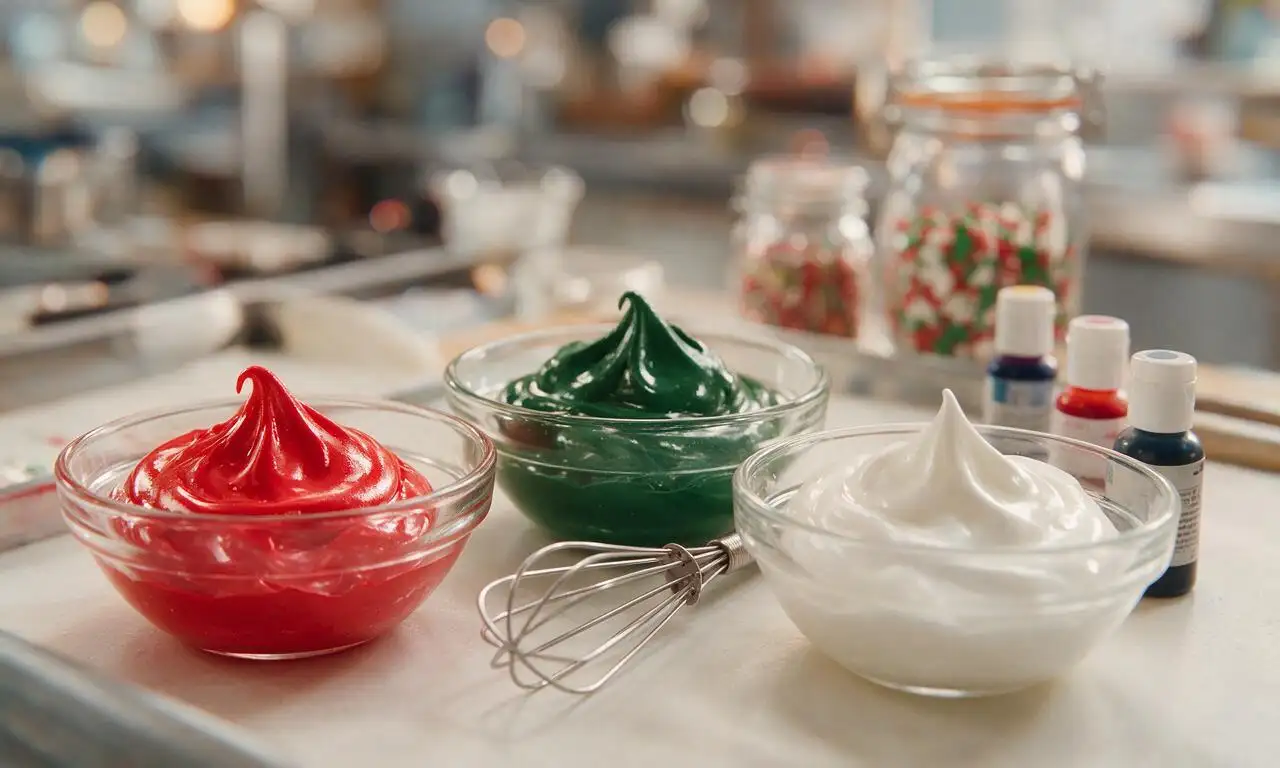
In a clean, dry mixing bowl, whisk 360 grams of powdered sugar, 15 grams of meringue powder, and 45 ml of warm water together on low speed for 1 minute, then increase to medium speed and beat for 2 minutes until the icing is thick, glossy, and holds a soft peak when the whisk is lifted. Divide the icing into small bowls, tint with gel food coloring to desired holiday shades, and stir in 1-2 extra drops of warm water if needed to reach a smooth, spreadable consistency.
Step 6
step6:Make royal icing
7

Decorate the cookies

Use small offset spatulas, disposable piping bags, or toothpicks to spread or pipe the colored icing onto fully cooled cookies. Add sprinkles, edible glitter, or small candy decorations while the icing is still wet, then let decorated cookies sit at room temperature for 30 minutes to allow the icing to set completely before serving or gifting.

Step 7
step7:Decorate the cookies

Tips

1.Use room-temperature butter and egg for the dough: cold ingredients will not cream to a light, fluffy texture, leading to dense, unevenly textured cookies.
2.Do not overbake your cookies: if the entire cookie top is golden brown, it will be overly hard and crisp once cooled; aim for just barely golden edges for the perfect tender-crisp texture.
3.If your kitchen is warmer than 24°C (75°F) while cutting shapes, chill the tray of cut-out cookies for 10 minutes before baking to help them retain their sharp, detailed holiday shapes instead of spreading.


✨ You May Also Like

Desserts & Baking
🍜 Italy

Creamy, coffee-kissed classic Northern Italian no-bake dessert, with layers of rum-spiked mascarpone cream, soft ladyfingers, and a rich cocoa dusting.

⏱️ 4 hours 3Desserts & Baking ★ 4.7
Desserts & Baking
🍜 France

Flaky, shatteringly crisp, buttery French croissants with golden exteriors and soft, airy layered interiors, perfect for pairing with coffee for a special morning treat.

⏱️ 12 hours Desserts & Baking ★ 4.5
Desserts & Baking
🍜 United States

Warm, spiced baked apples topped with a fluffy golden biscuit crust, this cozy dessert pairs perfectly with vanilla ice cream for cool-weather comfort.

⏱️ 55 minuteDesserts & Baking ★ 4.6
Desserts & Baking
🍜 United States

A star-spangled classic American blueberry pie with buttery flaky crust and bright sweet-tart filling, perfect for summer patriotic gatherings.

⏱️ 1 hour 25Desserts & Baking ★ 4.7
Desserts & Baking
🍜 United States

A beloved no-bake regional Maine candy with a chewy coconut-potato center coated in rich dark chocolate, a New England holiday staple since the 1870s.

⏱️ 2 hours 3Desserts & Baking ★ 4.8
Desserts & Baking
🍜 France

Luxuriously creamy, floral frozen custard made with aromatic Tahitian vanilla beans, boasting a smooth, rich texture that melts slowly on the tongue.

⏱️ 3 hours 3Desserts & Baking ★ 4.5

Christmas Cookie:Frequently Asked Questions

1.Why do my cut-out cookies spread and lose their sharp shape when I bake them? ▾
This almost always traces back to warm dough or over-softened butter! Chill your fully cut shapes for 15 minutes before baking, make sure butter is only room temperature (not greasy or partially melted to the touch), and line baking sheets with parchment instead of greasing them to keep edges crisp and shapes defined.
2.Can I make the cookie dough ahead of time, and how long will it stay fresh? ▾
Absolutely! Wrap the dough tightly in plastic wrap, press it into a 1-inch thick disc, and store it in the fridge for up to 3 days, or in the freezer for up to 3 months. Thaw frozen dough overnight in the fridge, and let it rest 5 minutes on the counter if it’s too stiff to roll smoothly.
3.What thickness should I roll the dough to for the best cookie texture? ▾
Aim for a consistent 1/4-inch thickness across every shape for even, reliable baking. Dough rolled thinner than 1/8 inch will make fragile, overly crisp cookies that break easily when decorating, while dough thicker than 1/3 inch will be underbaked in the center before edges turn golden.
4.Can I substitute salted butter for the unsalted butter the recipe calls for? ▾
You can, with one small adjustment! If using salted butter, skip any added fine salt in the base recipe to avoid overly salty cookies. Keep in mind salt content varies widely across salted butter brands, so unsalted butter always gives you the most consistent, balanced, rich buttery flavor for these classic cookies.
5.How do I keep my cookies from turning rock hard a few days after baking? ▾
First, don’t overbake them! Pull cookies when edges are just barely light golden, as they’ll continue to set on the hot baking sheet for 2-3 minutes after coming out of the oven. Store fully cooled cookies in an airtight container at room temp with a small slice of white bread tucked inside to keep them tender for up to a week.
6.Do I have to use royal icing to decorate these cookies, or can I use other frostings? ▾
You don’t have to stick to royal icing! Royal icing is ideal for gifting or tree hanging because it dries hard and smudge-proof, but you can swap it for buttercream, cream cheese frosting, or a simple powdered sugar glaze if you plan to eat the cookies within 2-3 days and prefer a softer, creamier topping.
7.Can I mix extra flavors into the base cookie dough besides vanilla? ▾
Definitely! Swap 1/4 teaspoon of the vanilla for almond extract, or stir in fresh lemon zest, orange zest, or a pinch of ground cinnamon or nutmeg for a warm festive twist. Just skip wet add-ins like fruit juice or syrup, as those throw off the dough balance and cause spread or soggy cookies.
8.Why do my cookies bake up with puffy, uneven tops that are hard to decorate? ▾
Puffy, bumpy tops usually come from overmixing the dough once you add flour (which builds excess gluten) or baking on a rack positioned too close to the top of the oven. Mix just until flour disappears, roll dough evenly, and bake on the middle oven rack for smooth, flat tops perfect for icing.
9.How long do I need to let the cookies cool before I start decorating them? ▾
Let cookies rest on the hot baking sheet for 5 minutes first, then transfer them to a wire rack to cool for a full 30 minutes before adding any icing or sprinkles. If cookies are even slightly warm, your icing will melt, slide off, or develop splotchy, discolored patches as it sets.
10.Can these cookies be used as edible ornaments for my Christmas tree? ▾
They absolutely can! Before baking, use a small drinking straw to punch a 1/4-inch hole near the top of each cut shape, then bake as directed. Once fully cooled and decorated with fully set royal icing, thread festive ribbon or twine through the hole—they’ll stay crisp on the tree for up to 2 weeks if kept away from direct heat or moisture.
11.My dough is really crumbly and won’t roll out smoothly—what went wrong? ▾
Crumbly dough usually means you either packed too much flour into your measuring cups (always spoon flour into cups and level the top with a knife!) or the dough is too cold. Let it rest on the counter for 5 to 10 minutes, then knead it gently with your hands for 30 seconds to bring it together, no extra liquid needed.
12.How do I get clean, sharp edges when I cut out my cookie shapes? ▾
Dip your metal cookie cutters in a small dish of all-purpose flour between every cut to prevent sticking, and press straight down firmly without twisting the cutter as you press. Twisting pinches dough edges to create ragged, lopsided shapes, and be sure to minimize re-rolling scraps, as overworked dough gets tough and loses that tender buttery texture.

Comments (9)

2 days ago

OMG these are PERFECT! I’ve tried so many cut-out cookie recipes that spread all over the pan when I bake them and ruin my cute reindeer and snowman shapes, but these held their shape perfectly! My kids loved helping cut out shapes and decorating them with sprinkles and royal icing after we baked them, and the buttery flavor is chef’s kiss. 10/10 will be our go-to Christmas cookie from now on!

yesterday

Wait did you chill the dough the full hour? I’m always tempted to skip chilling because I’m impatient lol, curious if that’s the trick for no spread!

2 hours ago

So glad you and the kids loved these, Jen! The full hour chill is definitely key to preventing spread, as @CookieLover92 guessed — it keeps the butter solid long enough in the oven for the cookie structure to set so those cute snowman and reindeer shapes stay intact! If you’re short on time, you can pop the rolled, cut dough in the freezer for 20 minutes instead, but the full fridge chill gives the best, richest buttery flavor too!

1 week ago

Super easy recipe even for someone like me who burns 90% of what I bake! I was worried cut-out cookies would be too fussy, but the instructions were so straightforward. I brought these to my office potluck last week and everyone was asking for the recipe. Only note: I added a tiny bit of almond extract because I love that flavor with butter cookies, and it worked great!

5 days ago

Love the almond extract swap! That’s such a cozy, festive addition — so glad these worked out for your potluck, and that you didn’t burn a single batch 😉

3 days ago

These were really tasty! My only complaint is that the dough was a little crumbly when I first rolled it out after chilling, I had to let it sit on the counter for 10 minutes to soften up enough to cut shapes without it cracking. Flavor is amazing though, super buttery and not too sweet, which I loved. Will make again, just plan for that little softening time next year!

5 days ago

Game changer! I usually buy those pre-made refrigerated cookie dough logs for cut-outs because I thought homemade was too much work, but this was so simple and tastes 100x better. My roommate and I made a whole night of it, watching Christmas movies and cutting out tree and star shapes while the dough chilled. SO good.

3 days ago

I did the movie night bake too! Made these with my grandkids when they were visiting over Thanksgiving break, we had so much fun. The not-too-sweet part is perfect because the icing adds all the sugar you need!

2 days ago

Holiday movie night bakes are our absolute favorite way to make these cookies! So glad you and your roommate loved the recipe — those tree and star shapes sound so festive and fun.

1 week ago

Has anyone tried making these with a 1:1 gluten free flour blend? I’m hosting Christmas this year and my niece has celiac, so I need a solid gluten free cut-out cookie that doesn’t taste like cardboard. This recipe looks so good based on the photos, I’m really hoping it works with a swap!

5 days ago

Great question! We’ve tested this recipe with several popular 1:1 gluten free flour blends (Bob’s Red Mill works perfectly!) and it turns out beautifully. Just add an extra tablespoon of butter if your flour blend tends to be extra dry, and don’t overwork the dough when rolling to keep it tender. Hope your niece loves them!

yesterday

Full transparency: I forgot to set a timer for the chill time and left the dough in the fridge for almost 4 hours because I got wrapped up putting up Christmas lights. Thought I ruined it, but it rolled out perfectly once it warmed up a tiny bit, baked up great, and my wife said they’re the best cookies I’ve ever made. Win for distracted dads everywhere!

2 weeks ago

These are the perfect base for decorating! I make decorated sugar cookies every year for my neighbors, and I’ve been searching for a recipe that’s sturdy enough to stack in cookie tins without breaking, but still tastes buttery and delicious instead of like a hard cracker. This one checks every box. I got so many compliments on the texture this year!

1 week ago

That makes us so happy to hear! Sturdy but tasty is the exact sweet spot we were going for with this recipe — perfect for gifting to neighbors during the holidays. Hope your season is full of fun and lots of good cookies!

3 days ago

Quick question — can I make the dough ahead of time and freeze it? I like to prep all my holiday baking doughs the weekend before Thanksgiving so I don’t have to mess with mixing during the busy December weeks. Would love to add this to my annual prep list!

2 days ago

I froze half my dough for two weeks last year and it baked up exactly the same as fresh! Just thaw it in the fridge overnight before you roll it out, works like a charm. I do the same make-ahead prep, it’s a total time saver during the chaotic holiday weeks!

30 minutes ago

That’s such a great make-ahead tip! We actually keep logs of this dough in our freezer all December long for last-minute cookie needs, too — it stays good for up to 3 months frozen, so you can prep way ahead of the holiday rush if you want.

30 minutes ago

SO good! I will say, make sure you don’t leave your cooling rack of cookies unattended for 2 minutes if you have a cat who loves butter. My orange boy jumped up on the counter and stole a whole snowman-shaped cookie before I could stop him. He gives it two paws up, for what it’s worth. 10/10 even the family thief approves.

5 minutes ago

LMAO this is so relatable! My tabby did the exact same thing when I baked these last weekend, I turned around to grab sprinkles and he was halfway through a gingerbread man shape. Guess the butter content is just too good for them to resist!



