
Christmas Marshmallows
intro
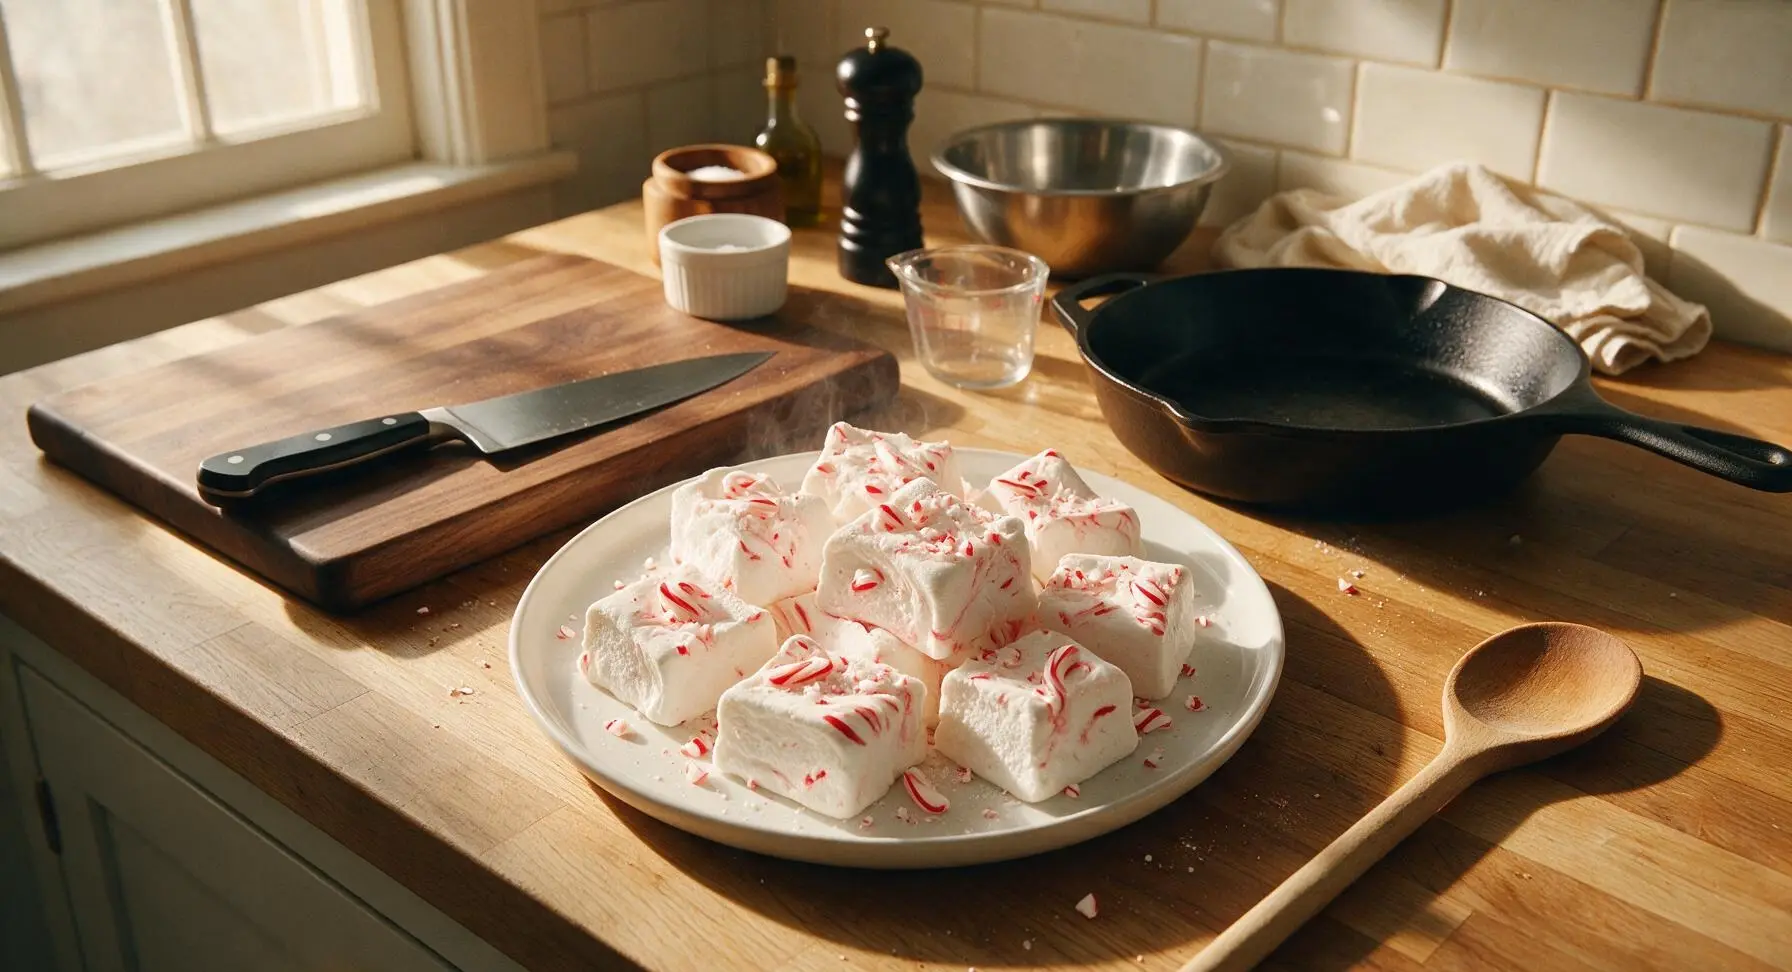
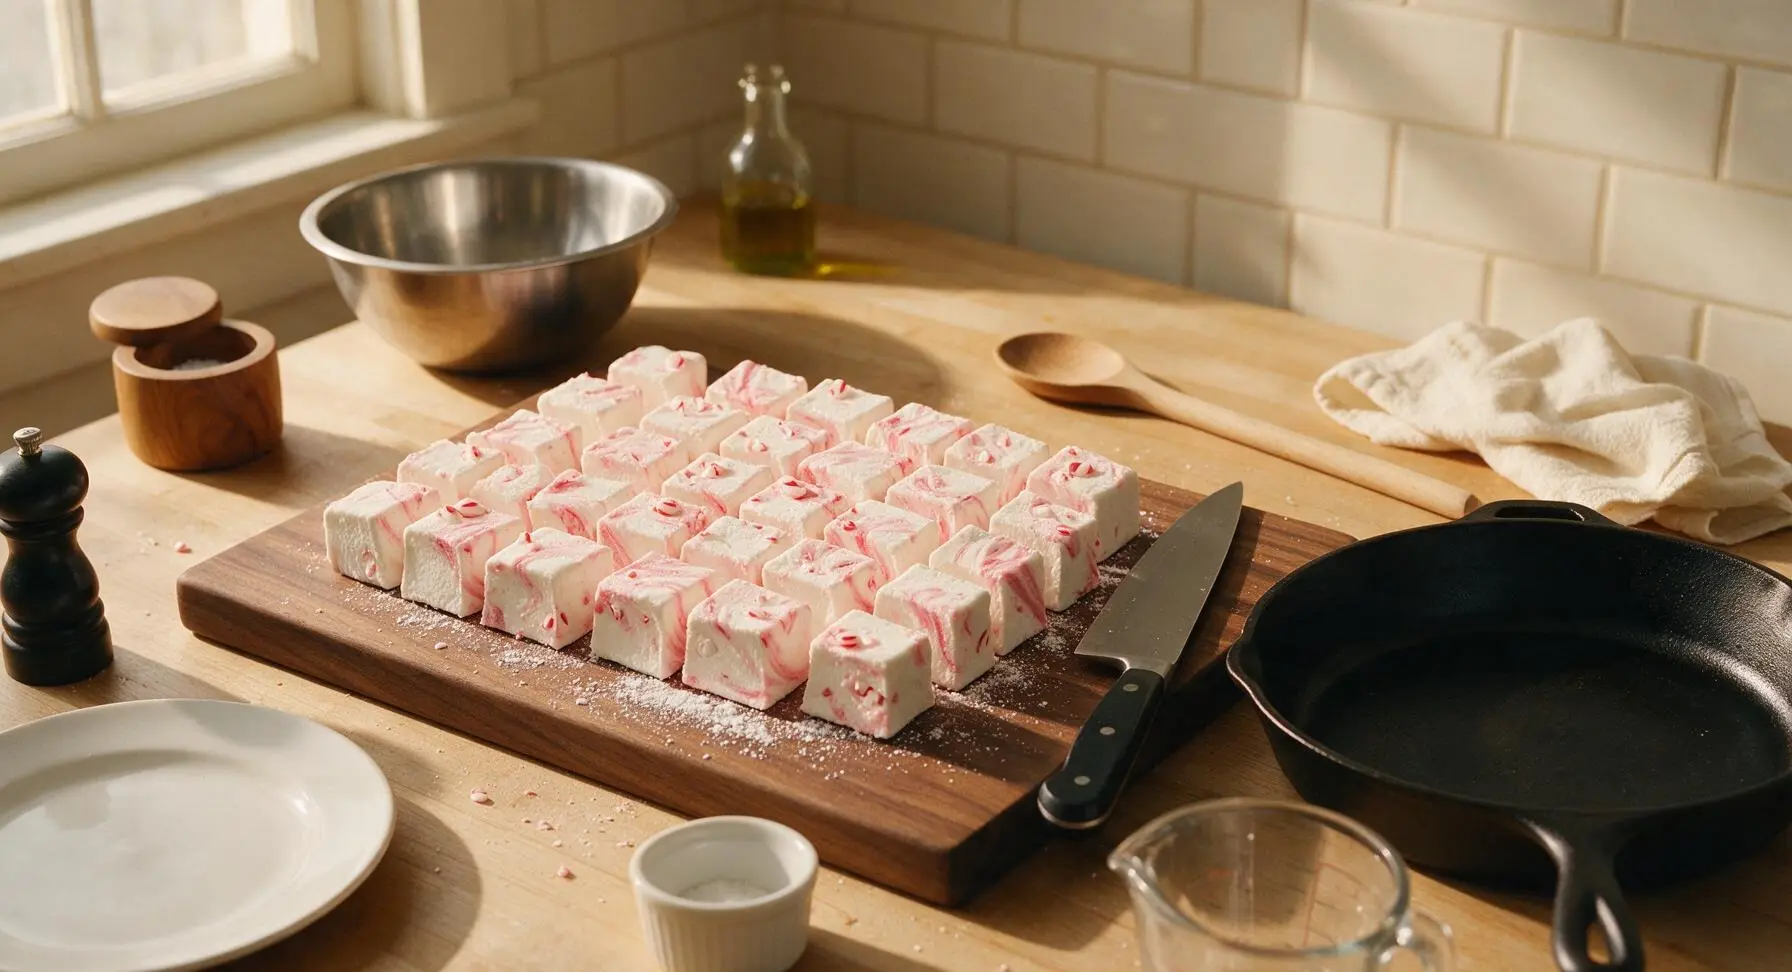
Fluffy, pillowy homemade peppermint marshmallows swirled with crushed candy canes, perfect for holiday gifting, hot cocoa toppers, or sweet festive snacking.
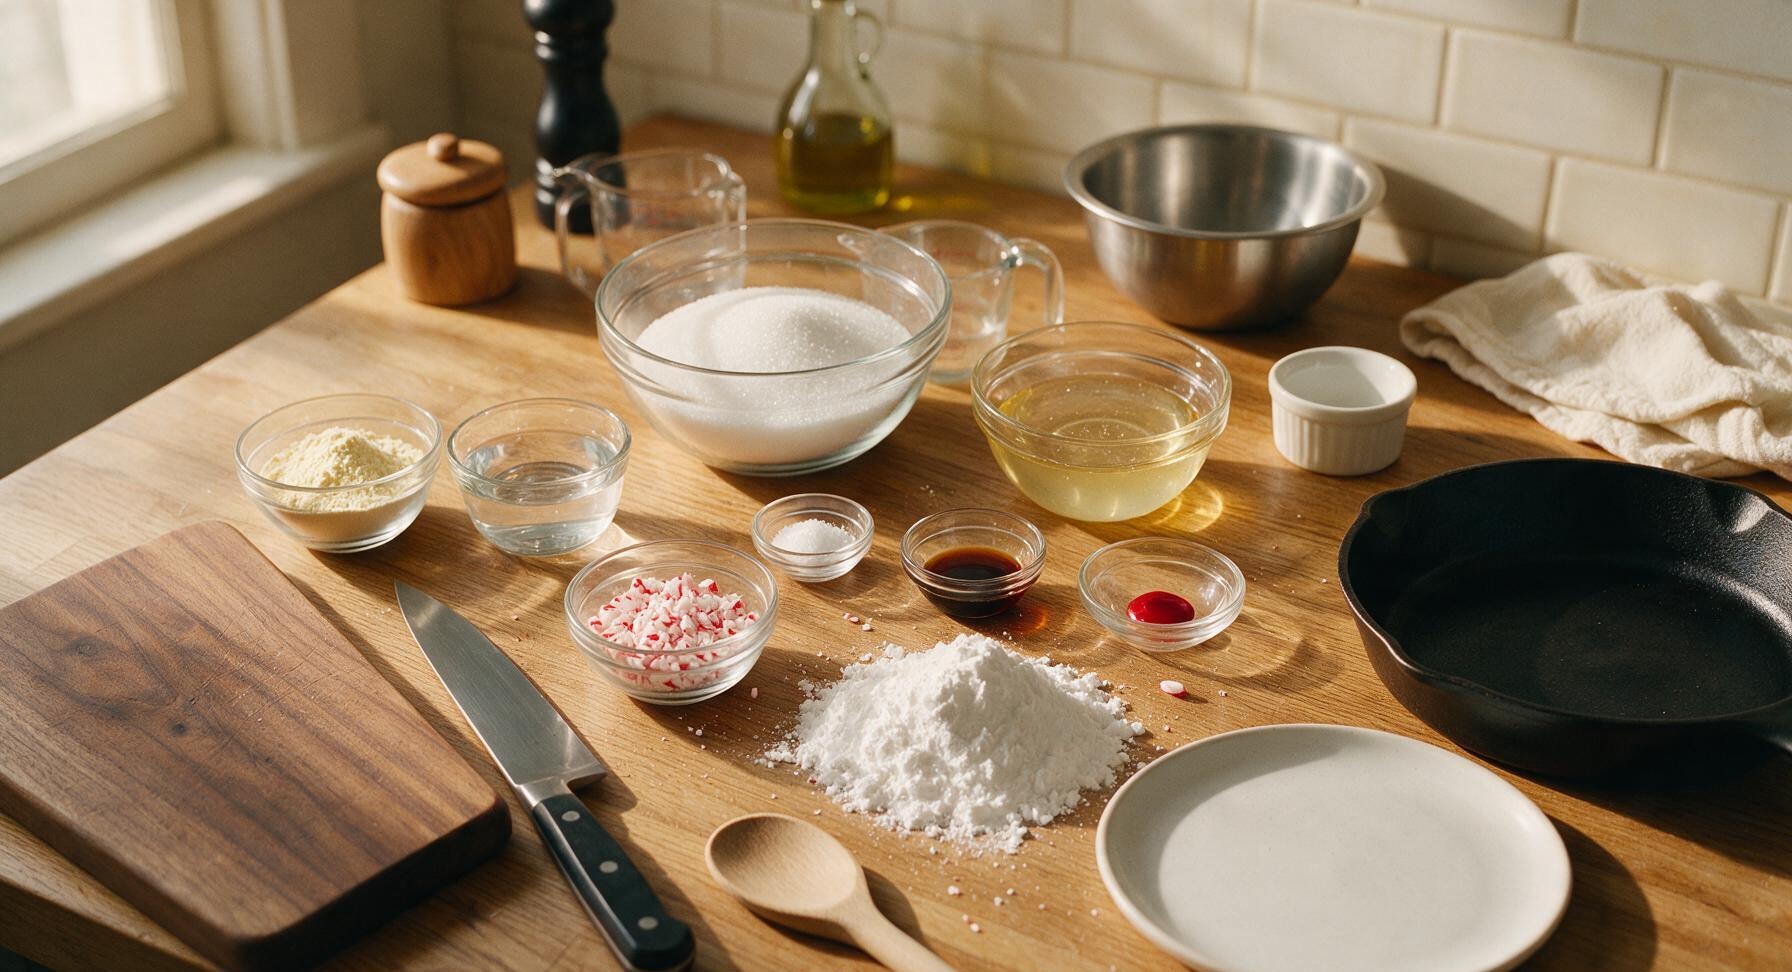
Ingredients
Steps
Line and Prep Pan
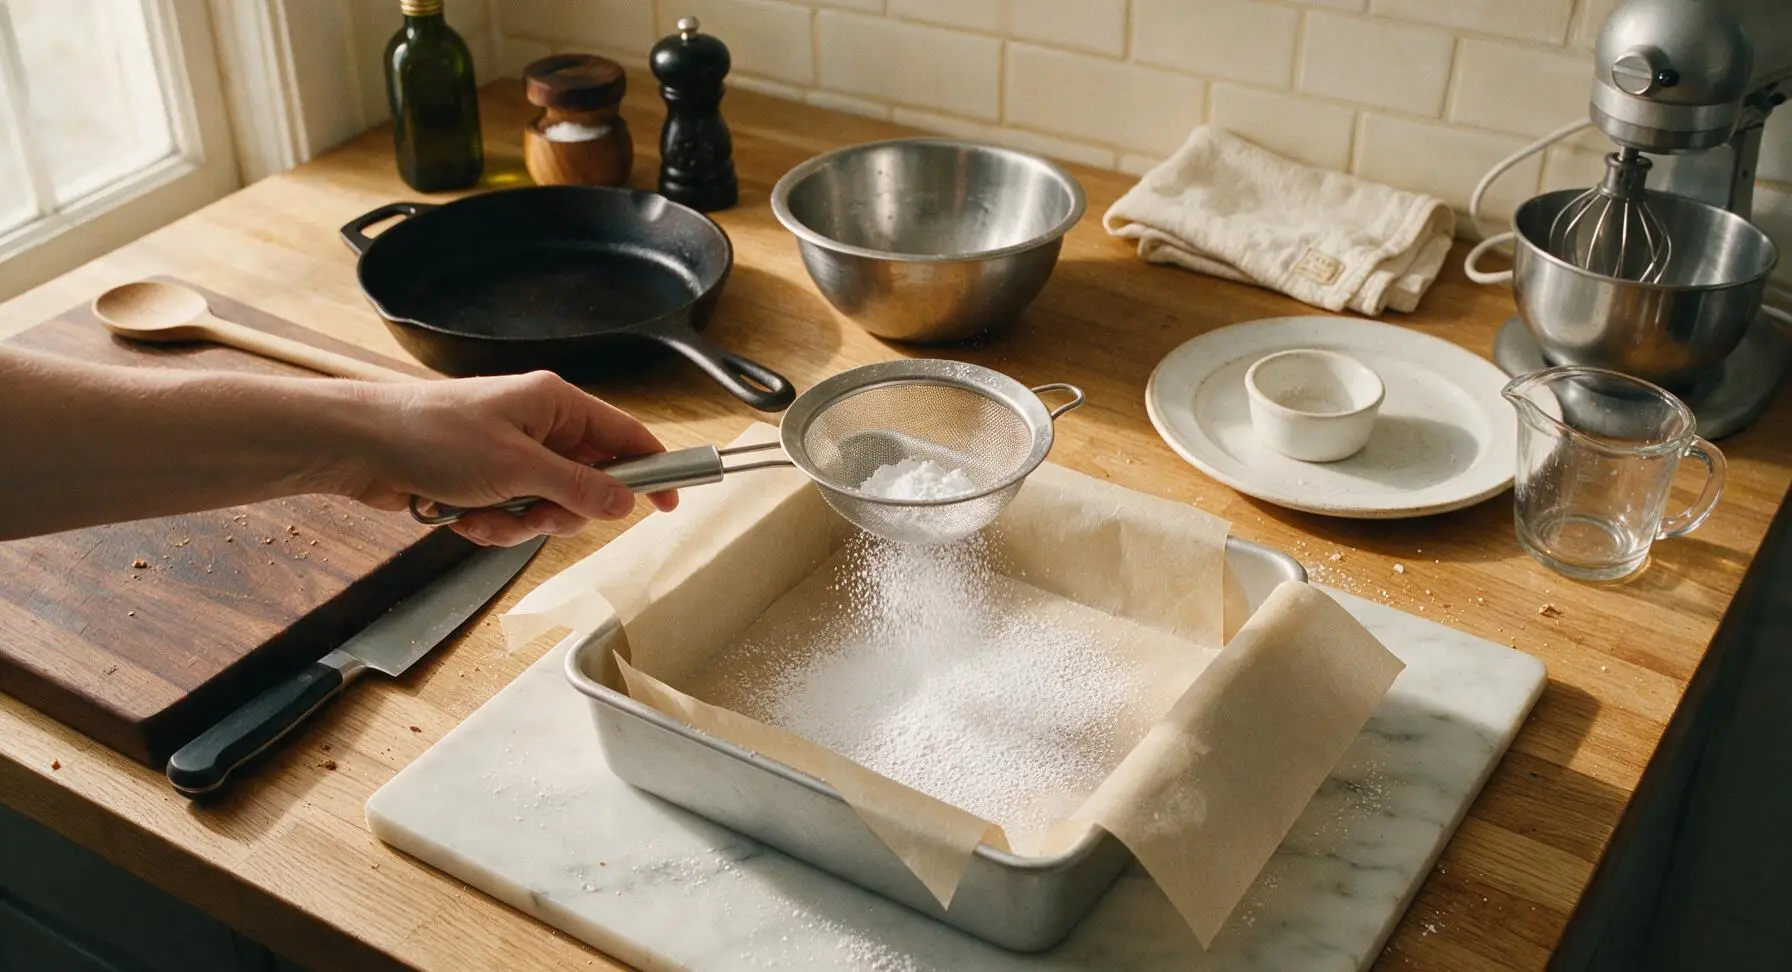
Line the 9x9 inch matte silver aluminum baking pan with crisscrossed sheets of unbleached parchment paper, leaving 5cm (2-inch) overhangs on two opposite sides to act as lift handles for the set marshmallow block. Use the fine-mesh stainless steel sieve to dust the entire parchment-lined surface generously with powdered sugar, tapping the sieve evenly to coat the bottom and sides with a thin, uniform layer. Set the prepped pan near the stand mixer; this coating prevents the sticky marshmallow from adhering to the pan as it sets.
Bloom the Gelatin
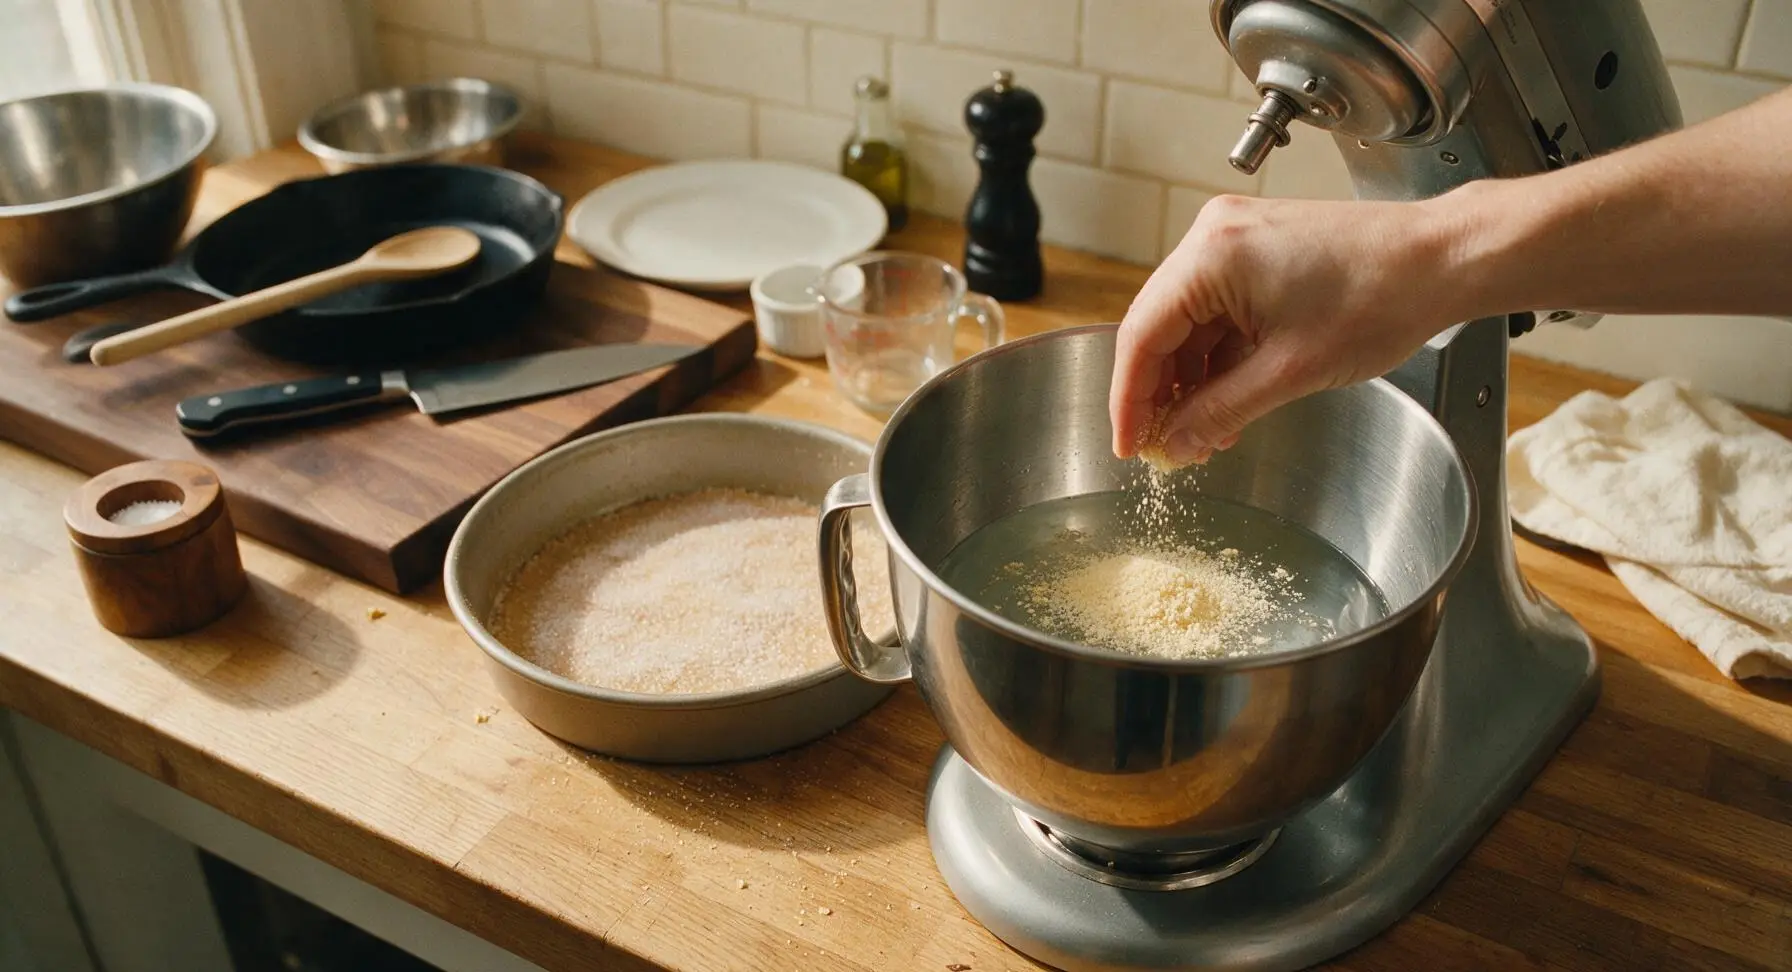
Pour 1/2 cup (120ml) of cold water into the stand mixer’s stainless steel mixing bowl. Sprinkle all 3 tablespoons of unflavored powdered gelatin evenly over the water surface, taking care to avoid large clumps. Let the mixture rest for 10 minutes at room temperature; the gelatin will absorb water and swell into a thick, opaque jelly-like layer, ready to dissolve when combined with hot sugar syrup.
Cook Sugar Syrup
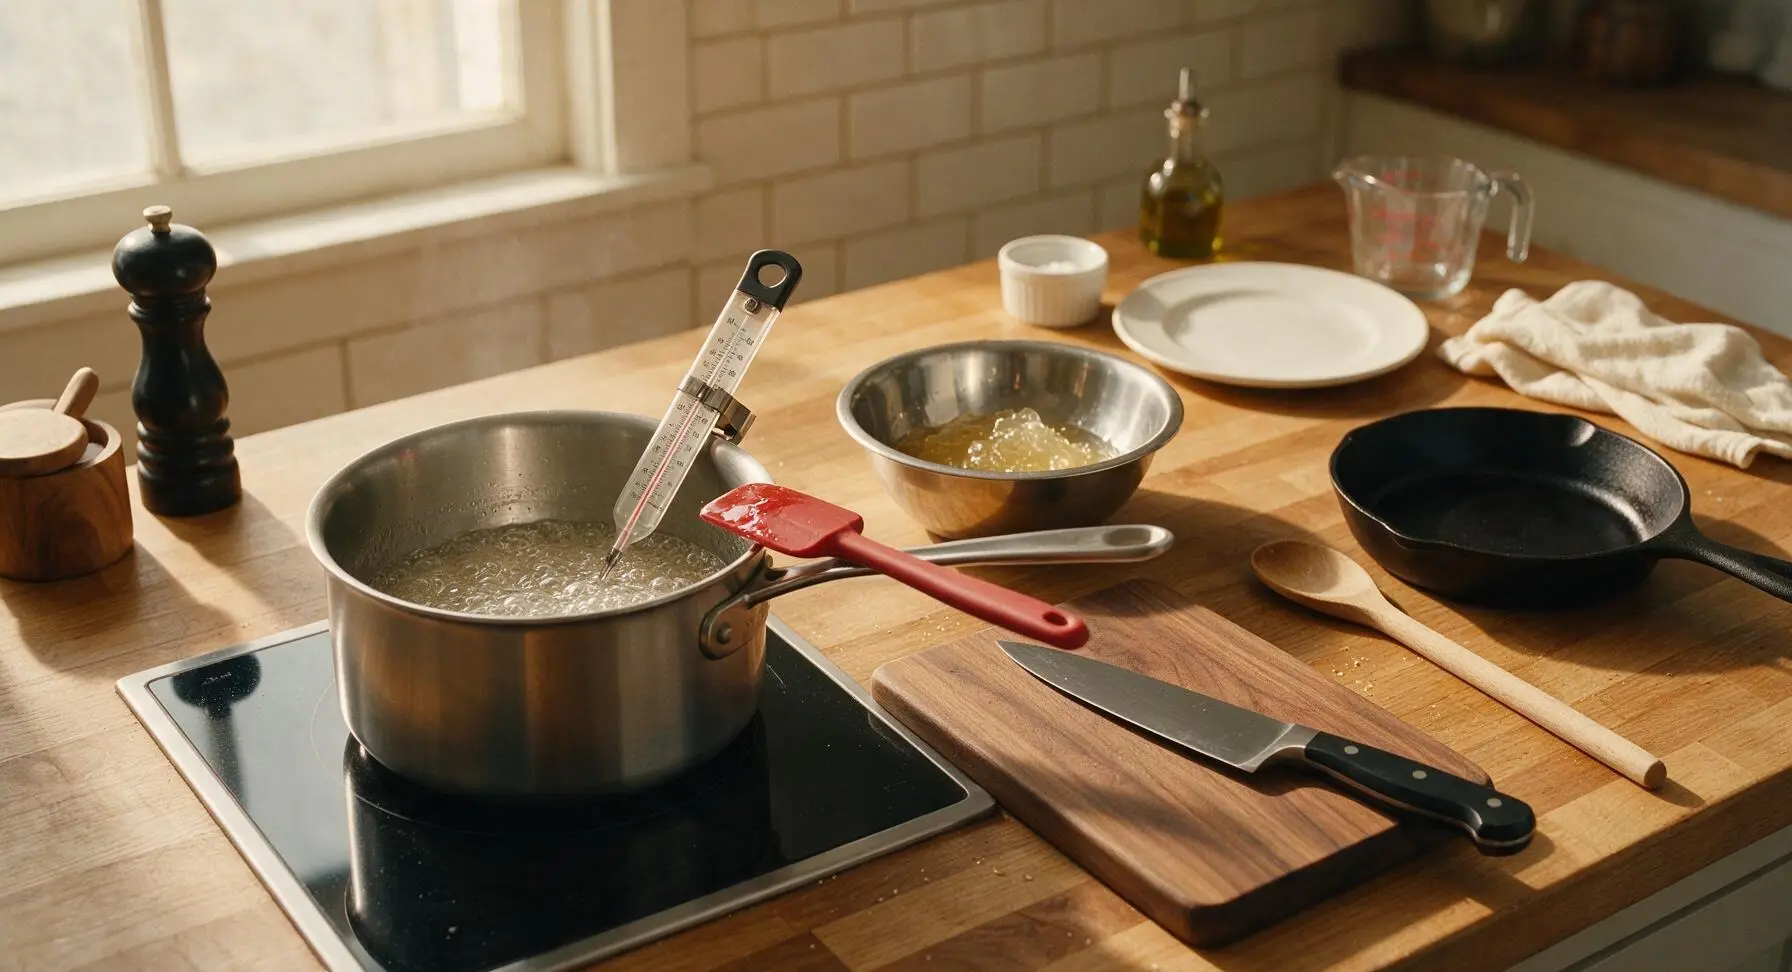
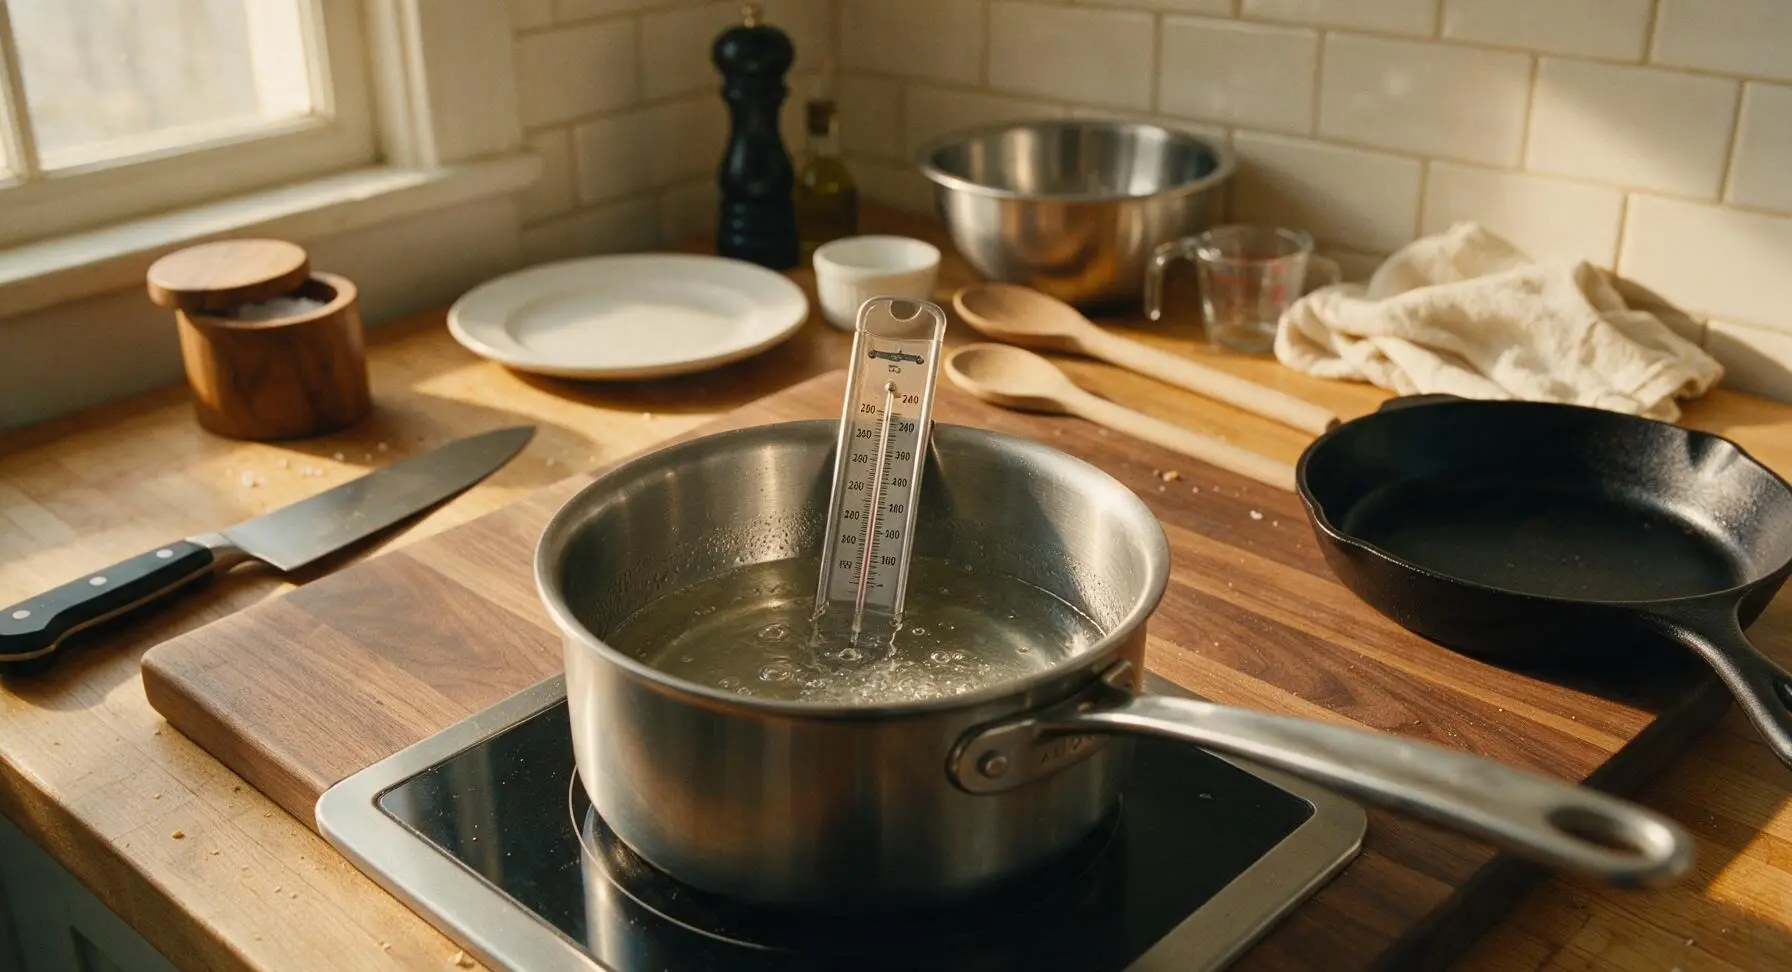
In the 1.5L brushed stainless steel saucepan, combine the remaining 1/2 cup (120ml) cold water, granulated sugar, light corn syrup, and fine sea salt. Clip the candy thermometer to the pan side, ensuring the tip is submerged in syrup but not touching the pan bottom. Cook over medium heat on the induction burner, stirring gently with the silicone spatula until sugar fully dissolves, then stop stirring and let the syrup boil until it reaches exactly 240°F (115°C, soft-ball stage), 8-10 minutes. Do not stir once boiling to avoid grainy marshmallows.
Whip Marshmallow Base
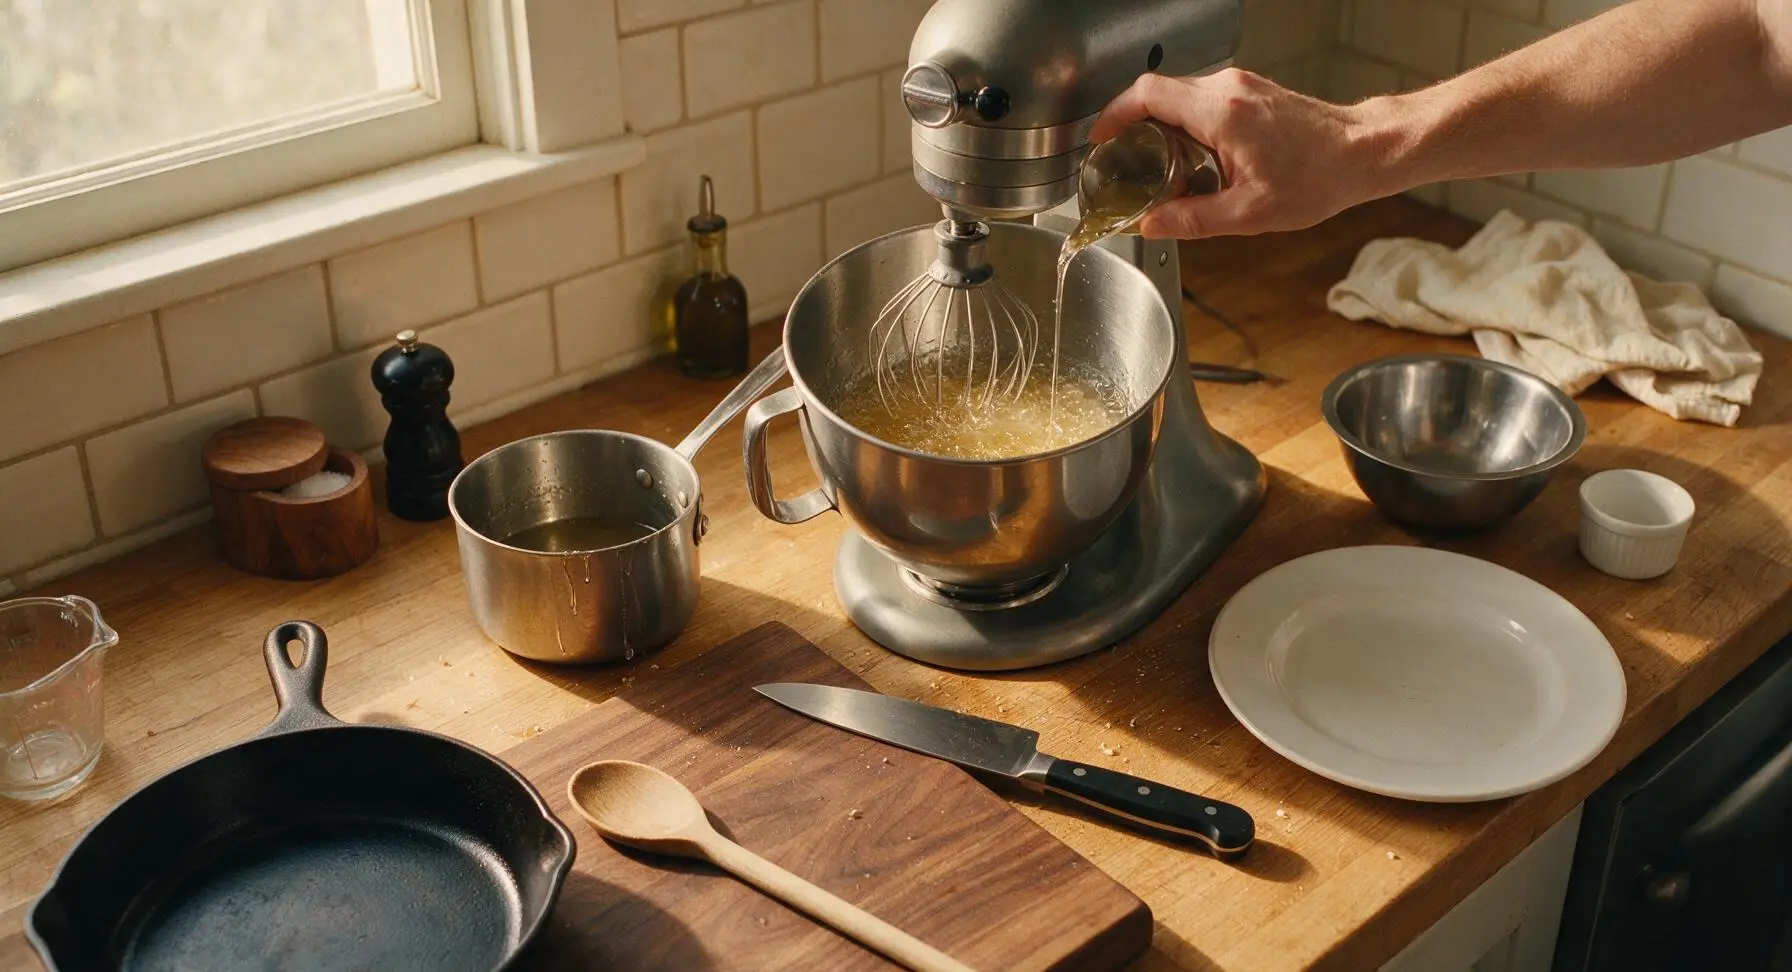
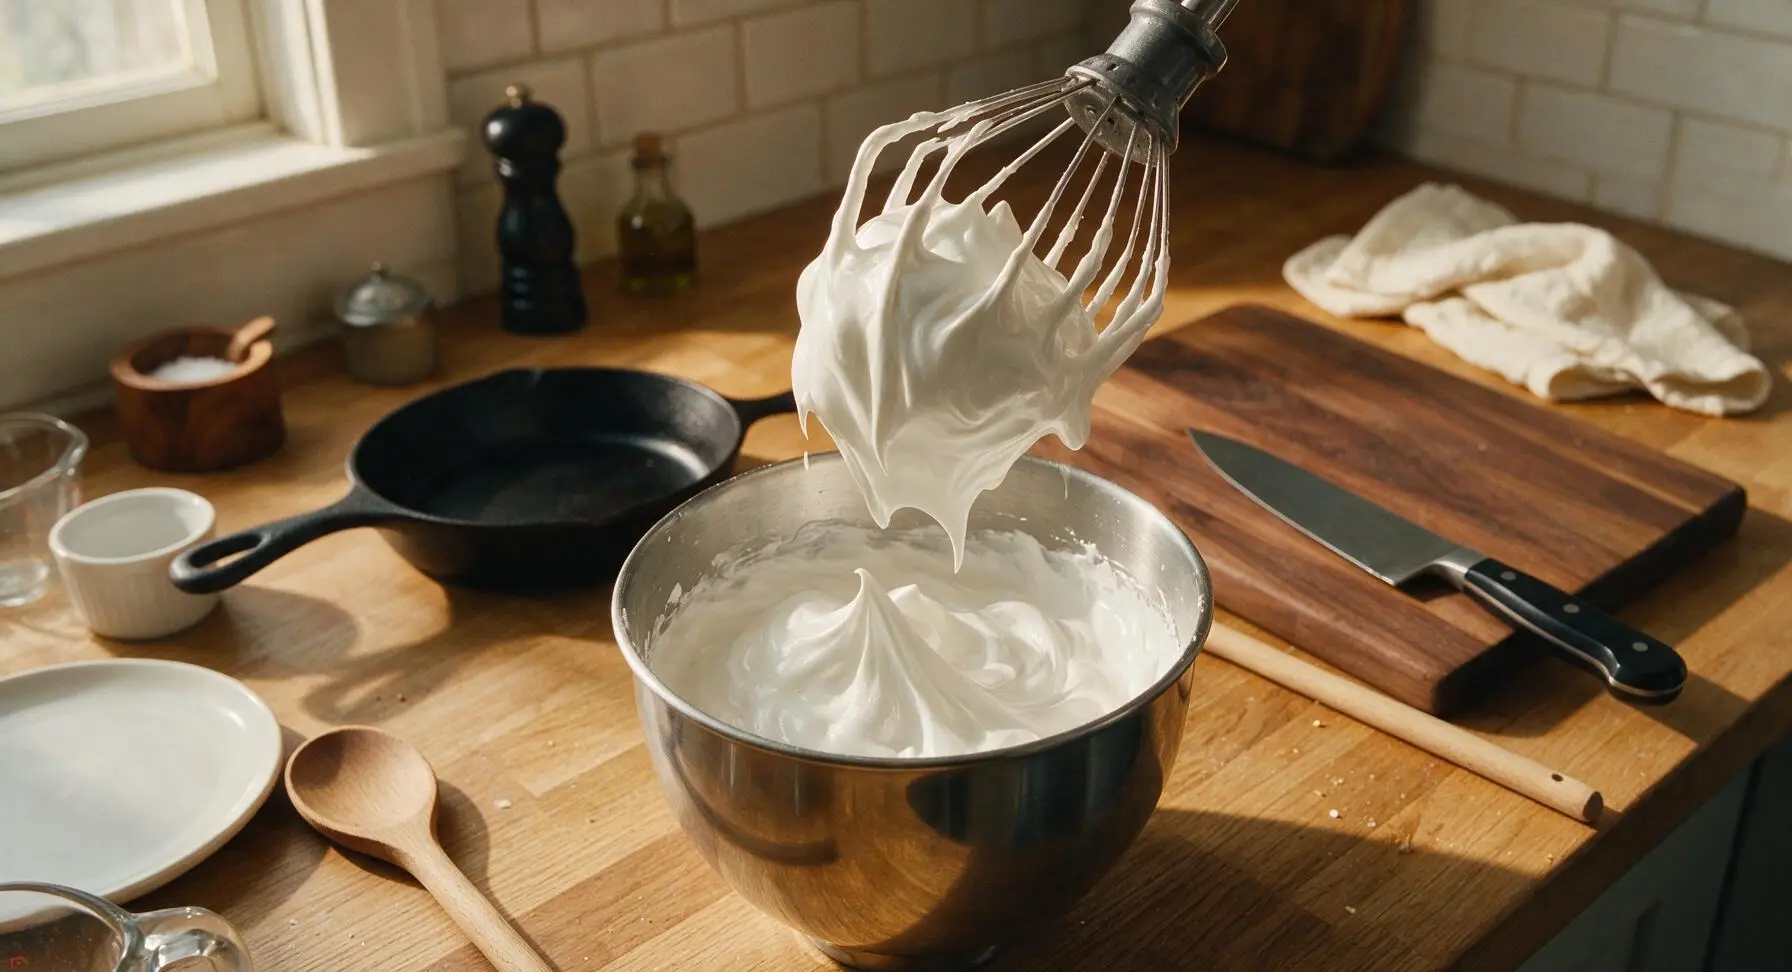
Turn the stand mixer to low speed, running it on the bloomed gelatin. Carefully and slowly pour the hot 240°F sugar syrup down the inside edge of the mixer bowl (avoid pouring directly onto the whisk to prevent hot sugar splatters). Once all syrup is added, gradually increase mixer speed to high, and whip for 8-10 minutes. The mixture will transform from thin, translucent golden liquid to thick, glossy, pure white fluffy marshmallow that triples in volume, forming soft billowy peaks that hold their shape when the whisk is lifted. Add vanilla and peppermint extract during the last 30 seconds of whipping, mixing just until incorporated.
Swirl Peppermint Candy
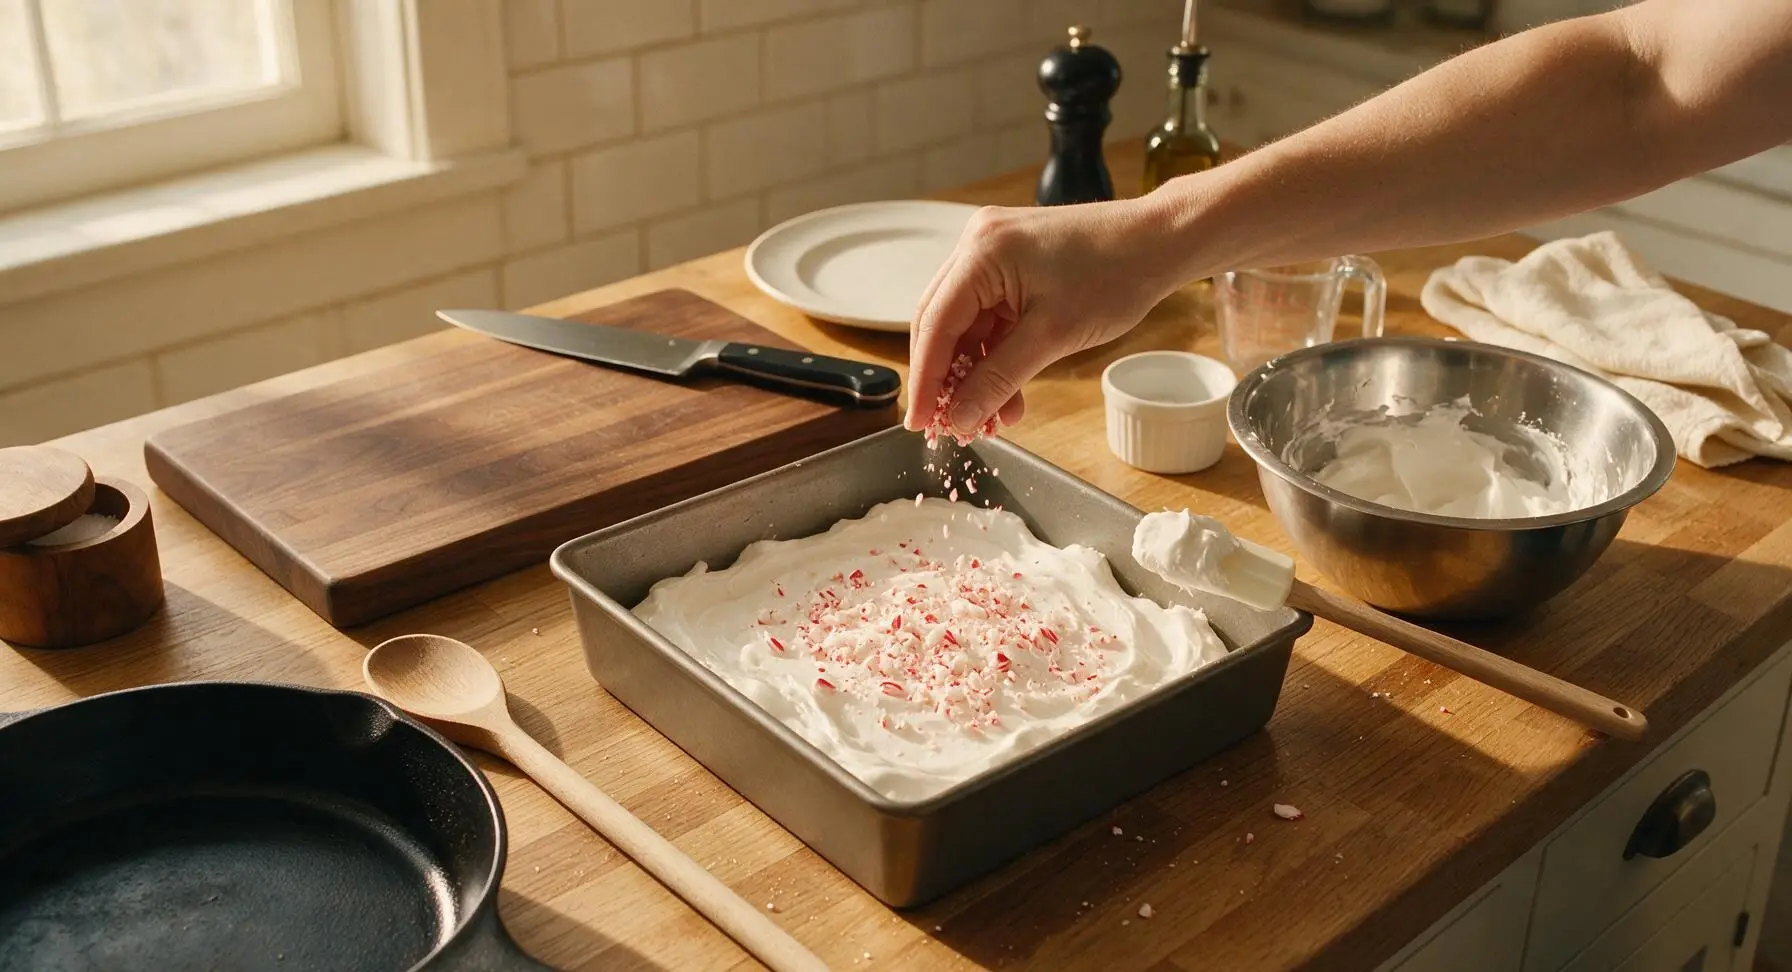
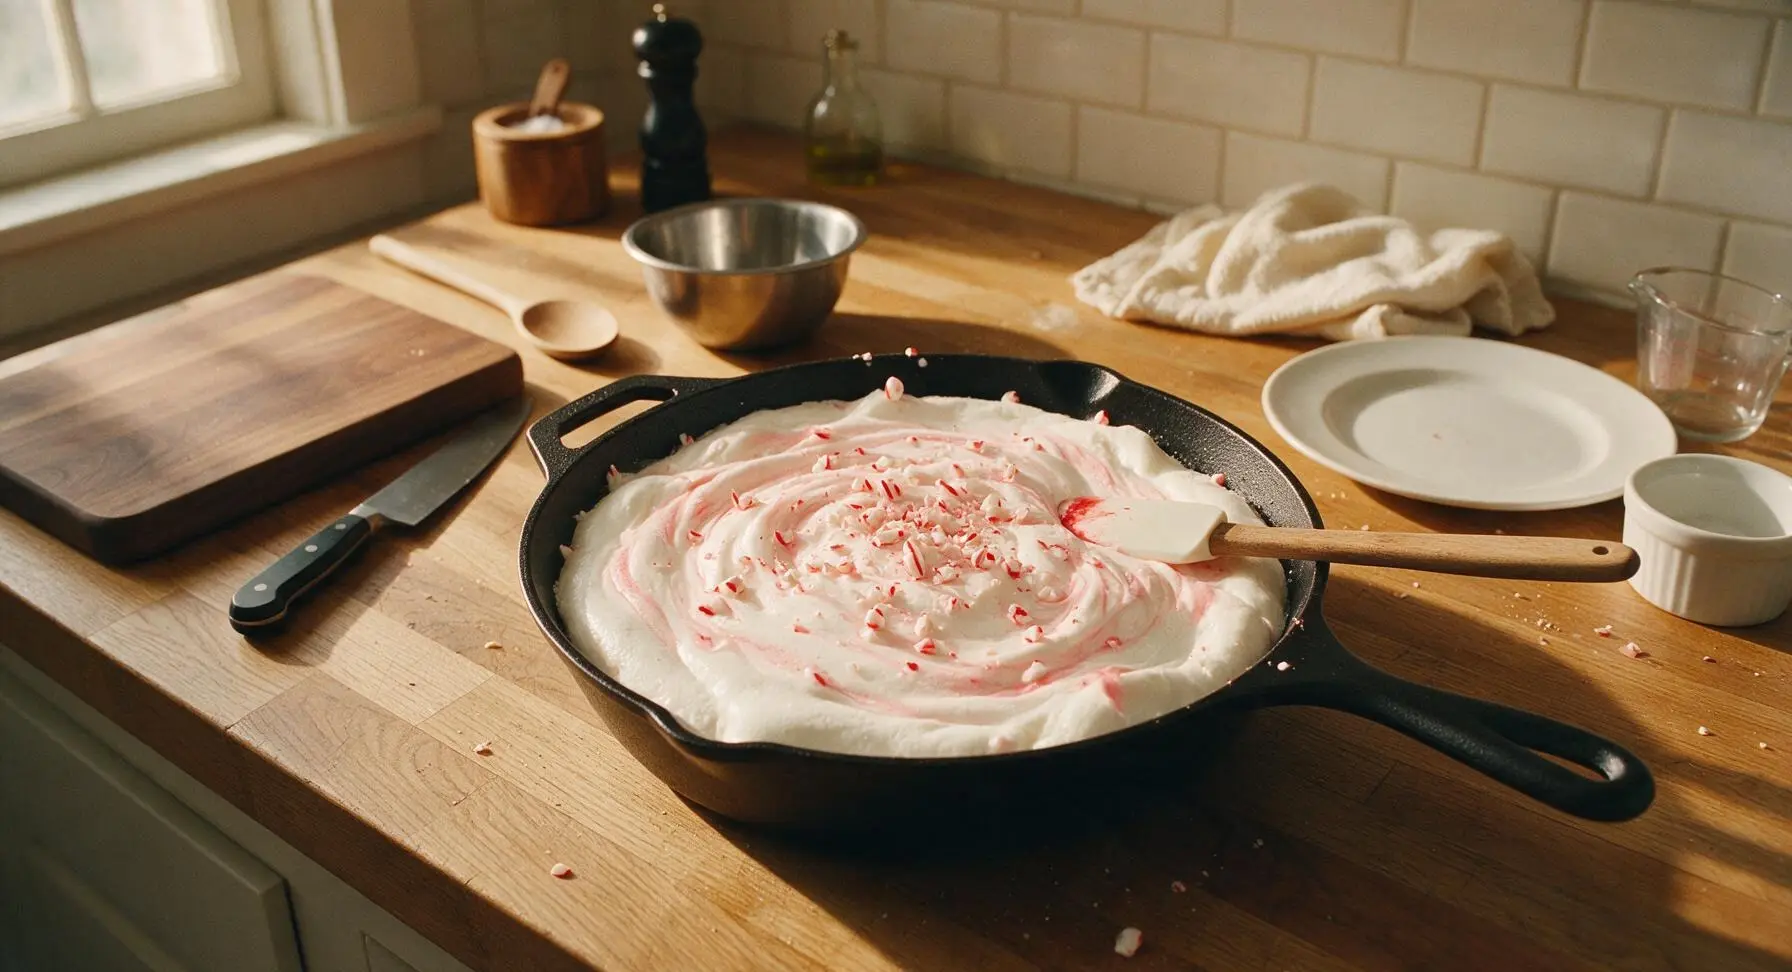
Turn off the mixer. Working quickly (marshmallow begins to set rapidly as it cools), use the silicone spatula to scrape half the fluffy marshmallow mixture into the prepped baking pan. Sprinkle 1/4 cup of crushed candy canes evenly over the first layer. Dollop remaining marshmallow over the candy layer, then dot the surface with 1 drop of red gel food coloring. Use the offset wood-handle spatula to spread the top into a smooth, even layer, then drag the spatula tip through the red coloring to create soft, swirled pale pink peppermint streaks. Sprinkle the remaining 1/4 cup crushed candy canes lightly over the top.
Let Marshmallows Set
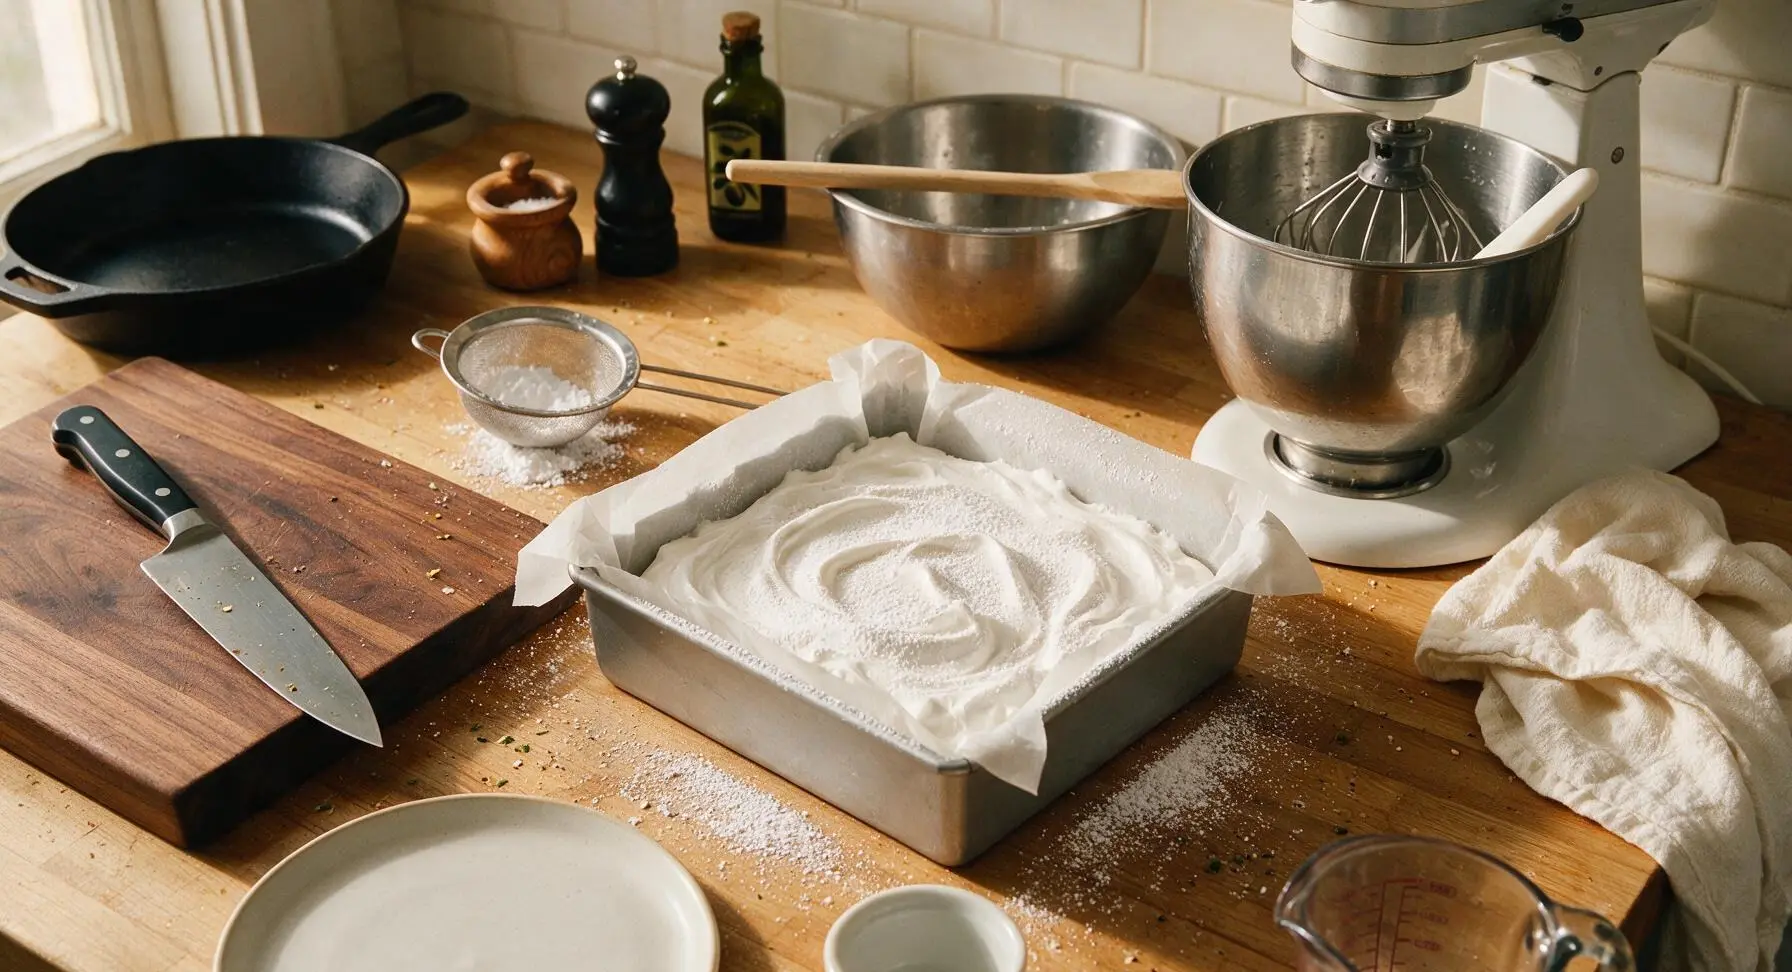
Use the fine-mesh sieve to dust the top of the marshmallow block with a thin layer of powdered sugar. Leave the pan uncovered at cool room temperature (65-70°F / 18-21°C) for 4 hours, or overnight, until the marshmallow is firm to the touch, no longer sticky on the surface, and pulls cleanly away from the parchment edges. Do not refrigerate, as condensation will make marshmallows soggy.
Cut and Coat Marshmallows
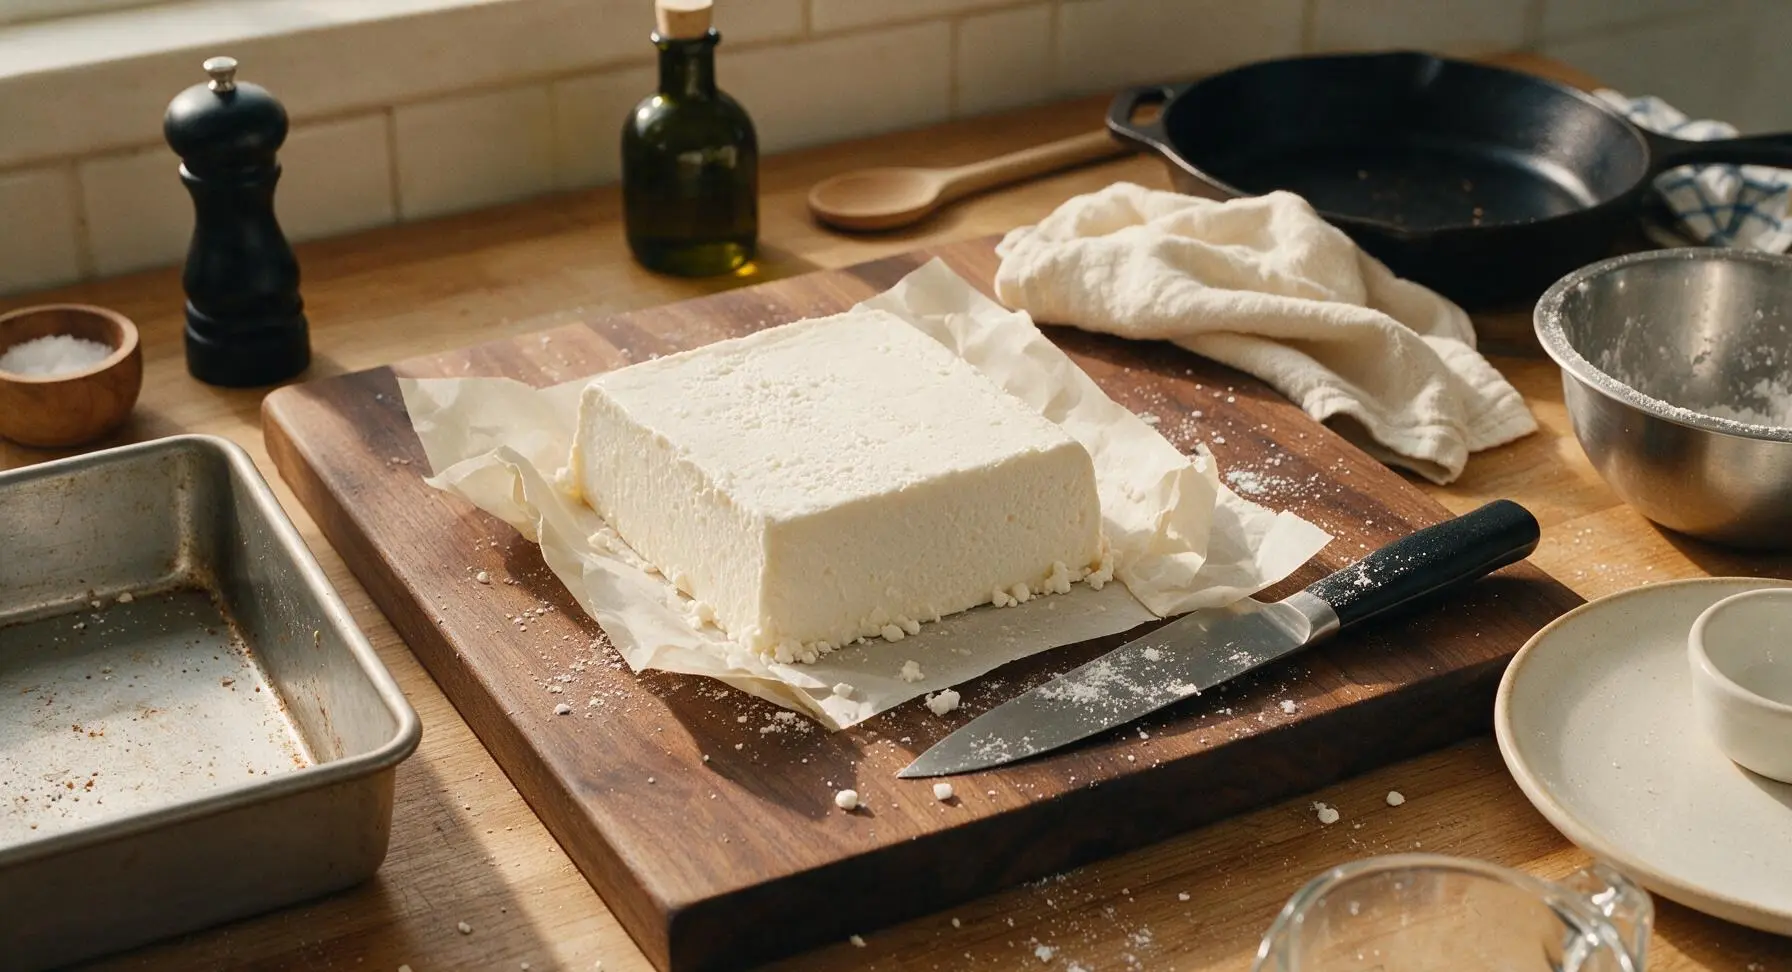
Lift the fully set marshmallow block out of the pan using the parchment overhangs, and transfer it to the white cutting board. Peel parchment away from the block sides. Dust the chef’s knife blade with powdered sugar to prevent sticking, then cut the block into 24 even 3cm (1.5 inch) cube pieces, wiping and re-dusting the blade between cuts for clean, smooth edges. Toss each cut marshmallow in a light coating of powdered sugar to prevent cut sides from sticking, shaking off excess.
Tips
2.Always dust your knife, pan, and hands with powdered sugar when handling set marshmallows, as the sticky surface will adhere to any uncoated surface. Skip cornstarch for dusting if you plan to use marshmallows as hot cocoa toppers, as it will make the cocoa cloudy and leave a starchy aftertaste.
3.Never refrigerate marshmallows while they set, as cold refrigerator air holds excess moisture that will condense on the marshmallow surface, making them soggy, sticky, and prone to weeping sugar. A cool, dry, room-temperature spot away from direct sunlight is ideal for setting.






OMG these Christmas marshmallows are such a game changer for our annual holiday hot cocoa bar! I rolled half the batch in crushed candy canes and the other half in festive red and green sprinkles before they set, and my kids went absolutely feral for them. Way better than the stale, artificially flavored store-bought ones we usually grab. Even my picky 7 year old asked for seconds! Already planning to make a double batch for the neighborhood potluck next week.
I was so intimidated to try these since the difficulty is marked medium, but I gave it a shot last night and they turned out pretty good! My only issue was that the mixture got super sticky when I was pouring it into the pan, half of it stuck to my spatula. Any tips for that next time? I don’t want to mess these up for my family’s Christmas dinner!
SO good!!! I brought these to my office holiday party last week and every single person asked me for the recipe. The vanilla bean in them makes them taste so fancy, no one believed they were homemade. 10/10, no notes.
Wait I followed the recipe exactly but my marshmallows were still super gooey after 4 hours of setting, did I do something wrong? I live in Colorado so it’s super dry here, wonder if that messed with it?
I swapped a quarter of the vanilla extract for peppermint extract and oh my GOD these taste just like the fancy mallows they sell at the Christmas market downtown. Absolute chef’s kiss. My husband ate half the pan in one sitting 😂
Made these last night with my 10 year old for his class holiday party. He had a blast cutting them out with Christmas shaped cookie cutters (trees, snowmen, candy canes!) and said all his friends loved them. Super fun weekend activity, even if we made a mess with the powdered sugar.
These were really good when I made them last week! Only thing is I try to avoid corn syrup for my family, has anyone tried making these with a swap like honey or maple syrup? Would love to make them again with a different sweetener!
Ugh I messed up the sugar syrup stage my first try, I let it get 10 degrees too hot and the marshmallows came out super firm almost like taffy. Second time I nailed the temp and they were perfect, so light and fluffy! Worth the extra effort for sure.
Made a double batch for my friend’s ugly sweater party this weekend, they were a total hit! I stored them in an airtight container with extra powdered sugar between layers so they wouldn’t stick together, and they held up perfectly for 3 days before the party – great for making ahead during busy holiday meal prep!
Just finished cutting these up and they look so cute in little cellophane bags with ribbon for my coworkers! I added a tiny dash of nutmeg to the sugar syrup and it gives them such a cozy, warm holiday flavor. Will definitely be adding this to my yearly Christmas baking list.
I cannot believe I made homemade marshmallows!!! I was so sure I’d mess this up but the instructions were so clear and easy to follow. They taste exactly like the ones I get from the fancy candy shop downtown for a fraction of the price. My whole family is obsessed.