
Christmas Rice Krispie Treats

title 1
Christmas Rice Krispie Treats
⏱️ cook time 10 minutes
🍽️ servings 12
⚡ Difficulty easy

intro

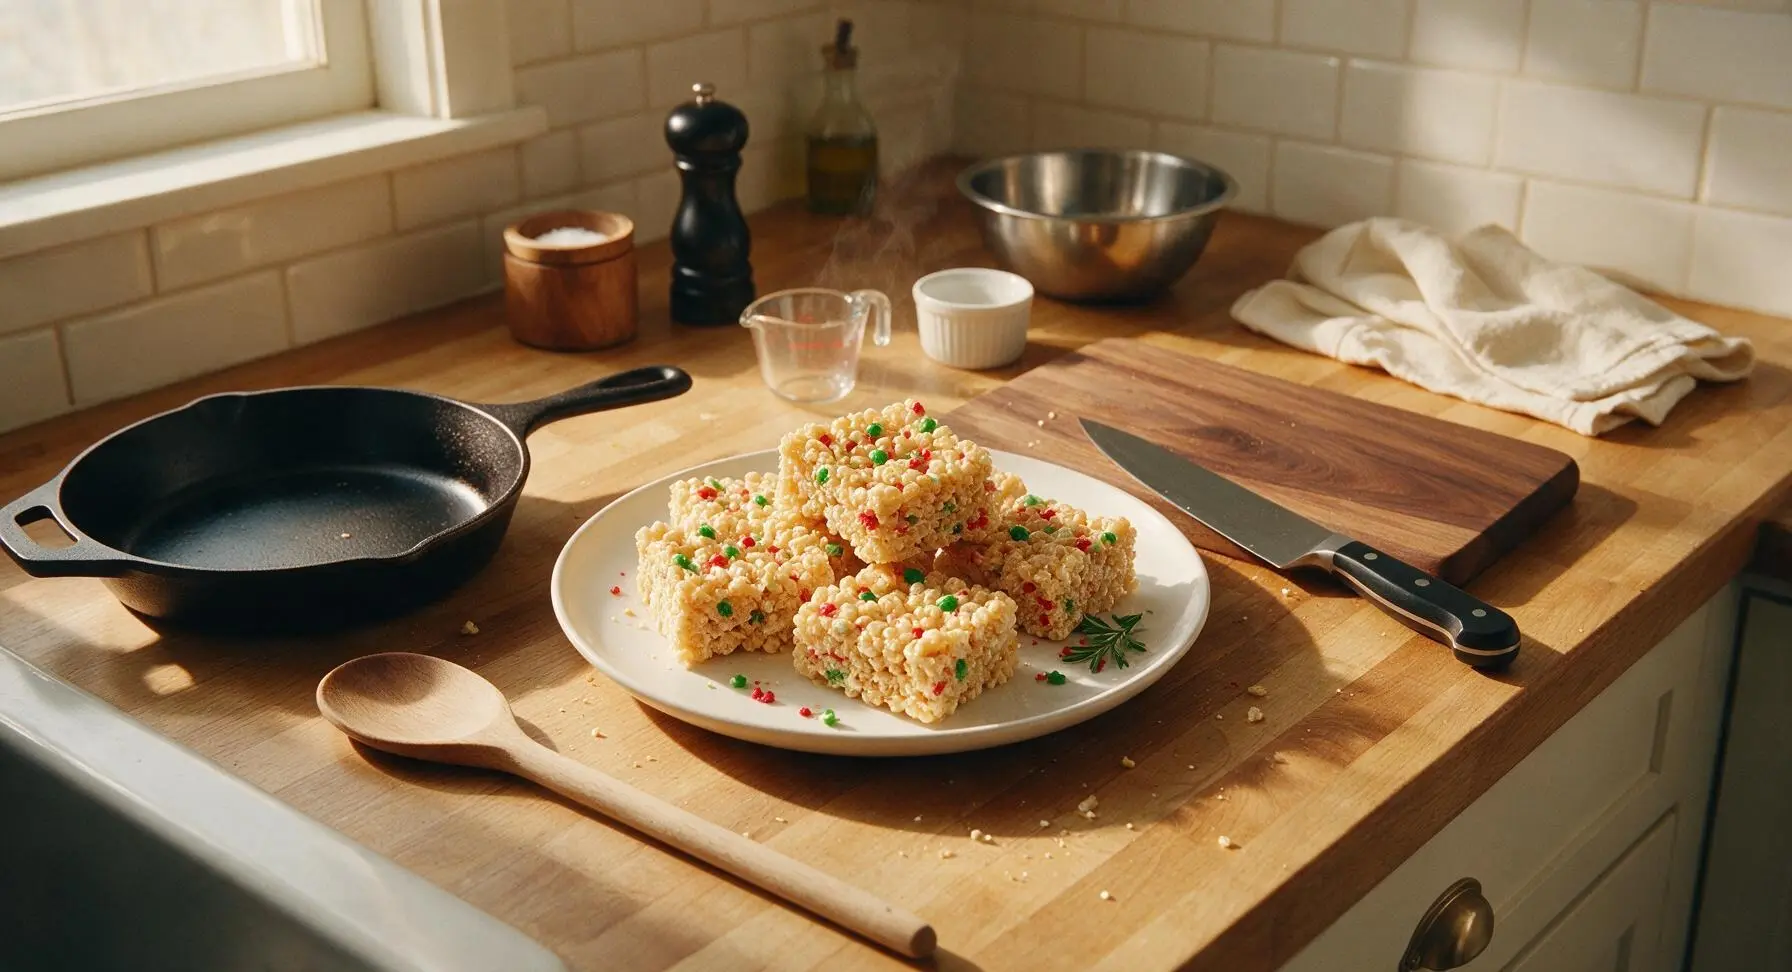
Buttery, chewy marshmallow cereal treats decked out in festive red and green, perfect for holiday cookie plates, kid-friendly snacking, and casual Christmas gatherings.

Ingredients
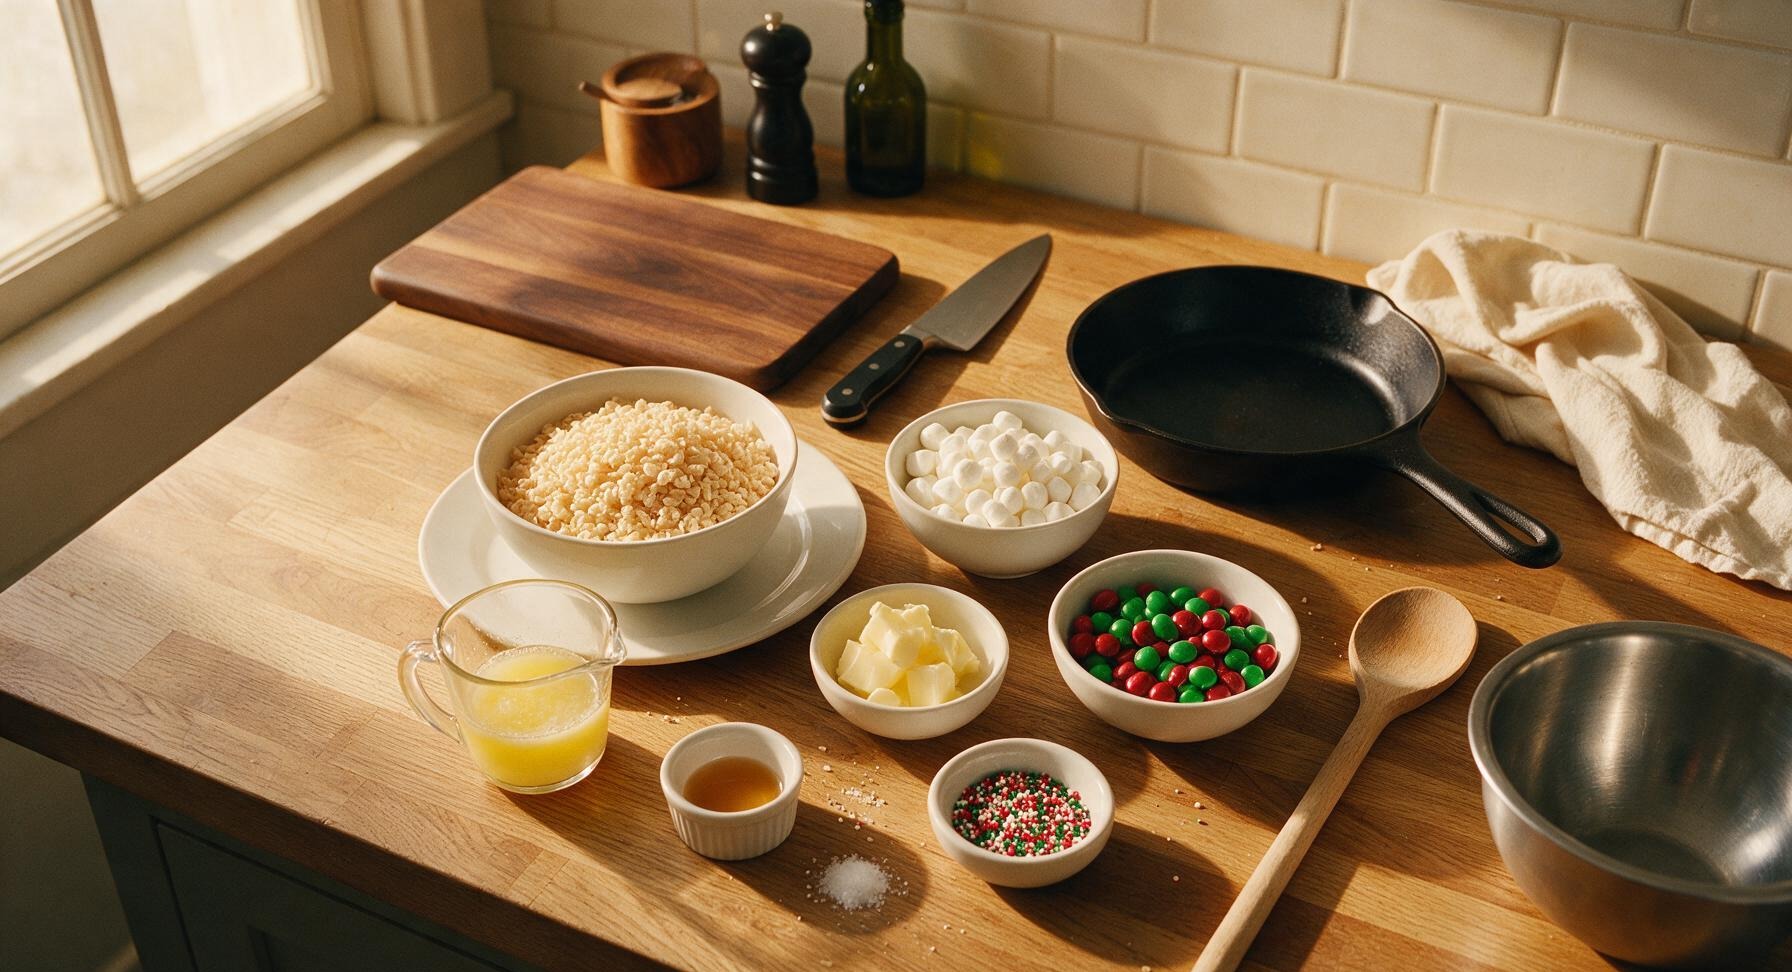
Crisp rice cereal (e.g., Rice Krispies) 6 cups (180g)
Mini marshmallows 10 oz (280g)
Unsalted butter 6 tbsp (85g)
Fine sea salt 1/4 tsp
Pure vanilla extract 1 tsp
Red and green mini candy-coated chocolates 1/2 cup (90g)
Holiday nonpareil sprinkles (red, green, white) 2 tbsp

Steps

1

Line Baking Pan

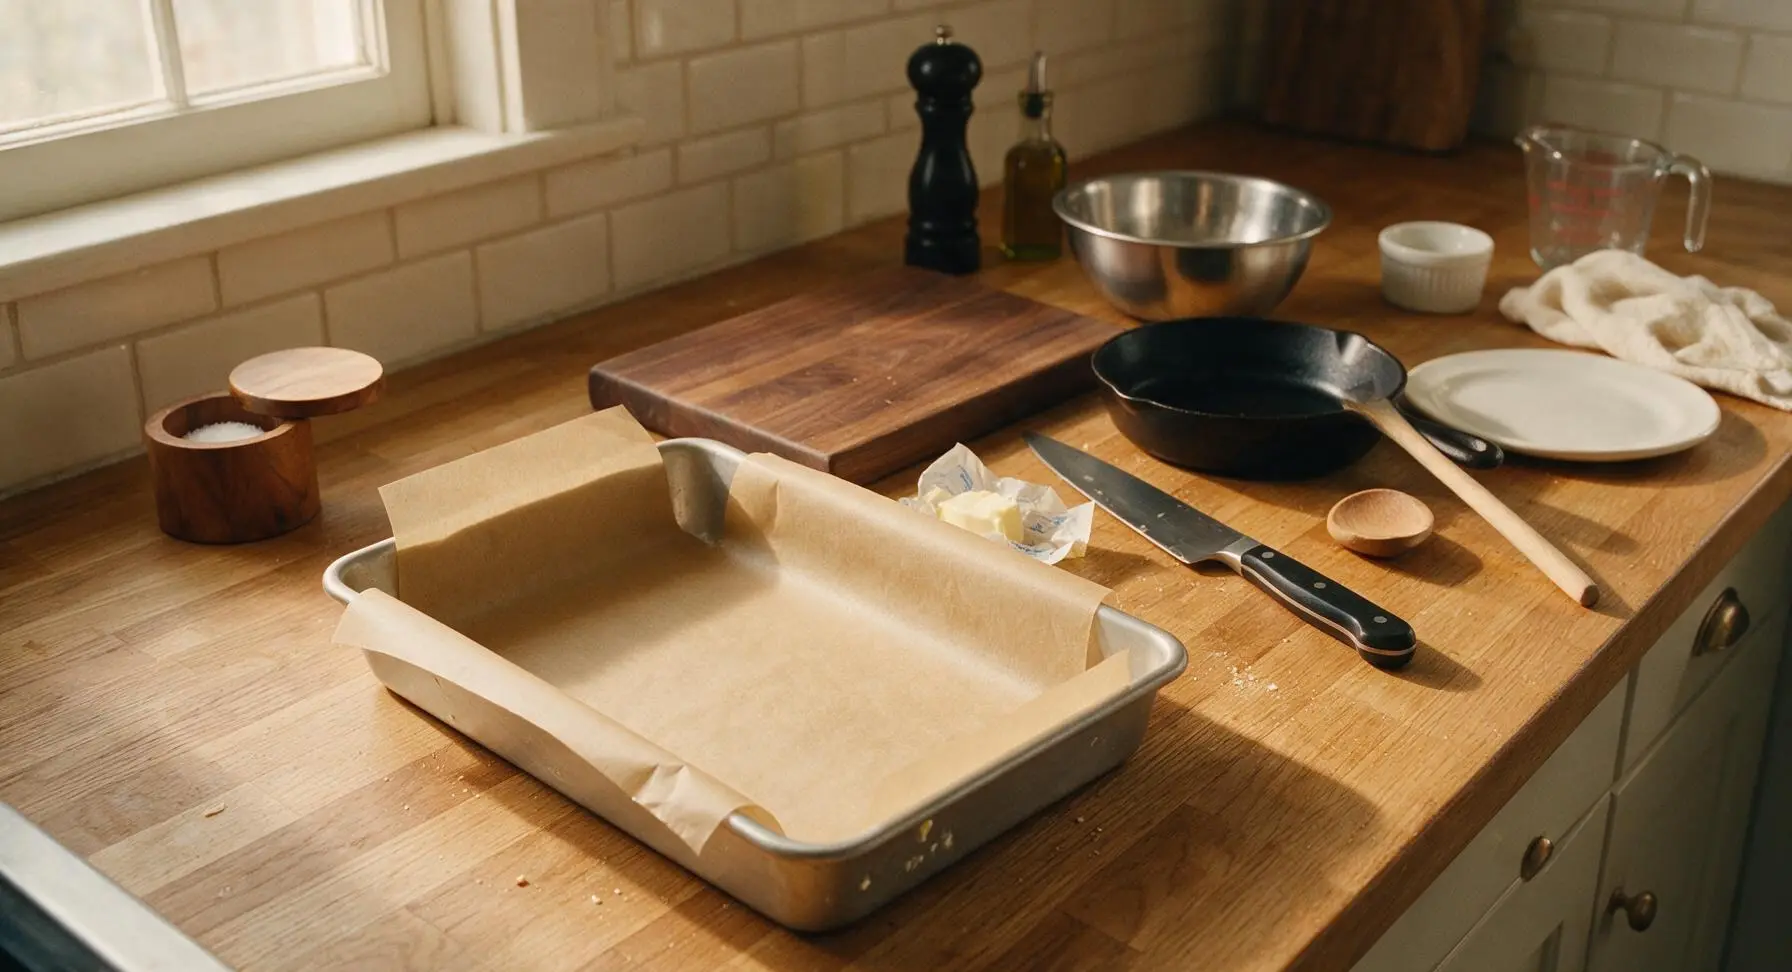
Cut a sheet of unbleached parchment paper to fit the 9x13 inch aluminized steel baking pan, leaving a 5cm (2 inch) overhang on the two long sides to act as lift handles for removing set treats later. Lightly grease the exposed metal pan edges (not the parchment) with a tiny scrap of butter to prevent sticking, then set the prepared pan on the center-left section of the counter.
Step 1
step1:Line Baking Pan
2

Melt Butter and Marshmallows

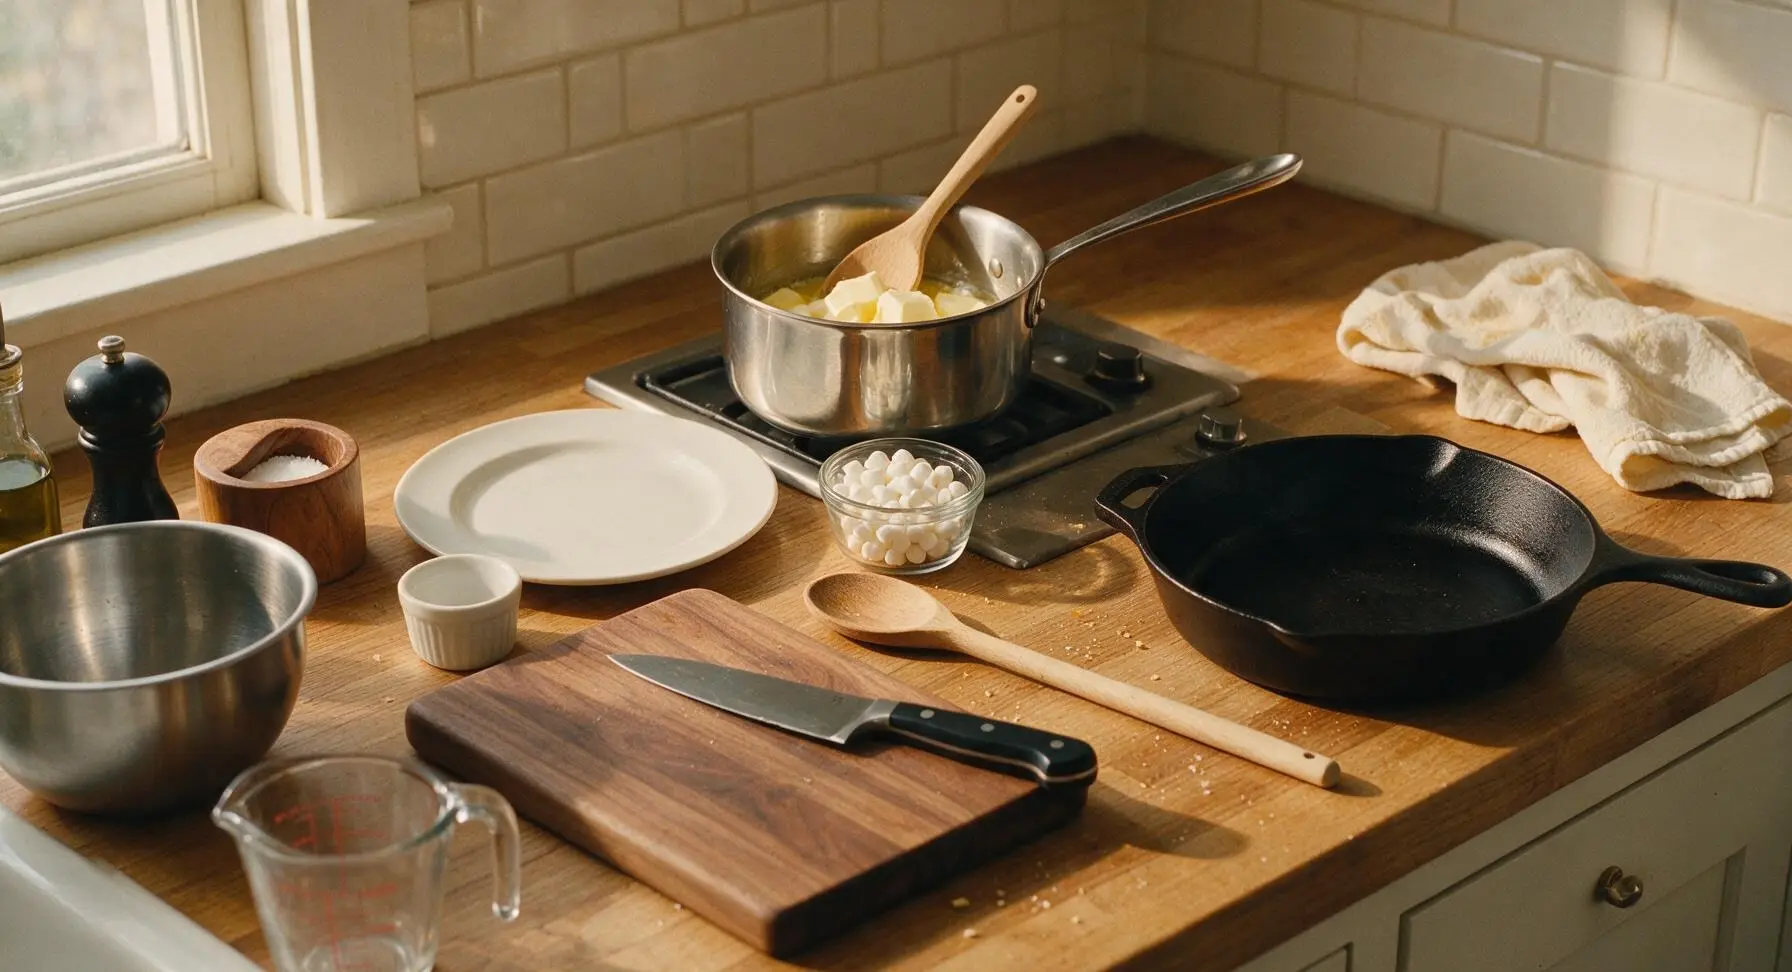
Place the 3-quart stainless steel saucepan on the flush induction stovetop over low heat. Add the 6 tablespoons of unsalted butter, stirring slowly with the beech wood spoon until fully melted. Set aside 1 cup of mini marshmallows, then add the remaining marshmallows, 1/4 teaspoon fine sea salt, and 1 teaspoon vanilla extract to the pan. Stir constantly for 3-4 minutes until the marshmallows are completely smooth and glossy, with no lumps remaining. Never turn heat above low, as high heat will break down marshmallow gelatin and result in hard, tough treats.
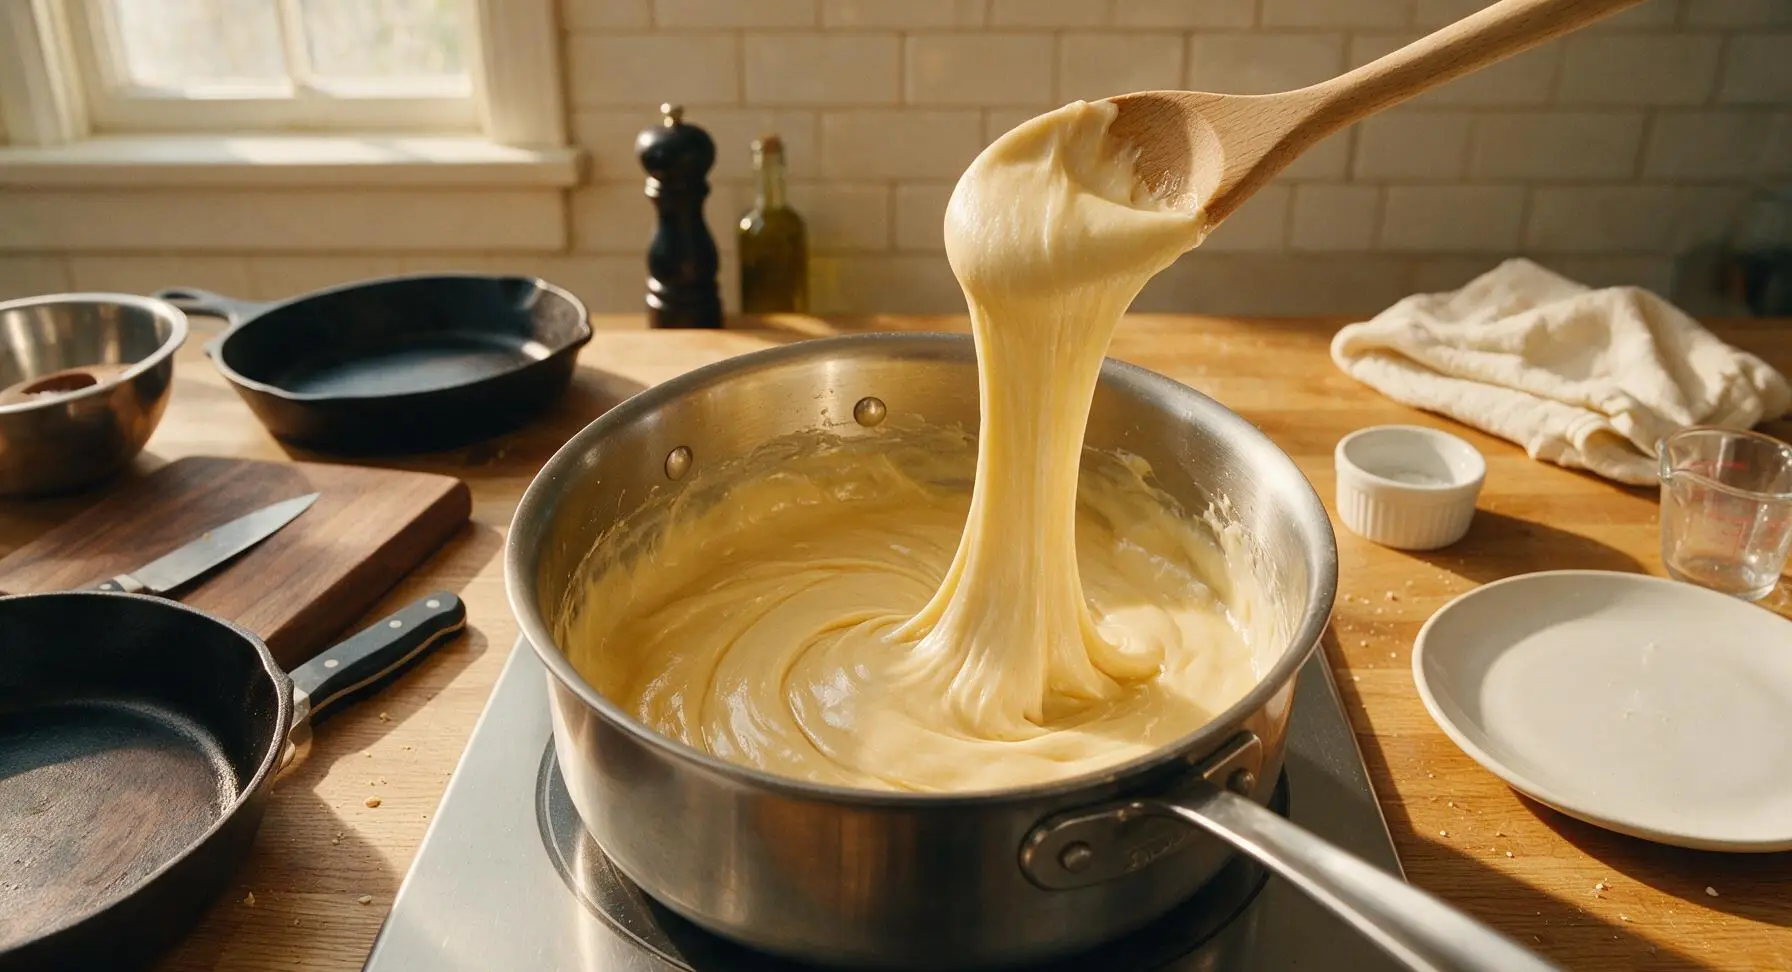
Step 2
step2:Melt Butter and Marshmallows
Step 2
step2:Melt Butter and Marshmallows
3

Combine Cereal and Mix-Ins

Remove the saucepan from heat immediately once the marshmallow mixture is smooth. Pour the 6 cups of crisp rice cereal into the saucepan, along with the reserved 1 cup of unmelted mini marshmallows. Use the red-handled silicone spatula to fold gently, scraping the bottom of the pan to coat every cereal piece evenly in melted marshmallow, taking care not to crush the crisp cereal. Fold in 1/3 cup of the red and green mini candy-coated chocolates quickly, before the mixture starts to cool and set.
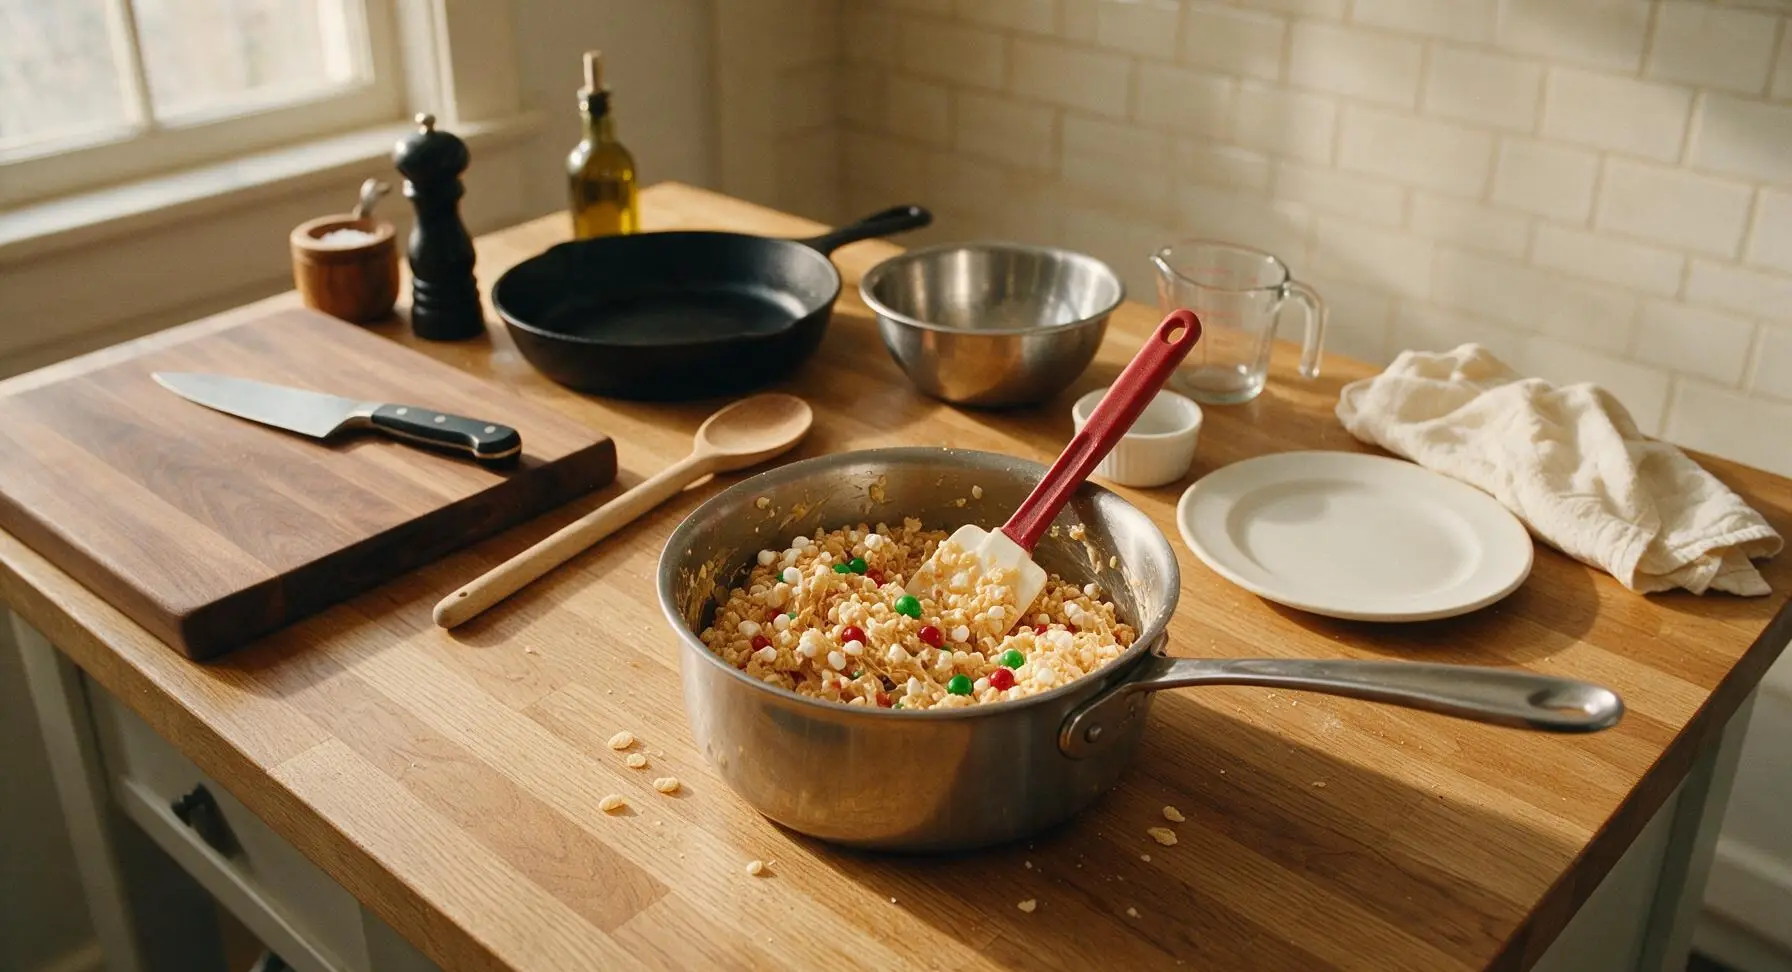
Step 3
step3:Combine Cereal and Mix-Ins
4

Press Mixture Into Pan

Scrape the entire coated cereal mixture out of the saucepan and into the parchment-lined 9x13 inch baking pan. Lightly grease your fingertips with a tiny bit of butter (or lay a second small sheet of parchment over top) to press the mixture into an even, flat layer across the entire pan. Do not press too hard, as compacting the mixture will crush cereal and result in dense, tough treats. Sprinkle the remaining red and green candy-coated chocolates and 2 tablespoons of holiday nonpareil sprinkles evenly over the top, pressing very gently to adhere them to the surface.
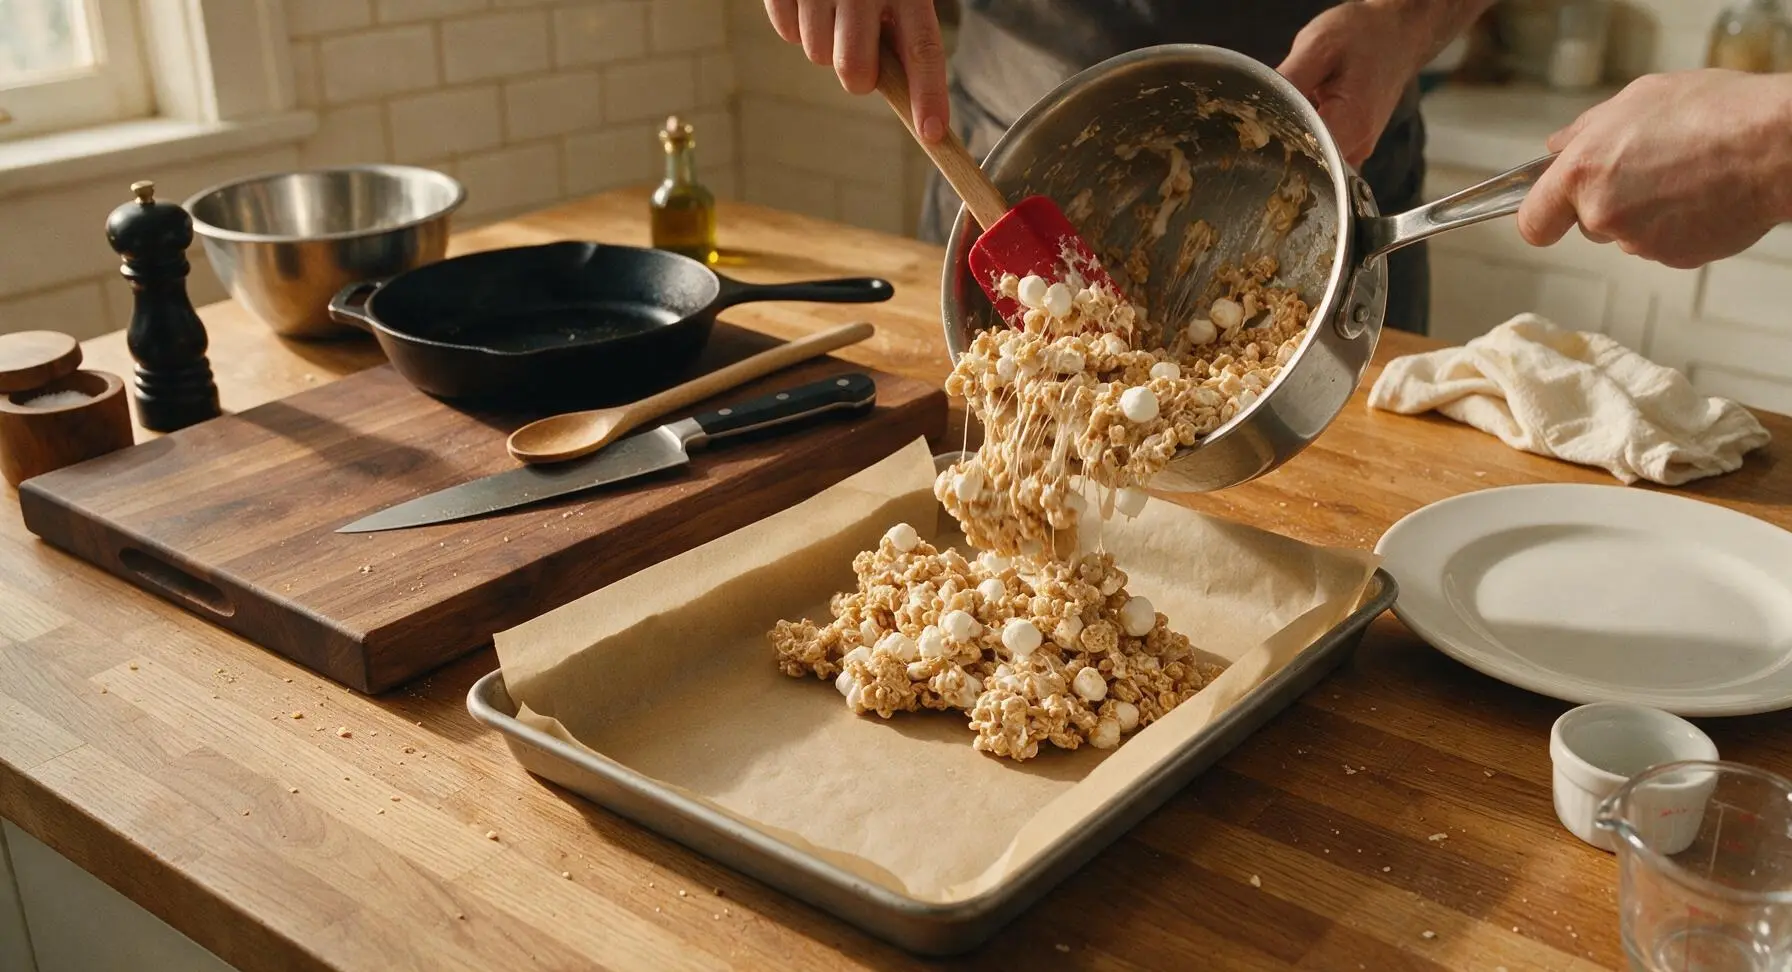
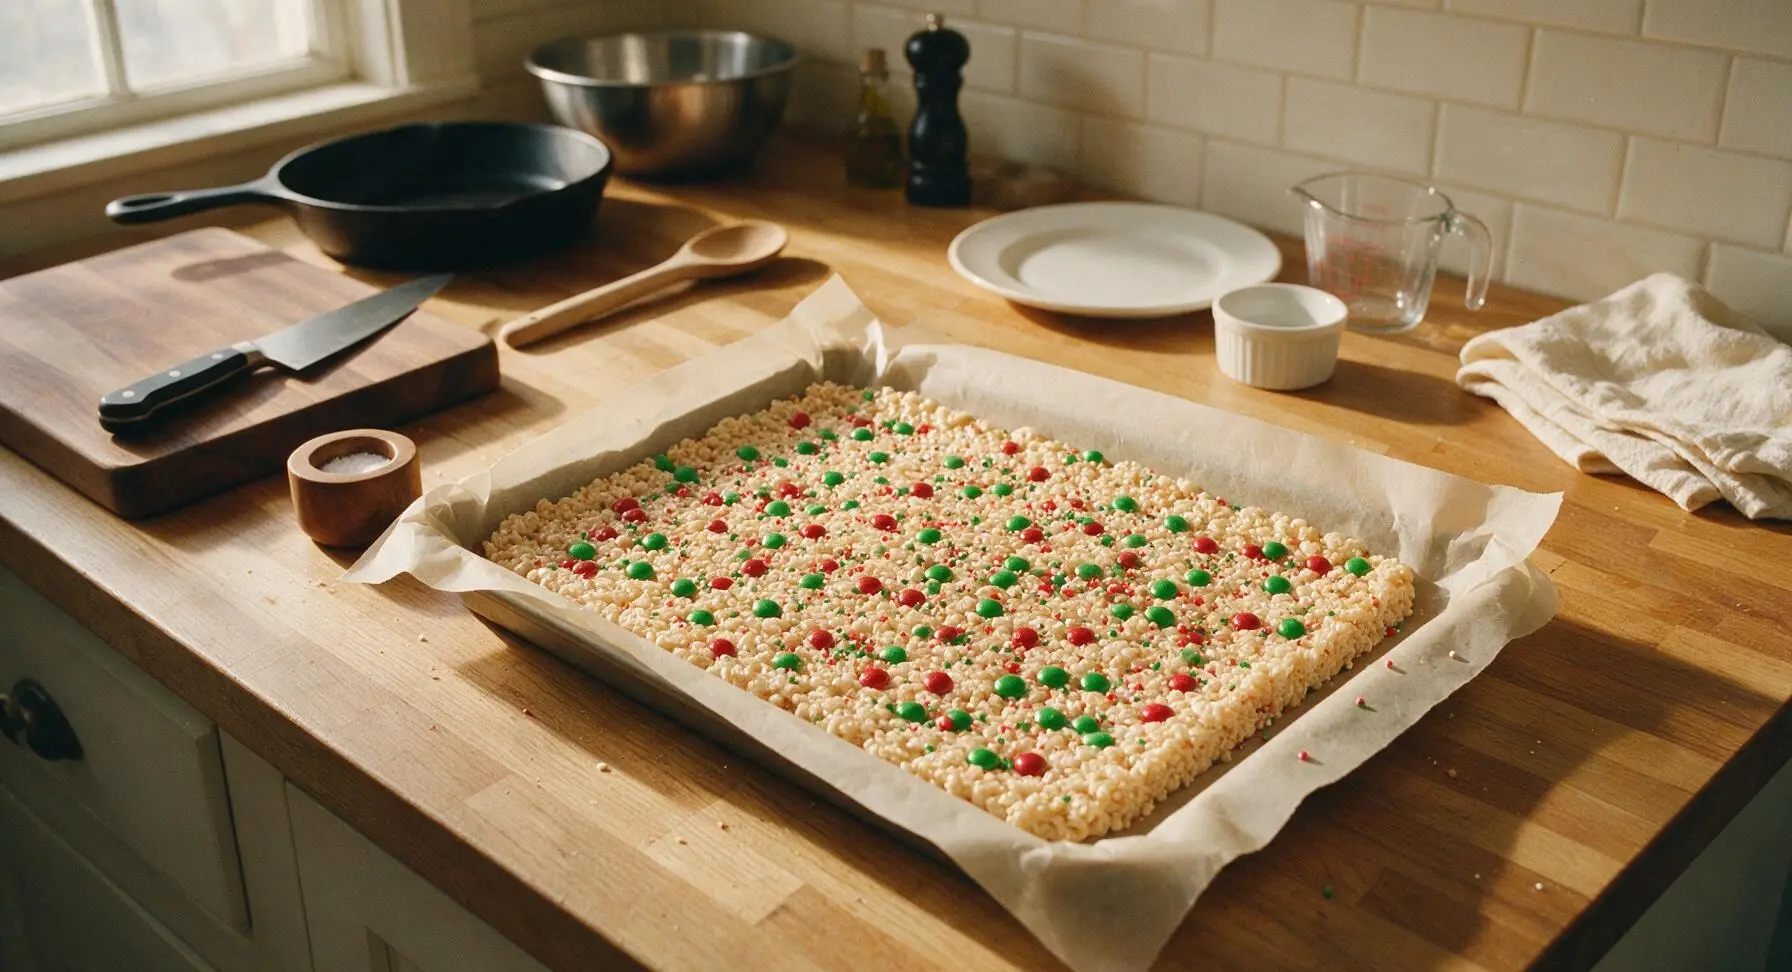
Step 4
step4:Press Mixture Into Pan
Step 4
step4:Press Mixture Into Pan
5

Let Treats Fully Set

Set the pan of treats on the cool front section of the counter, away from the residual stovetop heat, to set at room temperature for 30 minutes. Do not refrigerate, as cold temperatures will make the cereal go soggy and the marshmallow turn overly firm. The treats are fully set when the top is firm to the touch and does not leave a sticky residue on a clean fingertip when pressed lightly.
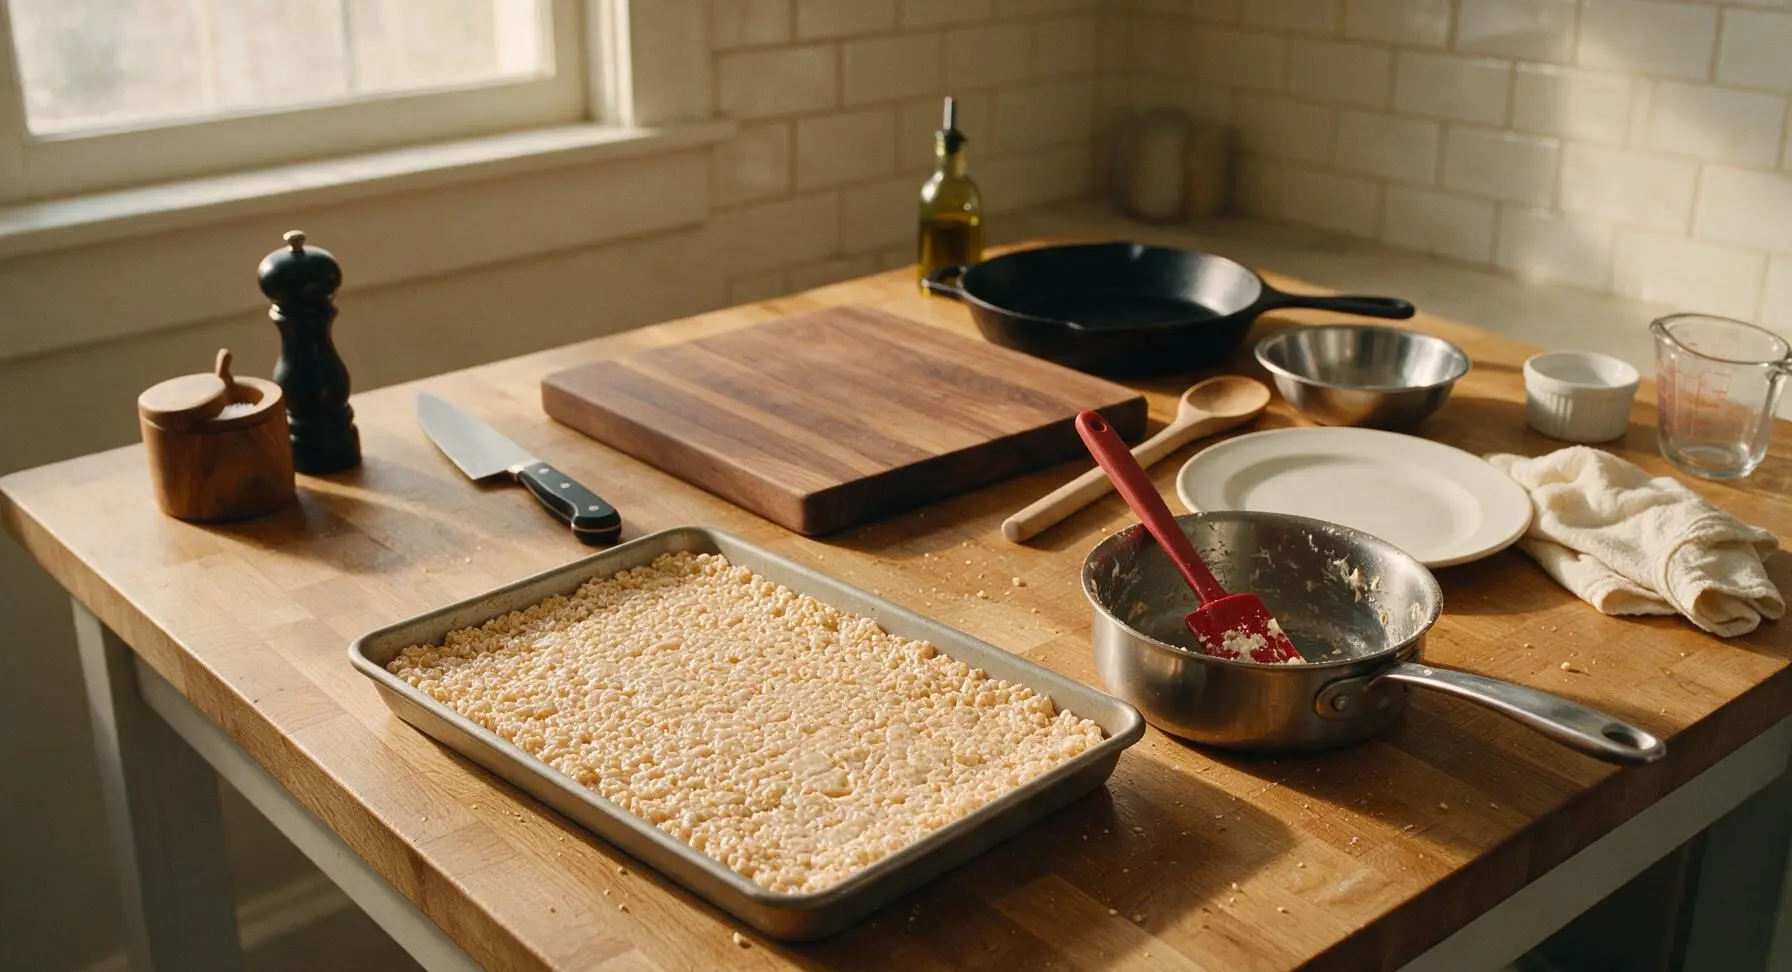
Step 5
step5:Let Treats Fully Set
6

Cut Into Even Squares

Once fully set, lift the entire slab of treats out of the pan using the parchment paper overhang handles, and transfer it to the clean counter surface in front of the empty pan. Use the small cream-handled paring knife to cut the slab into 12 even 5cm (2 inch) squares, wiping the knife blade with a damp corner of the plaid tea towel between cuts to prevent sticking and make clean, smooth cut edges.
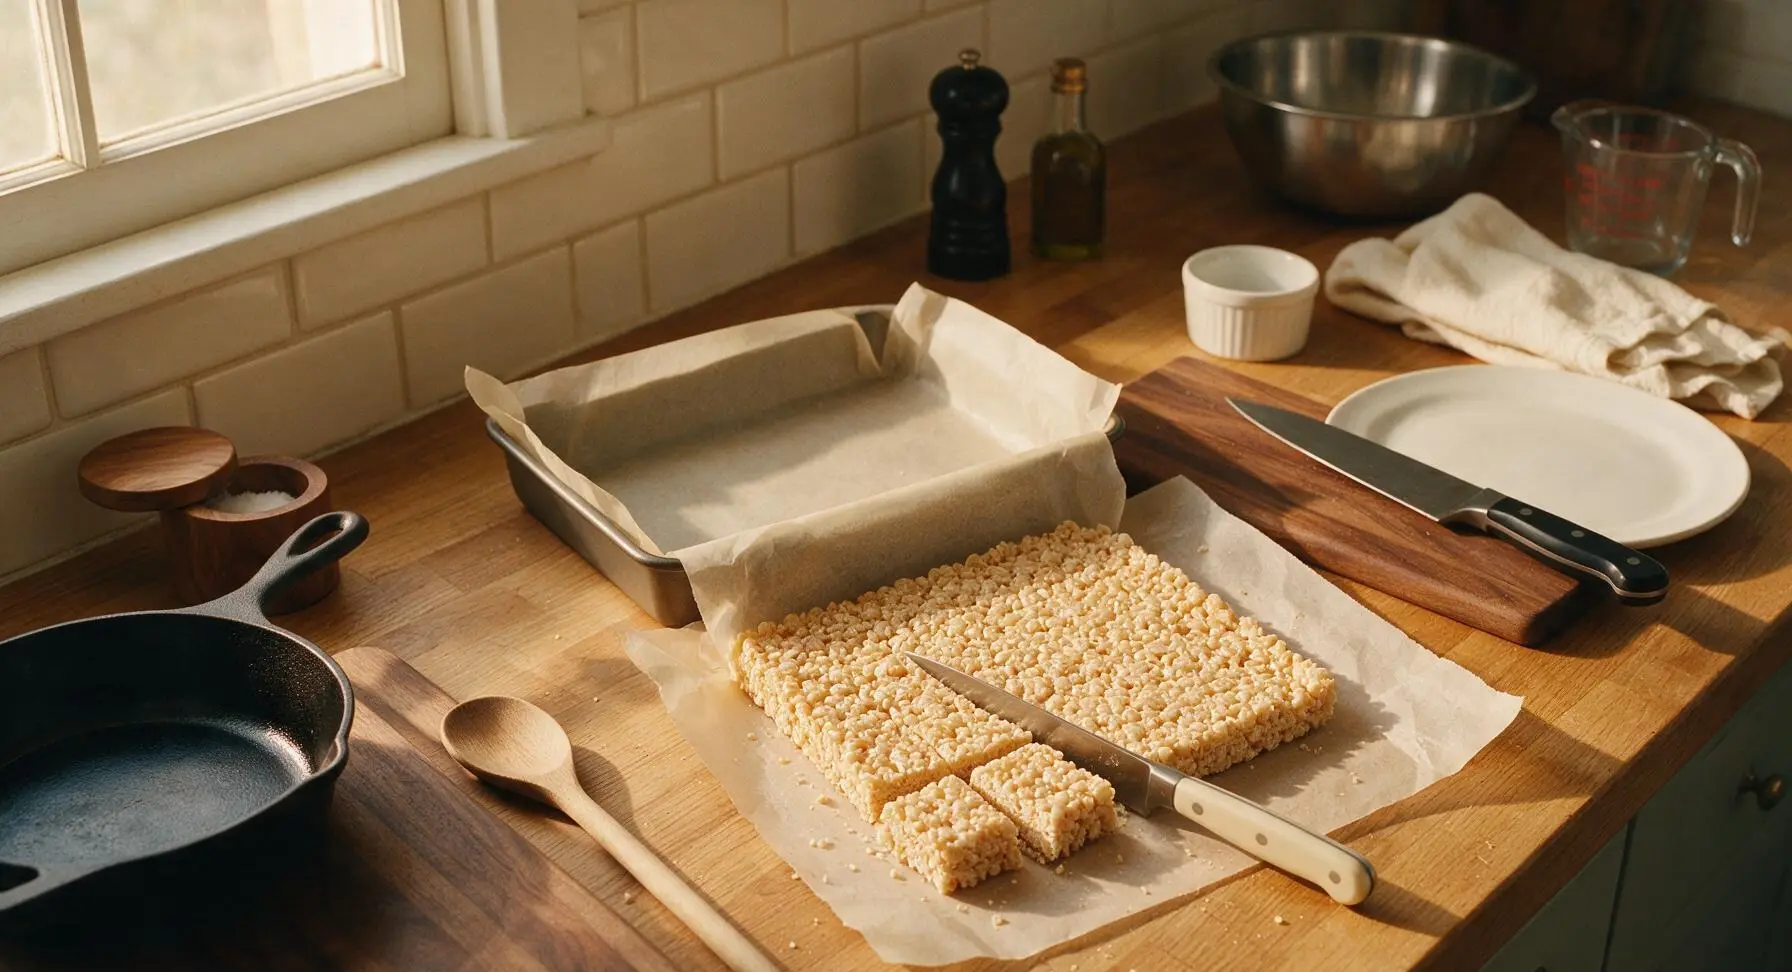
Step 6
step6:Cut Into Even Squares
7

Plate For Serving

Arrange the cut treat squares in a slightly offset pyramid stack on the round matte white ceramic serving platter. Tuck a tiny sprig of fresh rosemary among the treats for a subtle evergreen festive accent if desired. Serve immediately, or store in an airtight container at room temperature for up to 3 days.
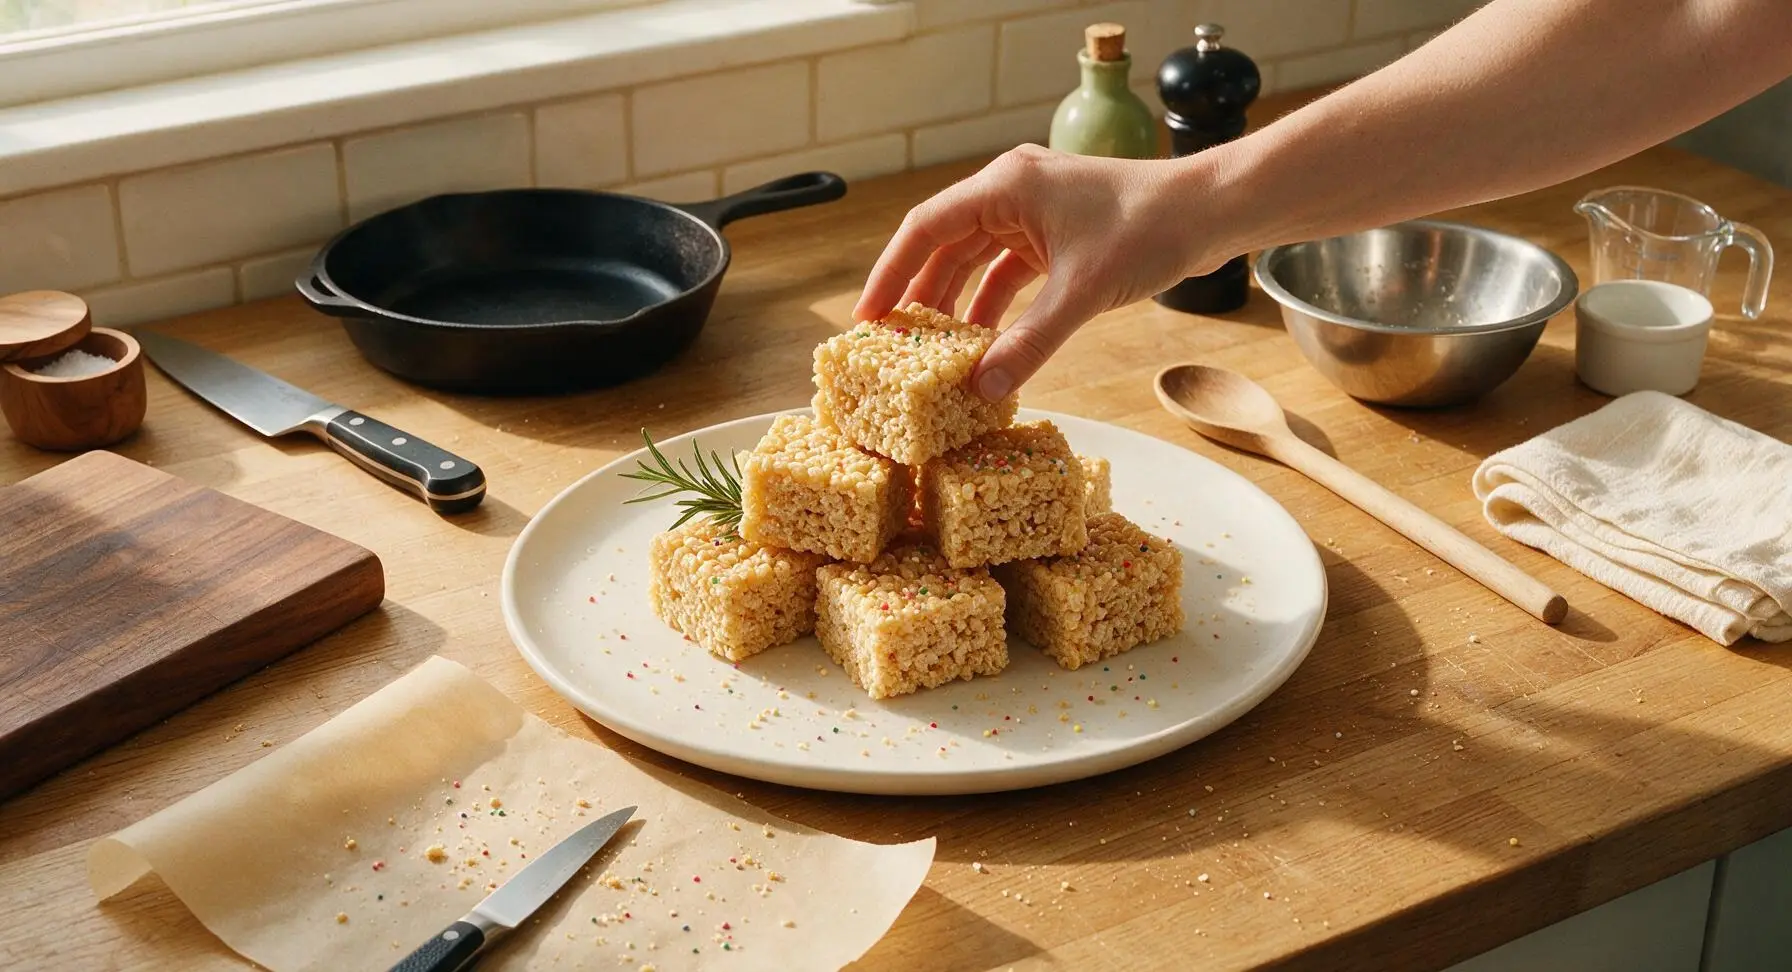
Step 7
step7:Plate For Serving

Tips

1.Reserve 1 cup of mini marshmallows to add after removing the pan from heat: this creates soft, gooey whole-marshmallow pockets throughout the treats instead of a uniformly melted texture, for a more interesting, chewy bite.
2.Always melt marshmallows over the lowest possible heat: high heat breaks down the gelatin in marshmallows, causing treats to turn hard and brittle once cool instead of staying soft and chewy for days.
3.Avoid over-compacting the mixture when pressing it into the pan: pressing too hard crushes the crisp rice cereal and squeezes out air, leading to dense, tough treats. A light, gentle press to create an even layer is all that’s needed.


✨ You May Also Like

Desserts & Baking
🍜 Italy

Creamy, coffee-kissed classic Northern Italian no-bake dessert, with layers of rum-spiked mascarpone cream, soft ladyfingers, and a rich cocoa dusting.

⏱️ 4 hours 3Desserts & Baking ★ 4.7
Desserts & Baking
🍜 France

Flaky, shatteringly crisp, buttery French croissants with golden exteriors and soft, airy layered interiors, perfect for pairing with coffee for a special morning treat.

⏱️ 12 hours Desserts & Baking ★ 4.5
Desserts & Baking
🍜 United States

Warm, spiced baked apples topped with a fluffy golden biscuit crust, this cozy dessert pairs perfectly with vanilla ice cream for cool-weather comfort.

⏱️ 55 minuteDesserts & Baking ★ 4.6
Desserts & Baking
🍜 United States

A star-spangled classic American blueberry pie with buttery flaky crust and bright sweet-tart filling, perfect for summer patriotic gatherings.

⏱️ 1 hour 25Desserts & Baking ★ 4.7
Desserts & Baking
🍜 United States

A beloved no-bake regional Maine candy with a chewy coconut-potato center coated in rich dark chocolate, a New England holiday staple since the 1870s.

⏱️ 2 hours 3Desserts & Baking ★ 4.8
Desserts & Baking
🍜 France

Luxuriously creamy, floral frozen custard made with aromatic Tahitian vanilla beans, boasting a smooth, rich texture that melts slowly on the tongue.

⏱️ 3 hours 3Desserts & Baking ★ 4.5

Christmas Rice Krispie Treats:Frequently Asked Questions

1.Can I make these Christmas Rice Krispie Treats ahead of time for my holiday gathering? ▾
Absolutely! These treats hold up beautifully when made 2 to 3 days in advance. Once fully cooled, store them in an airtight container at cool room temperature, separating stacked layers with wax paper to prevent sticking. Skip the fridge, as cold temperatures make the cereal go soggy, and hold off on delicate sprinkles until right before serving to keep their bright, festive color.
2.Why did my last batch of Rice Krispie Treats turn out hard and tough instead of chewy? ▾
That almost always traces back to overheating the marshmallows. Melt your butter and marshmallows over low heat, stirring constantly, and pull the pan off the burner the second the marshmallows are fully smooth—vigorous boiling breaks down marshmallow structure and leads to hard treats. Over-stirring and crushing the cereal can also create a dense, tough final texture.
3.How do I get the festive red and green color without making the treats soggy or having dye bleed? ▾
Skip liquid food coloring, which adds excess moisture and causes bleeding, and use concentrated gel food coloring instead. Divide your melted marshmallow base into three equal portions before adding cereal: tint one red, one green, and leave one plain. Fold cereal into each portion separately, then gently press dollops of each color into the pan for a marbled, no-bleed festive look.
4.Can I use regular large marshmallows instead of the mini marshmallows the recipe calls for? ▾
You sure can! Large marshmallows work just as well as minis, you’ll just need to adjust the quantity: 8 standard large marshmallows equal roughly 1 cup of mini marshmallows. They may take an extra 30 to 60 seconds to melt fully over low heat, so stir consistently to avoid scorching the butter or marshmallow on the bottom of your pan.
5.What’s the best way to keep these treats from sticking to the pan when I cut them? ▾
For zero sticky mess, line your entire baking pan with a sheet of parchment paper that hangs 2 inches over two opposite sides to act as lift-out handles, then lightly butter the parchment. When you’re ready to slice, lift the whole slab out of the pan, butter the blade of a sharp knife, and cut clean, even squares without fighting stuck edges.
6.Can I add fun holiday mix-ins without ruining the treat texture? ▾
Definitely, just keep total mix-ins to 1 cup or less so the treats hold their chewy shape. Perfect Christmas-friendly add-ins include crushed candy canes, mini red and green M&Ms, white chocolate chips, or chopped bits of sugar cookie. Fold mix-ins right after combining the cereal and melted marshmallow, before pressing the mixture into your prepared pan.
7.Why do my treats sometimes turn soggy after a day in storage? ▾
Sogginess almost always stems from one of two common mistakes: either you stored the treats in the fridge, which draws moisture out of the crisp rice and makes it go limp, or you sealed the storage container before the treats were fully cooled, trapping condensation inside. Let them cool a full hour at room temp before sealing, and keep them in a cool, dry spot.
8.Do I have to use unsalted butter, or can I swap in salted butter for this recipe? ▾
Salted butter works totally fine in a pinch—just leave out the added fine sea salt the recipe calls for to keep the flavor balanced. Unsalted butter lets you control exactly how much salt goes in, which cuts the cloying sweetness of the marshmallows perfectly, but you won’t ruin the chewy texture if you only have salted butter on hand.
9.Can I adapt these treats to be gluten-free for holiday guests with dietary restrictions? ▾
These are incredibly easy to make gluten-free! Simply swap regular crisp rice cereal for a certified gluten-free crisp rice option, which is widely available at most grocery stores. Double check that your marshmallows and pure vanilla extract are also labeled gluten-free to avoid cross-contamination risks for guests with celiac disease or severe gluten sensitivities.
10.How do I press the treats into the pan to get the perfect chewy, non-crumbly texture? ▾
Resist the urge to press the mixture too hard into the pan! Over-compacting crushes the delicate crisp rice and leads to dense, tough treats, while pressing too lightly leaves you with crumbly squares that fall apart. Lightly butter your fingertips or the back of a spatula, then gently press the mixture into an even, level layer without smashing it down.
11.Can I shape these into fun Christmas shapes instead of cutting plain squares? ▾
Absolutely—this is such a fun, kid-friendly activity for casual holiday gatherings. Instead of pressing the mixture into a square pan, let it cool 10 minutes until it’s easy to handle, then butter your hands and press it into greased Christmas cookie cutters (trees, snowmen, candy canes) or roll it into balls for ornament-shaped treats you can decorate with icing.
12.How long will these Christmas Rice Krispie Treats stay fresh after making them? ▾
When stored correctly in an airtight container at cool room temperature (60 to 70°F, away from radiators or sunny windows), these treats will stay perfectly chewy and crisp for up to 3 days. If you add mix-ins like crushed candy canes that can get sticky as they sit, they’re best eaten within 2 days for ideal texture and bright flavor.

Comments (4)

2 hours ago

OMG these were SO easy to throw together for my kid’s class holiday party yesterday! I added a handful of red and green M&Ms on top and everyone was raving, even my own picky 7 year old asked for seconds. 10 minute cook time is no joke — I didn’t even break a sweat getting these done before school drop off. Total game changer for last minute holiday treats!

30 minutes ago

So glad these worked out for the class party, Molly! Love the M&M add-in idea, that’s such a fun extra pop of color and flavor for the holidays. 😊

3 days ago

Made these for our office potluck last week and they were gone in 10 minutes flat. These are SO good, I already got three people asking for the recipe! I swapped regular marshmallows for the peppermint flavored ones for an extra Christmas kick, chef’s kiss. Super straightforward recipe even for someone like me who burns toast half the time lmao.

1 week ago

These are my absolute favorite Christmas treats! Does anyone know if I can make them a day ahead? I’m prepping for our big family Christmas dinner and don’t want to be stuck making treats the same day as the turkey and mashed potatoes. I tried making regular Rice Krispie treats ahead before and they got super hard, so I’m nervous!

5 days ago

I made these 2 days ahead last year! Just store them in an airtight container with a piece of parchment paper between layers and they stay perfectly chewy, no crunch at all. I even added a little extra butter when melting the marshmallows to keep them soft longer.

3 days ago

Great question, Lila! MidwestMama3 is totally right — airtight storage is key. If you want an extra tip, you can place a slice of white bread in the container with the treats for the first 24 hours to help lock in moisture, just make sure it doesn’t touch the treats directly! They’ll stay perfect for 2-3 days stored that way.

2 days ago

My roommates and I made these while we were putting up our tiny dorm Christmas tree and they slapped. We didn’t even have a proper baking pan, just used a disposable aluminum tray from the campus convenience store and they still turned out perfect. 10/10 would make again for our holiday movie night next week.

yesterday

Wait the disposable tray hack is genius! I’ve been putting off making these because I thought I needed all fancy baking gear, gonna grab a tray from the corner store tonight and make em for my floor’s holiday social.



