1.Why do you specify 70% cacao dark chocolate instead of semi-sweet or milk chocolate for this recipe?
▾
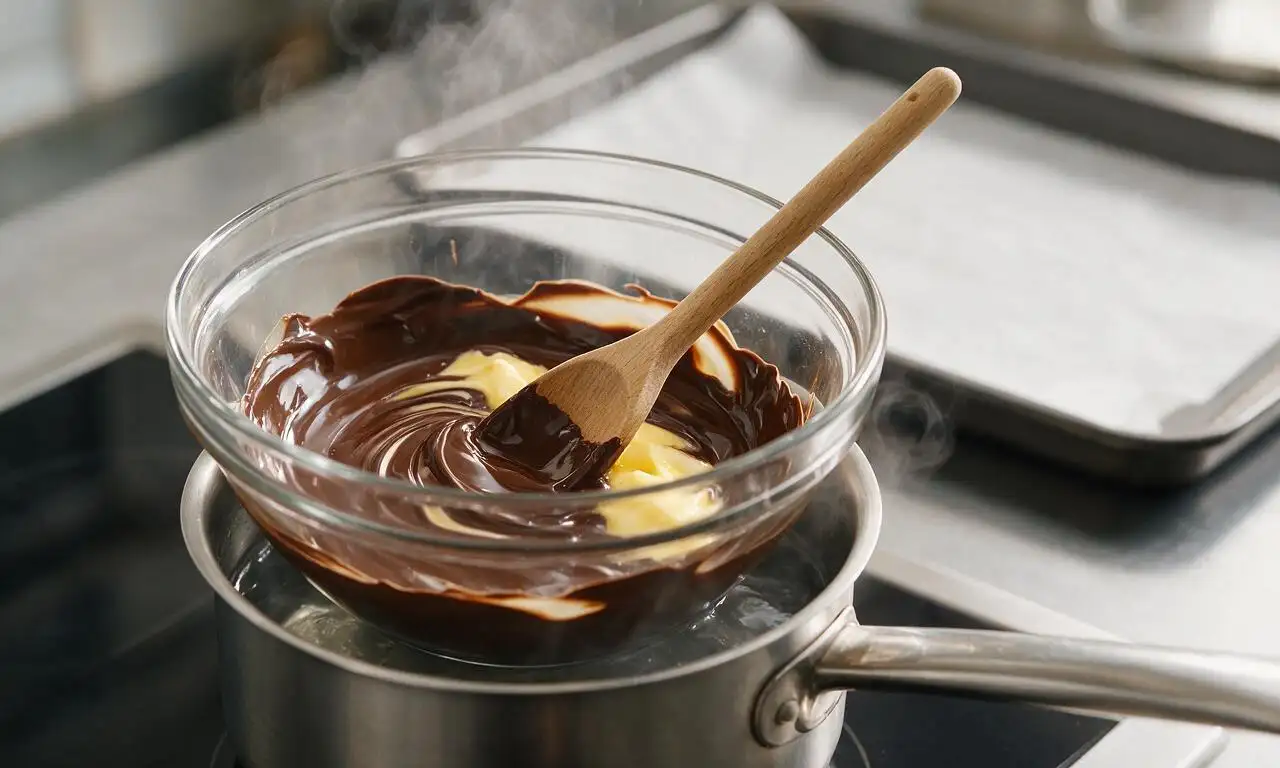
70% cacao dark chocolate delivers deep, robust chocolate flavor without harsh bitterness, perfectly balancing the sweet toasted coconut and granulated sugar in these brownies. Lower cacao chocolates like semi-sweet or milk will make the final bake overly sweet and muddle that signature rich, fudgy depth, while cacao over 80% can come off unpleasantly bitter for most eaters.
2.Do I really need to toast the coconut, or can I use it straight from the bag?
▾
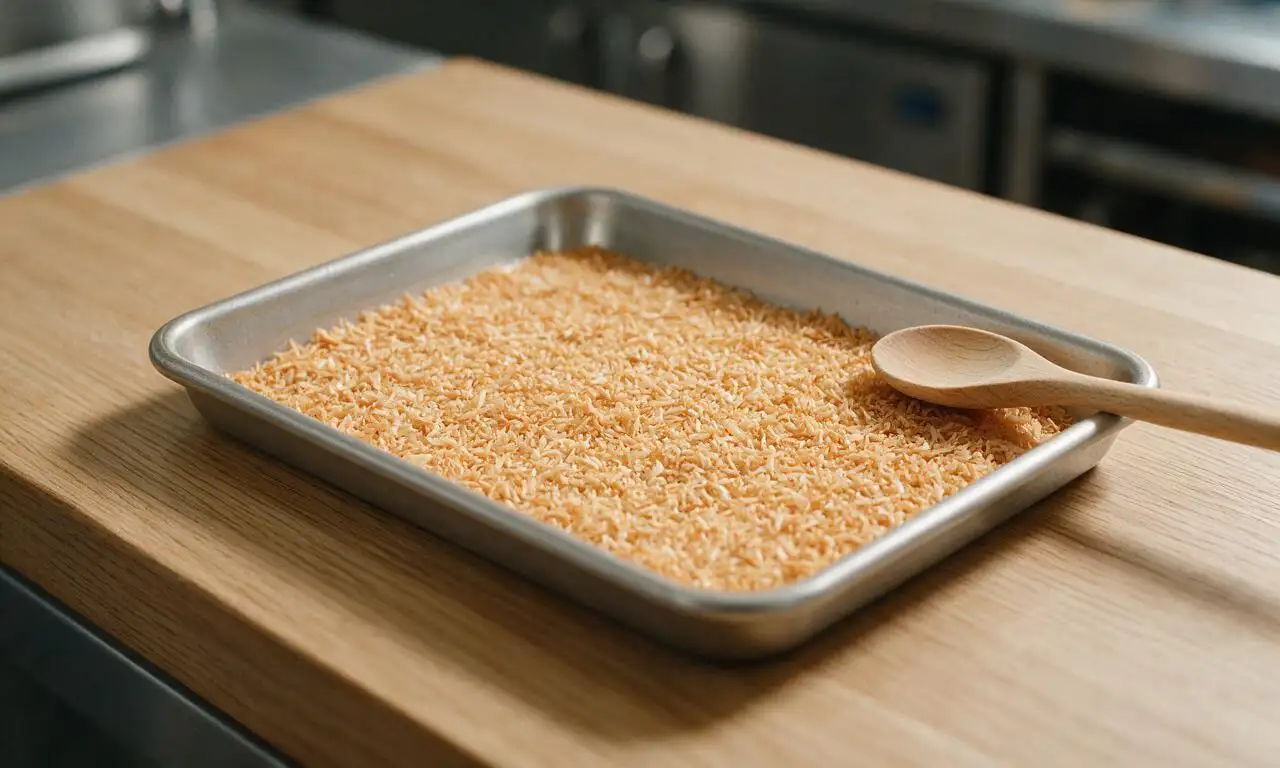
Toasting the coconut is non-negotiable for that signature nutty, warm tropical depth the recipe promises! Raw shredded coconut tastes flat and one-note, while toasting brings out its natural buttery nuttiness that pairs perfectly with dark chocolate. Toast it in a dry pan over medium heat for 3-4 minutes, stirring often, until golden, then cool before adding to batter.
3.Why do the eggs need to be at room temperature for this recipe?
▾
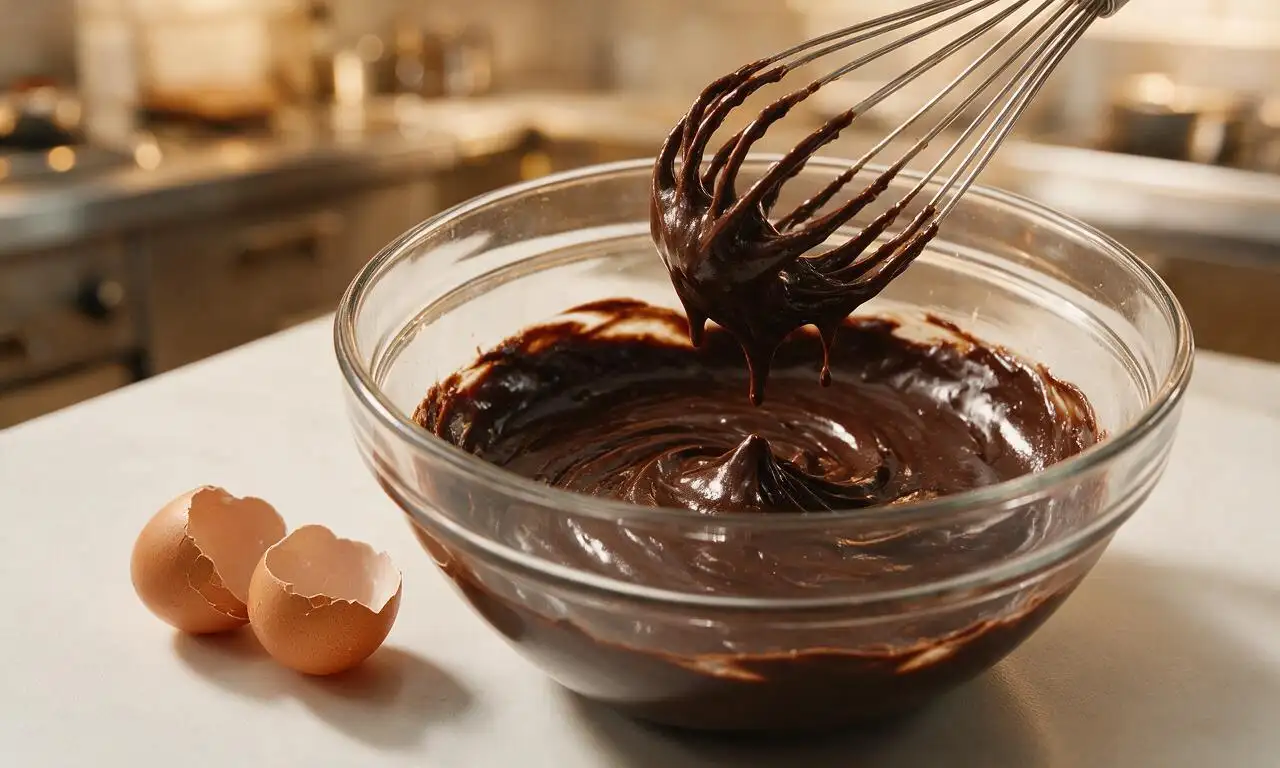
Room temperature eggs mix more smoothly into the melted chocolate and butter batter, creating a uniform, emulsified texture that bakes into that perfect chewy, fudgy crumb. Cold eggs can cause melted fat to seize up, leading to lumpy batter and dense, unevenly baked brownies. If you forget, set eggs in warm tap water for 5 minutes to take the chill off fast.
4.Can I use salted butter instead of unsalted butter in these brownies?
▾
You can use salted butter in a pinch, but cut back any added pinch of salt by ¼ teaspoon per stick of butter to avoid over-salting the final bake. Unsalted butter lets you control exactly how much salt goes into the brownies, so you get that perfect balance of sweet, bitter, and salty without it overpowering the chocolate and coconut flavors.
5.How do I get that super fudgy texture instead of dry, cakey brownies?
▾
For that signature dense, fudgy crumb, avoid over-mixing the batter once you add dry ingredients—over-mixing develops gluten that leads to a cakey, tough texture. Also, pull brownies out when the edges are set but the center still looks slightly underdone; they’ll keep cooking as they cool in the pan, which prevents dry, crumbly results every time.
6.The recipe notes the sweetened shredded coconut is divided—how should I split it up?
▾
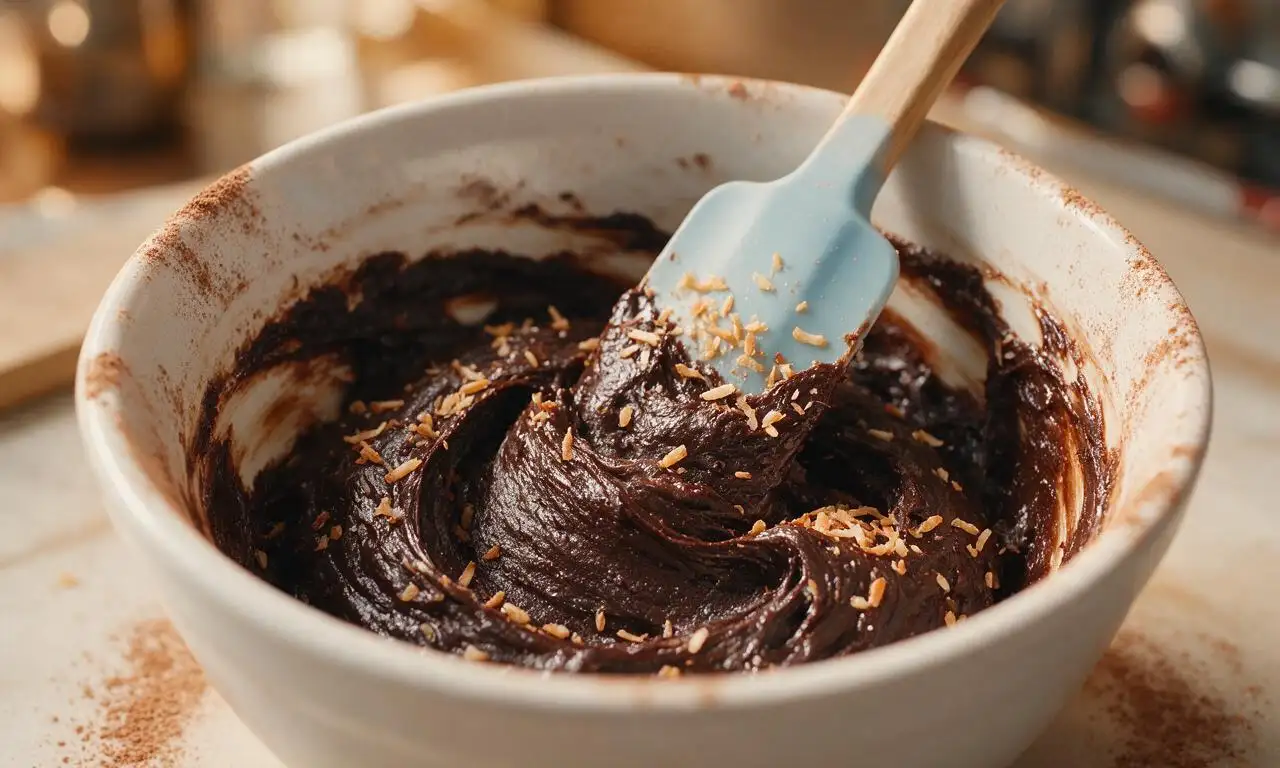
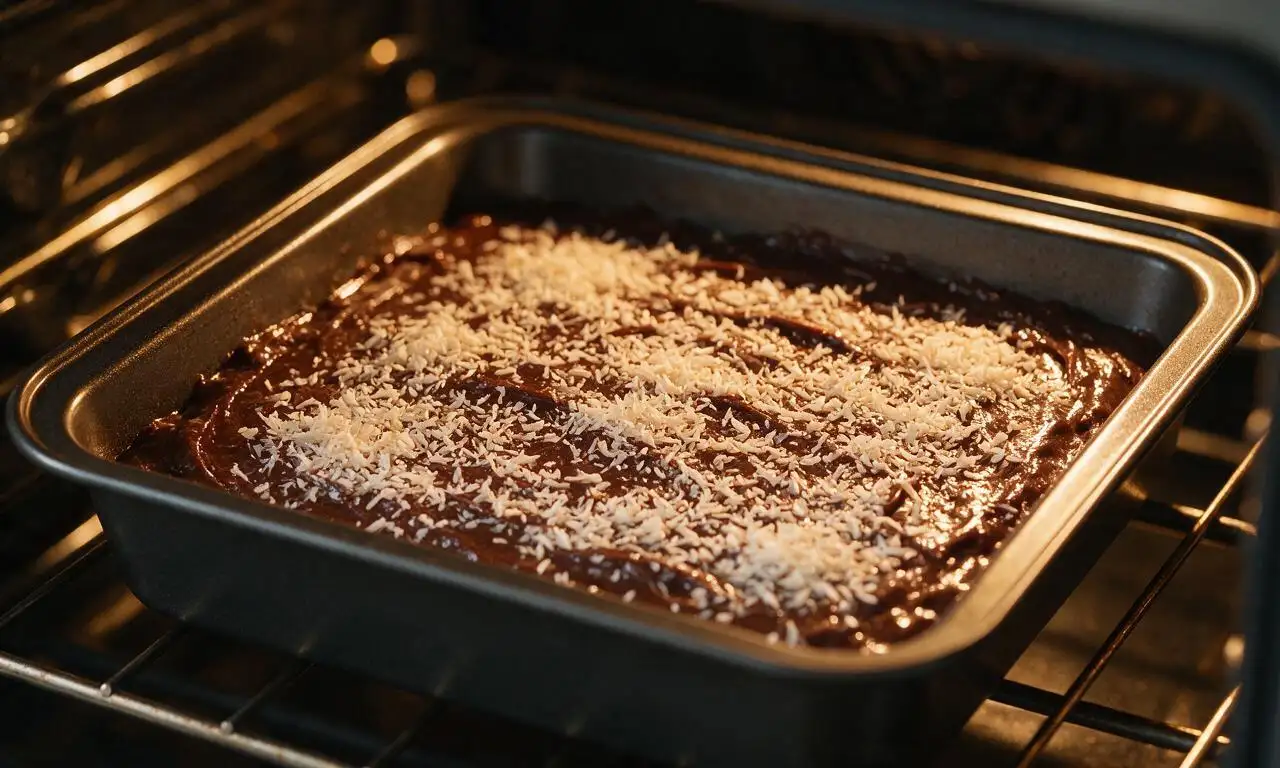
Reserve ¼ of your total sweetened shredded coconut (after toasting!) to sprinkle evenly over the top of the brownie batter right before baking. The remaining ¾ gets gently folded and swirled into the batter itself, so you get coconut in every bite plus a toasty, crunchy coconut top that adds great textural contrast to the fudgy center.
7.Can I use unsweetened shredded coconut instead of sweetened?
▾
You can use unsweetened shredded coconut if that’s what you have on hand, but add 2 extra tablespoons of granulated sugar to the batter to make up for the missing sweetness. Keep a close eye while toasting too—unsweetened coconut browns much faster than sweetened, so it can burn in as little as 2 minutes over direct heat.
8.What size and type of baking pan works best for these brownies?
▾
An 8x8 inch metal baking pan is ideal for this recipe, as it conducts heat evenly to produce chewy, set edges and a perfectly fudgy center. Line it with parchment paper that hangs over two sides like handles, so you can lift the entire cooled brownie slab out easily for clean, even cuts without sticking.
9.How long do these brownies stay fresh, and what’s the best way to store them?
▾
These brownies stay fresh for up to 4 days when stored in an airtight container at room temperature—skip the fridge, as cold temperatures will make the fudgy texture turn dense and hard. If you want to keep them longer, wrap individual slices tightly in plastic and freeze for up to 3 months, thawing at room temp before serving.
10.Can I add extra mix-ins like nuts or chocolate chips to the batter?
▾
Absolutely! Chopped macadamia nuts, extra dark chocolate chips, or even a handful of dried pineapple bits pair beautifully with the toasted coconut and dark chocolate base. Just keep total add-ins to ½ cup or less so you don’t weigh down the fudgy batter or throw off baking time, folding them in gently right before pouring batter into the pan.
11.Why did my coconut burn the last time I tried to toast it?
▾
Shredded coconut has a high natural fat content, so it goes from perfectly golden to burnt very quickly once it hits heat. To avoid this, toast it in a dry skillet over medium-low (not high!) heat, stirring constantly once it starts to turn pale gold, and immediately pour it onto a plate as soon as it’s evenly amber—leaving it in the hot pan makes it keep cooking.
12.Can I adapt this recipe to be gluten-free?
▾
These brownies are super easy to make fully gluten-free, since their rich, fudgy base relies mostly on chocolate, butter, eggs, and sugar rather than large amounts of flour. Just swap any small amount of all-purpose flour in the base for a 1:1 gluten-free all-purpose baking blend with xanthan gum, and confirm your dark chocolate is certified gluten-free to avoid cross-contamination.
13.How do I get clean, neat brownie slices instead of messy, crumbly cuts?
▾
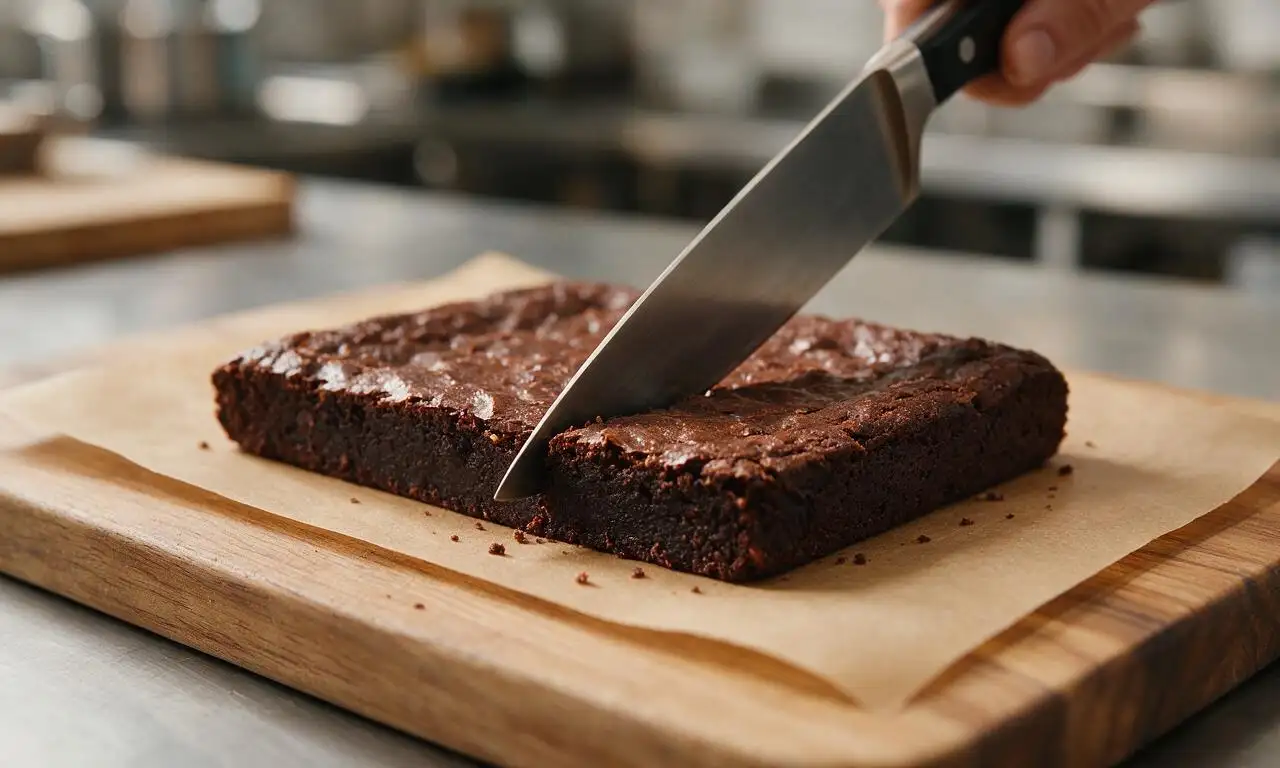
For clean, bakery-worthy cuts, let the brownies cool completely in the pan for at least 1 hour (or chill them for 30 minutes) before slicing. Run a sharp, thin-bladed knife under hot water, wipe it dry, and make a single cut, repeating the hot water wipe between every cut to prevent fudgy residue from tearing the slices.
14.My last batch of brownies turned out cakey instead of fudgy—what did I do wrong?
▾
Cakey brownies almost always come from one of two common missteps: either you over-mixed the batter, which developed excess gluten that creates a light, crumbly cake texture, or you baked them too long. For next time, mix just until no dry streaks remain, and pull them when the center is still slightly jiggly, as residual pan heat will finish setting the fudgy center.
15.Can I swap the unsalted butter for coconut oil to make these dairy-free?
▾
You can swap the unsalted butter for refined coconut oil (skip unrefined unless you want extra strong coconut flavor) in a 1:1 ratio by weight to make these dairy-free. Just make sure your dark chocolate is dairy-free too, and note the texture will be slightly more dense and less buttery, but the fudgy crumb and toasted coconut pairing will still shine.
16.Should I fully mix the toasted coconut into the batter, or leave it in swirls?
▾
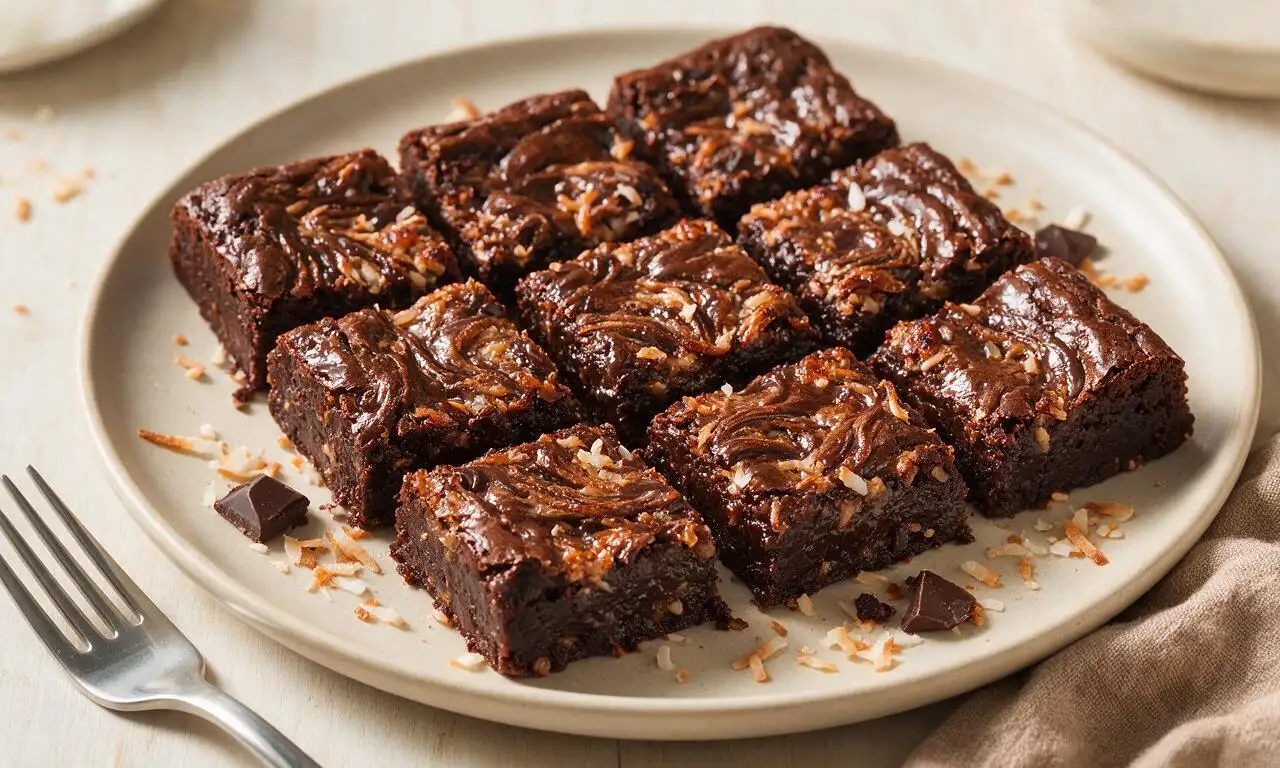
You don’t want to fully stir the toasted coconut evenly into the batter—leave it in loose, thick streaks for the best texture and flavor. Drop spoonfuls of coconut across the top of the poured batter, then drag a butter knife through in wide S-curves to create swirls, so some bites have extra coconut and others have pure, rich fudgy chocolate.
17.Can I make these brownies ahead of time for a party or potluck?
▾
These are ideal for making ahead for gatherings! Bake them up to 2 days before your event, let them cool completely, then keep them tightly covered in their baking pan at room temperature until you’re ready to slice and serve. The flavor actually gets better after a day, as the chocolate and coconut notes meld together for a deeper, richer taste.







OMG these are SO good! I made them for my kid’s soccer team potluck last weekend and every single parent asked for the recipe. The toasted coconut adds the perfect nutty crunch against that fudgy center, total game changer. I did use dark chocolate chips instead of semi-sweet because that’s what I had in the pantry, turned out amazing! My kids even begged me to make a second pan for their after-school snacks this week!
Wow, this was way easier than I thought it would be! I’m a total beginner baker and I pulled these off in 45 minutes flat like the recipe said, no fancy equipment needed. My roommates devoured half the pan before they even cooled all the way lol.
Added these to my weekly meal prep rotation for dessert snacks! I cut them into 2-inch squares and stashed them in the fridge, they stay perfectly fudgy for almost a week. The coconut on top keeps them from feeling too rich, even when I grab one as a midweek treat after work. Only reason I’m not giving 5 stars is I wish the coconut flavor was a little stronger, but that’s just my personal preference! Still super tasty and easy to make.
I’ve made these twice before and they’re easily my go-to brownie recipe! Quick question though: has anyone tried making these with a 1:1 gluten free flour blend? My sister is celiac and I want to bring these to our family dinner next week, they’re too good to pass up!
Bro, these brownies are insane. I thought regular fudgy brownies couldn’t get better but the toasted coconut? *Chef’s kiss.* I brought a pan into my office and they were gone in 10 minutes flat, people were fighting over the last corner piece.
Full transparency: I HATE coconut usually, but my best friend made these for our game night and I ate three in one sitting. The toasting takes away that weird chewy raw coconut texture I can’t stand, it just adds this warm, nutty flavor that pairs so well with the dark chocolate fudge. I’m actually making my own pan tonight!
Made these for a neighborhood cookout over the weekend and got so many compliments! I sprinkled a little extra flaky sea salt on top right before pulling them out of the oven and it took the flavor to the next level, the sweet-salty combo with the coconut is unreal. Will absolutely be making these again for my next potluck, they’re way easier than bringing cookies or a layer cake.