
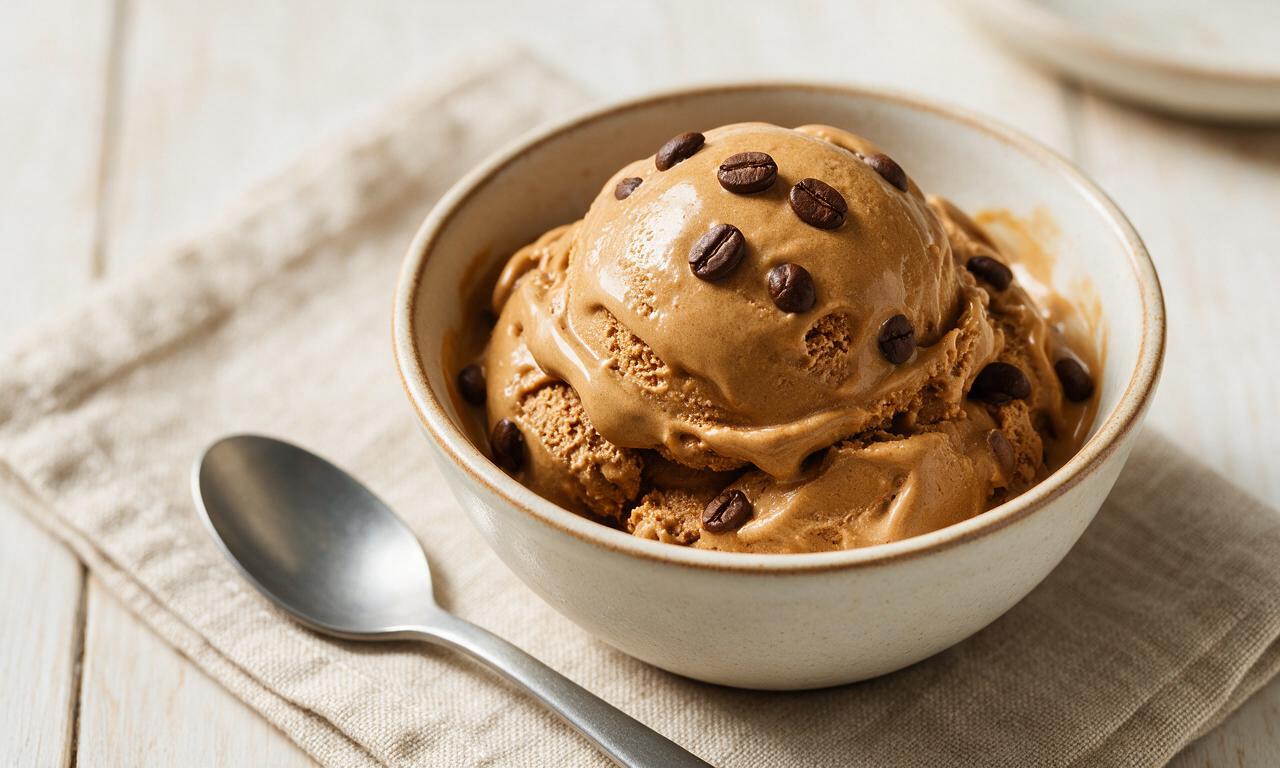
Coffee Ice Cream

Coffee Ice Cream
⏱️ cook time 6 hours 30 minutes
🍽️ servings 4
⚡ Difficulty medium

intro

Rich, smooth custard-based coffee ice cream with bold roasted coffee notes, boasting a luxuriously creamy, ice-free texture perfect for hot summer days.

Ingredients

Heavy whipping cream 480 ml (2 cups)
Whole milk 240 ml (1 cup)
Large egg yolks 4 (72 grams total)
Finely ground medium-dark roast coffee 2 tablespoons (10 grams)
Granulated sugar 100 grams (1/2 cup)
Pure vanilla extract 1 teaspoon (5 ml)
Fine sea salt 1/4 teaspoon (1 gram)

Steps

1

Steep coffee in dairy

Combine 480ml heavy whipping cream, 240ml whole milk, 50g (half the total) granulated sugar, and 2 tablespoons finely ground medium-dark roast coffee in a 2L saucepan. Heat over medium-low heat, stirring occasionally, until the mixture reaches 70°C (160°F) and small bubbles form around the pan edges, about 5 minutes. Remove from heat, cover, and let steep for 10 minutes to fully extract roasted coffee flavor.
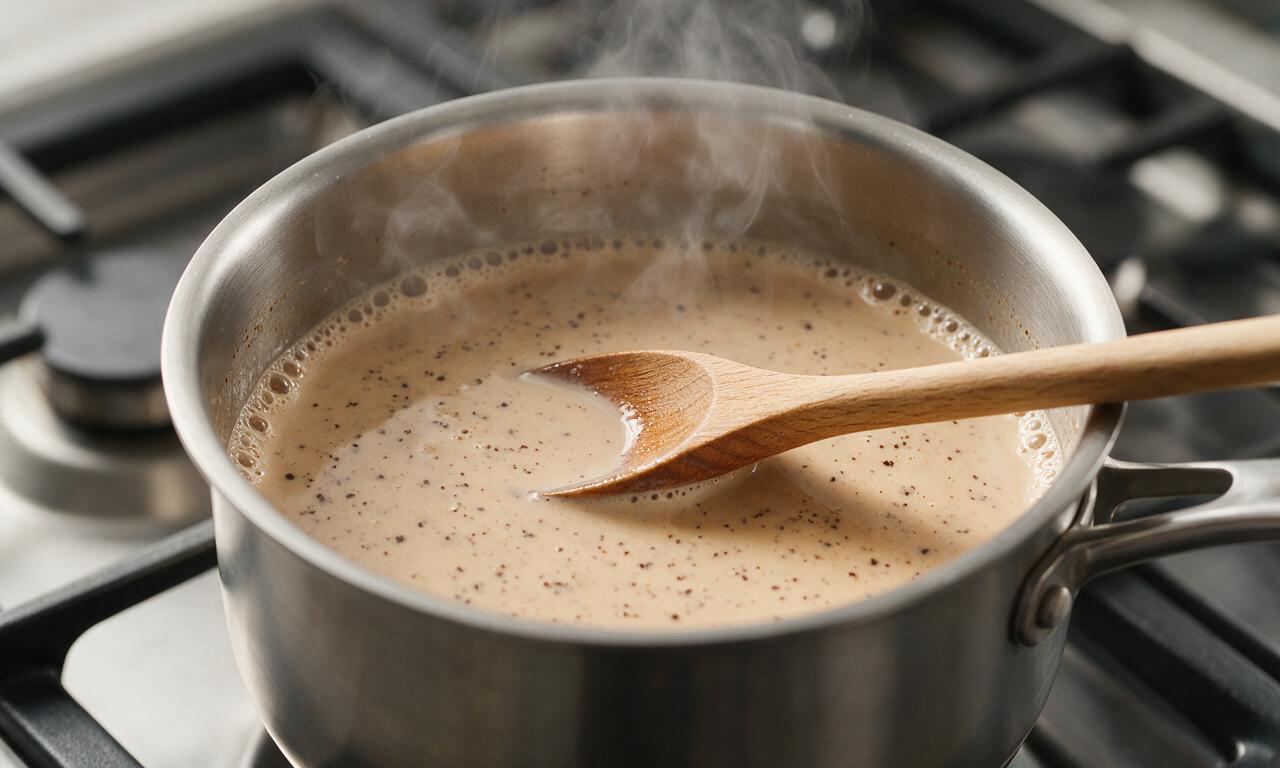
Step 1
step1:Steep coffee in dairy
2

Temper egg yolk mixture

While the coffee dairy steeps, whisk 4 large egg yolks, the remaining 50g granulated sugar, and 1/4 teaspoon fine sea salt in a medium heatproof glass bowl for 2 minutes until the mixture turns pale lemon yellow, thickens, and falls in slow, wide ribbons from the lifted whisk. Once steeping is complete, slowly pour 120ml (1/2 cup) of the warm coffee-infused dairy into the egg mixture while whisking nonstop to prevent egg curdling.
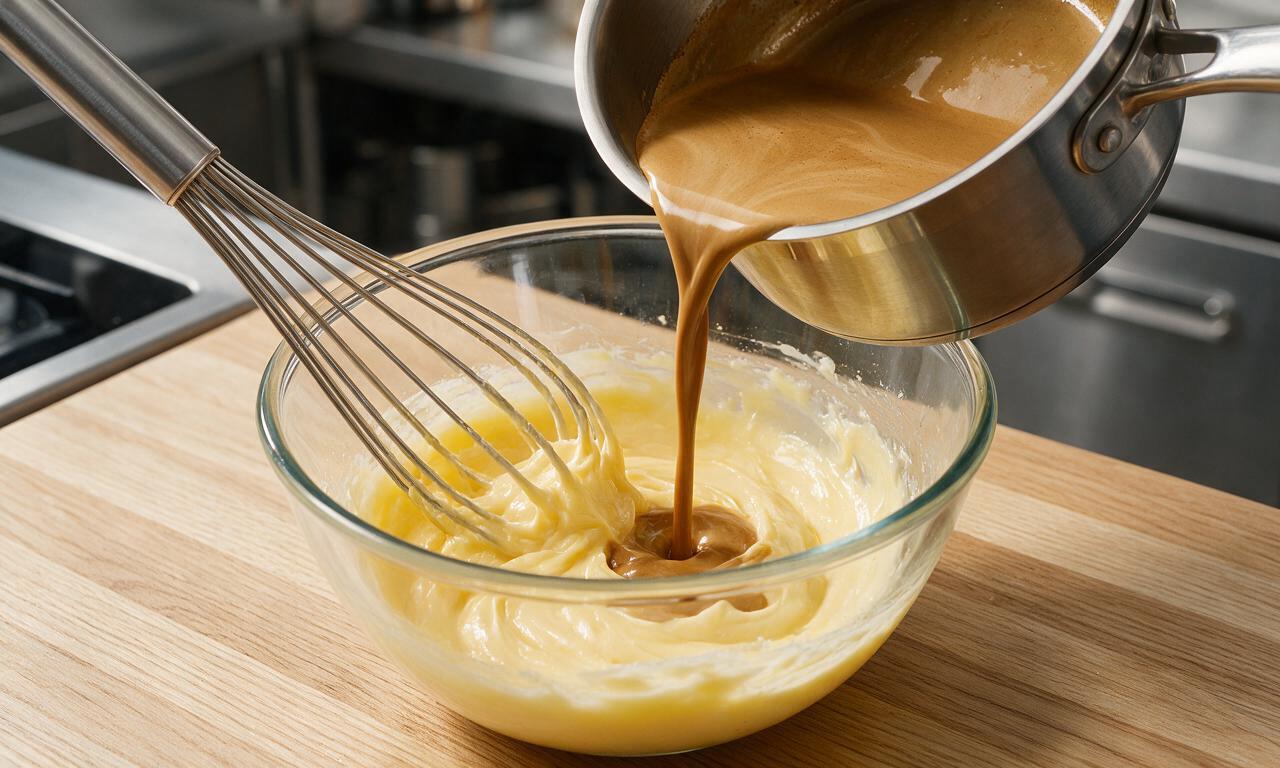
Step 2
step2:Temper egg yolk mixture
3

Cook the custard base

Pour the tempered egg mixture back into the saucepan with the remaining coffee dairy, stirring to fully combine. Cook over medium-low heat, stirring constantly with a silicone spatula and scraping the entire bottom of the pan to avoid burning, for 3 to 4 minutes until the custard reaches 82°C (180°F) and thickens enough to coat the back of the spatula; a line drawn through the coating with a finger will hold its shape without running. Do not allow the mixture to boil, as high heat will curdle the egg yolks.
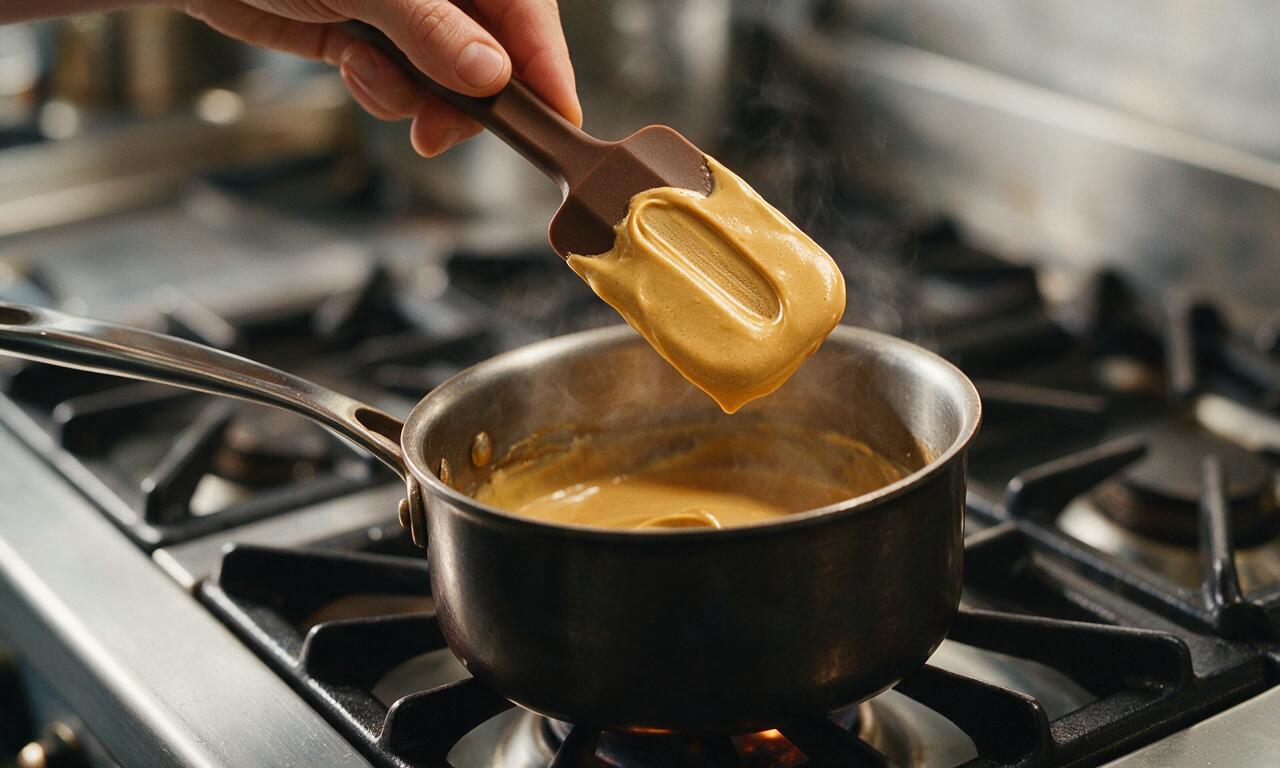
Step 3
step3:Cook the custard base
4

Strain and chill custard

Set a fine-mesh sieve lined with 2 layers of cheesecloth over a clean 1L glass bowl, then pour the hot custard through the sieve to strain out coffee grounds and any small curdled egg bits. Stir in 1 teaspoon pure vanilla extract. Press a sheet of plastic wrap directly onto the surface of the warm custard to prevent a thick skin from forming as it cools, then refrigerate for a minimum of 4 hours (up to 24 hours) until the base is completely chilled to 4°C (40°F).
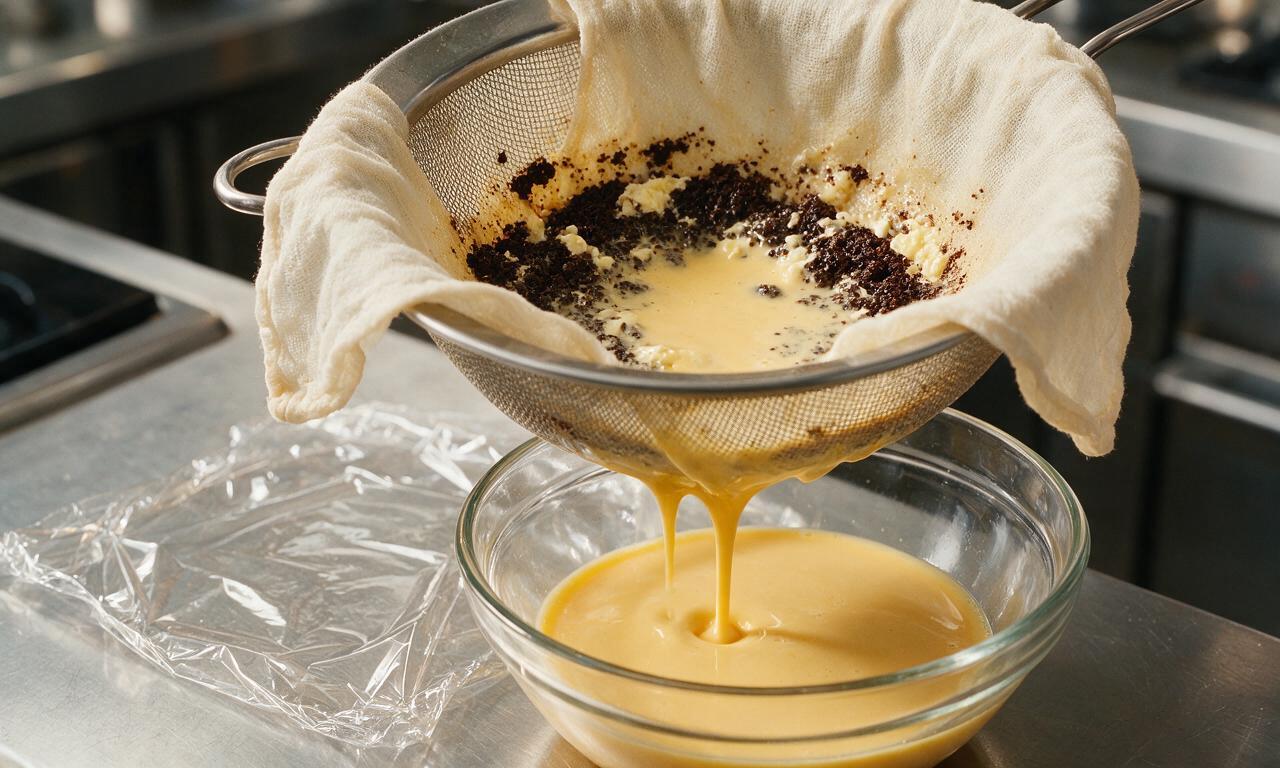
Step 4
step4:Strain and chill custard
5

Churn the ice cream

Remove the fully chilled custard from the refrigerator, peel off the plastic wrap, and pour the cold base into a pre-frozen ice cream maker canister. Churn per the manufacturer’s instructions for 20 to 25 minutes, until the ice cream reaches a thick soft-serve consistency that holds soft peaks when lifted with the machine’s dasher.
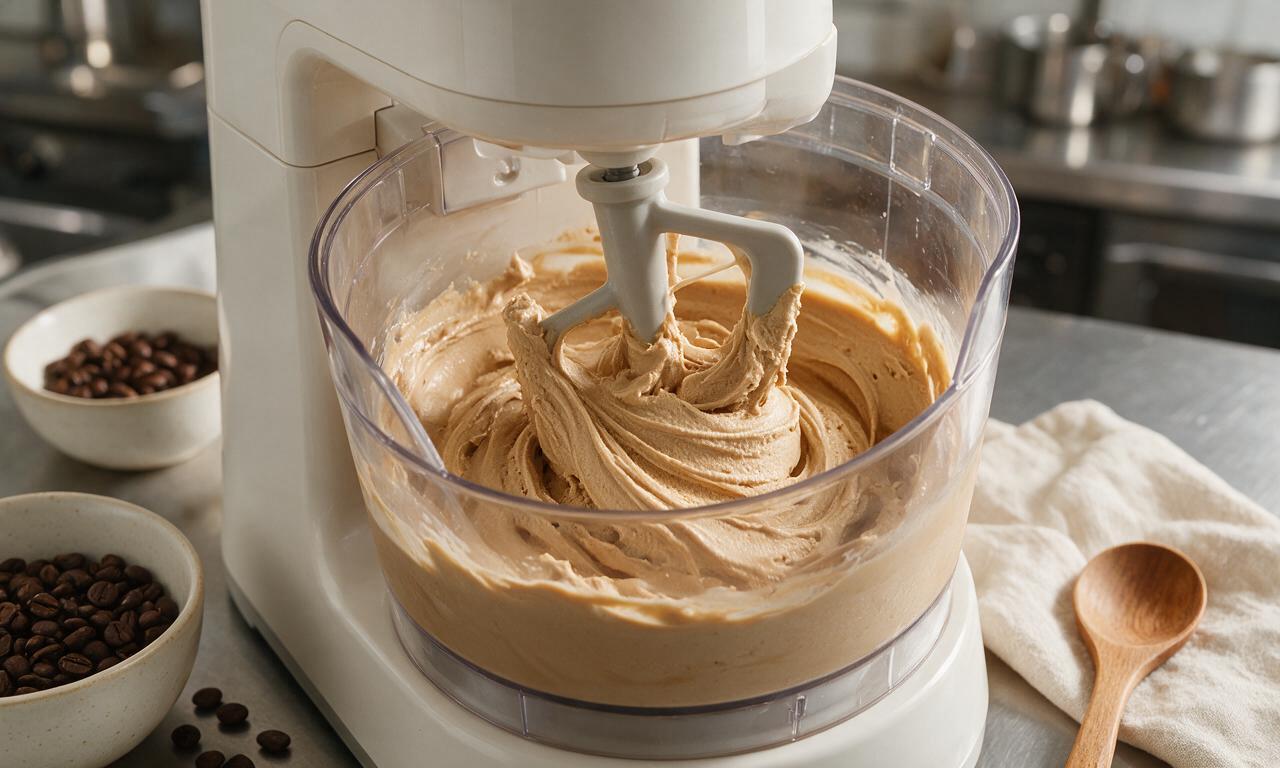
Step 5
step5:Churn the ice cream
6

Freeze to scoopable firmness

Transfer the churned soft ice cream into a 1L (1 quart) lidded freezer-safe plastic container, smoothing the top surface evenly with a small offset spatula. Press a square of parchment paper directly onto the exposed ice cream surface to block air contact and prevent ice crystal formation, seal the container lid tightly, and freeze for 2 hours until the ice cream is firm enough to scoop into clean rounds. Store for up to 2 weeks in the freezer.
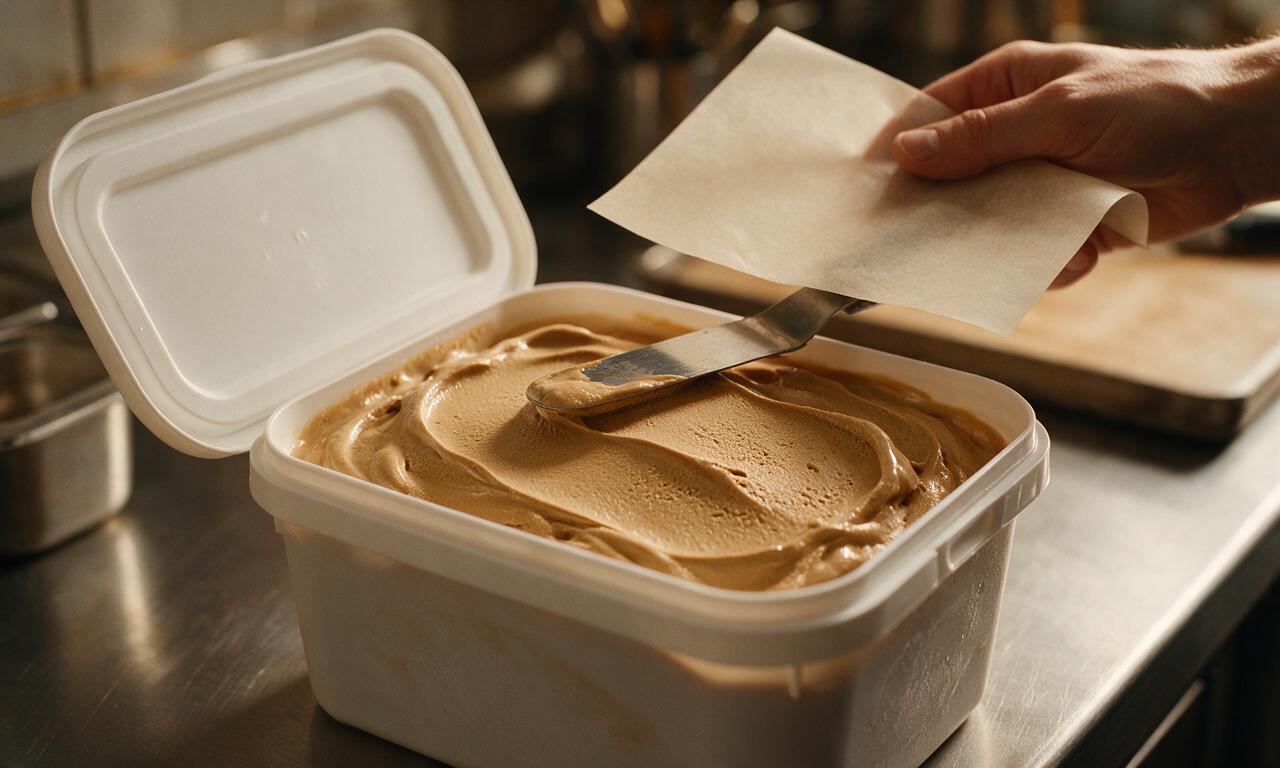
Step 6
step6:Freeze to scoopable firmness

Tips

1.Pre-freeze your ice cream maker canister for a full 24 hours before churning; a partially thawed canister will not freeze custard quickly enough, resulting in large, crunchy ice crystals instead of a smooth texture.
2.For a more robust coffee flavor, replace 60ml (1/4 cup) of whole milk with cold brew concentrate, or stir 1 teaspoon of instant espresso powder into the warm custard before straining.
3.Always press plastic wrap or parchment directly onto the surface of chilling custard and stored ice cream; exposed surfaces develop dry, icy skins that ruin the dessert’s luxuriously smooth mouthfeel.


✨ You May Also Like

Desserts & Baking
🍜 Italy

Creamy, coffee-kissed classic Northern Italian no-bake dessert, with layers of rum-spiked mascarpone cream, soft ladyfingers, and a rich cocoa dusting.

⏱️ 4 hours 3Desserts & Baking ★ 4.8
Desserts & Baking
🍜 France

Flaky, shatteringly crisp, buttery French croissants with golden exteriors and soft, airy layered interiors, perfect for pairing with coffee for a special morning treat.

⏱️ 12 hours Desserts & Baking ★ 4.7
Desserts & Baking
🍜 United States

Warm, spiced baked apples topped with a fluffy golden biscuit crust, this cozy dessert pairs perfectly with vanilla ice cream for cool-weather comfort.

⏱️ 55 minuteDesserts & Baking ★ 4.7
Desserts & Baking
🍜 United States

A star-spangled classic American blueberry pie with buttery flaky crust and bright sweet-tart filling, perfect for summer patriotic gatherings.

⏱️ 1 hour 25Desserts & Baking ★ 4.8
Desserts & Baking
🍜 United States

A beloved no-bake regional Maine candy with a chewy coconut-potato center coated in rich dark chocolate, a New England holiday staple since the 1870s.

⏱️ 2 hours 3Desserts & Baking ★ 4.9
Desserts & Baking
🍜 France

Luxuriously creamy, floral frozen custard made with aromatic Tahitian vanilla beans, boasting a smooth, rich texture that melts slowly on the tongue.

⏱️ 3 hours 3Desserts & Baking ★ 4.6

Coffee Ice Cream:Frequently Asked Questions

1.Why does this recipe use an egg custard base instead of a quick no-cook, no-egg version?
The egg yolk custard base is the secret to that luxuriously smooth, ice-free texture I love! Egg yolks act as a natural emulsifier, binding fat and water together to stop large, grainy ice crystals from forming, while adding a rich, velvety mouthfeel no-cook, egg-free versions can never quite match, even with extra cream.
2.What coffee roast works best for the most balanced, best-tasting ice cream?
Stick with finely ground medium-dark roast, just like the recipe notes, for the most well-rounded coffee flavor! Light roasts taste overly acidic and grassy in the frozen base, while extra-dark French roast can come off as bitter or burnt once steeped. You don’t need fancy specialty beans—your regular daily brew works perfectly.
3.How do I avoid scrambling the egg yolks when I’m cooking the custard?
Low, slow heat and constant stirring are non-negotiable here! Heat the milk, cream, and coffee first, then slowly whisk a small splash of that hot liquid into your beaten egg yolks to temper them before adding them back to the pot. Never let the custard boil, and pull it off heat the second it coats the back of a spoon.
4.Do I need a dedicated ice cream maker to get that creamy texture, or can I make this no-churn?
For the exact smooth, low-ice texture this recipe promises, an ice cream maker is ideal—it constantly churns the base as it freezes to break up tiny ice crystals before they grow large and grainy. If you don’t have one, stir the base vigorously every 45 minutes for 4–5 hours as it freezes, though the texture won’t be quite as luxuriously velvety.
5.Can I use instant coffee instead of finely ground roasted coffee if that’s all I have on hand?
You absolutely can in a pinch! Swap the finely ground roast for 2 to 3 tablespoons of good-quality instant coffee or espresso powder, adjusting to taste for stronger or milder flavor. Skip the steeping step and just stir the instant coffee directly into the warm custard base until it fully dissolves before chilling.
6.How long do I need to chill the custard base before churning it?
For the creamiest final result, chill your fully cooked, strained custard for a minimum of 4 hours, and ideally overnight, in the fridge. A warm or room-temperature base will freeze too slowly in the ice cream maker, leading to larger ice crystals and a crumbly, grainy texture instead of that smooth, scoopable consistency you want.
7.Why do I need to strain the custard after cooking it?
Straining serves two key, practical purposes! First, it catches any tiny bits of scrambled egg that might have formed even if you were careful tempering, so you don’t get lumps in your finished ice cream. Second, it strains out fine coffee grounds, so you get a smooth, velvety bite instead of a gritty, sediment-heavy texture.
8.How long will this ice cream stay fresh and creamy stored in the freezer?
Stored in a tightly sealed, airtight container with a piece of plastic wrap pressed directly to the ice cream’s surface to block ice crystals, it will stay fresh and creamy for up to 2 weeks. After that, it’s still safe to eat, but you’ll notice larger ice crystals forming and the bold coffee flavor fading over time.
9.Can I add mix-ins like chocolate chips or toasted nuts to this recipe?
Absolutely! Mix-ins work beautifully here, just add them during the last 2 to 3 minutes of churning, once the ice cream is already thick and soft-serve consistency. Great pairings include mini dark chocolate chips, toasted chopped walnuts, crushed espresso beans, or a fudge swirl—just skip very wet mix-ins that form ice chunks.
10.Why is my finished ice cream rock hard and impossible to scoop straight from the freezer?
Homemade ice cream doesn’t have the artificial stabilizers and gums store-bought brands use, so it freezes firmer than grocery store pints! For easy, smooth scoops, let the container sit on the counter for 5 to 7 minutes before serving. Storing it in the cold, consistent back of the freezer also prevents excess hardness.
11.Can I make this recipe decaf to serve to kids or people avoiding caffeine?
You can easily make this fully decaf without losing any of that rich roasted coffee flavor! Just swap the regular medium-dark roast grounds for an equal amount of finely ground decaf medium-dark roast, or use decaf instant espresso powder. The flavor will be nearly identical, with only trace caffeine, perfect for evening servings or sensitive eaters.
12.How do I prevent a tough skin from forming on the custard as it chills in the fridge?
That rubbery skin forms when the top layer of custard is exposed to cool air and loses moisture as it chills. The easy, foolproof fix is to press a piece of plastic wrap directly onto the surface of the warm custard right after you strain it, before putting it in the fridge, making sure there are no air gaps.
13.Can I use low-fat milk or light half-and-half instead of heavy cream to cut calories?
I don’t recommend swapping heavy cream for lower-fat dairy if you want that signature creamy texture! The high fat content in heavy cream prevents large ice crystals from forming and creates that luxe, rich mouthfeel. Using low-fat milk will result in an icy, crumbly, watery ice cream that lacks that indulgent, smooth bite.
14.How strong is the coffee flavor? Can I adjust it if I prefer a milder taste?
The base recipe has a bold, balanced roasted coffee flavor that’s noticeable but not overpowering, similar to a creamy cafe latte. If you prefer a milder taste, cut the ground coffee back by 1 to 1.5 tablespoons. Taste the warm custard before chilling—you can always stir in a little extra coffee if you want a stronger kick.

Comments (5)

2 days ago

OMG this coffee ice cream is a total game changer! I made it for our weekend potluck and everyone was begging for the recipe. It’s so rich and creamy, no weird icy texture like other homemade ice creams I’ve tried. I used a dark roast cold brew for the coffee flavor and it was *chef’s kiss*. My kids even asked for seconds before they finished their burgers! SO good.

yesterday

Wait, did you churn this for the full time the recipe says? I tried a different homemade coffee ice cream a few weeks back and it came out super grainy, I’m nervous to waste good heavy cream on a flop!

2 hours ago

Hi there! To avoid that grainy texture, make sure your custard base is fully chilled before churning (we recommend at least 4 hours in the fridge, overnight is even better!) and don’t over-churn it. So happy the recipe was a hit at your potluck, Sarah!

3 days ago

Really solid coffee ice cream recipe! Flavor was spot on, just as good as the fancy $7 pint from the local creamery. Only reason I’m knocking off a star is the total time felt super long — I forgot to plan ahead and had to wait forever for it to harden in the freezer after churning. Next time I’ll make the base the night before so I don’t have to hang around waiting. Tastes amazing in an affogato though, 10/10 for that use case.

2 days ago

Thanks for the honest feedback, Jake! You’re totally right that prepping the custard base the night before cuts down on wait time so much, and it actually helps the coffee flavor deepen too. The affogato idea sounds chef’s kiss, I’ll have to try that myself this weekend!

1 week ago

My whole family went crazy for this! I made it for our Sunday family dinner and even my picky 7 year old who swears he ‘hates coffee flavored stuff’ ate two bowls. I added a handful of mini chocolate chips when it was almost done churning and it was the perfect little add-in. No store bought ice cream for us this summer, this is our new go-to!

5 days ago

Oh the mini chocolate chip add-in sounds genius! Did you fold them in by hand after churning or let the ice cream maker stir them in at the end? I’m thinking of adding some toasted pecans too for a little crunch.

3 days ago

Love the creative mix-ins, both chocolate chips and toasted pecans sound incredible! A quick tip for anyone adding mix-ins: fold them in by hand during the last 2-3 minutes of churning to keep them evenly distributed so they don’t all sink to the bottom of the container.

5 days ago

Taste was great, but I ran into an issue with the custard base curdling when I was heating it on the stove. I followed the temp instructions exactly but still ended up with little scrambled egg bits that I had to strain out. It turned out fine after straining, but it was definitely a stressful step for someone who doesn’t make custard based ice cream a lot. Might try a no-cook version next time but I can’t deny the end result was creamy.

3 days ago

So sorry the custard step gave you trouble, Mike! It can definitely be tricky the first couple times — keeping the heat on medium-low and stirring constantly while it heats helps prevent curdling, and as you found out, straining the base works perfectly to catch any little bits if it does happen. Glad the end result was still creamy for you!

30 minutes ago

Just pulled this out of the freezer after letting it harden and WOW. I used instant espresso powder because I didn’t have cold brew on hand and it worked perfectly! It’s so smooth, not too sweet, the coffee flavor is strong but not bitter. I’m already planning to make a second batch next weekend for my roommate’s birthday, she’s obsessed with coffee ice cream so I know she’ll lose her mind over this. 10/10, will be making this all summer.



