1.Why do I need to use light-roast single-origin beans instead of my usual dark roast blend?
▾
Light roasts preserve the delicate, terroir-driven notes—think jasmine, bright citrus, stone fruit, or honey—that third wave pour-over is designed to showcase. Dark roasts carry heavy, roasty char notes that overpower those subtle, unique bean flavors, so opt for beans roasted within the last 2–4 weeks for the brightest, most aromatic results.
2.What type of filter works best for third wave pour-over?
▾
Oxygen-bleached paper filters are the standard for third wave pour-over, as they trap nearly all fine sediment and bitter coffee oils to deliver that signature clean cup. If you prefer a slightly heavier mouthfeel, use a high-quality metal mesh filter, just note it will let more oils through for a less crisp, more rounded brew. Always rinse paper filters first to remove papery aftertaste.
3.What’s the ideal water temperature for brewing this pour-over?
▾
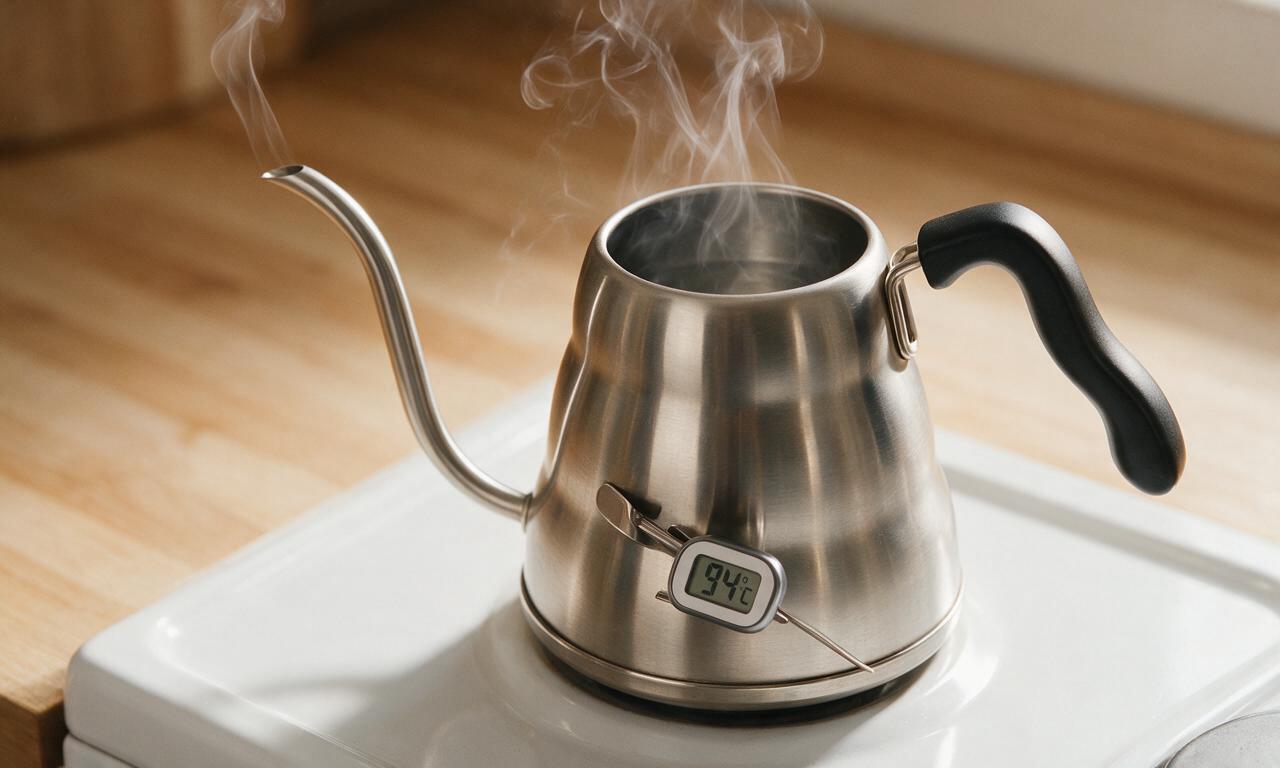
Aim for 195–205°F, which is just off a rolling boil—if you don’t have a thermometer, let your kettle sit for 30 seconds after it reaches a full boil before pouring. Water that’s too hot extracts bitter, astringent compounds, while water that’s too cold leads to flat, sour, under-extracted coffee that lacks bright terroir notes.
4.What coffee-to-water ratio should I use for the most balanced flavor?
▾
The gold standard for balanced third wave pour-over is a 1:16 ratio, meaning 1 gram of coffee for every 16 grams of filtered water. For a standard 12-oz mug, that’s roughly 22 grams of coffee (about 3–4 tablespoons of medium-fine grounds) to 350 grams of water. Nudge the ratio to 1:15 for a bolder brew, 1:17 for milder, brighter results.
5.How fine should I grind my beans for pour-over?
▾
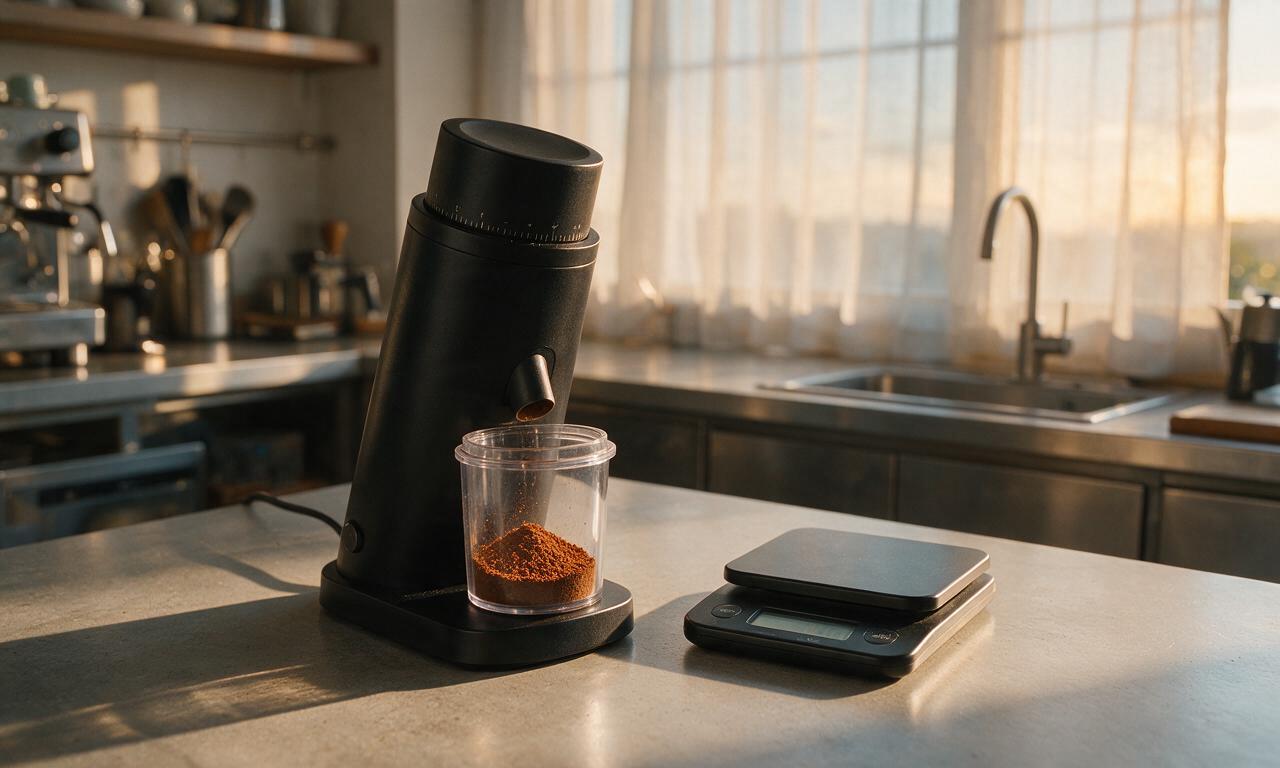
Grind to a medium-fine consistency, roughly the texture of coarse table salt or fine beach sand. If your grind is too fine, water will drain too slowly, leading to over-extracted, bitter coffee. If it’s too coarse, water will rush through too fast, leaving thin, sour, under-flavored brew. Always grind right before brewing for the freshest results.
6.Why is filtered water required instead of regular tap water?
▾
Tap water often has chlorine, mineral imbalances, or off-flavors that completely mask the delicate, nuanced notes of your single-origin beans. Filtered cold water has a consistent, neutral mineral profile that lets the bean’s natural terroir shine. Skip distilled water too, as it lacks the trace minerals needed to pull out balanced, pleasant flavors.
7.What’s the coffee "bloom" step, and why is it so important?
▾
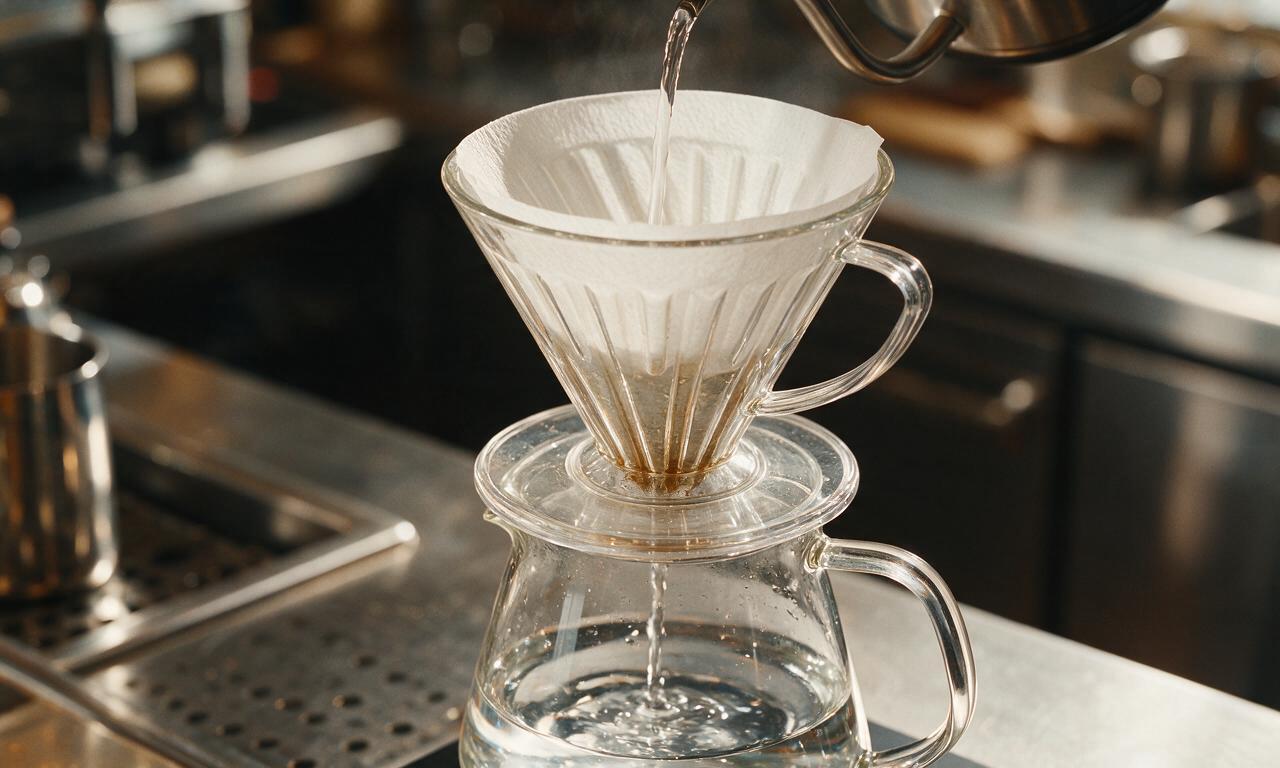
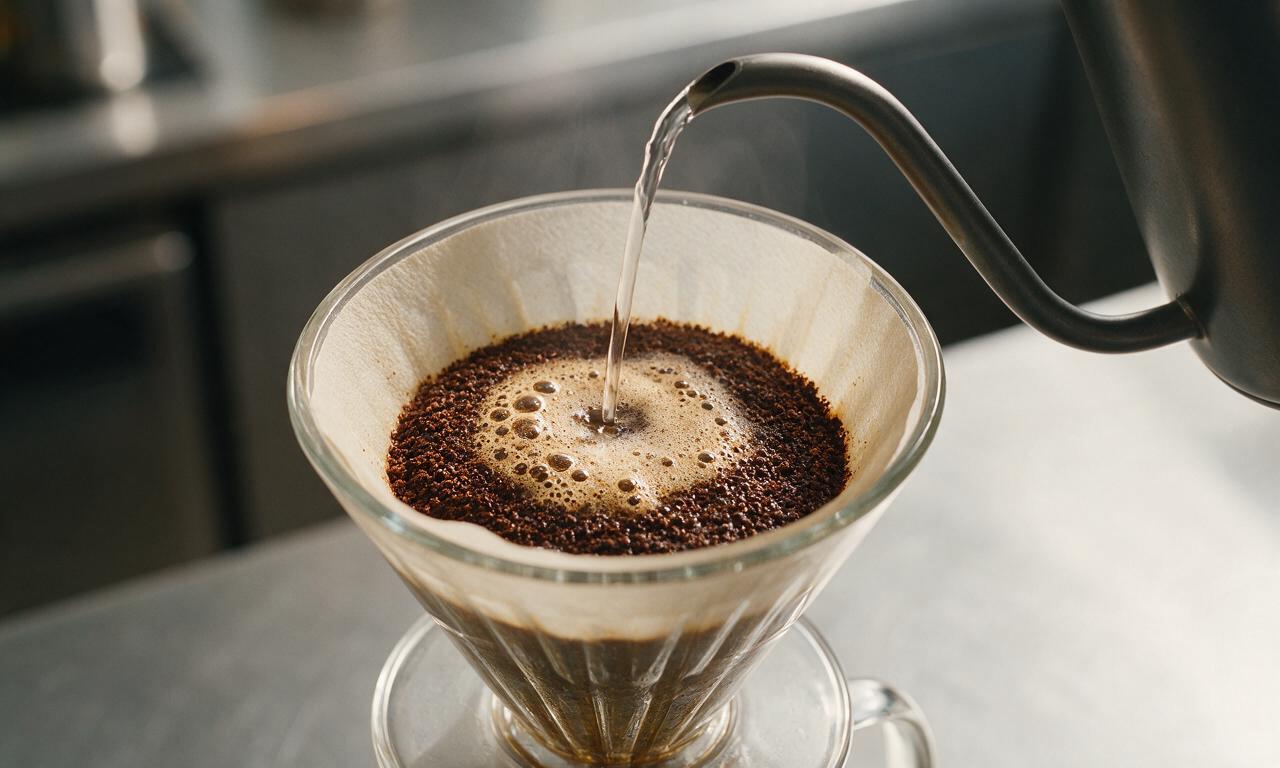
The bloom is the first short pour, where you douse grounds with just enough water to saturate them (about twice the weight of your coffee) and wait 30–45 seconds. This releases trapped carbon dioxide from freshly roasted beans, prevents bubbling that blocks even extraction, and helps you avoid uneven, sour, or bland spots in your finished cup.
8.Can I use pre-ground coffee if I don’t own a burr grinder?
▾
You can, but your results won’t be quite as vibrant or nuanced. Pre-ground coffee stales much faster, losing those delicate floral and fruit notes within a week of grinding, even in a sealed bag. If pre-ground is your only option, pick a bag marked for pour-over brew, use it within 2 weeks of opening, and expect a slightly flatter, less aromatic cup.
9.How slow should I pour the water during the brewing process?
▾
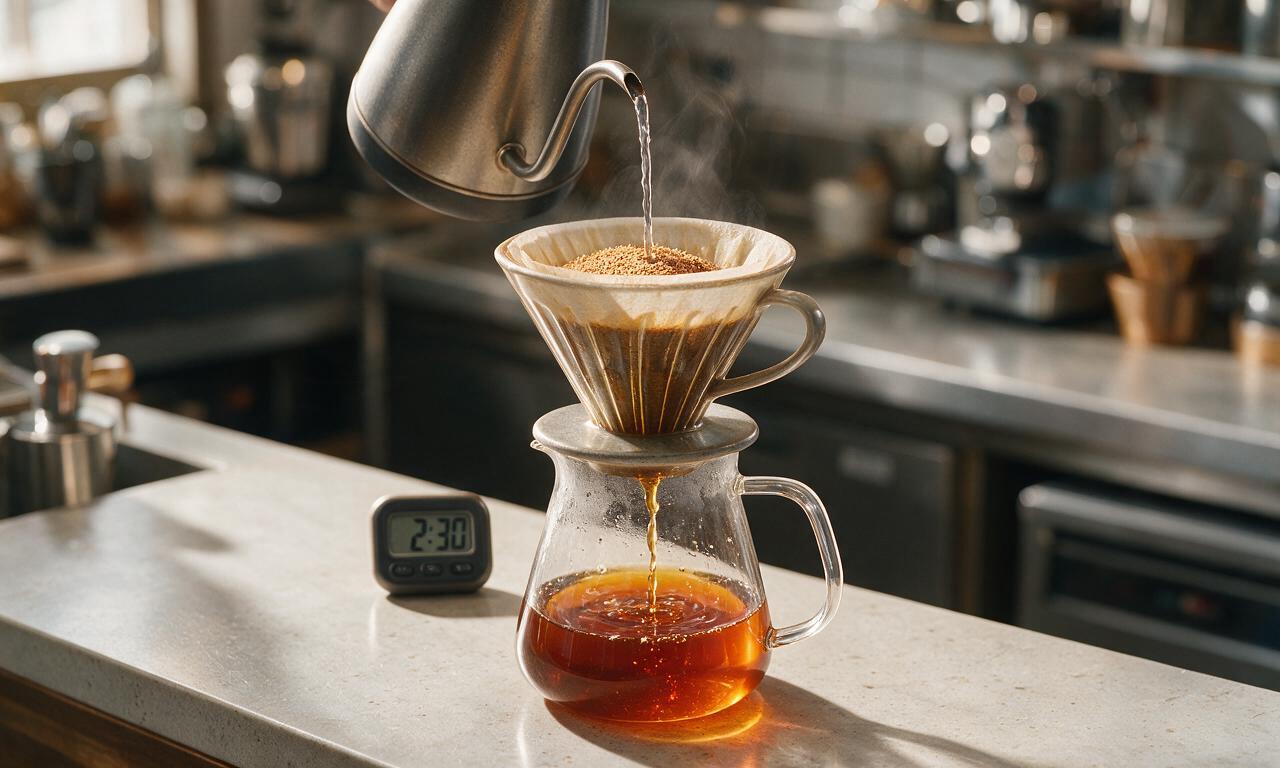
Pour in slow, steady, circular motions, starting from the center of the grounds and working out to the edges, avoiding pouring directly down the filter sides. Aim to finish your total pour (after the bloom) in 2.5–3 minutes total. Pouring too fast causes under-extraction, while pouring too slowly leads to bitter, over-extracted results.
10.Why does my pour-over always come out either too sour or too bitter?
▾
Sour, sharp flavor almost always signals under-extraction: your grind is too coarse, your water is too cold, or you poured too fast. Bitter, astringent, dry-tasting coffee means over-extraction: your grind is too fine, your water is too hot, or your brew time dragged too long. Tweak one variable at a time (start with grind size!) to dial in balance.
11.Do I need a fancy gooseneck kettle to make this correctly?
▾
A gooseneck kettle makes it much easier to control your pour speed and target specific areas of the coffee bed for even extraction, but it’s not strictly required. If you don’t have one, use a small spouted pitcher or regular kettle with a narrow spout, just take extra care to pour slowly and evenly across the grounds instead of dumping water in fast.
12.Which single-origin bean regions work best for this brew style?
▾
It depends on your flavor preference! Ethiopian single origins are beloved for bright floral, blueberry, and citrus notes, Colombian beans offer balanced caramel, red fruit, and nutty sweetness, and Kenyan beans deliver bold blackcurrant, wine-like brightness. Skip beans labeled espresso or French roast, as those are roasted too dark to highlight terroir.
13.Why do I need to rinse the paper filter before adding grounds?
▾
Rinsing your paper filter with a splash of hot water before adding grounds does two key things: it removes any dry, papery taste that would otherwise leach into your finished coffee, and it preheats your dripper and mug so your brewing temperature doesn’t drop sharply when you start pouring. Dump the rinse water before adding grounds for full benefit.
14.Is it "wrong" to add milk or sugar to third wave pour-over coffee?
▾
There’s no hard rule—drink your coffee exactly how you enjoy it! That said, the delicate, bright terroir notes of light roast single-origin are easiest to taste when you drink it black. If you prefer add-ins, stick to a small splash of whole or oat milk and minimal sugar, as heavy cream or lots of sweetener will cover up those subtle, unique flavors.

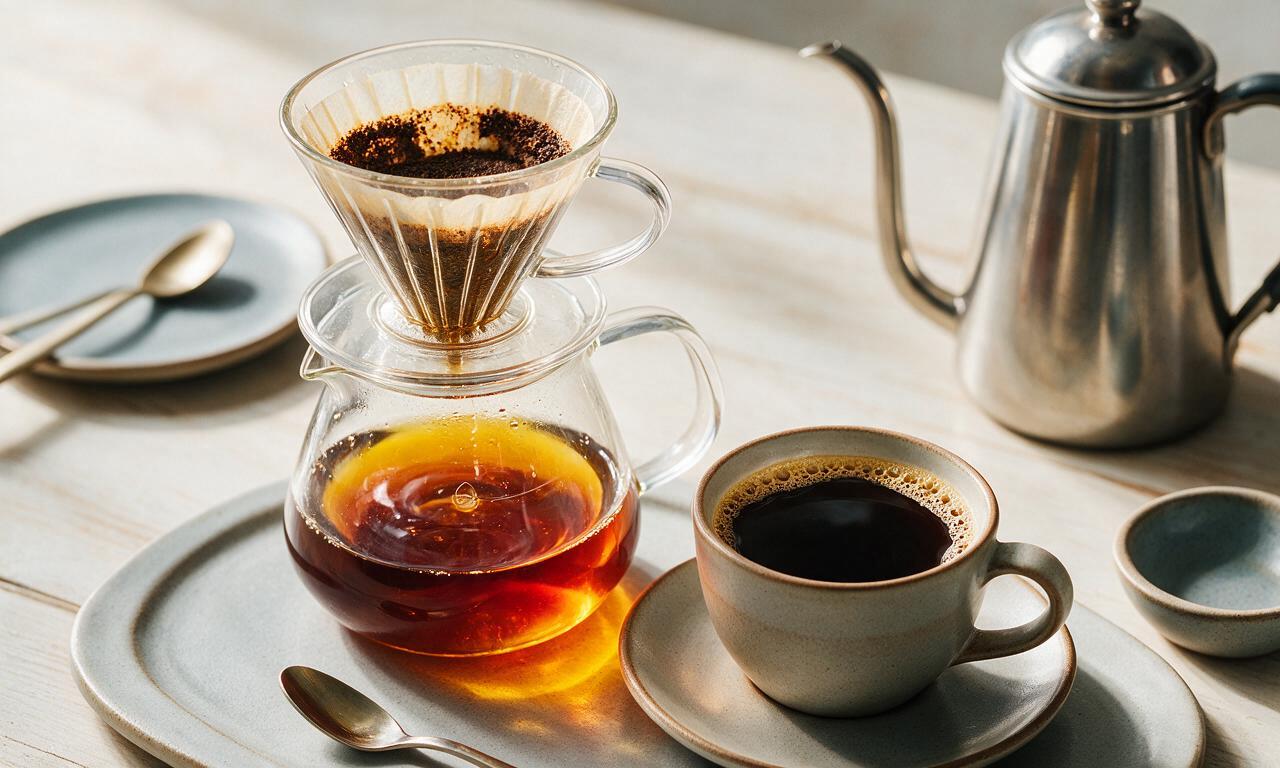
OMG this pour-over method is a total game changer! I used to just haphazardly dump hot water over grocery store grounds in my old plastic dripper and wonder why my home brew always tasted so bitter. Following the exact bloom step and slow pour timing here? It tastes exactly like the $6 pour-over I grab from my local specialty shop on weekends. SO good, my roommate even asked if I picked up coffee on the way in this morning!
Solid recipe, super straightforward for a medium difficulty brew. I brought my pour-over setup on a car camping trip last weekend and made this for the whole crew around the campfire. Only knock is I wish it had a note about adjusting for higher altitude? My first couple pours ran a little fast up at 8k feet, but once I slowed the pour rate it turned out great. Will definitely be using this as my go-to camp brew from now on.
I’ve been intimidated to try third wave coffee methods for ages because I thought I needed a bunch of fancy gear, but this recipe broke it down so simply! I used my basic ceramic dripper I got at a thrift store for $3 and freshly ground beans, and it came out perfectly smooth, no weird sour or bitter notes. I even made a batch for my book club potluck last night and everyone was asking for the recipe!
Wait why did no one tell me how big of a difference the 30 second bloom makes?? I’ve been making pour-over for 2 years and always skipped that step because I thought it was pretentious barista nonsense. Tried this recipe step for step this morning and my coffee had all those fun chocolate and citrus notes my beans are supposed to have, no flat dull flavor at all. Absolute chef’s kiss.
Tried this for my office’s new pour-over station we set up in the break room. Taste was great, but 7 minutes per cup is way too slow when there’s 6 people waiting for coffee before our 9am meeting lmao. Any tips for scaling this to make more at once without messing up the flavor?
First time ever making pour-over and I didn’t mess it up!!! I was so nervous I’d waste the fancy single-origin beans my sister got me for my birthday, but the step-by-step directions were so clear. No fancy equipment needed, just my cheap gooseneck kettle I ordered off Amazon and a paper filter. 10/10 will be making this every morning from now on.
I made this for my grandson when he came to visit last week, he’s a total coffee snob who only drinks those fancy shop coffees. He said it was better than what he gets in the city! I did have to ask my granddaughter to help me figure out the water temperature though, my old kettle doesn’t have a thermometer on it. Tasted nice and smooth, not too strong for my tastes either.
Game. Changer. I just swapped out my old drip coffee maker for a cheap pour-over dripper and tested this recipe this morning. I didn’t even realize my old coffee was tasting burnt until I had this! It’s so smooth I didn’t even need to add my usual creamer and 2 sugars. Who am I becoming??
Really solid pour-over recipe, got the timing down on my second try. My only note is that the medium grind size suggestion was a little too fine for my dripper (I use a V60) so my first brew took almost 10 minutes and came out a touch bitter. I bumped the grind up a little coarser and it was perfect on the second go. Tasted great with a dash of oat milk.
I added this pour-over to my weekly meal prep morning routine and it’s made such a difference! I used to waste so much money running through the drive-thru on my way to work every morning, but now I spend 7 minutes making this before I leave and it’s way better than any fast food coffee. My kids even said the house smells like a fancy coffee shop every morning now, they love it!