
Coffin Ice Cream Sandwiches
intro
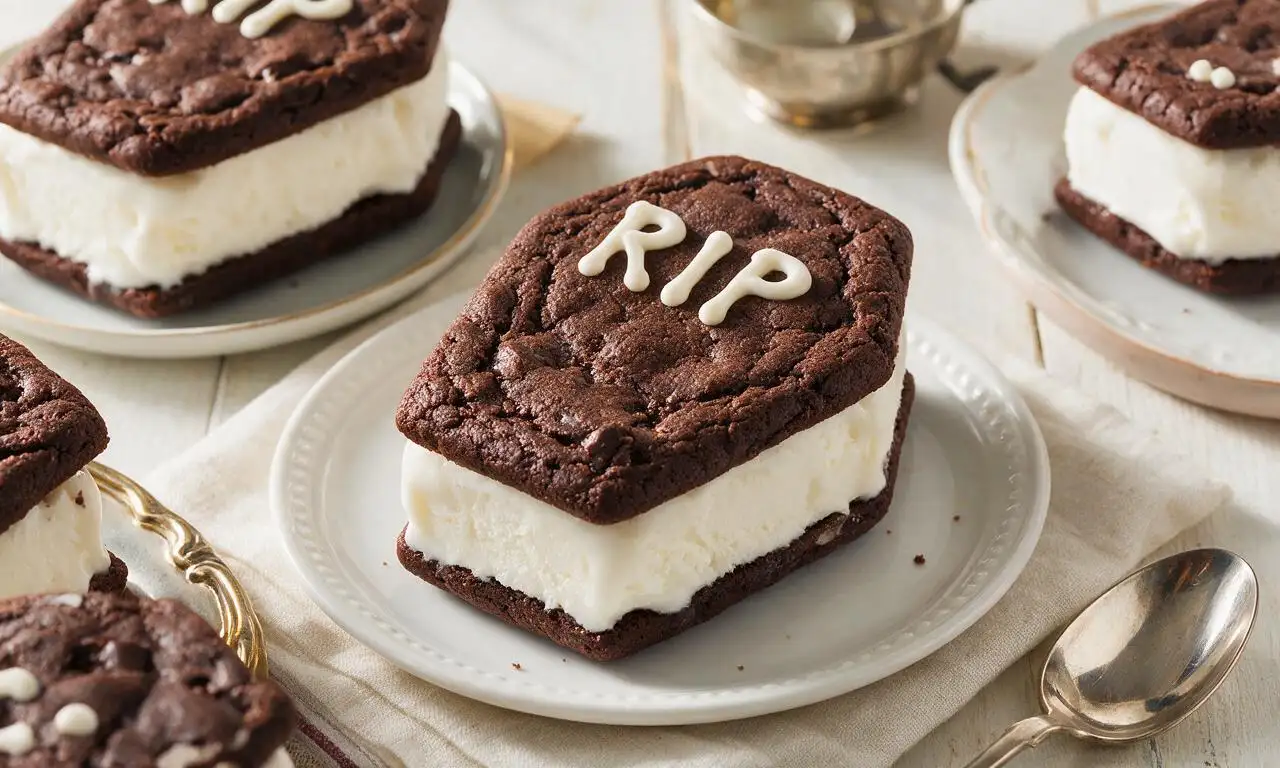
Spooky dark chocolate cookie sandwiches stuffed with creamy vanilla ice cream, decorated with playful RIP details, perfect for fun Halloween party treats for all ages.
Ingredients
Steps
Mix chocolate cookie dough
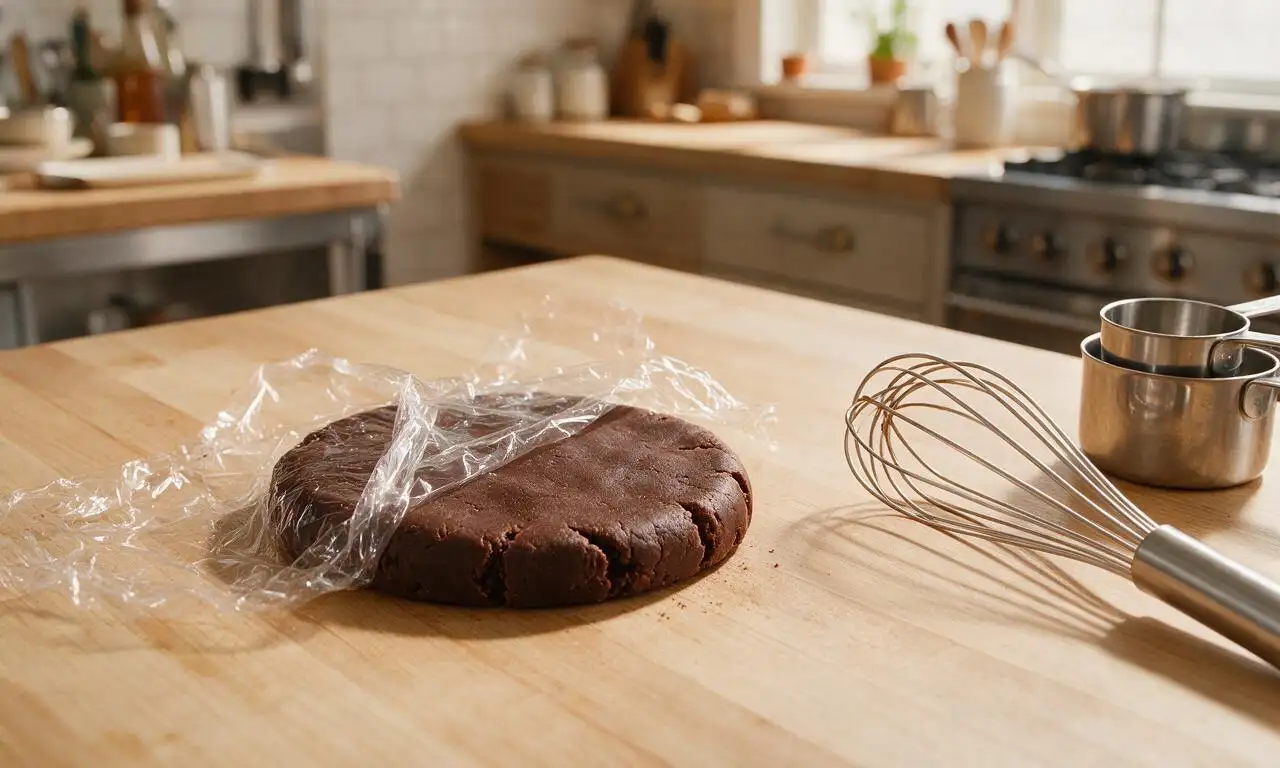
In a medium mixing bowl, whisk together 180g all-purpose flour, 40g unsweetened cocoa powder, 1g (1/4 tsp) baking soda, and 0.5g (1/8 tsp) fine salt until fully combined. In a separate large bowl, beat 113g softened unsalted butter and 150g granulated sugar with an electric mixer on medium speed for 2 minutes until light and fluffy. Add 1 room-temperature large egg and 5ml (1 tsp) vanilla extract, beat on low speed for 30 seconds until smooth, then gradually fold in the dry flour mixture until no dry streaks remain. Form the dough into a 2cm thick flat disk, wrap tightly in plastic wrap, and chill in the refrigerator for 20 minutes to firm up.
Cut coffin cookie shapes
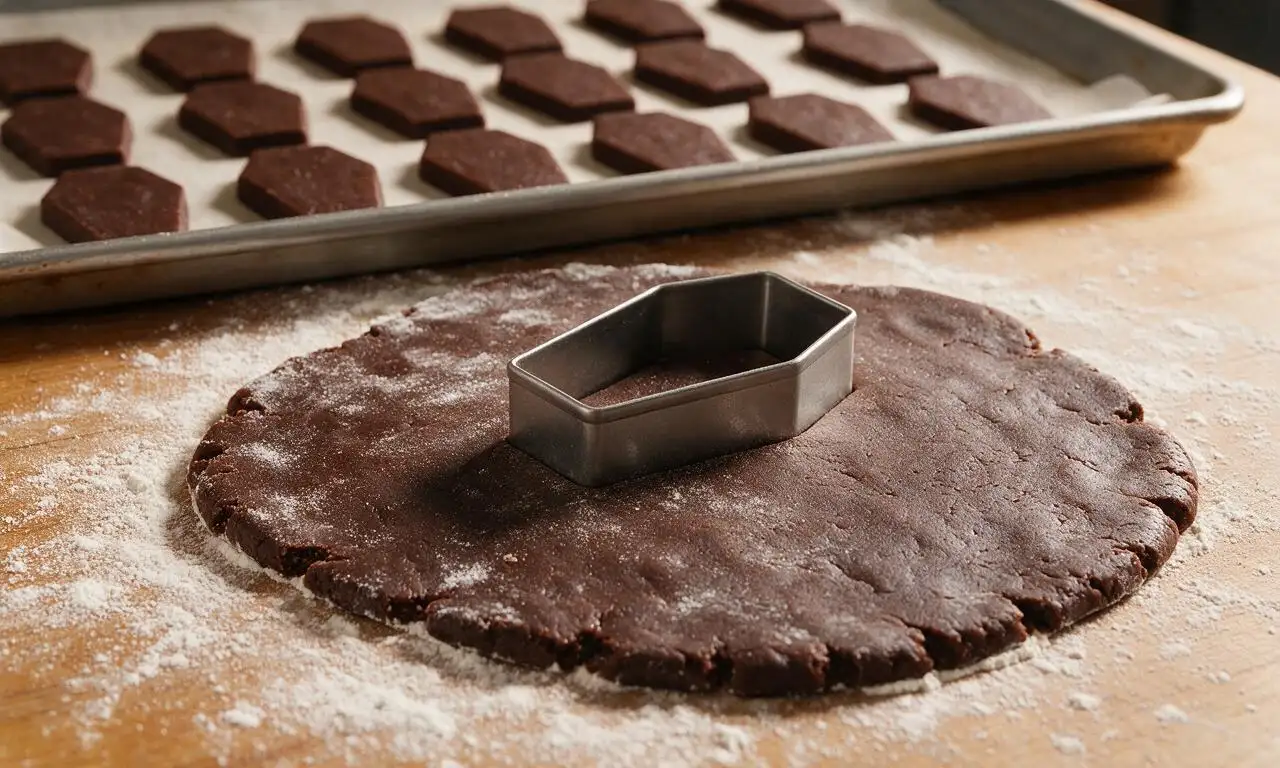
Preheat your oven to 175°C (350°F) and line two rimmed baking sheets with parchment paper. Remove chilled dough from the fridge and roll it out on a lightly floured work surface to a uniform 5mm (1/4 inch) thickness. Use a 10cm (4 inch) coffin-shaped cookie cutter (or sharp paring knife and cardstock template) to cut 12 total coffin shapes, re-rolling dough scraps only once to avoid tough cookies. Arrange cutouts 2cm apart on the prepared baking sheets.
Bake and cool cookies
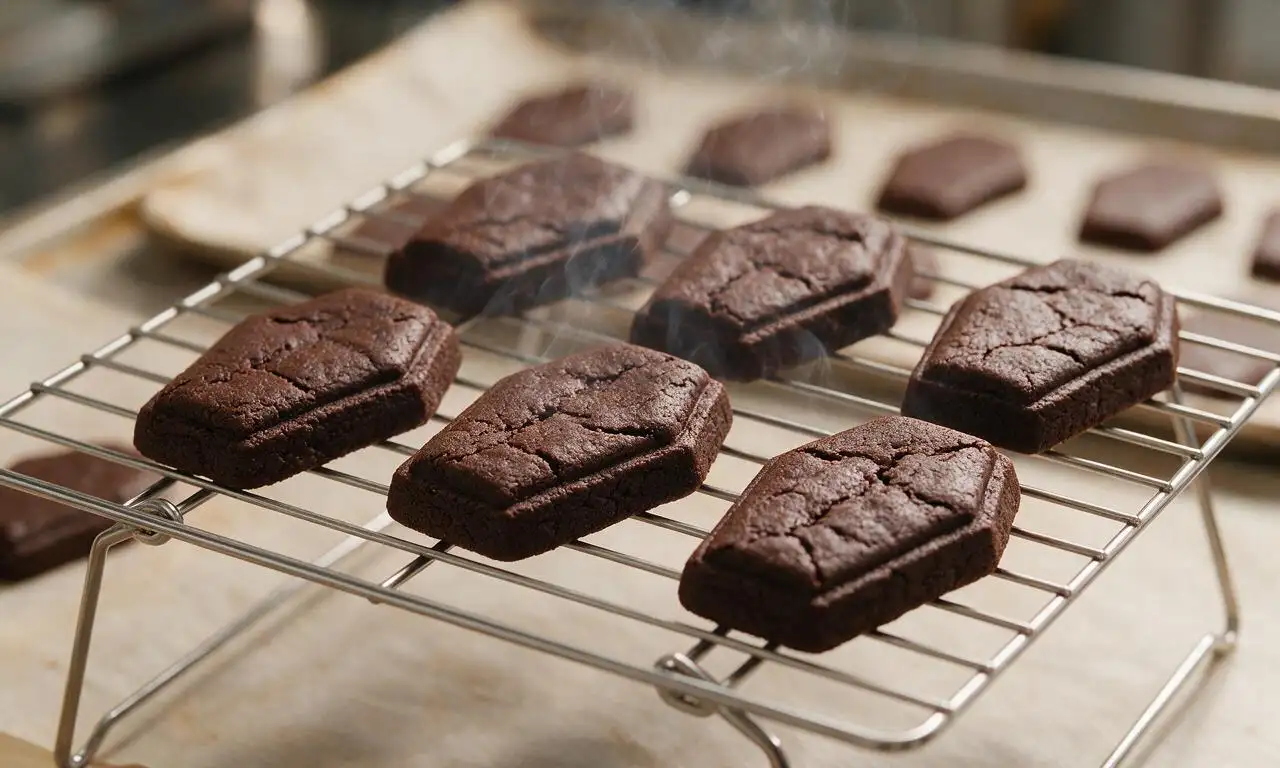
Bake one sheet of cookies at a time on the middle oven rack for 8 to 9 minutes, until cookie edges are firm to the touch. Do not overbake, as cookies will continue to crisp as they cool. Let cookies rest on the hot baking sheet for 5 minutes after removing from the oven, then transfer to a wire cooling rack to cool completely to room temperature (approximately 20 minutes) before assembling, as warm cookies will melt ice cream quickly.
Decorate cookie lids
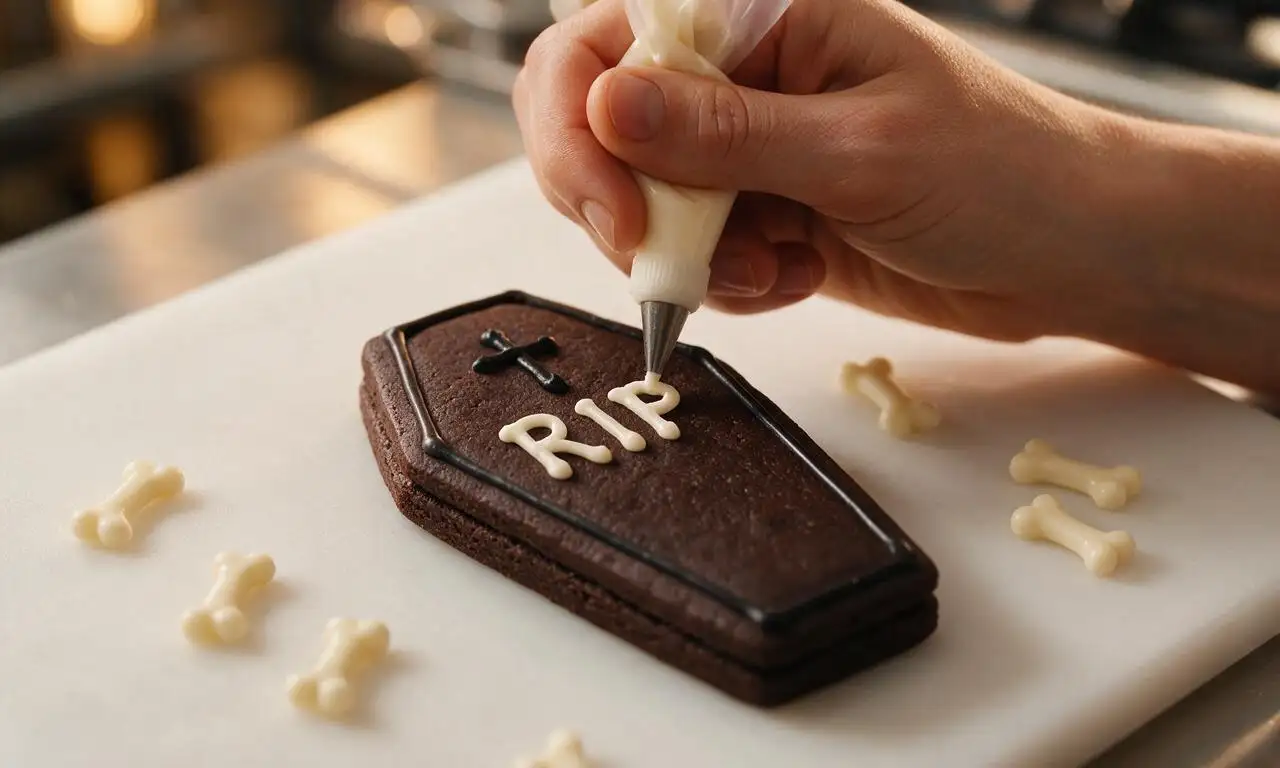
Set aside 6 cooled cookies to act as sandwich bases, leaving 6 cookies to be decorated coffin lids. Use black tube decorating icing to pipe thin cross shapes, block 'RIP' lettering, and fine crack details on the top surface of each lid. Melt 30g white candy melts in a small microwave-safe bowl in 20-second bursts at 50% power, stirring between each burst, then use a small piping tip to add tiny bone accents next to the lettering if desired. Let decorated lids sit at room temperature for 10 minutes until icing is fully hard and dry.
Add ice cream filling
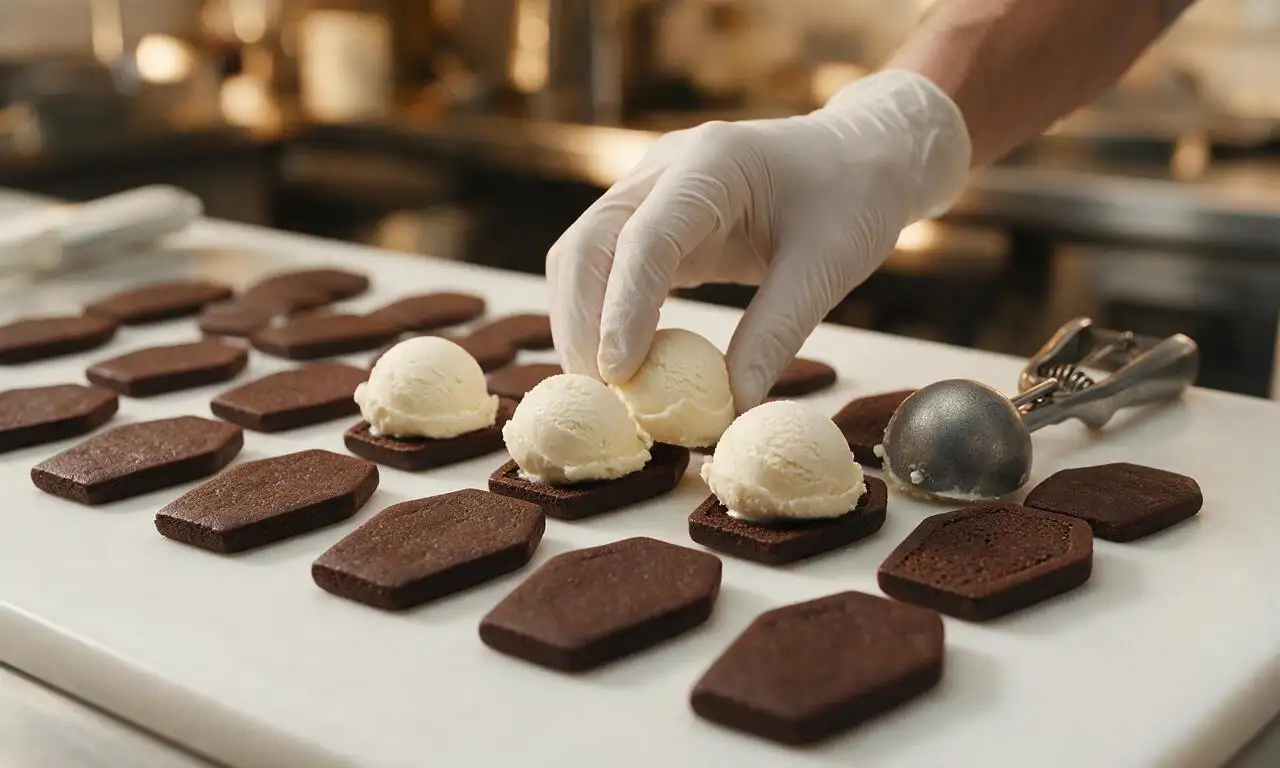
Flip the 6 plain base cookies so their flat, smooth side faces up. Scoop 80ml (1/3 cup) of slightly softened (not fully melted) vanilla ice cream onto the center of each base cookie, spreading it gently to leave a 5mm (1/4 inch) border from the cookie edge to prevent oozing when pressed. Work quickly to avoid ice cream melting too much during assembly.
Freeze sandwiches to set
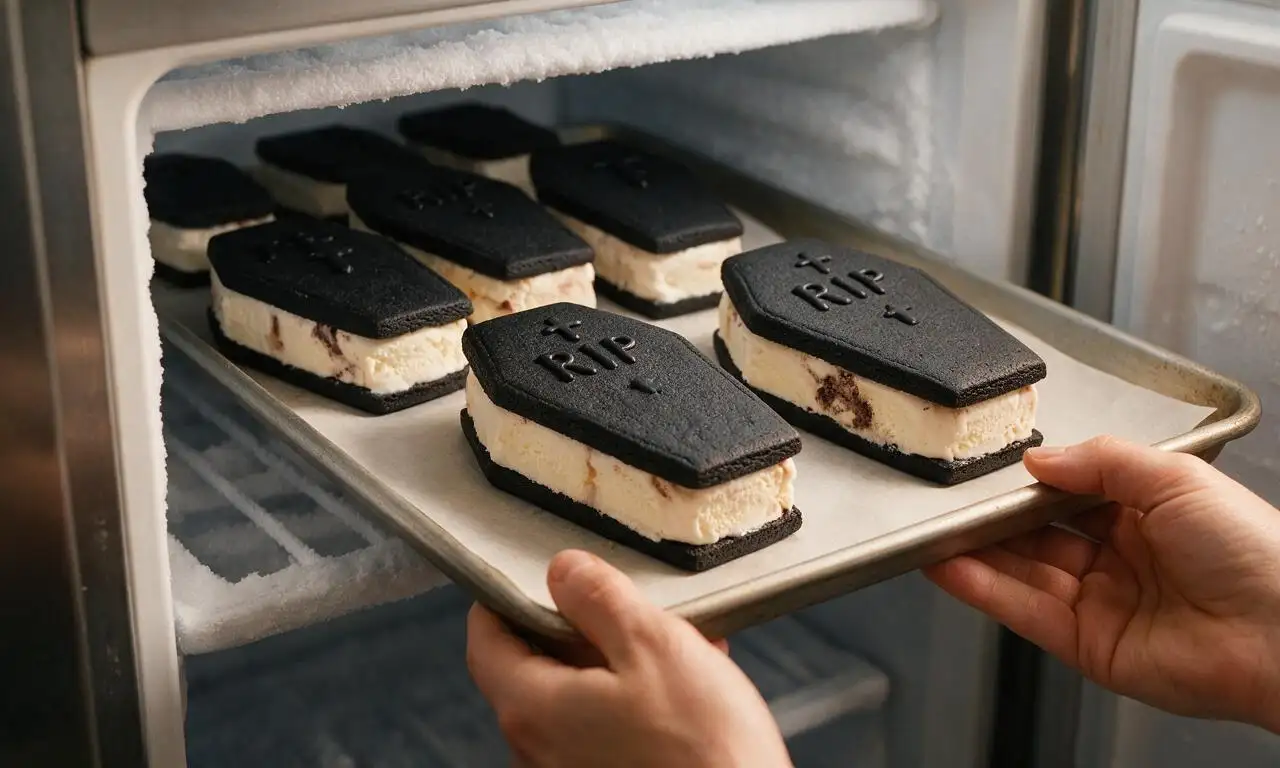
Top each ice cream-topped base with one decorated cookie lid, applying light, even pressure so the ice cream spreads just to the edges of the cookies without oozing out. Place assembled sandwiches on a parchment-lined tray and freeze uncovered for a minimum of 2 hours, until the ice cream is fully firm and the cookies are adhered tightly to the filling.
Tips
2.If ice cream begins to melt and ooze during assembly, place the half-finished sandwiches back in the freezer for 10 minutes to firm up before adding the decorated lids.
3.Let fully frozen sandwiches rest at room temperature for 2 minutes before serving to soften the chocolate cookies slightly for easier, cleaner bites.






OMG these were the absolute hit of my annual Halloween pre-game this past weekend! I thought they’d be way fussy since they look so fancy, but they were so easy even my terrible-at-baking roommate helped cut the coffin shapes out of the chocolate cookie dough. We used mint chocolate chip ice cream for the filling and added little RIP candy tombstones on top for extra flair. 10/10 will make every year from now on!
My kids went absolutely feral for these! I needed a quick spooky treat for their elementary school class party and this checked every box: easy enough to pull off on a school night, not too messy, and the kids thought the coffin shape was the coolest thing ever. I let each kid pick their own ice cream flavor to stuff inside, and even the picky eaters asked for seconds. SO good!
Made these for my dorm floor Halloween hang, only note is I’d recommend letting the ice cream soften a *little* before you try to spread it between the cookies, mine was rock hard and cracked a couple cookie edges when I was assembling. Still tasted amazing though, everyone thought I was a baking genius lmao.
Game. Changer. I brought these to my neighborhood block party potluck and people were asking me for the recipe before I even set the platter down! I used dark chocolate cocoa for the cookies to make them extra dark and spooky, and rolled the edges in orange and black sprinkles to match the Halloween decor. The 2 hour freeze time was totally manageable too, I prepped them the night before as part of my event meal prep so I didn’t have to rush day of.
Super easy recipe to adapt for gluten free! I swapped in my go-to 1:1 gluten free all purpose flour for the regular flour and the cookies came out perfectly chewy, no weird texture at all. I only knocked off a star because I wish the recipe noted how long you can keep these in the freezer before they get freezer burn, mine were still great after 3 days though!
Told my kids we were having ‘coffin food’ for dessert and they thought I was making some weird gross mystery dish until they saw these. The dad joke landed, the cookies were perfectly crisp on the edges and soft in the middle, and we had a blast decorating them with little black icing spider webs on top. 10/10, great recipe for a silly family night in.
Made these vegan with vegan butter for the cookies and dairy free vanilla ice cream, and they turned out so good! My only tiny complaint is my coffin cutter was a little bigger than the recipe recommended so my cookies needed a couple extra minutes in the oven, but that’s totally my bad for not measuring. Will make again!
I’ve been making Halloween treats for my grandkids for 40 years, and these might be the new favorite! I was worried the shape would be too hard to get right, but the dough is so forgiving. I even made a little extra cookie dough to cut out tiny cross shapes to put on top of each coffin, and the kids thought they were so realistic. Easy enough for even this old lady to pull off without a hitch!
Taste was great, don’t get me wrong, but I definitely misread the active time and thought the whole thing took 45 minutes total, forgot about the 2 hour freezing time. Ended up having to serve them a little melty at my movie night, which was still fine but next time I’ll plan way ahead. Flavor is 10/10 though, the chocolate cookie is chef’s kiss.
Just finished assembling these and threw them in the freezer, can already tell they’re gonna slap. The cookie dough tastes exactly like the soft batch cookies I loved as a kid, paired with cookies and cream ice cream? Unbeatable. Will update once my roommates try them later.
I’ve tried so many cutesy Halloween treat recipes that end up being way too complicated and looking nothing like the photos, but these were shockingly easy and looked exactly like the demo pics! I used a cardboard template to cut out the coffin shapes since I don’t have a cookie cutter that size, and it worked perfectly. Saved me a trip to the craft store, win win.
If you’re on the fence about making these, DO IT. The recipe is so straightforward, no weird fancy ingredients, and the payoff is huge. I made these for my book club’s spooky theme night and everyone was taking photos of them for their Instagram stories. Pro tip: add a tiny white icing “RIP” on each one, it takes 2 minutes and makes them look so much more put together.
Just pulled my cookies out of the oven and they smell incredible! I added a little extra espresso powder to the chocolate dough to make the chocolate flavor richer, can’t wait to stuff them with salted caramel ice cream once they cool. So excited for how these are turning out!
These were great, only heads up is if you have a smaller freezer like I do in my apartment, you might want to assemble these in batches so you don’t smoosh them trying to fit all the trays in at once like I did. I squished 3 of them but ate the casualties myself, no regrets. Flavor is amazing, will definitely make again.