
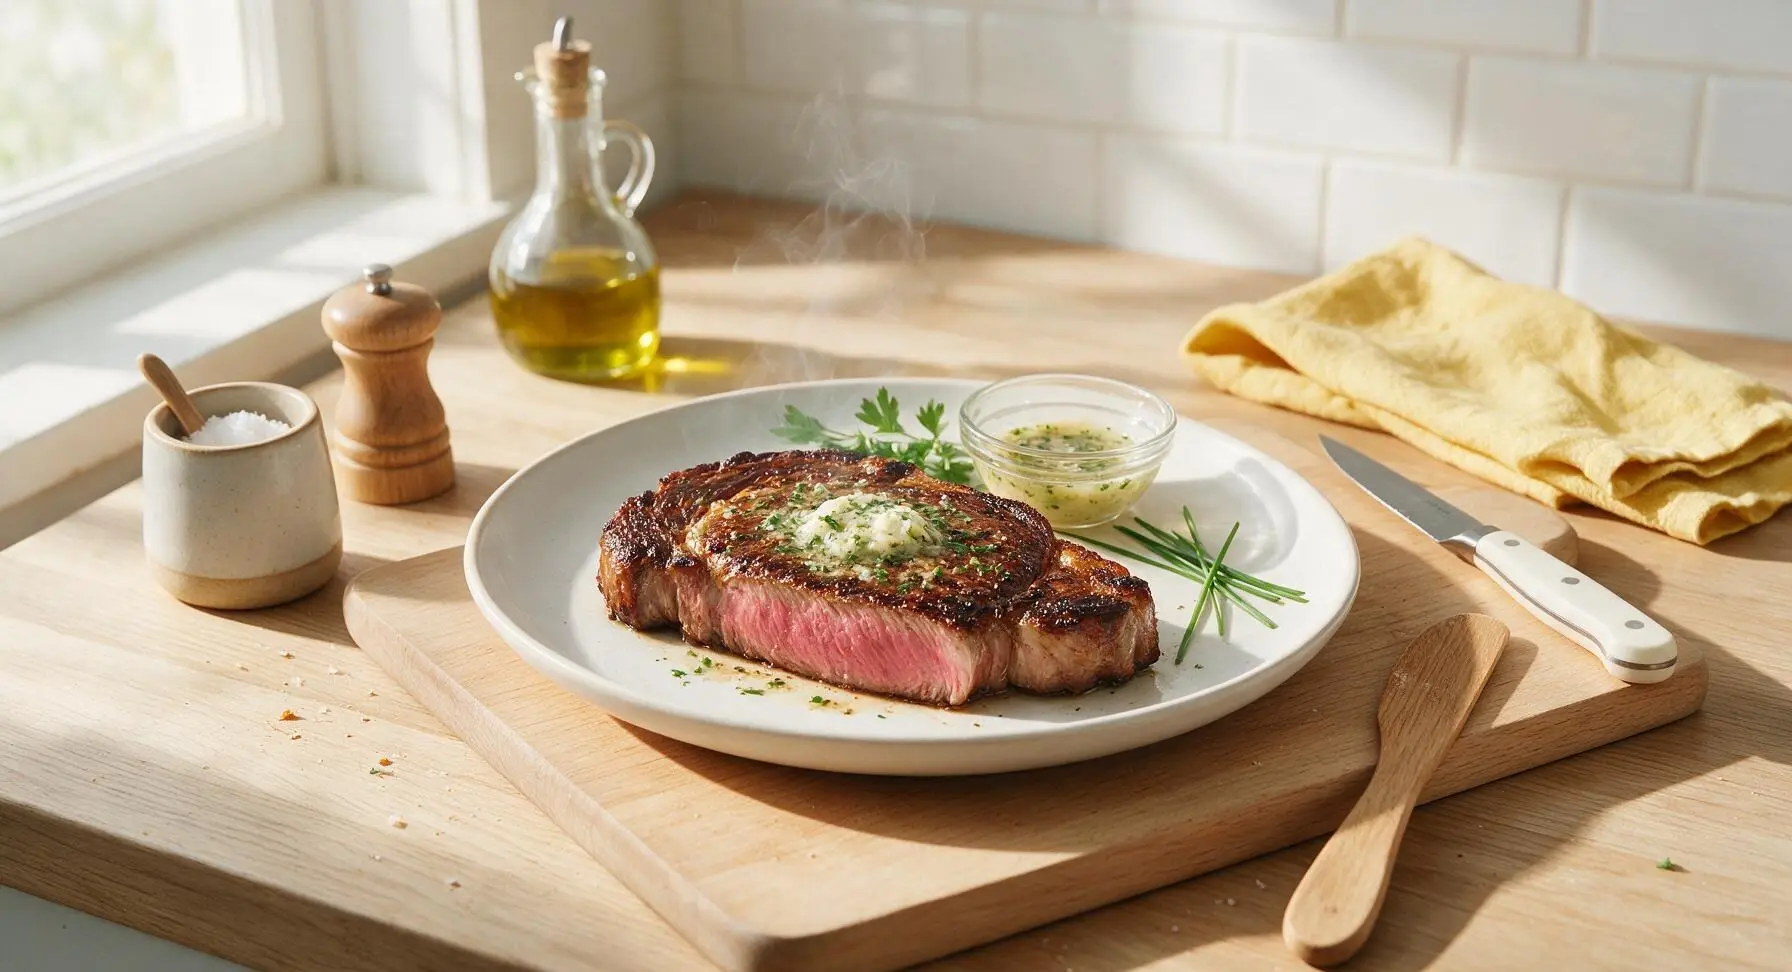
cook steak on grill

title 1
cook steak on grill
⏱️ cook time 12 minutes
🍽️ servings 2
⚡ Difficulty medium

intro

Perfectly charred, juicy grilled ribeye with a crisp salty crust and tender pink medium-rare center, finished with fragrant garlic-herb butter for rich, deep flavor.

Ingredients
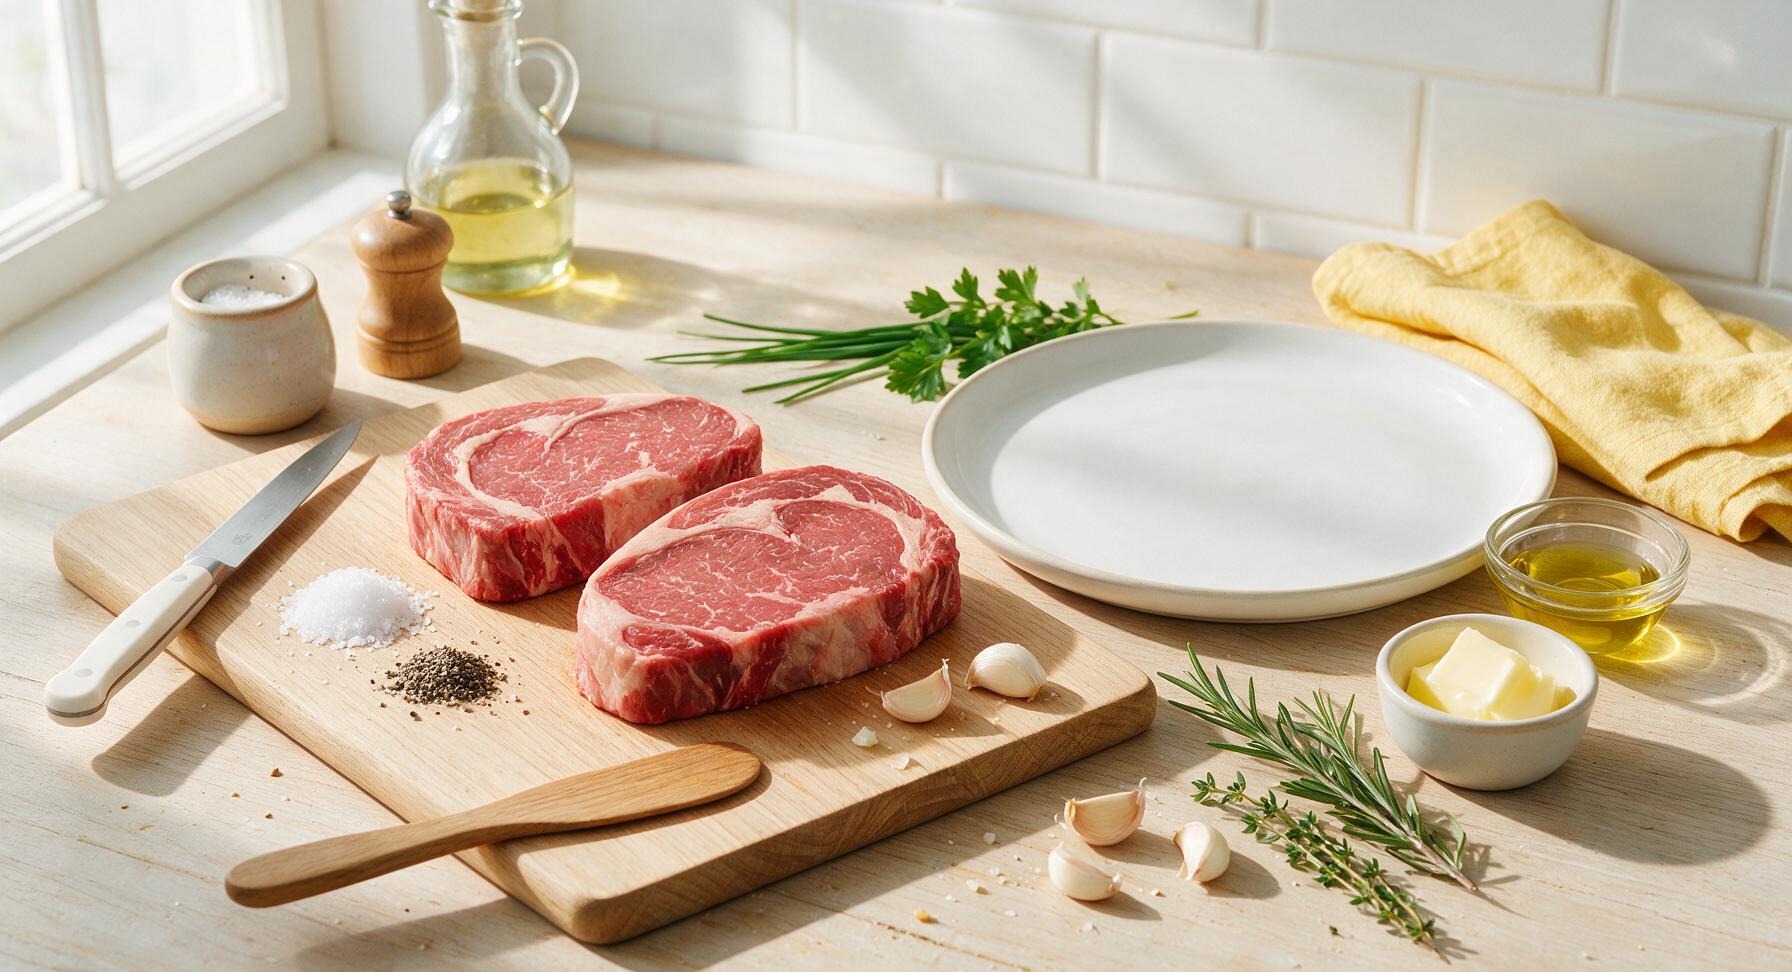
Boneless ribeye steaks (1.5 inches thick) 680g (2 pieces)
Kosher salt 1 tablespoon
Freshly cracked black pepper 1 teaspoon
Avocado oil (high smoke point) 1 tablespoon
Unsalted butter 2 tablespoons
Garlic cloves (lightly crushed) 3 cloves
Fresh rosemary sprigs 2 sprigs
Fresh thyme sprigs 3 sprigs

Steps

1

Bring Steaks to Room Temp

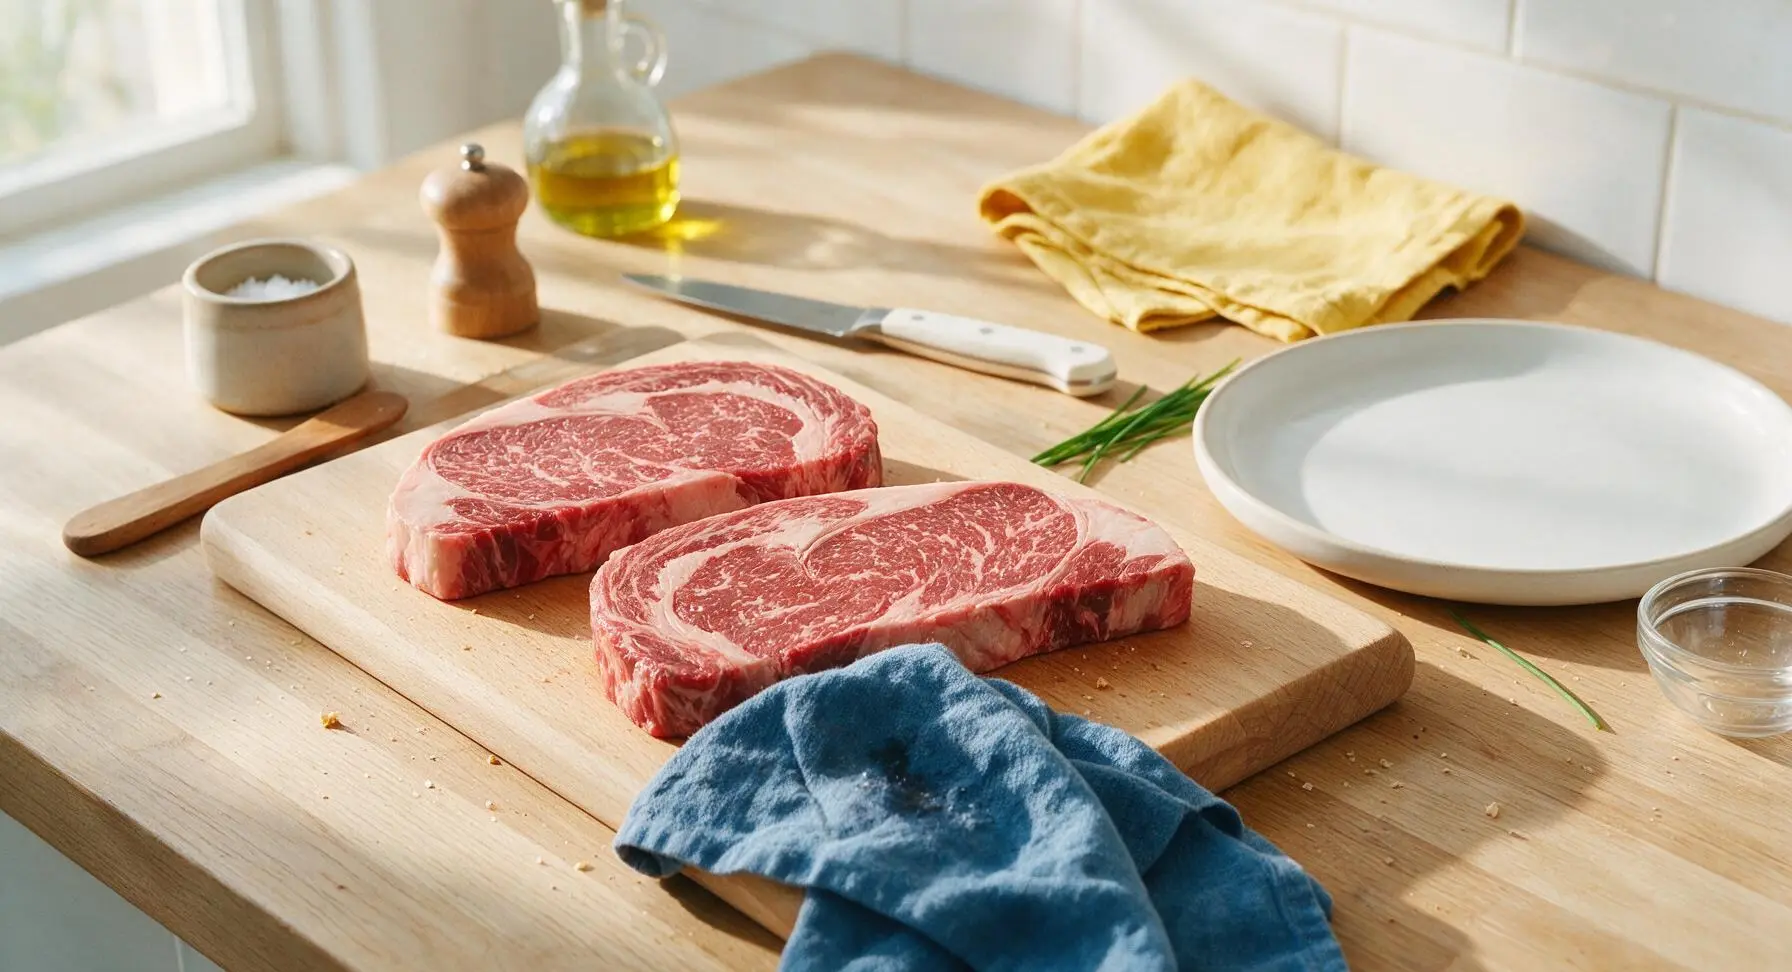
Remove ribeye steaks from the refrigerator 15–20 minutes before grilling, unwrap, and place on the end-grain maple cutting board. Allowing steaks to come to 60–65°F (15–18°C) internal temp before cooking ensures even doneness from edge to center, with no raw cold center or overcooked outer ring. Pat all surfaces completely dry with the edge of the indigo linen towel to remove excess surface moisture, which is critical for forming a crisp, dark char crust.
Step 1
step1:Bring Steaks to Room Temp
2

Season Steaks Generously

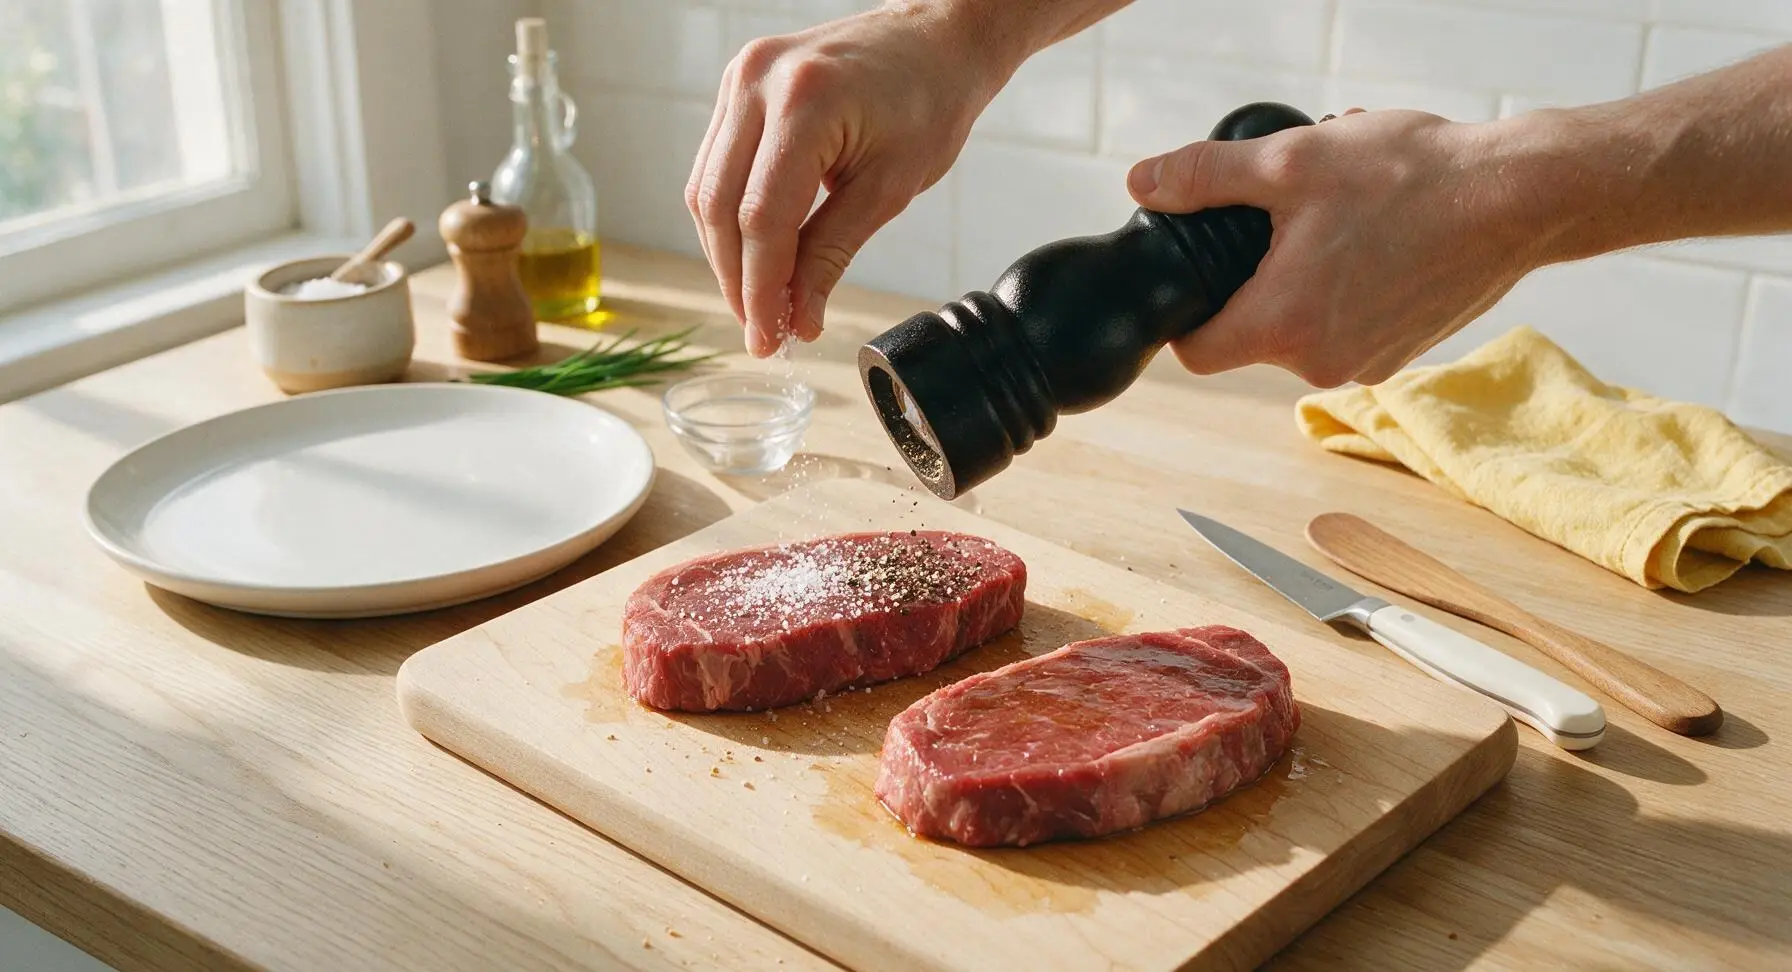
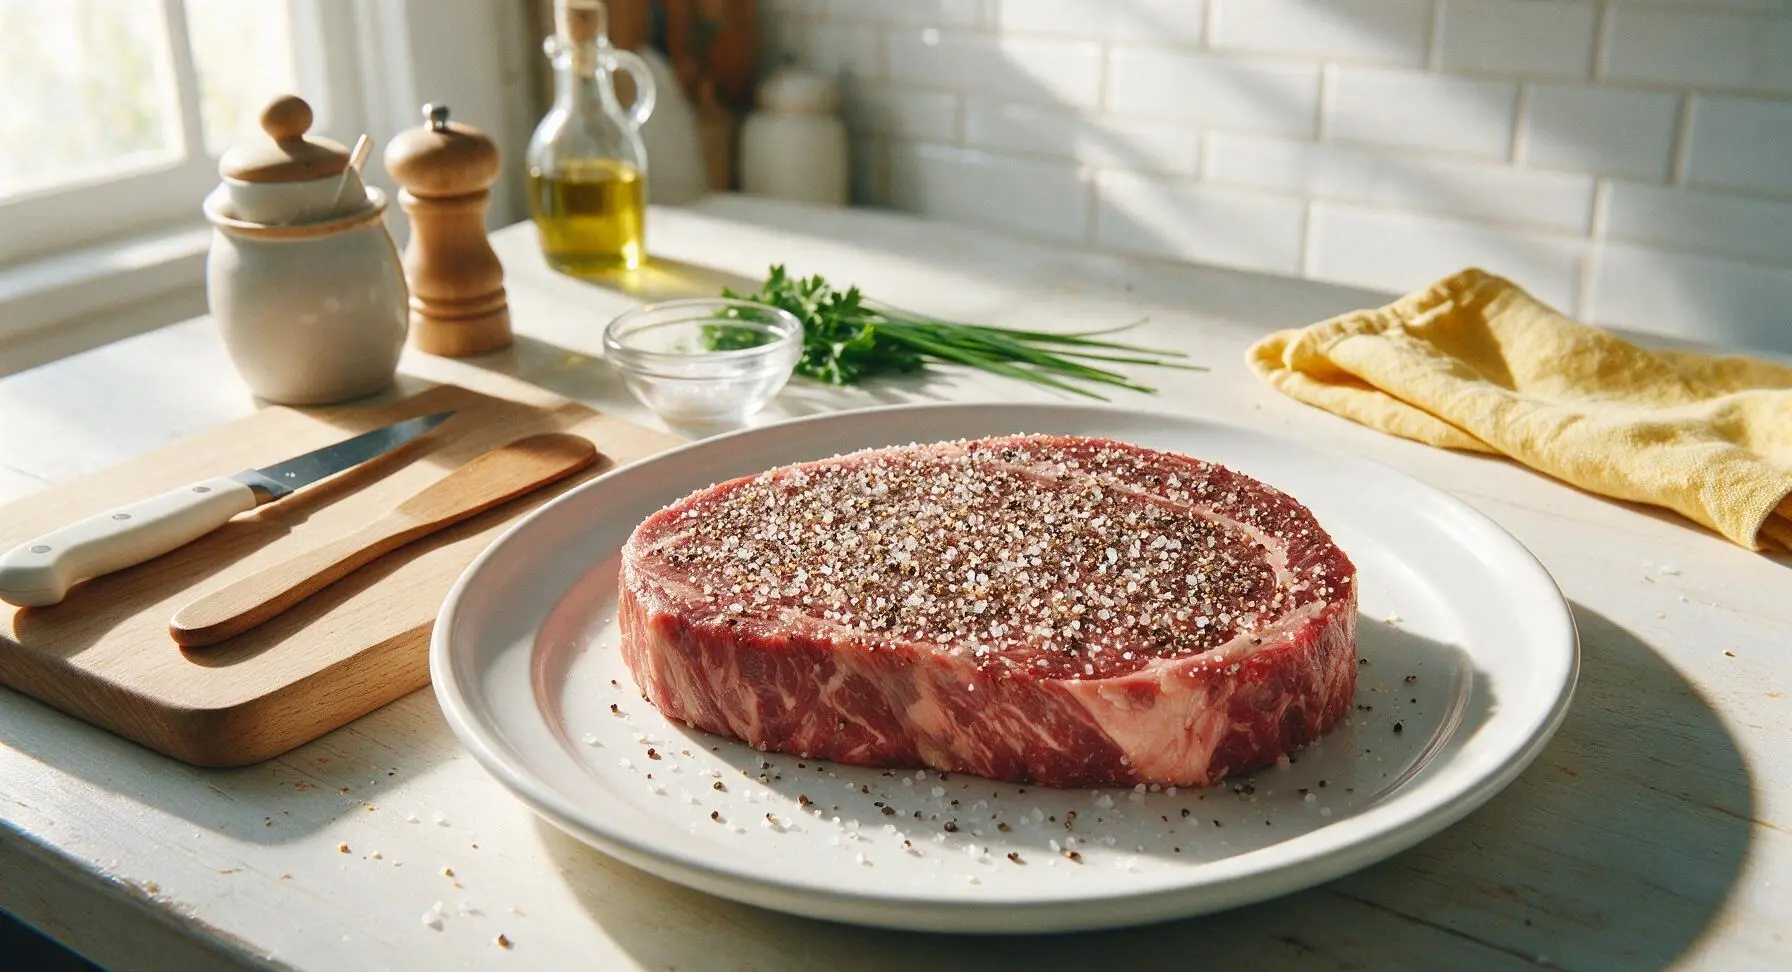
Drizzle 1/2 tablespoon of avocado oil over each steak, rubbing lightly to coat all surfaces including the thick side edges. Sprinkle 1 tablespoon of kosher salt evenly across all sides from a height of 6 inches for even distribution, followed by 1 teaspoon of freshly cracked black pepper, pressing the seasoning gently into the meat so it adheres firmly. Do not under-season: the thick salt layer draws out surface moisture that dissolves salt, then reabsorbs to create the signature crispy, savory crust as the steak grills.
Step 2
step2:Season Steaks Generously
Step 2
step2:Season Steaks Generously
3

Preheat Grill to High

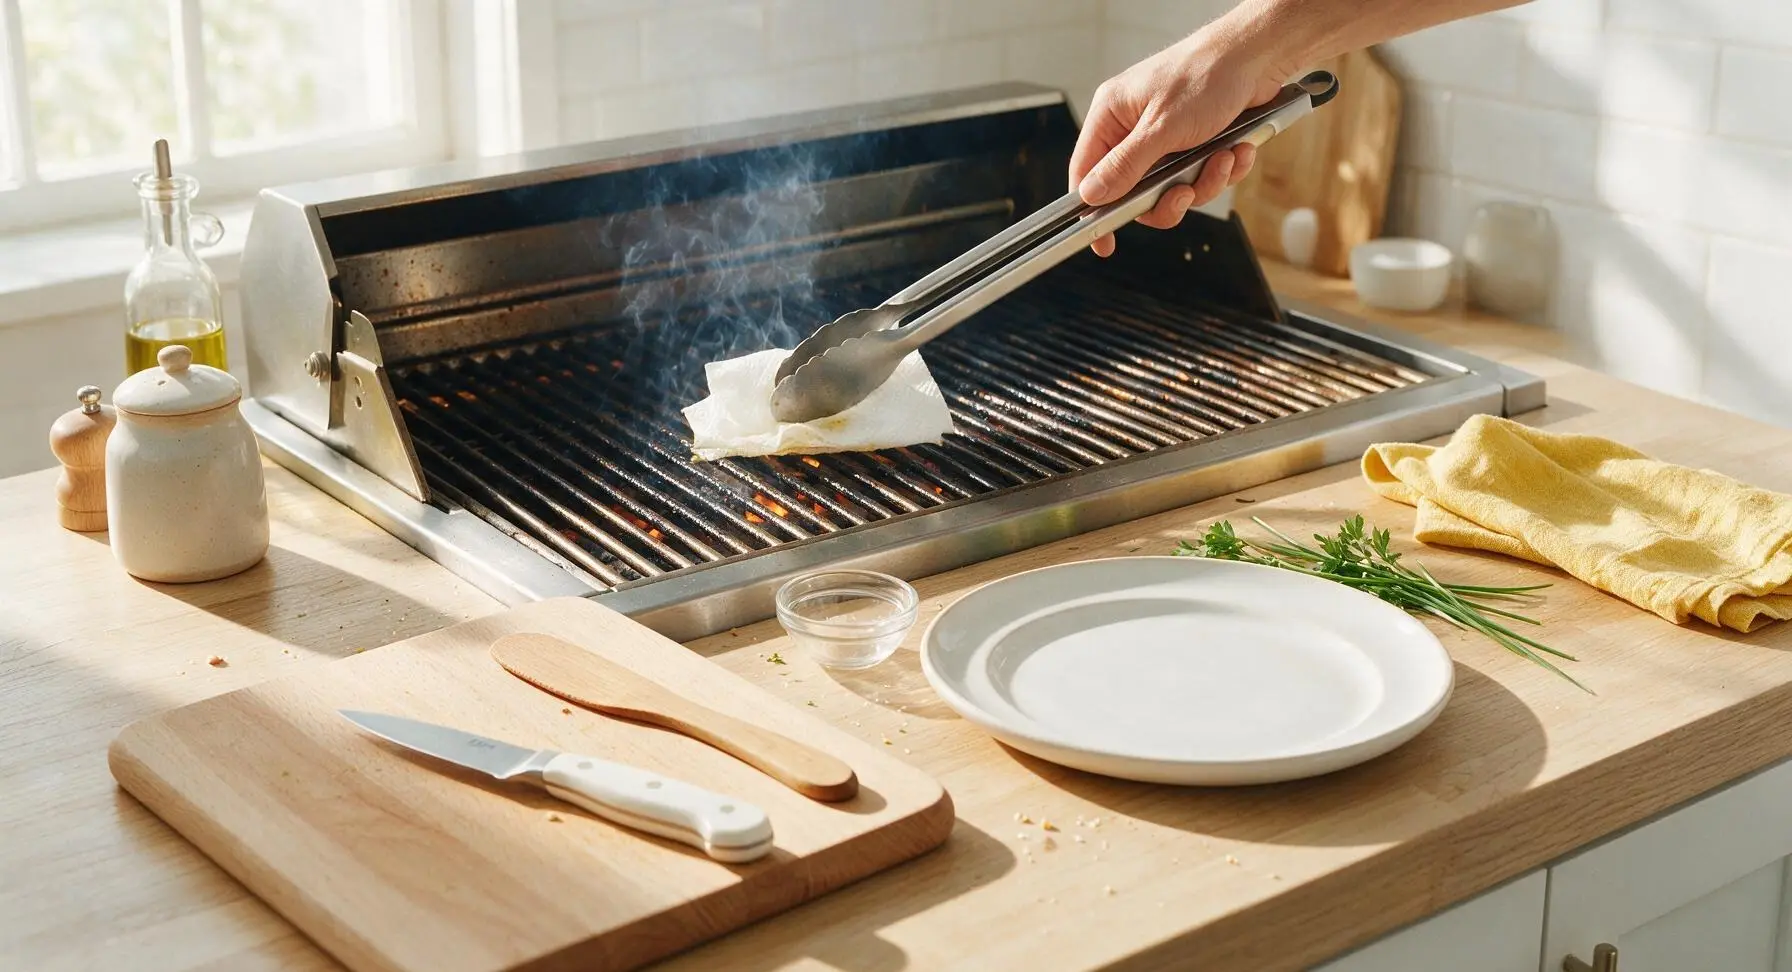
Preheat the built-in stainless steel grill to 500–550°F (260–290°C) during the final 10 minutes of the steak tempering time, with one burner set to high for direct searing and one burner left off to create a cool indirect heat zone. Clean the grill grates thoroughly with the stiff-bristled stainless steel grill brush, then rub a lightly oiled paper towel (held with the long grill tongs) across the hot grates to create a non-stick surface. The grates are ready when a drop of water evaporates instantly on contact, within 1–2 seconds.
Step 3
step3:Preheat Grill to High
4

Sear Steaks Over Direct Heat

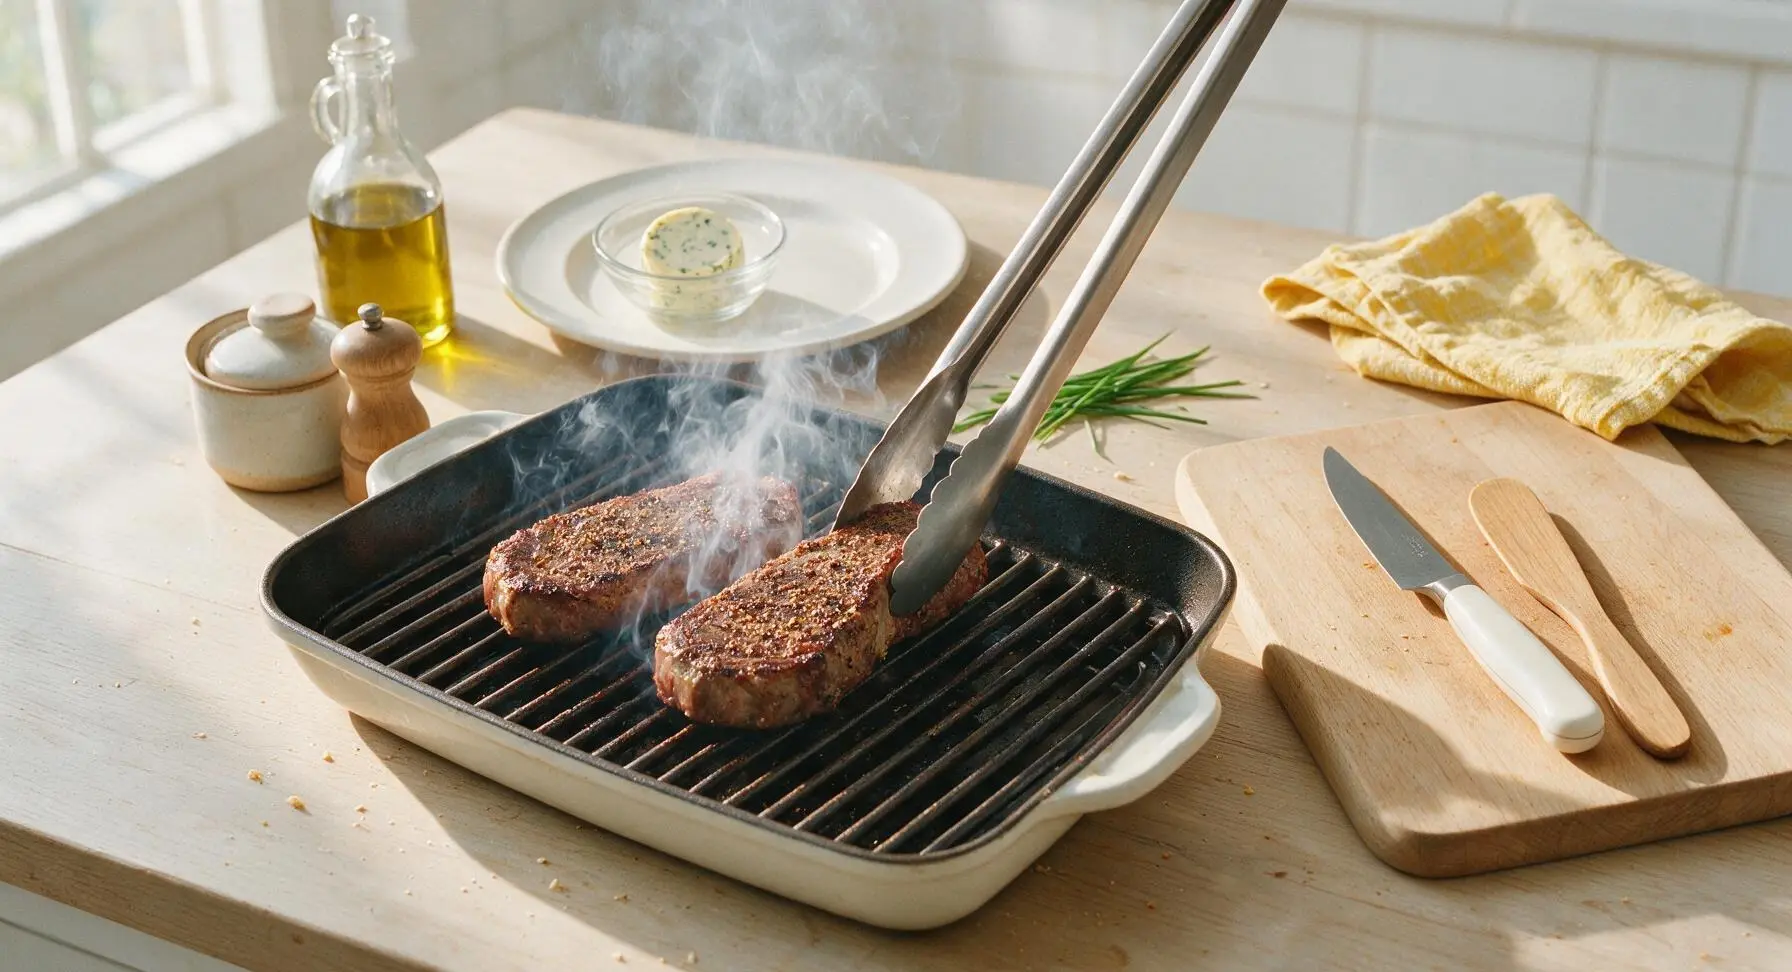
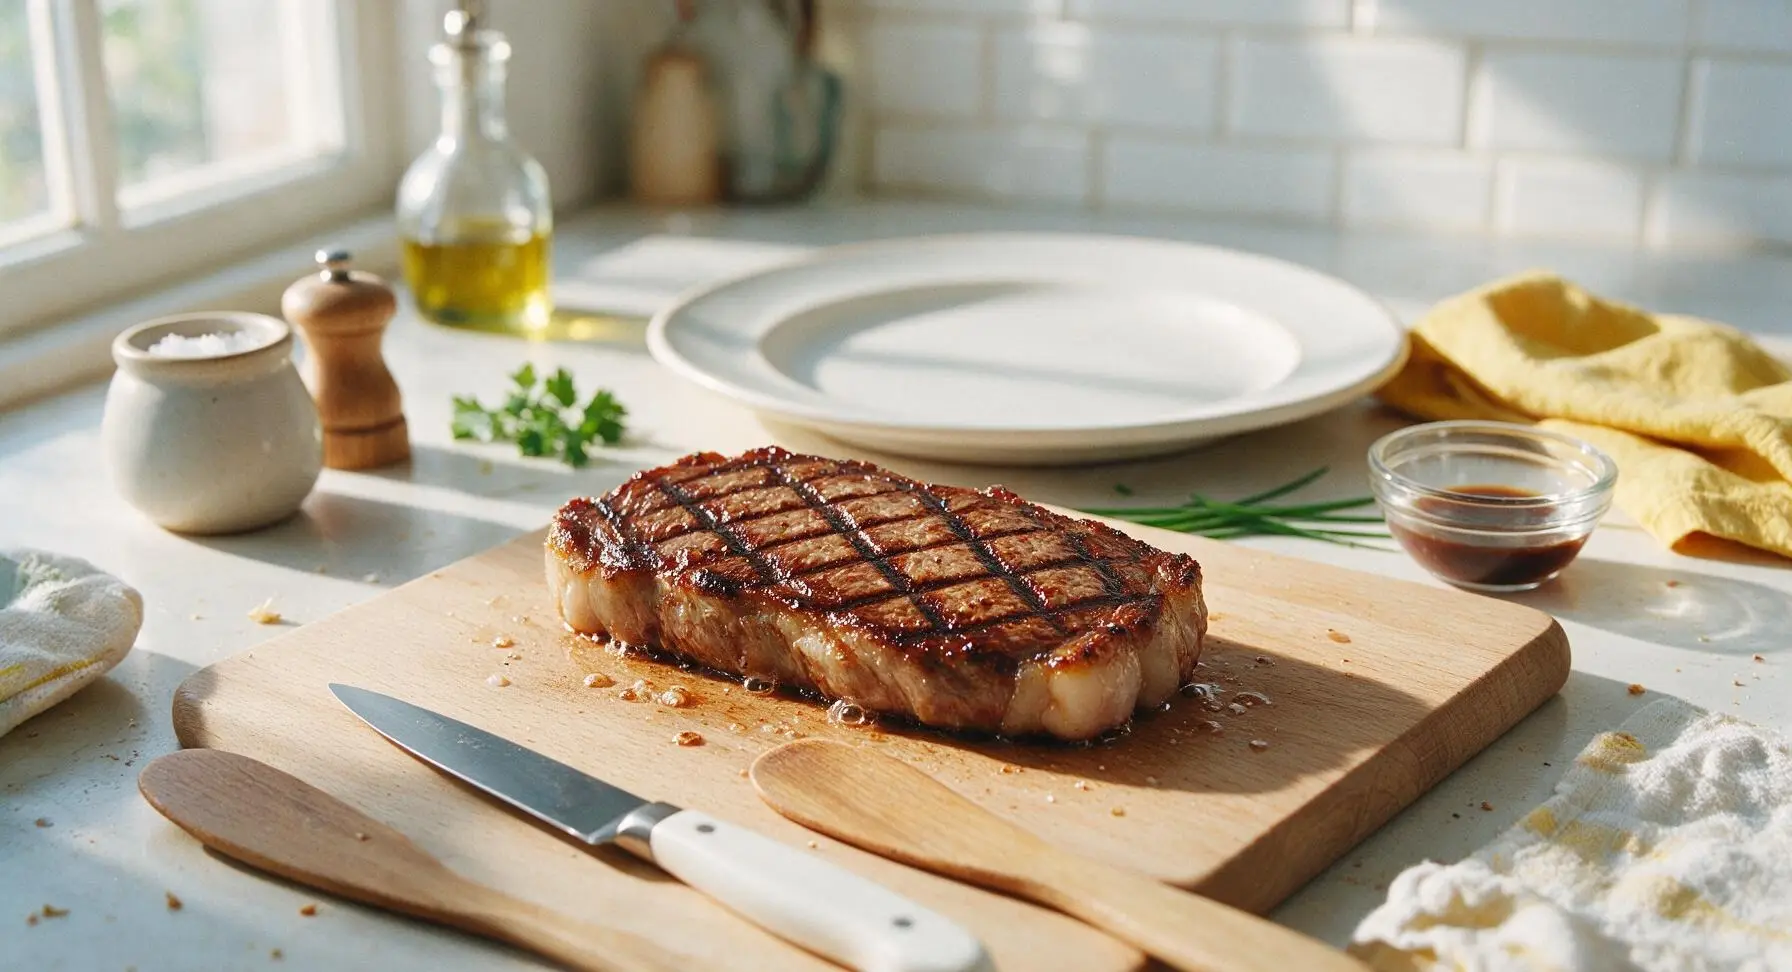
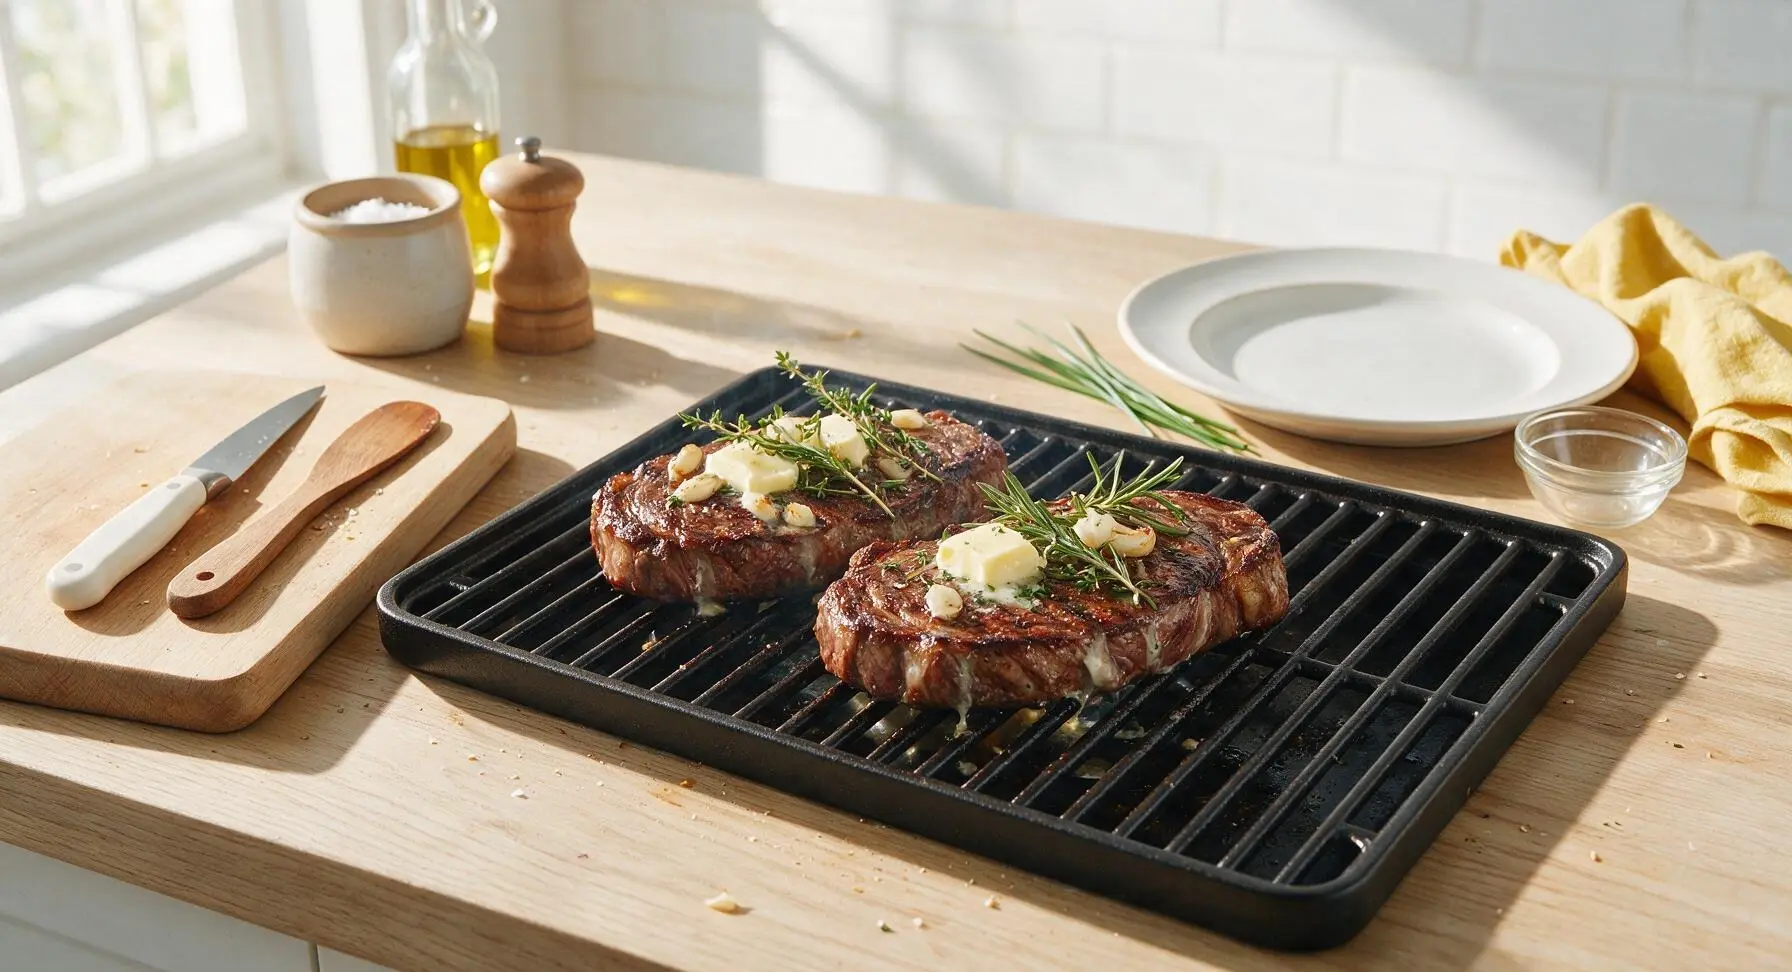
Use the long grill tongs to place the seasoned steaks directly on the hottest part of the grill grates, positioned diagonally across the grates to create classic crosshatch marks. Sear for 2 minutes, then rotate each steak 45 degrees on the same side and sear for another 2 minutes to create defined, dark grill marks. Flip the steaks once, and repeat the 2 + 2 minute sear on the second side, for a total of 8 minutes searing time. Do not press down on the steaks with the tongs while searing, as this squeezes out flavorful fat and juices that cause flare-ups and dry out the meat.
Step 4
step4:Sear Steaks Over Direct Heat
Step 4
step4:Sear Steaks Over Direct Heat
5

Cook to Target Doneness

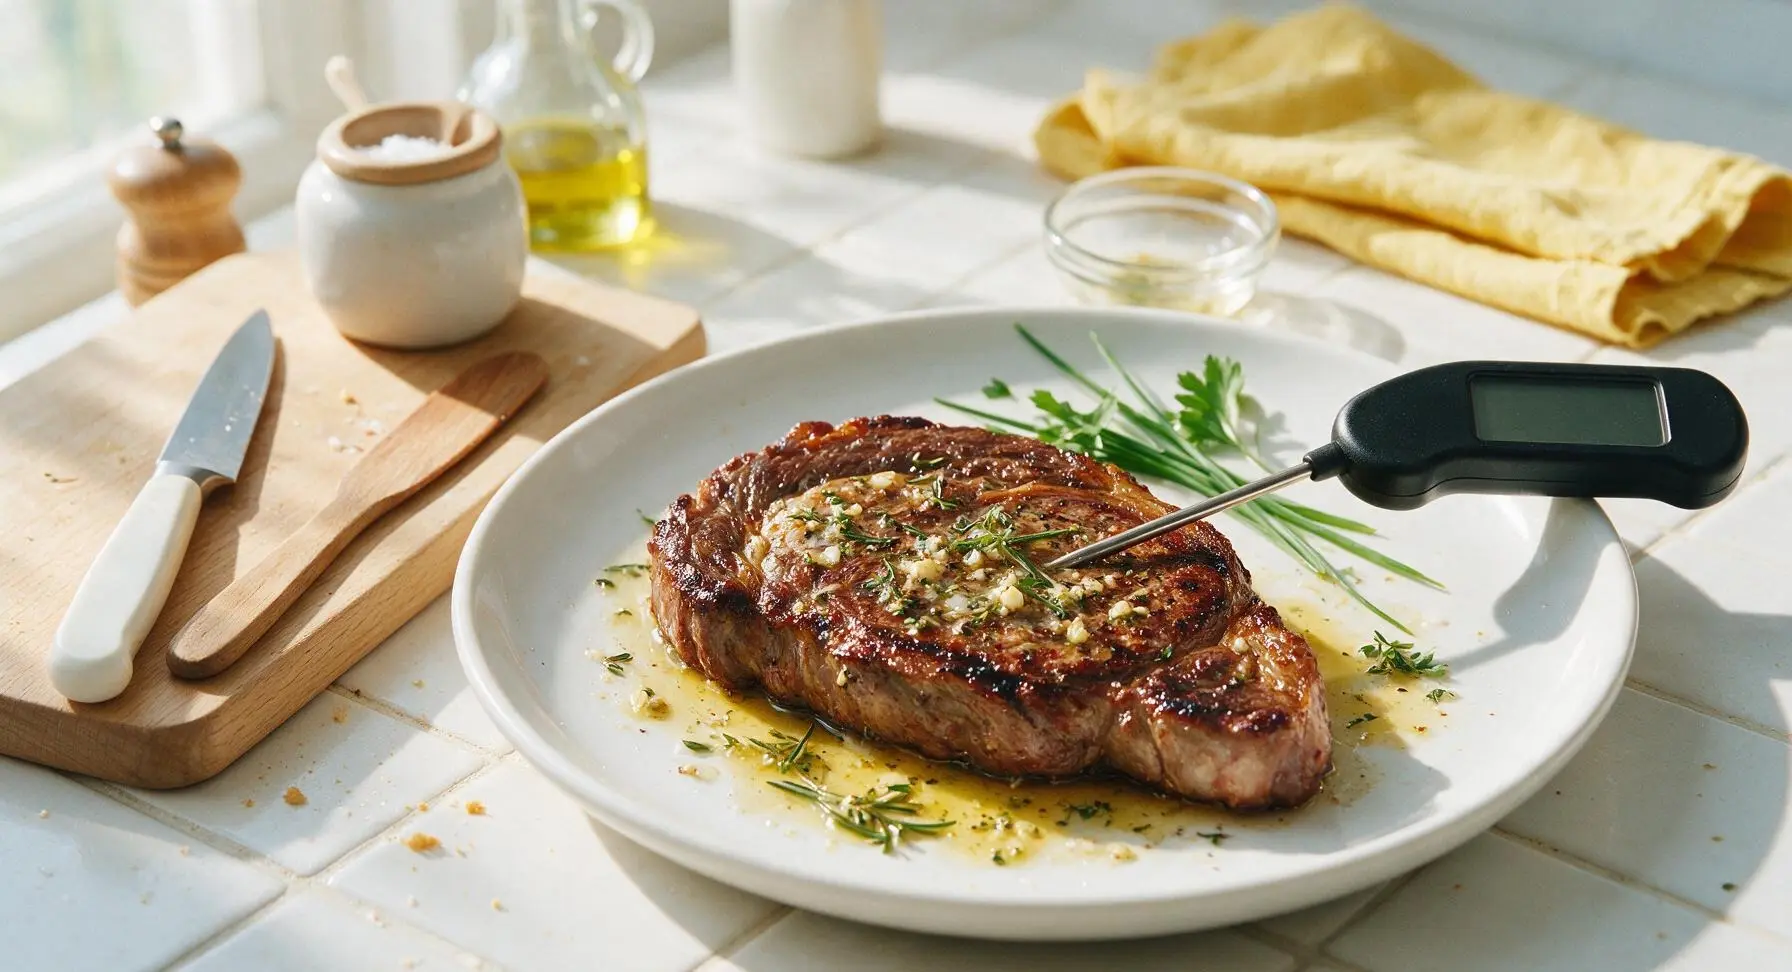
Move the seared steaks to the cooler indirect heat side of the grill. Top each steak with 1 tablespoon of unsalted butter, the crushed garlic cloves, rosemary, and thyme sprigs. Close the grill lid and cook for 3–4 minutes, using the silicone basting brush to drizzle melted herb butter over the steak tops every 30 seconds, until the instant-read thermometer inserted into the thickest part of the steak (not touching fat or the grate) reads 125°F (52°C) for medium-rare, the recommended doneness for well-marbled ribeye.
Step 5
step5:Cook to Target Doneness
Step 5
step5:Cook to Target Doneness
6

Rest Steaks Before Slicing

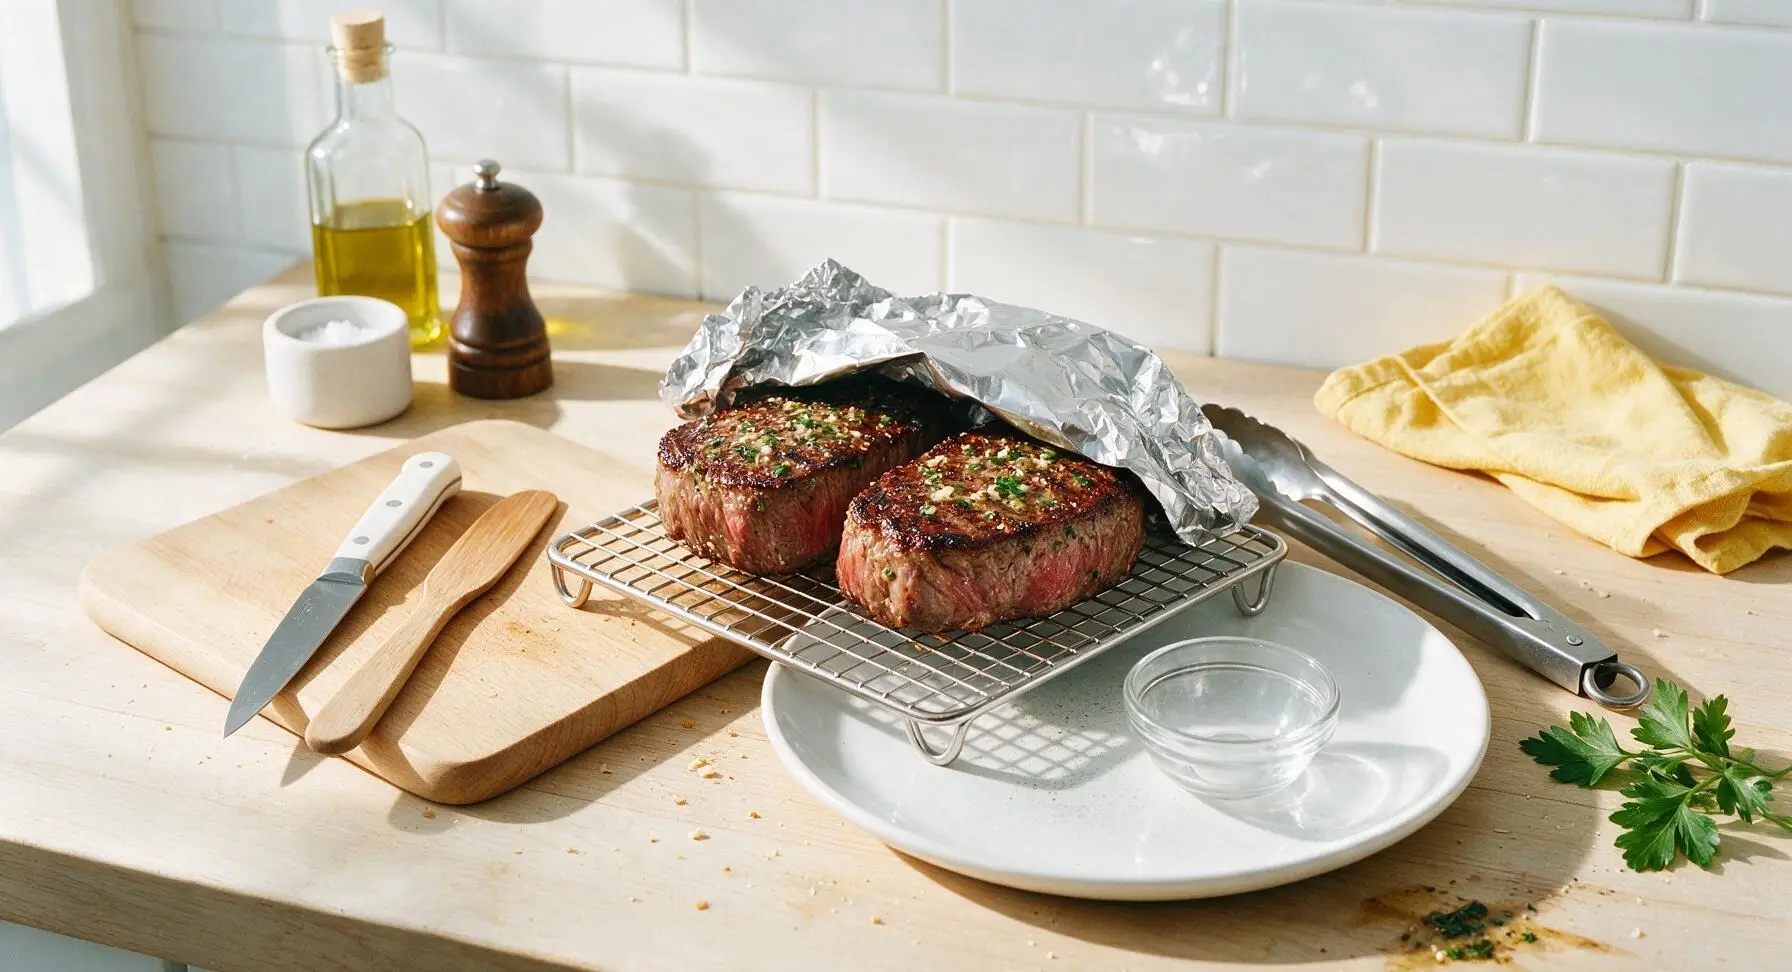
Use the grill tongs to transfer the cooked steaks from the grill to the galvanized metal trivet on the counter. Loosely tent a small piece of aluminum foil over the top to trap gentle heat, and let rest for 8 full minutes. Resting allows the tight, hot muscle fibers to relax and reabsorb juices, so every bite is juicy instead of having all the liquid run out onto the plate when sliced. The internal temperature will rise 3–5°F during resting (carryover cooking) to reach a final 130°F perfect medium-rare.
Step 6
step6:Rest Steaks Before Slicing
7

Slice Against the Grain

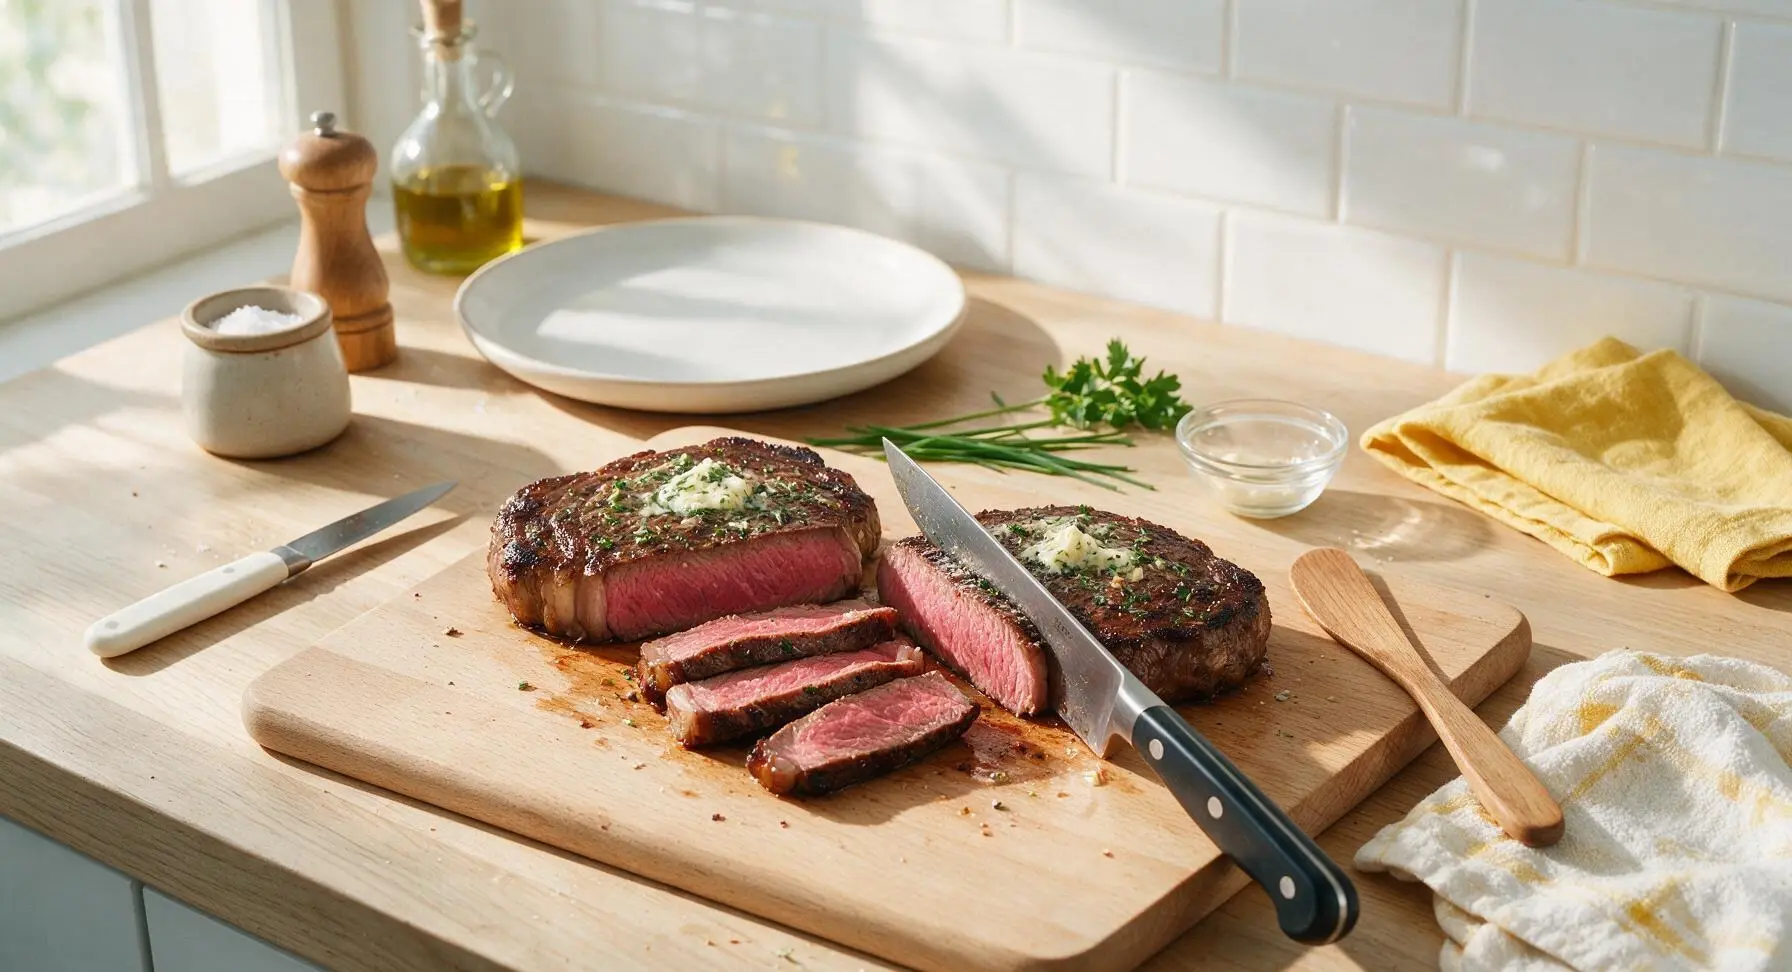
After resting, transfer the steaks to the maple cutting board. Use the 8-inch chef’s knife to slice the steaks against the grain (perpendicular to the direction of the long, visible muscle fibers) into uniform 1/2-inch thick slices. Slicing against the grain shortens the tough muscle fibers, making each bite more tender, even on thicker, well-marbled cuts.
Step 7
step7:Slice Against the Grain
8

Plate and Serve

Arrange the sliced steak in a slight overlapping fan across the 28cm matte charcoal stoneware dinner plate, use the stainless steel serving spoon to drizzle any accumulated melted butter, garlic, and herb juices from the cutting board over the top of the slices. Tuck a softened roasted garlic clove and a small rosemary sprig on the plate rim for garnish, and serve immediately while the meat is warm.
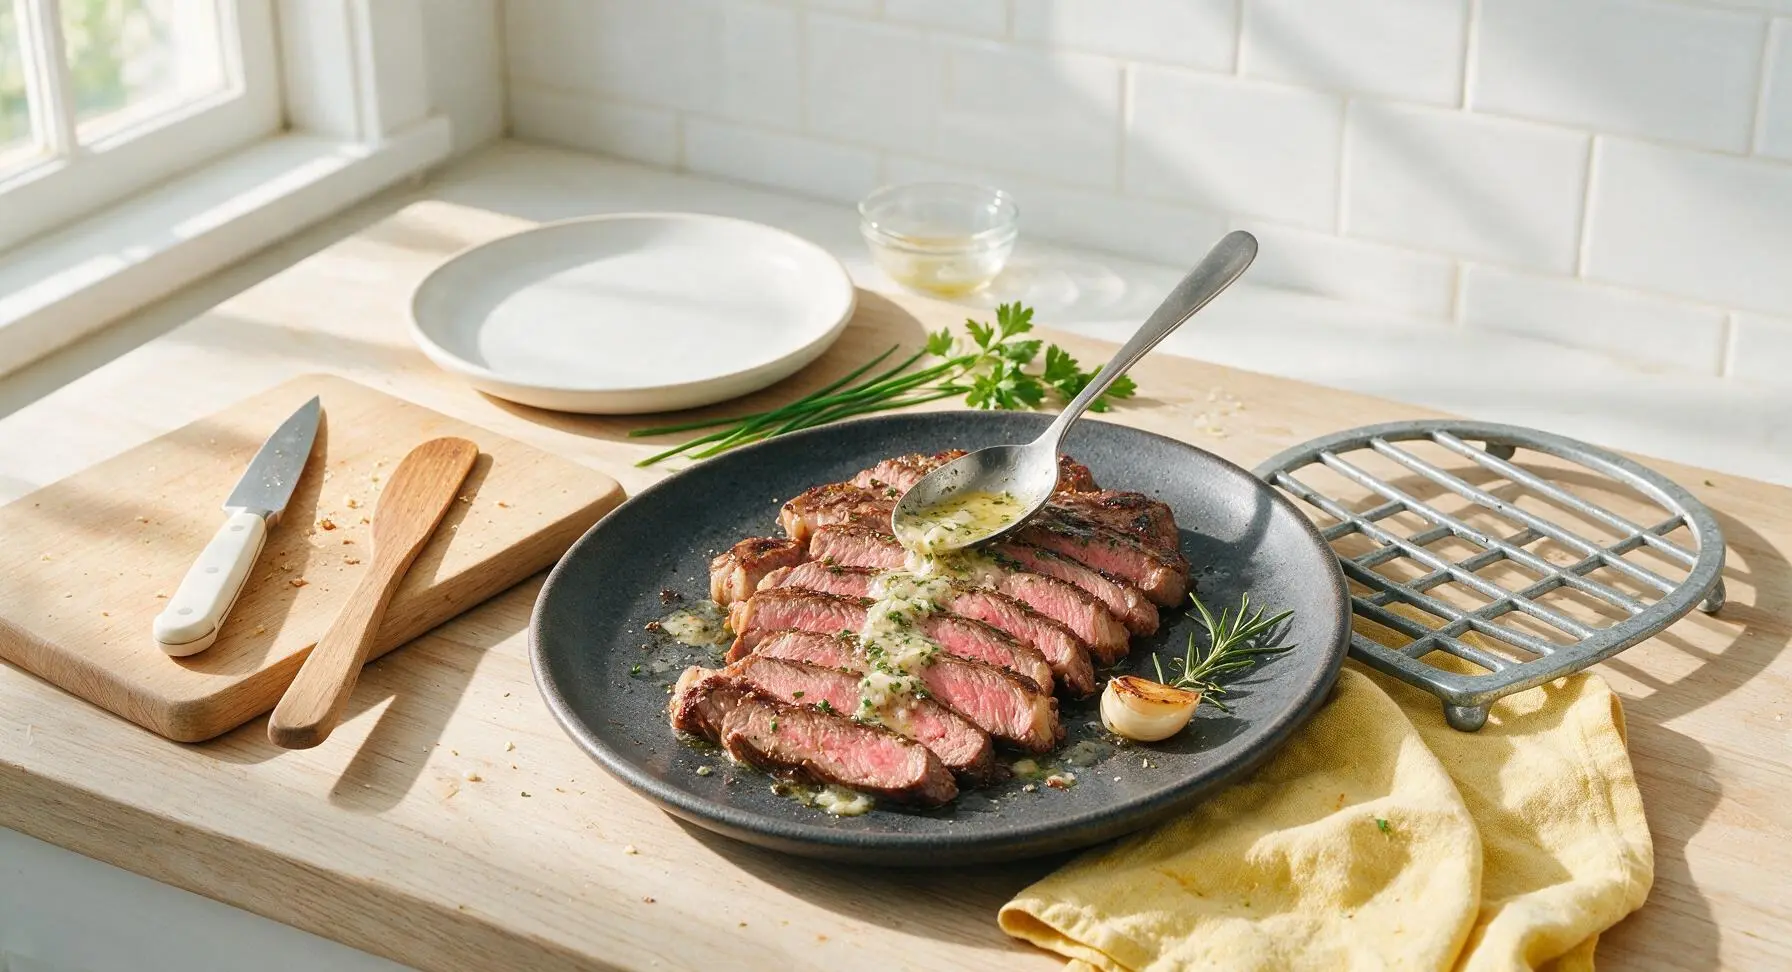
Step 8
step8:Plate and Serve

Tips

1.Always use a high-smoke-point oil like avocado oil for grilling: extra-virgin olive oil has a low smoke point (375°F) that will burn at typical 500°F+ grill temperatures, creating a bitter, acrid flavor that ruins the crisp steak crust.
2.Do not skip the 8-minute resting period: cutting into a steak immediately off the grill causes all the hot, liquefied muscle juices to run out onto the plate, leaving you with dry, tough meat instead of evenly juicy, tender bites.
3.Avoid flipping or moving the steaks repeatedly while searing: leaving the steak in uninterrupted contact with the hot grate for the full 2 minutes per rotation allows the Maillard browning reaction to fully develop, creating the deep, savory, crisp crust that gives grilled steak its iconic flavor.
4.Season steaks from a height of 6 inches above the meat: this distributes salt and pepper evenly across the entire surface, instead of creating clumps of seasoning in some spots and bare, unseasoned patches in others.


✨ You May Also Like

BBQ & Grilling
🍜 United States

Tender, melt-in-your-mouth beef brisket with a crisp, spiced bark, slow-smoked to deep smoky perfection, the iconic centerpiece of Texas backyard barbecue.

⏱️ 12 hours BBQ & Grilling ★ 4.4
BBQ & Grilling
🍜 Korea

Tender, sweet-savory marinated beef short ribs, a beloved Korean BBQ staple with caramelized, slightly charred edges and deep umami flavor, perfect for outdoor summer gatherings.

⏱️ 4 hours 2BBQ & Grilling ★ 4.8
BBQ & Grilling
🍜 United States

Juicy grilled beef patties topped with smoky homemade chili, melted cheddar, and tangy pickles on toasted brioche buns for a hearty, flavor-packed handheld meal.

⏱️ 40 minuteBBQ & Grilling ★ 4.7
BBQ & Grilling
🍜 United States

A sweet, smoky, tangy BBQ sauce brightened with peak-season dark cherries, ideal for glazing grilled ribs, chicken, pork, or summer roasted veggies.

⏱️ 35 minuteBBQ & Grilling ★ 4.7
BBQ & Grilling
🍜 United States

Rich, smoky, slightly sweet homemade bourbon BBQ sauce with deep caramel notes, ideal for glazing grilled ribs, chicken, and burgers at cookouts.

⏱️ 25 minuteBBQ & Grilling ★ 4.7
BBQ & Grilling
🍜 United States

Iconic Alabama-style BBQ featuring tender hickory-smoked chicken slathered in tangy creamy white sauce, a beloved regional Southern cookout staple.

⏱️ 3 hoursBBQ & Grilling ★ 5

cook steak on grill:Frequently Asked Questions

1.Why is a 1.5-inch thick boneless ribeye the recommended cut for this recipe? ▾
That thickness hits the perfect grilling sweet spot: you’ll build a deep, crisp salty char on the outside without overcooking the center before the crust forms. Ribeye’s abundant marbling melts as it cooks, keeping meat juicy and adding rich, beefy flavor that pairs perfectly with the fragrant garlic-herb butter finish.
2.Can I use a different cut of steak if I don’t have ribeye? ▾
Absolutely! Opt for other well-marbled, 1.5-inch thick cuts like New York strip, filet mignon, or T-bone for similar results. Note that leaner cuts like sirloin will be less juicy, so add an extra pat of herb butter at the end to boost moisture and richness, and take extra care not to cook them past medium doneness.
3.Why do you recommend avocado oil instead of olive oil for grilling? ▾
Avocado oil has a very high smoke point (around 520°F), so it won’t burn or turn bitter when you’re searing over the hot grill grates needed for that perfect crust. Extra-virgin olive oil has a much lower smoke point, so it will scorch at high grill temps, leaving an unpleasant acrid flavor on your finished steak.
4.How far in advance should I salt my steak before grilling? ▾
For the juiciest, most evenly seasoned result, salt your steaks 45 minutes to 24 hours before grilling. Early salting draws out moisture that dissolves the salt, then that brine reabsorbs into the meat, breaking down tough muscle proteins for a more tender, well-seasoned bite all the way through, not just on the surface.
5.What if I don’t have time to salt my steak ahead of time? ▾
If you’re crunched for time, salt the steaks heavily right before you put them on the grill. Avoid salting them 10 to 30 minutes ahead, as that draws moisture to the surface without giving it time to reabsorb, leading to a steamed, less crisp crust and drier final steak. Seasoning immediately pre-grill works for a quick, solid result.
6.What grill temperature do I need to get that perfect charred crust? ▾
Preheat your grill to high heat, around 450°F to 500°F, before adding the steaks. Hot grates are critical for triggering the Maillard reaction, the chemical process that creates that deep, savory, crisp crust. Be sure to scrape and lightly oil the grates right before cooking so steaks don’t stick as they sear.
7.How do I get a perfect medium-rare center without overcooking? ▾
The most reliable method is to use an instant-read meat thermometer. Pull the steaks off the grill when they hit 130°F internal temperature—they will keep cooking 5 to 10 degrees (called carryover cooking) as they rest, landing you right at the ideal 135°F to 140°F medium-rare with a tender pink center.
8.When do I add the garlic-herb butter so it doesn’t burn? ▾
Add the garlic-herb butter during the last 1 to 2 minutes of grilling, or right after you pull the steaks off the heat to rest. If you add it too early, the milk solids in the butter and fresh garlic will burn over high grill heat, turning bitter instead of melting into that fragrant, rich coating you want.
9.What herbs work best in the garlic-herb butter for this steak? ▾
Stick to sturdy, aromatic fresh herbs that complement rich beef: rosemary, thyme, flat-leaf parsley, and a tiny bit of oregano are all classic picks. Skip soft, delicate herbs like basil or mint here—they turn bitter quickly on the hot grill and don’t pair as well with the savory, beefy steak flavor.
10.How long should I let the steak rest after grilling, and why does it matter? ▾
Let your steaks rest for 5 to 10 minutes, tented loosely with foil, after taking them off the grill. Resting lets muscle fibers relax and reabsorb all the juicy, flavorful juices pushed to the center during cooking, so those juices don’t run all over your plate when you slice, leaving you with dry meat.
11.Can I make this steak on a stovetop cast iron pan if I don’t have a grill? ▾
Totally! Heat your cast iron skillet over high heat until it’s smoking lightly, add the avocado oil, then sear the steaks just as you would on the grill, 4 to 5 minutes per side. Add the herb butter and baste the steaks in the last minute of cooking, then rest as directed for nearly identical charred, juicy results.
12.Why is kosher salt recommended instead of table salt for seasoning? ▾
Kosher salt has larger, flakier crystals that are easy to distribute evenly across the steak surface, so you won’t end up with overly salty patches. Table salt is much finer, has added anti-caking agents that can leave a slight metallic off-flavor, and is easy to overuse because it packs so densely per teaspoon.
13.How do I keep my steak from sticking to the grill grates? ▾
Start with fully preheated, clean grates: scrub off any leftover charred food from previous cooks with a grill brush, then wipe grates lightly with an oiled paper towel held with tongs right before adding steaks. Don’t move steaks for the first 3 to 4 minutes of searing; they’ll release naturally once the crust forms.
14.Should I flip my steak only once, or multiple times while grilling? ▾
The old “flip only once” rule is a myth! Flipping your steak every 2 to 3 minutes as it cooks actually helps it cook more evenly, with less of a tough overcooked gray ring around the pink center. Just use tongs to flip, not a fork—piercing the meat lets precious juices escape.
15.Can I use salted butter instead of unsalted for the herb butter? ▾
You can, just cut back on extra salt added to the butter mix and go lighter on seasoning the steak itself to avoid over-salting. Unsalted butter gives you full control over sodium levels so you can adjust seasoning to taste, but salted butter works fine as long as you account for its built-in salt content.
16.What’s the best way to serve this garlic-herb butter grilled steak? ▾
Let the melted herb butter drizzle over the top as you serve, and pair it with simple sides that don’t overpower the steak: grilled asparagus, crispy roasted potatoes, a simple green salad, or buttery corn on the cob. Slice steak against the grain before family-style serving to keep every bite extra tender.
17.How do I avoid that bitter, burnt garlic taste in the butter? ▾
Don’t add garlic too early, and keep heat moderate when melting the butter with it. Mince garlic finely, and if adding it on the grill, only do so in the last 60 to 90 seconds of cooking. If garlic cooks longer than that over high heat, it turns dark brown and acrid, ruining that sweet, mellow garlic flavor you want.
18.Can I prep the garlic-herb butter ahead of time? ▾
Absolutely! Mix softened unsalted butter with minced garlic, chopped herbs, a pinch of salt and pepper, then roll it into a log in parchment paper. Store it in the fridge for up to 1 week, or freeze it for up to 3 months. Slice off a pat to top each hot steak right after grilling for zero last-minute prep.
19.What doneness levels work well for this recipe besides medium-rare? ▾
If you prefer more done steak, aim for 140°F internal temp before resting for medium (a final temp of 145°F to 150°F, with a light pink center). I don’t recommend cooking ribeye past medium, as the marbling will render out completely, leaving the steak tough, dry, and far less flavorful.
20.Do I need to trim excess fat off the ribeye before grilling? ▾
You don’t need to trim all the fat, but cut any large, loose hanging fat chunks down to about 1/4 inch thick to avoid grill flare-ups, which cause uneven charring and bitter, sooty spots on your steak. The thin remaining edge fat will render as it cooks, adding great flavor and crisp texture to the finished dish.

Comments (3)

2 days ago

OMG this steak was an absolute game changer for our Sunday family dinner! I was so nervous to grill for my in-laws who are total steak snobs (they raise their own cattle, for crying out loud) but everyone was going back for seconds. The garlic-herb butter is SO good I even slathered a little extra on my roasted broccoli on the side, no regrets. The 12 minute cook time was totally spot on for medium rare, just how we like our steaks! Only tiny note: I didn’t have fresh rosemary on hand so I used dried, and it still turned out amazing.

yesterday

Wait I did the dried rosemary swap too! Also threw a tiny pinch of crushed red pepper flakes into the butter for a little subtle kick, chef’s kiss. My kids loved it so much they asked for seconds before they even finished their first bites of corn on the cob. Already added the ingredients to my grocery list for next week’s cookout!

2 hours ago

So glad this won over your cattle-ranching in-laws, Mia — that’s the highest possible praise! Dried rosemary works perfectly as a swap, just use 1/3 the amount of dried vs fresh since it’s way more concentrated, which it sounds like you totally nailed. Love the idea of slathering the extra butter on roasted broccoli, I’m stealing that for my own dinner tonight!

3 days ago

Tried this for my weekly meal prep this week and wow, it held up way better than I thought it would! I was worried grilled steak would get tough and rubbery when I reheated it for work lunches, but if you slice it thin against the grain and toss it with a little of that leftover herb butter when you warm it up in the pan, it’s just as good as night one. The medium difficulty rating is totally fair too — you don’t need any fancy grill gadgets, just a hot grill grate and a cheap meat thermometer if you’re paranoid about overcooking like I am. 10/10 will be making this all summer!

2 days ago

Great tip about reheating with a little extra butter! That’s such a smart hack to keep the steak from drying out, I’m definitely going to add that note to the recipe card for other meal prep fans. Slicing against the grain is such a key move too, thanks for shouting that out. So glad this is going into your summer rotation!

1 week ago

Made this for our block party potluck last weekend and people were hovering around the grill waiting for slices! I grabbed a couple of ribeyes instead of sirloin because they were BOGO at my local Publix, and that garlic-herb butter you baste on at the end? Absolute perfection. Quick heads up for newbies: make sure you let the steak rest the full 5 minutes like the recipe says, I skipped that on the first one and lost a ton of juicy goodness all over the cutting board. Total rookie move on my part!



