1.Do I really not need an oven to make these Cookies & Cream bars?
▾
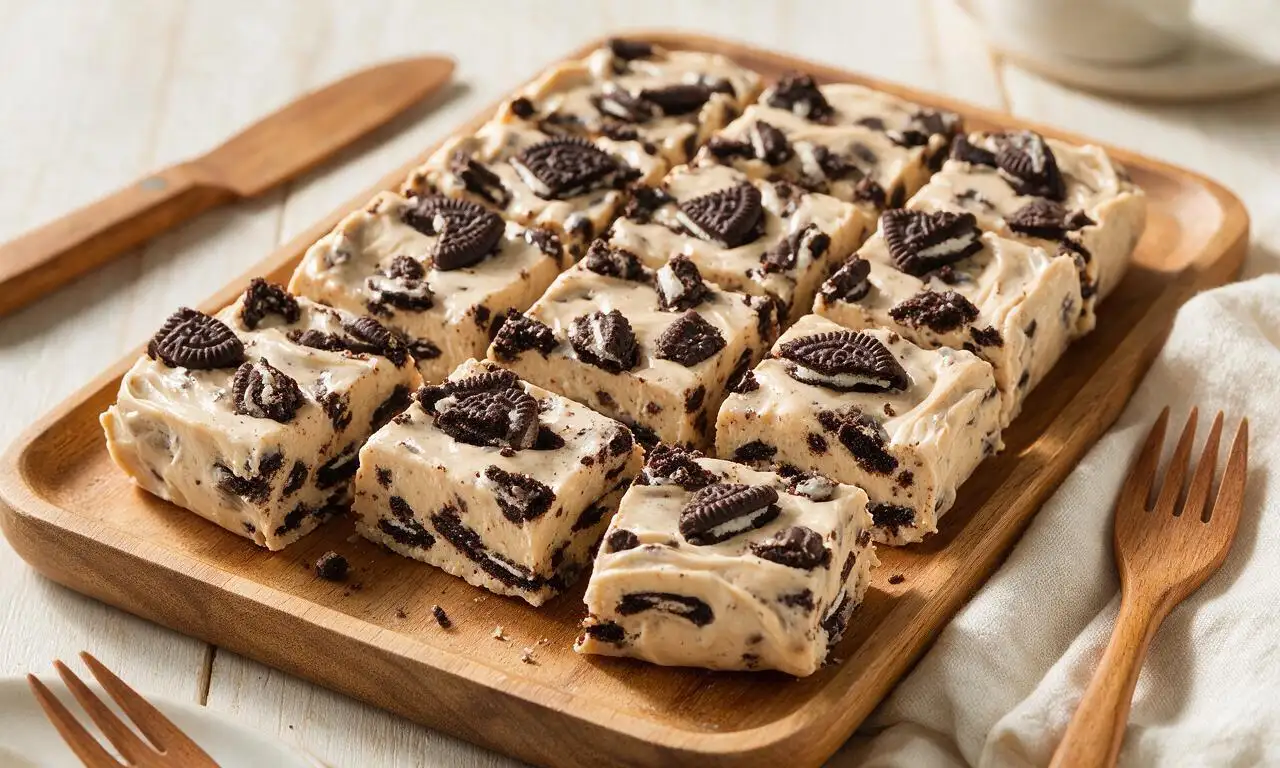
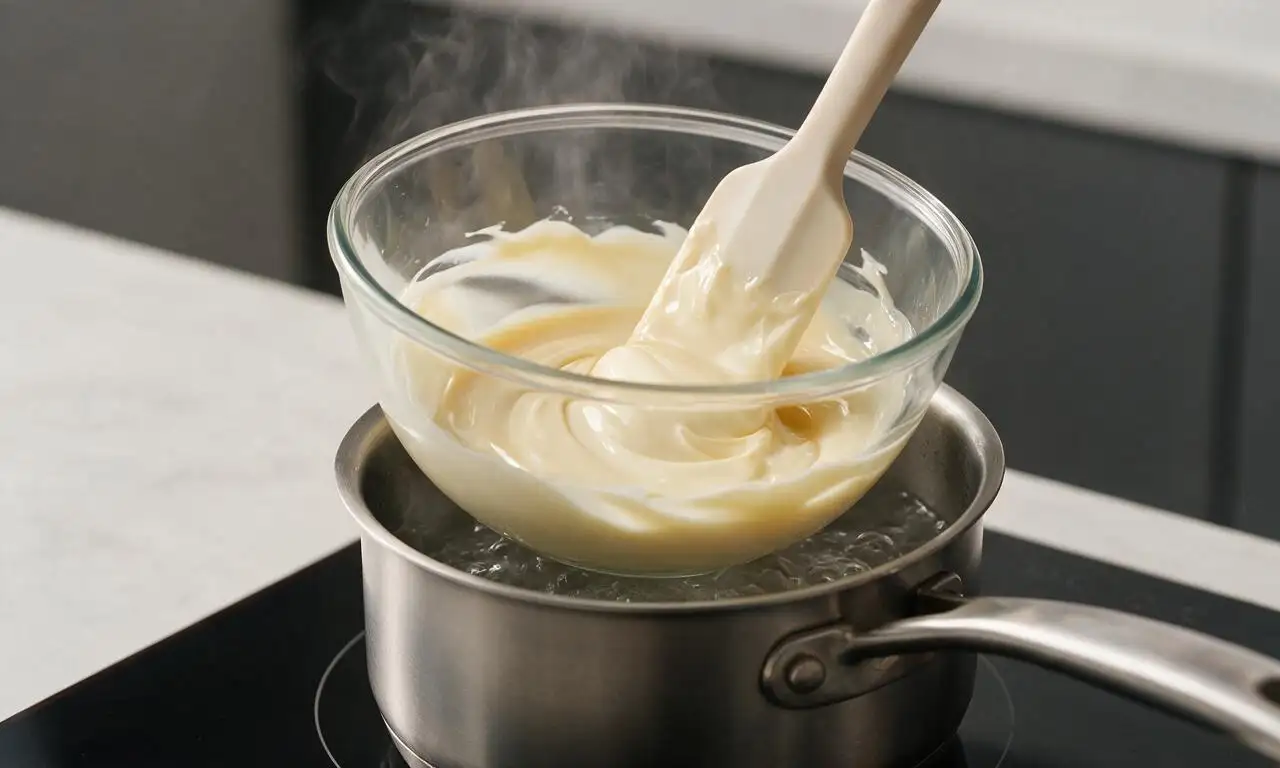
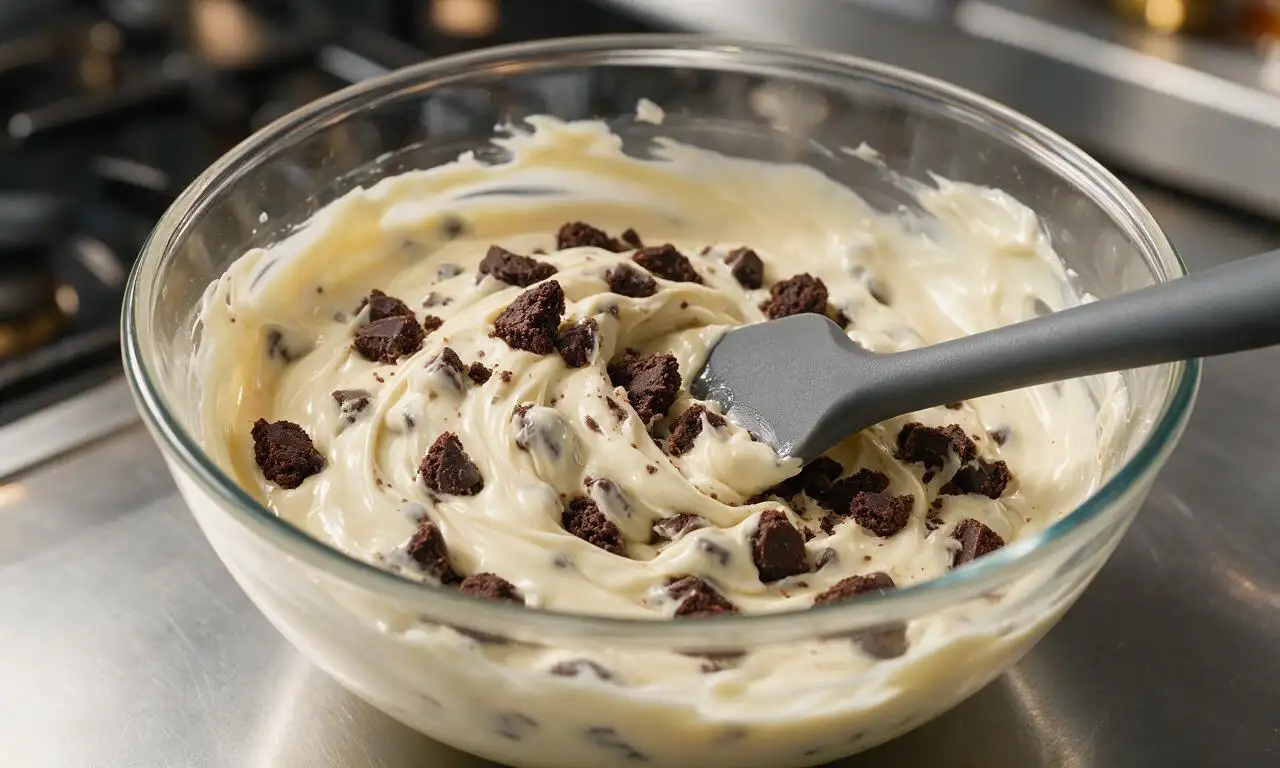
You don’t need an oven at all for this recipe! Melt the butter, white chocolate, and sweetened condensed milk either in a small pot over low stovetop heat or in 30-second microwave bursts, stir in your cookie bits, press into a prepared pan, and chill to set. It’s perfect for hot summer days when you don’t want to heat up your kitchen, and totally beginner-friendly.
2.Can I use generic chocolate sandwich cookies instead of name-brand Oreos?
▾
Absolutely! Generic Oreo-style chocolate sandwich cookies work perfectly here, as long as they have that classic crisp chocolate wafer and sweet cream center. You don’t need to splurge on name-brand cookies; just skip double-filled or flavored variants if you want that traditional balanced cookies and cream taste, since extra filling can make the bars overly sweet.
3.How long do these bars need to chill before they’re ready to eat?
▾
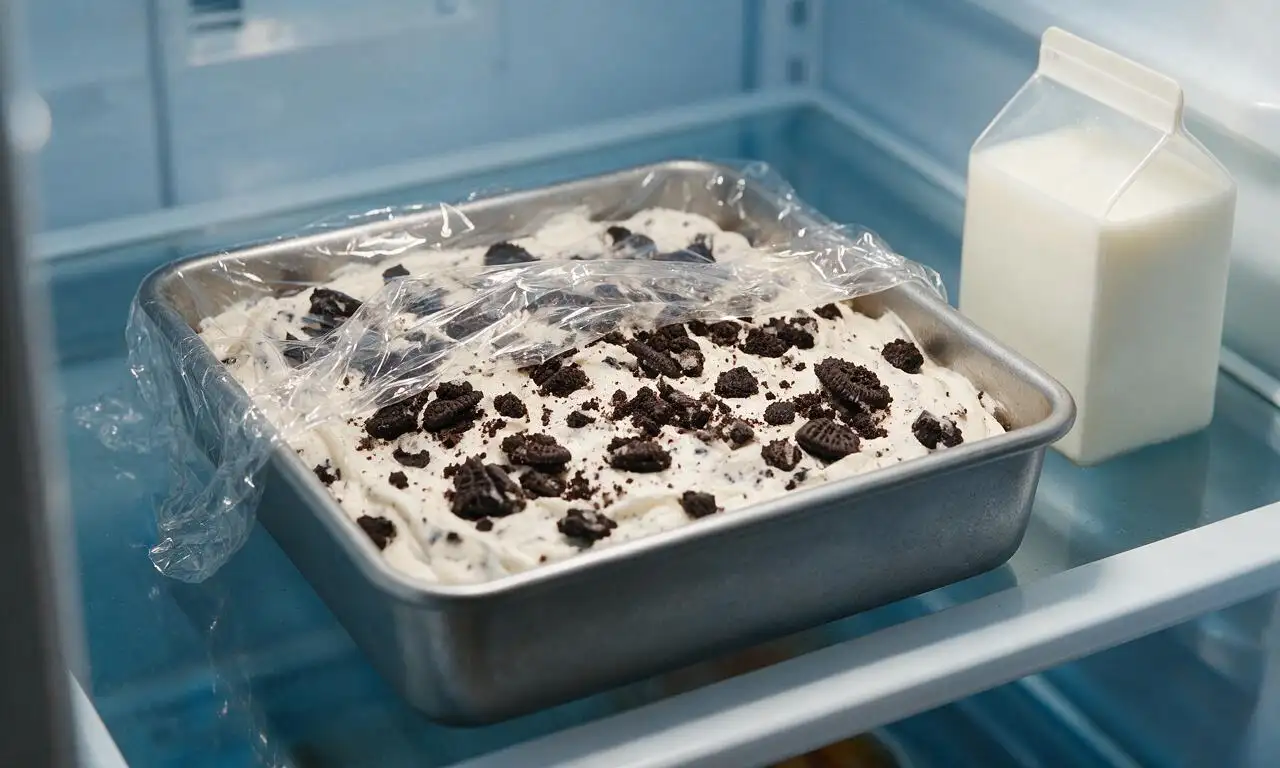
For clean, firm slices that hold their shape, plan to chill the pressed mixture in the refrigerator for a minimum of 2 hours. If you’re in a rush, you can pop the pan in the freezer for 30 minutes to speed up setting. Don’t cut them early—if the center is still soft when you nudge the pan, give them another 20 to 30 minutes of chill time.
4.Can I substitute dark chocolate for the white chocolate chips?
▾
You can, but it will change the classic cookies and cream flavor profile significantly. If you prefer less sweet treats, use an equal measure of 60% cacao dark chocolate chips, but note it will overpower the sweet, milky notes that balance the bitter chocolate cookie bits. For a closer match, use half white and half semi-sweet chocolate if you want deeper chocolate flavor.
5.Why is my finished mixture coming out too greasy?
▾
Greasiness almost always comes from overheating the butter and white chocolate, which causes the cocoa butter in the white chocolate to separate out. Fix this by removing the mixture from heat as soon as the chips are 90% melted, then stir gently until fully smooth. If separation already happened, stir in 1 to 2 tablespoons of extra crushed cookie crumbs to absorb excess butter before pressing into the pan.
6.What size pan should I use for this recipe?
▾
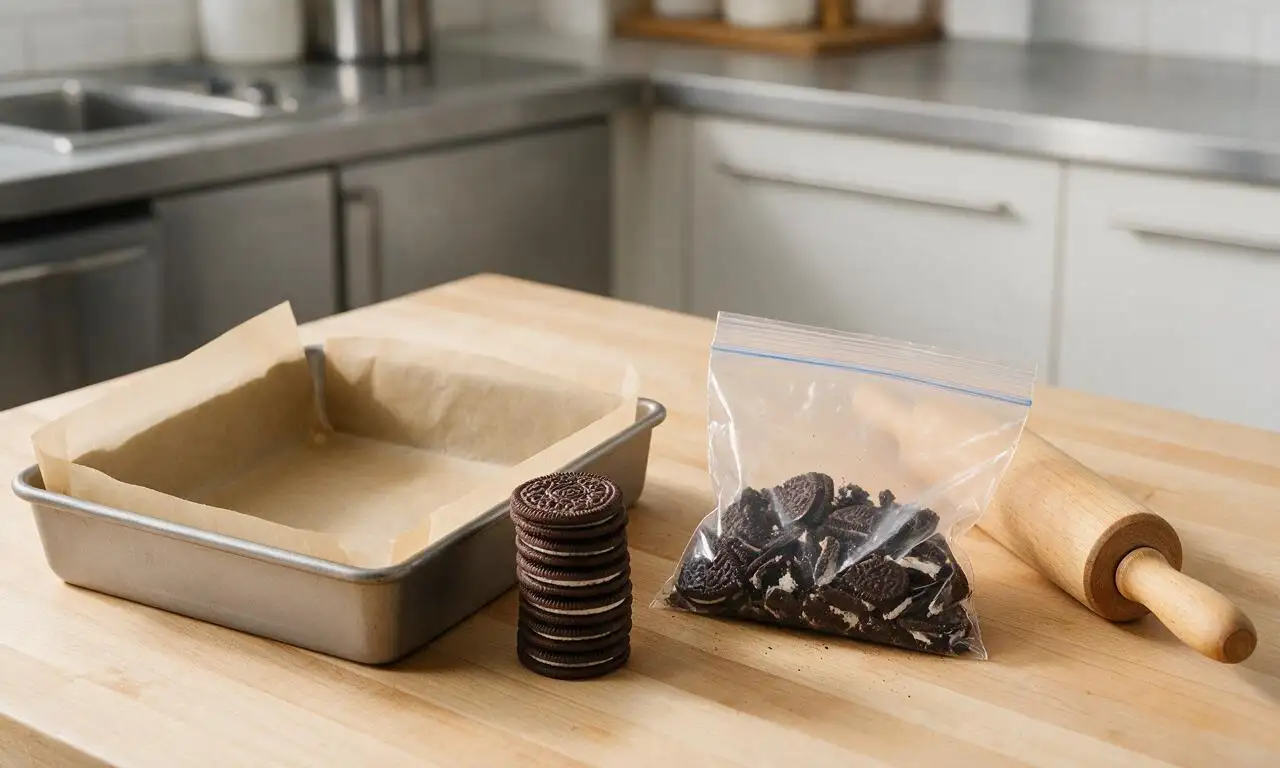
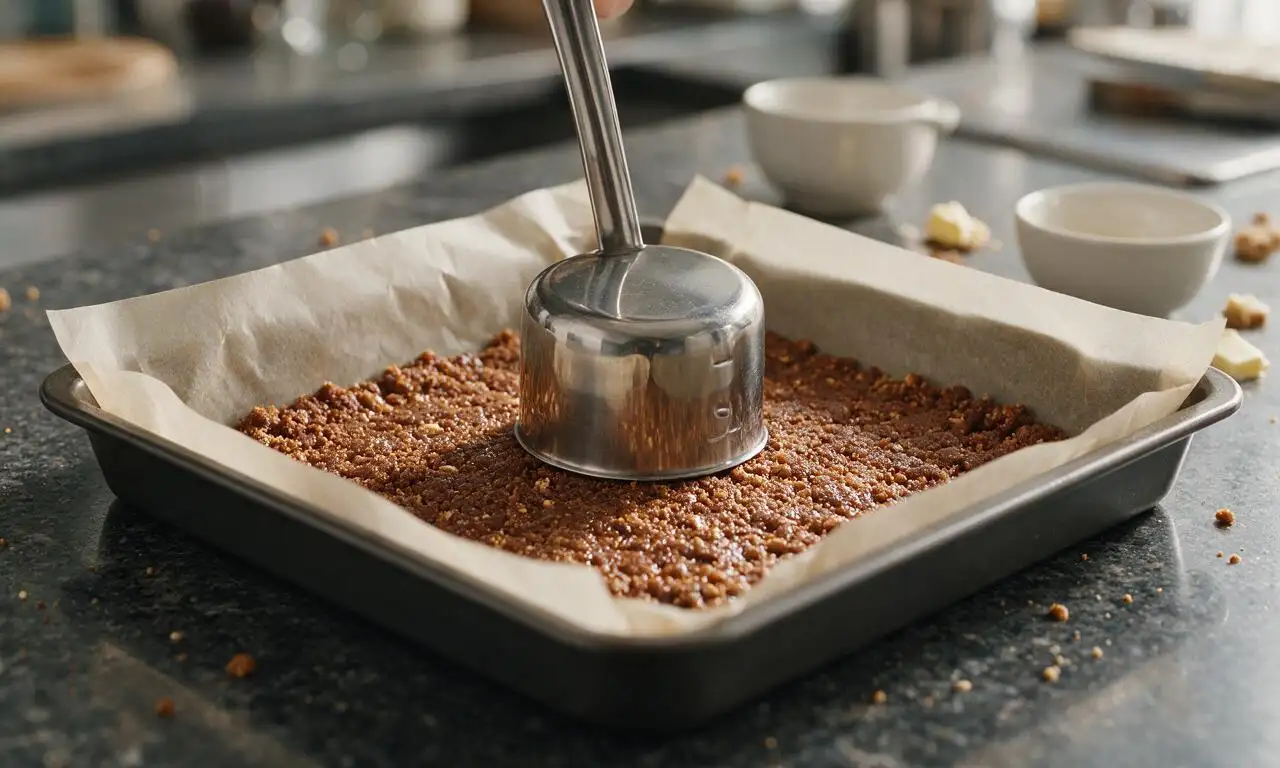
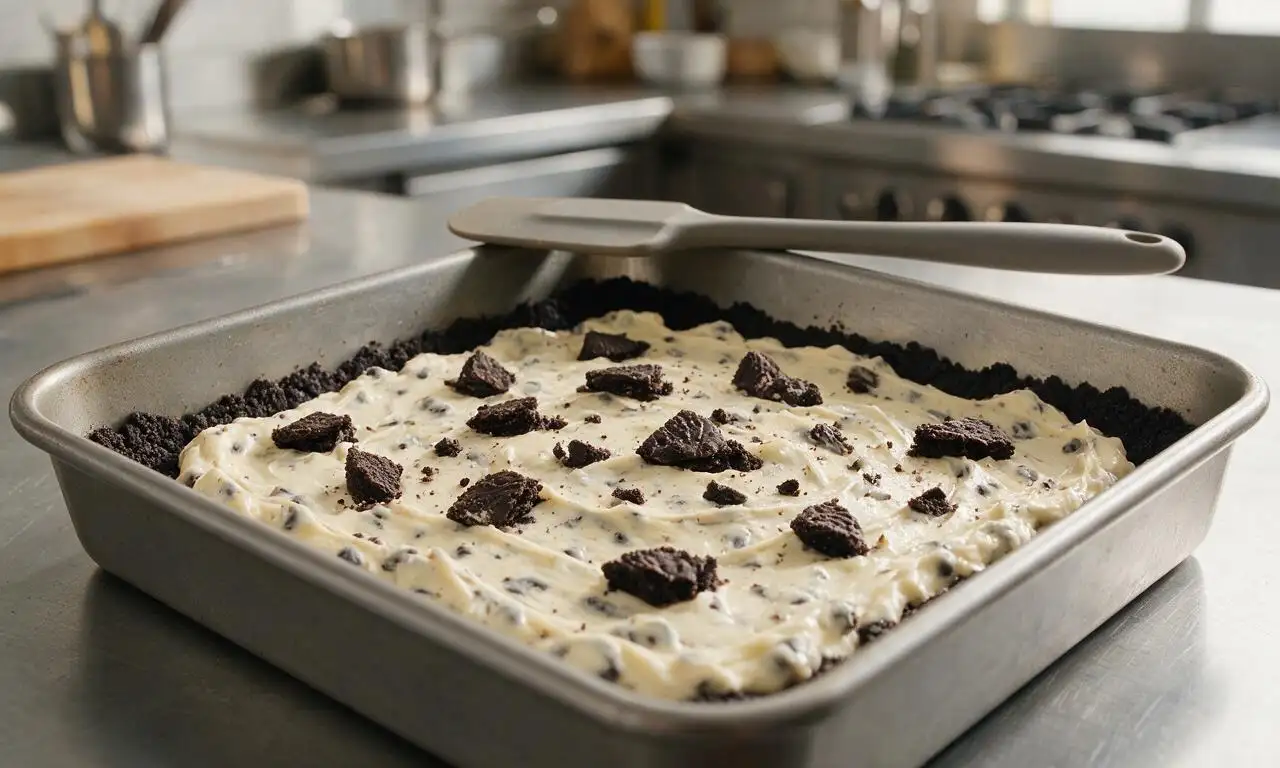
An 8x8 inch square baking pan lined with parchment paper (leave 2-inch overhangs on two sides for easy lifting) is ideal for thick, fudgy bars that hold their shape. If you only have a 9x9 inch pan, your bars will be about 25% thinner, so cut chill time by 30 minutes. Skip 9x13 pans unless you double the full recipe.
7.Do I need to scrape the cream filling out of the sandwich cookies before crushing them?
▾
Nope, no need to remove the cream filling—leave it right in the cookies when you crush them! The sweet cream blends beautifully into the fudgy base as you stir it into the warm melted mixture, adding that signature cookies and cream flavor. Just reserve 1 cup of coarsely crushed chunks to fold in at the end for extra crunch.
8.How should I store leftover Cookies & Cream bars?
▾
Store leftover bars in an airtight container in the refrigerator for up to 1 week, separated by small sheets of parchment paper so they don’t stick together. You can also wrap individual bars tightly in plastic wrap and freeze them for up to 3 months—just thaw in the fridge for 15 minutes before eating for the best fudgy, creamy texture.
9.Can I make these bars dairy-free for guests with dietary restrictions?
▾
You can easily make a dairy-free version with a few simple swaps: use dairy-free white chocolate chips, canned full-fat coconut condensed milk instead of regular sweetened condensed milk, plant-based unsalted butter sticks, and your favorite dairy-free chocolate sandwich cookies. Stir the melted mixture well to avoid graininess from dairy-free chocolate, and the texture will be nearly identical.
10.Why are my bars crumbly and falling apart when I cut them?
▾
Crumbly bars usually happen for one of two reasons: either you didn’t press the mixture firmly enough into the pan when assembling, or you used too many dry cookie crumbs relative to the melted binding mixture. Fix this next time by pressing the base down firmly with the flat bottom of a measuring cup, and double check your measurements to ensure you didn’t skimp on condensed milk or white chocolate.
11.Can I add extra mix-ins to customize these bars?
▾
Absolutely, these bars are super customizable! Great mix-ins include mini marshmallows for a rocky road twist, crushed pretzel bits for a salty-sweet kick, mini chocolate chips, chopped toasted pecans, or a sprinkle of flaky sea salt on top right before chilling. Just keep total extra mix-ins to 1 cup or less so the bars still hold their shape when sliced.
12.Can I use evaporated milk instead of sweetened condensed milk?
▾
Stick strictly to sweetened condensed milk for this recipe—evaporated milk is unsweetened and has a much thinner, watery consistency that won’t set into that fudgy, chewy base we want. Sweetened condensed milk is thick, sugary, and creamy, and it acts as the key binding ingredient that holds the cookie bits and melted chocolate together into sliceable bars.
13.What’s the best way to crush the chocolate sandwich cookies?
▾
The easiest, least messy method is to place whole cookies in a sealed zip-top plastic bag, squeeze out excess air, and crush them with a rolling pin. Aim for a mix of fine crumbs and ½-inch chunks for the best texture. Don’t blitz all the cookies in a food processor, because that will turn them into uniform fine crumbs with no crunchy, chunky bits.
14.Are these bars a good option to bring to a potluck or large party?
▾
These bars are ideal for potlucks and large groups! They hold up well at room temperature for 2 to 3 hours, which is perfect for a dessert table, you can cut them into small bite-sized squares to feed a crowd, and they require zero last-minute prep. For a 9x13 pan to serve 16 to 20 people, simply double all ingredients and add 30 minutes of chill time.
15.The recipe calls for unsalted butter—can I use salted butter instead?
▾
I recommend unsalted butter so you can control the total salt level of the bars, but if you only have salted butter on hand, that works too—just skip any extra flaky salt topping you might have planned. Unsalted butter lets the sweet, creamy vanilla and cookie flavors shine, but the swap won’t ruin the recipe if that’s what you already have in your fridge.
16.Can I use almond extract instead of pure vanilla extract?
▾
I don’t recommend swapping all the vanilla for almond extract, since almond has a very strong, distinct flavor that will overpower the classic cookies and cream taste. If you love almond flavor, you can add ¼ teaspoon of almond extract alongside the full measure of pure vanilla for a subtle nutty background note, but don’t replace the vanilla entirely for the most authentic flavor.
17.How do I get clean, neat slices without smushing the bars?
▾
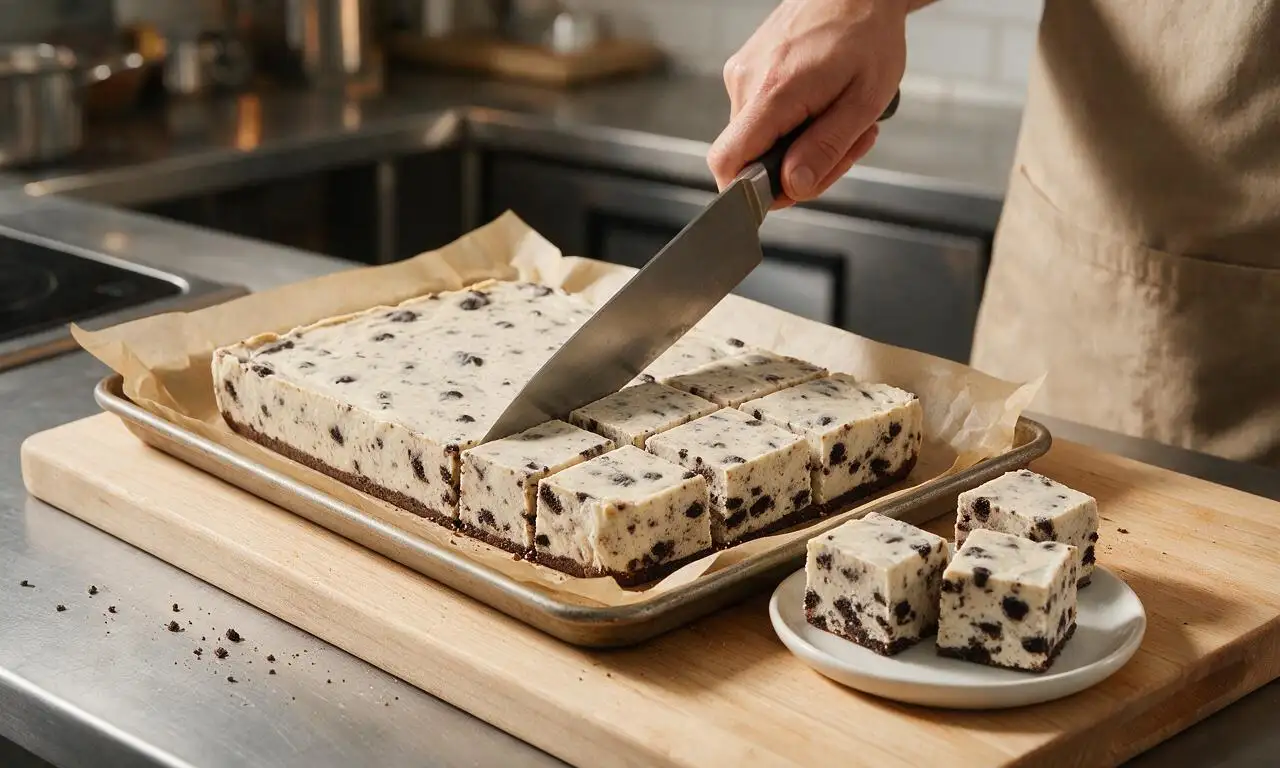
For perfectly clean, bakery-worthy slices, lift the fully chilled block of bars out of the pan using the parchment paper overhang, set it on a cutting board, and run a sharp chef’s knife under hot water for 10 seconds, wiping it dry between every slice. Don’t saw back and forth—use one smooth, downward cut for each slice to avoid smushing the fudgy base.
18.My white chocolate turned clumpy and grainy while melting—can I fix it?
▾
That seized, grainy texture happens when white chocolate overheats or comes into contact with even a tiny drop of water, and it is fixable! Remove it from heat immediately, stir in 1 teaspoon of neutral vegetable oil or warm heavy cream at a time, stirring vigorously, until it smooths back out. Always use completely dry bowls and utensils when melting chocolate to prevent this.
19.Can I make these bars safe for guests with gluten or nut allergies?
▾
The base recipe is naturally nut-free as long as you choose nut-free ingredients and skip nut mix-ins, so it works for nut-free guests with a quick label check for cross-contamination warnings. For gluten-free bars, simply swap regular chocolate sandwich cookies for certified gluten-free Oreo-style cookies, since all other core ingredients are naturally gluten-free.







OMG this cookies & cream recipe is SO good! I brought it to my office potluck last week and every single person asked for the recipe. The chill time is totally worth it, no weird complicated steps at all — perfect for someone like me who burns half the stuff I bake lmao.
My kids went absolutely crazy for this! I swapped the regular sandwich cookies for the mint filled ones on a whim and it turned out chef’s kiss. Only complaint is they ate half the pan before I could even pack some for my husband’s work lunch 😂
Super easy to throw together on a Sunday for the week! I will say I wish it set a little firmer for my taste, next time I’ll probably leave it in the fridge an extra 30 minutes. Still delicious though, way better than the store bought tub version.
Game changer. I live in a tiny dorm with just a mini fridge and a mixing bowl and I still pulled this off. Spent like 18 minutes on prep max, chilled it while I went to my lecture, came back to the best late night snack ever. 10/10 would make again for my floor hangout.
Made this for my neighborhood block party and it was the first dessert gone! People kept coming back for seconds even after all the brownies and cookies were gone. Who knew something so simple could be such a hit?
I’ve literally never made a dessert from scratch that didn’t turn into a lumpy mess before, but this was so easy! I was worried the 2 hour chill time would be a pain but I just ran errands while it set, and it came out perfect. My roommate said it’s better than the ice cream shop version down the street!
Taste was great, but I found the cookie pieces got a little soggy after the full 2 hour chill? Maybe I crushed them too fine? Not a dealbreaker but I was hoping for more crunch.
Made a high protein version of this by swapping the regular cream for Greek yogurt and protein powder mixed with a little almond milk, added the crushed cookies on top, and it hit the spot when I was craving something sweet without wrecking my macro goals. Solid base recipe that’s super easy to tweak!
I made this for my grandkids’ visit last weekend and they begged me to write the recipe down for them to take home! I’ve been making cookies and cream treats for 40 years and this is easily the simplest, most consistent version I’ve ever tried. No fussy steps, just creamy, cookie-filled goodness.
Just pulled this out of the fridge and wow. I ate a whole bowl standing up over the sink before I even put the lid on. No regrets. The ratio of cookie to cream is perfect, not too sweet, just right.
Super easy to veganize! I used coconut cream and dairy free chocolate sandwich cookies and it came out so creamy, my non-vegan friends didn’t even notice the difference. Only reason I’m not giving 5 stars is I wish the recipe noted dairy free swaps upfront!
Brought this to the Browns watch party last Sunday and it was a total touchdown! (Pun absolutely intended.) I served it in little individual cups with an extra cookie on the side so people didn’t have to fumble with serving spoons, and it worked perfectly for the rowdy crowd.
This holds up so well in the fridge for meal prep! I portion it out into little containers on Sunday and have a little sweet treat to look forward to after dinner every weeknight. It doesn’t get weird or grainy after a few days like some other no-bake desserts I’ve tried.
Made a double batch for my kid’s school bake sale and we sold out in 20 minutes! Priced it at $2 a cup and ended up raising enough to cover half the cost of the 5th grade field trip. Total game changer for future fundraisers.
Just finished making this and had to leave a comment immediately — the texture is so rich and creamy, I can’t believe how simple the ingredient list is. I’ve paid $12 a pint for fancy artisanal cookies & cream ice cream that wasn’t half this good. Obsessed.
Made this for my girlfriend for our at home date night after we watched a movie, and she said it was better than the fancy dessert we got at our anniversary dinner last month. Win for me, this recipe is permanently saved in my bookmarks.