
cooking bacon in ninja foodi

title 1
cooking bacon in ninja foodi
⏱️ cook time 8 minutes
🍽️ servings 4
⚡ Difficulty easy

intro

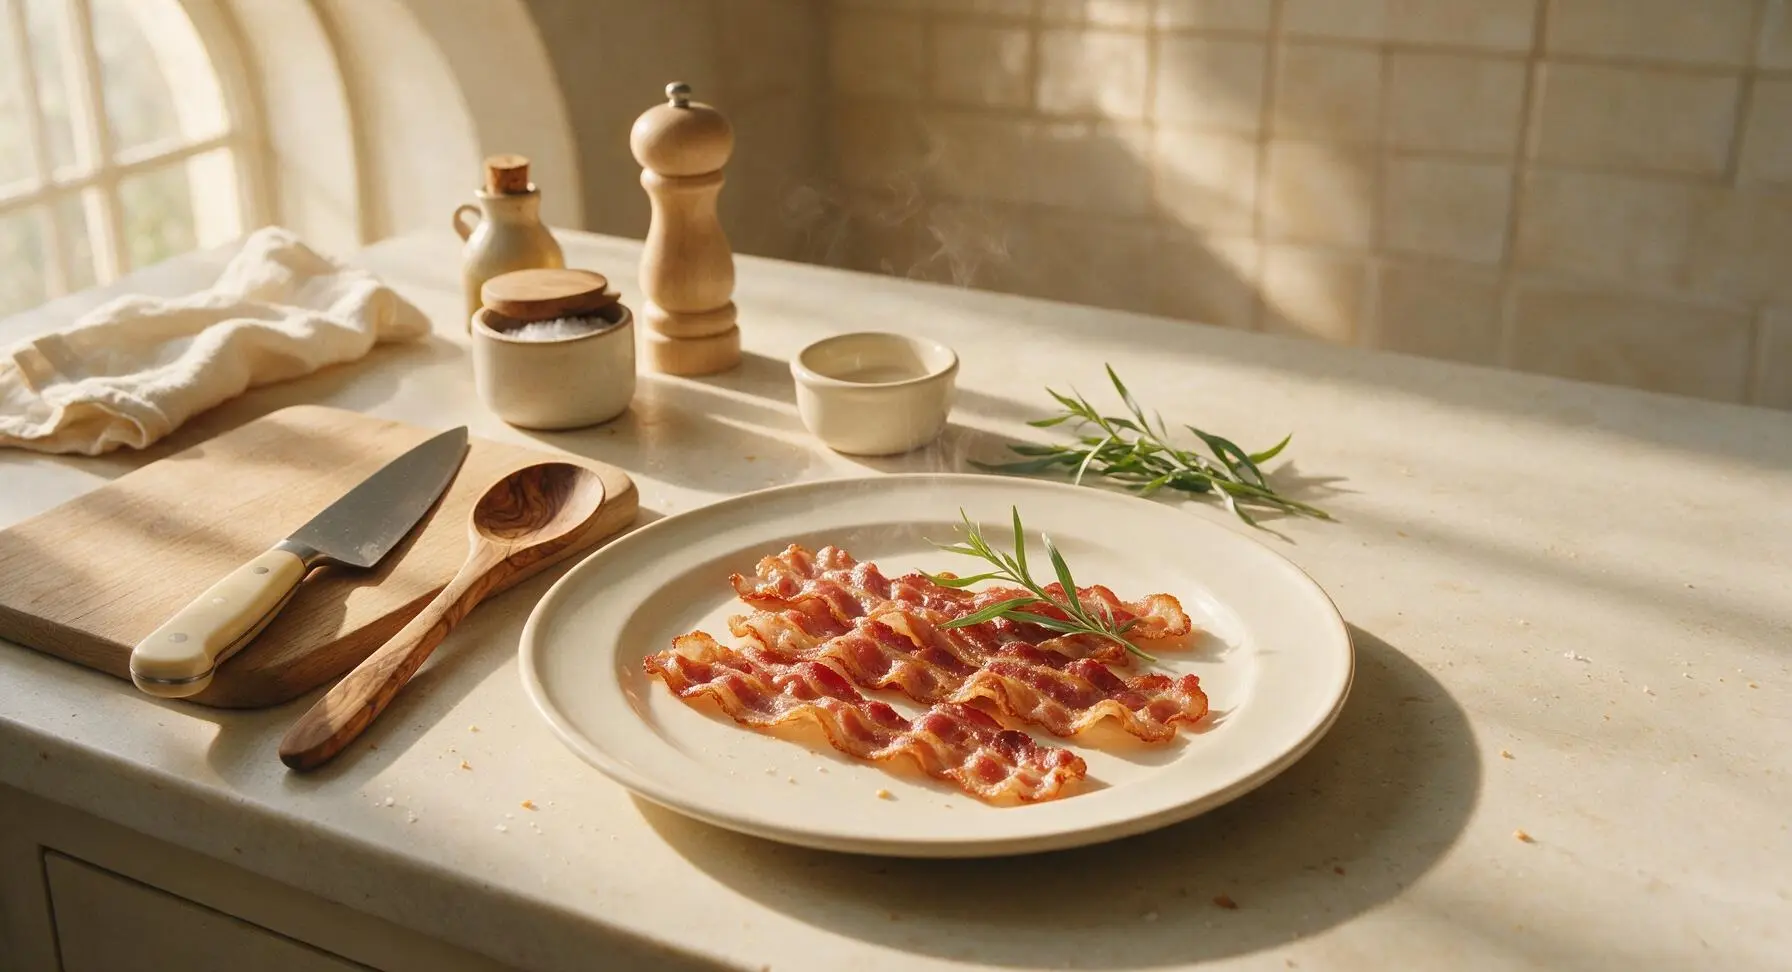
Mess-free, evenly rendered crispy bacon made in the Ninja Foodi with zero stovetop splatters, ready in minutes for breakfast, sandwiches, or salad toppings.

Ingredients
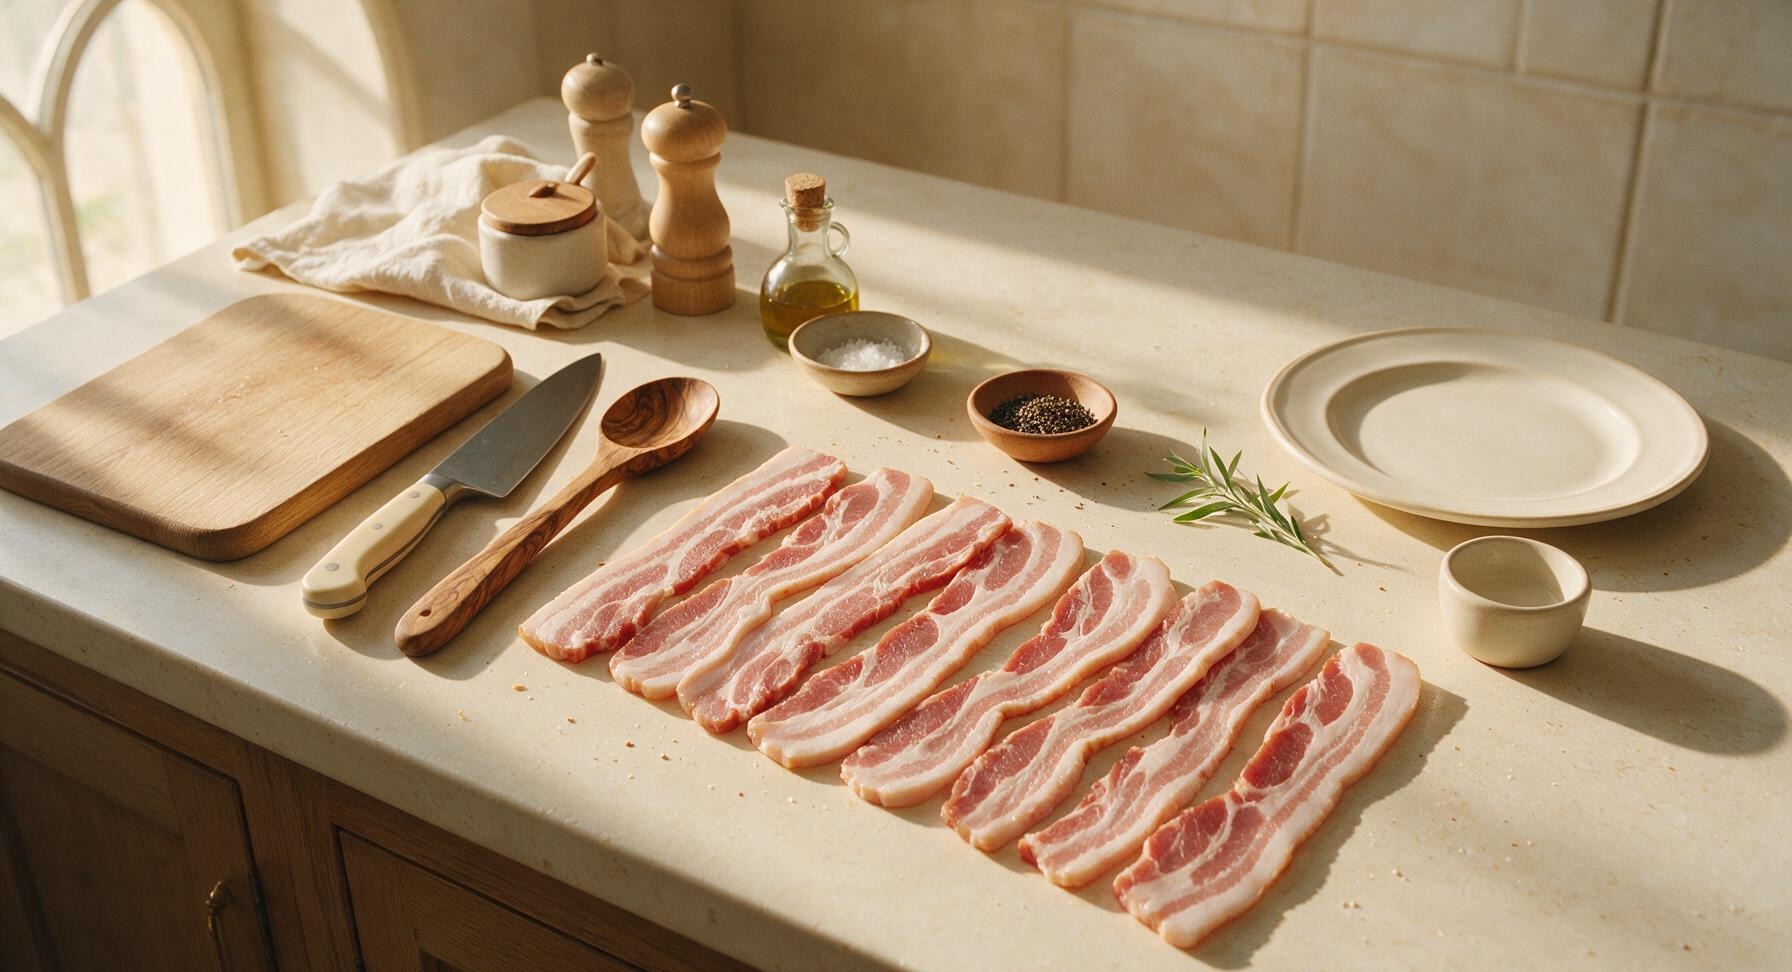
Thick-cut pork bacon 8 slices (340g / 12oz)
Freshly ground black pepper 1/4 tsp (optional)

Steps

1

Prep Foodi Cooking Basket

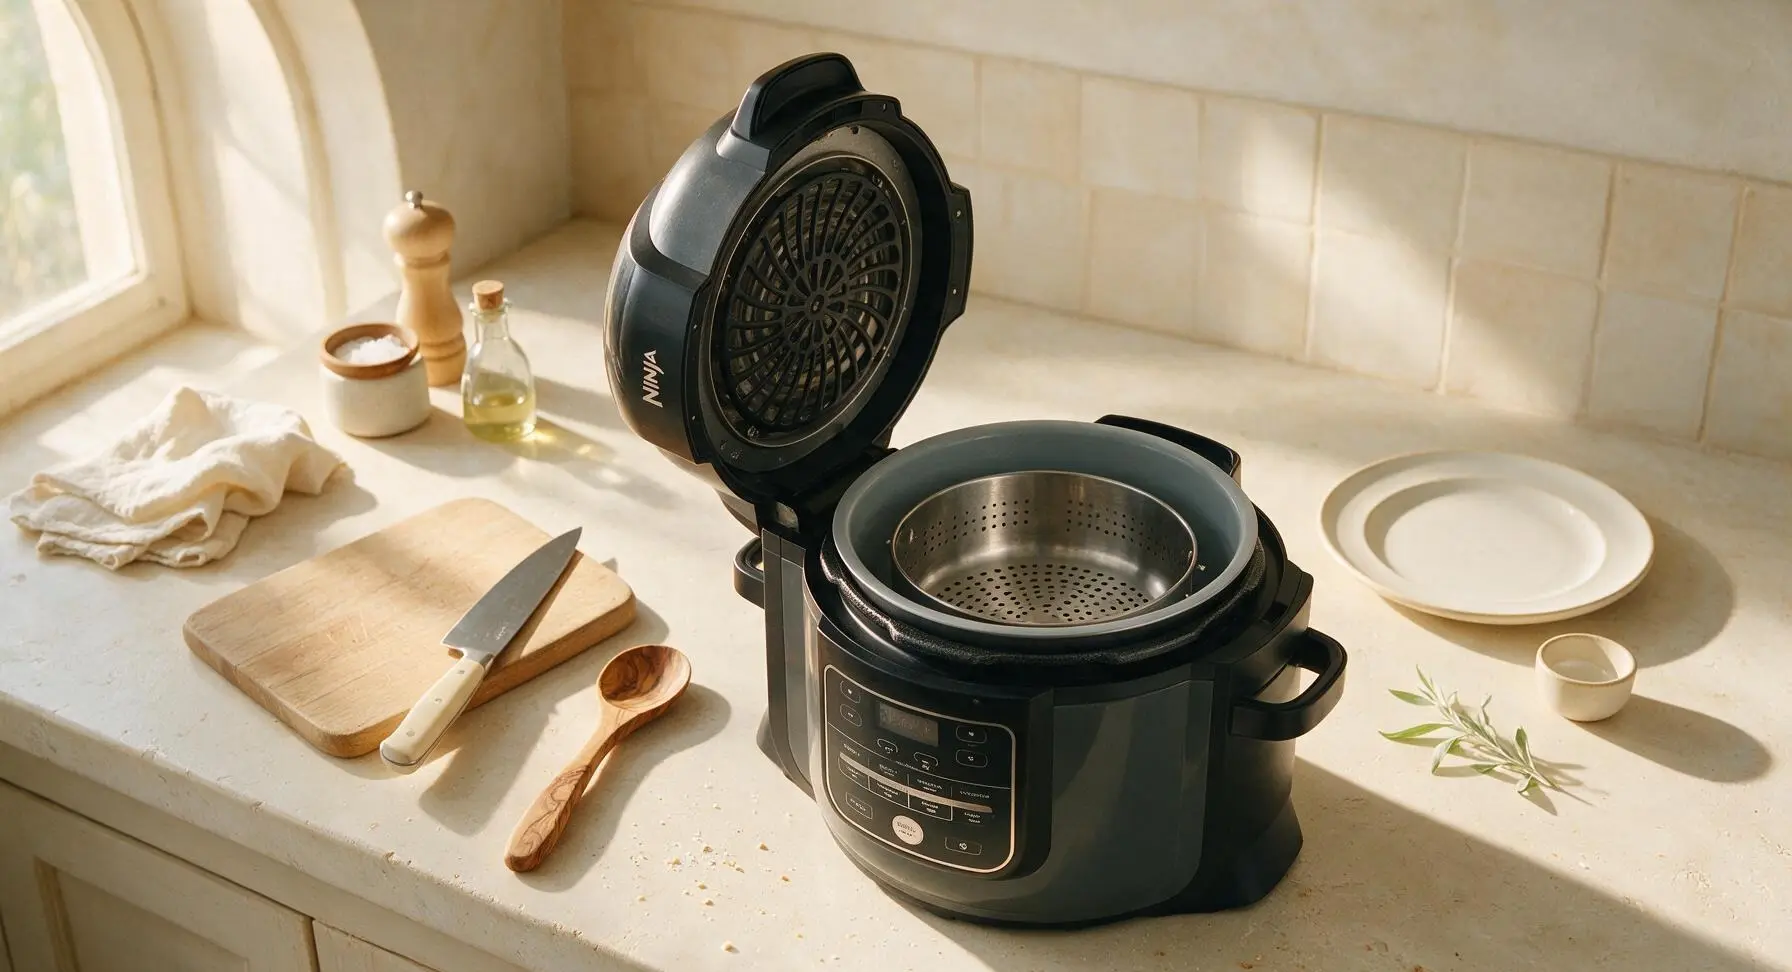
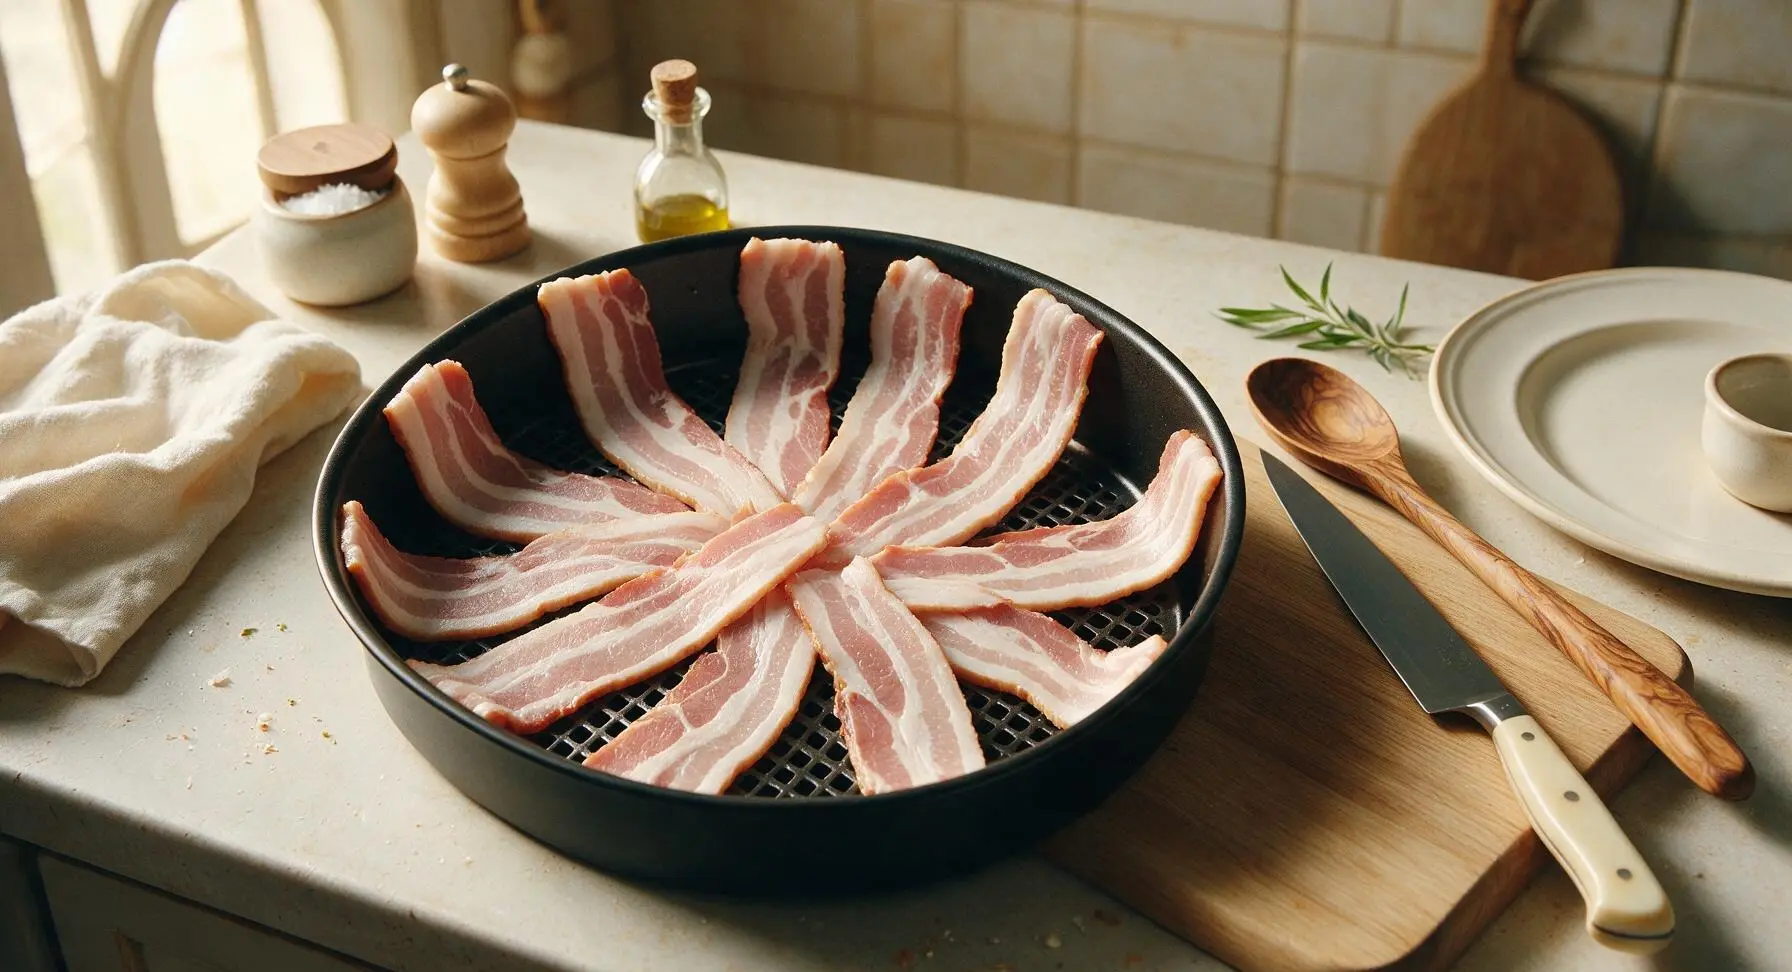
Ensure your 8-quart Ninja Foodi is unplugged during setup to avoid accidental activation. Confirm the ceramic-coated non-stick inner pot is clean and fully dry, then set it securely inside the Foodi base. Lower the stainless steel air crisp basket into the inner pot, making sure it sits level 1 inch above the pot bottom to allow rendered fat to drip away from bacon as it cooks. Do not line the basket with parchment, foil, or oil—liners block air flow and reduce crispness, and bacon releases enough fat to prevent sticking.
Step 1
step1:Prep Foodi Cooking Basket
2

Arrange Bacon Evenly

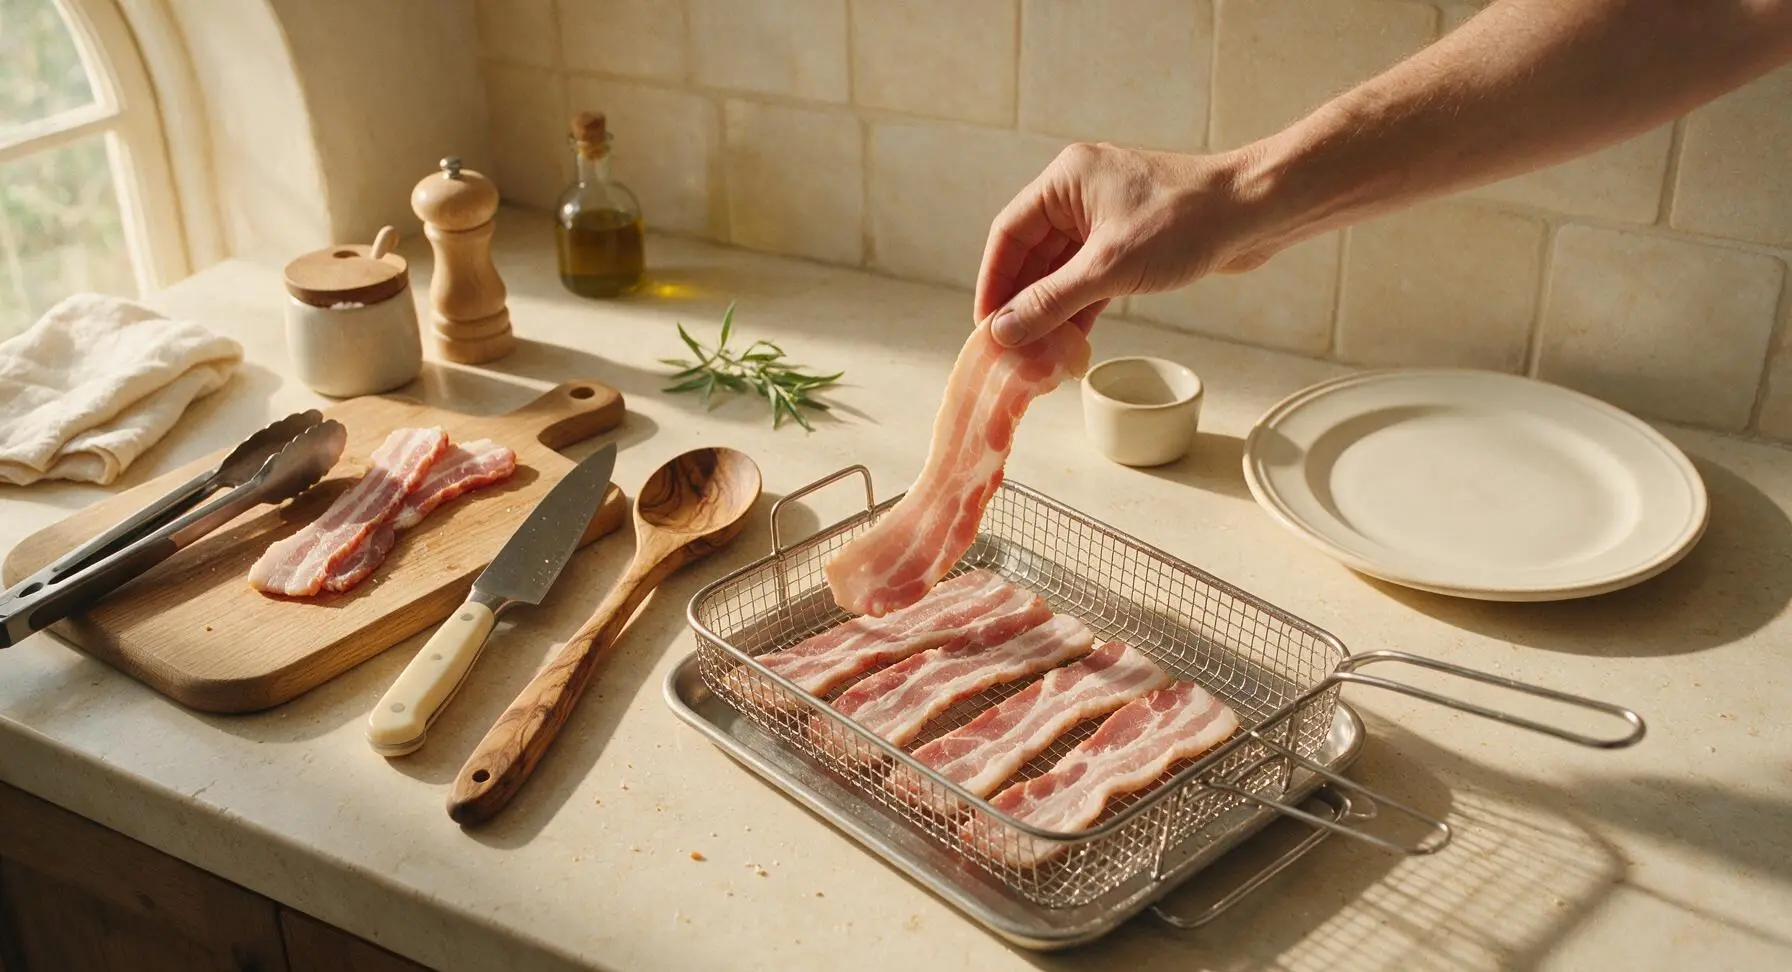
Remove the raw thick-cut bacon from its packaging, discarding any plastic wrapping. Lay all 8 strips in a single layer across the air crisp basket, leaving 1/4 inch of space between each strip to allow hot air to circulate. Do not overlap or stack strips, as this will cause uneven cooking, soggy patches, and under-rendered fat. Strips can be arranged parallel or slightly fanned to fit the round basket shape.
Step 2
step2:Arrange Bacon Evenly
Step 2
step2:Arrange Bacon Evenly
3

Set Air Crisp Mode

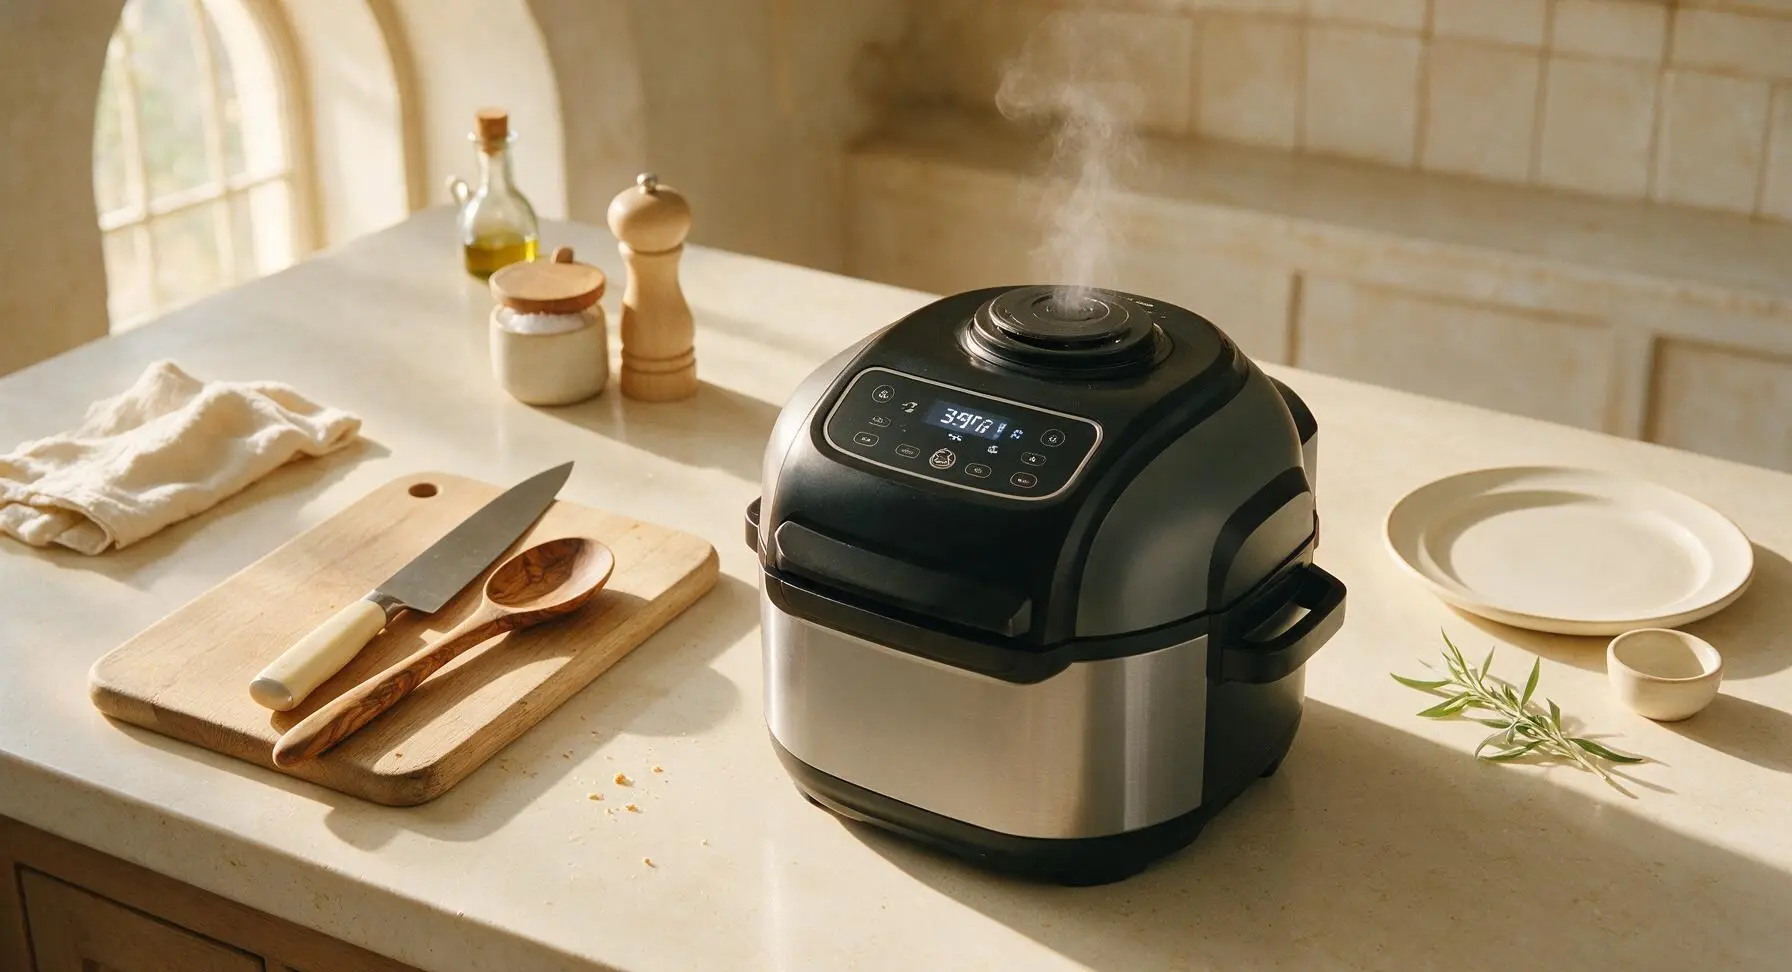
Close the Ninja Foodi air crisp lid securely, plug the unit in, and select the Air Crisp function. Adjust the temperature to 390°F (200°C) and set the cook timer for 8 minutes. There is no need to preheat the unit for bacon, as the gradual temperature rise helps render fat slowly for even crisping without burning. You will begin to hear soft sizzling after 2-3 minutes as fat starts to melt.
Step 3
step3:Set Air Crisp Mode
4

Check Mid-Cook Progress

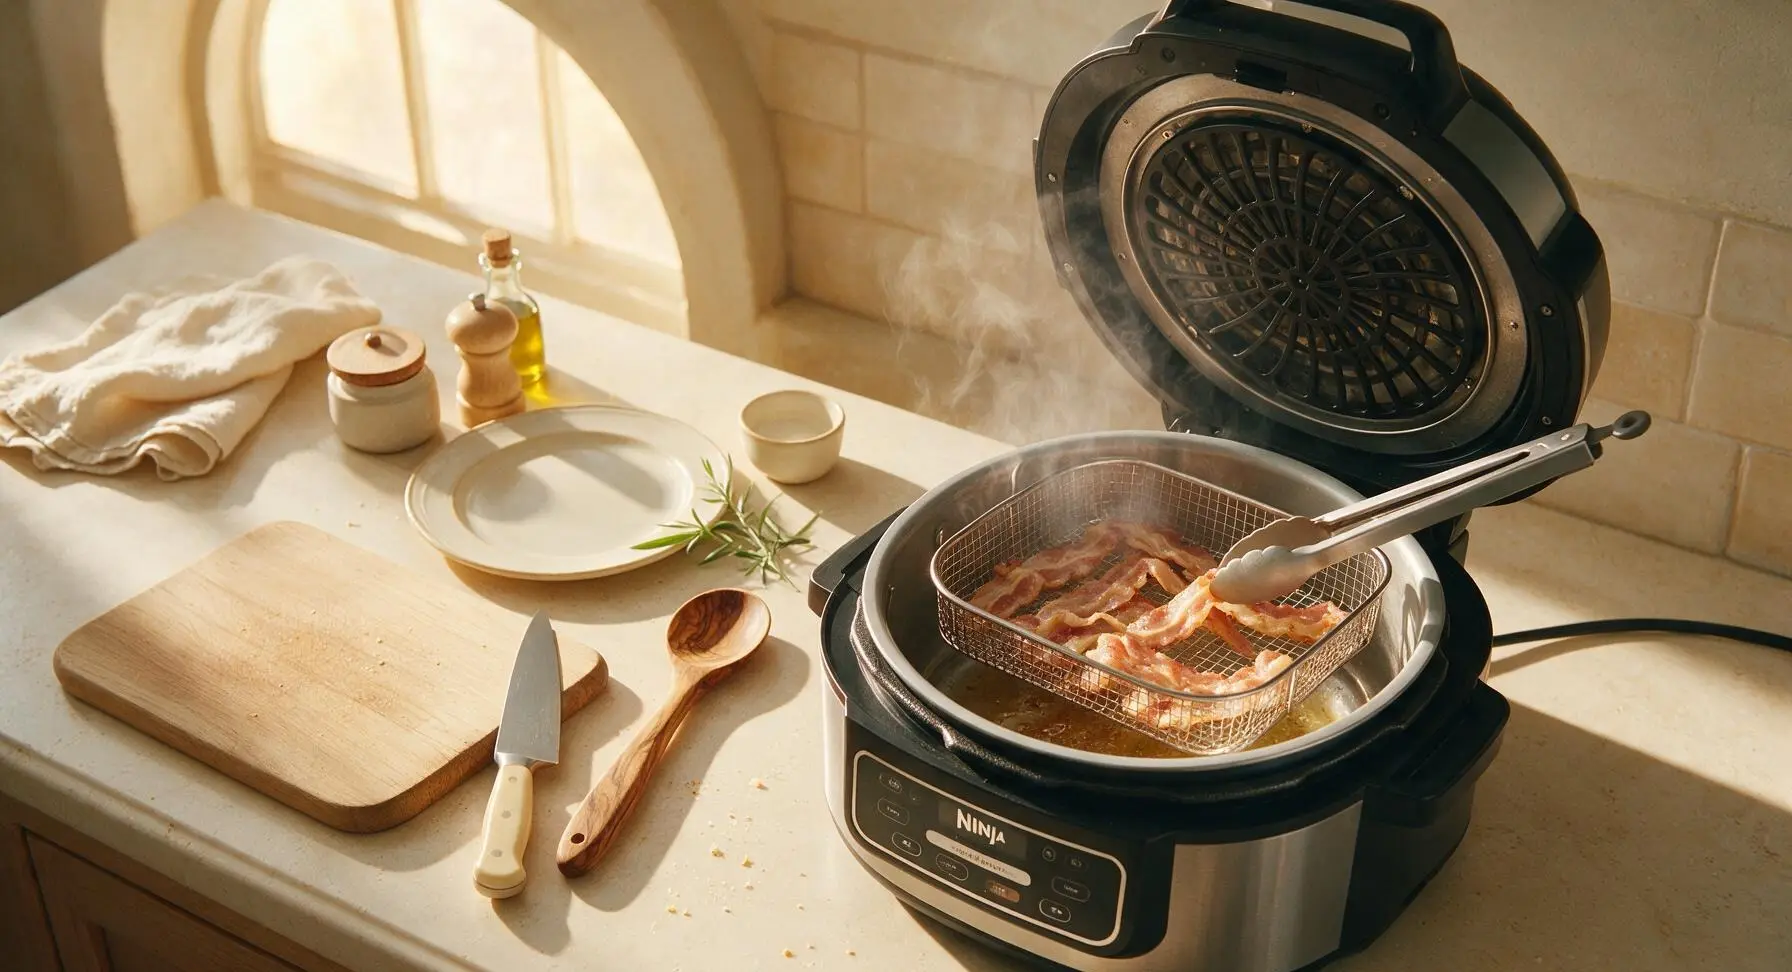
When the timer reaches the 4 minute mark, open the lid carefully (tilt the lid away from your face to avoid hot steam burns). There is no need to flip the bacon, as the elevated basket and circulating air crisp both sides evenly. Visually check that the fat is rendering and the bacon is starting to turn golden around the edges. If any strips are shifted to overlap, use the tongs to nudge them back into place.
Step 4
step4:Check Mid-Cook Progress
5

Verify Final Doneness

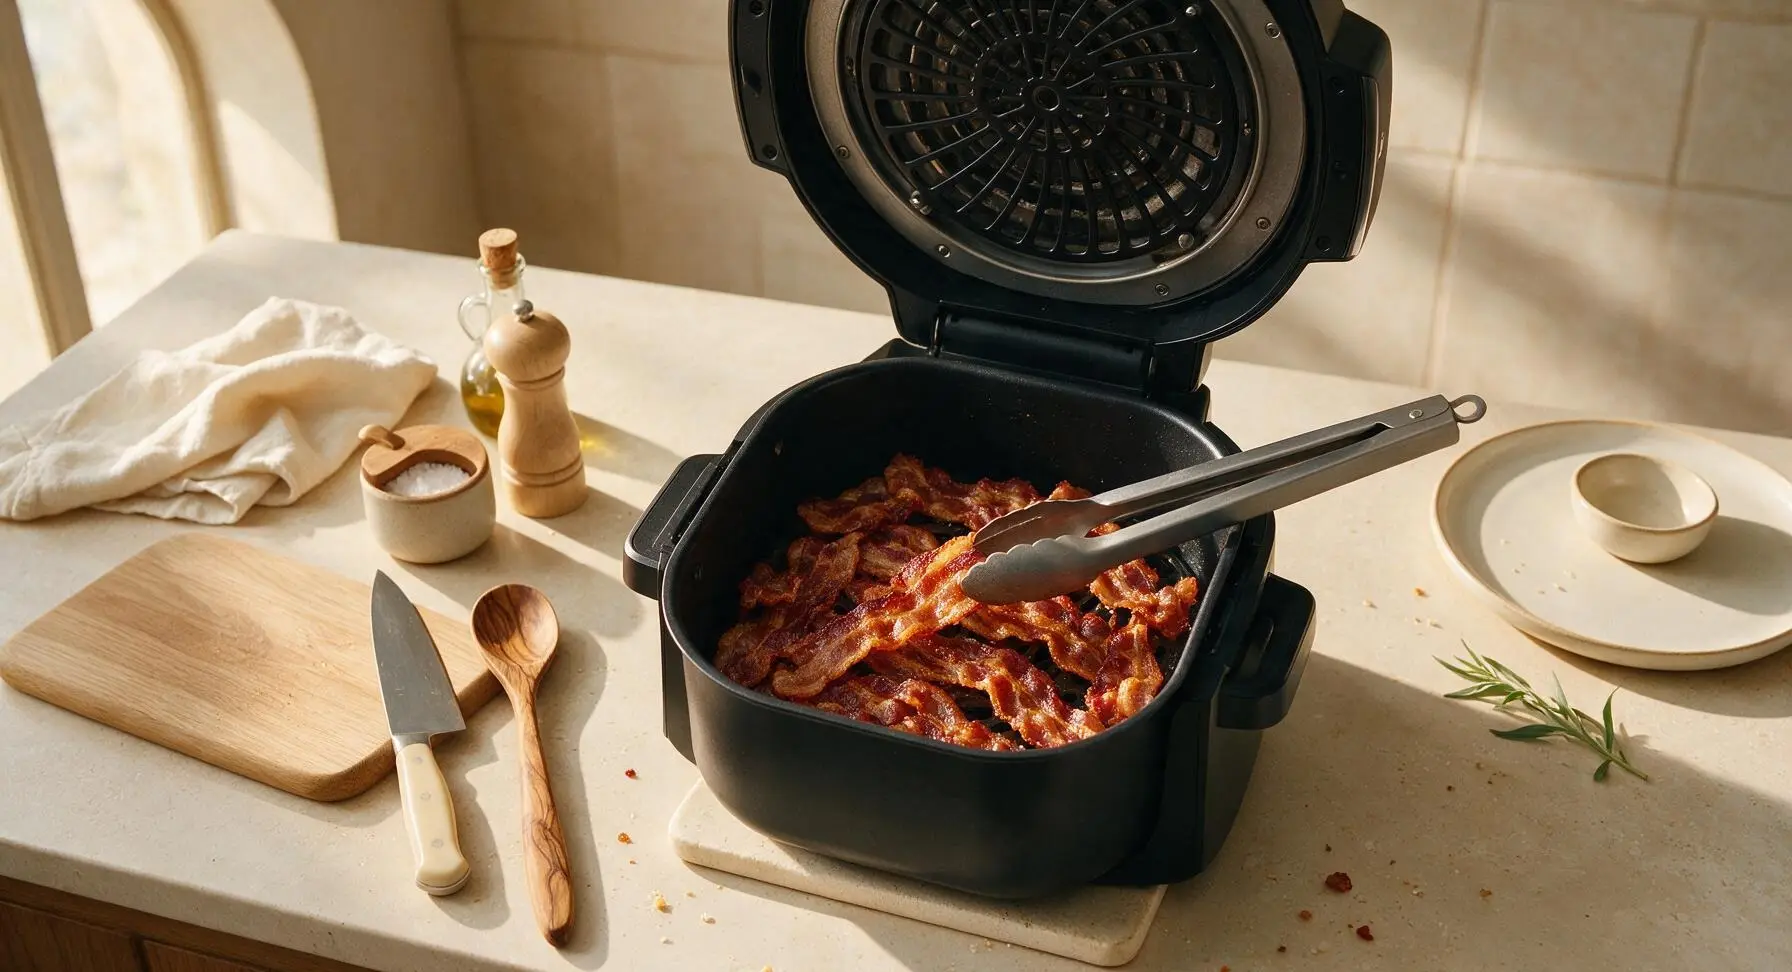
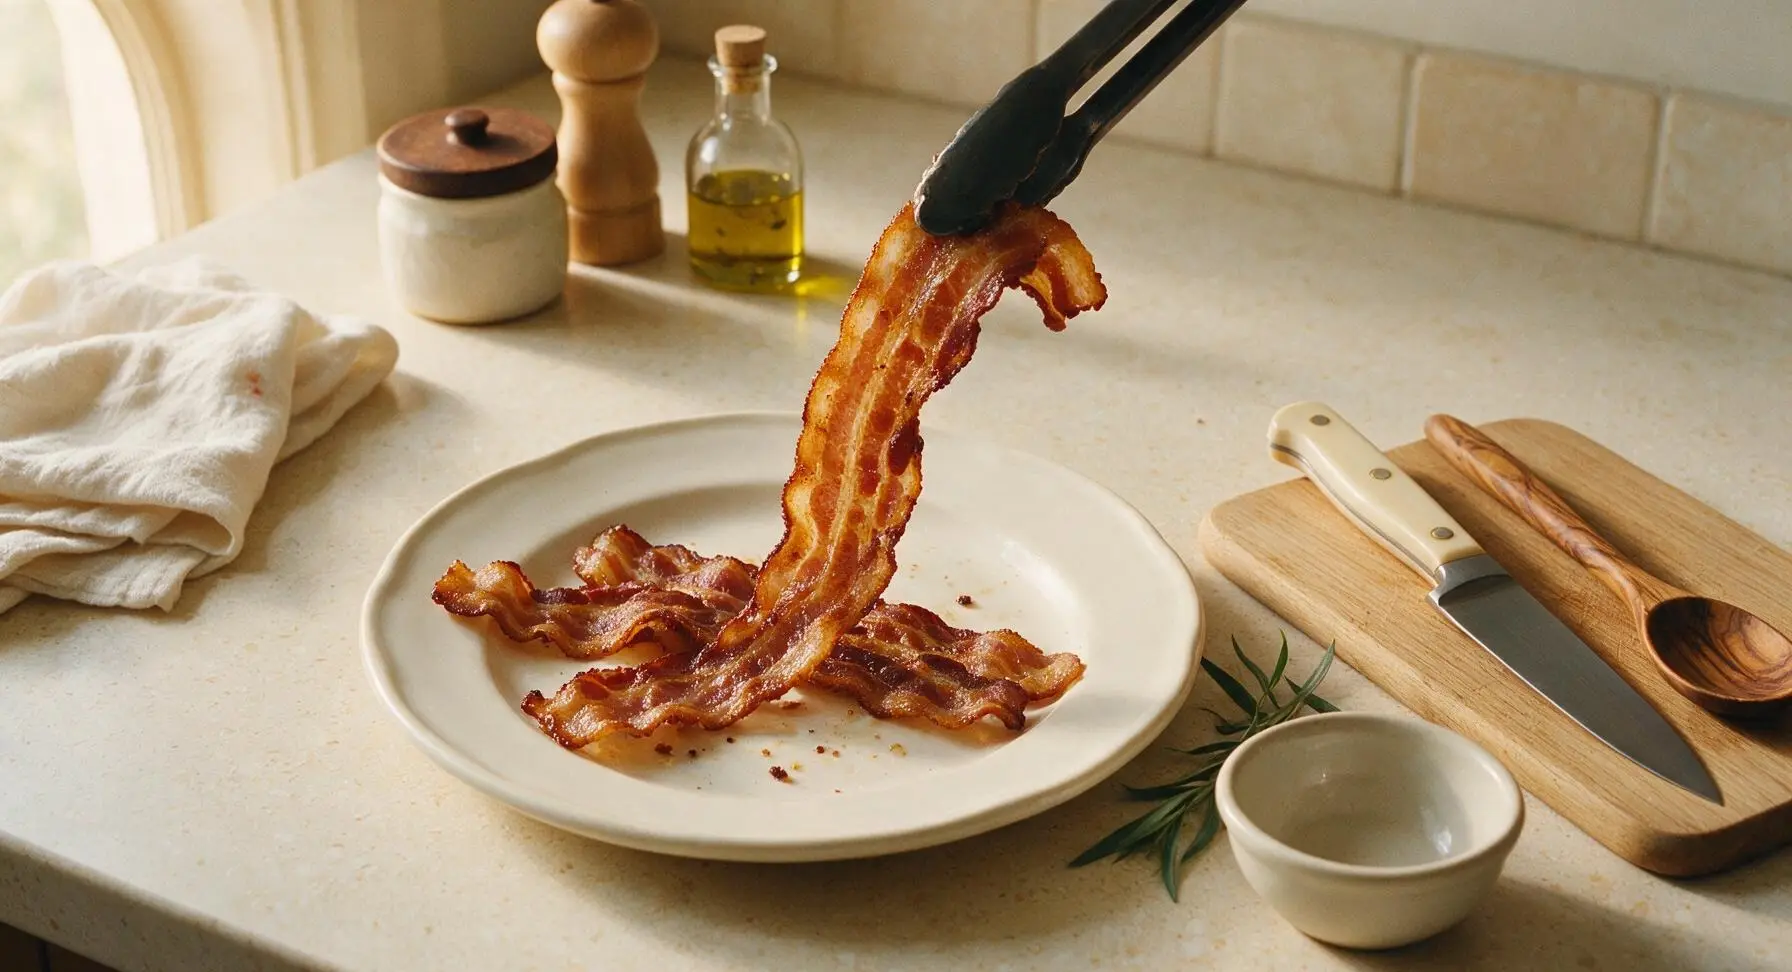
When the 8 minute timer goes off, open the lid fully. Use the tongs to lift one edge of a bacon strip to check for doneness: fully cooked bacon will be deep golden brown with darker caramelized crispy edges, with no opaque, soft white fat remaining. If you prefer extra-shatteringly crispy bacon, close the lid and cook for 1-2 additional minutes, checking every 30 seconds to prevent burning, as high fat content causes bacon to burn very quickly at this temperature.
Step 5
step5:Verify Final Doneness
Step 5
step5:Verify Final Doneness
6

Drain Cooked Bacon

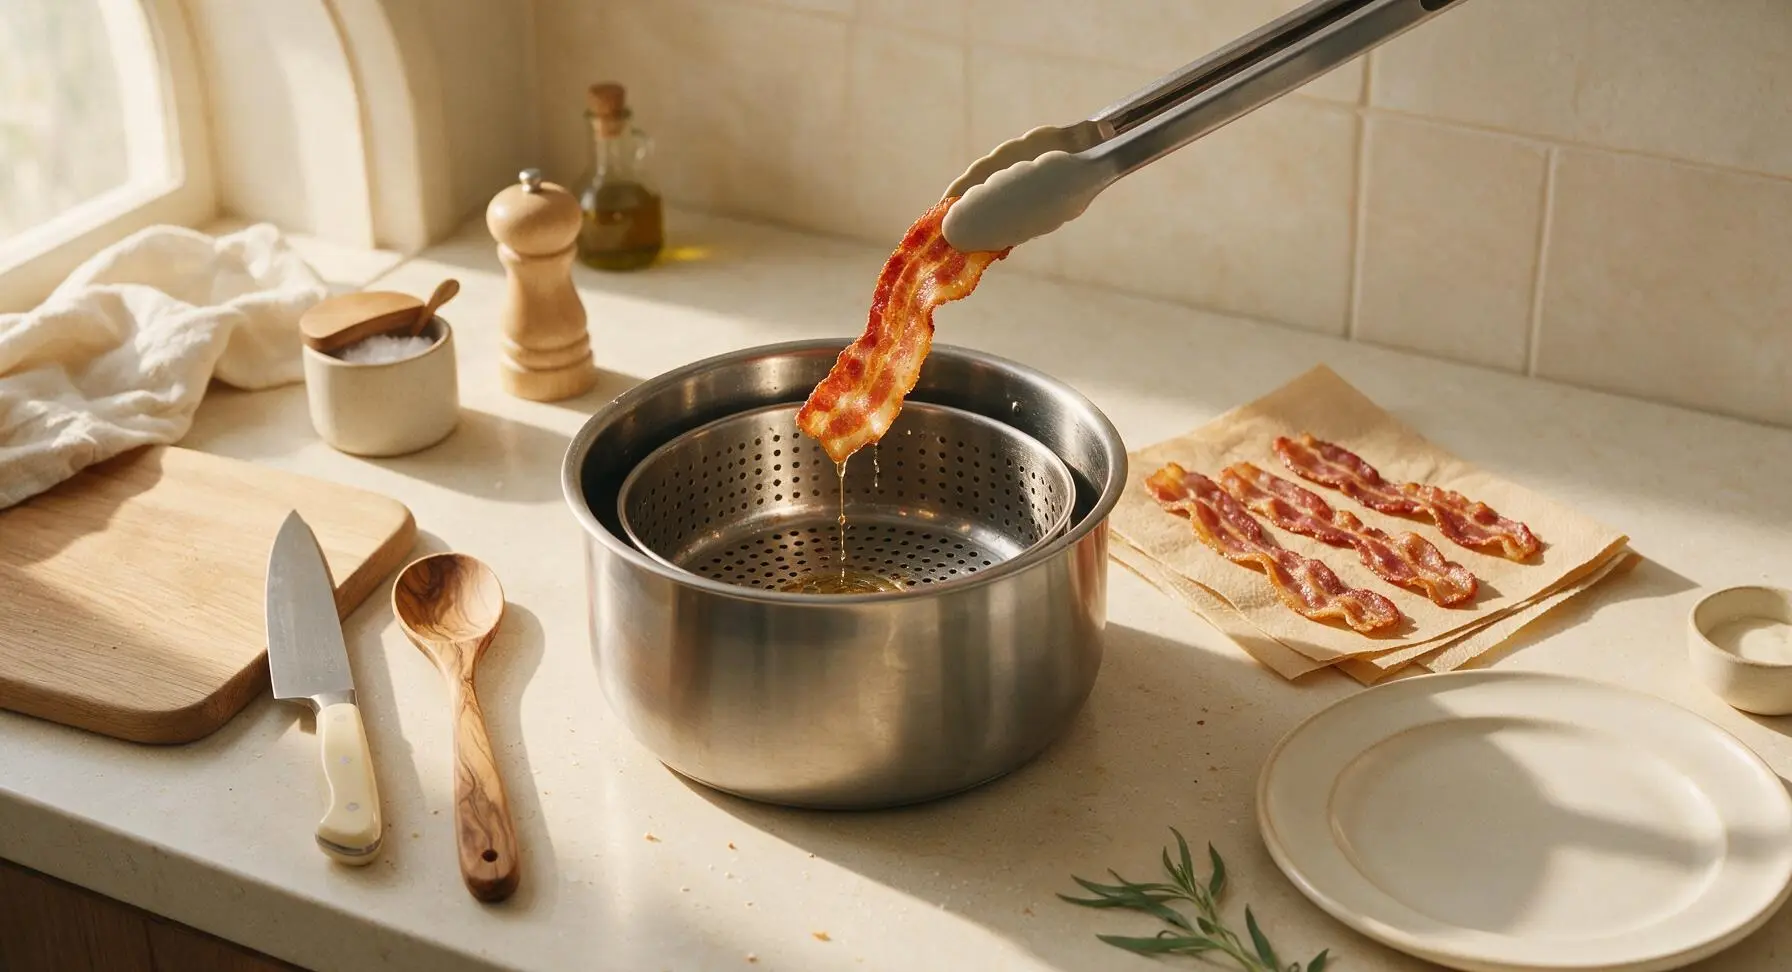
Use the tongs to lift each cooked bacon strip out of the basket one at a time, holding each strip above the inner pot for 2 seconds to let excess rendered fat drip back into the pot. Lay the strips in a single layer across the pre-folded kraft paper towels in front of the paper towel roll, and let them rest for 30 seconds to absorb surface fat. Do not stack the strips at this stage, as trapped steam will make crispy bacon turn soggy.
Step 6
step6:Drain Cooked Bacon
7

Plate Crispy Bacon

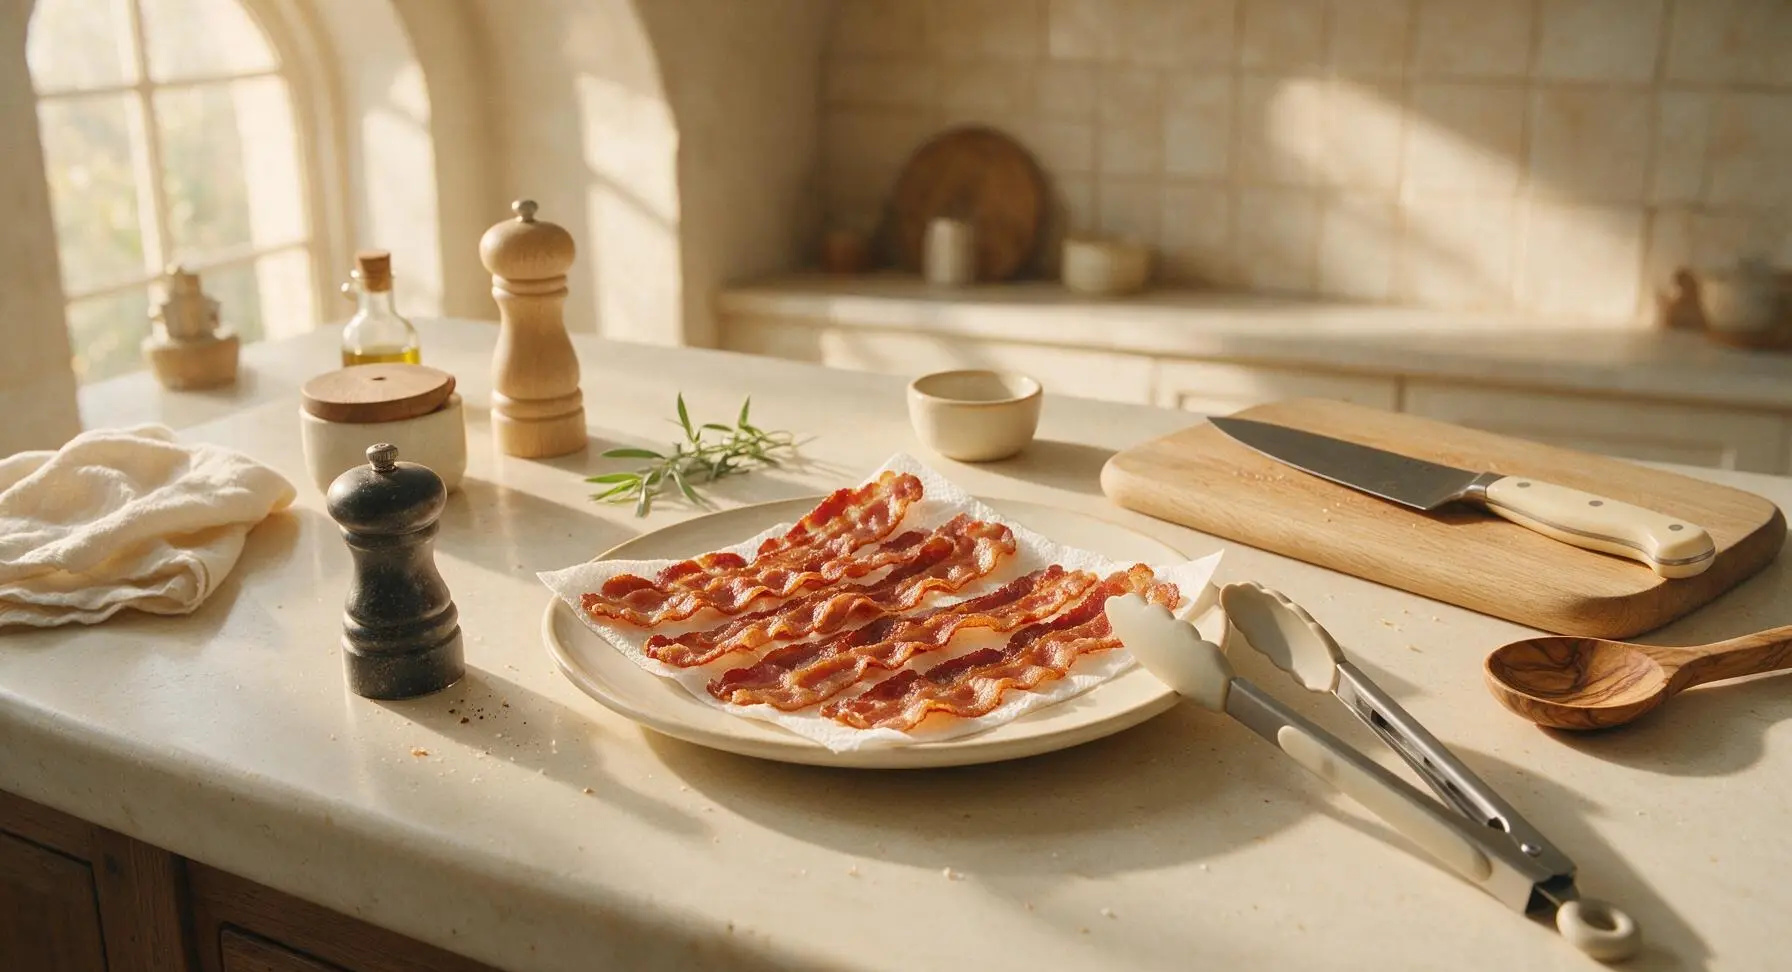
Transfer all drained bacon strips to the cream white ceramic dinner plate, arranging them in a loose, slightly overlapping fan. Sprinkle with a light pinch of optional freshly ground black pepper if desired. Serve immediately while hot, as bacon will retain its crisp texture for 10-15 minutes at room temperature. Let the remaining rendered bacon fat in the inner pot cool completely before straining and storing for future cooking use (it adds rich, smoky flavor to eggs, roasted vegetables, or fried potatoes).
Step 7
step7:Plate Crispy Bacon

Tips

1.Skip parchment liners, foil, or cooking spray in the air crisp basket: liners block the circulating hot air that creates shatteringly crisp bacon, and the rendered bacon fat provides more than enough non-stick protection without added spray. Liners can also blow around in the high-speed air flow and damage the Foodi’s heating element.
2.Adjust cook time to match your bacon cut: thin-cut bacon will fully crisp in 6-7 minutes at 390°F, while extra-thick butcher-cut bacon may need 9-10 minutes total. Always check doneness at the earliest time mark, as bacon can go from perfectly crisp to burnt in as little as 30 seconds due to its high rendered fat content.
3.Let the Ninja Foodi cool for 20 minutes before cleaning: the rendered bacon fat in the bottom of the inner pot reaches over 400°F during cooking and can cause severe burns if spilled while hot. Once cool, pour the fat through a fine sieve into a glass jar for storage (it keeps for 3 months in the fridge) before wiping the basket and pot with a paper towel and washing with warm soapy water for zero-scrub cleanup.


✨ You May Also Like

Breakfast
🍜 United States

Crisp-edged, fluffy lard griddle cakes are a nostalgic homestyle staple, with rich savoriness from rendered lard, perfect topped with maple syrup or savory gravy.

⏱️ 25 minuteBreakfast ★ 4.8
Breakfast
🍜 United States

Flaky, buttery homemade buttermilk biscuits smothered in creamy, peppery pork sausage gravy: a beloved, hearty Southern American comfort food classic.

⏱️ 35 minuteBreakfast ★ 4.8
Breakfast
🍜 United States

Golden, custardy brioche stuffed with sweet cream cheese and fresh berries, pan-fried to crisp perfection. An indulgent, cozy breakfast perfect for slow weekend mornings.

⏱️ 30 minuteBreakfast ★ 4.7
Breakfast
🍜 United States

Flaky, buttery Southern-style biscuits stuffed with savory salty country ham, a portable, satisfying classic perfect for casual on-the-go meals.

⏱️ 25 minuteBreakfast ★ 4.8
Breakfast
🍜 United States

Iconic puffy baked pancake popularized in Seattle, with crisp golden edges and soft custardy center, served warm with classic sweet toppings.

⏱️ 35 minuteBreakfast ★ 4.6
Breakfast
🍜 United States

Fluffy, golden pancakes studded with juicy peak-summer mixed berries, drizzled with maple syrup for a bright, comforting, crowd-pleasing family breakfast.

⏱️ 25 minuteBreakfast ★ 4.7

cooking bacon in ninja foodi:Frequently Asked Questions

1.Do I need to preheat my Ninja Foodi before cooking bacon? ▾
You don’t have to, but a 2-minute preheat on the Air Crisp setting at 390°F helps render fat faster and creates more even crispness. If you skip preheating, simply add 1–2 minutes to your total cook time, and still flip slices halfway through to avoid unevenly cooked, floppy spots on your bacon.
2.What temperature setting works best for crispy Ninja Foodi bacon? ▾
390°F on the Air Crisp function is the reliable sweet spot. This temperature is hot enough to render excess bacon fat quickly without burning the edges before the meat cooks through, and it avoids the rubbery, under-rendered texture you get from using lower temperature settings for bacon.
3.Do I need to use oil or cooking spray when making bacon in the Ninja Foodi? ▾
Absolutely not. Bacon releases plenty of its own rich fat as it cooks, so adding extra oil or spray is unnecessary and will just lead to excess pooled grease. The only add-on you need is a light sprinkle of freshly ground black pepper right before cooking for a subtle, savory kick.
4.How long does thick-cut bacon take to cook in the Ninja Foodi? ▾
Thick-cut bacon typically takes 8–10 minutes total at 390°F on Air Crisp. Flip the slices at the 4-minute mark to make sure both sides crisp evenly. Pull them a minute early if you prefer chewy, less crispy bacon, or leave them an extra minute for shatteringly crisp, restaurant-style strips.
5.Can I cook regular thin-cut bacon using this method too? ▾
Definitely! Thin-cut bacon cooks much faster, so set your timer for 5–7 minutes total at 390°F, flipping at the 3-minute mark. Keep a close eye on it after 5 minutes, as thin slices can go from perfectly crisp to burnt in under 60 seconds due to their lower fat content and thin profile.
6.How do I prevent bacon grease from splattering all over the inside of my Ninja Foodi? ▾
The Ninja Foodi’s closed cooking chamber eliminates nearly all stovetop-style splatters, but you can cut down on minor internal splatter by placing a lightweight wire rack on top of the bacon to hold slices down, or adding a tablespoon of water to the inner pot bottom to reduce grease popping.
7.Do I have to flip the bacon halfway through cooking? ▾
Flipping is strongly recommended for even results, especially if you’re cooking a full batch with slightly overlapping slices. If you only cook a single, completely flat layer of bacon on the rack, you can skip flipping, but you’ll get more consistent crispness if you turn slices at the halfway point.
8.How many slices of bacon can I cook at once in a standard 6.5-quart Ninja Foodi? ▾
A standard 6.5-quart model fits 6–8 slices of thick-cut bacon in a single, slightly overlapping layer on the crisping rack. If you need to cook more, work in batches rather than piling slices high, as stacked bacon will steam instead of crisp up, leading to floppy, uneven strips.
9.What do I do with the leftover bacon grease after cooking? ▾
Let the grease cool completely in the inner pot for 20–30 minutes first, then pour it into a heat-safe glass jar to store in the fridge for up to 3 months. Use this rendered fat to fry eggs, roast veggies, or make salad dressings—never pour hot grease down your drain, as it will harden and clog pipes.
10.Can I line the inner pot or crisping rack with aluminum foil for easier cleanup? ▾
You can line the bottom of the inner pot with foil to catch drippings for faster cleanup, but never cover the crisping rack itself with foil. Covering the rack blocks critical airflow, leading to steamed instead of crisp bacon, and can even interfere with the Ninja Foodi’s air circulation safety sensors.
11.Why is my bacon coming out chewy instead of crispy? ▾
Chewy bacon usually stems from one of three issues: cooking at too low a temperature, piling slices too thickly so they steam instead of crisp, or pulling them out before all excess fat has fully rendered. Stick to 390°F Air Crisp, cook in a single mostly-flat layer, and give slices time to render fully.
12.Why are the edges of my bacon burning before the middle is done? ▾
Burnt edges with undercooked centers usually means your temperature is too high, or you didn’t flip and rotate slices halfway through. Double check you’re set to 390°F (not 425°F or higher), and move slices closest to the hot air vent to the rack center when you flip for even cooking.
13.Can I add seasonings other than black pepper to my Ninja Foodi bacon? ▾
Absolutely! Black pepper is a classic, simple option, but you can sprinkle on brown sugar for candied bacon, smoked paprika, garlic powder, red pepper flakes, or a light dusting of parmesan during the last minute of cooking. Avoid adding sugary seasonings too early, as they burn quickly at high heat.
14.Do I need to use the crisping rack, or can I cook bacon directly in the inner pot? ▾
Always use the elevated crisping rack for best results. Cooking directly in the inner pot leaves bacon sitting in a pool of its own grease, which leads to soggy, overly fatty strips instead of crisp, evenly rendered ones. The rack lets hot air circulate fully and lets fat drip away as it cooks.
15.Can I cook frozen bacon in the Ninja Foodi without thawing it first? ▾
Yes, you can cook frozen thick-cut bacon straight from the freezer with zero thawing required. Just add 3–4 minutes to your total cook time, and separate slices as they soften around the 5-minute mark so they don’t cook in a frozen clump. Flip as usual, and check for doneness before serving.
16.How do I store leftover cooked bacon, and how long does it stay good? ▾
Let cooked bacon cool completely to room temperature, then store it in an airtight container lined with paper towels to absorb excess grease. It will stay fresh in the fridge for up to 5 days, or in the freezer for up to 3 months. Reheat slices for 30 seconds on Air Crisp to bring back crispness.
17.Will this bacon method work on all Ninja Foodi models, including older pressure cooker combos? ▾
Yes, this method works for every Ninja Foodi model that has an Air Crisp or Air Fry function, including the original 8-in-1 pressure cooker combos, newer Smart XL models, and compact 5-quart versions. Just adjust batch size to fit your rack, and keep the consistent 390°F cooking temperature.
18.Can I use the Ninja Foodi’s Bake or Roast settings instead of Air Crisp to make bacon? ▾
You can, but results won’t be as reliably crispy. The Bake and Roast settings use slower, less forceful air circulation, so you’ll need to add 2–3 minutes of cook time and flip slices more often to avoid sogginess. Air Crisp’s high-speed hot air creates that perfect shatteringly crisp bacon texture.
19.How do I avoid setting off the smoke alarm when cooking bacon in my Ninja Foodi? ▾
Smoke usually happens when old, burnt grease is caked on the inner pot from previous cooks, or when very fatty bacon releases grease that gets too hot. Wipe the inner pot fully clean before use, and add 1 tablespoon of water to the pot bottom to keep grease from overheating and smoking.
20.What’s the best way to get bacon extra crispy for salad toppings or BLT sandwiches? ▾
For extra-shatteringly crisp bacon perfect for salads or BLTs, cook thick-cut slices for 10–11 minutes total at 390°F, flipping once at the 5-minute mark. Let slices rest on a paper-towel lined plate for 1 minute after cooking, as they’ll crisp up even more as they cool before you chop or stack them.

Comments (12)

2 days ago

OMG this is such a game changer! I used to stand over my stove splattering grease everywhere for 10+ minutes, and 8 minutes in the Ninja Foodi? Perfectly crispy every single time, no mess. My kids devoured a whole pack last night for our taco night side. SO good.

30 minutes ago

Quick question — do I need to use the air fryer basket or can I put the bacon directly on the inner pot? I’m still figuring out all the attachments for my new Foodi and don’t wanna mess it up for breakfast tomorrow!

5 minutes ago

Hi Mia! We recommend using the air fryer basket placed on the highest level with the drip tray underneath to catch all the grease — that way you get that even crisp on both sides without having to flip, and way less mess! Hope your breakfast turns out amazing 😊

1 week ago

Tried this last weekend for our family camping prep (yes I bring my Ninja Foodi camping, don’t judge) and wow, way better than pan frying over the camp stove. Only thing is my first batch came out a little chewier than I like — should I bump the temp up a little or add a minute or two?

5 days ago

I had the same issue at first! I add an extra 2 minutes and make sure I’m not overlapping the bacon strips at all, game on. Gets that perfect shatteringly crisp texture I love.

3 days ago

Great call from Katie! Thicker cut bacon will definitely need an extra 1-2 minutes, just keep an eye on it during the last minute to avoid burning. So cool you bring your Foodi camping — we love that!

2 weeks ago

This is now my go-to Sunday meal prep hack! I cook a whole pack at once, store it in the fridge, and grab a couple strips for breakfast sandwiches all week. Way less cleanup than the oven method I was using before, and it cooks way more evenly. 10/10

2 hours ago

Wait, hold up — you don’t have to flip the bacon halfway? I feel like every air fryer bacon recipe I’ve tried says you have to flip, but 8 minutes straight no flipping actually works? I’m nervous to try it but I’m tired of burnt edges and raw middles.

30 minutes ago

I was skeptical too! I tested it last week without flipping and it was perfectly cooked top to bottom. Just make sure your slices are in a single layer, no stacking, and you’re golden. No more reaching in and getting splattered with hot grease mid-cook!

3 days ago

Made this for our brunch potluck last Sunday and people were begging for the method! I used thick cut applewood smoked bacon, set it for 9 minutes because it was thicker, and it was a total hit. Only con is my house smelled like bacon for two days, but is that really a con? 😂

2 days ago

Omg the bacon smell is so worth it! I did this for my office potluck last month and people still talk about it. Way easier than trying to keep bacon warm in the oven while you make the rest of the spread.

2 days ago

That sounds amazing! Applewood smoked bacon is our favorite for this too. Pro tip if you don’t want the lingering smell: crack a window open a tiny bit while it cooks, it cuts down on the bacon scent hanging around quite a bit!

5 days ago

I’m 72 and just got my first Ninja Foodi for my birthday from my grandkid, was worried it’d be too complicated with all the buttons. This recipe was so easy! Pressed the air crisp button, set it for 8 minutes, done. Tasted just like the diner bacon my wife and I used to get on our road trips back in the day.

3 days ago

This makes our day, Bob! So glad the recipe worked out for you, and that the Foodi isn’t too tricky to get the hang of. That diner-style bacon is exactly what we’re going for — hope you two enjoy lots more of it!

yesterday

As someone who only has a mini fridge and a Ninja Foodi in my dorm, this is elite. No messy pan to scrub, no setting off the fire alarm (looking at you, oven bacon I tried last month), perfect bacon every time. I make this at least 3 times a week now to put on my ramen, in my breakfast burritos, even crumbled on top of mac and cheese. Absolute dorm staple.

1 week ago

Wait a second — what do you do with all the grease that drips down? Can I save it for cooking later like I do with pan bacon? I hate wasting good bacon grease for roasting veggies and making gravy.

5 days ago

Yes! I let the drip tray cool completely after cooking, then pour the grease into a glass jar and keep it in the fridge for up to a month. Works exactly the same as stove-top bacon grease, no weird aftertaste or anything.

yesterday

I’ve been cooking bacon in my Foodi for a year now and I thought I had it down, but 8 minutes on the default air crisp setting? I was doing 10 minutes and half the batch was getting burnt edges. Tried this last night and it was perfect, no burnt bits, even my super picky partner said it was the best batch I’ve made. Only note: if you’re using super thin generic grocery store bacon, cut a minute off or it’ll get too crispy!

2 hours ago

Thanks for the thin bacon tip! I always buy the cheap thin stuff for my kids’ quick breakfasts, I would’ve left it the full 8 minutes and burned it to a crisp for sure.

30 minutes ago

Great tip about thin cut bacon! It’s such a difference between thin and thick cut, so adjusting the cook time by a minute or two depending on what you’re using makes all the difference. So glad the timing worked out for you!

5 minutes ago

Is there a way to make this work for the Ninja Foodi Grill model too? I have the indoor grill version not the multi-cooker with the pressure lid, and I can never get the bacon texture right on it.

just now

Hi Gabi! This method works perfectly on the Foodi Grill too — just use the air crisp function on the same temp, same 8 minute cook time, and make sure you’re using the crisper basket. It turns out just as great!

just now

Pro tip from me to you: don’t leave your Foodi unattended for even a second when you’re cooking bacon, no matter how foolproof the recipe is. My golden retriever figured out how to jump up on the counter and stole half a strip while I was grabbing a paper towel last week. 10/10 recipe, 0/10 for my dog’s impulse control. The bacon he stole was perfectly cooked though, so I can’t even be mad.



