
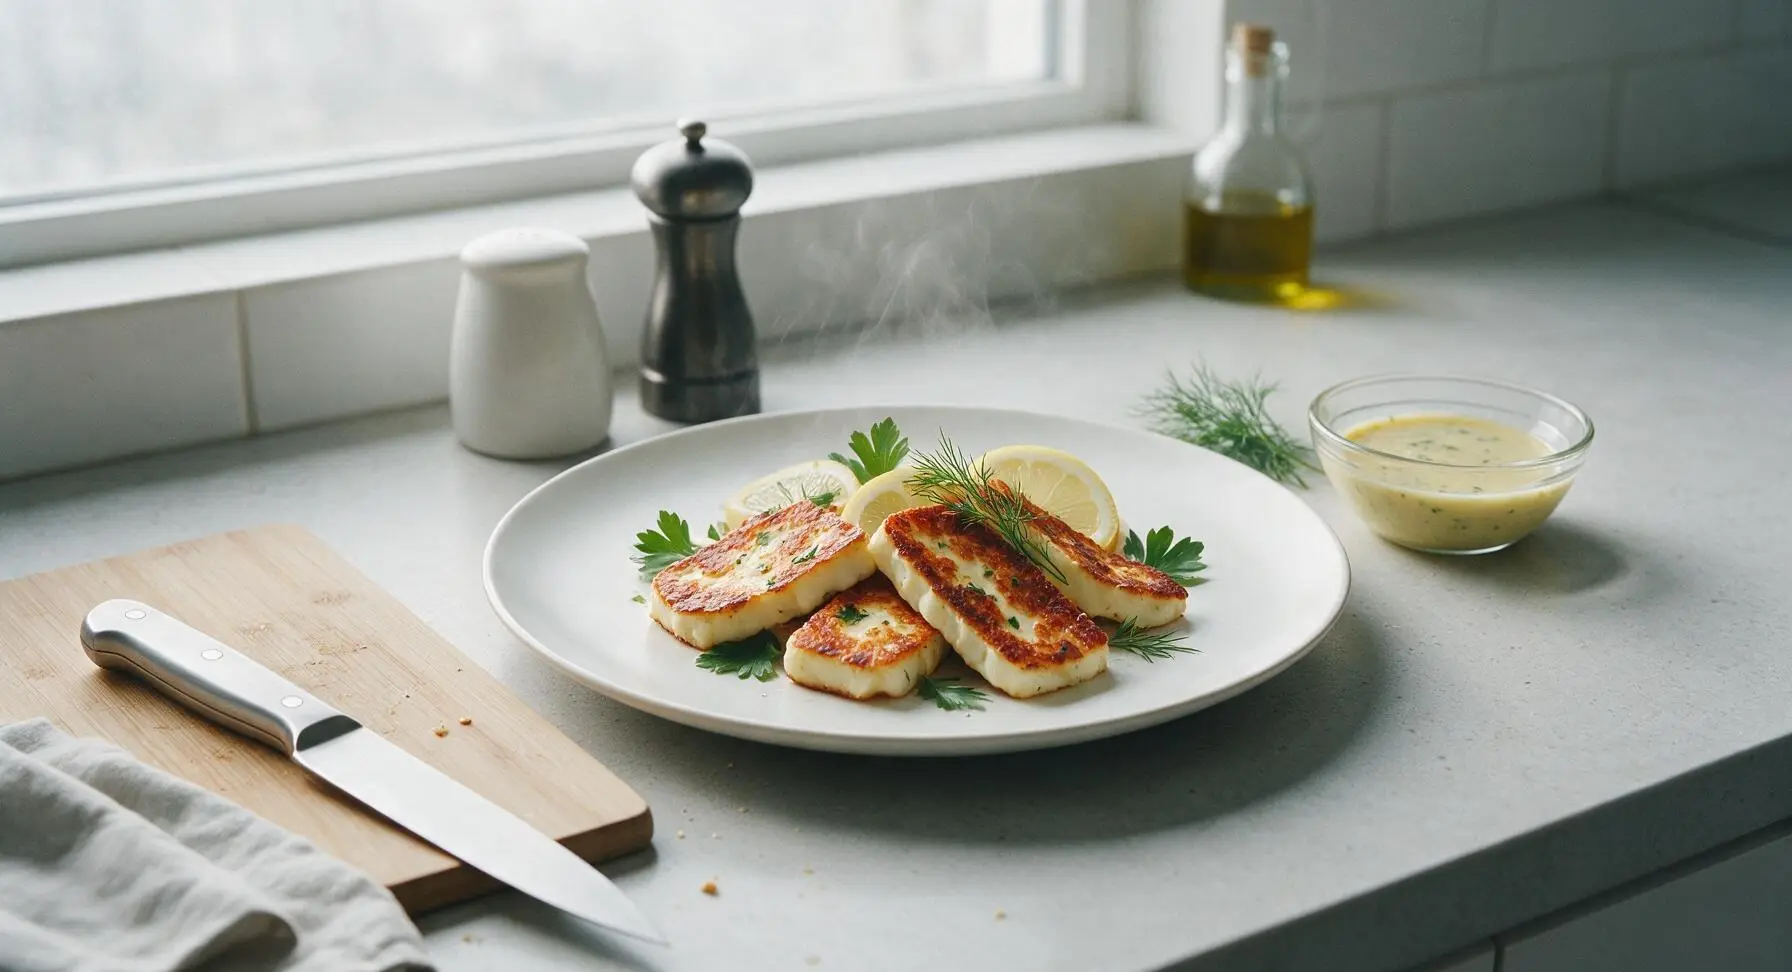
cooking halloumi

title 1
cooking halloumi
⏱️ cook time 5 minutes
🍽️ servings 4
⚡ Difficulty easy

intro

Crispy golden on the outside, soft and salty-squeaky on the inside, this bright pan-seared halloumi is a satisfying, flavor-packed bite ready in just 10 minutes.

Ingredients
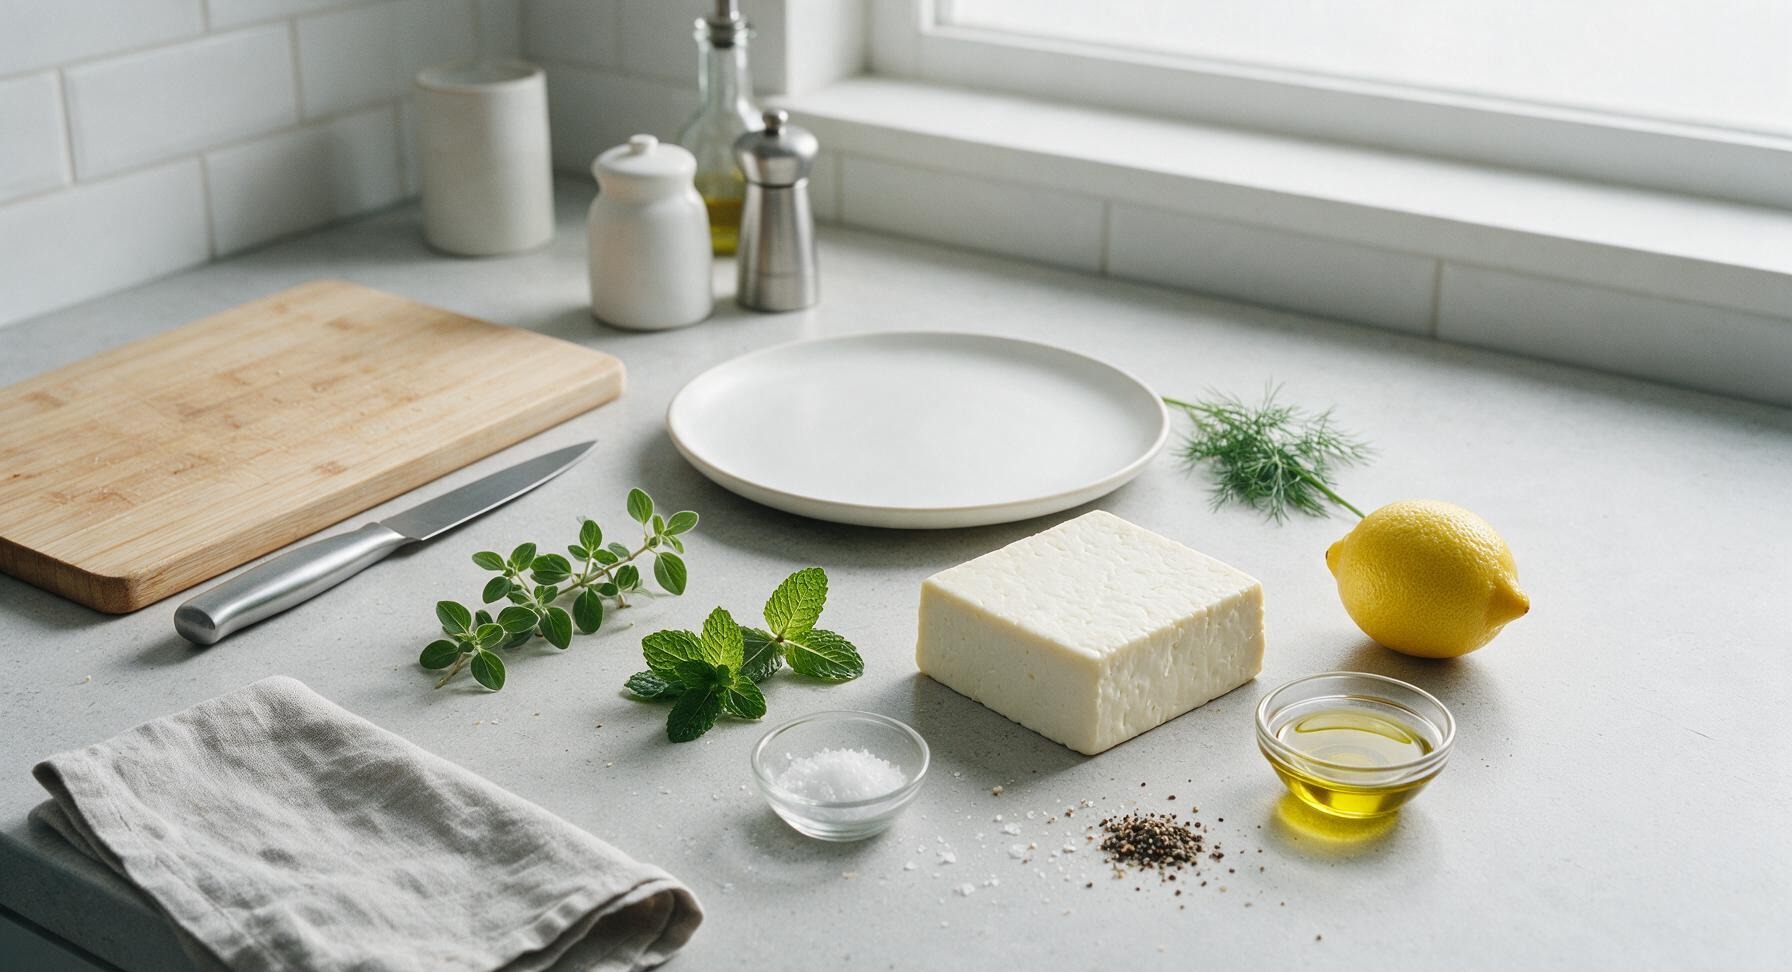
Halloumi cheese 250g
Extra-virgin olive oil 1 tbsp (15ml)
Unwaxed lemon 1 small (60g)
Fresh oregano 3 sprigs
Fresh mint 3 sprigs
Flaky sea salt 1/4 tsp
Freshly cracked black pepper 1/8 tsp

Steps

1

Pat Halloumi Completely Dry

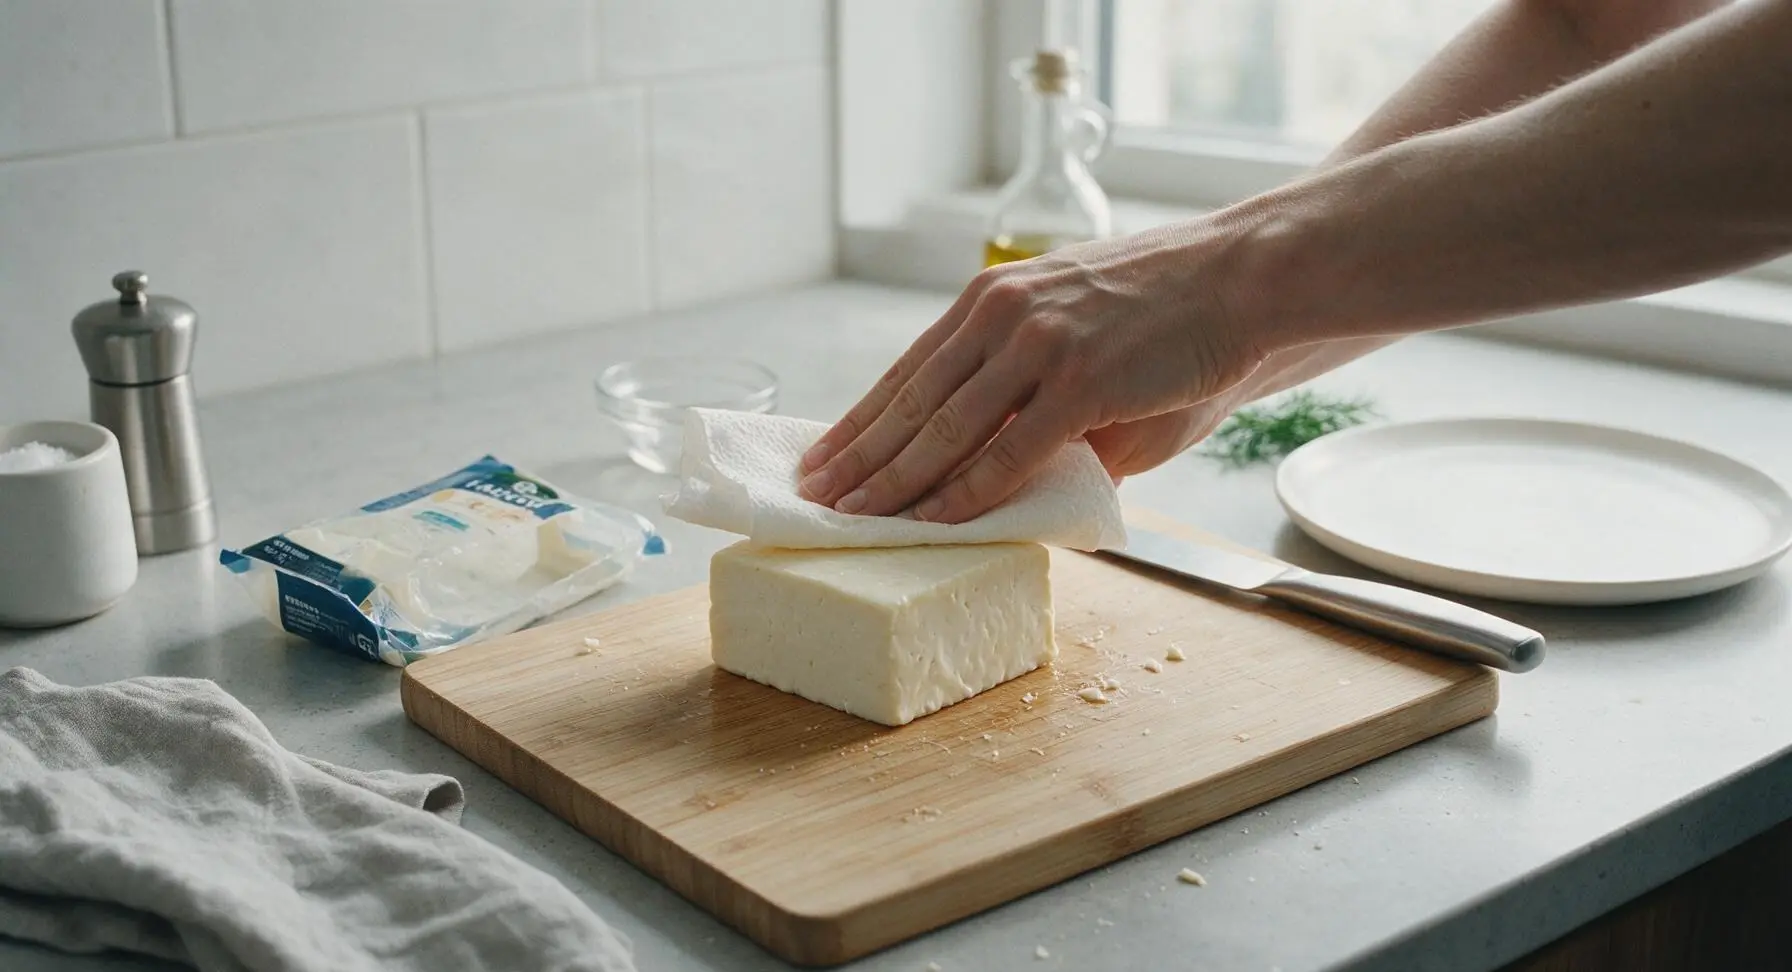
Remove the 250g halloumi block from its packaging, pour off any excess brine. Pat all surfaces of the cheese thoroughly with clean paper towels until no visible surface moisture remains; leftover brine will cause steaming instead of a crisp, golden sear and lead to hot oil splatter. Set the dried block on the maple cutting board.
Step 1
step1:Pat Halloumi Completely Dry
2

Slice Halloumi Evenly

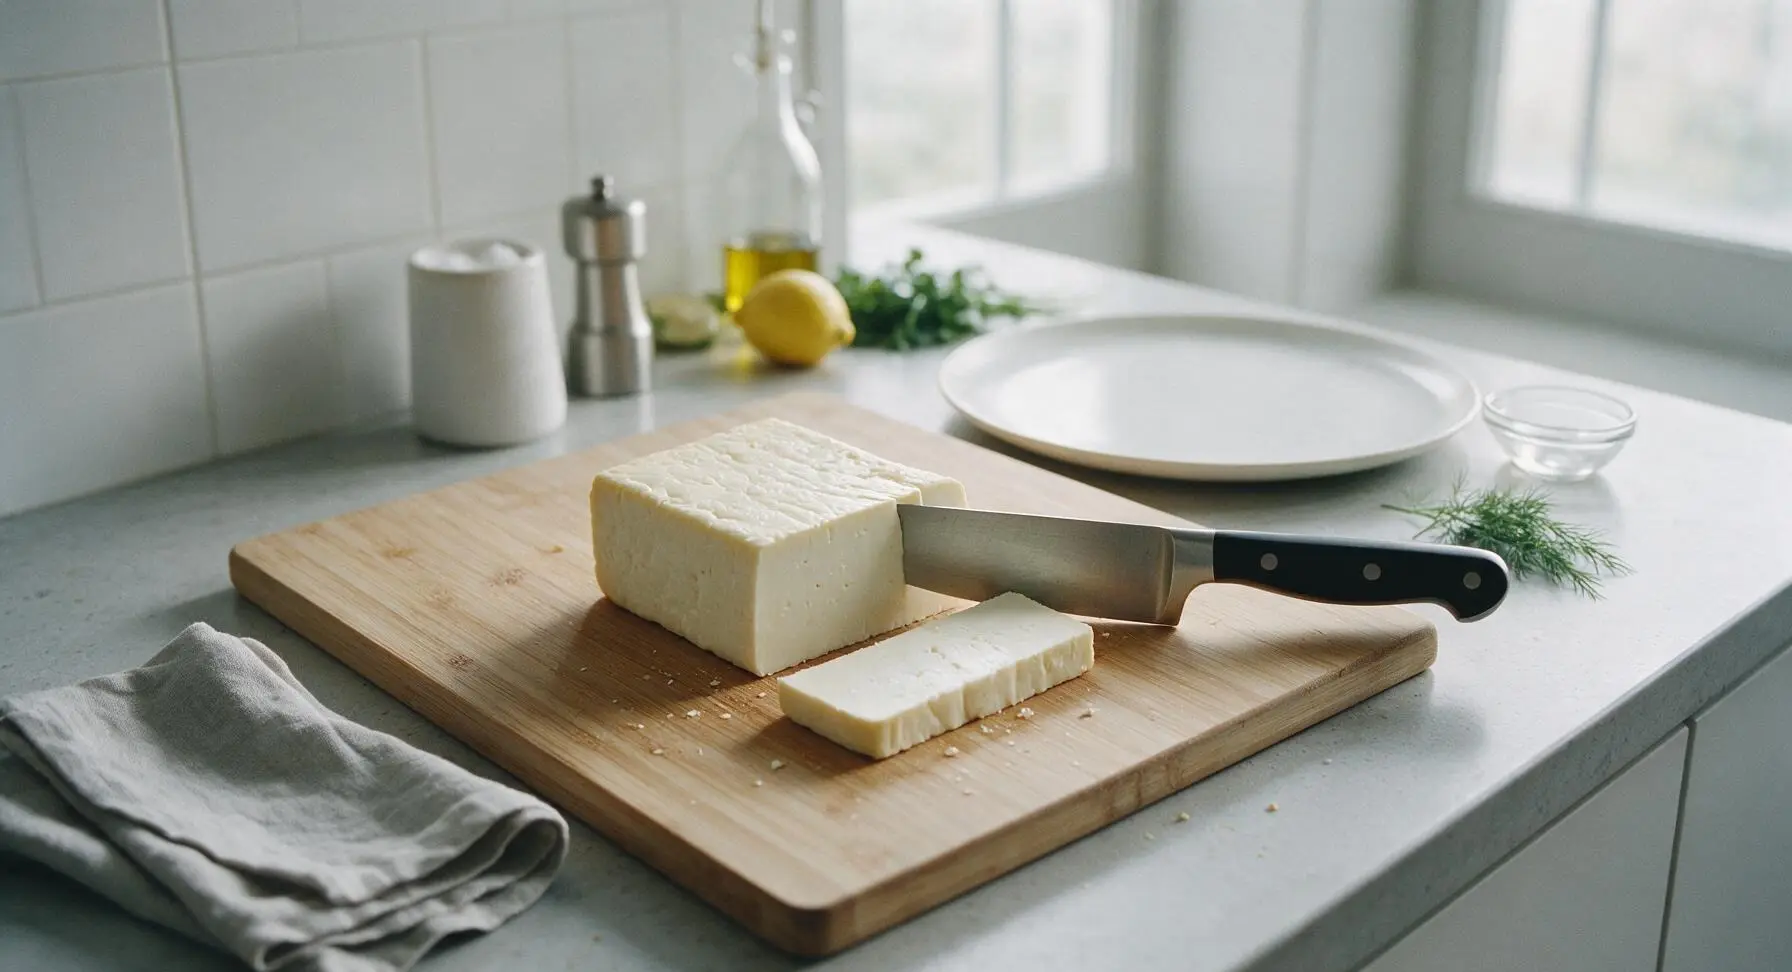
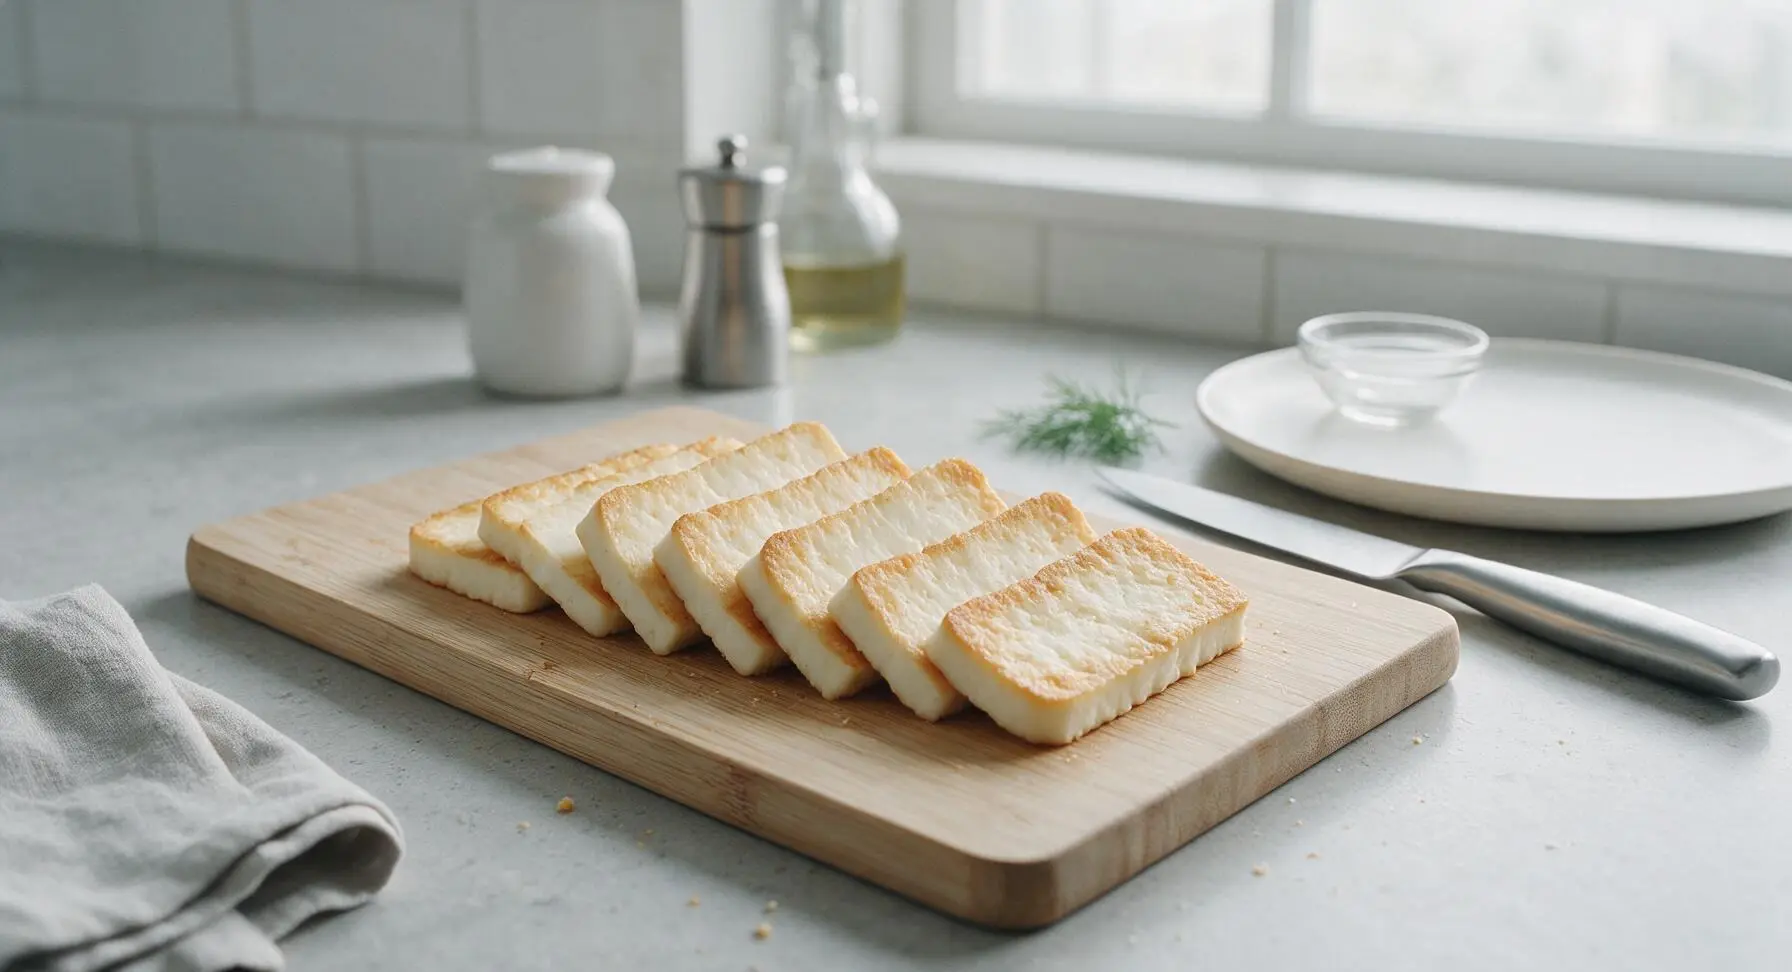
Using the 8-inch chef's knife, slice the halloumi block into uniform 1cm (1/2 inch) thick slices. Avoid slicing thinner than 8mm, as the cheese will become too crisp and brittle; slices thicker than 1.5cm will not develop a full crispy crust and will remain too rubbery in the center. You should get 8-10 even slices from a standard 250g block.
Step 2
step2:Slice Halloumi Evenly
Step 2
step2:Slice Halloumi Evenly
3

Preheat Skillet to Medium-High

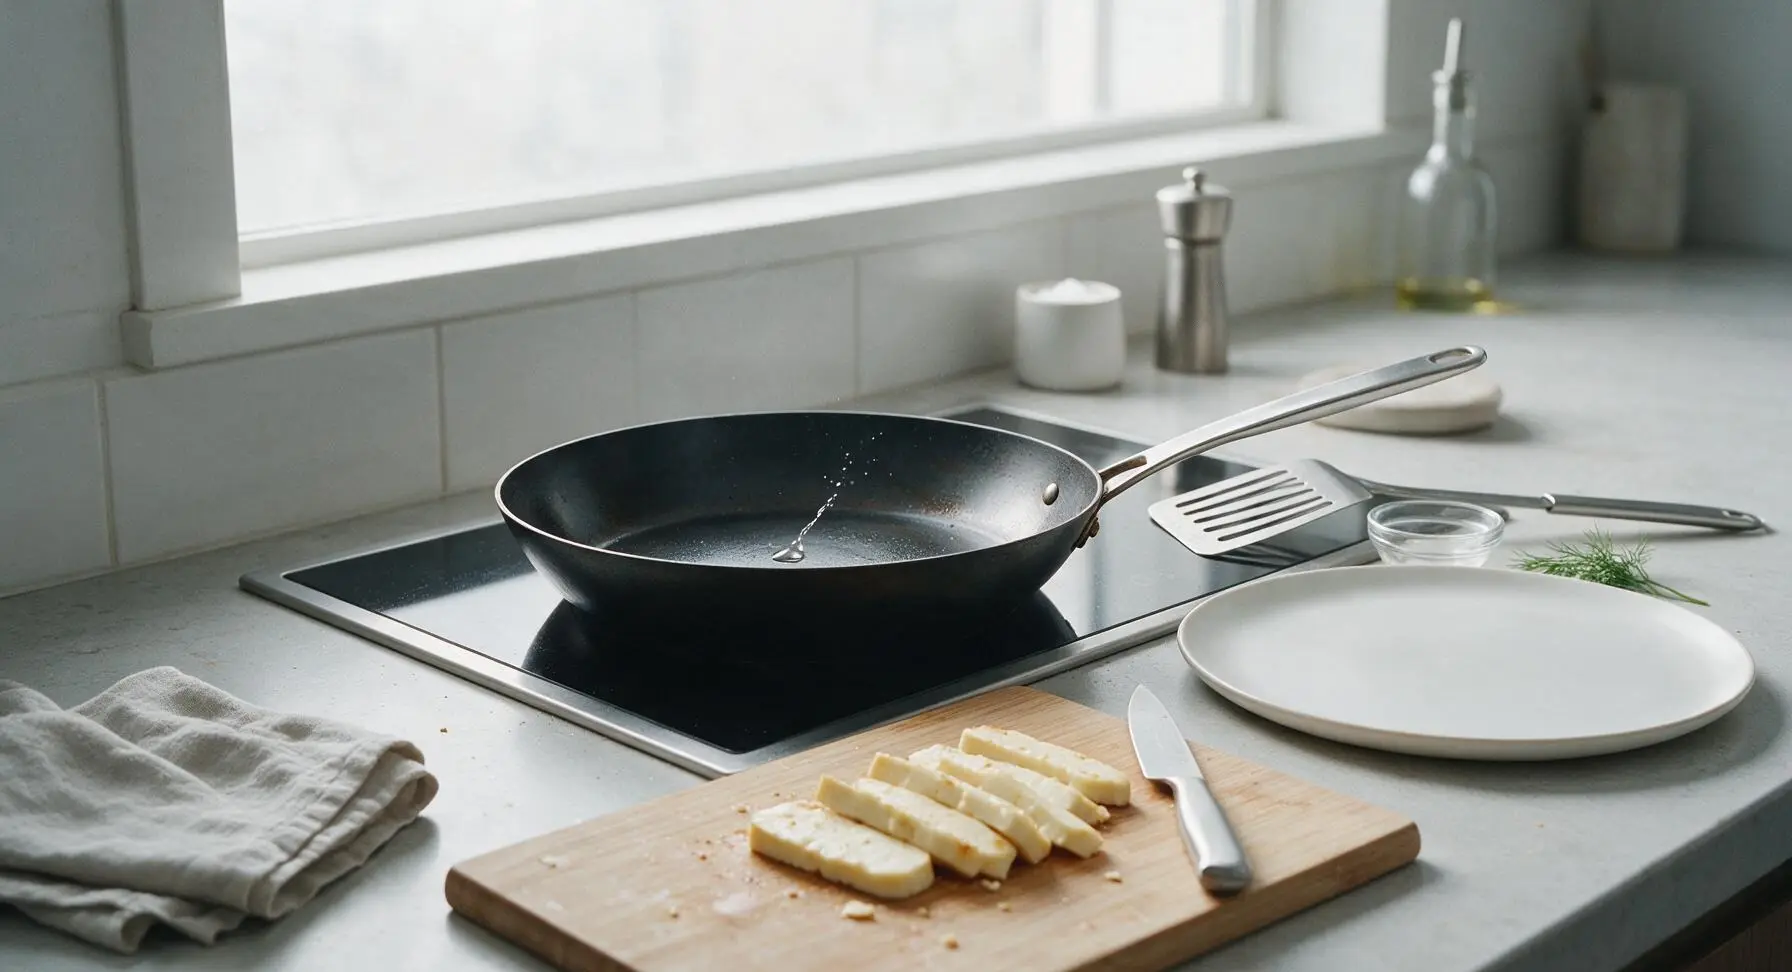
Place the 24cm carbon steel skillet on the center induction burner, set heat to medium-high (180C / 350F). Let the pan preheat for 2 full minutes; the pan is ready when a drop of water flicked onto the surface beads up and skitters across the pan immediately. Do not add oil yet.
Step 3
step3:Preheat Skillet to Medium-High
4

Add Oil and Halloumi

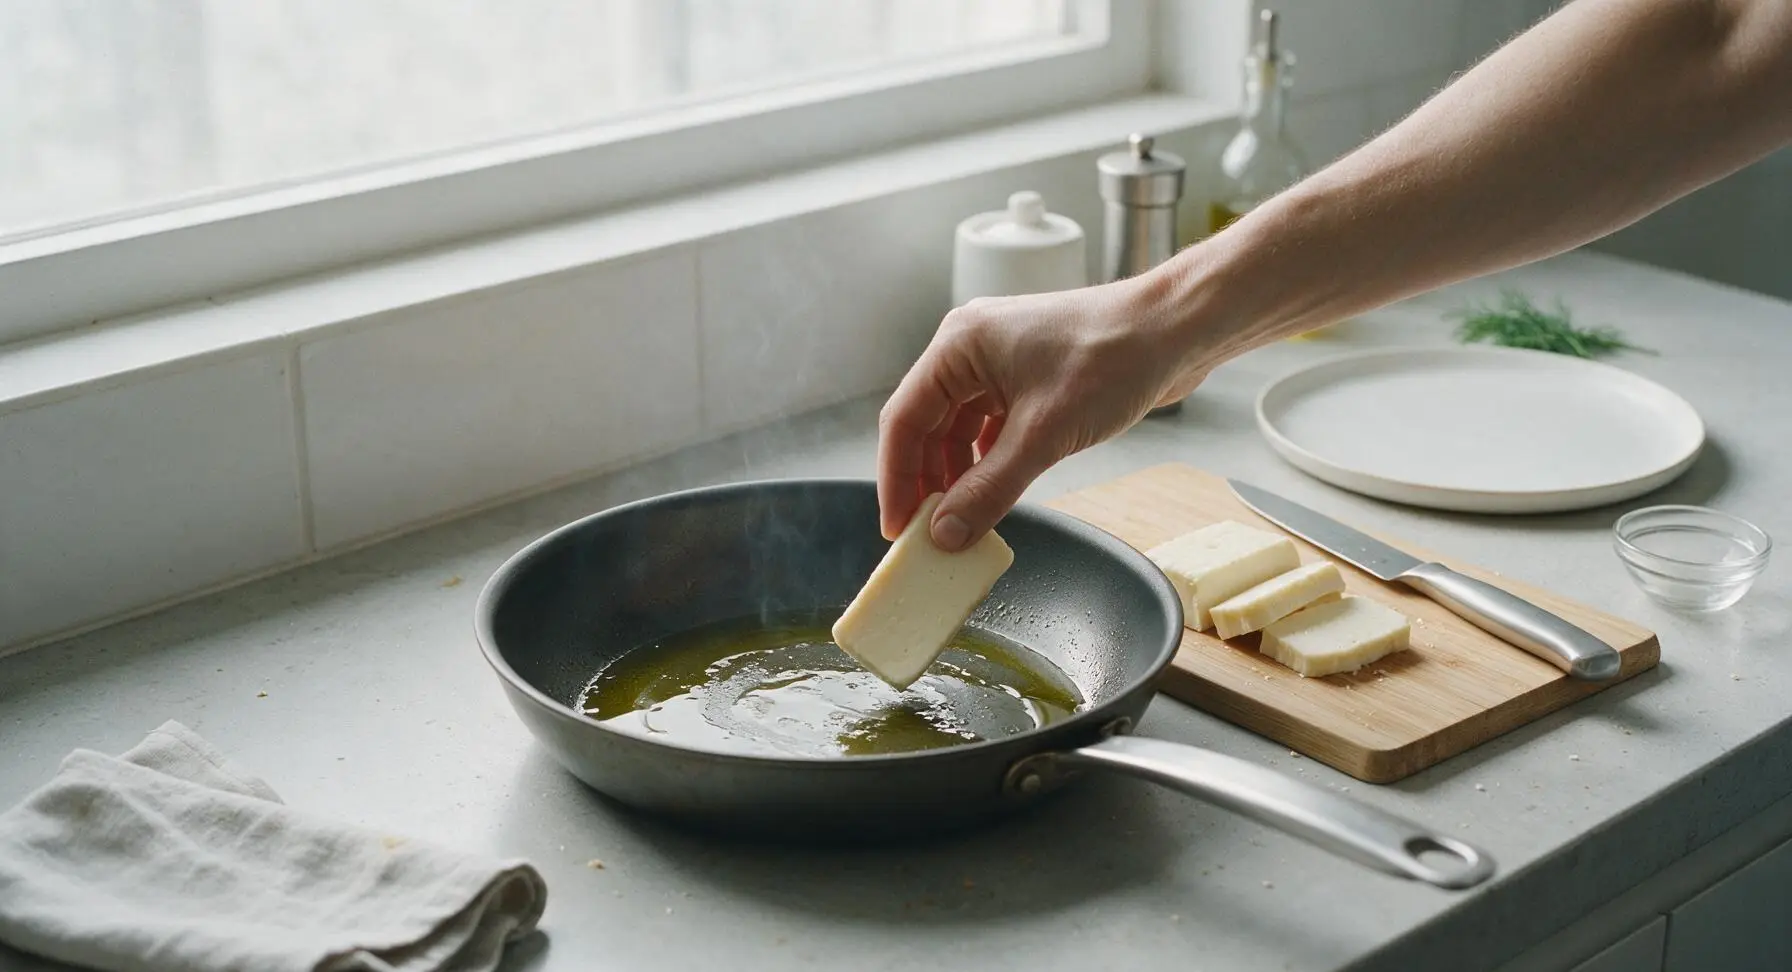
Drizzle 1 tablespoon of extra-virgin olive oil into the preheated skillet, swirl to coat the pan base evenly. Carefully lay the halloumi slices in the pan in a single layer, working in batches if needed to avoid overcrowding (overcrowding causes steaming). Do not move the slices once they are placed in the pan.
Step 4
step4:Add Oil and Halloumi
5

Sear First Side Until Crisp

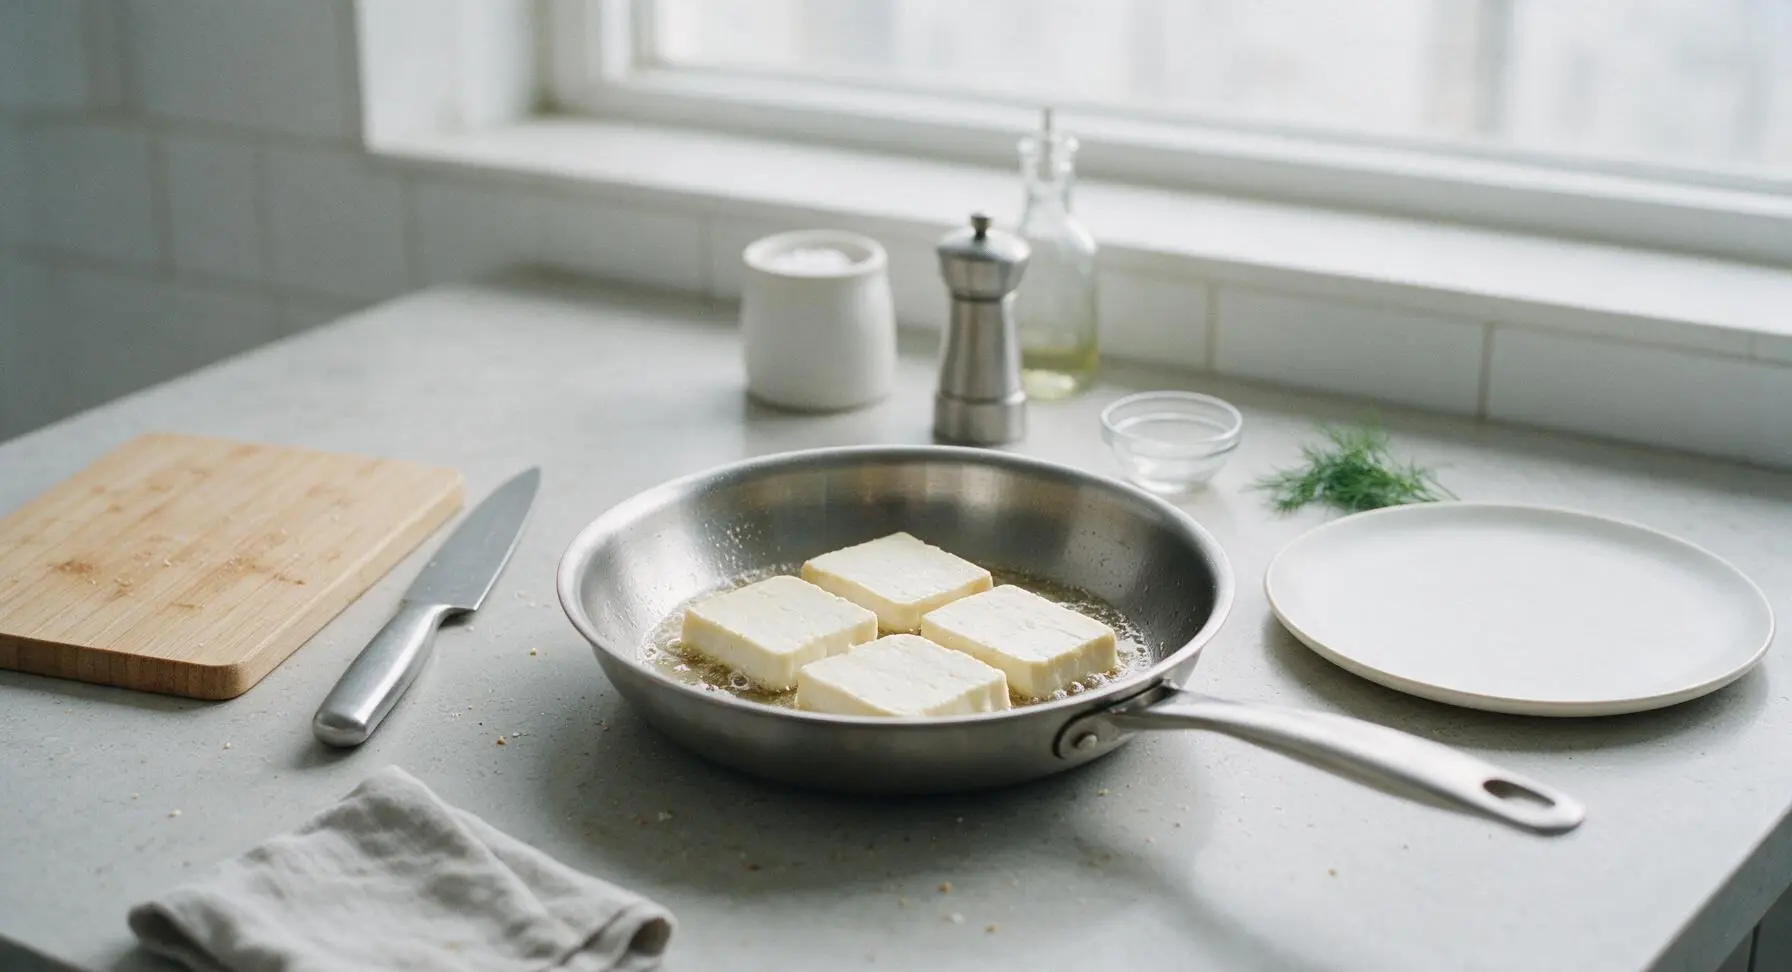
Let the halloumi cook undisturbed for 2 minutes on the first side. Resist the urge to poke or lift the slices early; the cheese will release naturally from the pan once a crispy golden crust has formed. The cooked side should be deep golden brown with darker crispy edges when ready.
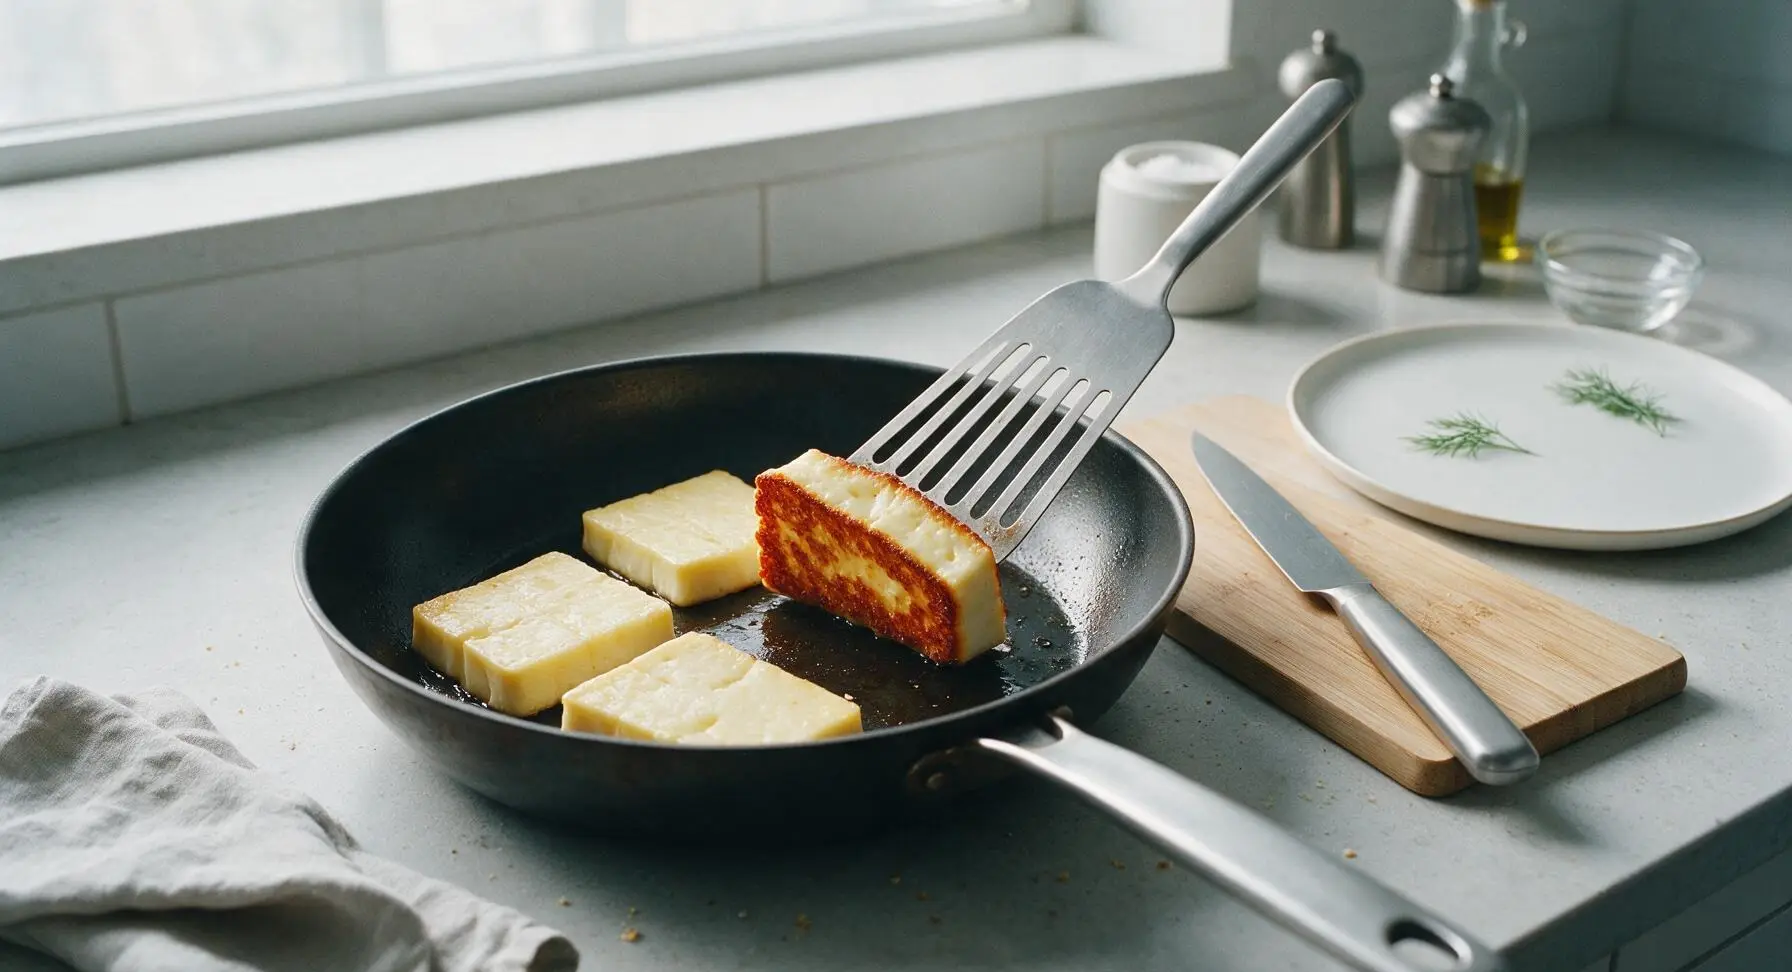
Step 5
step5:Sear First Side Until Crisp
Step 5
step5:Sear First Side Until Crisp
6

Flip and Cook Second Side

Use the slotted fish spatula to flip each halloumi slice carefully. Cook the second side for another 1.5 to 2 minutes, until it matches the golden crispy color of the first side. The cheese will feel slightly soft and springy in the center when pressed gently with the spatula, with firm crisp edges.
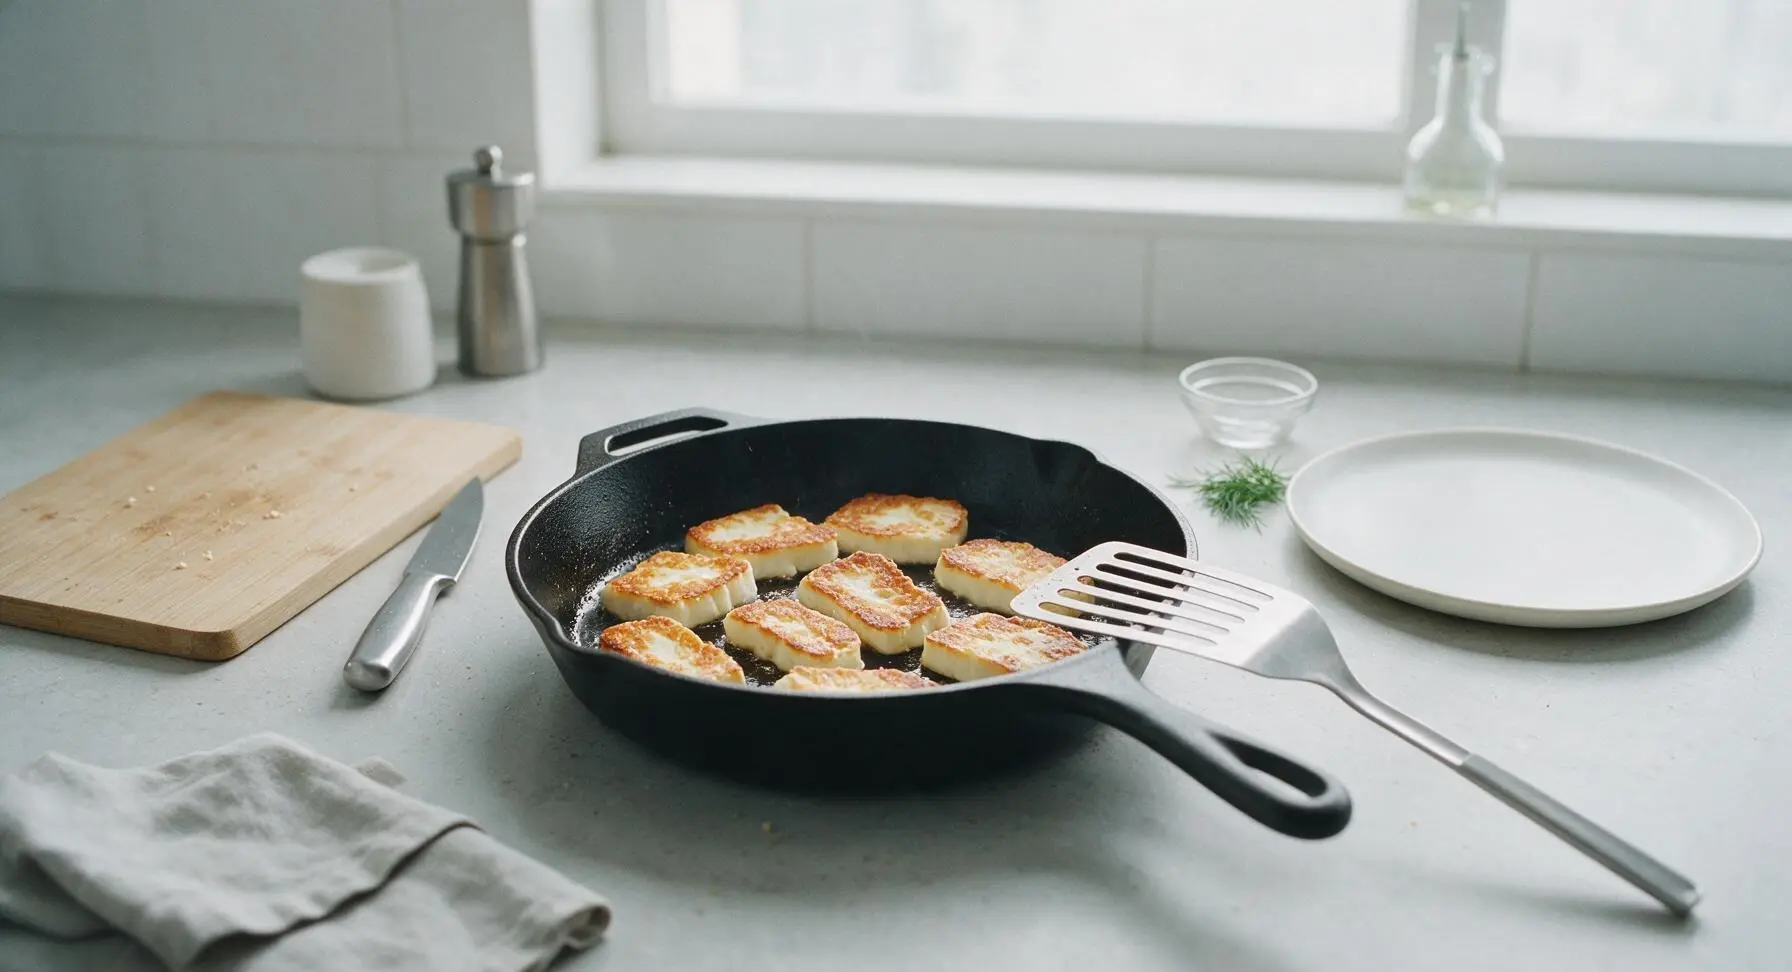
Step 6
step6:Flip and Cook Second Side
7

Transfer Halloumi to Plate

Once both sides are crisp and golden, use the slotted spatula to transfer the halloumi slices directly to the matte warm cream stoneware plate, arranging slices in a slightly overlapping fan pattern. Do not pat the slices with paper towels after cooking, as this will remove the flavorful olive oil and crisp surface coating.
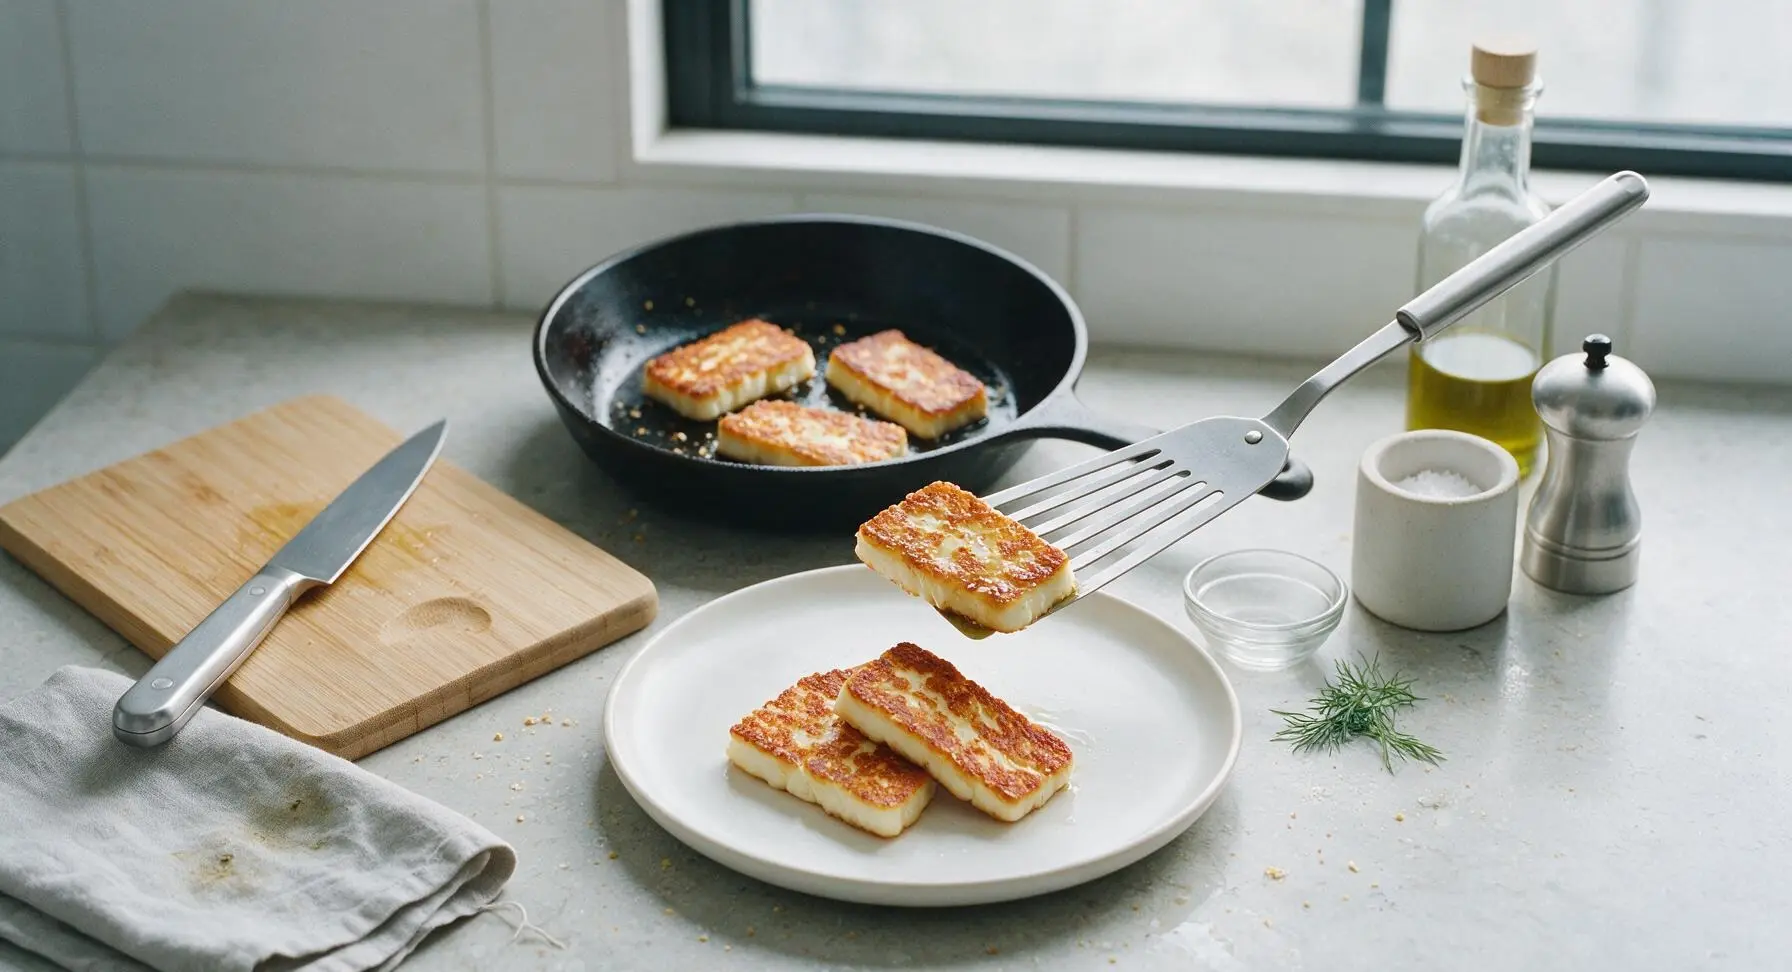
Step 7
step7:Transfer Halloumi to Plate
8

Season, Garnish, and Serve

Cut the lemon in half, place one half in the small stainless steel citrus juicer, and squeeze fresh lemon juice lightly over the warm halloumi (about 1 teaspoon of juice total, avoid over-saturating the crispy crust). Sprinkle with a tiny pinch of flaky sea salt and a light crack of black pepper. Tear fresh oregano and mint leaves into small pieces, scatter over the top, and cut a small wedge from the remaining lemon half to tuck on the side of the plate. Serve immediately, while halloumi is warm and squeaky.
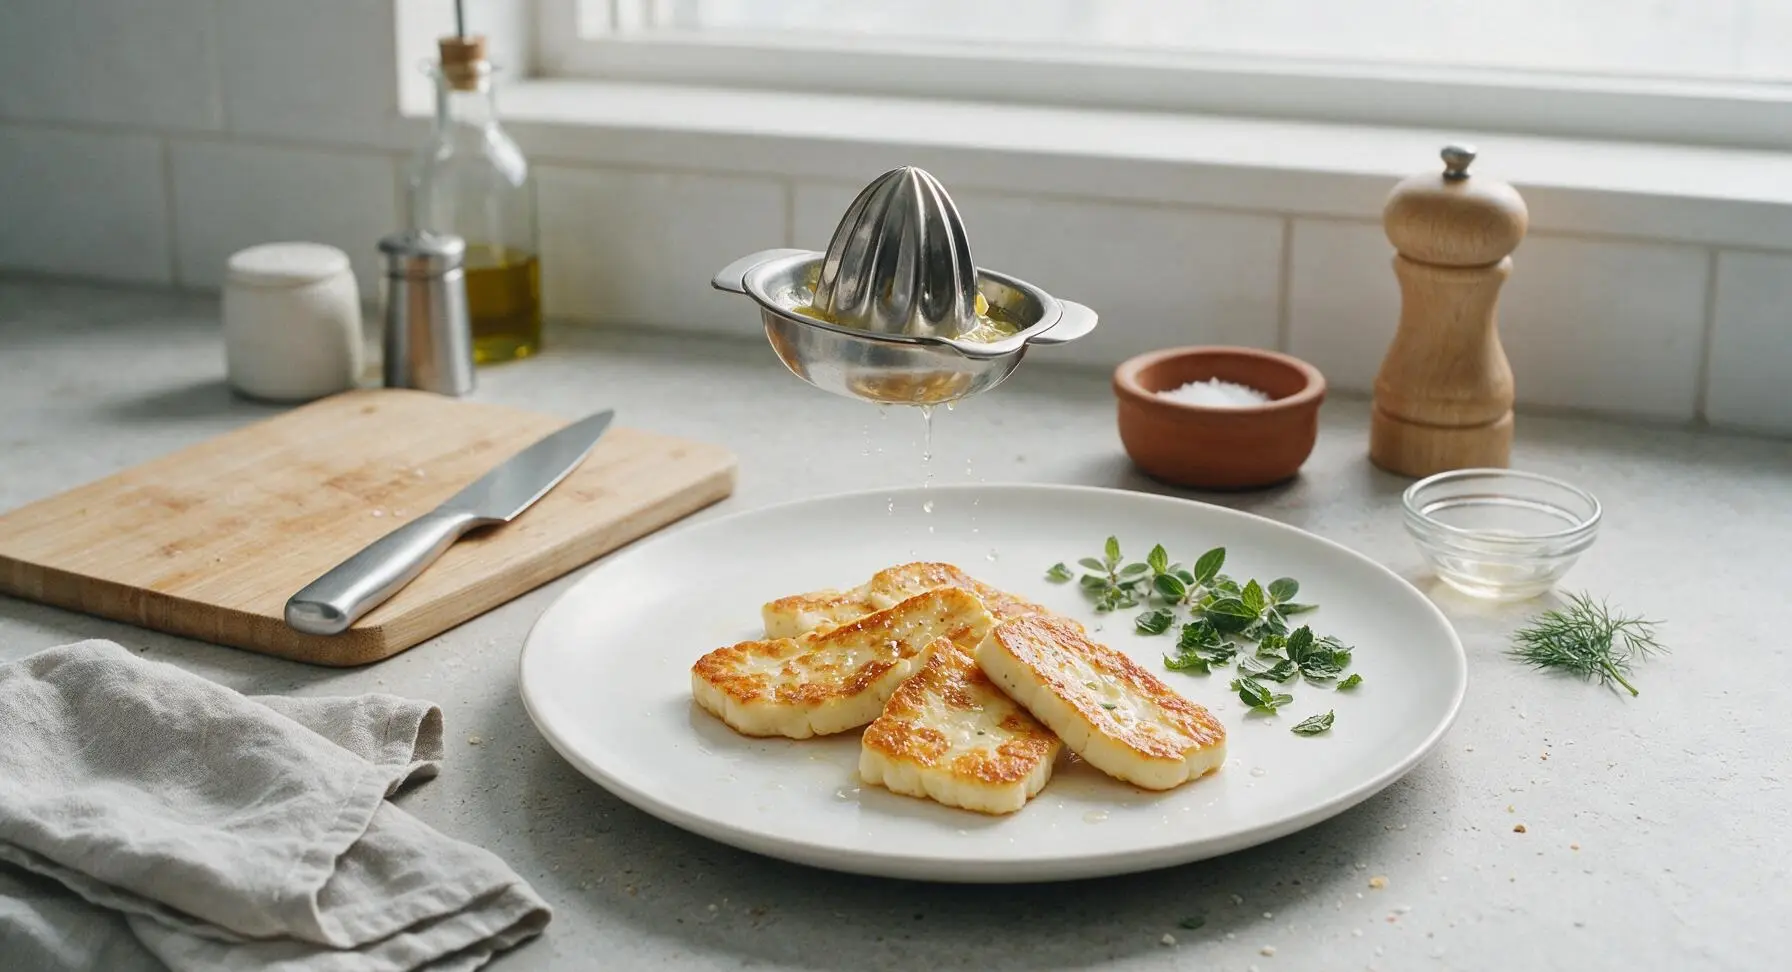
Step 8
step8:Season, Garnish, and Serve

Tips

1.Never skip drying the halloumi surface thoroughly: excess brine from the packaging will make the cheese steam instead of sear, leaving you with soggy, rubbery slices instead of a crispy golden crust. Trapped moisture also causes hot oil to splatter when you add the cheese to the pan, creating a safety hazard.
2.Don’t move the halloumi slices while they sear: the cheese will stick to the pan if you try to lift it too early. It will release cleanly from the pan surface once the crust is fully formed, usually right at the 2-minute mark over medium-high heat, so there is no need to poke or prod it early.
3.Serve halloumi immediately after cooking: the crispy crust will turn soft and chewy if left to sit for more than 5 minutes, and the signature fresh 'squeaky' texture fades quickly as the cheese cools. Hold off on searing until your guests or table are fully ready for the best possible eating experience.


✨ You May Also Like

Snacks & Appetizers
🍜 Mexico

Crispy thick-cut tortilla chips piled high with seasoned beef, melted cheese, and bright fresh toppings for a shareable, crowd-favorite bite.

⏱️ 25 minuteSnacks & Appetizers ★ 4.8
Snacks & Appetizers
🍜 United States

Crisp, sweet-tangy spiced pickled watermelon rind is a zero-waste summer staple, perfect with grilled meats, charcuterie, or eaten straight from the jar as a bright snack.

⏱️ 30 minuteSnacks & Appetizers ★ 4.6
Snacks & Appetizers
🍜 Germany

A tangy, jellied pork cold cut slow-simmered with aromatic spices, set into a firm sliceable loaf, served cold with mustard and crusty bread.

⏱️ 3 hours 4Snacks & Appetizers ★ 4.8
Snacks & Appetizers
🍜 United States

Creamy, tangy, perfectly seasoned hard-boiled egg halves filled with a rich, smooth yolk mixture, a timeless, crowd-pleasing bite for holiday and casual gatherings alike.

⏱️ 40 minuteSnacks & Appetizers ★ 4.8
Snacks & Appetizers
🍜 Russia

Silky, dill-forward no-smoke cured salmon, a Scandinavian classic with bright salty-sweet flavor, ideal for holiday starter platters and open-faced rye sandwiches.

⏱️ 48 hours Snacks & Appetizers ★ 4.7
Snacks & Appetizers
🍜 Japan

Crisp golden bottoms, juicy savory pork and vegetable filling, and tangy dipping sauce make these pan-fried gyoza a beloved shareable bite.

⏱️ 45 minuteSnacks & Appetizers ★ 4.8

cooking halloumi:Frequently Asked Questions

1.Why does my pan-seared halloumi turn out rubbery instead of having that signature soft, squeaky center? ▾
That almost always comes from cutting slices too thin or cooking too long over low heat. Slice your halloumi a consistent ¼-inch thick, preheat your pan to medium-high so it sears fast, and cook just 1 to 2 minutes per side. Any longer, and too much moisture cooks out of the cheese, leaving that tough, unpleasantly rubbery texture.
2.Can I use dried herbs instead of fresh oregano and mint if I don’t have fresh on hand? ▾
Absolutely, though fresh herbs deliver that bright, zingy pop that pairs perfectly with salty halloumi. If using dried, cut the total amount to 1 teaspoon (split evenly between oregano and mint, since dried herbs are far more concentrated) and bloom them in the warm olive oil first, rather than sprinkling them on at the end like fresh.
3.Do I really need to pat halloumi dry before searing it? ▾
Yes, that step is non-negotiable for that perfect crispy golden crust. Halloumi is stored in salty brine, so it has lots of excess surface moisture that will make it steam instead of sear if you skip this. Pat slices firmly with paper towels on both sides right before adding them to the hot oil for even, crisp browning every time.
4.What are the best ways to serve this lemon and herb pan-seared halloumi? ▾
It’s incredibly versatile! Serve it straight as a quick 10-minute appetizer with extra lemon wedges, tuck slices into grain bowls or pita wraps, toss them over a simple arugula salad, or pair with roasted veggies and crusty bread for a light vegetarian main. Be sure to serve it immediately, as the crispy exterior softens as it cools.
5.The recipe specifies unwaxed lemon—can I use a regular waxed grocery store lemon instead? ▾
You absolutely can, if that’s all you have access to, just give it a thorough scrub under hot running water with a stiff produce brush first to remove the edible food-grade wax coating. We use both the zest and juice for bright citrus flavor, so removing the wax keeps bitter, soapy residue from ruining your finished dish.

Comments (6)

3 days ago

Made this for a potluck this weekend and people were hovering over the platter! I used fresh oregano from my windowsill and a little extra flaky salt on top, and every single piece got snatched up in 10 minutes. So easy too, I can’t believe I used to buy pre-cooked halloumi that tasted like rubber. Will absolutely make again.

30 minutes ago

This was so tasty when I made it with fresh parsley last week! Quick question though—can I use dried herbs instead of fresh next time? I only have dried thyme and rosemary in my pantry right now and I’m craving this for lunch later!

5 minutes ago

Great question! You absolutely can use dried herbs—just use 1/3 the amount you’d use for fresh, since dried herbs are more concentrated. I’d recommend sprinkling them in the pan during the last 30 seconds of cooking to bring out their flavor. Enjoy!

1 week ago

Game. Changer. I’ve been overcomplicating halloumi for years by marinating it forever, and this simple lemon + herb pan sear is better than any marinated version I’ve made. My kids loved it so much they asked to put it in their school lunches this week. 😂

5 days ago

Wait, does it hold up okay in school lunches? I was worried it would get soggy if I pack it the night before!

3 days ago

Such a good question! Halloumi holds up really well at room temp for a few hours, but if you’re packing it the night before, I’d recommend letting it cool completely before popping it in the lunch container, and tucking the lemon wedge on the side so it doesn’t make the cheese soggy. It’s perfect for meal prep!

yesterday

Super easy and quick, perfect for a weeknight side when I don’t feel like putting a ton of effort in. I paired it with some garlicky couscous and it was chef’s kiss. Only note is I’d pat the halloumi a little drier next time before putting it in the pan to get even more crisp, but that’s on me for rushing!

2 weeks ago

First time making halloumi ever and I nailed it on the first try thanks to this recipe! The cook time is actually 5 minutes, no joke, I was shocked how fast it came together. Served it over arugula salad for date night in and my partner thought I ordered it from a fancy Mediterranean spot downtown.

1 week ago

Oh that arugula salad pairing sounds amazing! Did you do a simple lemon vinaigrette on the greens to match the halloumi?

2 hours ago

Wait, is there a trick to not having the halloumi stick to the pan? I tried this last night and half my pieces stuck and left the crispy crust in the skillet, bummer because the bits I did get out were SO good.

30 minutes ago

I had this same issue my first try! Make sure your pan is really hot before you lay the halloumi slices down, and don’t move them for the full 2 minutes on the first side. I also use a thin metal spatula to get under them and they release perfectly now!

5 minutes ago

So sorry about the sticking! @CheeseLover4Life is totally right—preheating your pan until it’s nice and hot (you should feel the heat radiating when you hold your hand an inch above the surface) and letting the halloumi cook undisturbed on the first side is key. A tiny bit of olive oil in the pan helps too! Give it another go, I promise that crispy crust is worth it.



