
cooking hot dog on stove

title 1
cooking hot dog on stove
⏱️ cook time 8 minutes
🍽️ servings 4
⚡ Difficulty easy

intro

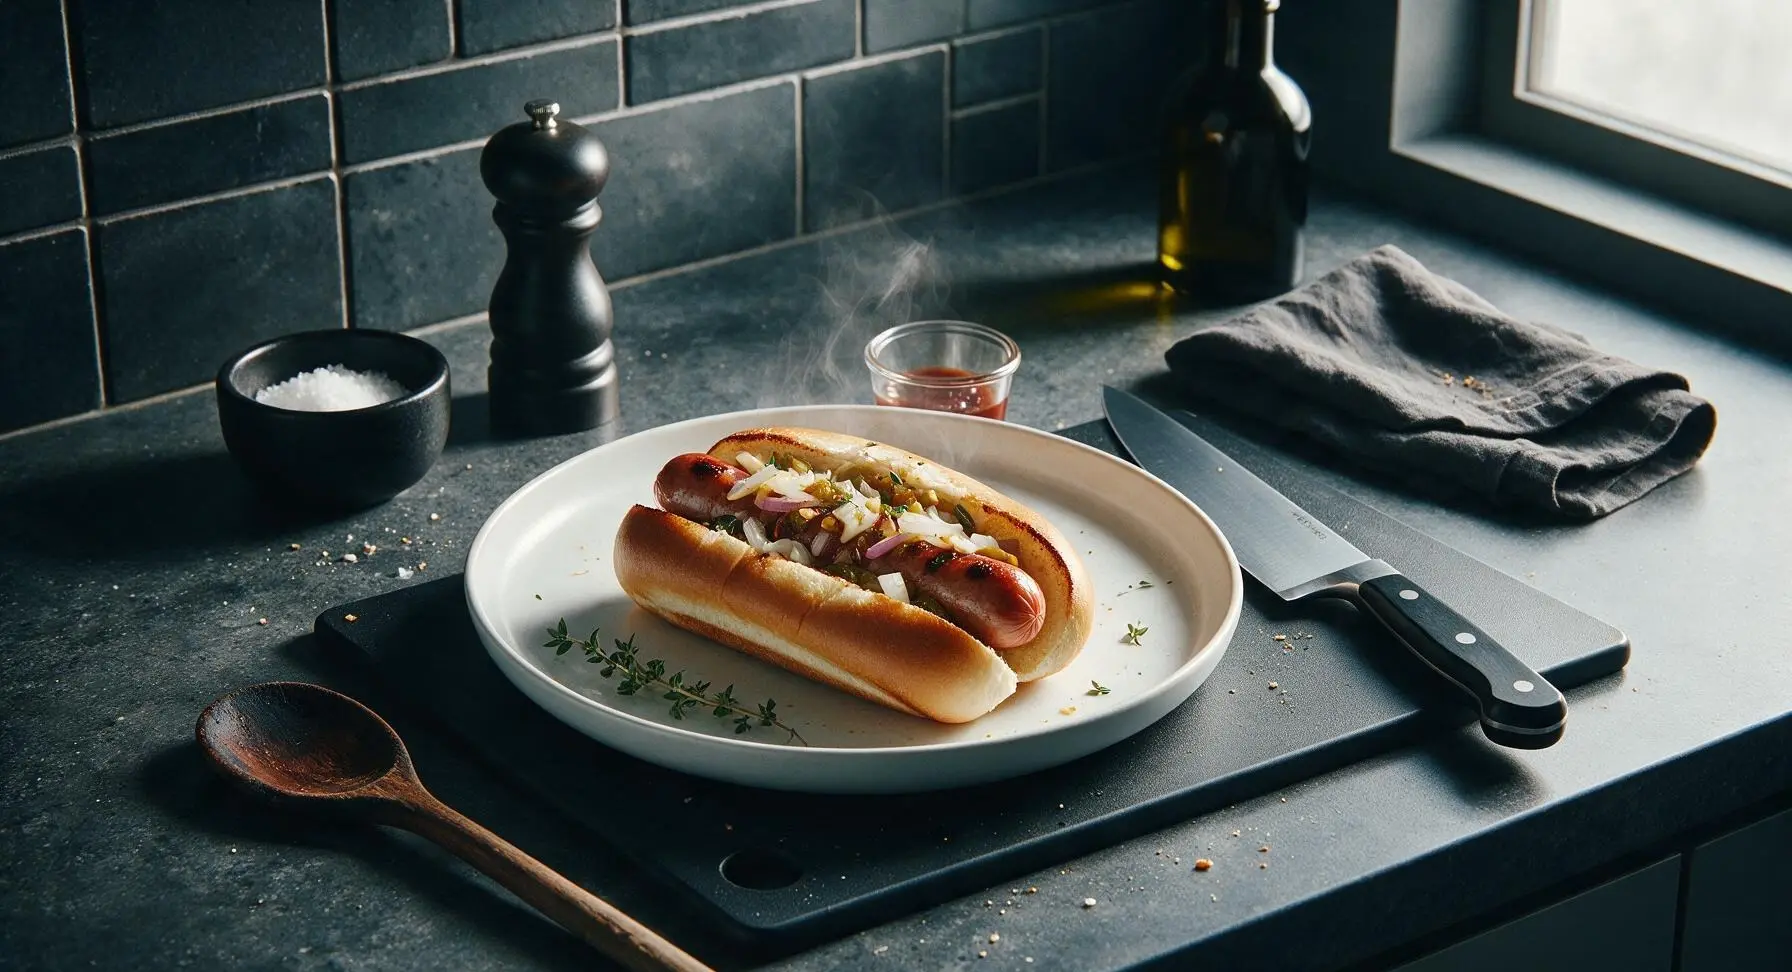
Juicy, snappy stovetop hot dogs with buttery toasted buns and classic toppings, ready in under 15 minutes for a no-fuss, crowd-pleasing quick meal.

Ingredients
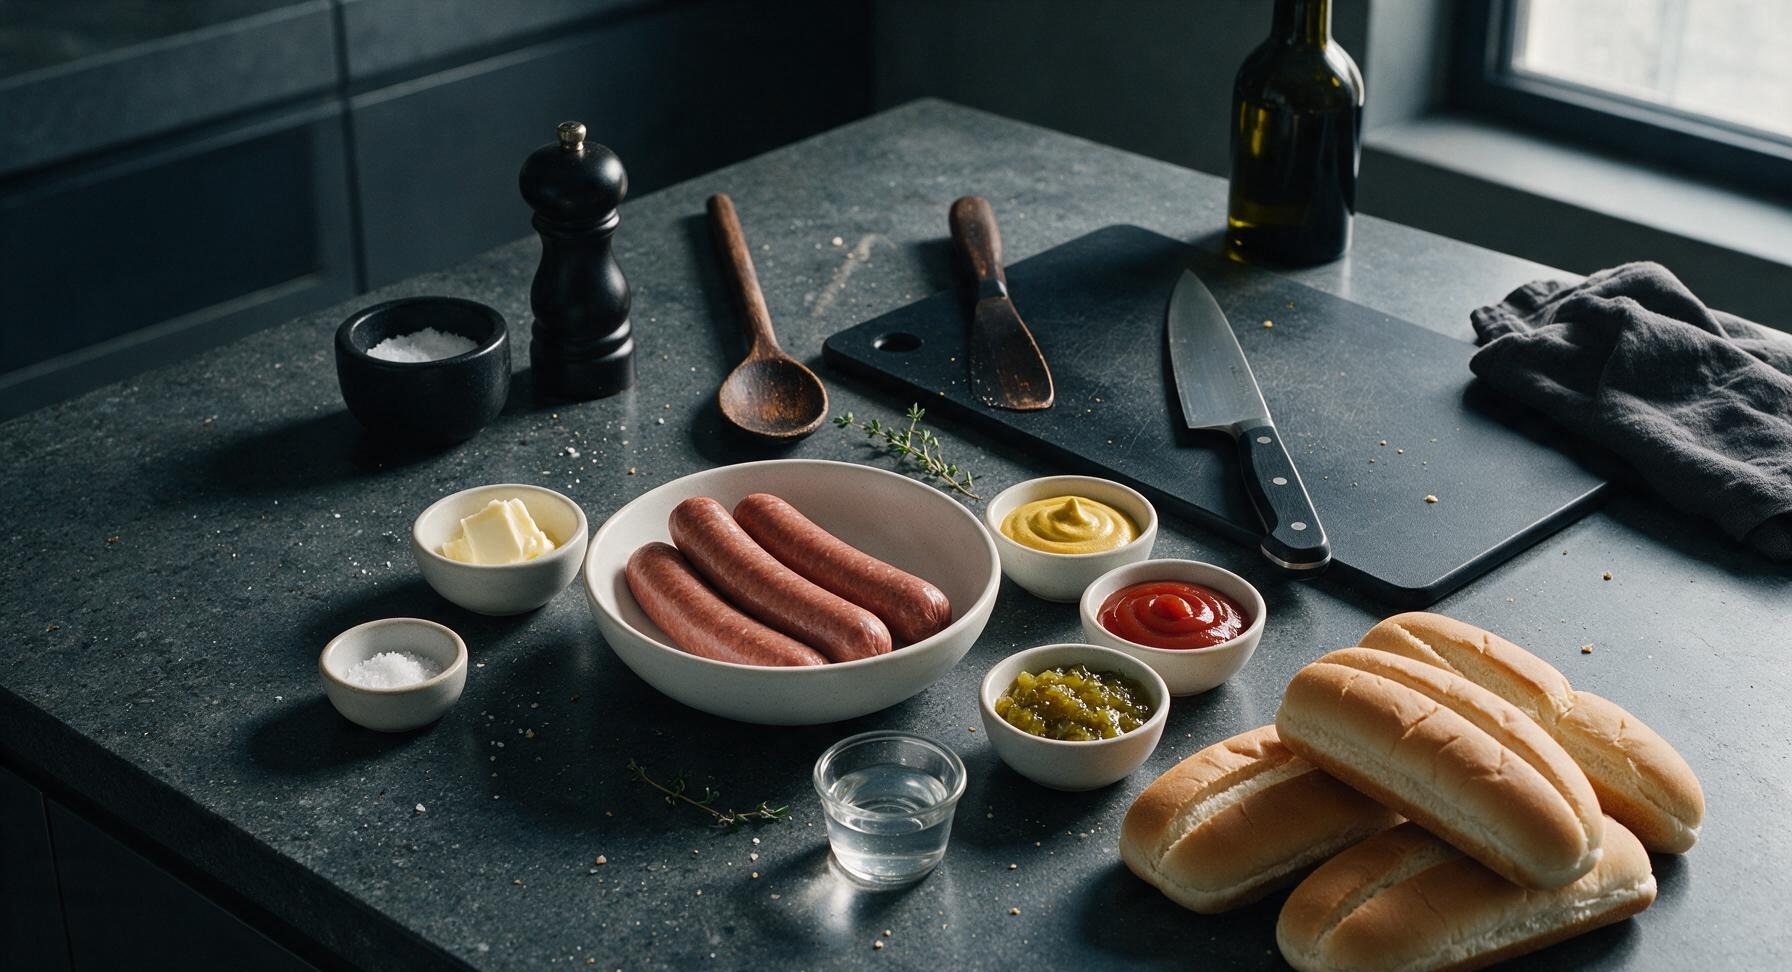
All-beef hot dogs 4 links (225g total)
Split-top white hot dog buns 4 count
Unsalted butter 1 tablespoon, softened
Yellow mustard 2 tablespoons
Tomato ketchup 2 tablespoons
Sweet green relish 2 tablespoons
Kosher salt 1/4 teaspoon
Filtered water 2 tablespoons

Steps

1

Prep the Hot Dogs

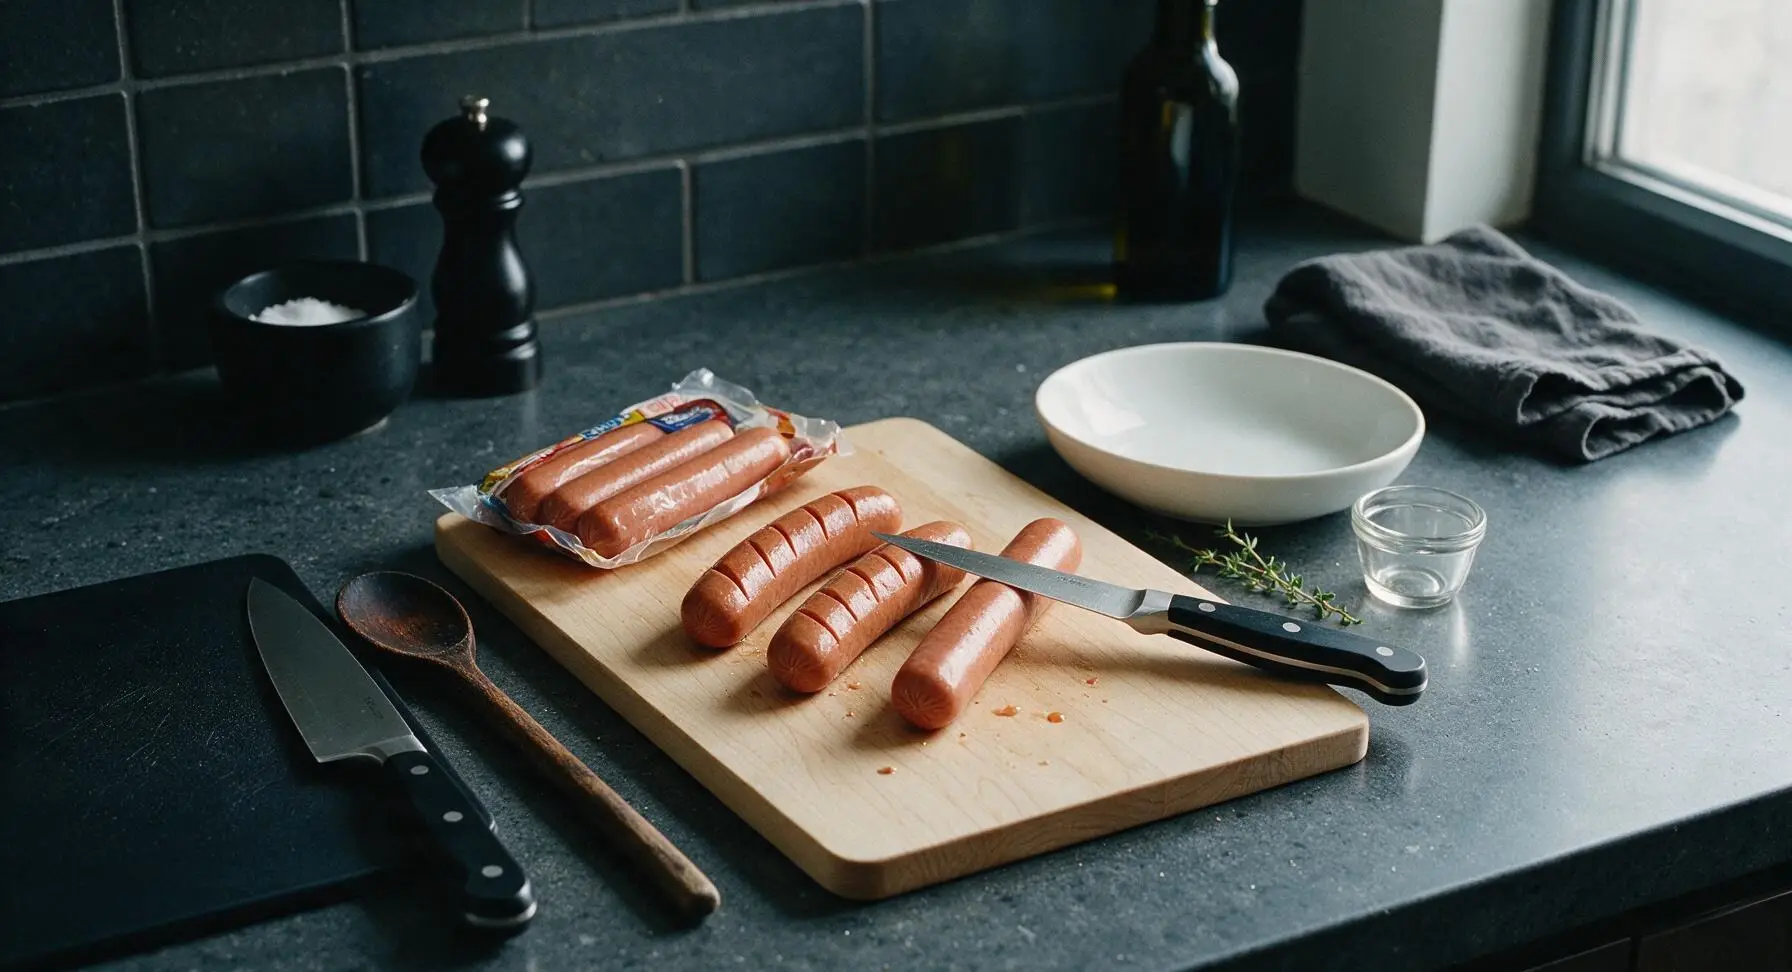
Remove the 4 all-beef hot dogs from their packaging, place them on the light maple cutting board. Use the tip of the small stainless steel paring knife to make 3 shallow 1/4-inch deep diagonal slits along the length of each hot dog, spaced 1 inch apart. This prevents casings from bursting while cooking and creates crisp, caramelized edges as they sear. Do not cut all the way through the hot dogs.
Step 1
step1:Prep the Hot Dogs
2

Preheat the Skillet

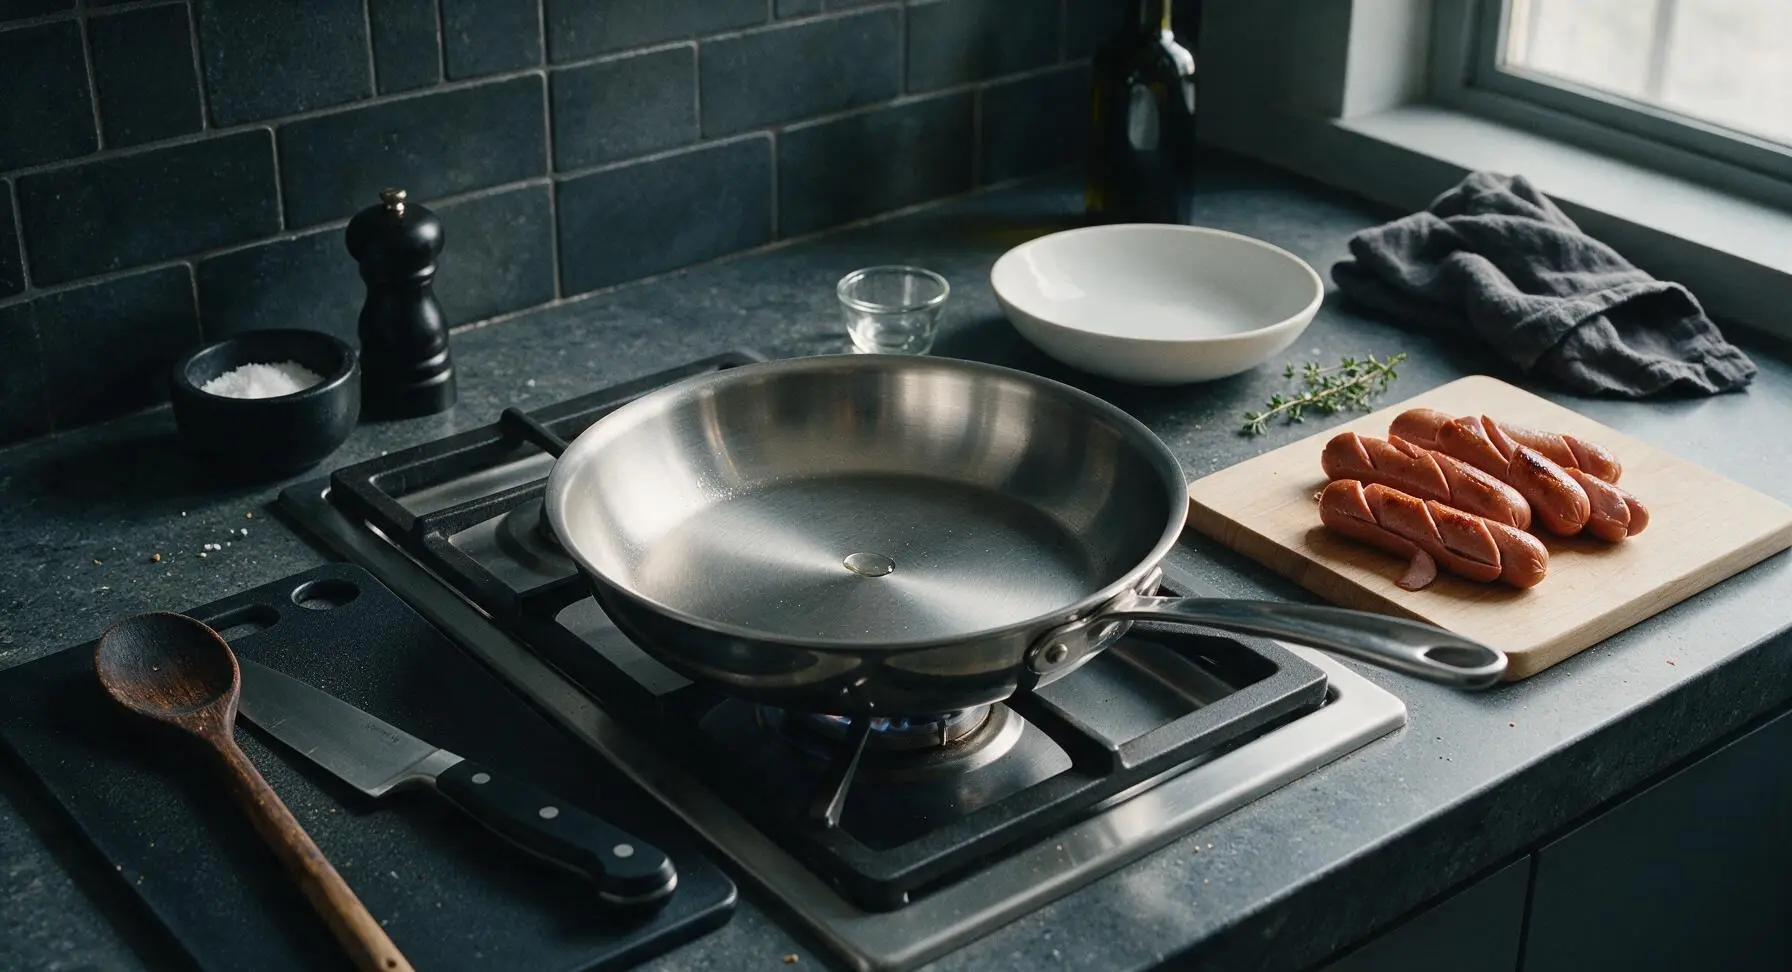
Place the 10-inch stainless steel skillet on the stovetop burner over medium heat (350°F / 175°C). Let the pan preheat for 2 minutes, until a drop of water flicked onto the surface sizzles and evaporates in 2 seconds. Do not add oil yet—there is enough fat in the hot dogs to prevent sticking.
Step 2
step2:Preheat the Skillet
3

Sear the Hot Dogs

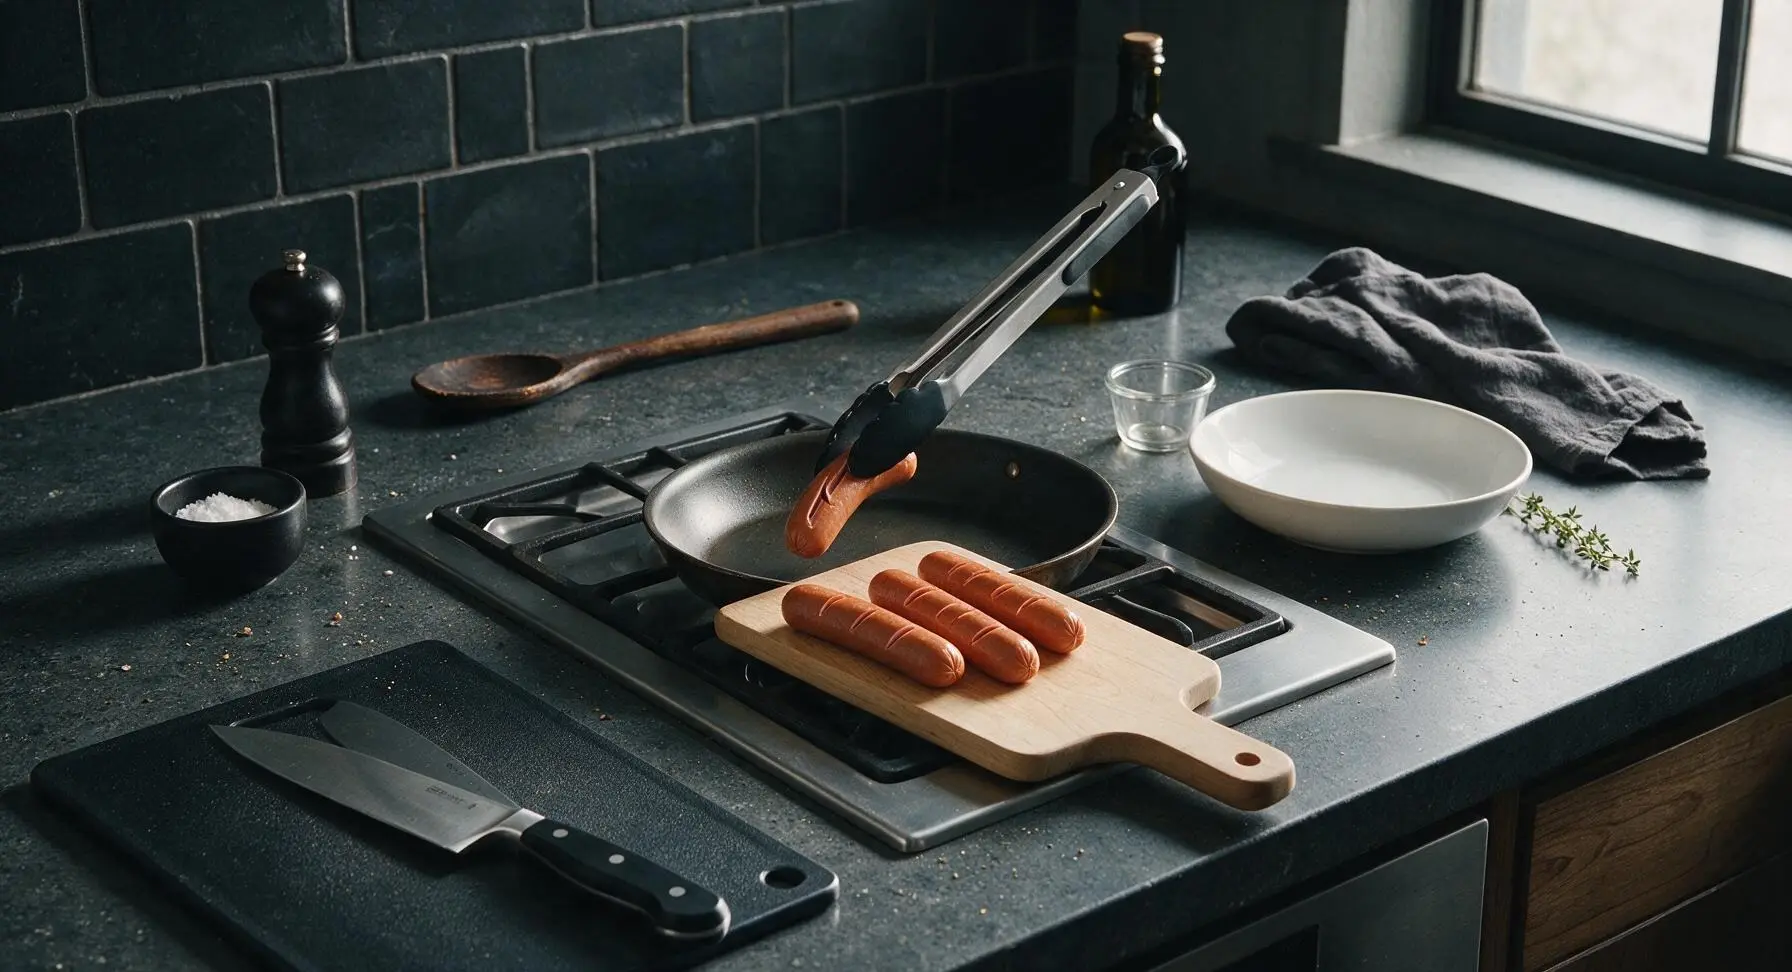
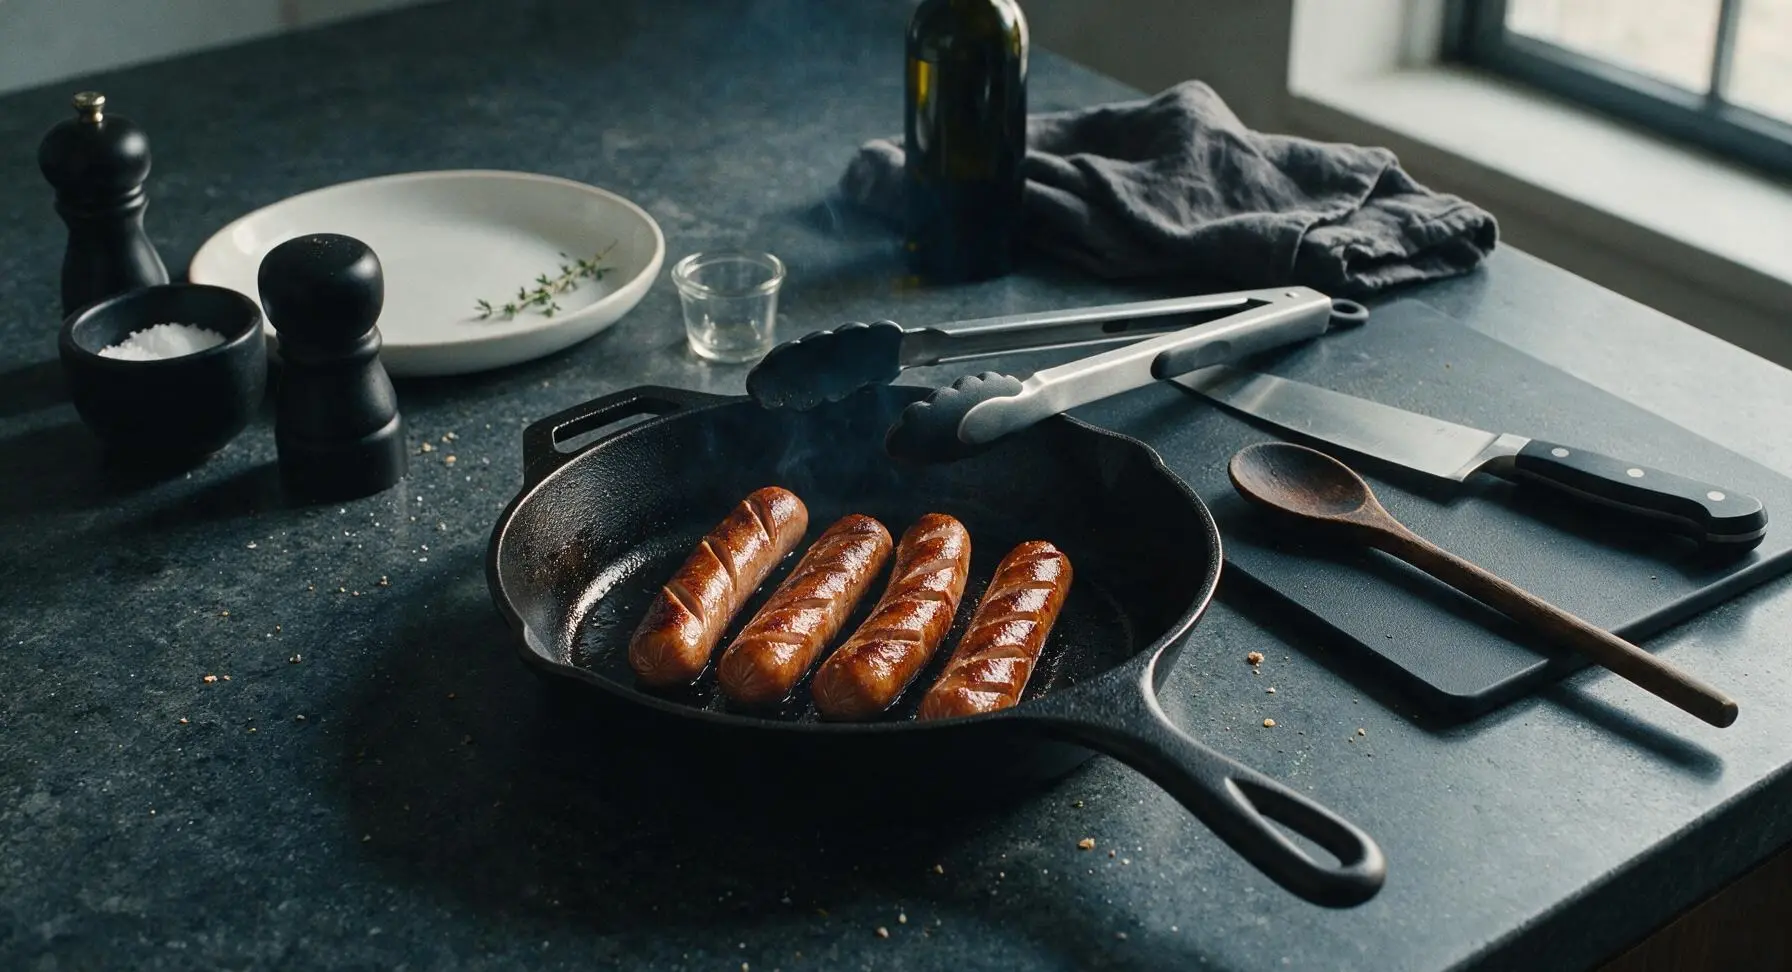
Use the silicone-tipped tongs to place all 4 slitted hot dogs in the preheated skillet in a single layer, leaving 1/2 inch of space between each. Cook for 3 minutes, turning every 45 seconds with the tongs, until all sides are golden brown with slightly crisp, caramelized edges where the slits have opened up. The casings will feel tight and snappy to the touch.
Step 3
step3:Sear the Hot Dogs
Step 3
step3:Sear the Hot Dogs
4

Steam to Plump Up

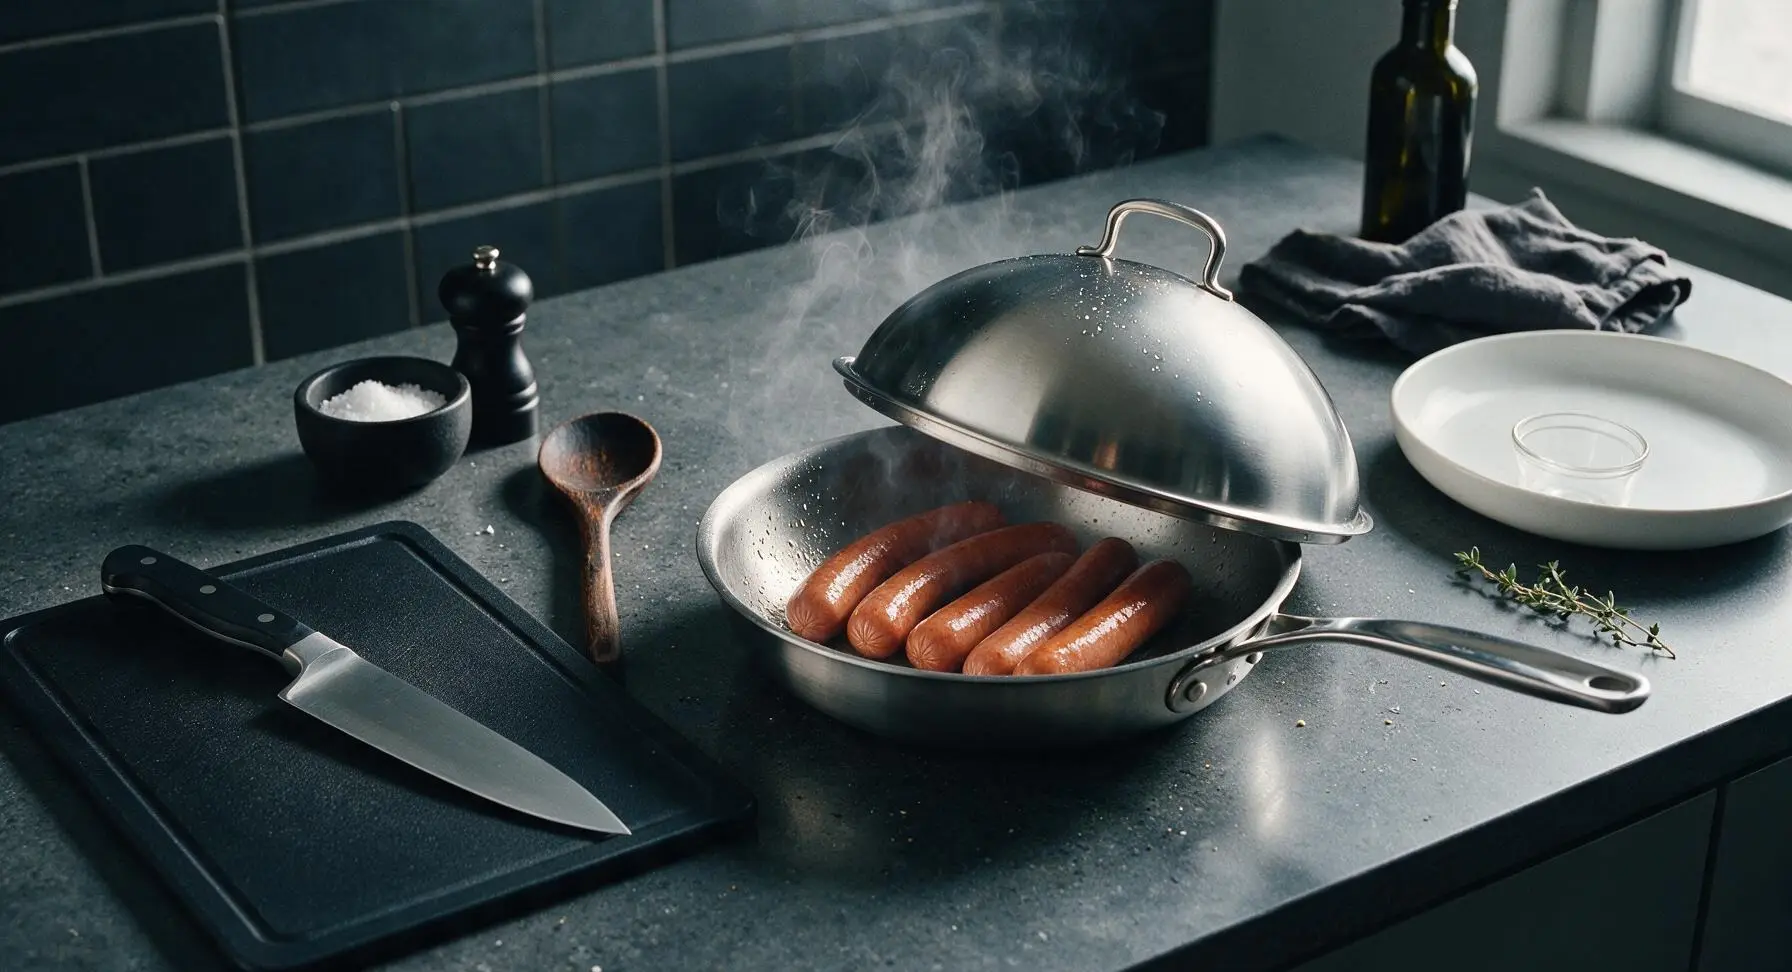
Carefully pour 2 tablespoons of water into the hot skillet with the seared hot dogs—stand back slightly to avoid splattering. Immediately cover the skillet with the matching stainless steel lid, reduce heat to medium-low (275°F / 135°C), and cook for 2 minutes. The steam will plump the hot dogs all the way through, keeping them juicy instead of dry. After 2 minutes, remove the lid—all water should be evaporated, and the hot dogs will be fully plump and snappy.
Step 4
step4:Steam to Plump Up
5

Toast the Buns

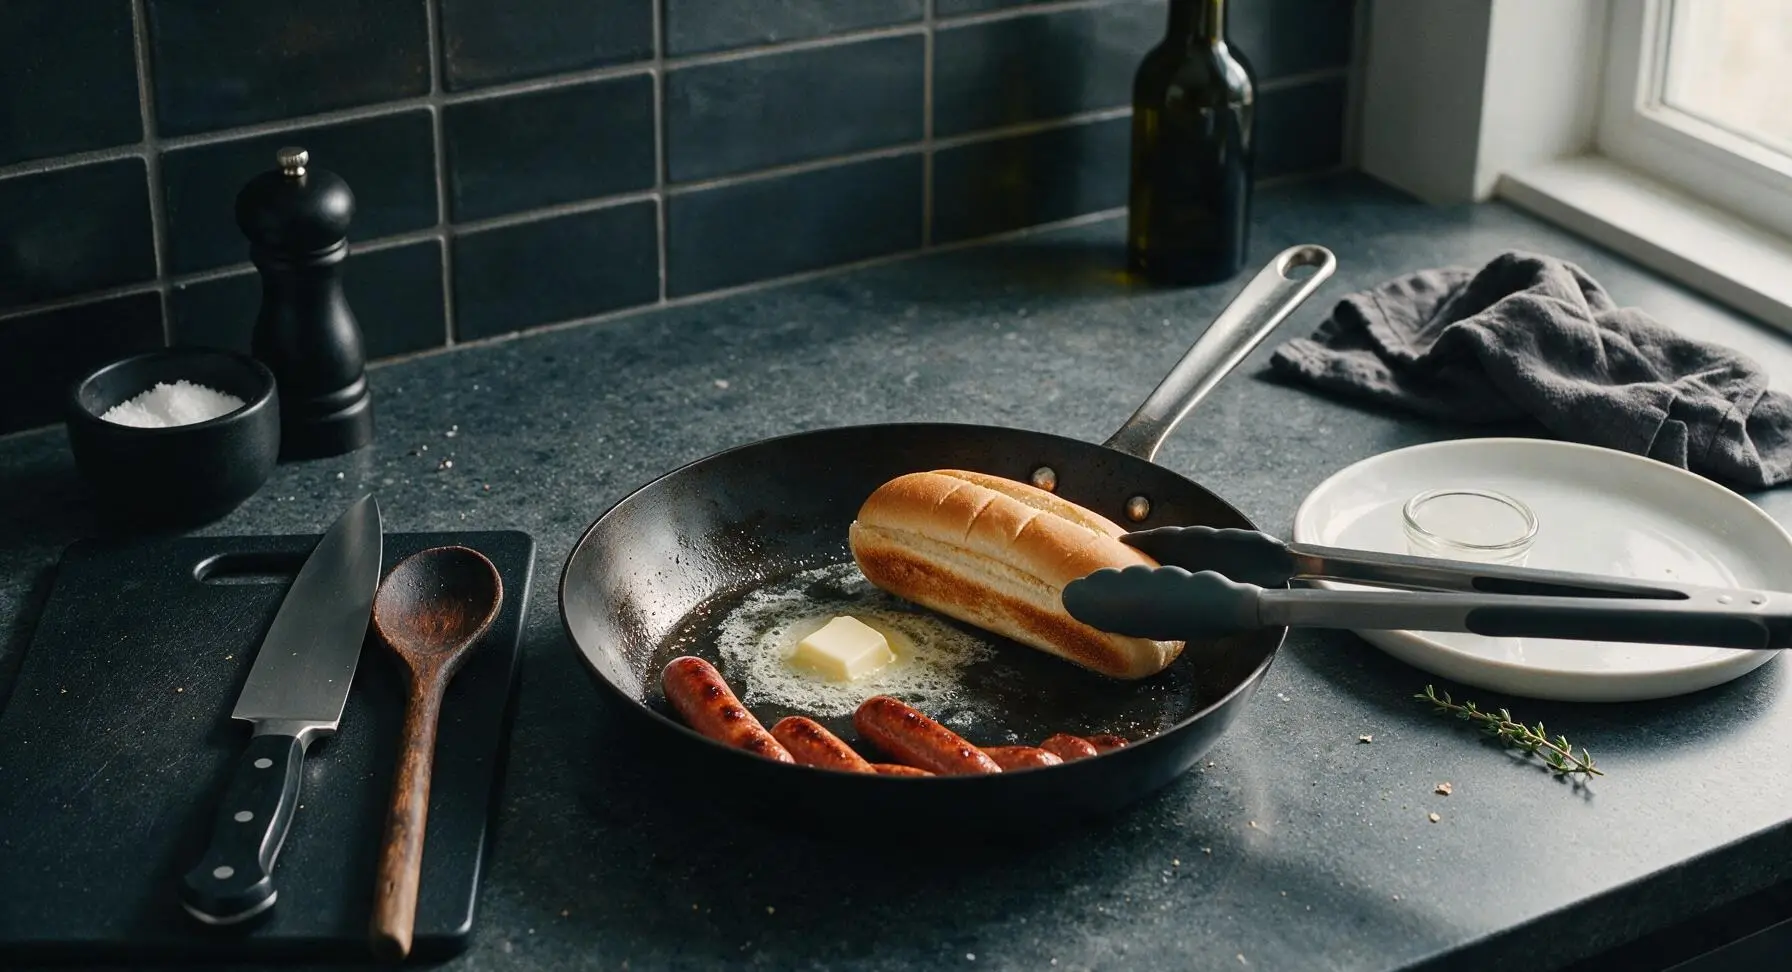
Push the cooked hot dogs to one side of the skillet using the tongs. Add 1 tablespoon of softened butter to the empty side of the pan, let it melt and foam slightly (about 30 seconds). Place the 4 split hot dog buns cut-side down in the melted butter, pressing gently with the back of the tongs to ensure even contact. Toast for 1 minute, until the cut surface is light golden brown and slightly crisp, with buttery edges. Do not toast too long, or the buns will become hard.
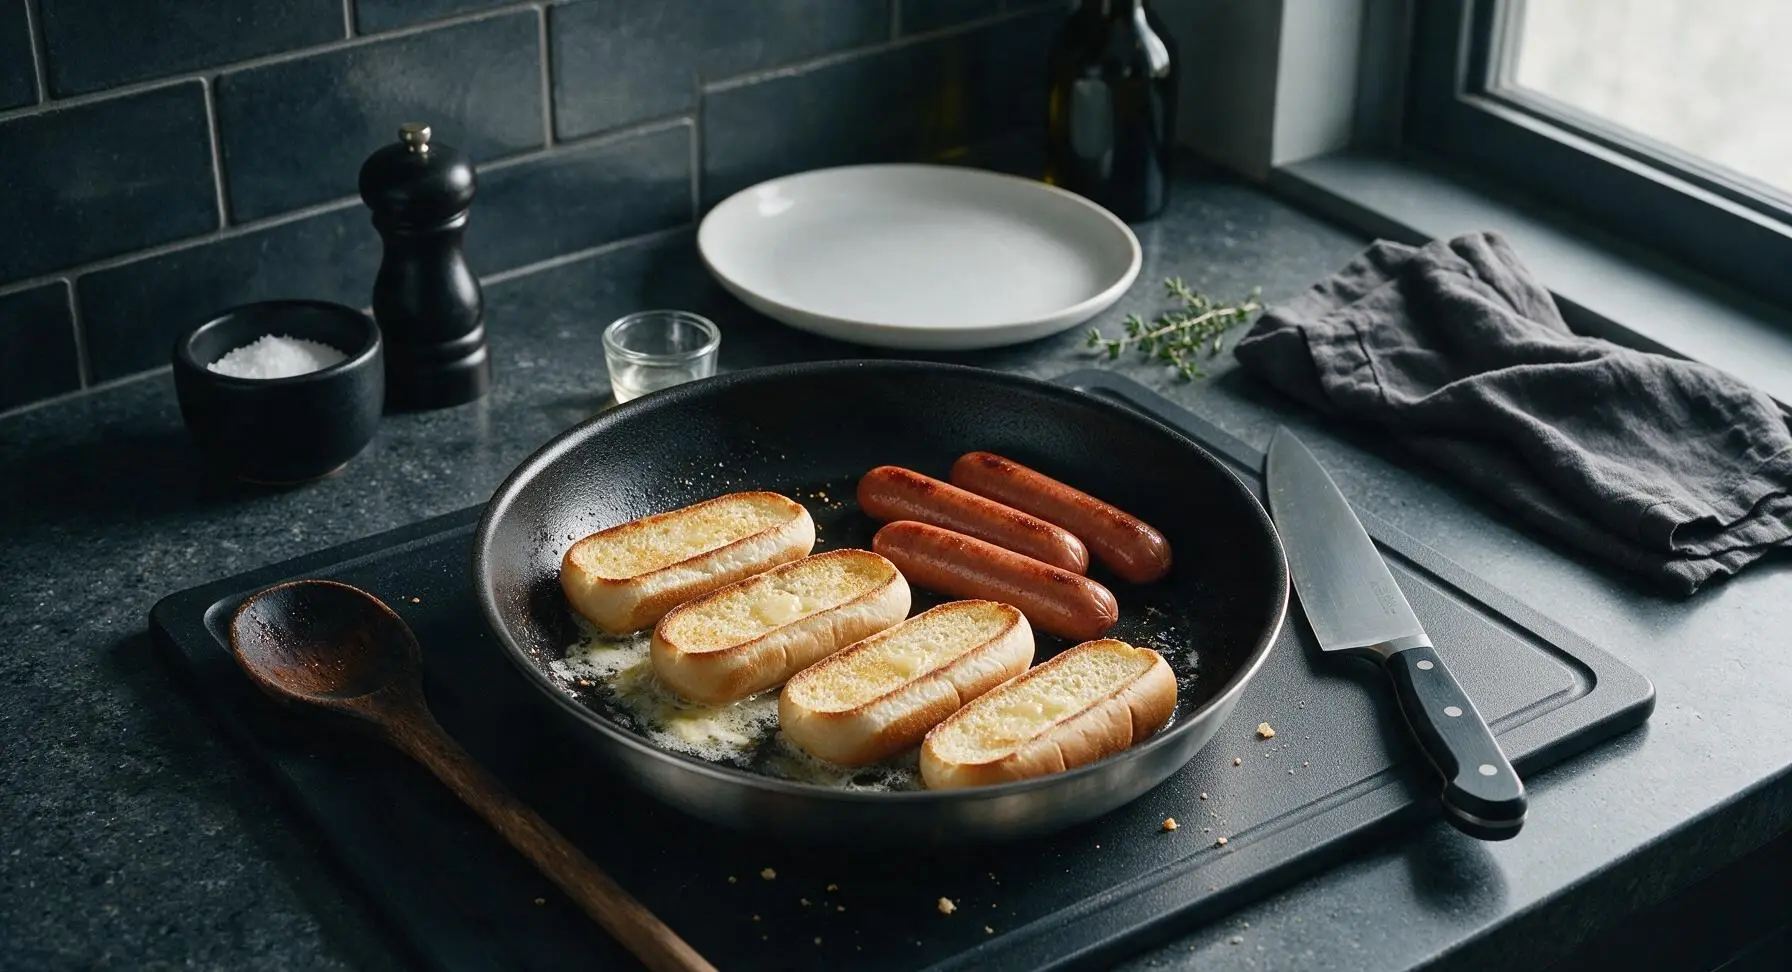
Step 5
step5:Toast the Buns
Step 5
step5:Toast the Buns
6

Assemble the Dogs

Use the tongs to lift one toasted bun onto the matte white ceramic dinner plate. Nestle one cooked hot dog into the split of the bun, pressing gently so it sits securely. Repeat with remaining buns and hot dogs, placing extra assembled dogs on the stacked plates for serving.
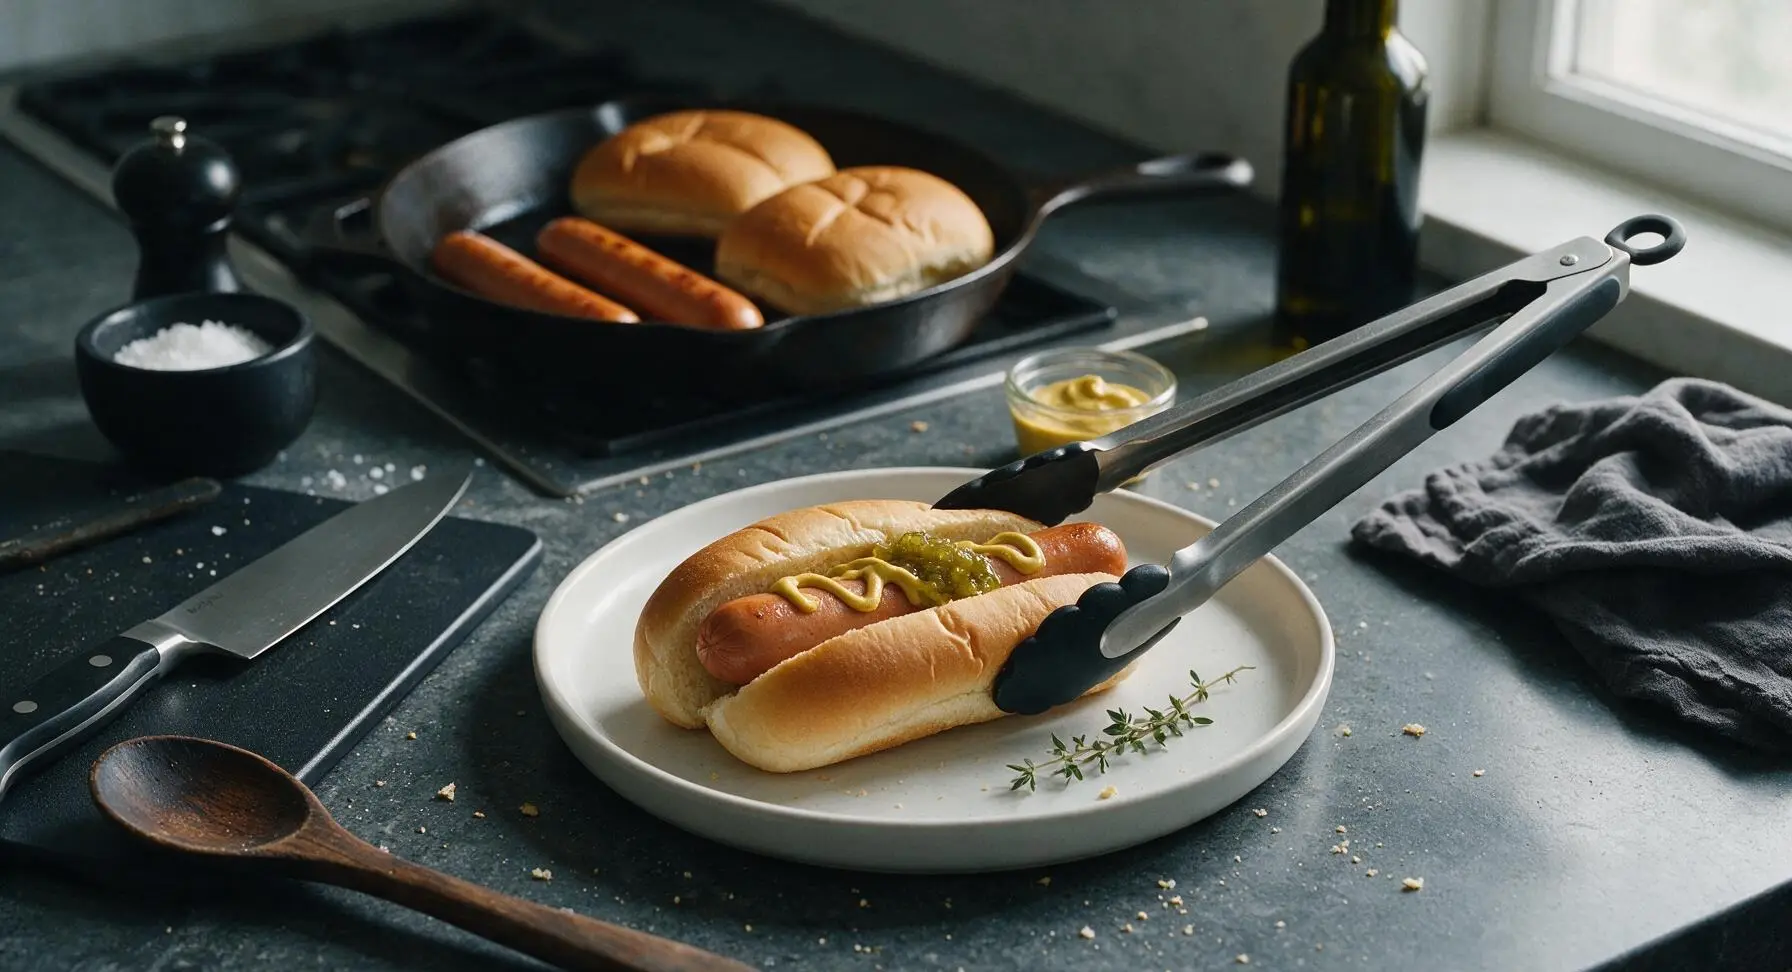
Step 6
step6:Assemble the Dogs
7

Add Classic Toppings

Drizzle yellow mustard and ketchup in a thin zigzag pattern across the top of each hot dog, then spoon 1/2 tablespoon of sweet green relish down the center. Add a light pinch of kosher salt if desired, and serve immediately while hot.
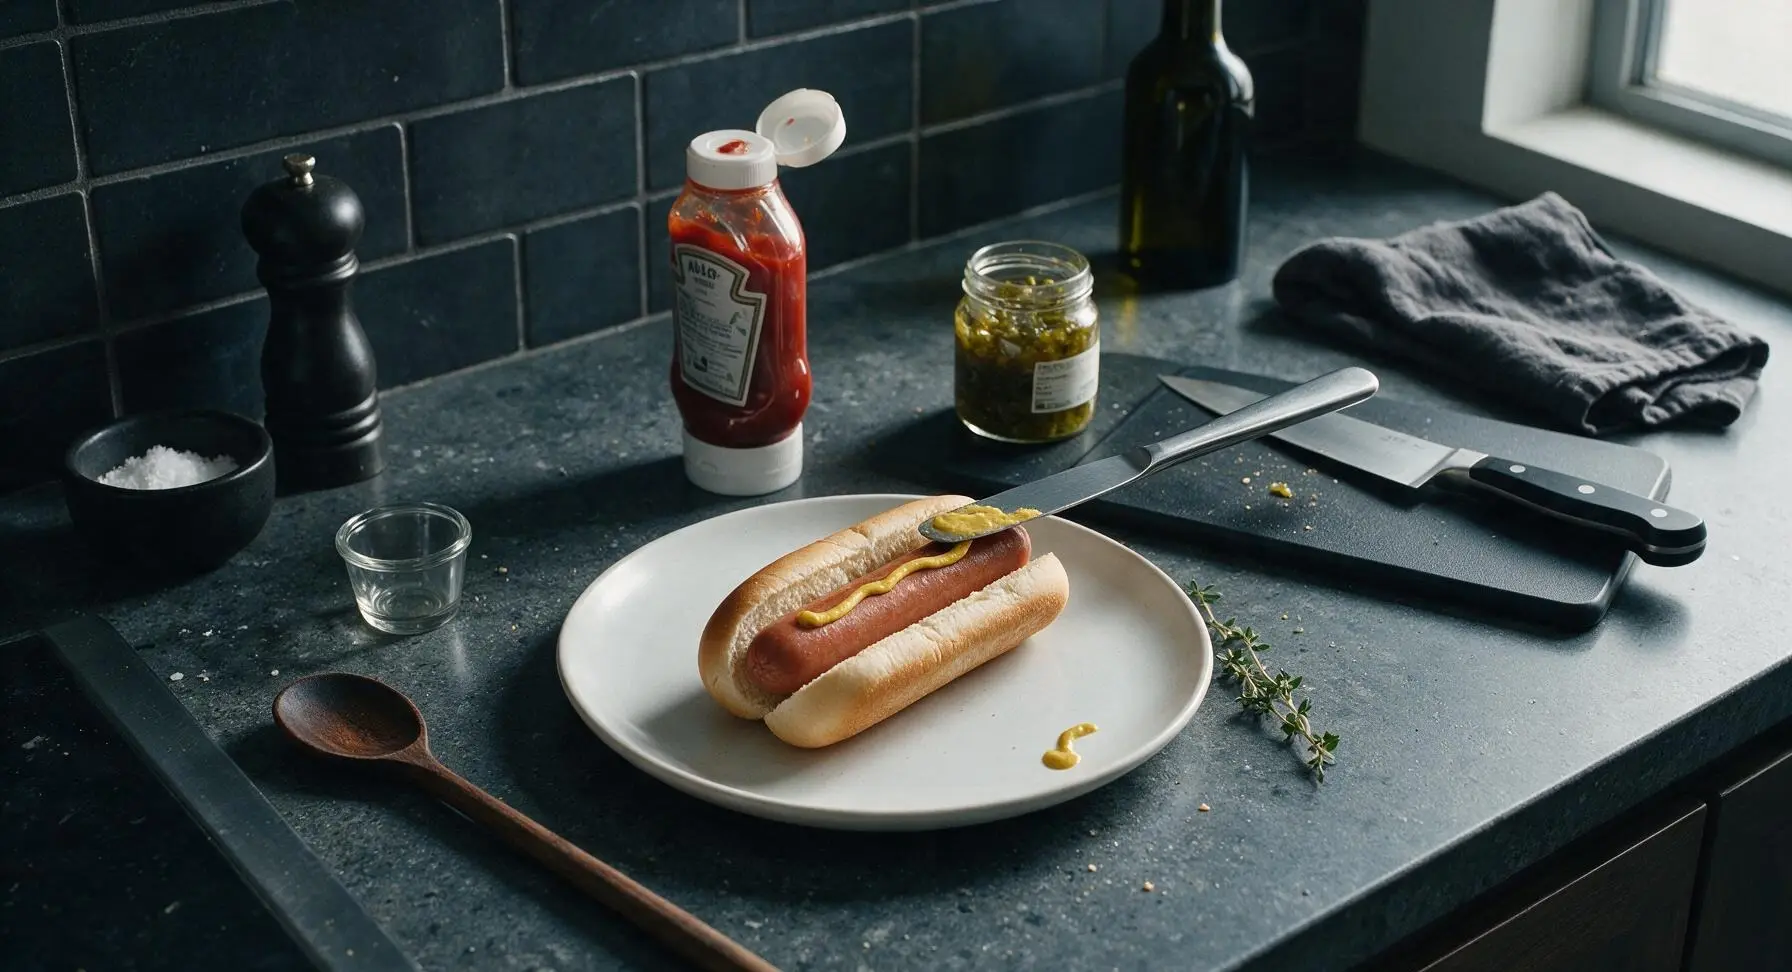
Step 7
step7:Add Classic Toppings

Tips

1.Always cut shallow slits in hot dog casings before cooking: As casings heat they shrink rapidly, which can cause bursting, hot grease splatters, and misshapen dogs. The slits also create extra caramelized, crispy edges for better texture.
2.Skip boiling hot dogs for stovetop cooking: Boiling leaches out savory beef flavor and leaves casings rubbery and soggy. The sear-then-steam method creates a crisp, snappy outer casing and locks in juiciness for a better bite.
3.Toast buns in the same pan used for hot dogs: The residual beef fat and melted butter toasts the bread to a perfect crisp, and creates a moisture barrier that prevents wet toppings from making the bun soggy while you eat.


✨ You May Also Like

Main Course
🍜 United Kingdom

A showstopping classic of tender seared beef, savory mushroom duxelles, and crisp prosciutto wrapped in flaky golden puff pastry, baked to juicy perfection.

⏱️ 2 hours 1Main Course ★ 4.7
Main Course
🍜 India

Tender charred marinated chicken simmered in a rich, spiced creamy tomato sauce, this iconic Anglo-Indian curry pairs perfectly with basmati rice or warm naan.

⏱️ 50 minuteMain Course ★ 4.6
Main Course
🍜 Thailand

Classic tangy, sweet, and savory Thai stir-fried rice noodles with shrimp, tofu, and crunchy garnishes, balancing all five core Thai flavor profiles.

⏱️ 30 minuteMain Course ★ 4.5
Main Course
🍜 United Kingdom

Crispy golden beer-battered cod and fluffy double-fried chips, served with tangy tartar sauce and malt vinegar: the timeless, beloved British pub comfort classic.

⏱️ 45 minuteMain Course ★ 4.7
Main Course
🍜 Mexico

Smoky, chile-marinated pork tacos with caramelized pineapple, fresh cilantro, and lime: a beloved classic Mexican street food perfect for casual summer gatherings.

⏱️ 1 hour 45Main Course ★ 4.8
Main Course
🍜 United States

Crunchy Fritos corn chips layered with savory beef chili and melted cheddar, topped with cool, zesty fixings for a beloved, cozy Tex-Mex comfort food.

⏱️ 35 minuteMain Course ★ 4.8

cooking hot dog on stove:Frequently Asked Questions

1.Do I have to boil hot dogs first to get them fully cooked on the stovetop? ▾
No, boiling leaves hot dogs waterlogged and softens their natural snappy casing. Instead, add ¼ inch of water to a lidded skillet over medium heat, add the hot dogs, cover for 2 minutes to steam them through, then uncover to let water evaporate before searing 1–2 minutes per side for that perfect crisp, juicy bite.
2.Why do you recommend all-beef hot dogs for this recipe? ▾
All-beef hot dogs have a rich, savory, meaty flavor and a natural, snappy casing that holds up perfectly to stovetop cooking, rather than turning mushy or rubbery like lower-fat, filler-heavy mixed-meat options often do. They also stay juicier through the quick steam and sear process for that classic ballpark-style bite.
3.How do I get that perfectly buttery, non-soggy toasted bun? ▾
Melt 1 tablespoon of unsalted butter in a separate clean skillet over medium-low heat once your hot dogs are done resting. Place split-top buns cut-side down in the butter, toasting for 30–45 seconds until the cut surface is golden and slightly crisp, while the outer bun stays soft and pillowy. Avoid high heat, which burns butter before the bun toasts evenly.
4.Can I use regular side-split hot dog buns instead of split-top white buns? ▾
You absolutely can, though split-top buns have a wider, sturdier pocket that holds toppings without spilling, and toasts more evenly in a skillet. If using standard side-split buns, spread a thin layer of softened butter on the cut sides before toasting to get that same rich, buttery crunch across every bite.
5.How long does this whole recipe actually take from start to finish? ▾
This recipe comes together in 12–14 minutes total, with zero fancy prep. You’ll spend 2–3 minutes prepping your skillet and ingredients, 4–5 minutes cooking the hot dogs, 2–3 minutes toasting the buns, and a minute or two adding toppings, making it perfect for quick weeknight dinners or last-minute game day snacks.
6.My hot dog casings always split when I cook them stovetop—how do I prevent that? ▾
Casing splits happen when high heat causes moisture and fat inside the dog to expand too quickly. Start with medium, not high, heat for the initial steam step, and don’t overcook: 2 minutes covered to steam through, then 1–2 minutes total searing is all you need. You can also add 2 tiny, shallow pin pricks per dog to release excess pressure.
7.Is there a way to make these hot dogs if I don’t have a lid for my skillet? ▾
If you don’t have a matching skillet lid, use a tight-fitting sheet of aluminum foil crimped around the skillet edges to trap steam for the initial cooking step. That steam is critical to heat hot dogs all the way through without burning the outside before the center warms, so don’t skip that covered cooking step.
8.Can I use salted butter instead of unsalted butter for toasting the buns? ▾
You can, just skip adding any extra salt to the recipe if you do. Unsalted butter lets you control exact sodium levels, since all-beef hot dogs already have a good amount of salt from the curing process. If using salted butter, keep heat low when toasting to avoid burning the more prominent milk solids in salted varieties.
9.How do I know when the hot dogs are done cooking and safe to eat? ▾
All-beef hot dogs are fully cured during production, so you’re just warming them through and crisping the casing. They’re ready when plump, with light golden sear marks on all sides, and reach an internal temperature of 140°F on an instant-read thermometer. There’s no need to char them black, which dries out the meat.
10.Can I add extra toppings beyond yellow mustard and ketchup without ruining the classic vibe? ▾
Absolutely! The classic mustard and ketchup base is a perfect starting point, but you can pile on sweet relish, diced white onion, sport peppers, a dill pickle spear, or a light sprinkle of celery salt for a Chicago-style twist, or chili and cheese for a heartier bite. Just don’t overload the bun so much it falls apart when you pick it up.
11.Why do my toasted buns turn out greasy instead of light and buttery? ▾
Greasy buns happen when you use too much butter, or melt butter so hot that it pools instead of absorbing slightly into the bun’s cut surface. Stick to 1 tablespoon of total butter for 8 buns, melt it over medium-low heat to coat the pan evenly, and don’t let buns sit in the butter longer than 45 seconds when toasting.
12.Can I cook these hot dogs in a cast iron skillet, or do I need a nonstick pan? ▾
Cast iron works fantastically for this recipe, and will actually give you a deeper, more even sear on hot dog casings and a crispier toast on your buns than most nonstick pans. Just make sure your cast iron is well-seasoned so buns don’t stick, and adjust heat slightly if your cast iron runs hotter than standard cookware.
13.Is it possible to make this recipe for a crowd without the hot dogs getting cold? ▾
For a crowd, cook hot dogs in batches using the same steam-then-sear method, and hold them in a 200°F oven on a wire rack set over a baking sheet while you finish all batches and toast the buns. Don’t stack the hot dogs, or they’ll steam each other and lose that signature snappy casing texture.
14.What’s the best way to get even sear marks on every side of the hot dog? ▾
Once the initial water evaporates from the skillet, roll the hot dogs a quarter turn every 30 seconds during the searing step, rather than leaving them on one side for the full searing time. This lets every side get a light, golden crisp spot without overcooking one edge, and keeps the casing evenly snappy all the way around.
15.Can I use plant-based hot dogs with this same stovetop method? ▾
You can easily adapt this method for plant-based hot dogs, just cut the initial steam time to 1 minute, since plant-based dogs don’t need as long to heat through, and sear them for 30 seconds per side. Keep a close eye on them, as plant-based casings can split or turn rubbery much faster than natural beef casings if overcooked.
16.Should I score the hot dogs before cooking them like I do for grilling? ▾
Skip the deep crisscross scores for stovetop cooking—those cuts let all the juicy, flavorful fat render out into the pan, leaving you with dry, rubbery hot dogs. If you want to prevent splitting, you can make 2–3 very shallow pin pricks per dog to release pressure, but deep scores will ruin that juicy, snappy texture we’re targeting.
17.How do I keep the bottom of the buns from getting soggy after I add the hot dog and toppings? ▾
After toasting the cut side of the buns, let them rest for 30 seconds on a paper towel before adding your hot dog and toppings. The light butter toast creates a slight moisture barrier, and the short rest lets any excess butter absorb so wet toppings like ketchup or relish don’t seep through the bun mid-bite.
18.Can I prep any parts of this recipe ahead of time for faster weeknight meals? ▾
You can keep your hot dogs, buns, and toppings stored close at hand in the fridge, but this recipe is so quick that pre-cooking isn’t recommended—pre-cooked hot dogs turn rubbery when reheated, and pre-toasted buns go stale fast. The only useful prep ahead is setting out your mustard and ketchup so they’re ready to use immediately.

Comments (4)

2 days ago

OMG these stovetop hot dogs are such a game changer! I’ve been boiling mine my whole life and they always come out soggy, but following this 8 minute method? Perfectly snappy, no weird splits, my kids devoured 2 each at our weeknight family dinner last night. Even my picky 7 year old asked for seconds! 10/10 will be making these for our upcoming neighborhood potluck too.

yesterday

Wait, I always thought stovetop dogs were just as sad as boiled ones! Do you use a regular skillet or do you need a cast iron for this? I might have to skip the grill this weekend if these turn out that good.

2 hours ago

So glad your family loved them! A regular nonstick skillet works totally fine here, no fancy cast iron required—just make sure you don’t crank the heat too high so the casings crisp up without burning. Enjoy the potluck!

1 week ago

SO good! I was looking for a super easy, quick lunch option to prep for the work week and these fit the bill perfectly. 8 minutes total cook time? Unbeatable. I kept them in the fridge all week and they reheated like a dream, no weird rubbery texture at all. Way better than the sad microwave hot dogs I used to eat at my desk.

5 days ago

Love that this works for your meal prep! Pro tip: if you’re storing them for the week, keep the buns separate so they don’t get soggy, and reheat the dogs in a dry pan for 30 seconds to get that snappy casing back.

3 days ago

Wait, no water? No boiling? I was skeptical at first but tried this last night for movie night with my roommate and holy cow, the casings get that perfect little snap just like the ballpark dogs! Added some sautéed onions and yellow mustard, felt like I was at a Cubs game without the $12 beer. Ridiculously easy, no mess, will be my go-to method from now on. Only reason it’s not a 5 is I wish the recipe noted how many dogs fit in a standard pan at once — I crowded mine a little on the first go and a couple didn’t crisp up as evenly.

2 weeks ago

Made these for my kid’s soccer team cookout this past weekend and every single parent asked for the recipe! People kept saying they were the best hot dogs they’d had all summer. I can’t believe how simple it is, no fancy equipment or weird ingredients needed. I’ll never stand over a boiling pot of water for hot dogs again lmao.

1 week ago

Did you make them ahead of time or cook them right there at the field? I’m on snack duty for my son’s team next week and need something that doesn’t require me to haul a whole grill out.



