
cooking hot dogs on grill
intro
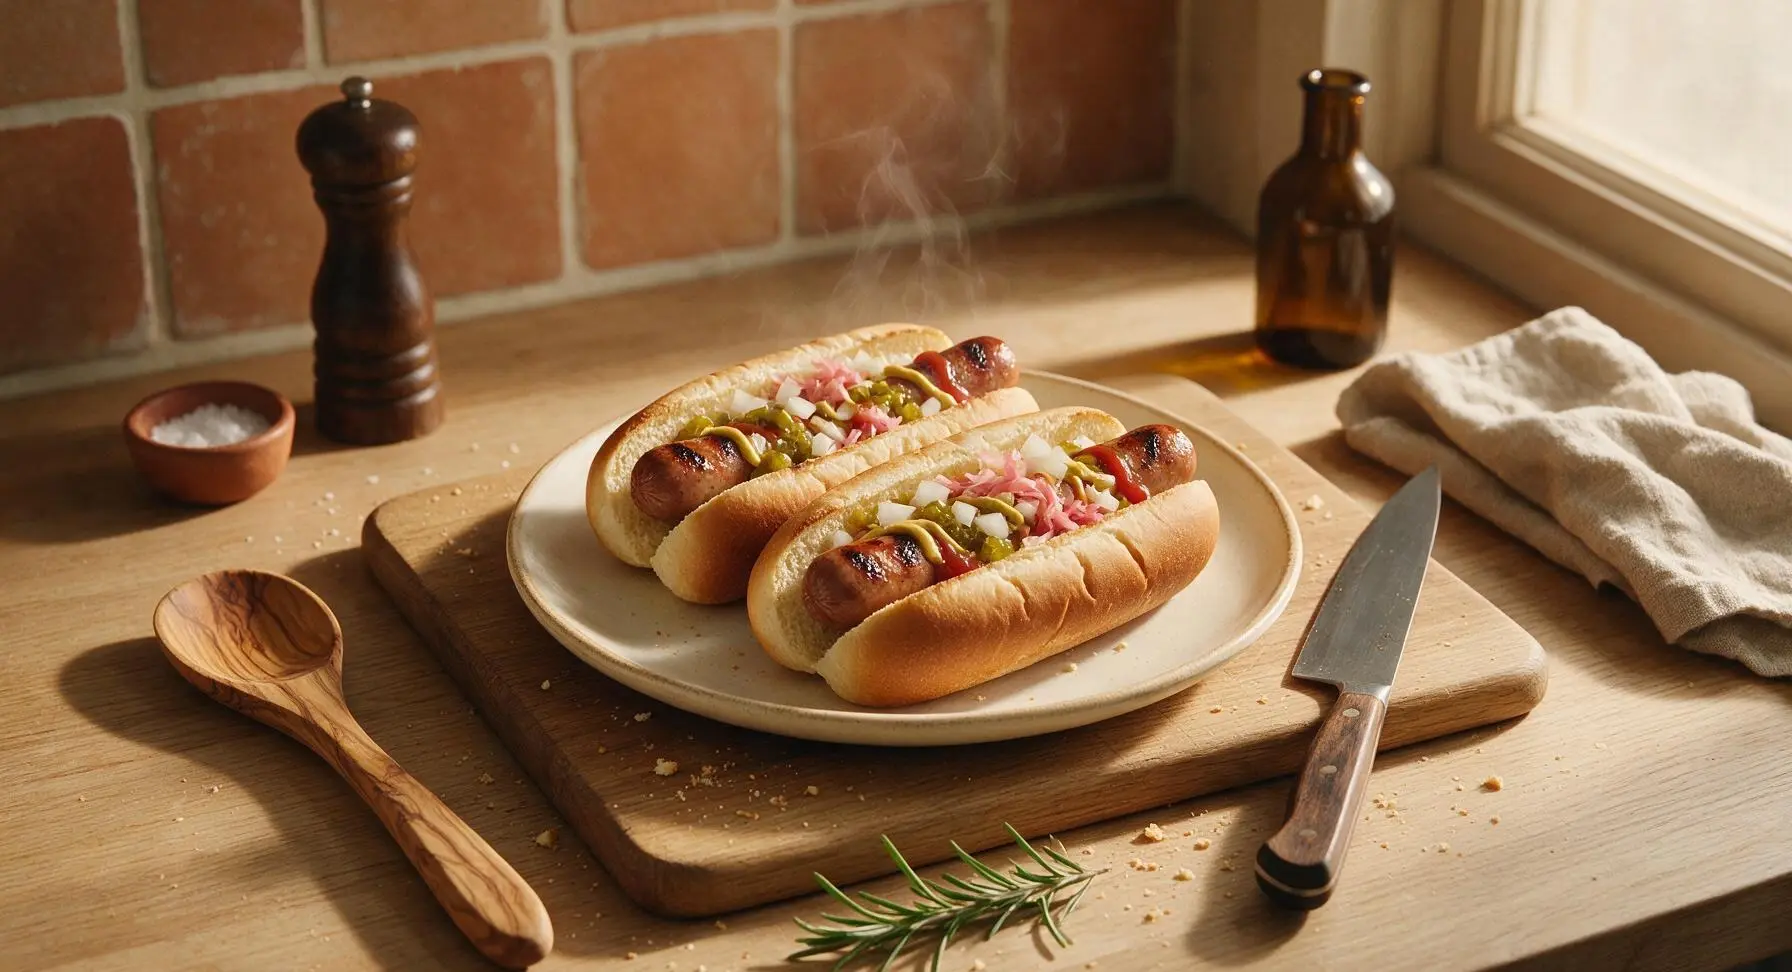
Snappy, char-kissed grilled hot dogs with soft toasted buns and classic toppings, the quick, beloved summer staple perfect for casual backyard gatherings.
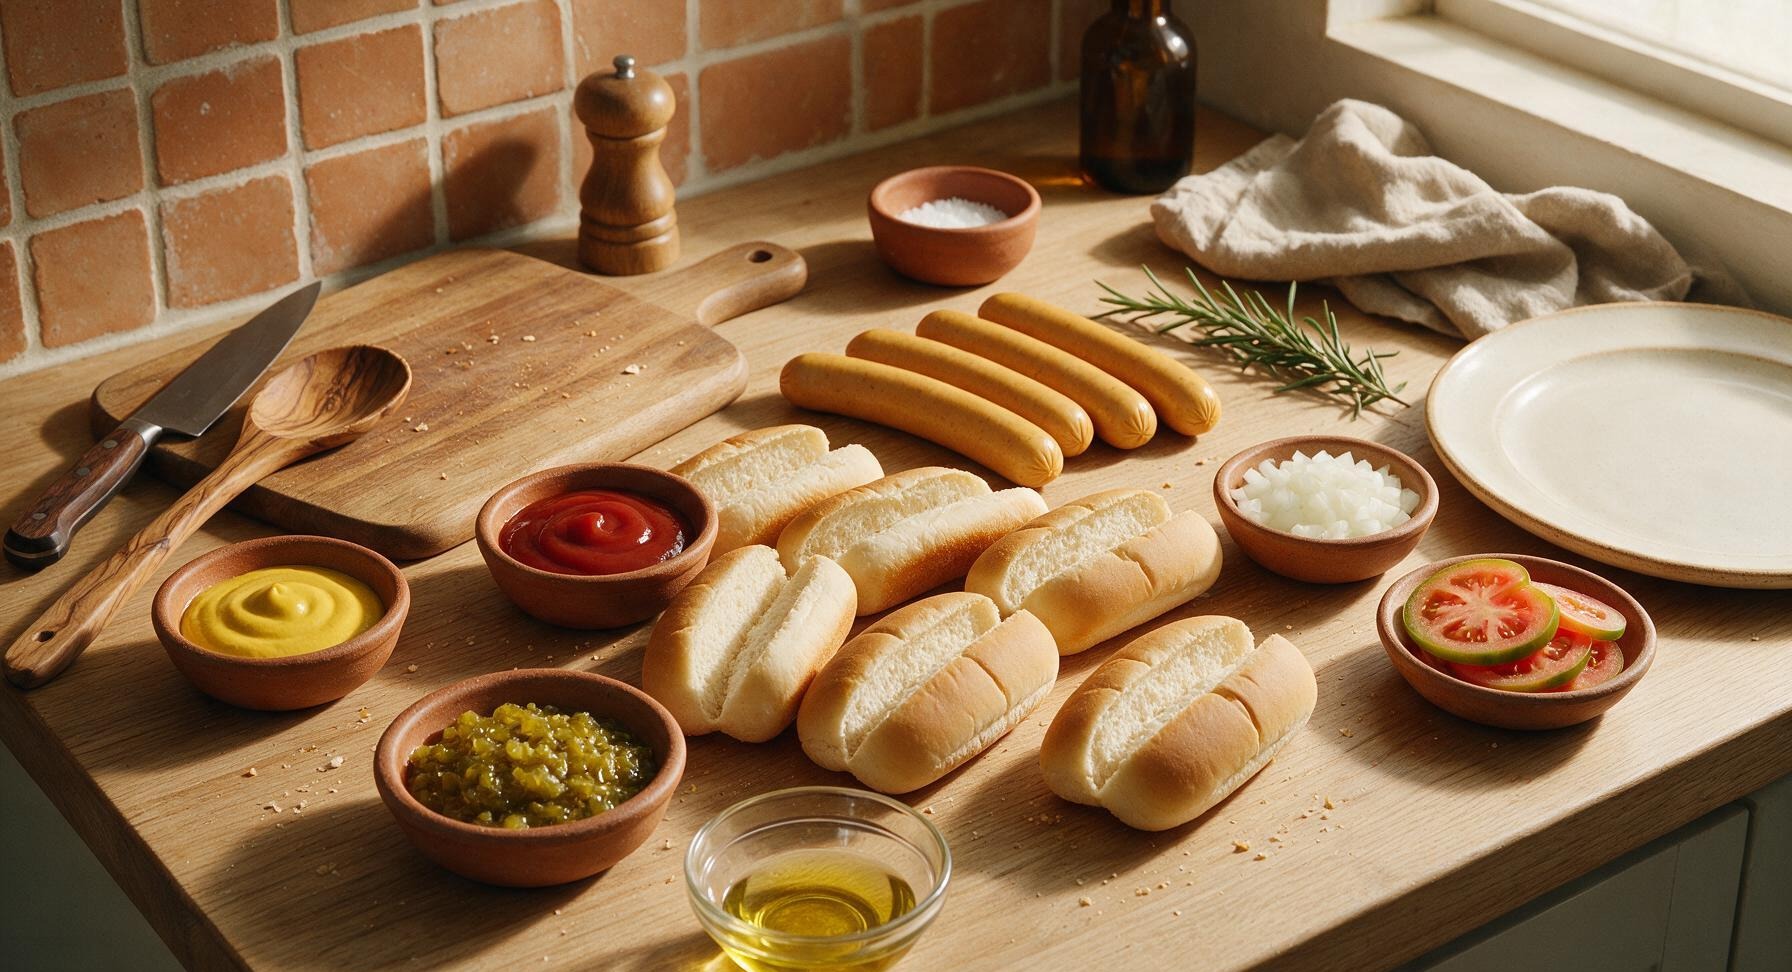
Ingredients
Steps
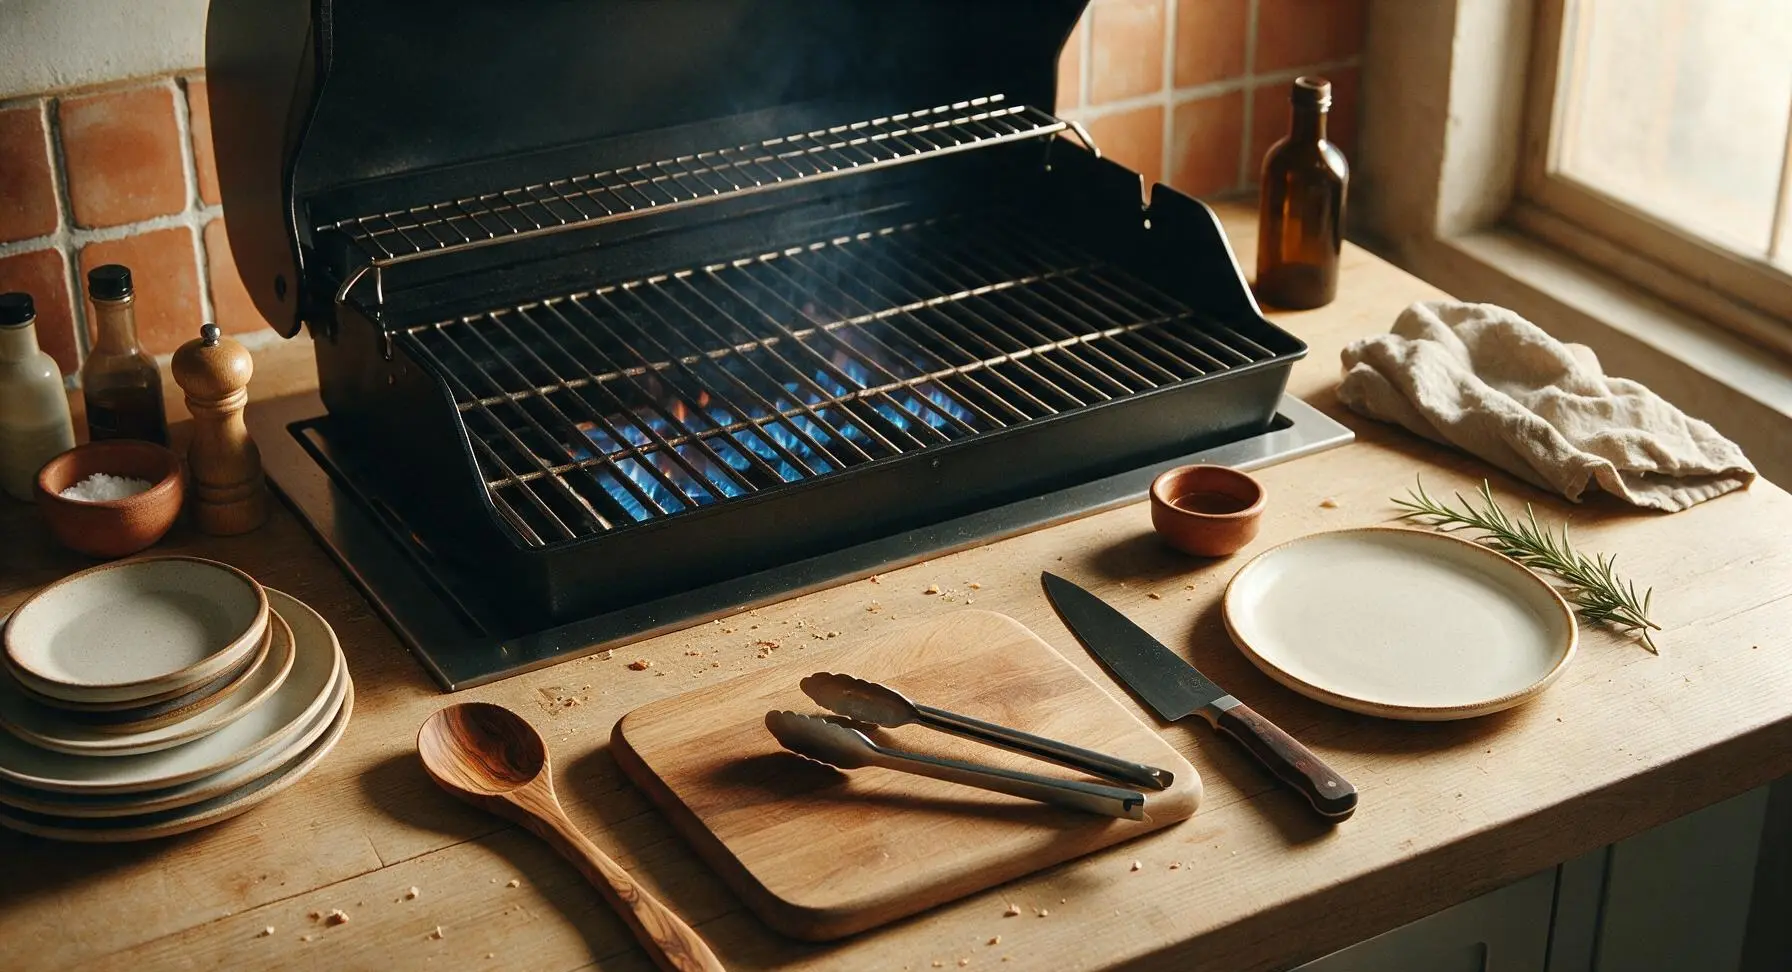
Preheat the Grill
Preheat your propane gas grill to medium-high heat, reaching 400°F (205°C) at grate level. Leave one burner turned off to create a two-zone cooking area: a hot direct-heat zone for searing, and a cooler indirect zone to prevent burning from flare-ups. Close the lid and allow grates to heat for 10 full minutes; hot grates prevent sticking and create crisp, even char marks. Confirm temperature with the instant-read thermometer if desired.
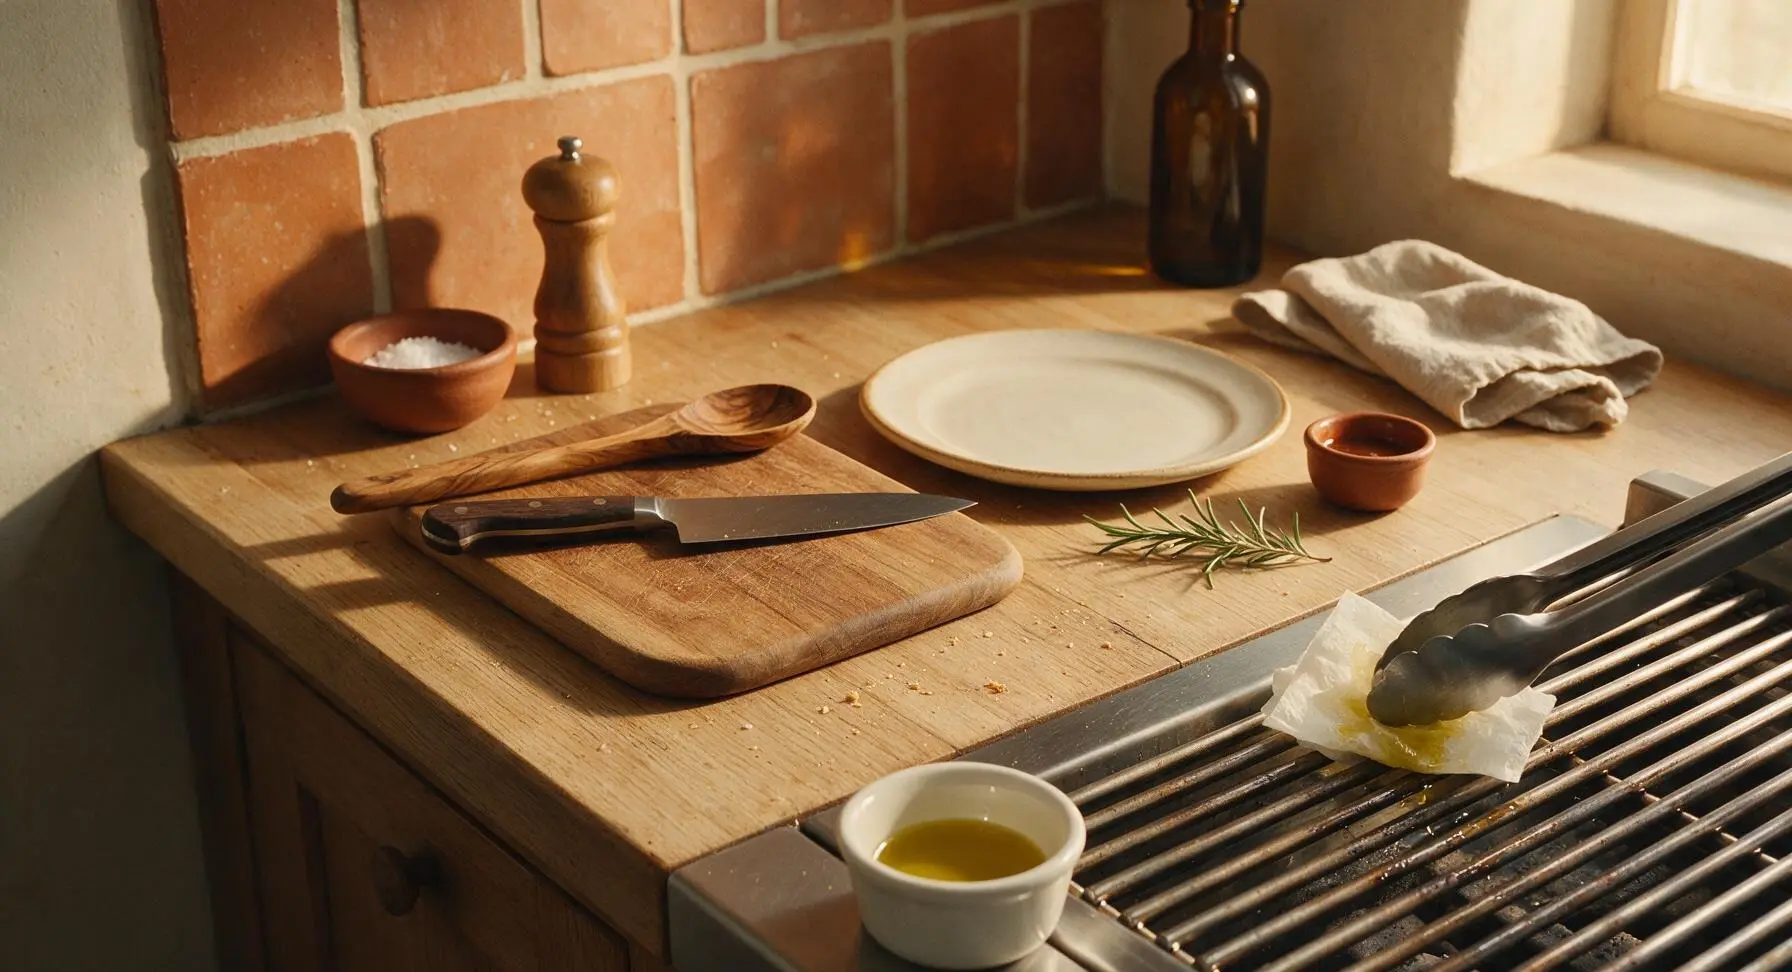
Oil the Grill Grates
Fold a small paper towel into a tight pad, dip it in the canola oil, and grip it firmly with the stainless steel grill tongs. Wipe the oiled pad evenly across the hot direct-heat section of the grates to create a thin, glossy non-stick layer. Never spray aerosol cooking spray directly on a hot grill, as this can cause sudden, dangerous flare-ups.
Prep the Hot Dogs
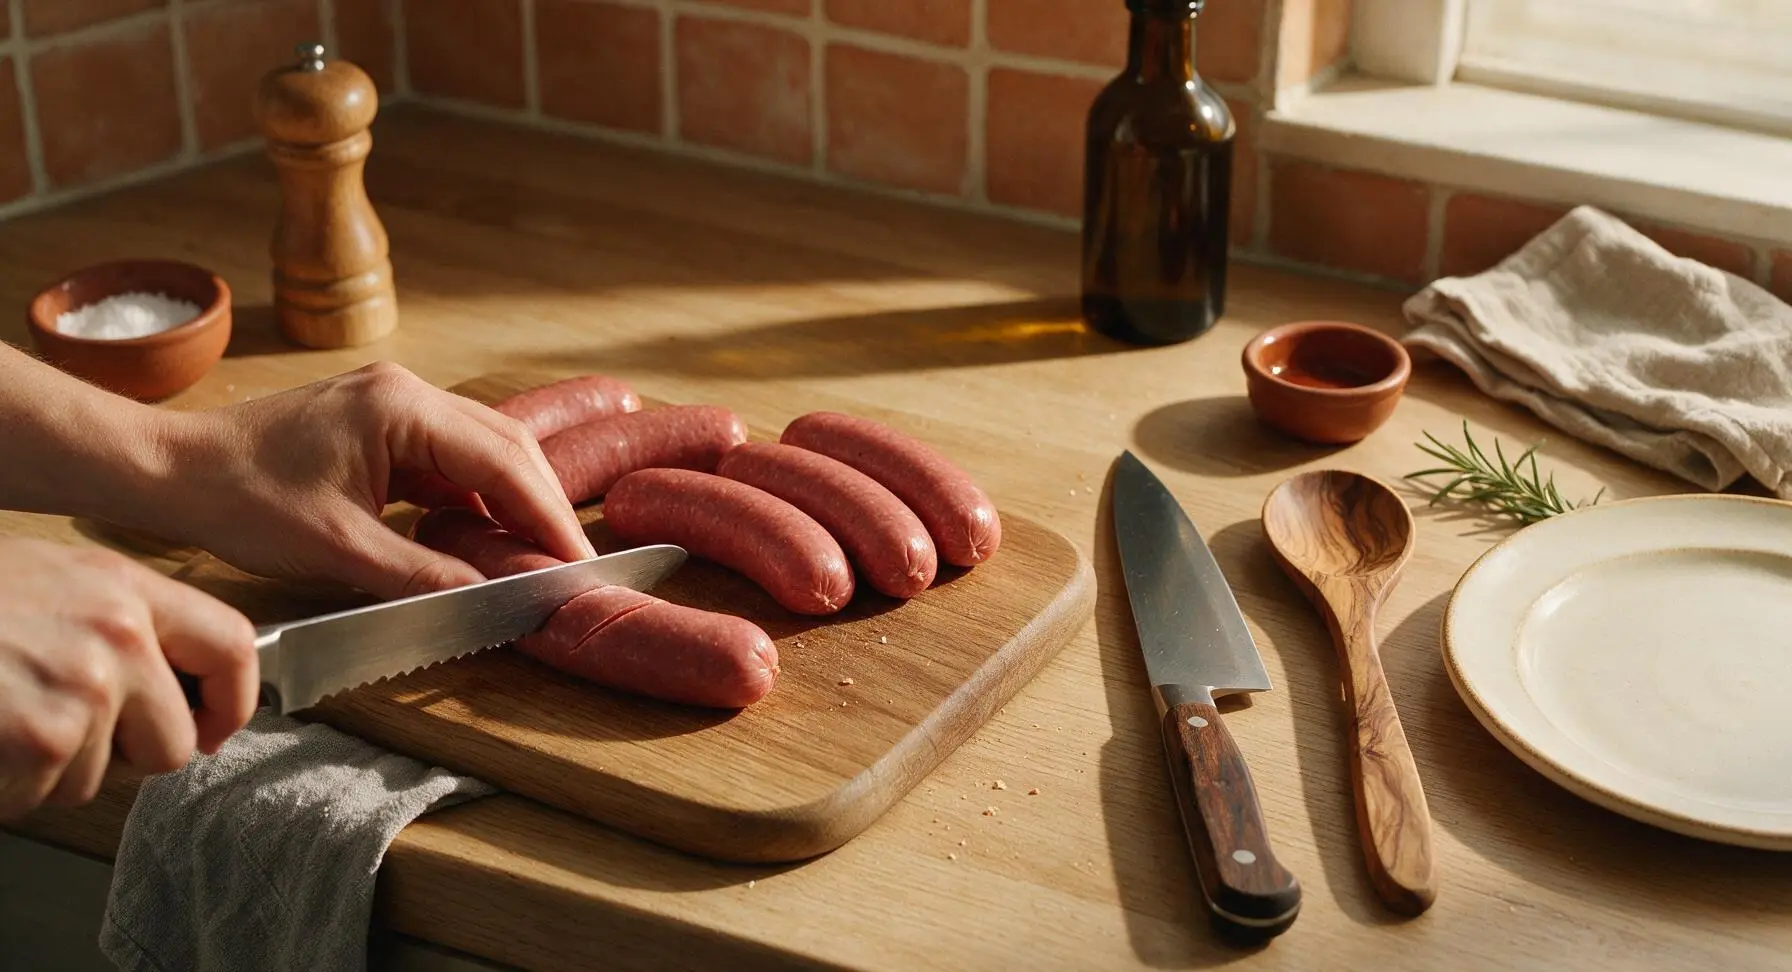
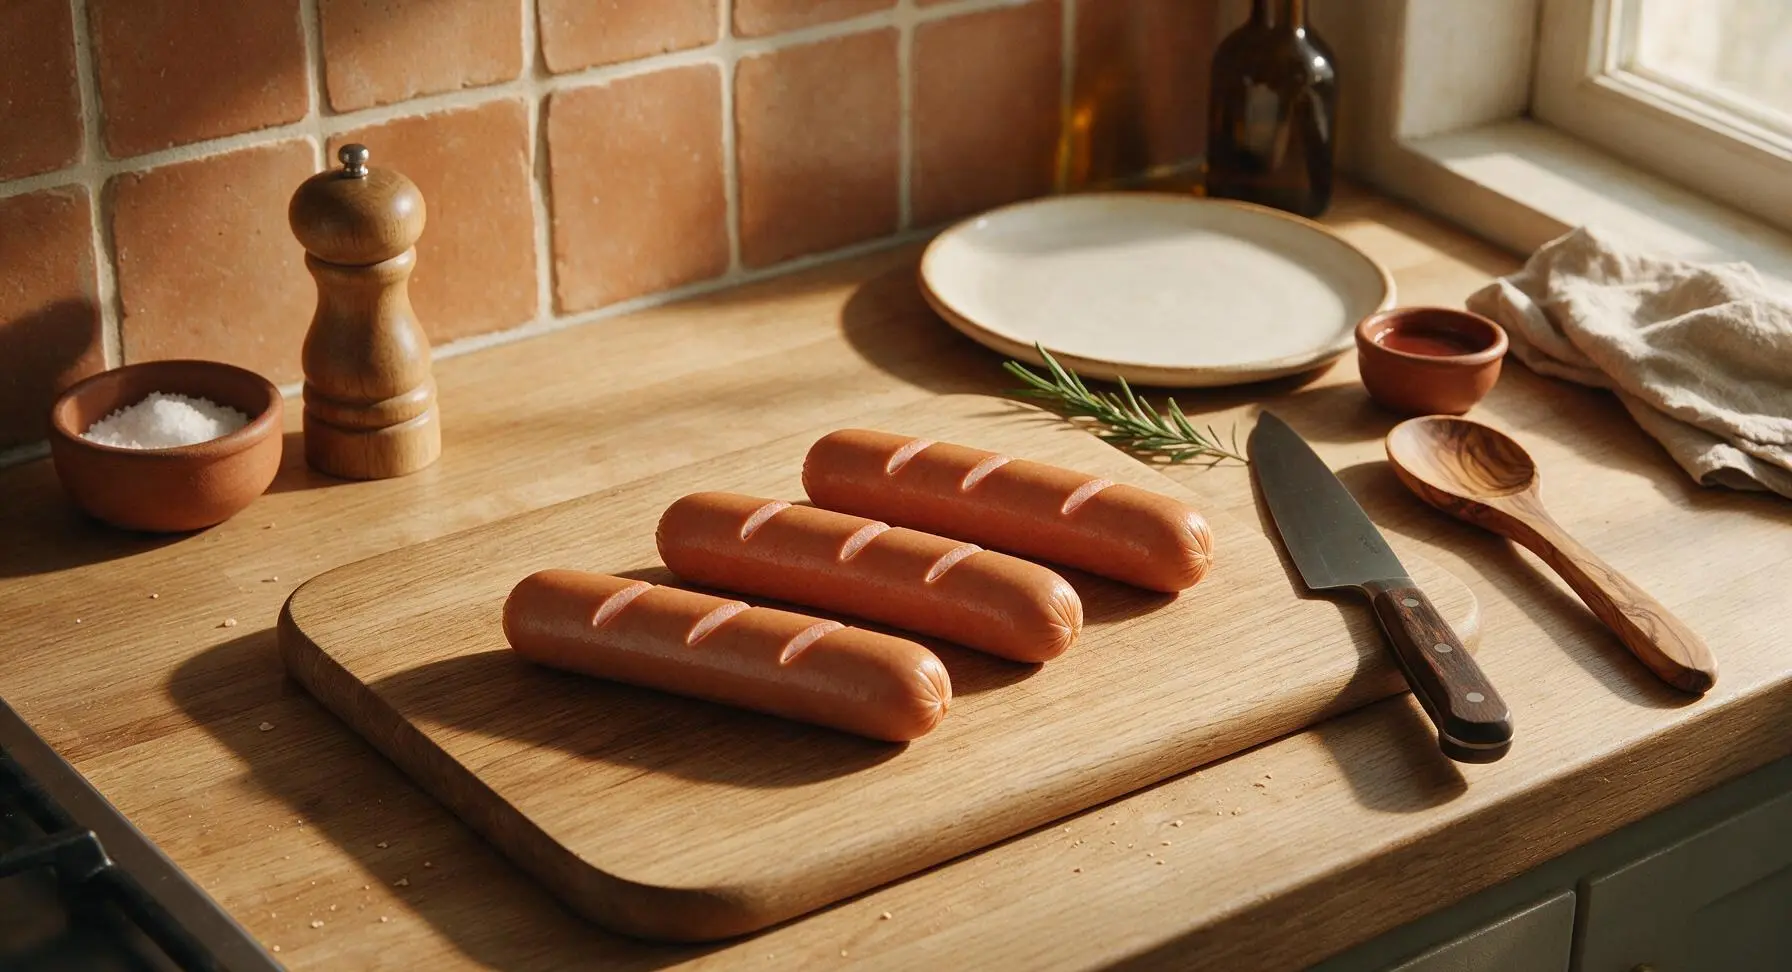
Remove hot dogs from packaging, pat them completely dry with the grey cotton kitchen towel to encourage better browning and char. Use the serrated bread knife to make 3 shallow, diagonal 1/4-inch deep cuts along the length of each hot dog, spaced 2 inches apart. These cuts prevent casings from bursting unevenly, allow fat to render, and create extra crisp, charred edges; do not cut all the way through the hot dogs.
Grill the Hot Dogs
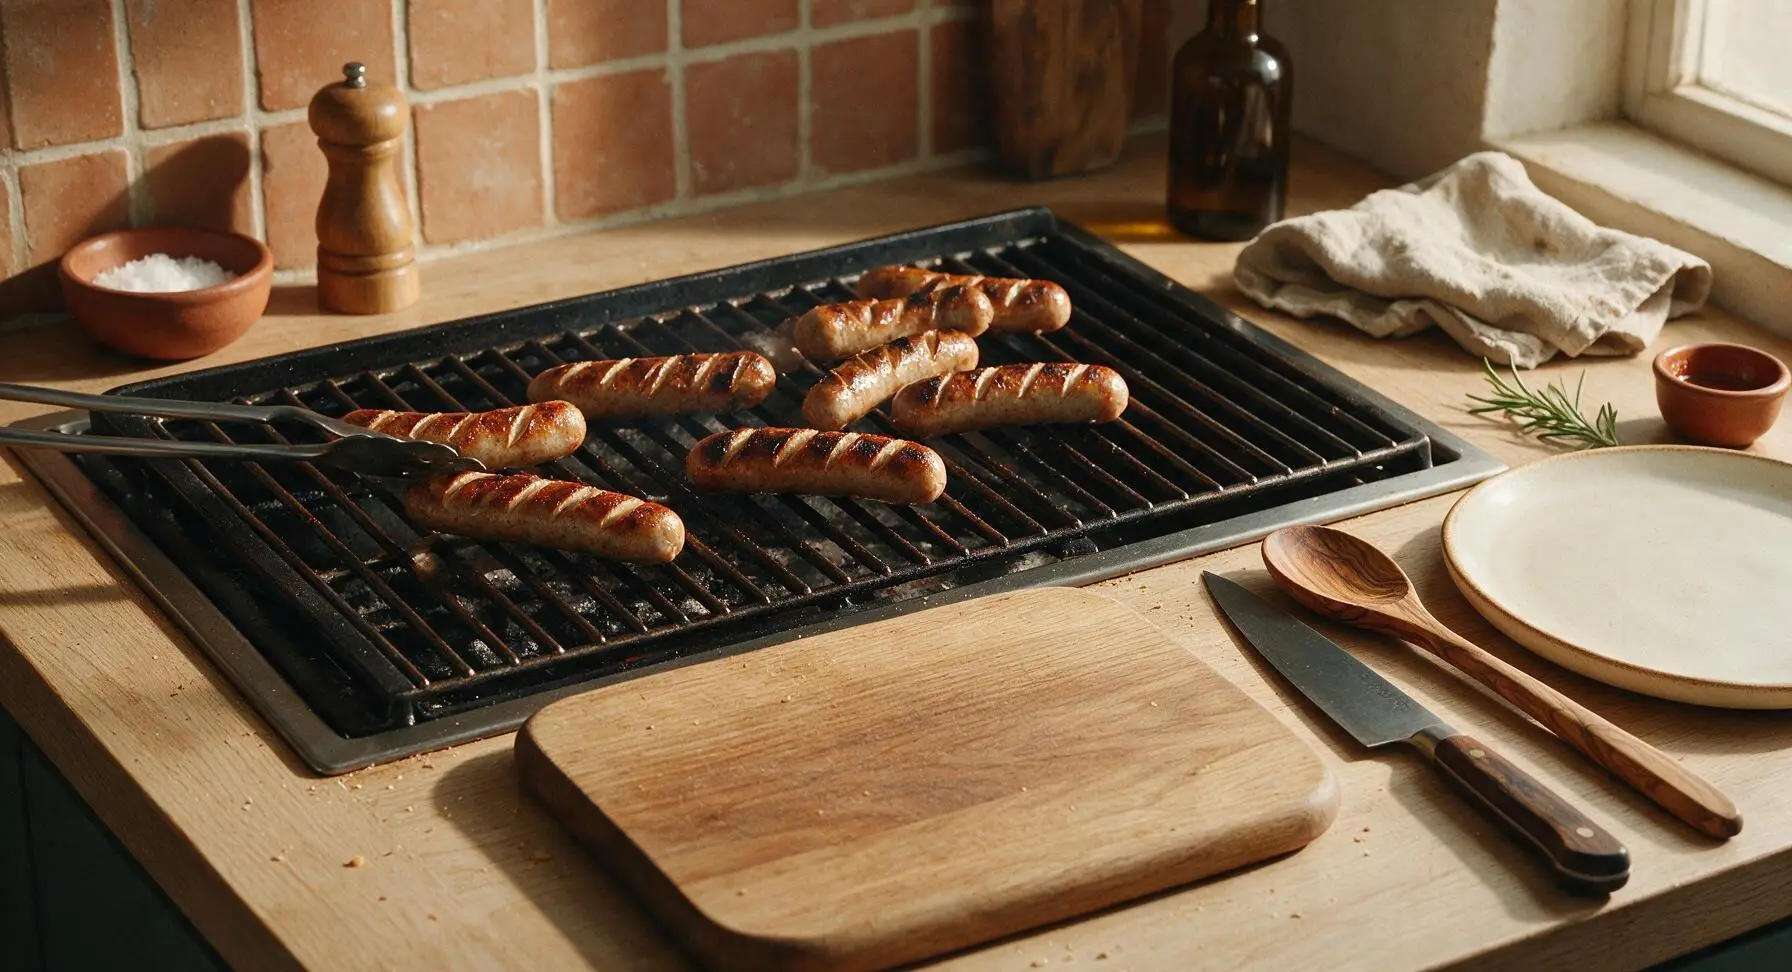
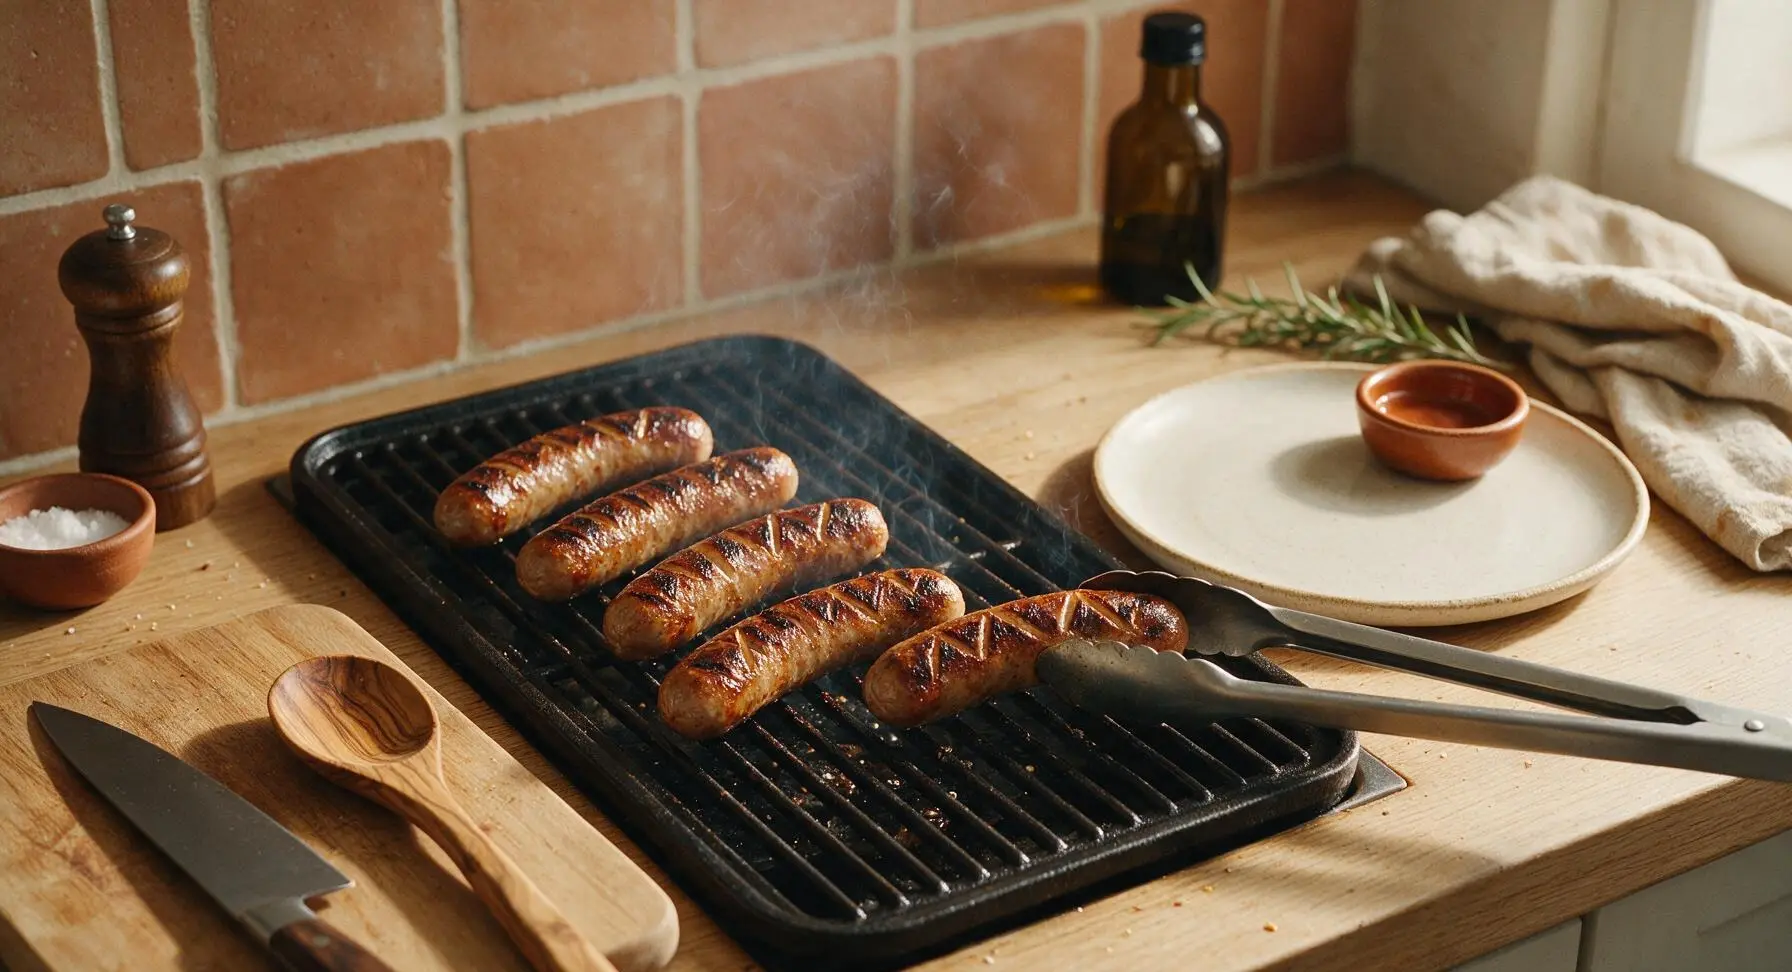
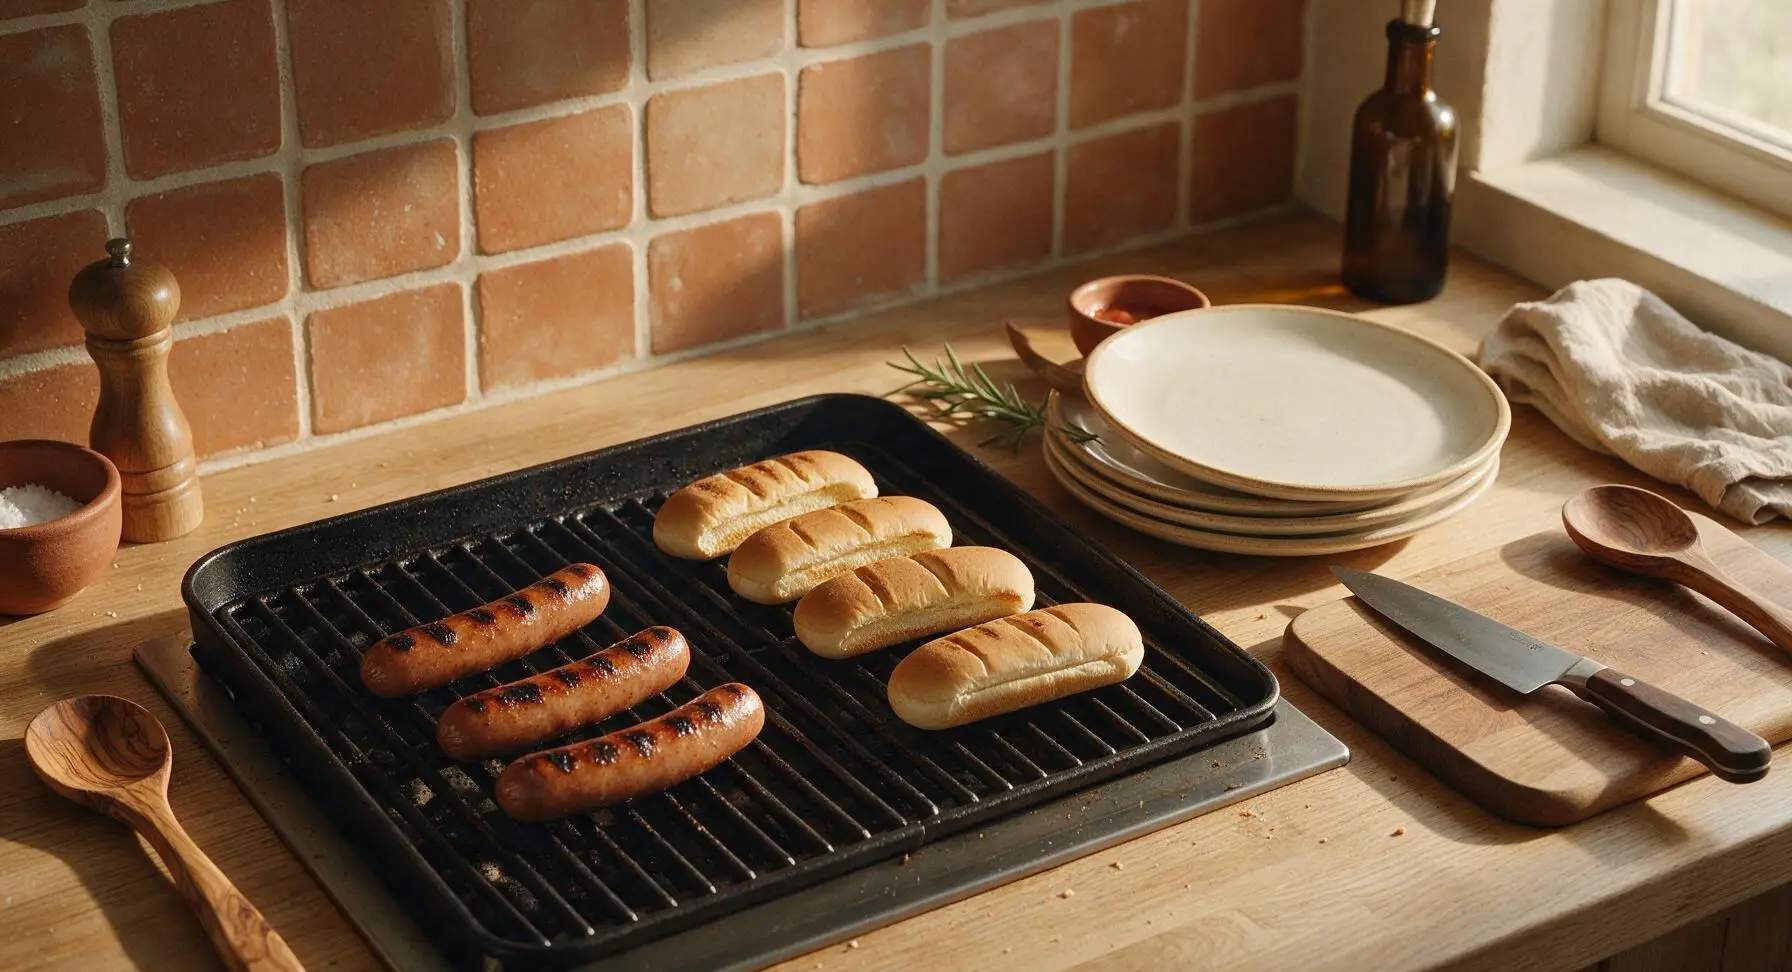
Arrange the scored hot dogs diagonally across the oiled direct-heat section of the grates to create attractive cross-hatch char marks. Close the grill lid and cook for 3 minutes, then use the tongs to roll each hot dog a quarter turn. Cook for another 3-4 minutes, rolling once more, for a total cook time of 6-7 minutes. Hot dogs are done when they have deep golden-brown char marks, crisped casings, and reach an internal temperature of 160°F (71°C) as measured with the instant-read thermometer. Move hot dogs to the indirect zone immediately if fat causes flare-ups.
Toast the Buns
During the last 60 seconds of hot dog cooking time, place the split hot dog buns cut-side down on the cooler indirect-heat zone of the grill. Toast for 30-45 seconds, watching closely, until the cut surface is light golden brown with faint grill marks, and the bun is warm and slightly crisp. Never leave buns unattended, as they will burn in as little as 10 seconds on hot grates. Use tongs to transfer toasted buns to the top plate pulled from the stack of cream ceramic plates.
Assemble and Serve
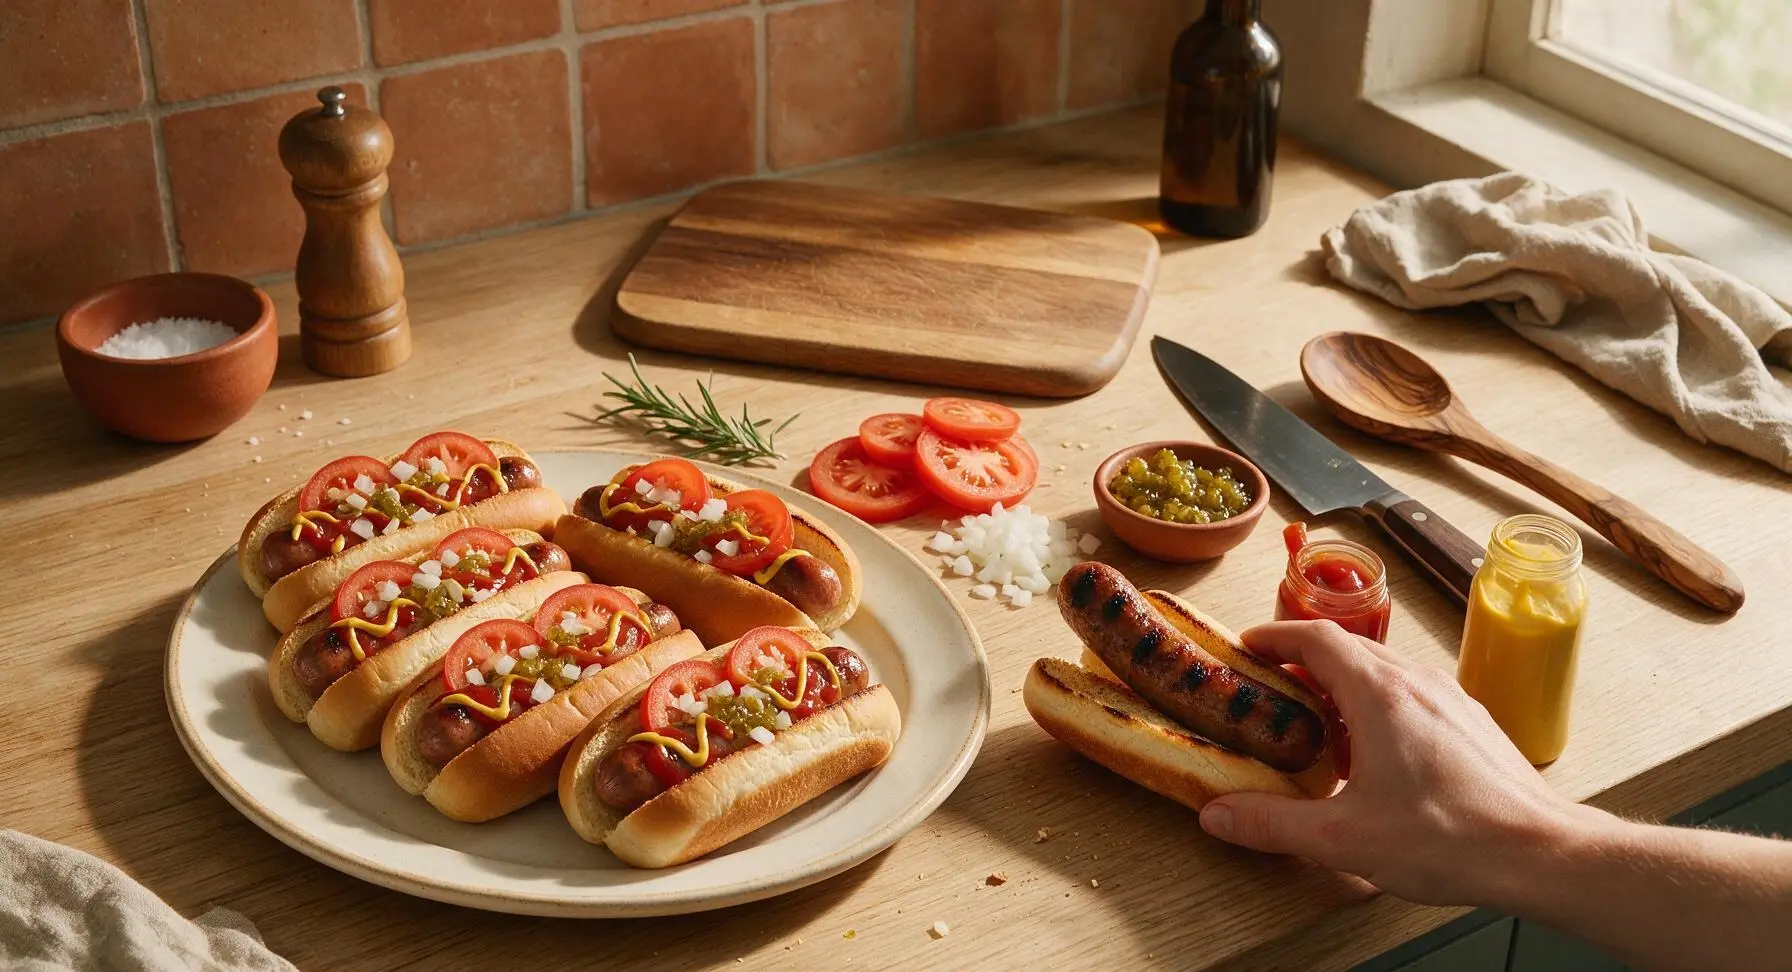
Place one grilled hot dog into each toasted bun. Top each hot dog with 2 thin slices of beefsteak tomato, 1 teaspoon of diced white onion, a spoonful of sweet pickle relish, and a zigzag of ketchup and yellow mustard to taste. Avoid overstuffing buns, as excess toppings will spill out when picked up. Serve immediately while hot, with extra condiments served in the small white ceramic ramekins.
Tips
2.Never press down on hot dogs with your tongs while grilling: this squeezes out flavorful rendered fat and juices, leading to dry, bland hot dogs, and causes dangerous flare-ups as fat drips onto the burners.
3.Always toast buns over indirect heat only: direct high heat will burn the soft cut surface of the bun in seconds, while indirect heat gently warms and crisps the bread without creating bitter burnt edges.






OMG, these were SO good for our Fourth of July backyard cookout this past weekend! I followed the tip about scoring the dogs a little before grilling and they got that perfect crispy char everyone fights over. My kids loved it so much they asked for seconds before they even finished their first hot dog. Total game changer for our regular summer grilling routine!
This is exactly the no-fuss recipe I needed for a quick weeknight dinner! 8 minutes total cook time? Unbeatable. I threw some buns on the upper grate to toast the last minute and served with a quick coleslaw side, zero stress after a long work day. Will absolutely be adding this to our regular dinner rotation.
I was overcomplicating hot dogs for years with weird marinades and fancy toppings, going back to this classic method made me remember why simple is always best. Got that perfect smoky grill flavor every time, no fancy gadgets needed.
Quick question—can I prep these a little ahead of time for a block party this weekend? I don't want to be stuck manning the grill the whole time when I have guests to catch up with! Would love any tips for keeping them warm and tasty without em getting soggy.
Full transparency, this was the first time I ever used our new backyard grill and I didn't burn a single hot dog! The timing guide was so easy to follow, no guesswork on when to flip em. My roommate said these were better than the ones we get at the local baseball park. Total win for me.
Super easy to make a big batch of these on Sunday for quick lunches all week! I store the cooked dogs separate from the buns, toast up a bun when I'm ready to eat, and load up with my favorite toppings. Way cheaper and tastier than grabbing fast food on my lunch break.
Solid base recipe! I added a little sprinkle of smoked paprika and garlic powder to the dogs right before pulling em off the grill and it kicked the flavor up just the right amount without taking away from that classic hot dog taste. 10/10, will make again.
My kids are so picky when it comes to grill night, usually they pick at their food and ask for snacks an hour later. These? They ate every single bite, even asked if we could have them again for their birthday cookout next month. I didn't change a single thing, just served with ketchup and mustard like the recipe says. No fancy toppings needed!
Made these for our college football tailgate last Saturday and people were coming back for thirds. The 8 minute cook time meant I could crank out two whole packs of dogs super fast before kickoff, no long lines at the tiny tailgate grill. Will be my go-to tailgate dog recipe from now on.
So happy this recipe works perfectly with my go-to gluten free hot dogs and buns! I was worried the leaner gf dogs would stick or burn faster, but following the heat level and cook time in the recipe worked like a charm. No sad, burnt GF dogs for me this summer.
Wait a second—do I need to oil the grates before putting the hot dogs on? Last time I grilled brats they stuck so bad half the casing was left on the grill grates and I was so embarrassed. Don't want that to happen when I host my first cookout next week!
This is such an affordable, crowd-pleasing meal for when you have last minute guests show up! I always keep a pack of hot dogs in the freezer and buns in the pantry, so I can pull this together in no time without running to the grocery store. No fancy expensive ingredients required.
Made these for a casual backyard date night with my partner and they thought I was a total grill master! We set up a little topping bar with relish, onions, chili, and cheese, and it was way more fun (and cheaper) than going out to a restaurant. 10/10 date night idea for people who don't want to fuss with a fancy meal.
We made these over the campfire grill grate on our camping trip last weekend and they turned out perfect! The cook time was even spot on for the little portable camp grill we brought. Tasted just like summer as a kid, can't beat that classic grilled hot dog flavor.