
cooking ribs on charcoal grill
intro
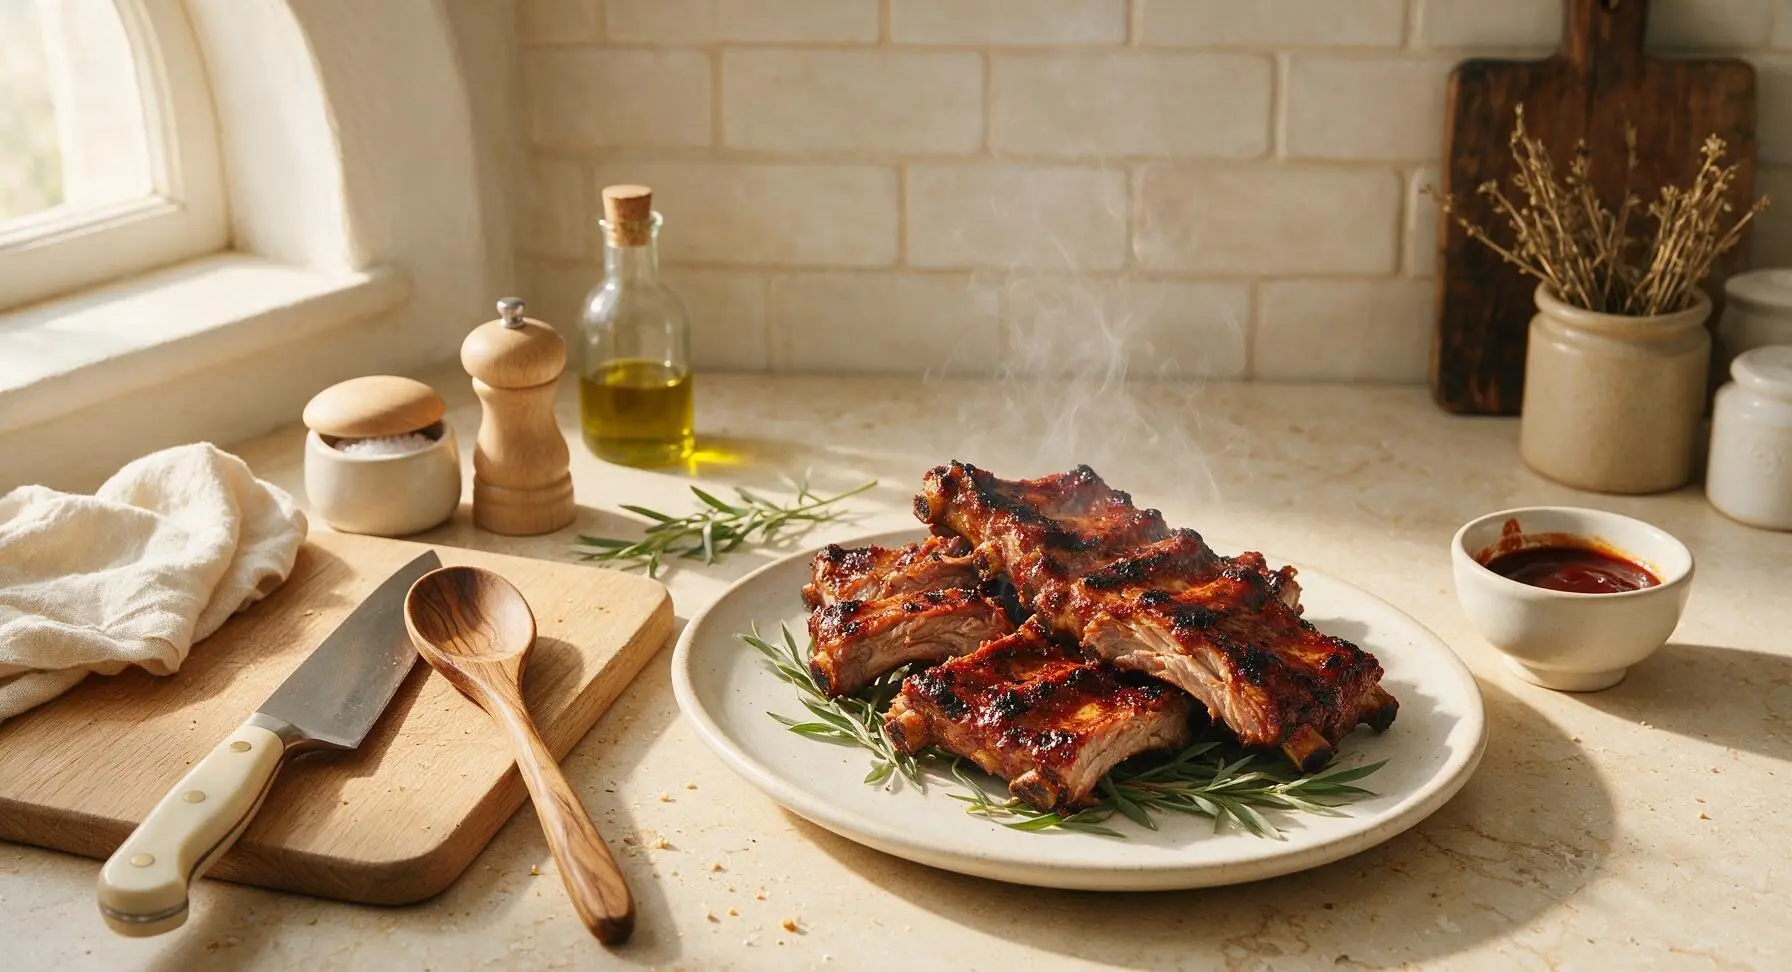
Tender, smoke-kissed pork ribs with a caramelized sticky bark, cooked low and slow over lump charcoal for that unbeatable classic American backyard BBQ summer flavor.
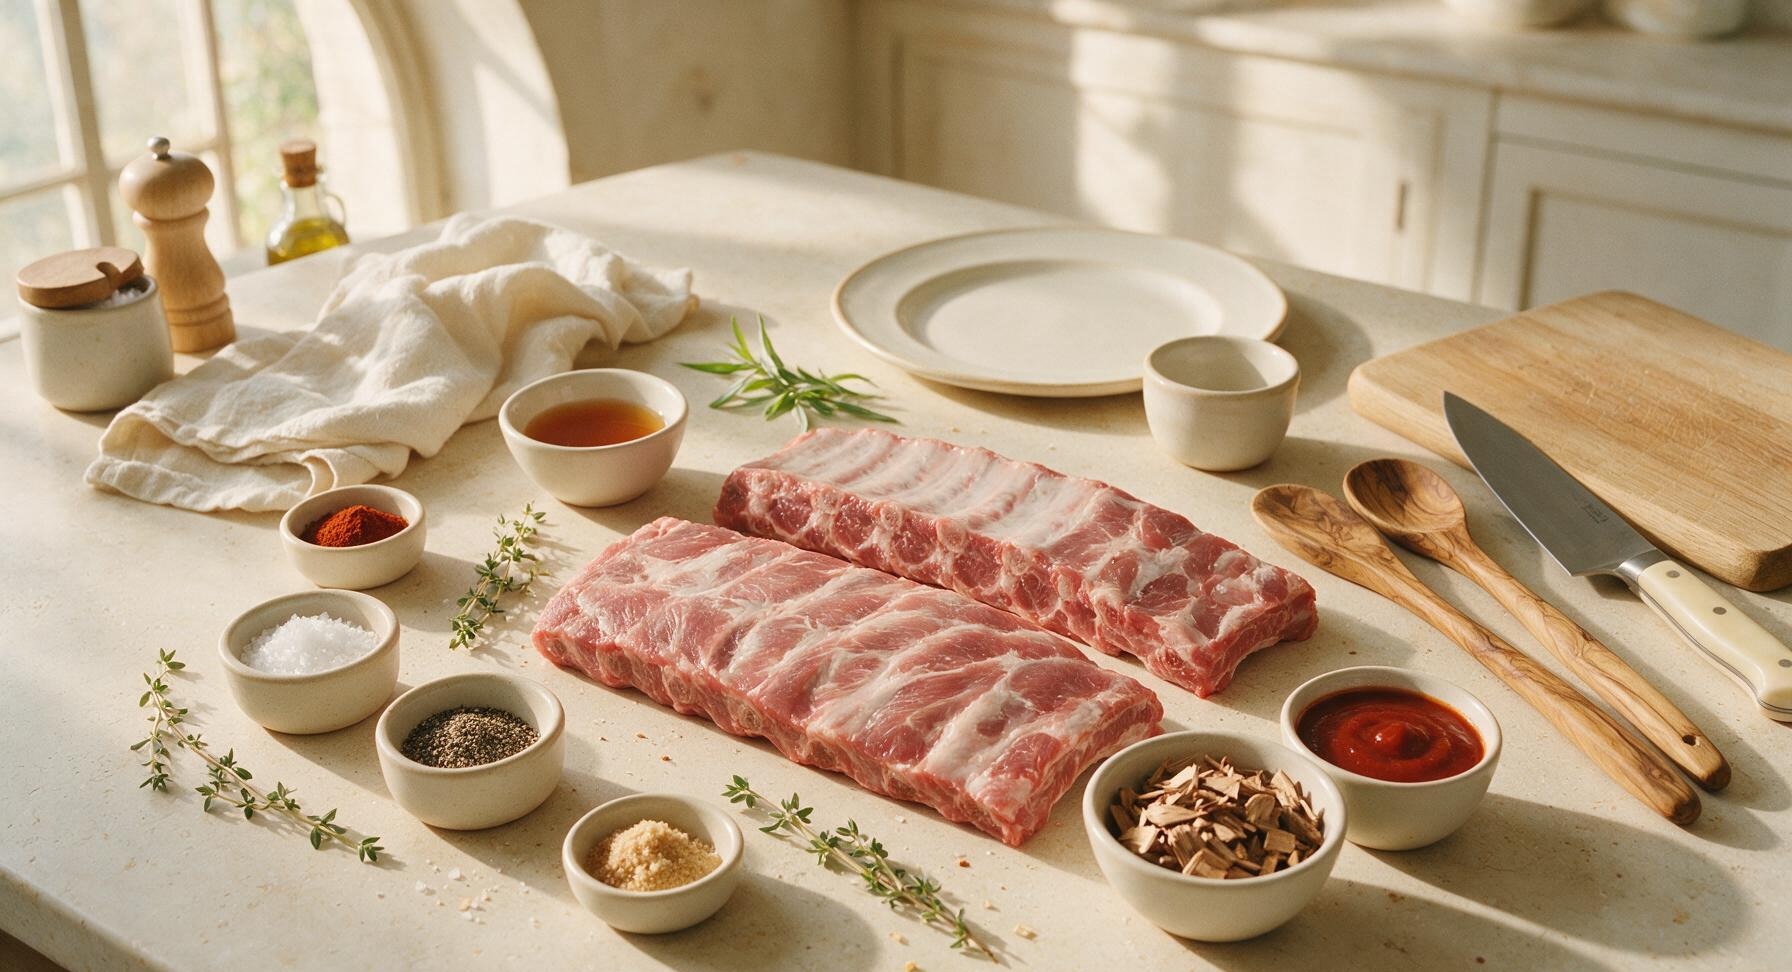
Ingredients
Steps
Remove Rib Silver Skin
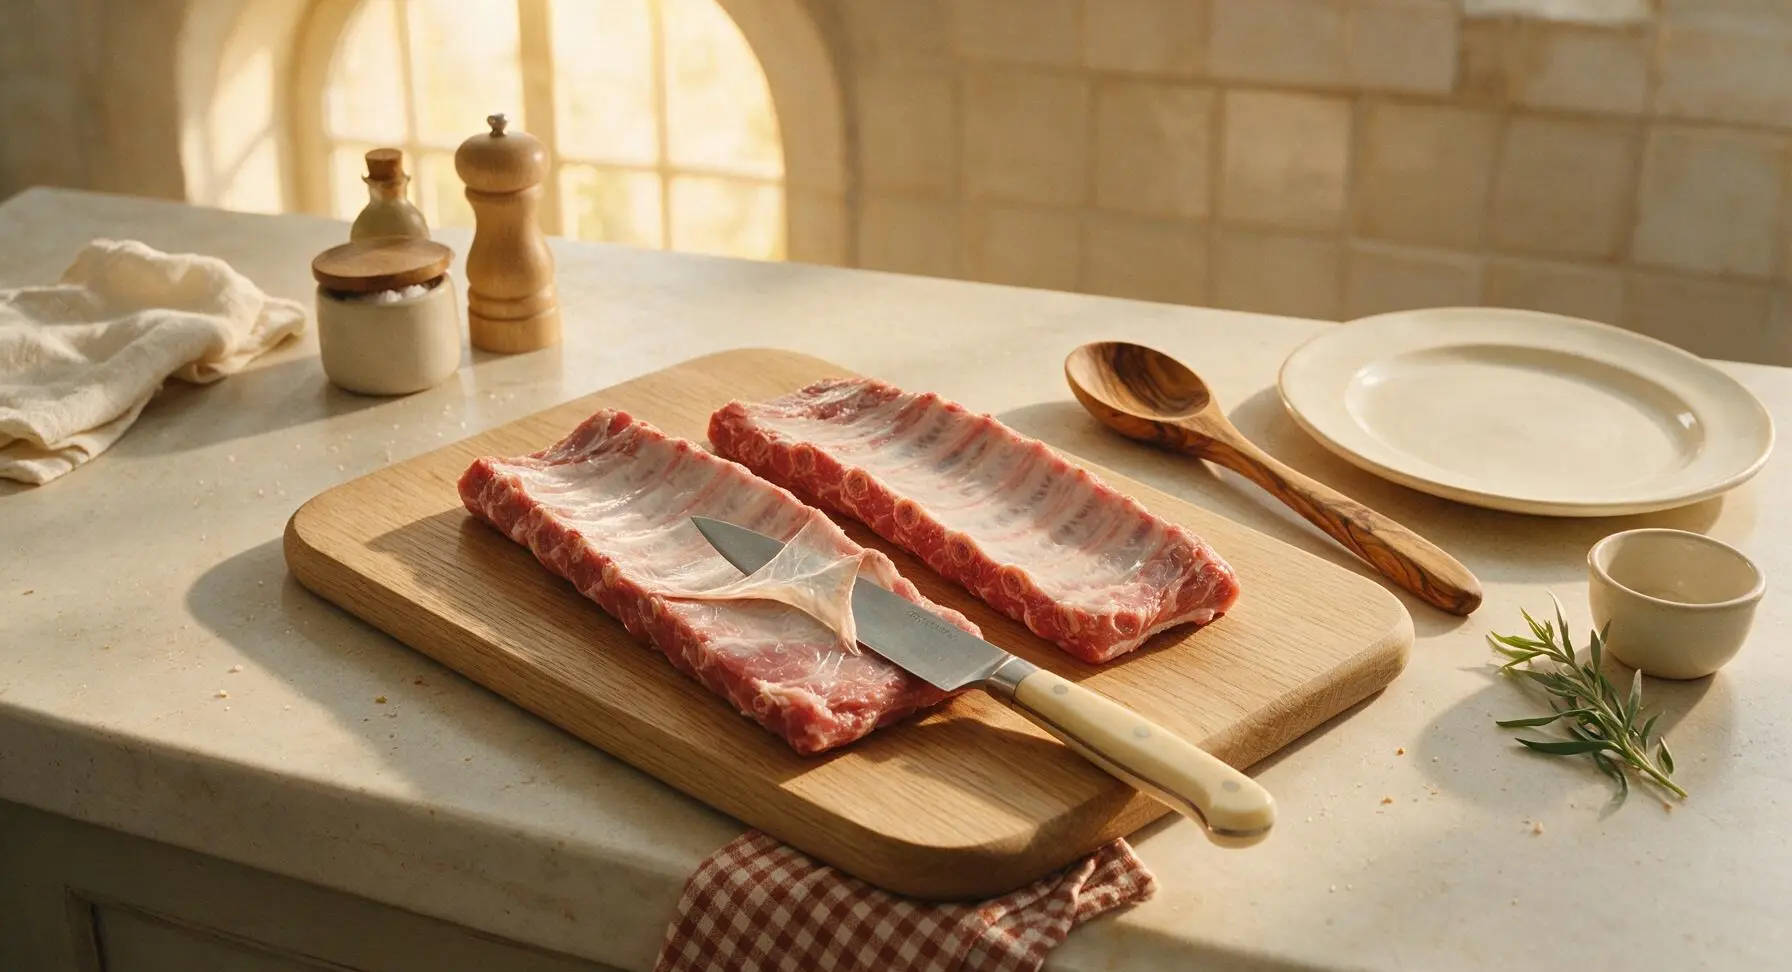
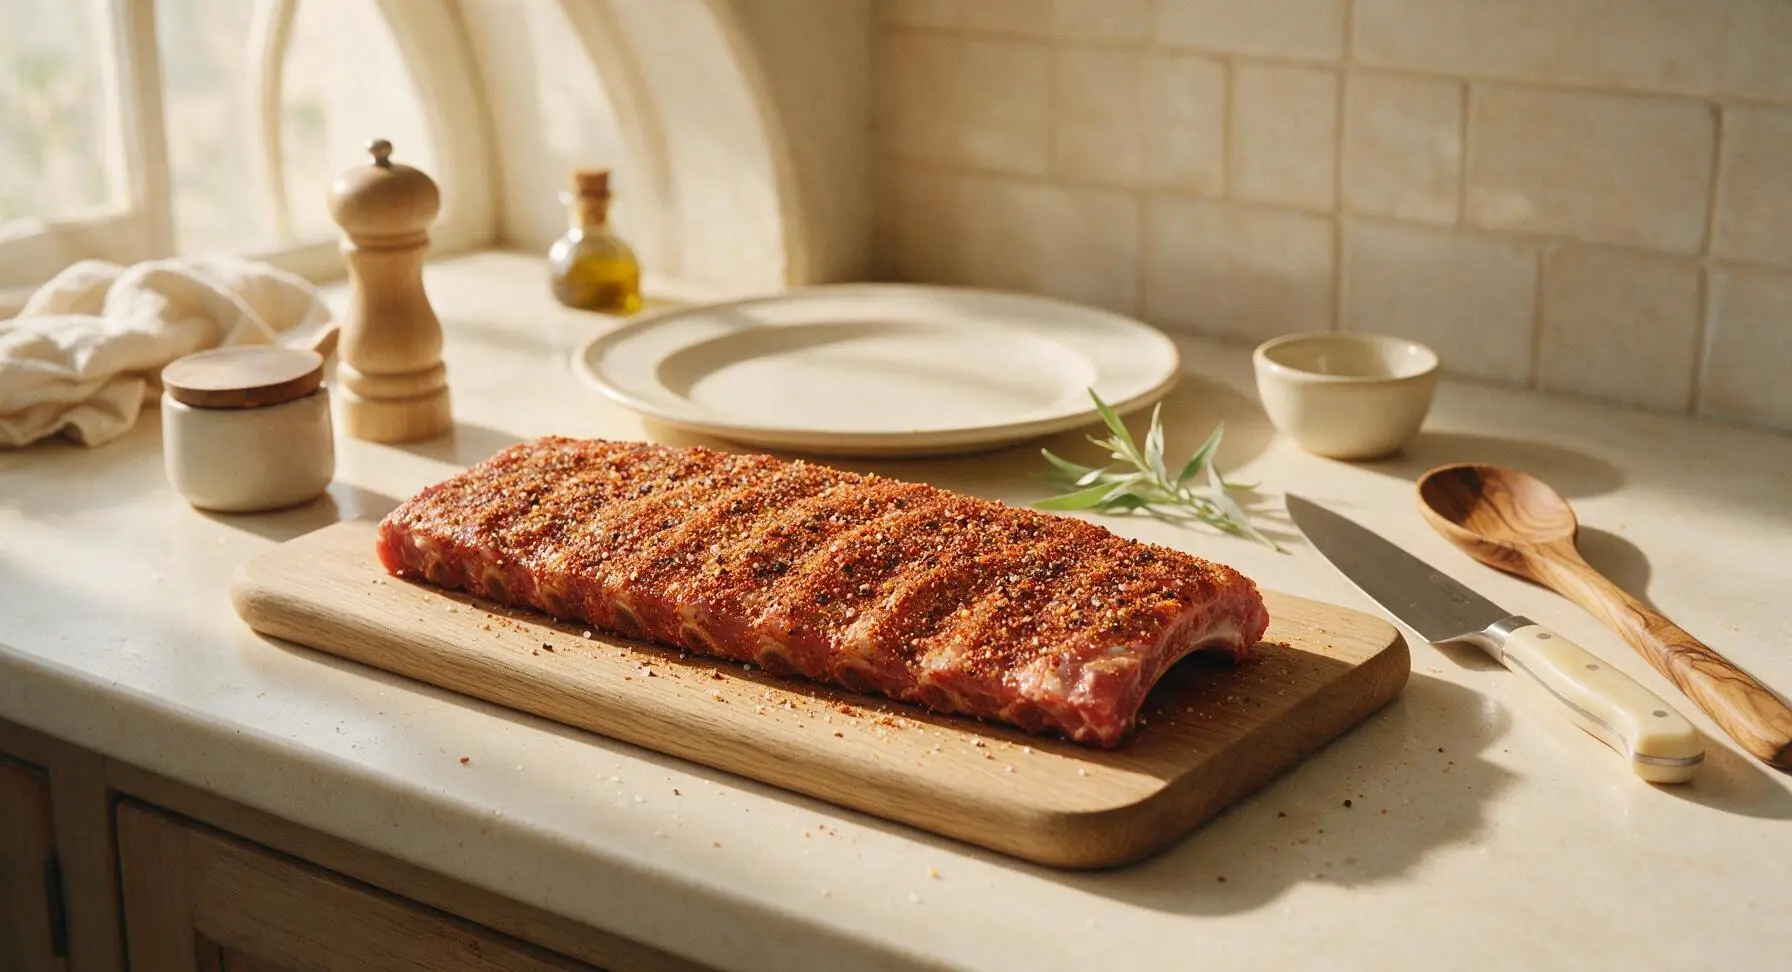
Place the 2 raw baby back rib racks bone-side up on the maple cutting board. Use the 8-inch walnut-handled stainless steel boning knife to slide the tip under the thin, papery silver skin on the back of each rack. Grip the loose edge of the membrane with the corner of the gingham cotton napkin for traction, then pull the silver skin off in one full, even sheet. Trim any loose, dangling fat from the rib edges, leaving no more than 1/4 inch of fat cap on the meaty side, then pat all rib surfaces completely dry.
Apply Dry Rub Coating
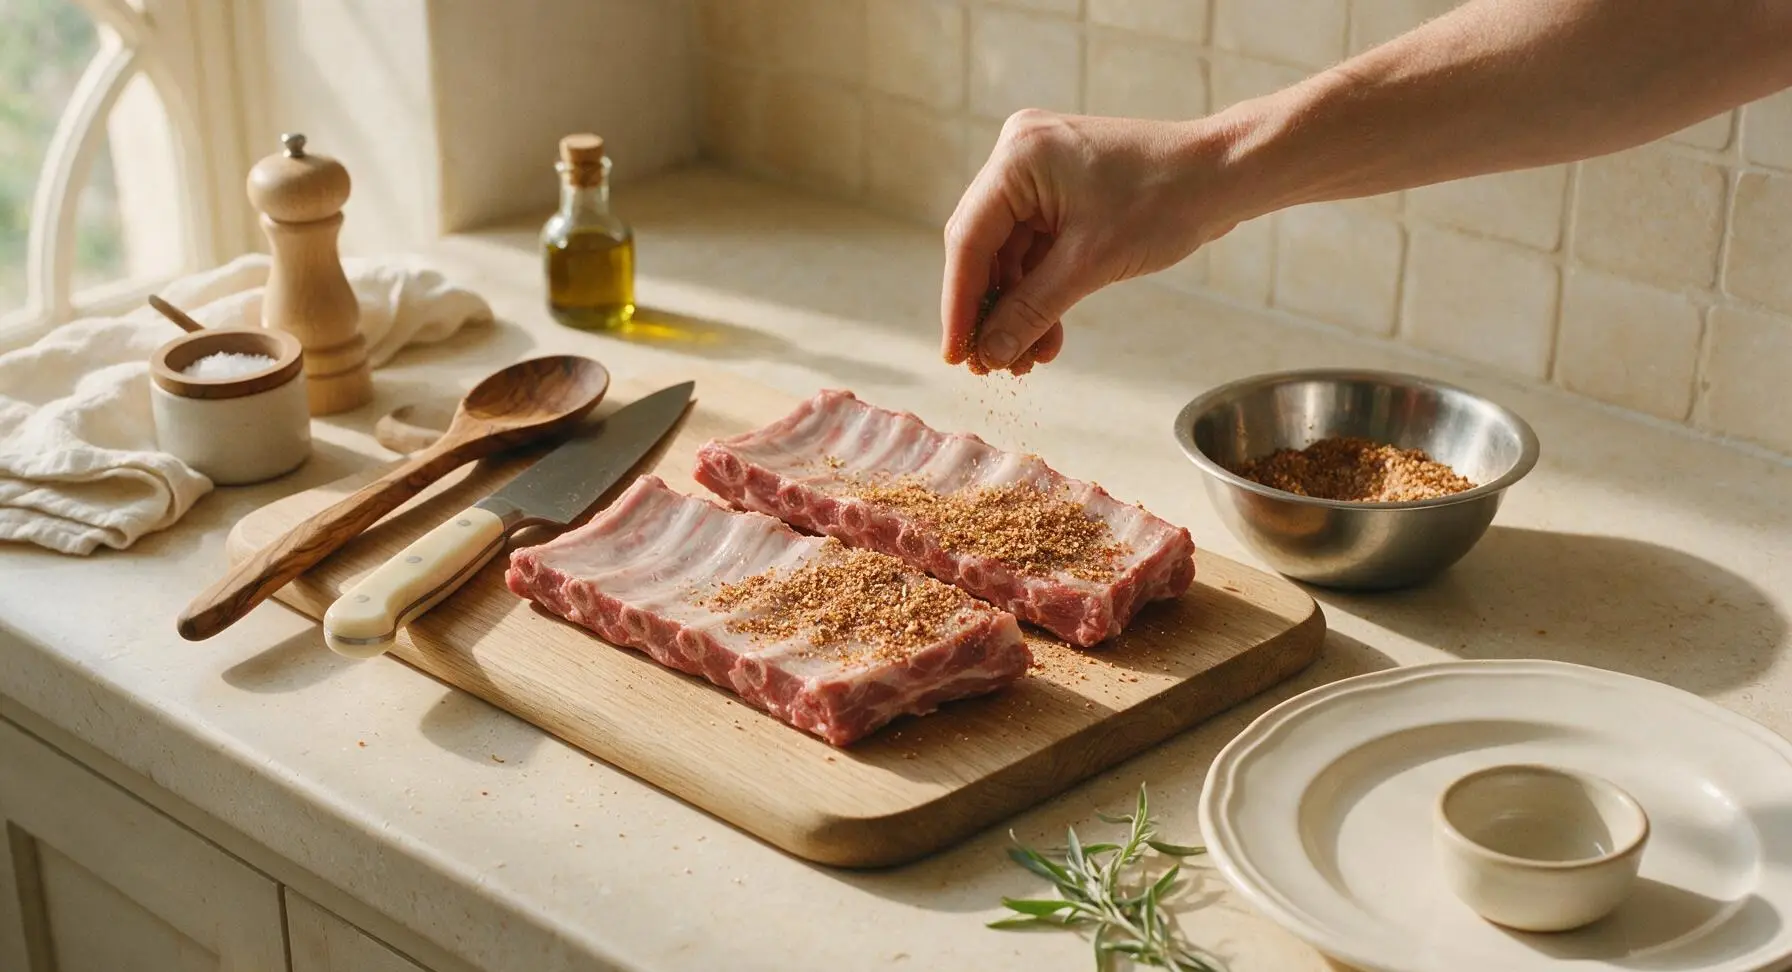
Combine 2 tbsp kosher salt, 1 tbsp coarse black pepper, 1 tbsp smoked paprika, 1 tsp garlic powder, and 1 tbsp light brown sugar in the stainless steel mixing bowl, stirring until evenly blended. Sprinkle the rub generously over every surface of the dried ribs, pressing gently with your fingertips so the spice mix adheres firmly to the meat. Let the rubbed ribs rest at room temperature for 15 minutes while you prepare the charcoal.
Light Charcoal Chimney
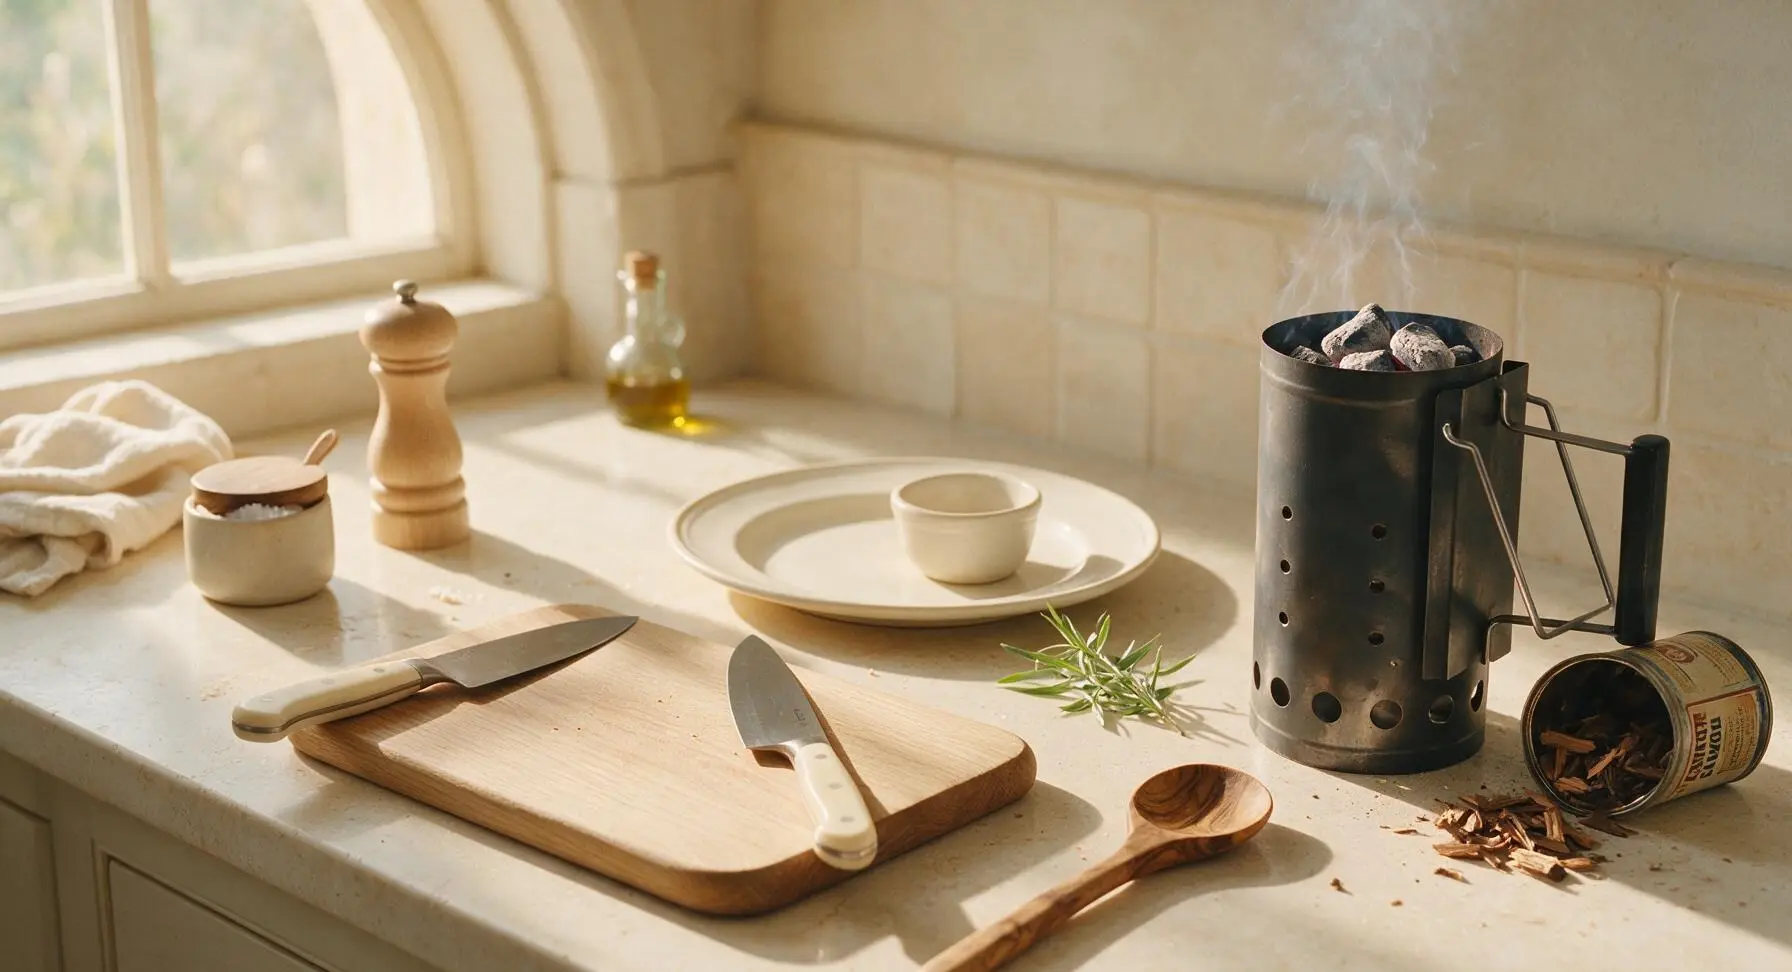
Fill the matte black stainless steel chimney starter 3/4 full with natural lump charcoal, tuck 2 crumpled sheets of plain paper under the starter’s bottom chamber, and light the paper. Let the charcoal burn for 15-20 minutes until the top layer of coals is covered in a thin, even coating of light grey ash, indicating they are fully lit and ready for cooking. Drain the pre-soaked hickory wood chips while waiting for the coals to reach temperature.
Set Up Two-Zone Grill
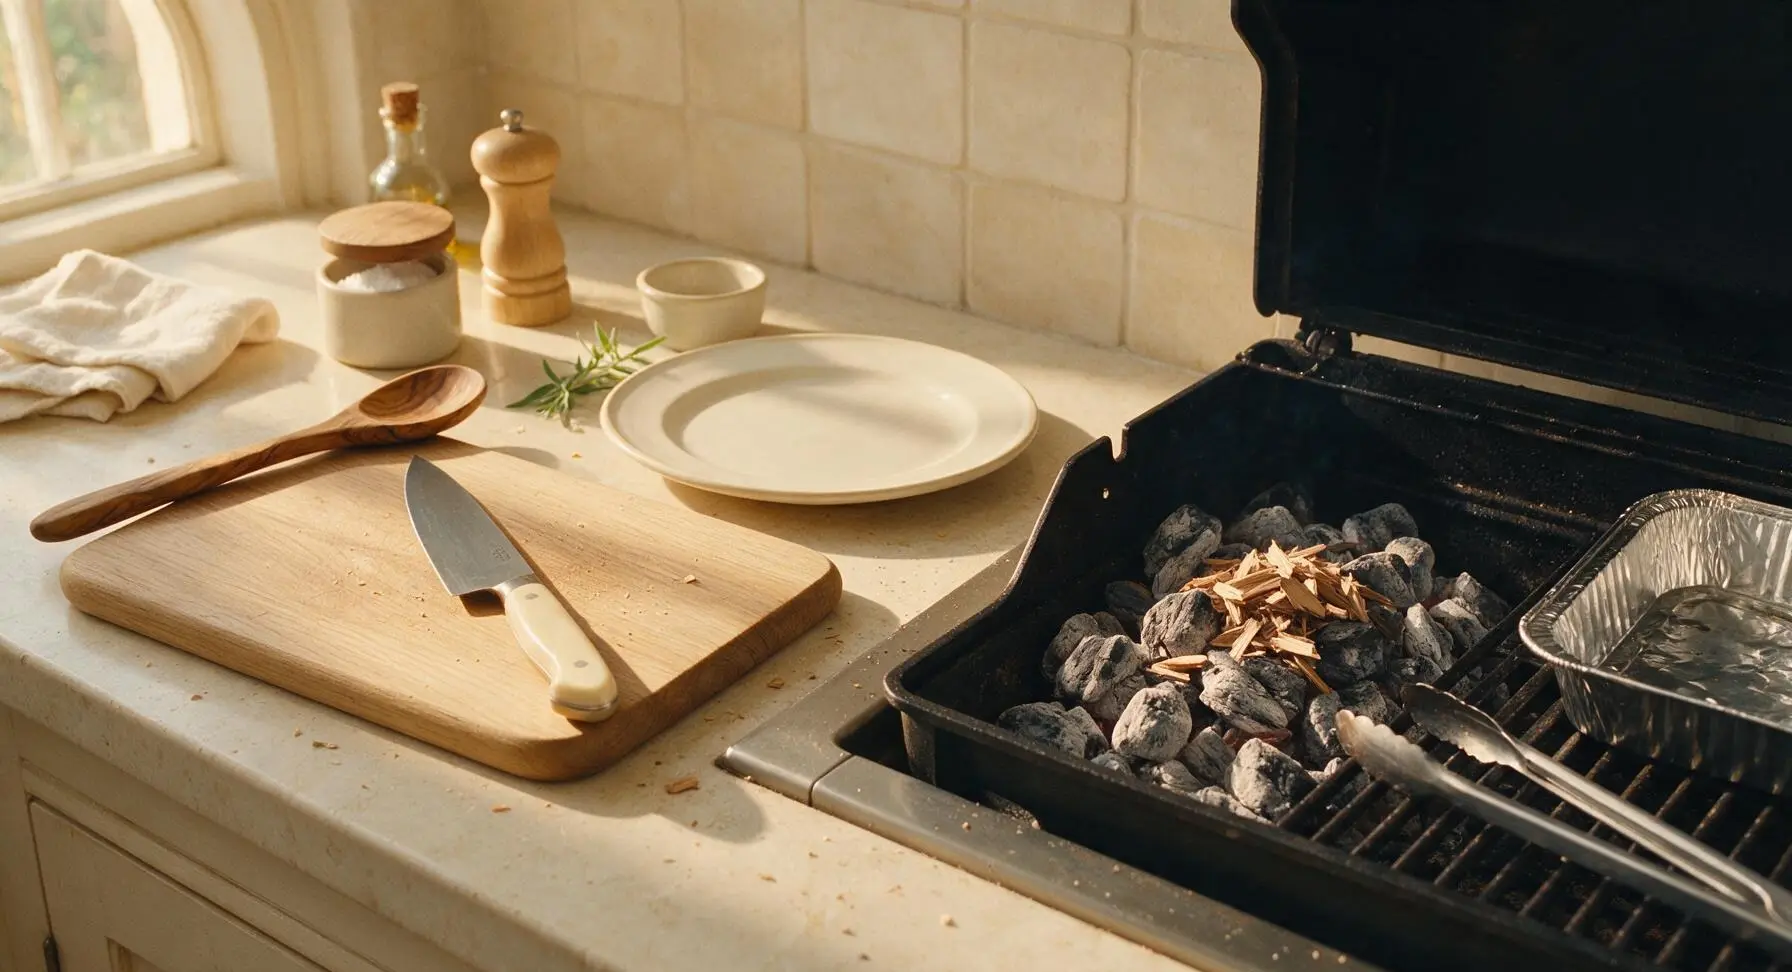
Carefully pour the fully lit charcoal onto one half of the charcoal grill’s firebox, creating a hot direct-heat zone, leaving the opposite half completely empty to form a cool indirect-heat zone. Place the heavy-duty aluminum foil drip pan on the indirect zone grate, positioned to catch rendered fat from the ribs and prevent flare-ups. Scatter the drained hickory wood chips directly over the hot coals. Replace the grill cooking grate, close the lid, and let the grill preheat for 5 minutes until the internal temperature holds steady at 225-250°F (107-121°C), adjusting the top and bottom vents to half-open to maintain temperature.
Grill Ribs Low and Slow
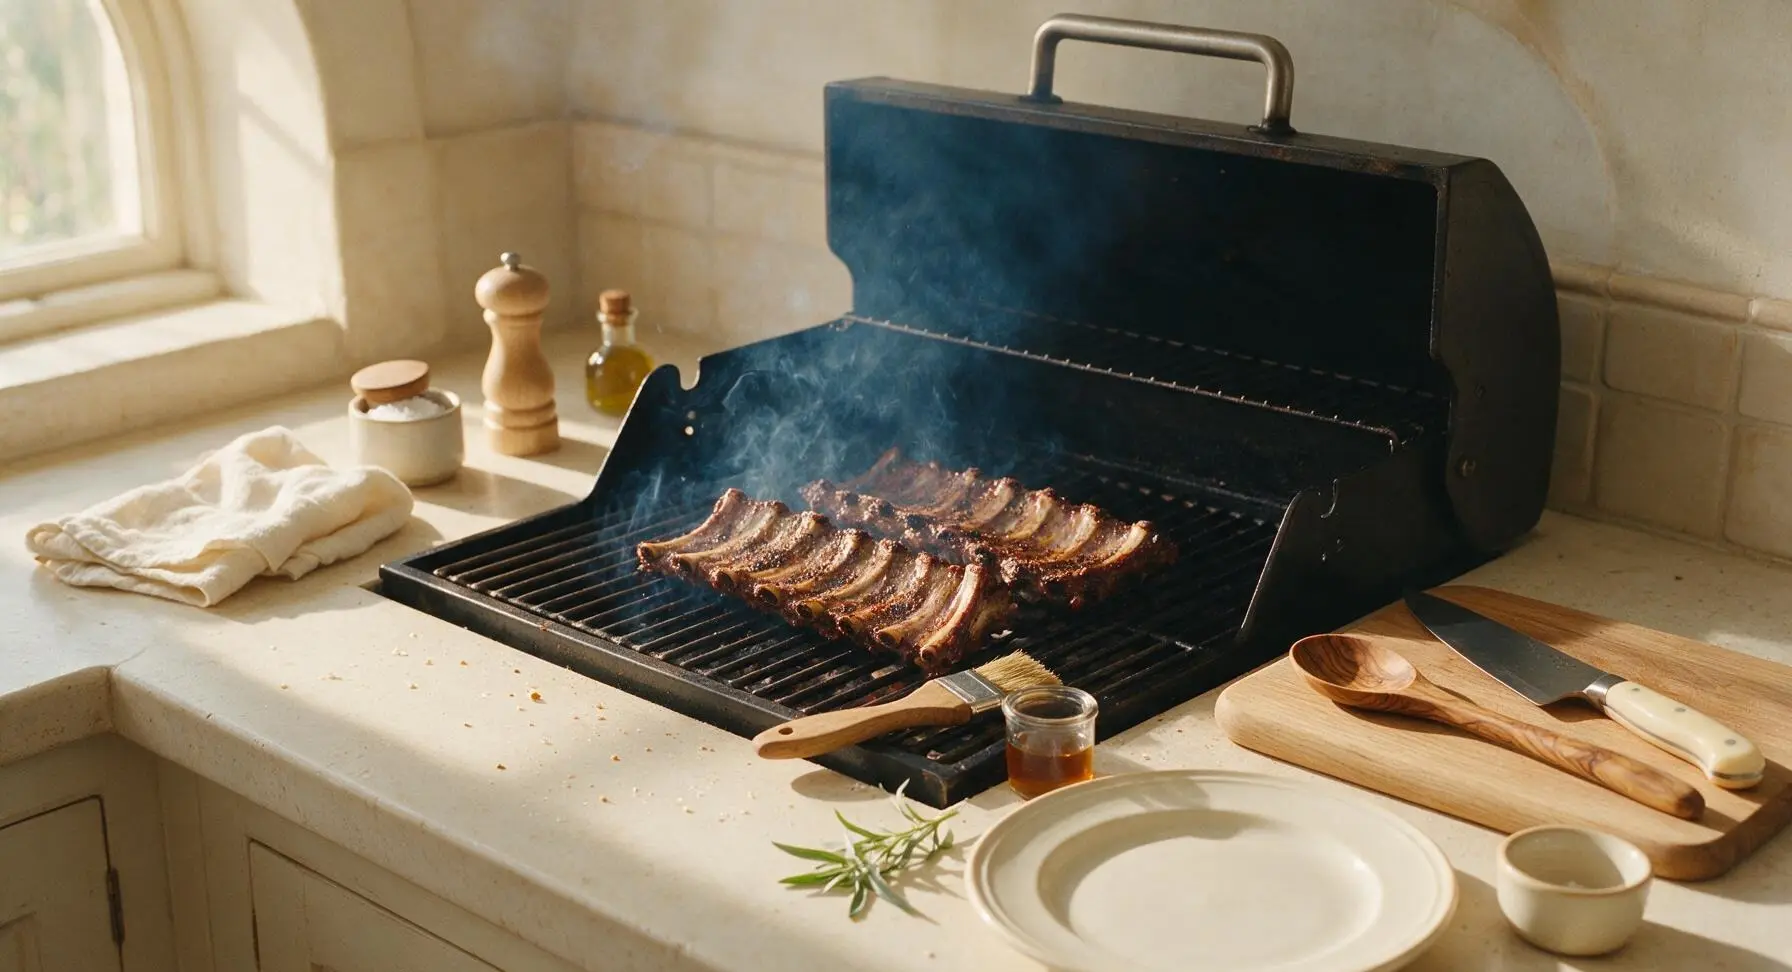
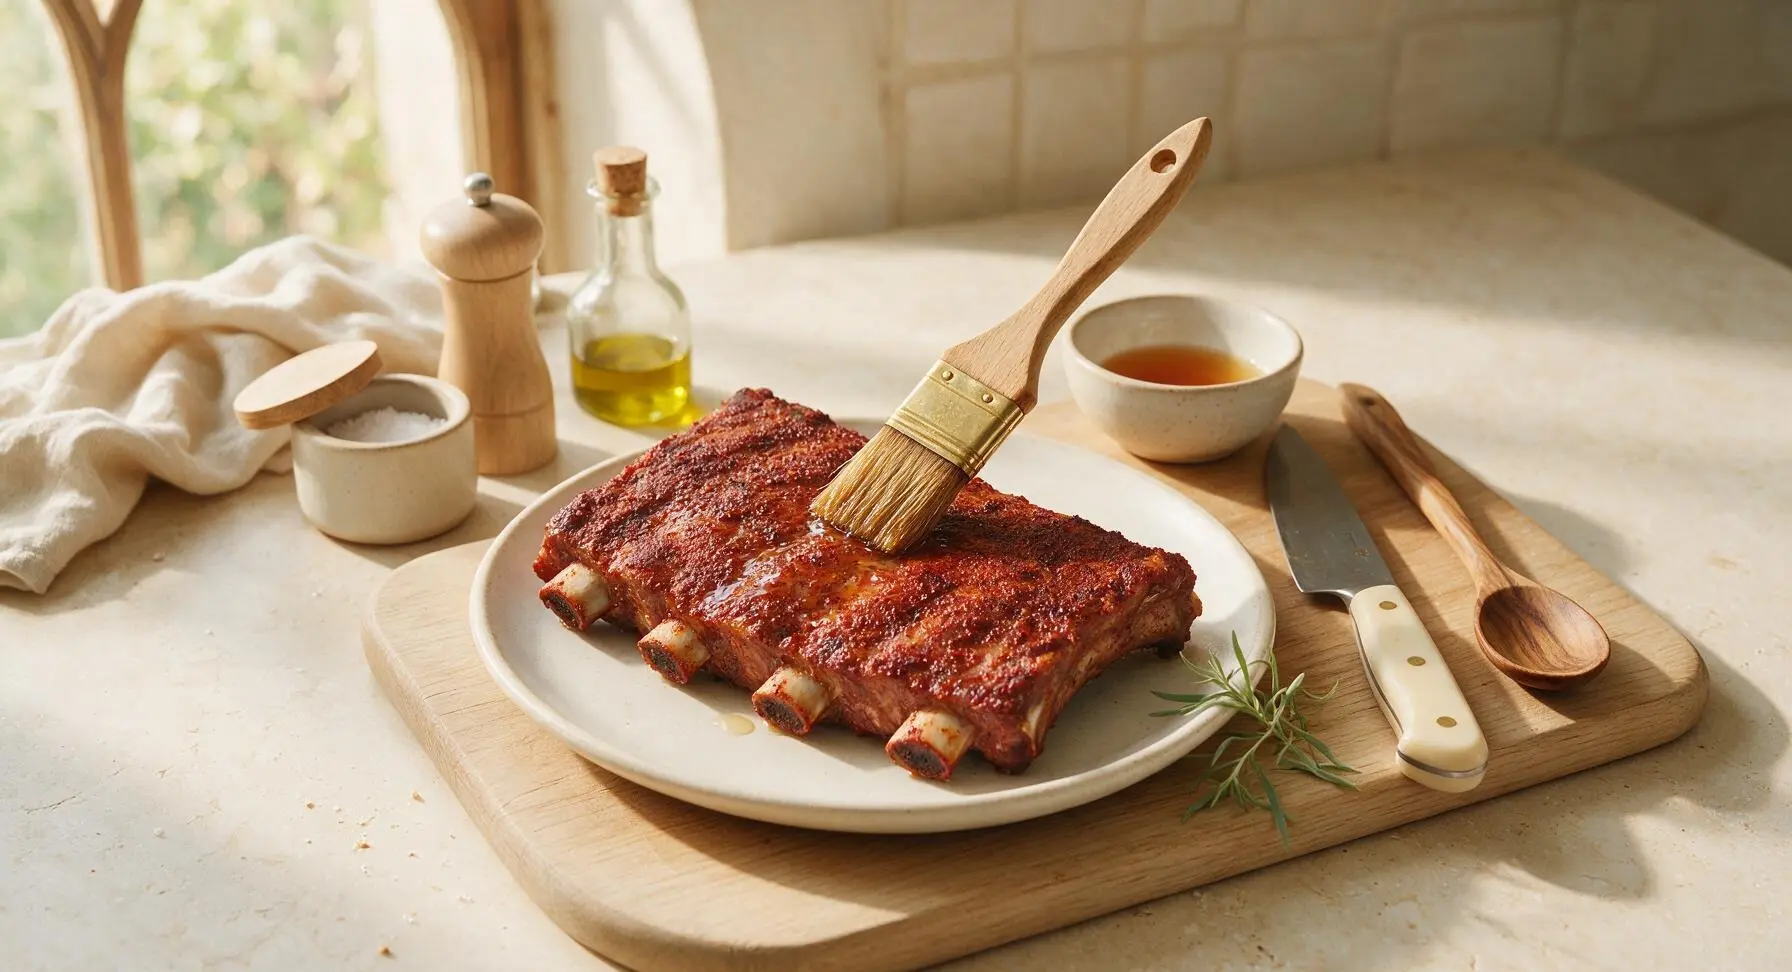
Arrange the rub-coated rib racks bone-side down on the cool indirect-heat zone of the grill, making sure no part of the ribs sits directly over the hot coals. Close the grill lid, keeping vents half-open to hold a steady 225-250°F temperature. Every 45 minutes, quickly lift the lid to dab the rib surfaces with apple cider vinegar using the maple-handled basting brush to keep the bark moist, then close the lid immediately. Cook for a total of 2.5 hours, avoiding unnecessary lid lifts to prevent heat loss.
Check Rib Doneness
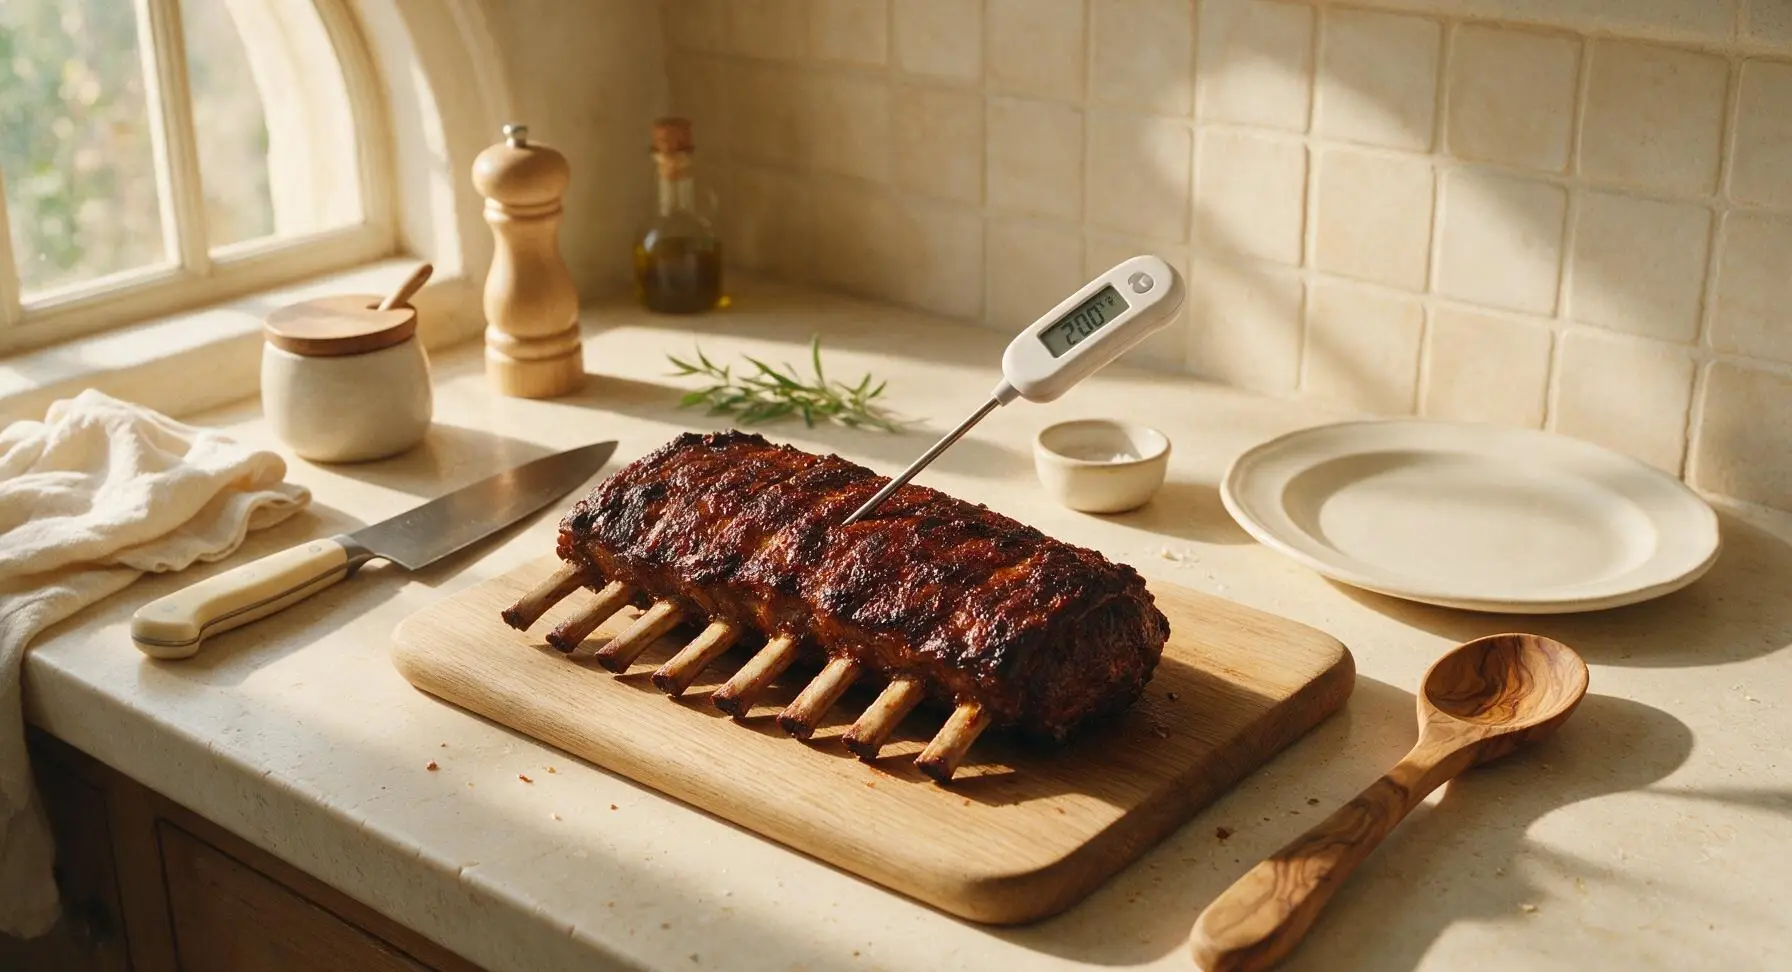
After 2.5 hours of indirect cooking, test for doneness by inserting the instant-read meat thermometer into the thickest part of the rib meat, taking care not to touch bone: the internal temperature should read 195-203°F (90-95°C). For a secondary visual check, use the tongs to lift one end of a rack: the meat should crack slightly along the bend, and the end bone should pull back roughly 1/4 inch from the meat when fully tender.
Sauce and Glaze Ribs
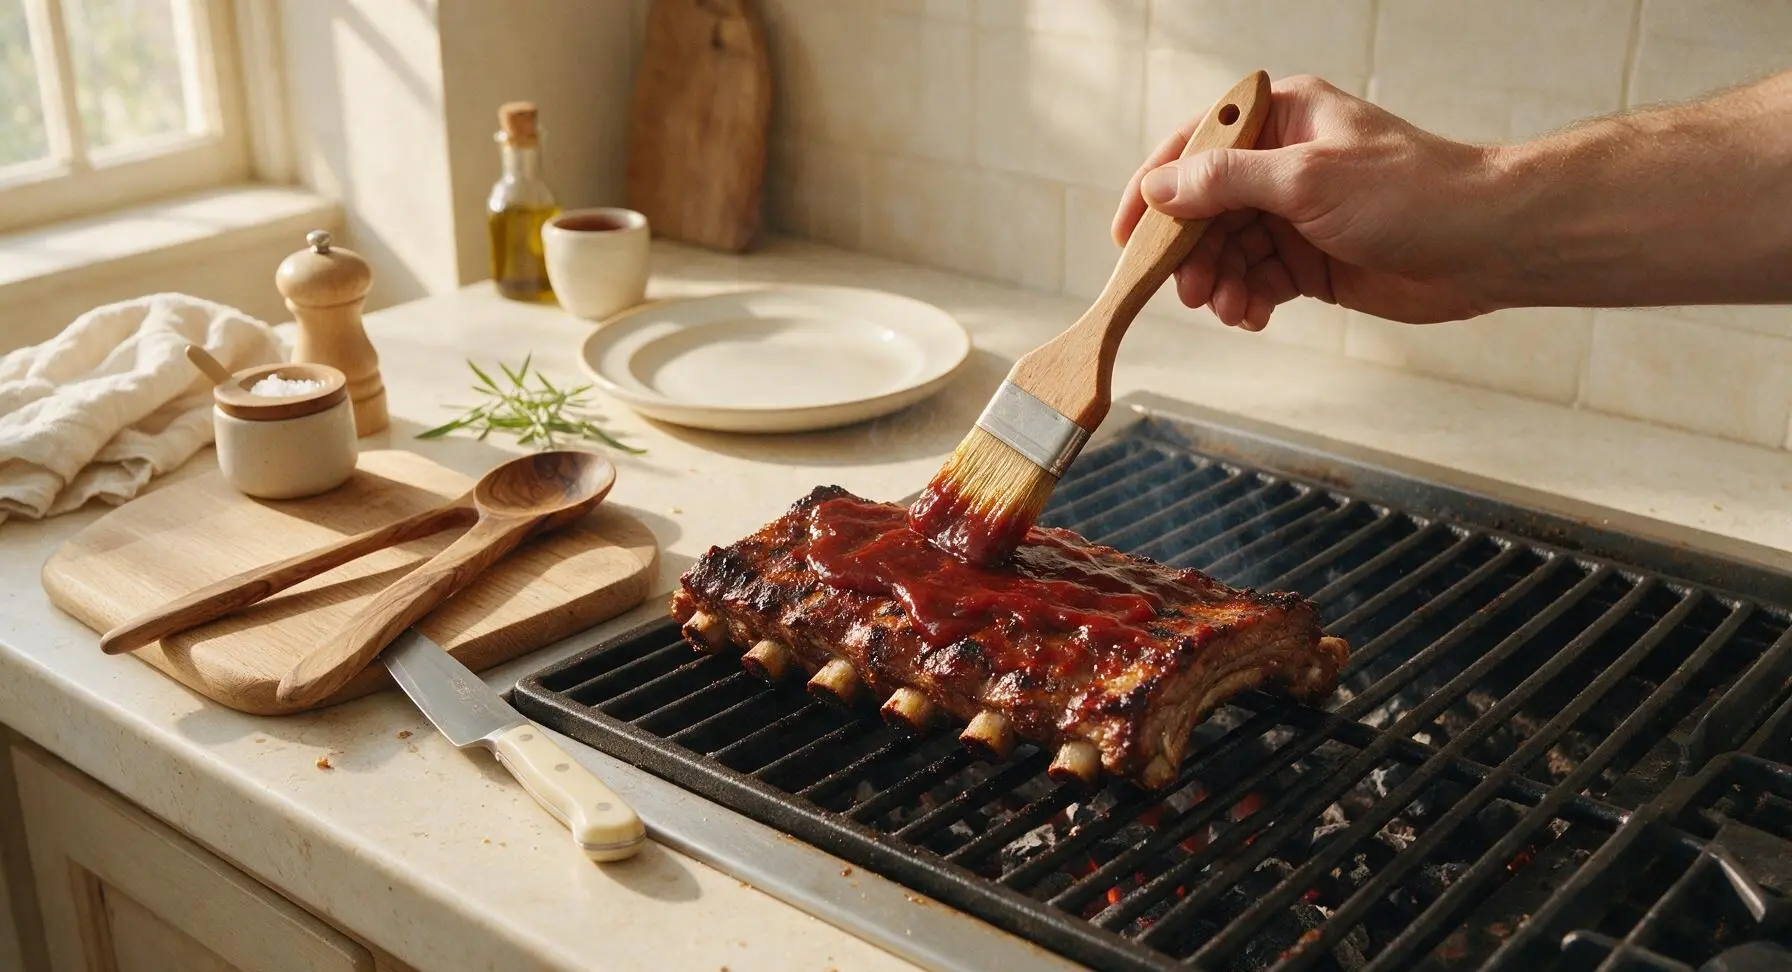
Once ribs reach the correct internal temperature, use the basting brush to coat all rib surfaces generously with sweet BBQ sauce from the mason jar. Move the sauced ribs directly over the hot coal zone, grilling for 2-3 minutes per side while watching closely to let the sauce caramelize into a sticky, glossy glaze. Stop cooking once the sauce bubbles and develops faint dark char marks, before it burns and turns black.
Rest and Plate Ribs
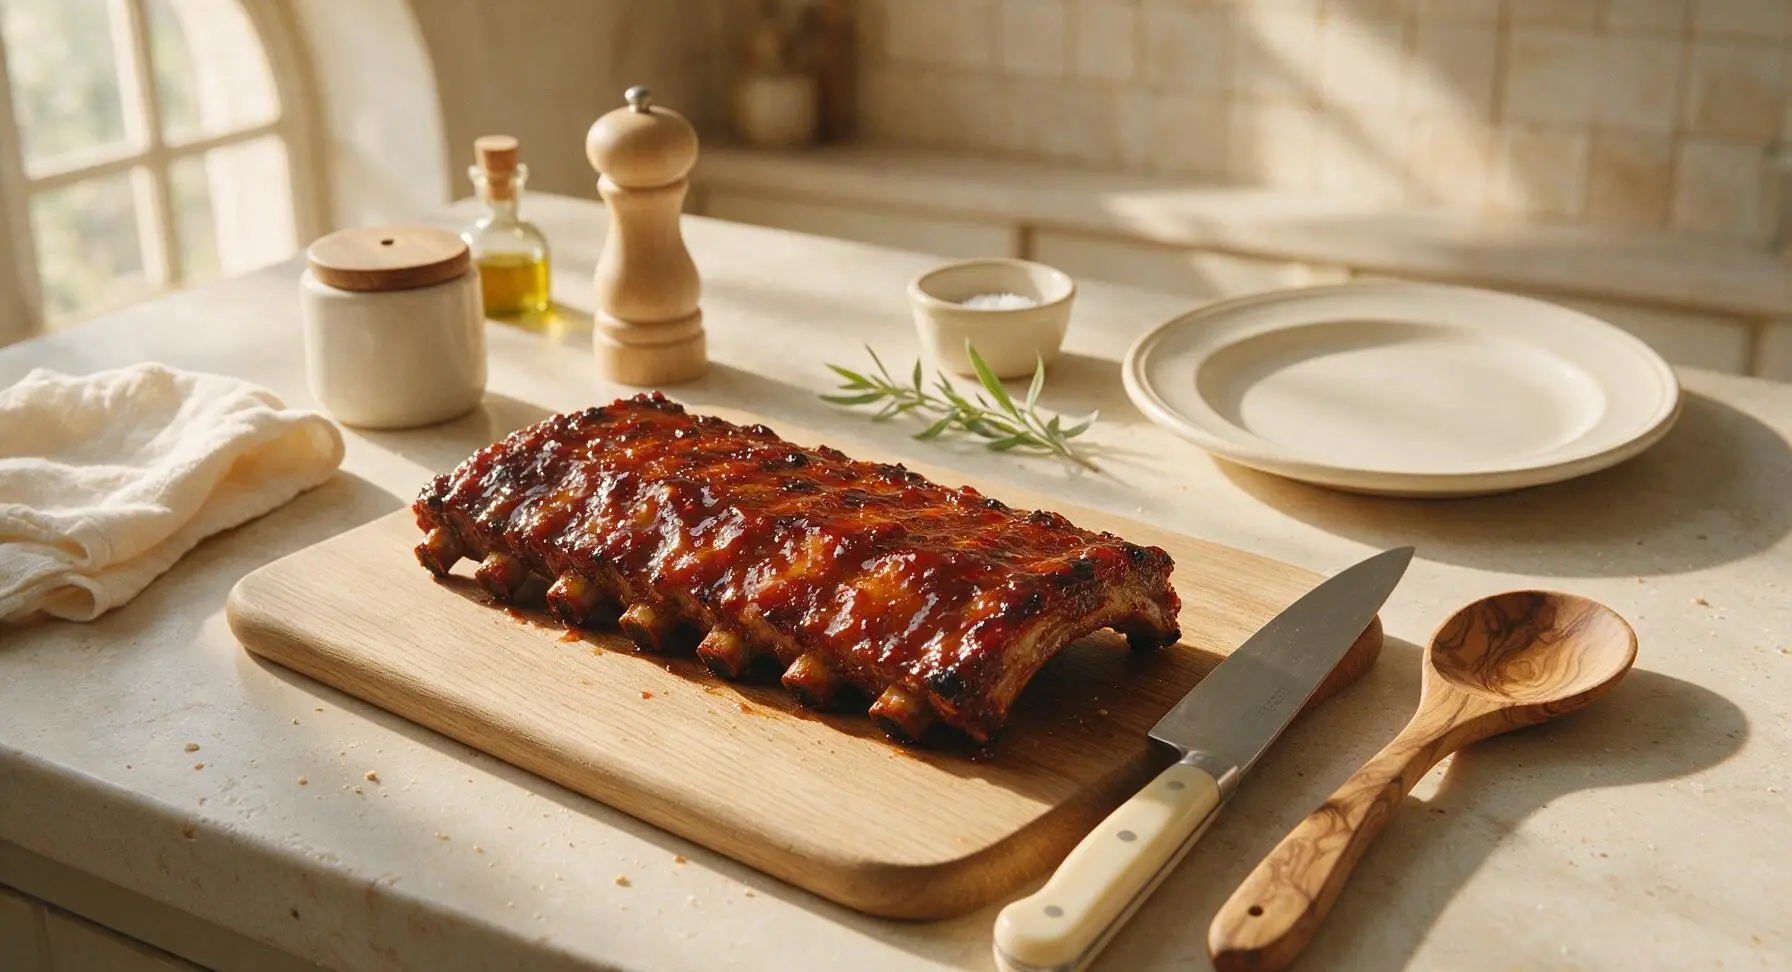
Use the long-handled tongs to transfer the finished glazed ribs to the matte cream ceramic oval serving platter. Let the ribs rest for 10 minutes at room temperature to allow juices to redistribute back into the meat, tuck fresh thyme sprigs alongside the racks for garnish. Slice between the bones to serve, with extra BBQ sauce in the terracotta ramekin on the side.
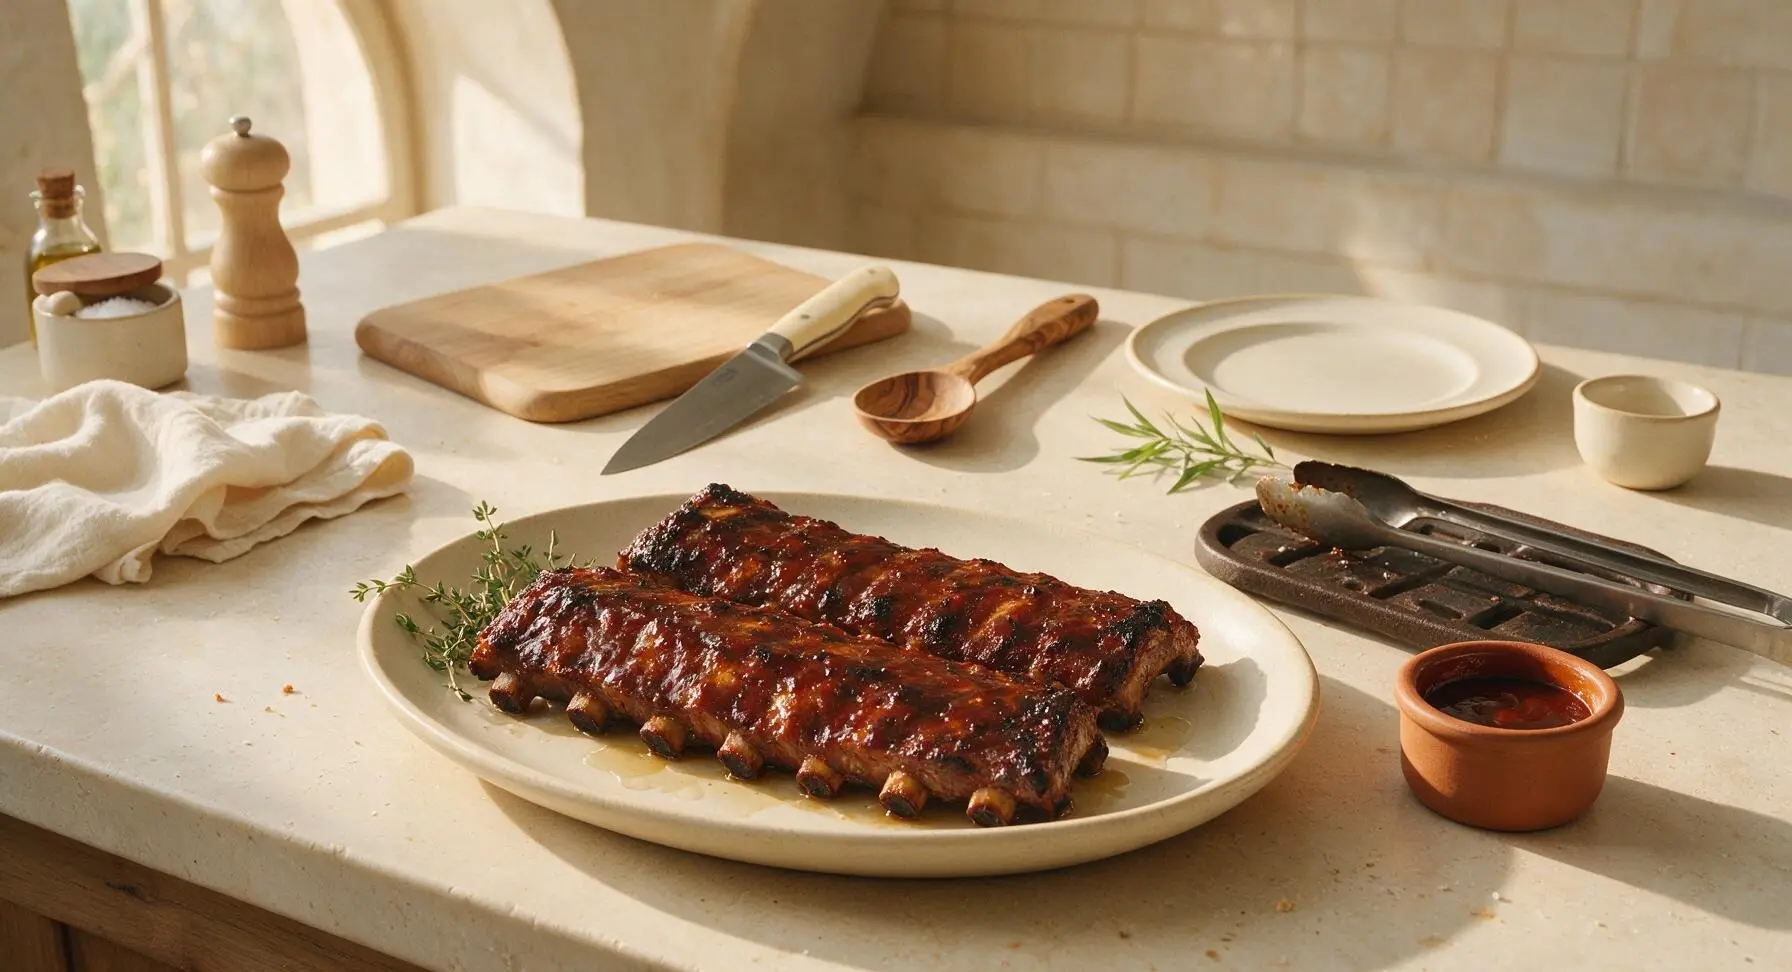
Tips
2.Soak hickory wood chips in cold water for 30 minutes before adding to hot coals: dry chips burn up instantly and produce bitter, acrid smoke, while soaked chips smolder slowly to create the thin, sweet blue smoke that gives ribs their iconic smoky flavor.
3.Resist the urge to lift the grill lid frequently while cooking: every lid lift drops the grill temperature by 50-100°F, extending cook time and causing temperature fluctuations that can make rib meat tough instead of fall-off-the-bone tender.






OMG these were absolutely insane for our Labor Day cookout! I’ve tried a dozen rib recipes over the years and none of them got that true fall-off-the-bone texture without boiling them first (which I swear makes them taste watery). Followed the charcoal temp tip exactly, 3 hours on the dot, and even my picky father-in-law who swears his ribs are the best asked for the recipe. 10/10 no notes.
Really solid recipe! My only hiccup was that my charcoal ran a little hotter than the recipe called for the first hour, so the edges got a touch charred more than I like, but the meat was still so tender it slid right off the bone. Brought these to a neighborhood potluck and people were hovering around the platter until they were gone. Will definitely adjust my vent settings next time!
I know 3 hours sounds like a lot for a weekend meal prep, but these are SO good reheated! I portioned them out with coleslaw and roasted corn for my husband’s work lunches all week and he said his coworkers were hovering by his desk asking where he got them. Perfect make-ahead BBQ option, no sad soggy ribs after reheating!
Y’all I have literally never successfully grilled anything that didn’t come out burnt or raw before this. I was so nervous making ribs for my boyfriend’s birthday dinner, but the step-by-step for setting up the two-zone charcoal fire was so easy to follow! The ribs were fall-off-the-bone perfect, he said they were better than the ones we get at our favorite BBQ joint. I felt like an actual grill master lmao
My kids LOVED these! I was worried the dry rub might be a little too spicy for the little ones, so I cut the paprika measurement in half and it was perfect for the whole family. We ate these out on the patio with baked beans and potato salad for our first Sunday family dinner of fall, and even my 7 year old who refuses to eat any meat with “bits on it” went back for seconds
Made these for our college football tailgate last weekend and people were coming over from three parking spots over to ask for a bite. Got the charcoal set up in a portable grill, kept the temp steady, and they held up great even when we let them rest wrapped in foil for an hour before serving. Absolute tailgate staple going forward.
The flavor was great and the texture was perfect, but cook time was way off for my setup. I have a smaller charcoal grill and I ended up needing almost 4 full hours to get them to that fall-off-the-bone point, so my dinner guests showed up right when I was wrapping them in foil. Tasted amazing, just wish I’d planned for extra time!
Game changer! I’ve been making ribs in the oven for years because I was intimidated by charcoal grilling for that long, but this recipe broke it down so simply. I used a hickory wood chunk for extra smoke like the note suggested, and wow — that depth of flavor is unmatched. Already have three people from my church potluck asking for the link.
Made these for our date night in last night and we both agreed we don’t need to go out for BBQ ever again. The dry rub ratio is chef’s kiss — not too salty, just enough sweet and smoky, and the meat was so tender we didn’t even need a knife to pull the bones out. Paired it with a cold amber ale and it was the perfect end to a long work week.
Great recipe! I made these when it was 45 degrees and windy outside, so I had to fight to keep my grill temp up the whole time, but they still came out incredible. Wrapped them in foil with a little apple juice at the 2 hour mark like the recipe said, and that kept them moist even with the temp swings. Only reason it’s not 5 stars is I wish there was a note for cold weather cooking adjustments!
I’ve been chasing that perfect restaurant-style charcoal rib texture for years, and this recipe finally nailed it. The tip to not peek at the ribs for the first 2 hours is so real — every time I used to lift the lid I’d drop the temp and add 20 mins to the cook time. These were so juicy, the bark was perfect, zero bite pullback (you know what I mean, when the meat stays stuck to the bone when you take a bite? None of that here).
SO good! I made a double batch on Sunday to have for quick dinners during the week, and they reheat beautifully in the air fryer at 350 for 5 minutes — the bark gets crispy again, no soggy microwave rib nonsense here. My teenager ate three full racks over the course of the week, which is the highest compliment a teen can give tbh.
Loved the end result, but medium difficulty is totally fair — I had to run to the hardware store mid-prep to get more charcoal because I only had half a bag left, oops. Don’t be like me, make sure you have enough coals for a 3 hour cook before you start! Once I got that sorted the ribs came out perfect, tangy, smoky, fall off the bone.
Just pulled these off the grill 20 minutes ago and I’m still blown away. First time ever making ribs on charcoal, first time getting that fall-off-the-bone texture, I’m so proud of myself lmao. My roommate just said these are better than the ribs we got at that fancy BBQ spot we went to for his birthday last month. Insane.
This is the exact fall weekend recipe I’ve been searching for! We went apple picking earlier in the day, came home, fired up the charcoal, and let these slow cook while we watched football. The house (and whole neighborhood, honestly) smelled like smoky BBQ all afternoon. Served them with apple cider slaw and it was the coziest fall meal imaginable.
Brought these to my office potluck last week and they were gone in 8 minutes flat. People were taking two and three ribs before I even got a chance to set the platter down! I added a little extra brown sugar to the rub for that caramelized bark, and it was chef’s kiss. Will be making these for every work event from now on.
Solid recipe! I used a super cheap kettle grill I found at a garage sale for $20, and even with my janky setup these came out incredible. I did add a little extra BBQ sauce at the end because I like my ribs saucier, but that’s just personal preference. Only complaint is I wish the recipe gave a specific dry rub measurement for people who don’t like to eyeball spices.
Letting these rest right now after pulling them off the grill, and I may have snuck a bite while no one was looking. OMG. The meat is so tender it pulled clean off the bone when I lifted a rib to test it, the rub is perfectly balanced, that smoky charcoal flavor is exactly what I’ve been craving. Already know these are gonna be the star of the birthday cookout I’m hosting tomorrow.
I’ve been grilling ribs over charcoal for 40+ years, and I’ll admit I was skeptical of a random internet recipe, but this method is spot on. The low temp, the wrap, the finish over direct heat to set the sauce — that’s the exact process I’ve used for decades, written out so simply even a new griller can follow it. Passed this link along to my grandson who just bought his first grill last month.
I know a lot of rib purists say sauce is cheating, but I coated mine in that homemade vinegar-based BBQ sauce from the linked recipe the last 15 minutes of cook time and wow — sticky, tangy, sweet, perfectly charred bits from the direct heat. My partner said he’d choose these over the ribs from our favorite BBQ joint in Memphis, that’s how good they were.