
Cornflake Christmas Wreaths
intro
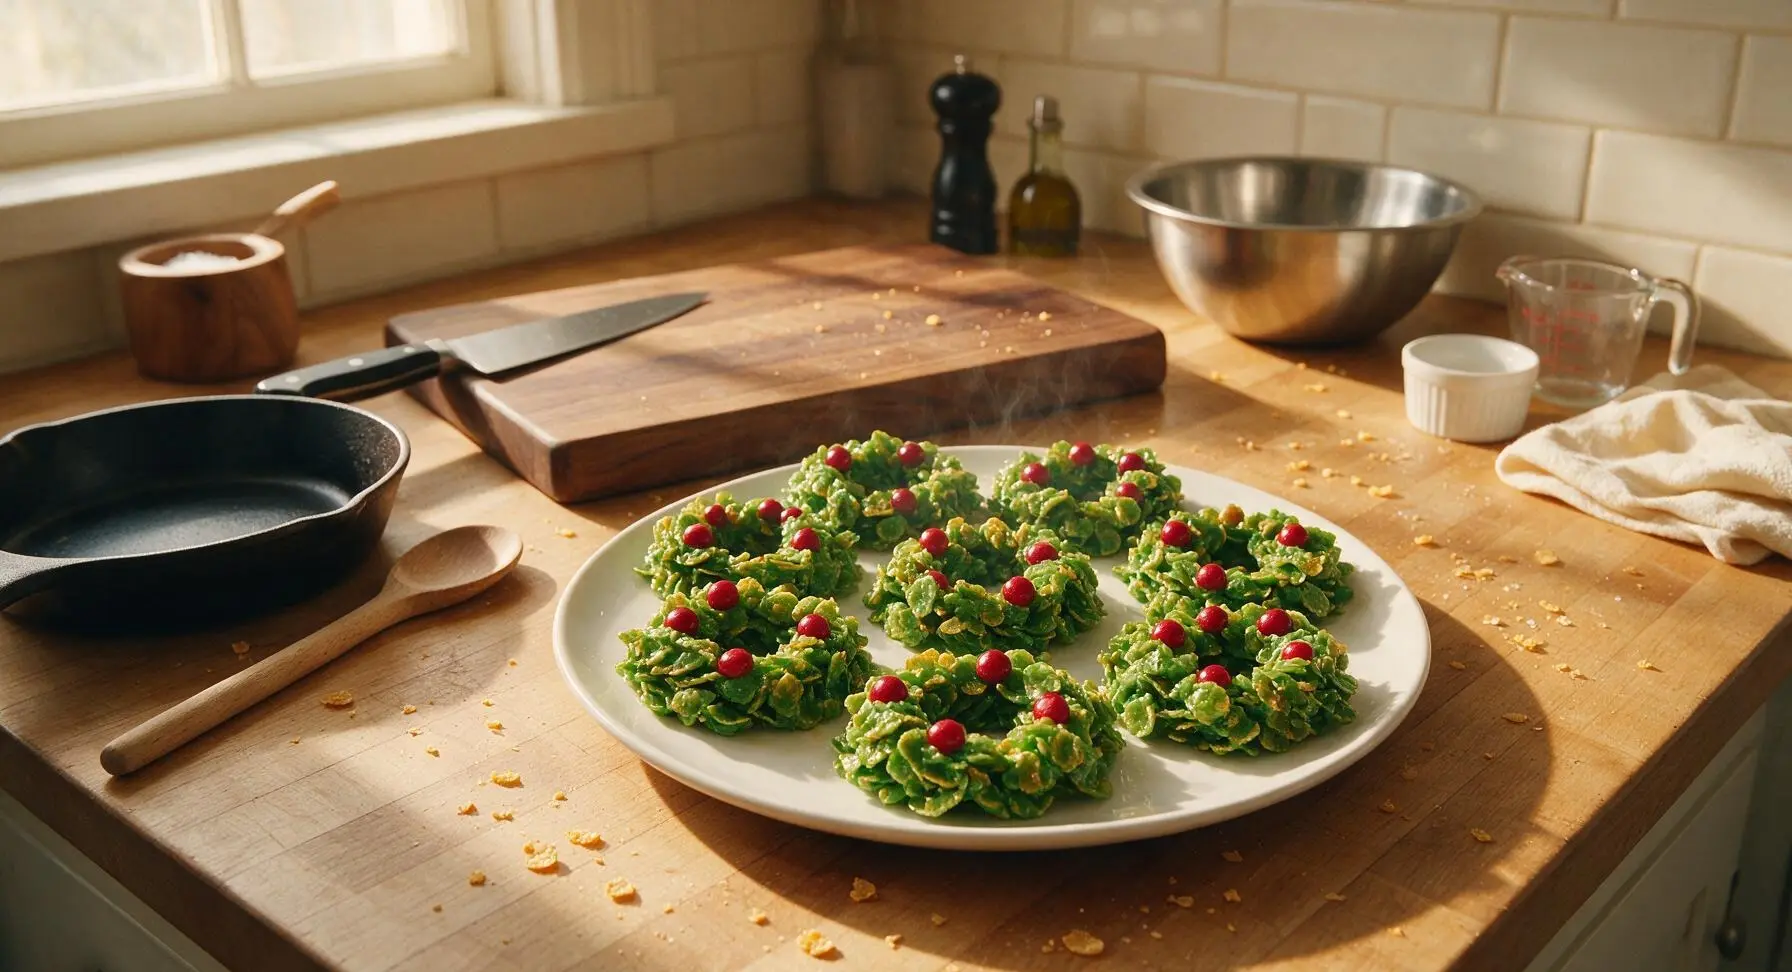
Chewy, buttery bright green cornflake clusters shaped like festive holly wreaths, dotted with red candy berries—this nostalgic no-bake Christmas treat is quick to make and loved by all ages.
Ingredients
Steps
Prep Baking Sheet
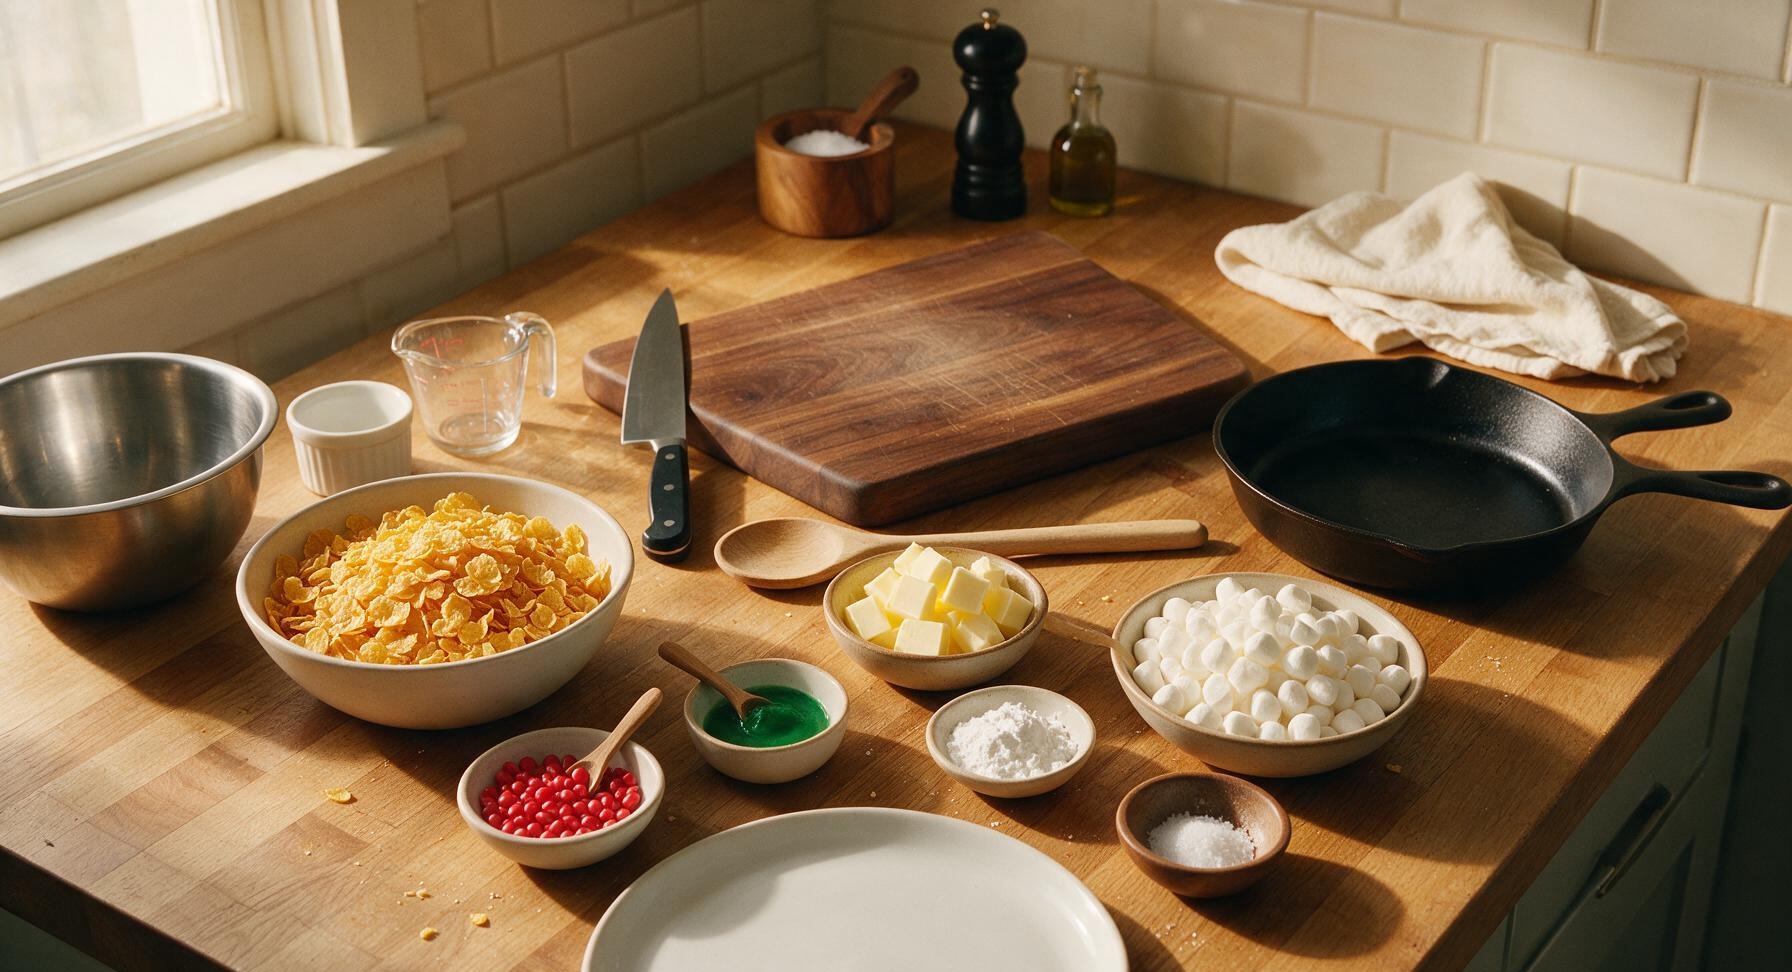
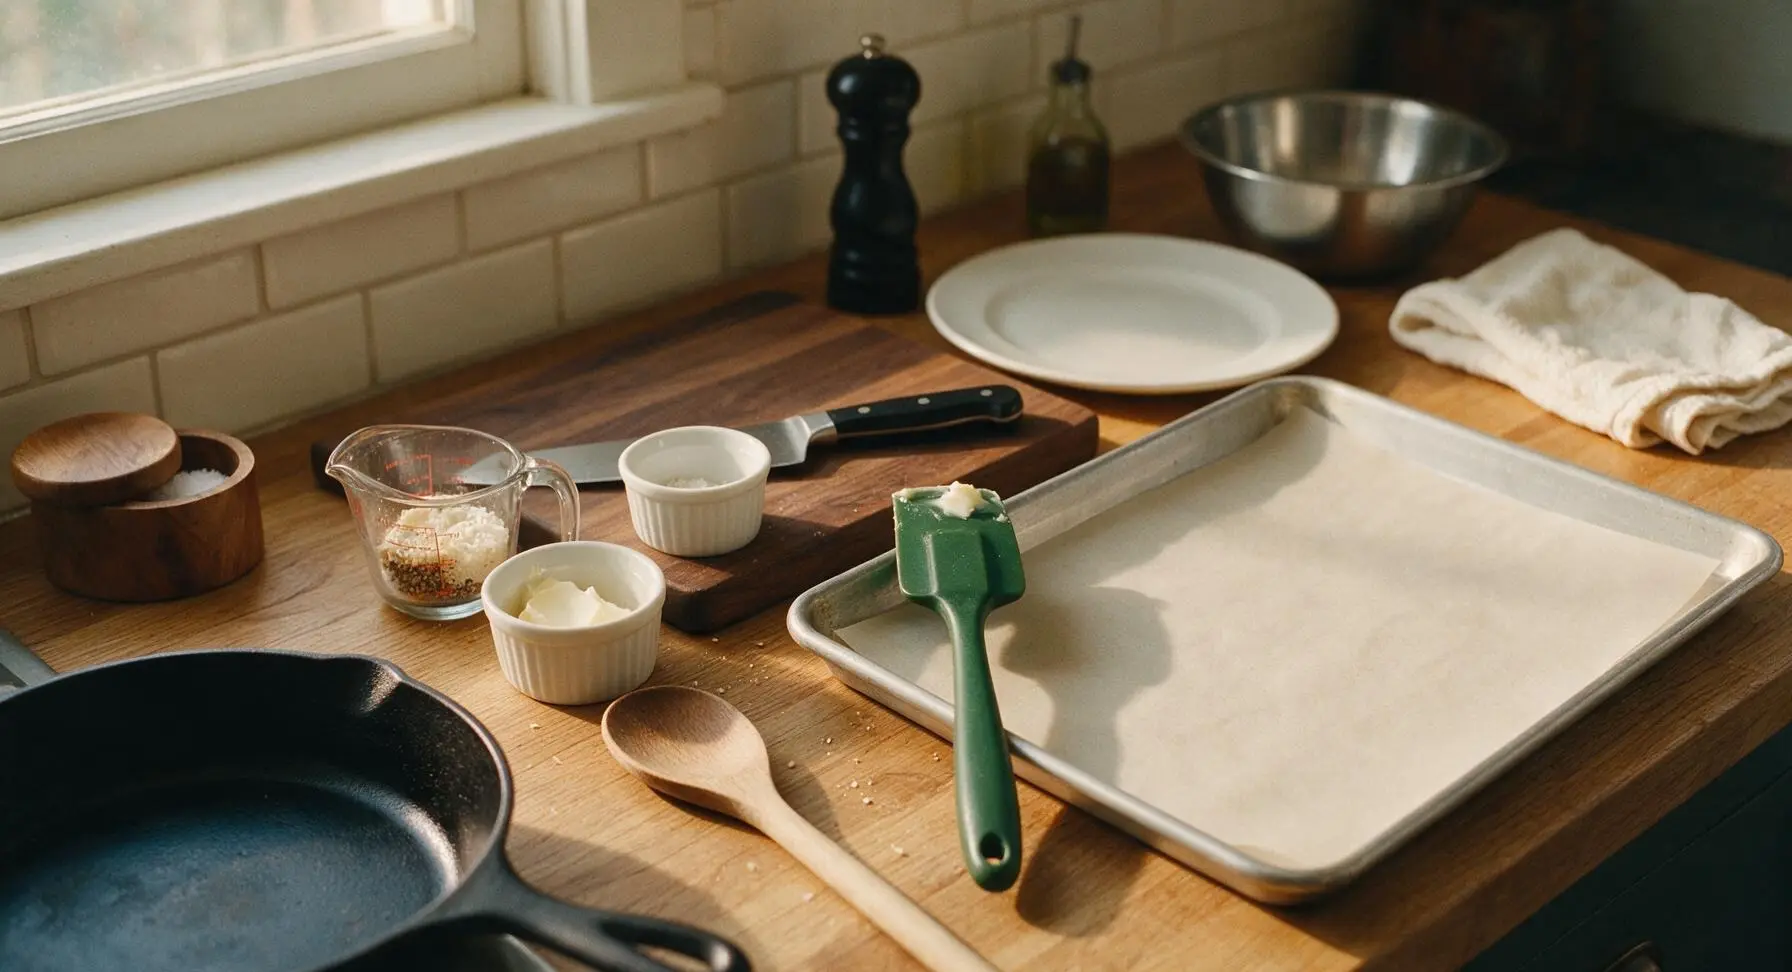
Line the 33cm x 23cm matte aluminum half sheet pan with a cut sheet of unbleached parchment paper, smoothing out any wrinkles so the paper lies completely flat against the pan. Set the prepared pan on the right side of the counter within easy arm’s reach. Lightly coat the forest green silicone spatula with a thin layer of softened butter to prevent marshmallow sticking during mixing. Gather all pre-measured ingredients near the stovetop to streamline the cooking process.
Melt Butter & Marshmallows
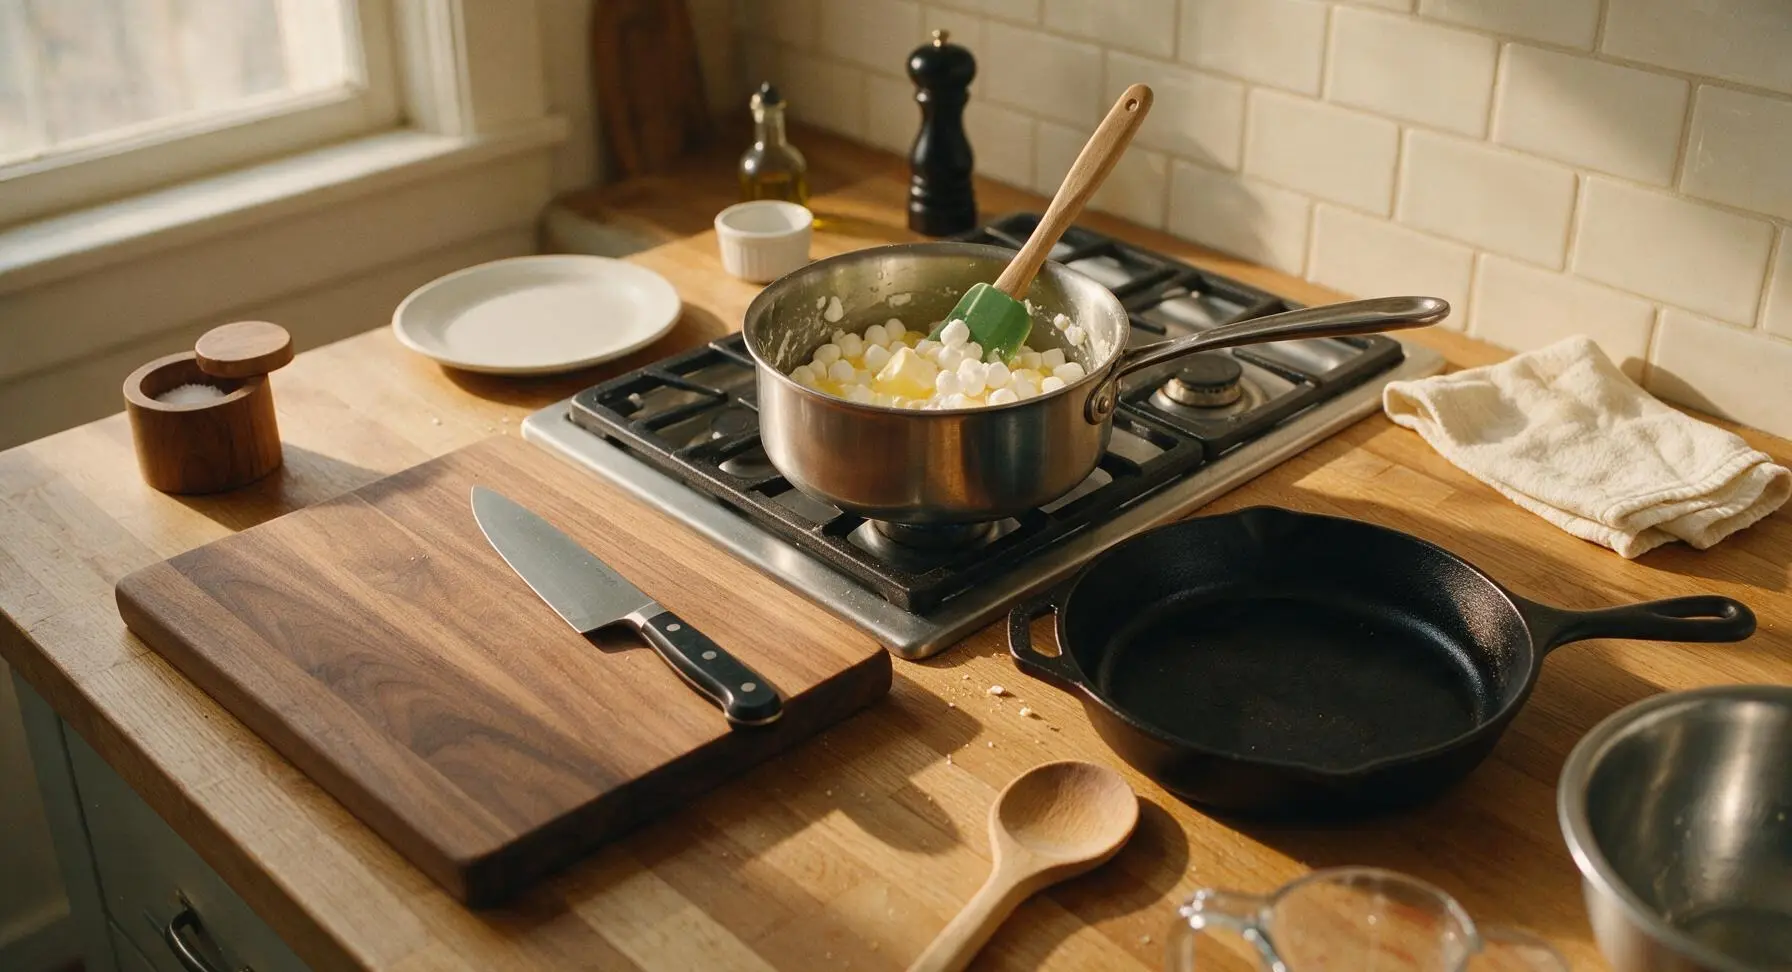
Place the small 1.5L stainless steel saucepan on the stovetop burner at the back of the counter, turned to the lowest heat setting. Add the unsalted butter, stirring slowly with the silicone spatula until fully melted into a pale golden liquid, about 1 minute. Add the mini marshmallows and fine sea salt, stirring constantly with slow, bottom-scraping motions until the marshmallows melt completely into a smooth, lump-free creamy liquid, 3-4 minutes total. Do not increase the heat, as high heat will caramelize the marshmallows and create tough, chewy wreaths once set.
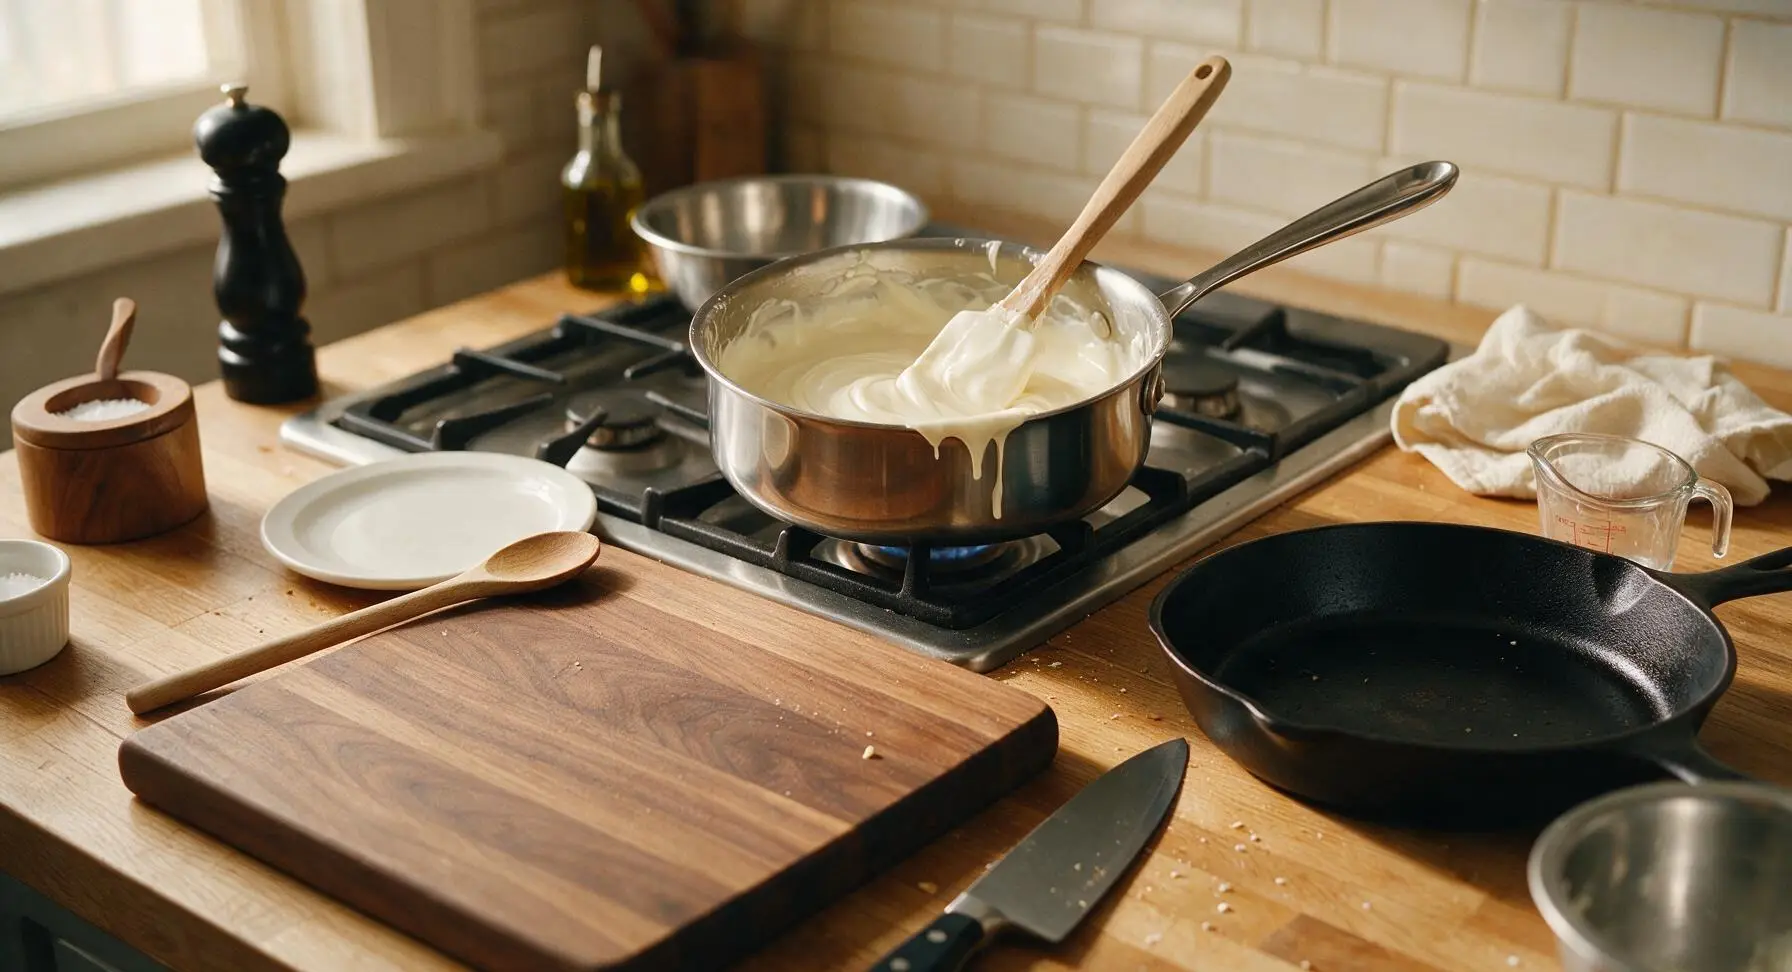
Tint Mixture Green
Remove the saucepan from heat immediately once the marshmallow mixture is fully smooth. Add the 1/4 teaspoon green gel food coloring, stirring thoroughly with the silicone spatula until the color is completely uniform, with no streaks of uncolored marshmallow or concentrated dark green patches. Aim for a deep, rich holly green shade; add 1 extra drop of gel color if needed, but avoid over-coloring which can stain skin and create an artificial appearance.
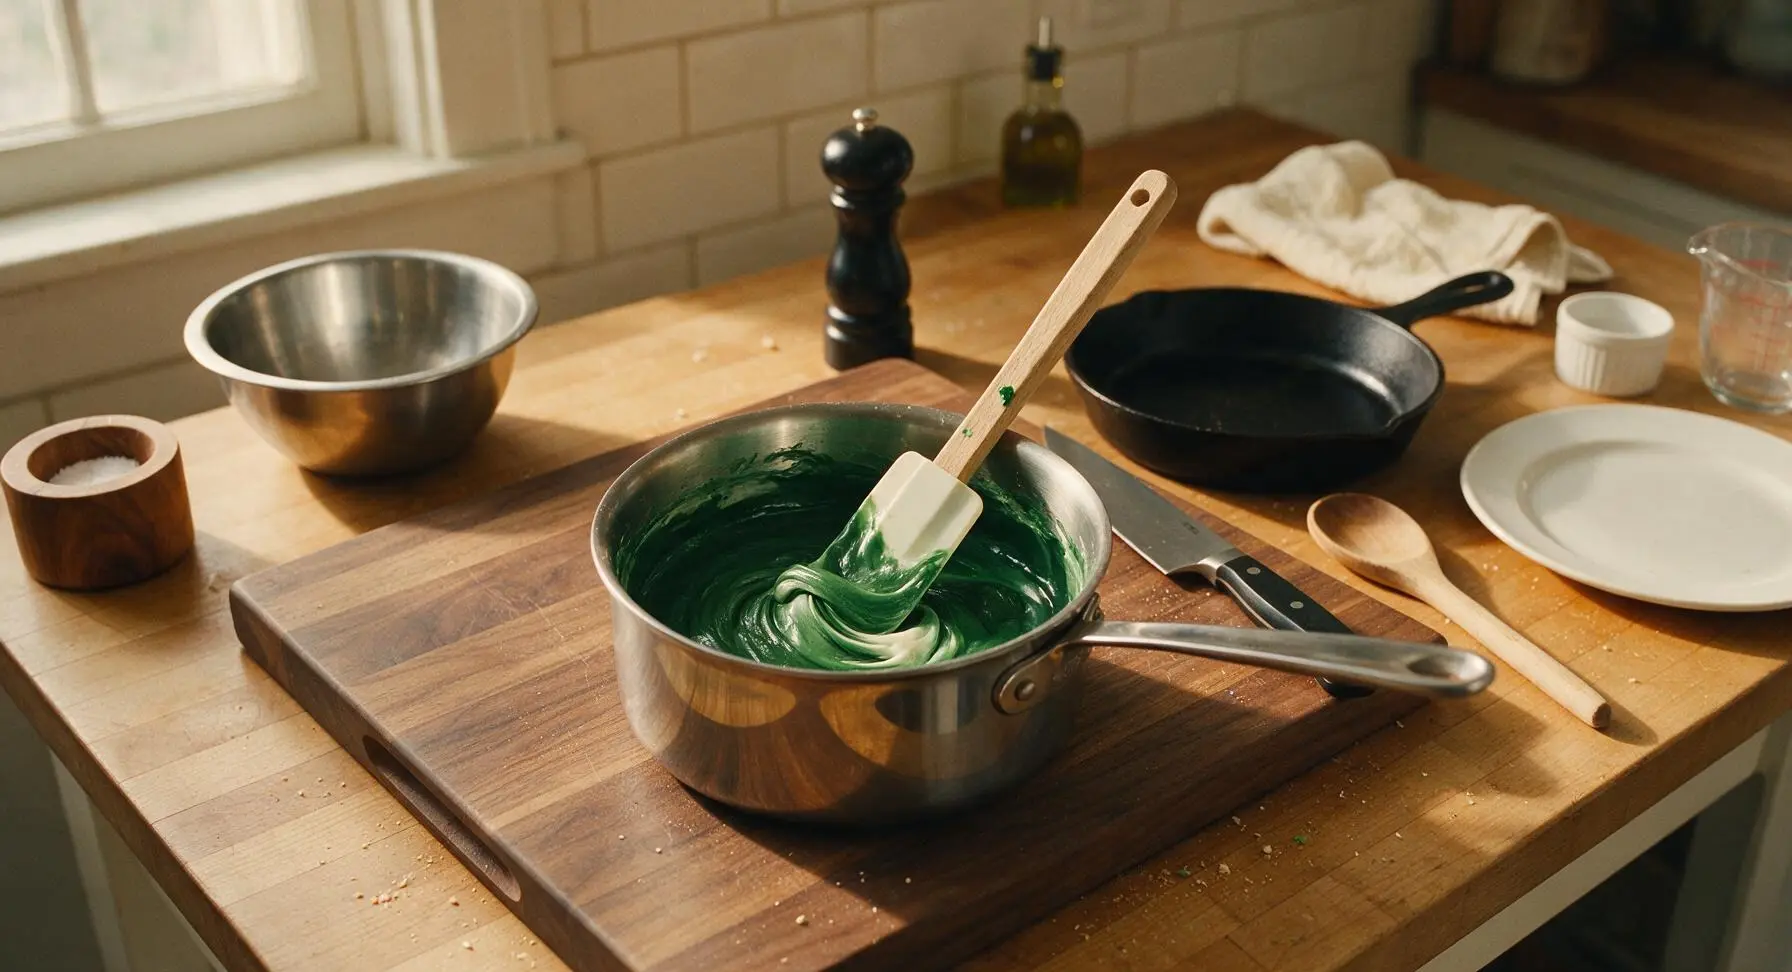
Fold in Cornflakes
Pour the measured cornflakes from the glass measuring cup into the large stainless steel mixing bowl. Pour the warm green marshmallow mixture evenly over the top of the cornflakes. Use the greased silicone spatula to fold the mixture gently, scraping from the bottom of the bowl upward to coat every cornflake evenly. Stop folding as soon as no dry, golden uncoated cornflake spots remain, about 1 minute of gentle stirring. Do not stir vigorously, as this will crush the cornflakes and result in mushy, dense wreaths.
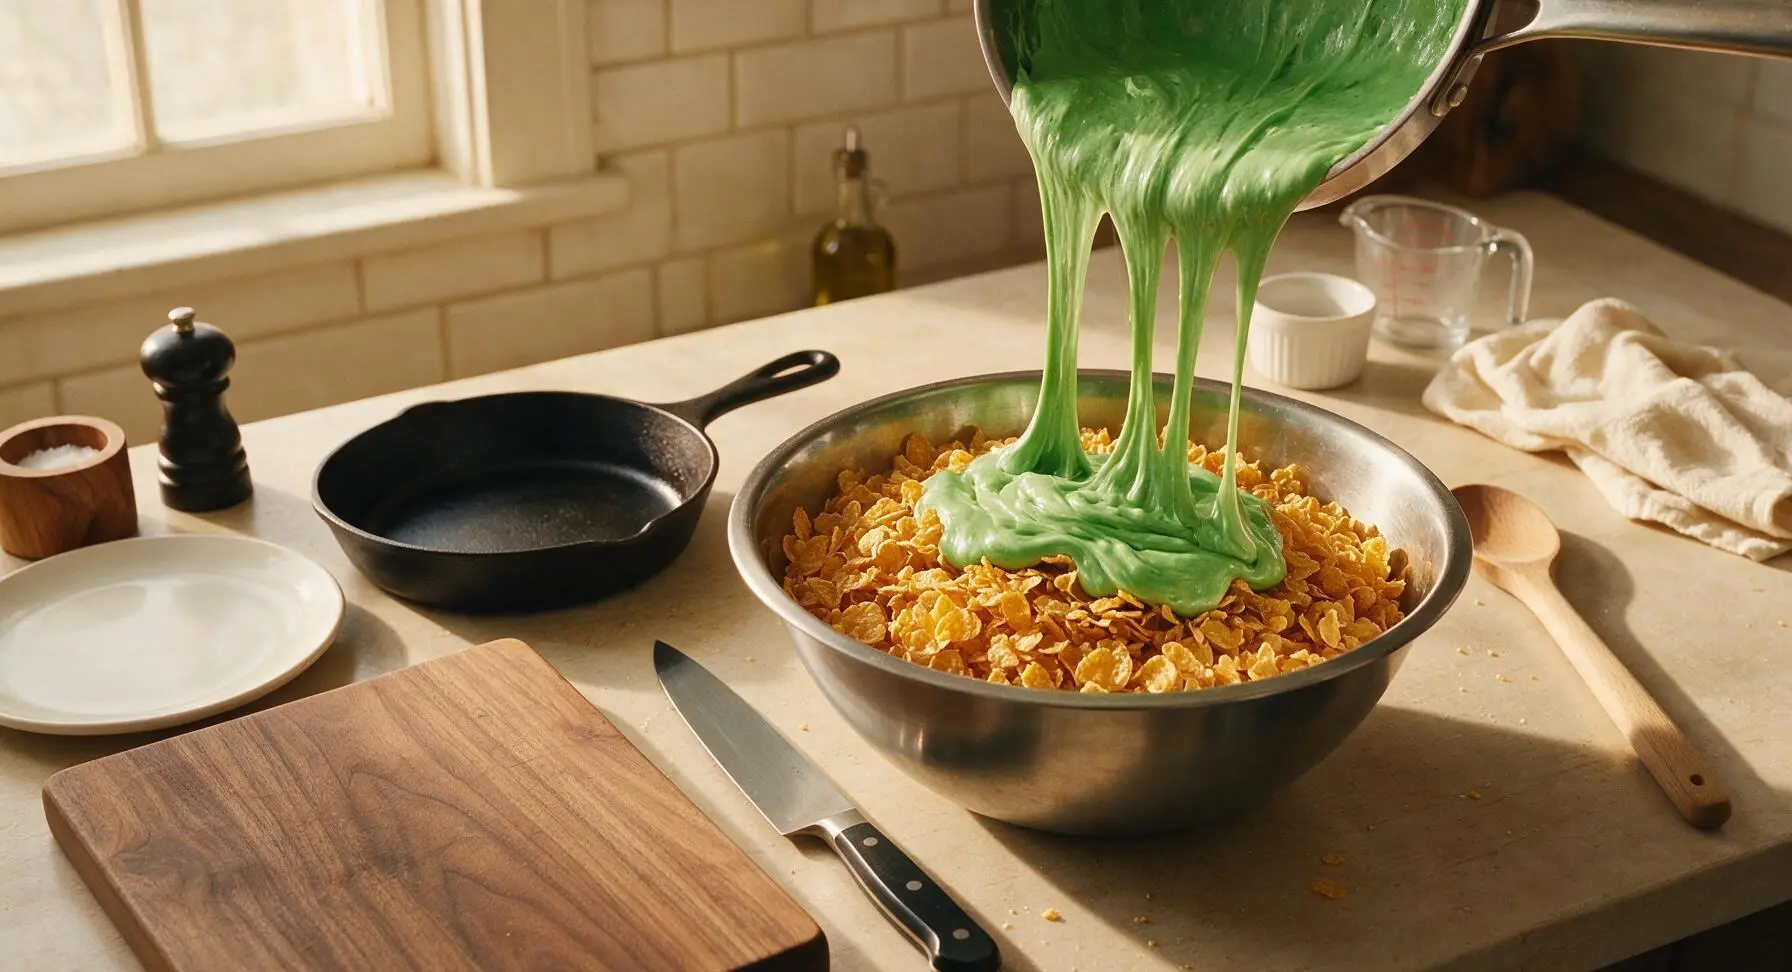
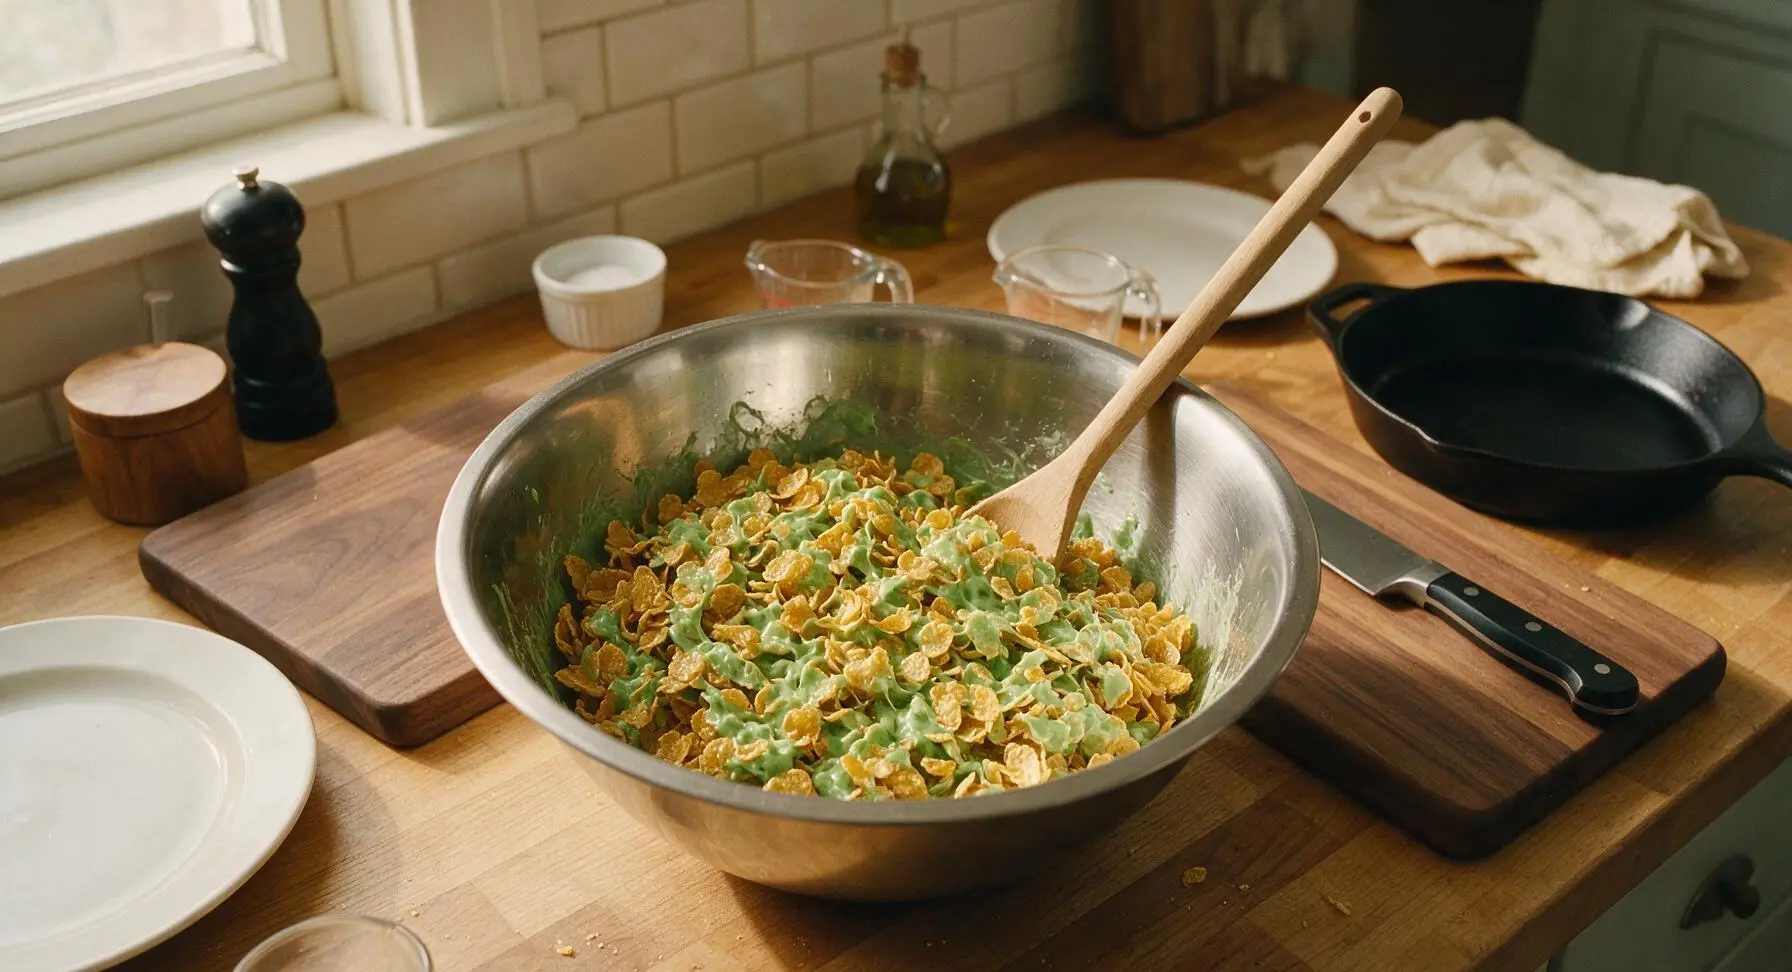
Scoop Wreath Portions
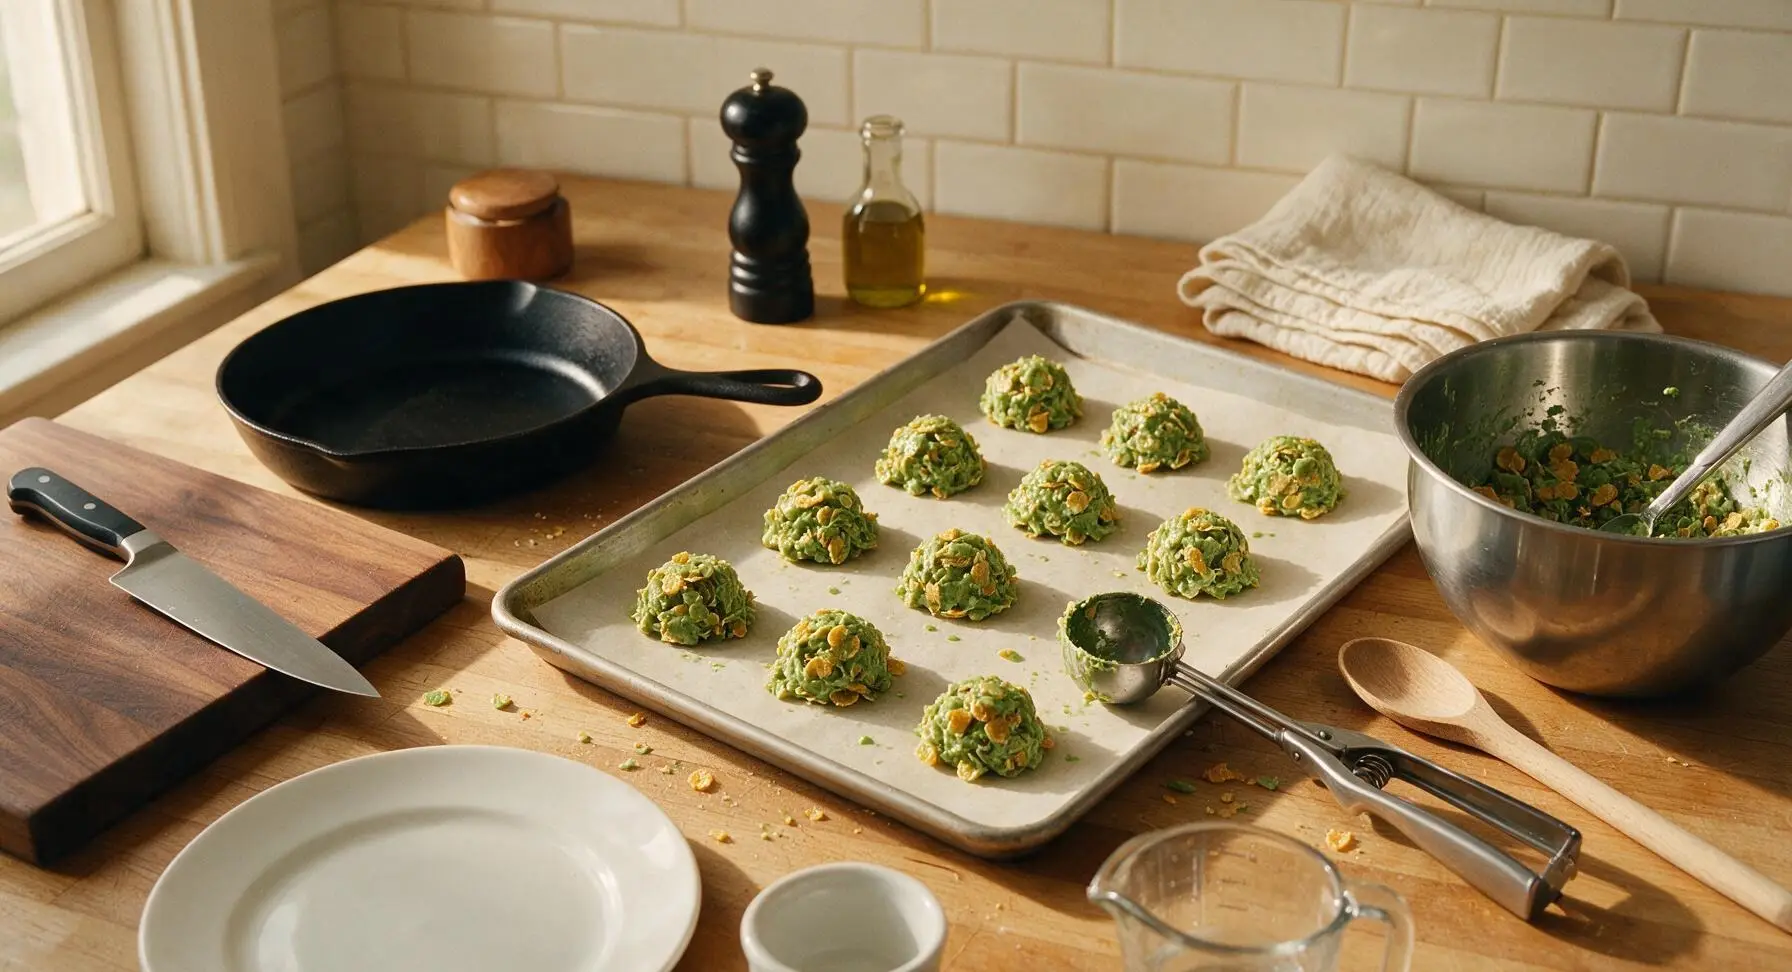
Work quickly, as the marshmallow mixture will begin to firm up within 5-7 minutes as it cools. Use the spring-loaded stainless steel cookie scoop to drop 2-tablespoon mounds of the green cornflake mixture onto the parchment-lined sheet pan, leaving 3cm of space between each mound to prevent sticking as they set. You will yield 12 equal-sized mounds total. If the mixture sticks to the scoop, lightly grease the scoop interior with a tiny bit of butter between portions.
Shape Wreath Rings
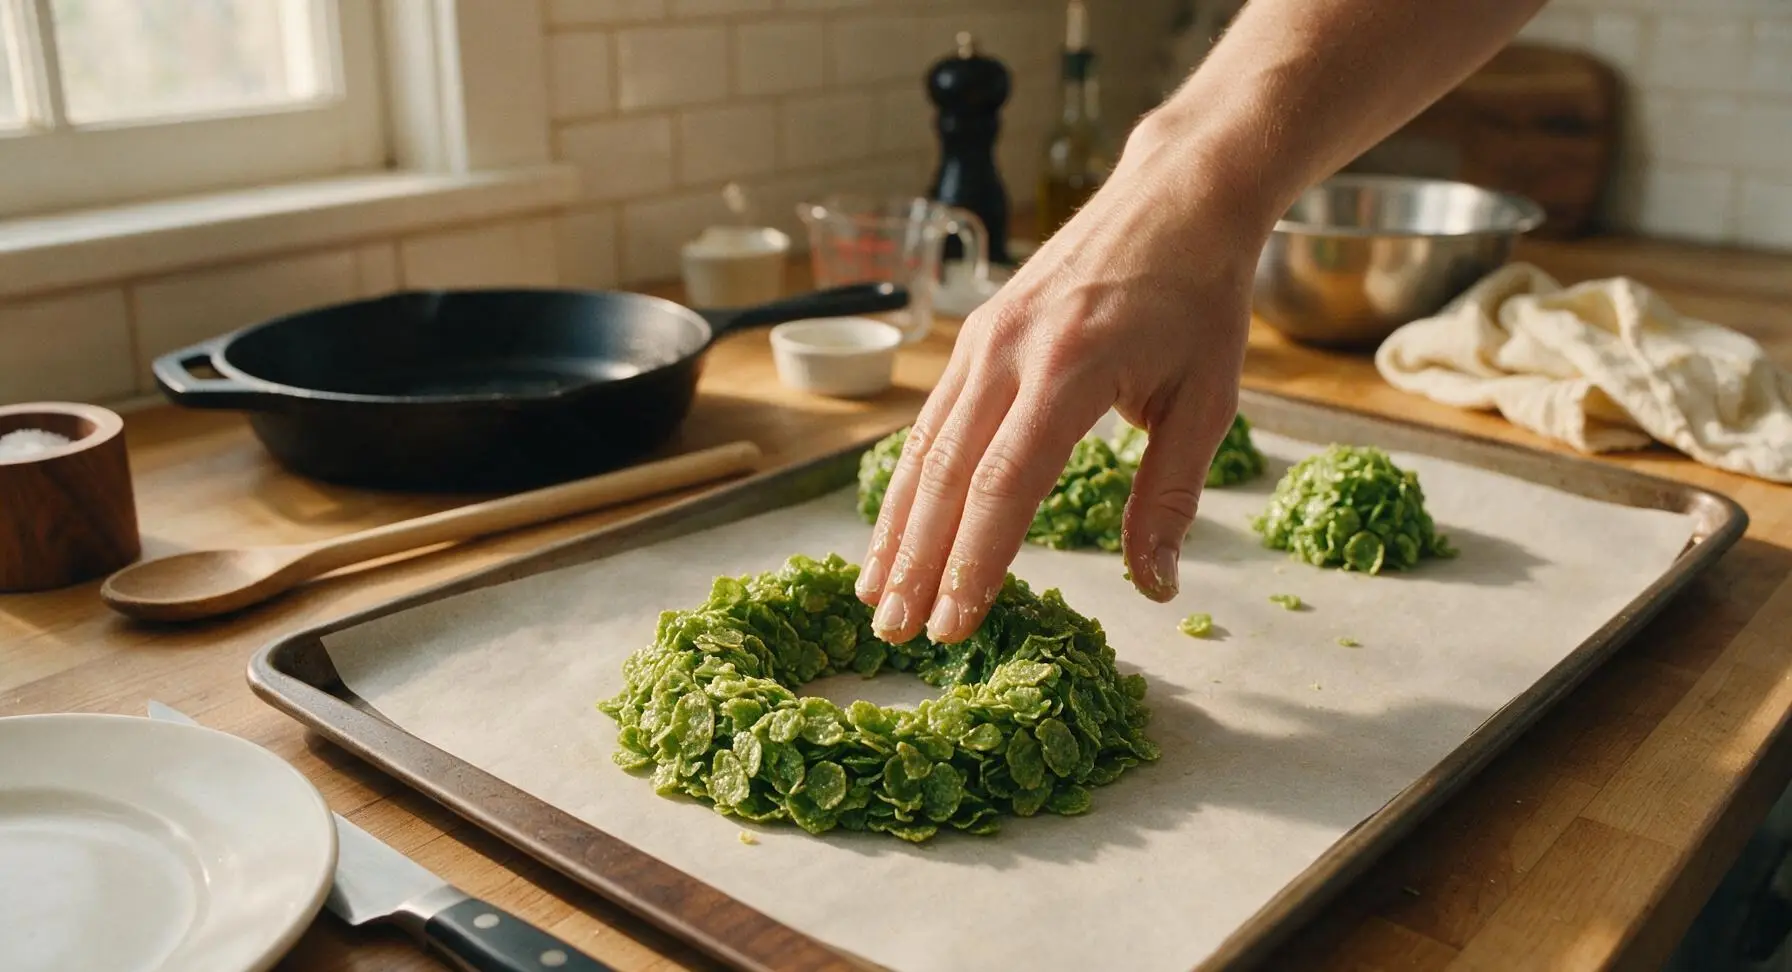
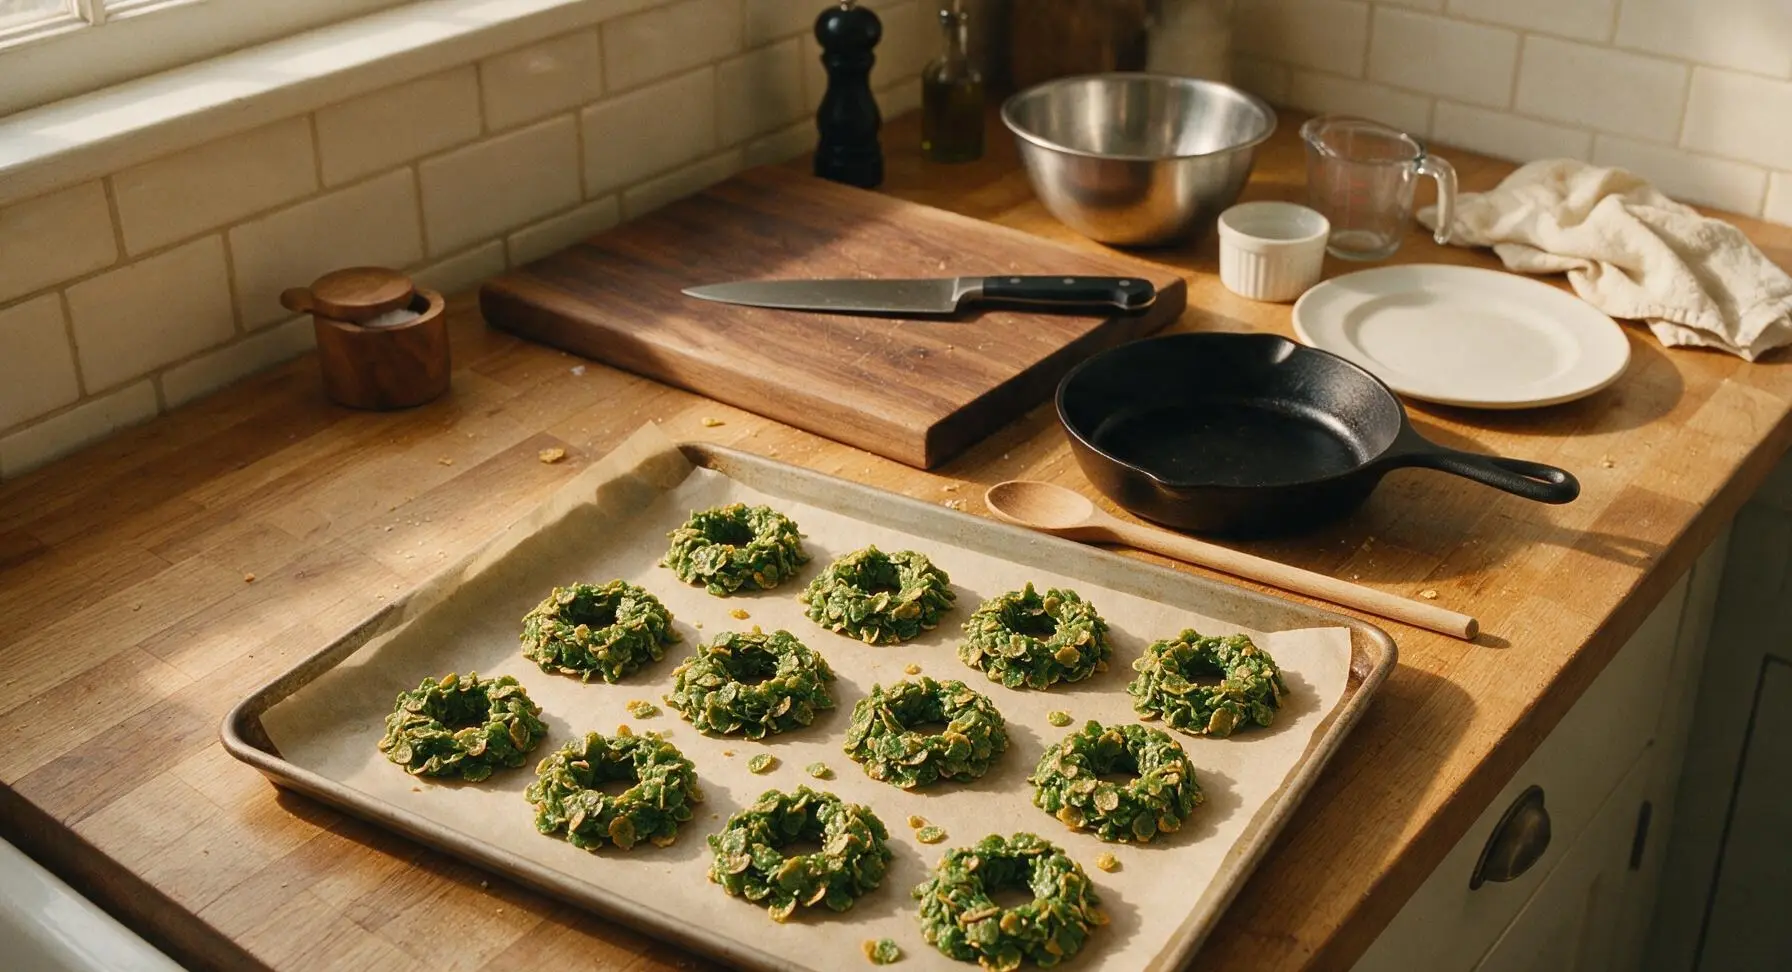
Lightly grease your fingertips with a small amount of softened butter to prevent sticking. Working one mound at a time, gently press a 2cm wide hollow indentation into the center of each cornflake mound to form a classic wreath ring shape. Keep the edges of each wreath slightly rough and textured rather than perfectly smooth, to mimic the look of evergreen foliage. Re-grease your fingertips as needed if the mixture starts to stick.
Decorate and Chill
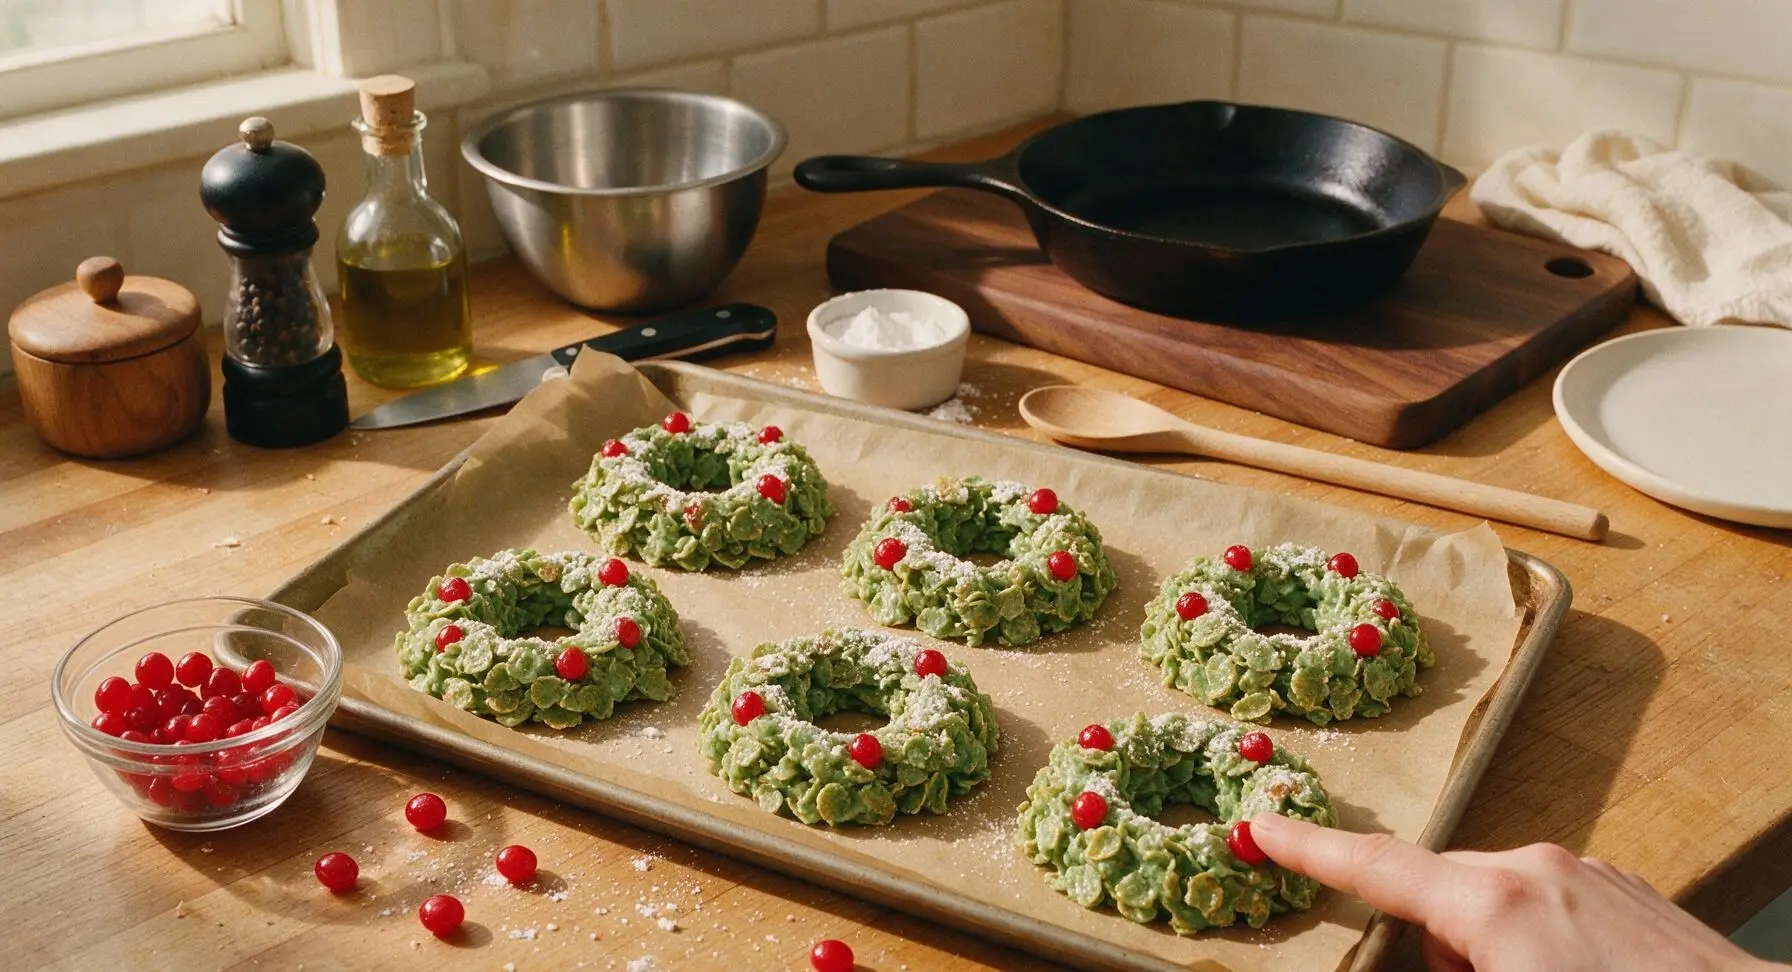
While the wreaths are still soft and sticky (within 10 minutes of mixing), press 3-4 red cinnamon imperial candies into the outer edge of each wreath to mimic bright holly berries. Once all wreaths are decorated, place the sheet pan in the refrigerator to chill for 1 hour, until the marshmallow is fully firm and the wreaths hold their shape when lifted from the parchment. Just before serving, dust the tops of the wreaths very lightly with powdered sugar to mimic a light dusting of fresh snow.
Tips
2.Keep heat on the lowest setting when melting marshmallows: High heat causes marshmallows to break down and become tough and chewy once cool, rather than staying soft and pillowy. Slow melting over low heat creates a smooth, stretchy binder that coats cornflakes evenly without hardening into a tough candy shell.
3.Lightly grease all tools and fingertips with butter, not non-stick spray: Cooking spray can leave a visible, unpleasant oily residue on the surface of the finished wreaths, while a thin layer of butter prevents sticking without leaving a greasy aftertaste or dulling the bright green color.






OMG these are SO cute and easy! I made them for my kid’s 2nd grade class holiday party and every single kid begged for seconds. The 5 minute cook time is no joke—no slaving over the stove for hours for a festive treat. 10/10 will make every Christmas from now on.
Total game changer for last minute holiday prep! I forgot I signed up to bring treats to our neighborhood cookie swap and threw these together in literally 10 minutes total (including shaping them into wreaths). Everyone asked for the recipe before I even left.
Taste great! Only reason I’m not giving 5 stars is I used regular marshmallows instead of mini ones and it took a tiny bit longer to melt. The grandkids went crazy for them, loved adding the little red candy decorations themselves. Will make again, just with mini marshmallows next time.
Made these last night for our family Christmas movie night and they were chef’s kiss. Crunchy, sweet, not too messy, even my picky 7 year old ate two without complaining about ‘green food’ (total win!). Saved to my holiday recipe folder for sure.
Wait why did I never think to make these as an adult? I remember making these in elementary school art class around the holidays and they taste exactly how I remember. I added a little extra vanilla extract per a friend’s suggestion and wow, that leveled up the flavor so much.
Taste is good, but I added way too much green food coloring and my hands were neon green for two days after shaping these lmao. Don’t be like me, add food coloring one drop at a time!
Just pulled these together to set out for Santa tonight! Shaped them a little wonky but they smell amazing, added little silver sugar sprinkles along with the red candies for extra sparkle. Fingers crossed my kid doesn’t sneak them before Santa gets here.
I’ve made these twice already and they’re amazing! Quick question: How well do these hold up if I make them the night before an event? I don’t have time to whip them up the morning of our church holiday brunch and don’t want them to get soggy!
SO good. I’m a single dad who can barely boil water without burning it and these turned out perfect first try. My teen daughter thought I bought them from the local bakery, no cap. 10/10 easy win for us non-bakers out here.
Just made these with my 4 year old and we had a blast! She loved dumping the cornflakes in and placing the red hot candies on each wreath. Super easy to let little kids help with since there’s barely any hot stove time required. Perfect holiday memory making recipe.
Great recipe! I swapped the cornflakes for frosted flakes on a whim because that’s all I had in the pantry and they were extra delicious, just a little sweeter. Would recommend trying that if you have a major sweet tooth.
Ugh, my cornflakes got totally soggy when I mixed them with the melted marshmallow? What did I do wrong? I followed the cook time exactly but they turned out mushy, not crunchy at all.
Made these for my husband’s work holiday party and they were the first treat gone from the dessert table! I added little mini bow tie pasta (cooked and dyed red!) as little bow decorations on each wreath and people thought they were so fancy. No one believed they only took 5 minutes to cook.
Perfect cheap holiday treat! I already had all the ingredients in my pantry except the green food coloring, which cost me $1 at the grocery store. Made 18 wreaths for under $5 total, can’t beat that for holiday gifting. I bagged them up with little ribbon tags for my neighbors.
I made these last year and they were incredible! Quick question: Can I make these without corn syrup? I try to avoid it in my holiday baking and was wondering if honey works as a swap?
As someone who meal preps all our holiday gathering treats ahead of time, these are a new staple. They’re so quick to throw together, travel well, and even taste great after a few days in an airtight container. I’ve already made three batches this month and will probably make two more before Christmas is over.