
Cornflake Wreaths
intro
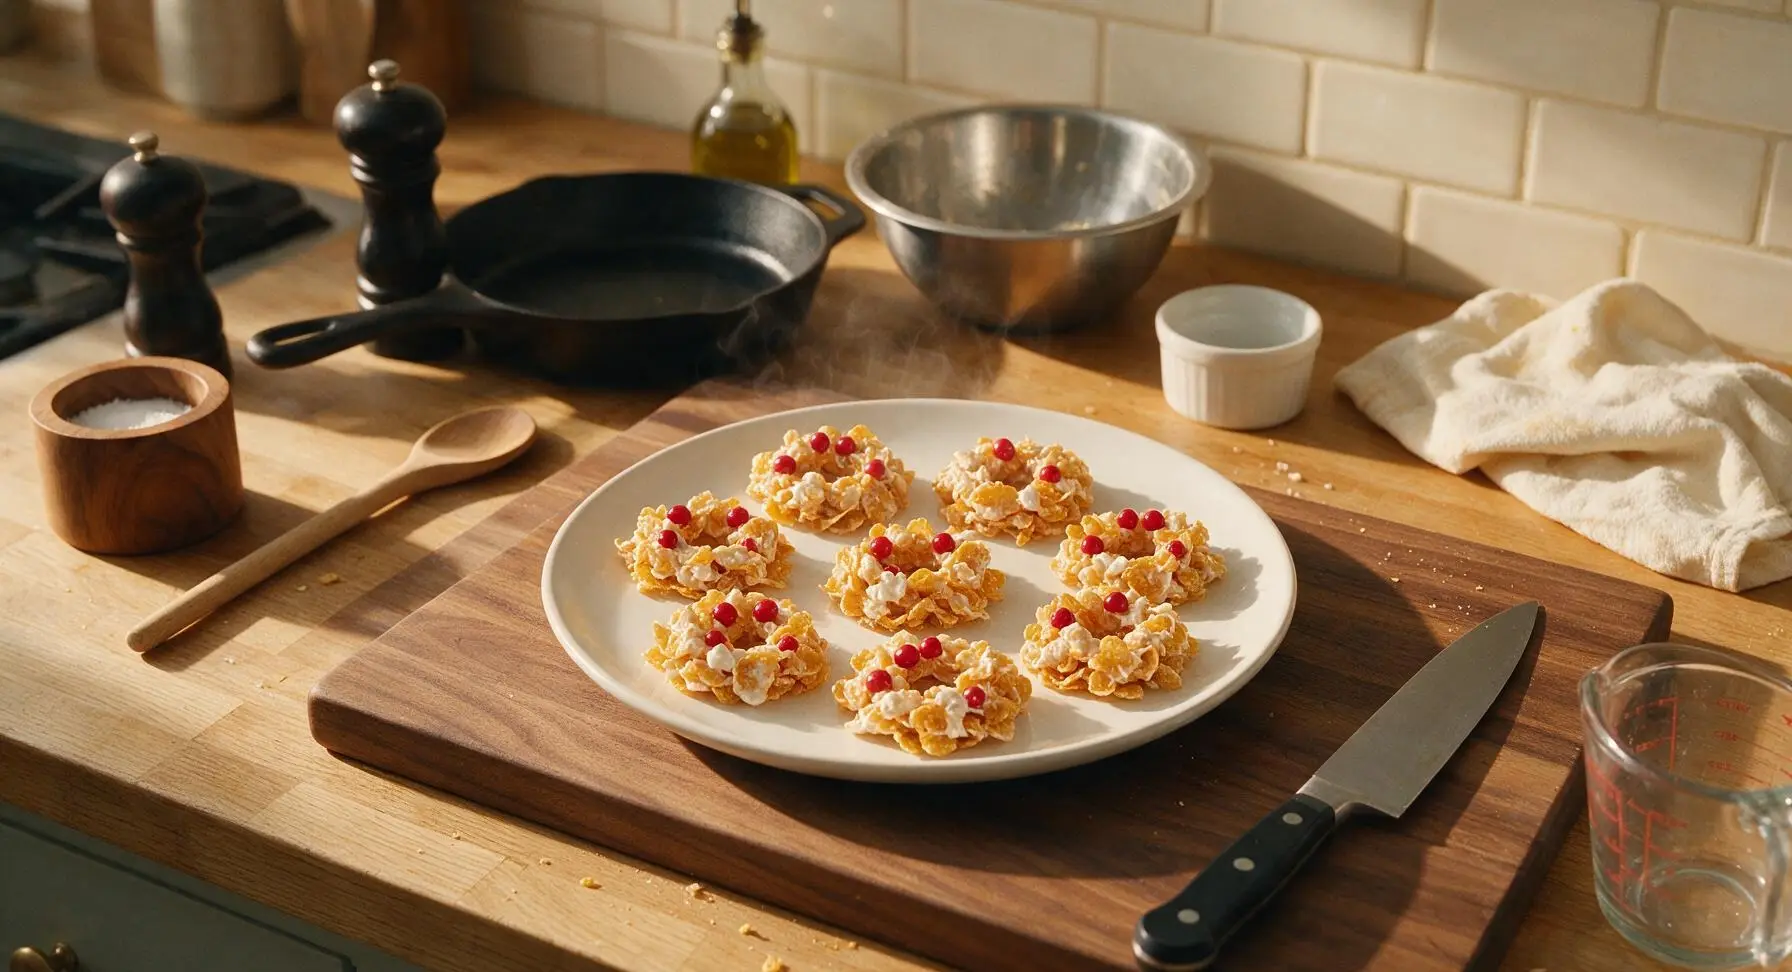
Cheerful no-bake Christmas treats: crunchy cornflakes coated in sweet vanilla marshmallow, shaped into mini wreaths dotted with bright red candy holly berries.
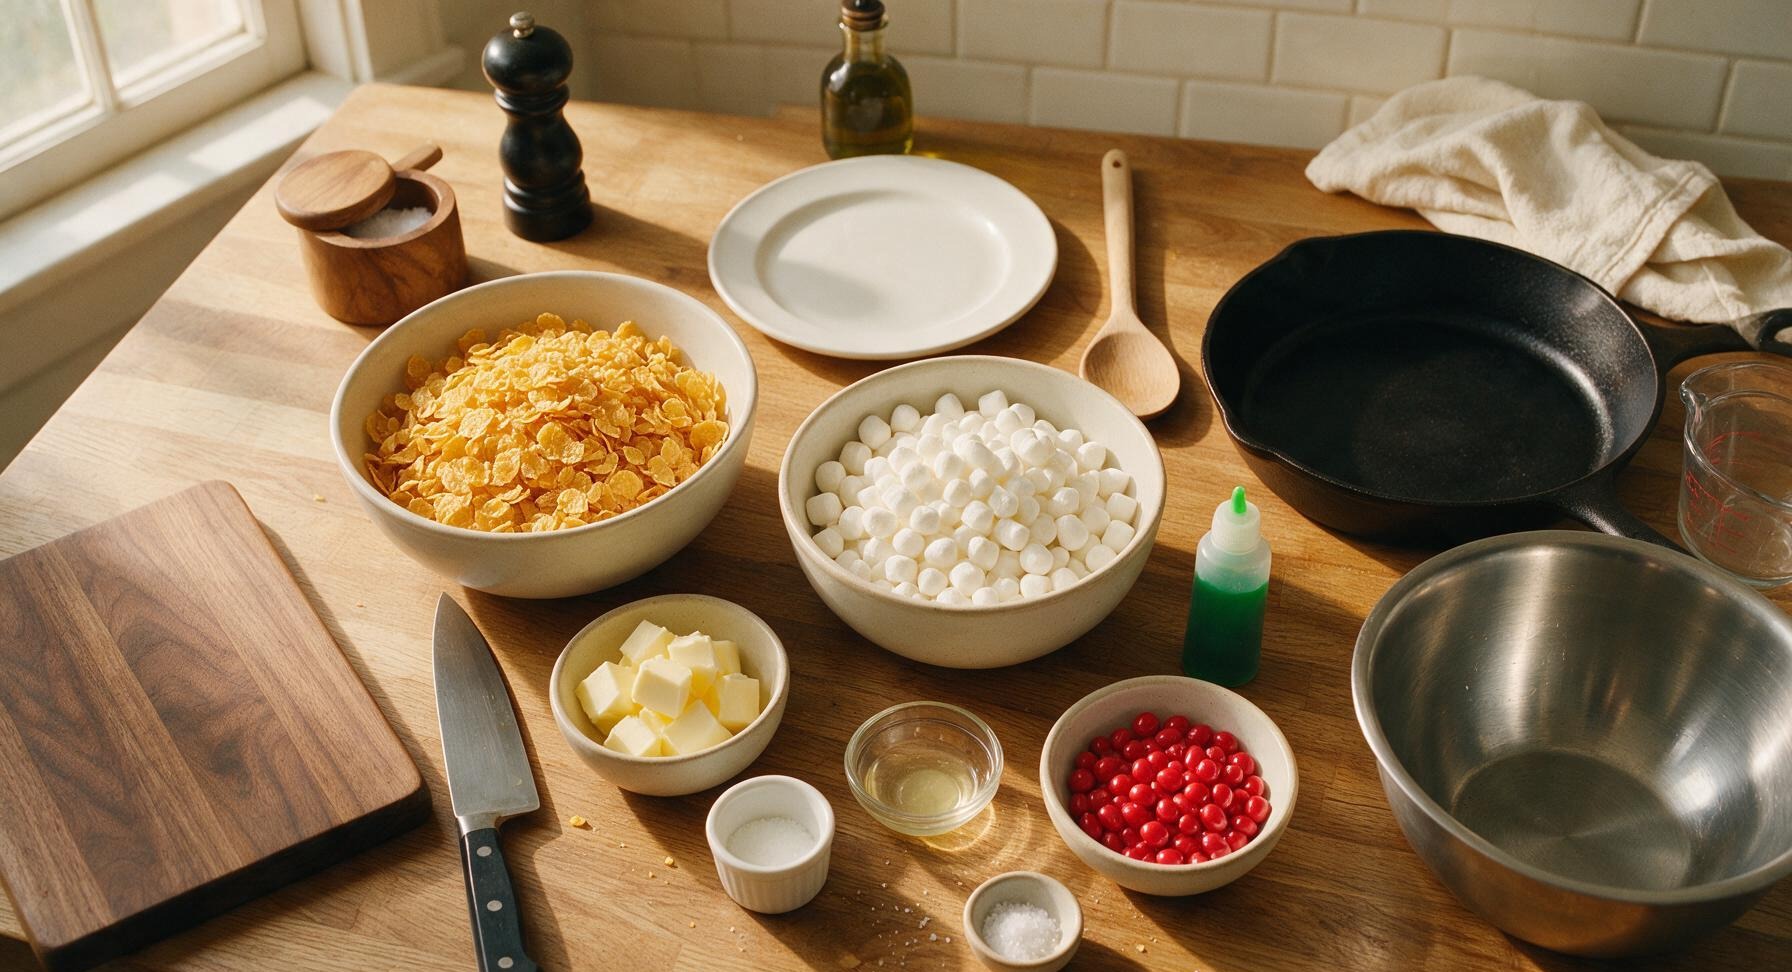
Ingredients
Steps
Melt Marshmallow Base
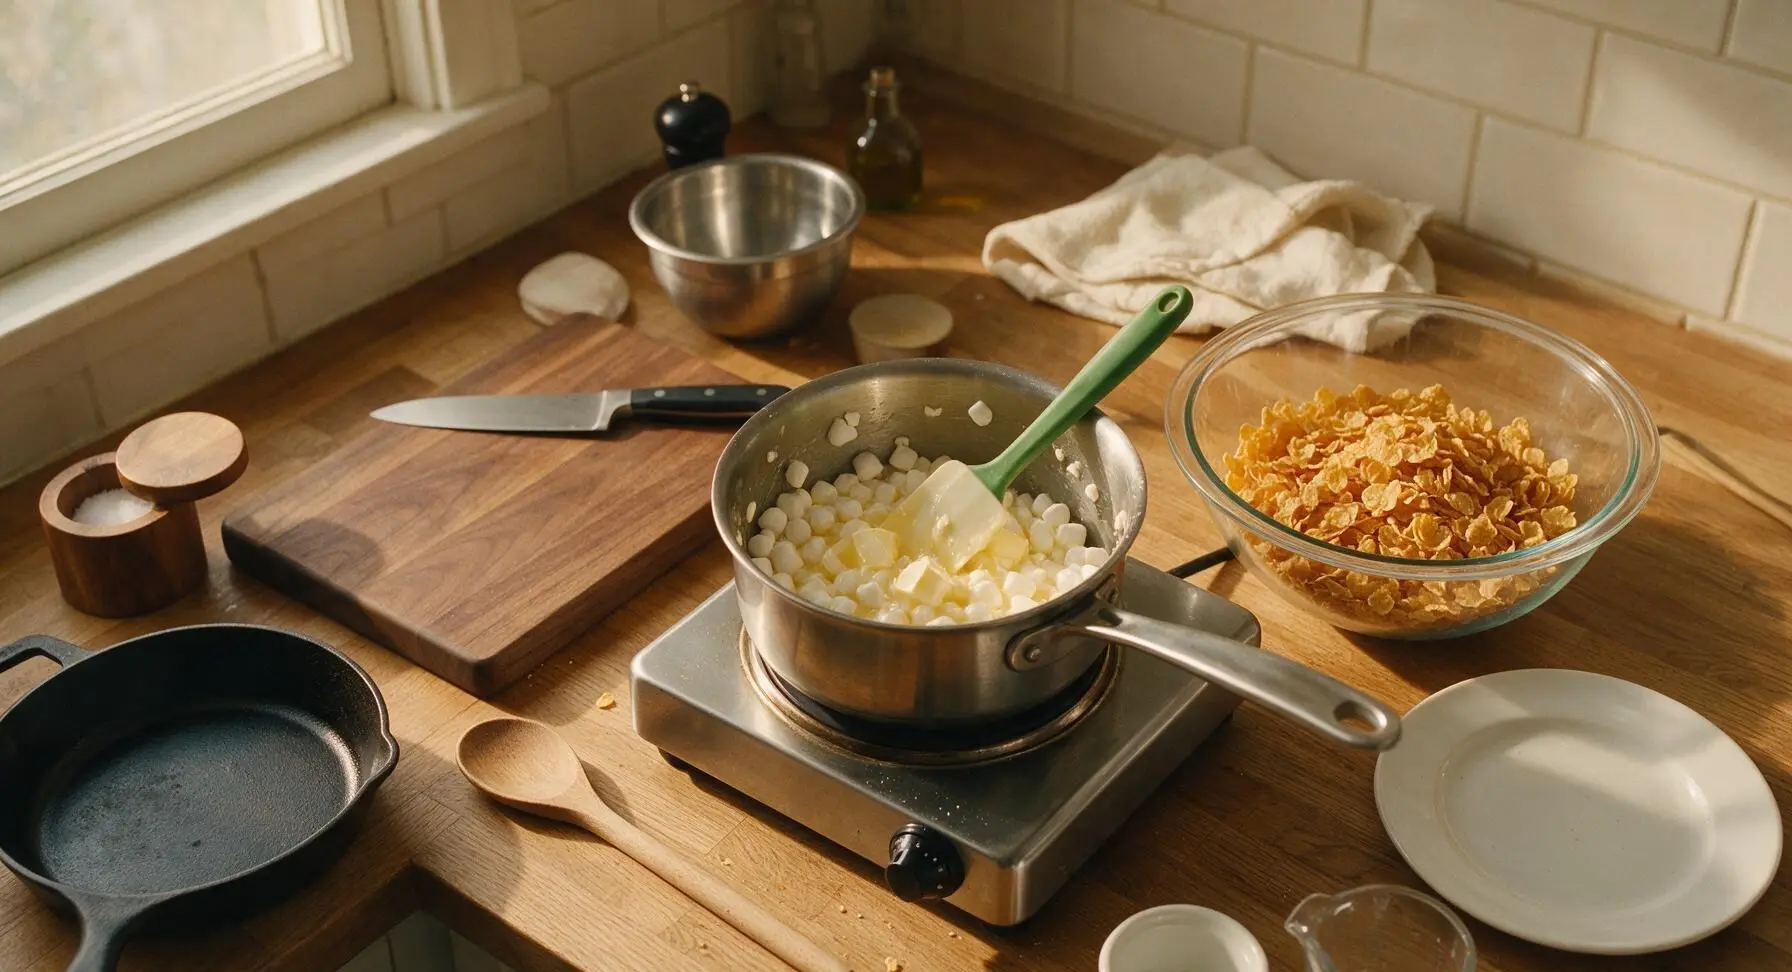
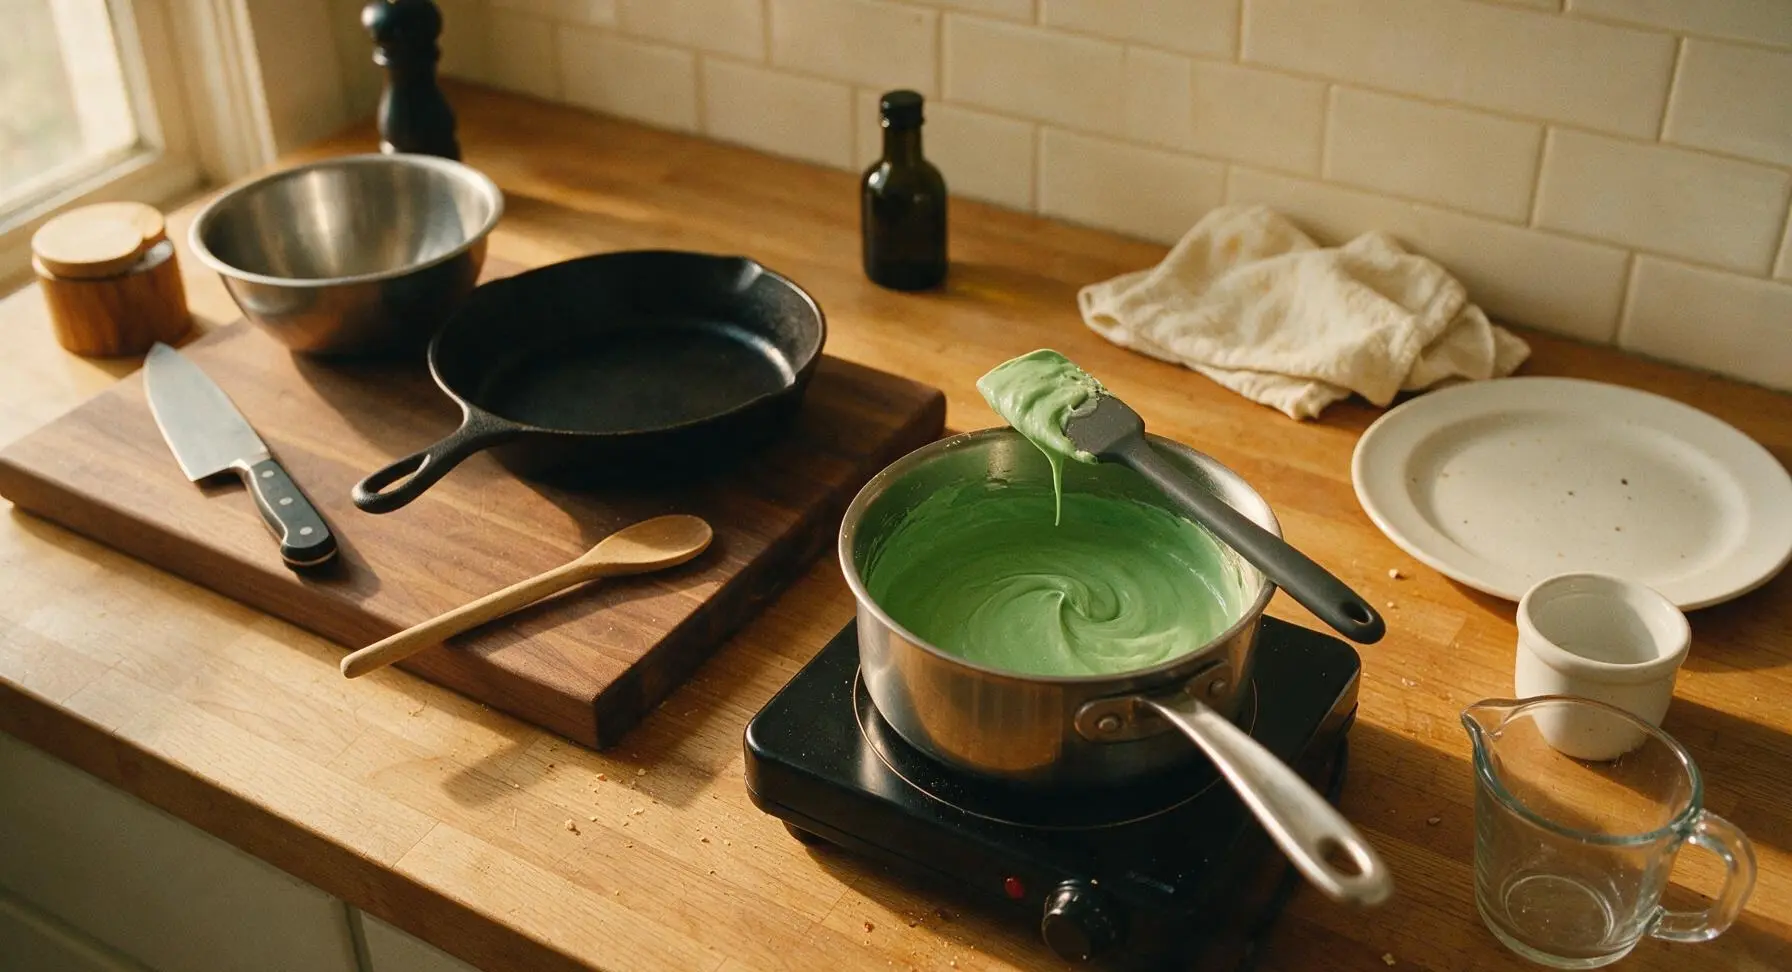
Place the small stainless steel saucepan on the portable induction cooktop over low heat. Add the cubed unsalted butter, stirring with the silicone spatula until fully melted, about 1 minute. Add the mini marshmallows, stirring constantly until completely smooth and free of lumps, 3-4 minutes—do not turn heat up to avoid scorching the marshmallow. Remove the pan from heat, stir in vanilla extract, fine sea salt, and 6-8 drops green gel food coloring, mixing until the base is an even, soft holly green color.
Coat Cornflakes Evenly
Pour the entire green marshmallow base from the saucepan over the cornflakes in the large glass mixing bowl. Use the silicone spatula to gently fold the mixture, scraping the bottom of the bowl repeatedly to lift uncoated cornflakes, until every flake is lightly coated in green marshmallow. Fold slowly to avoid crushing the cornflakes into fine crumbs— the mixture should hold distinct flake texture, not turn mushy. This takes about 1 minute.
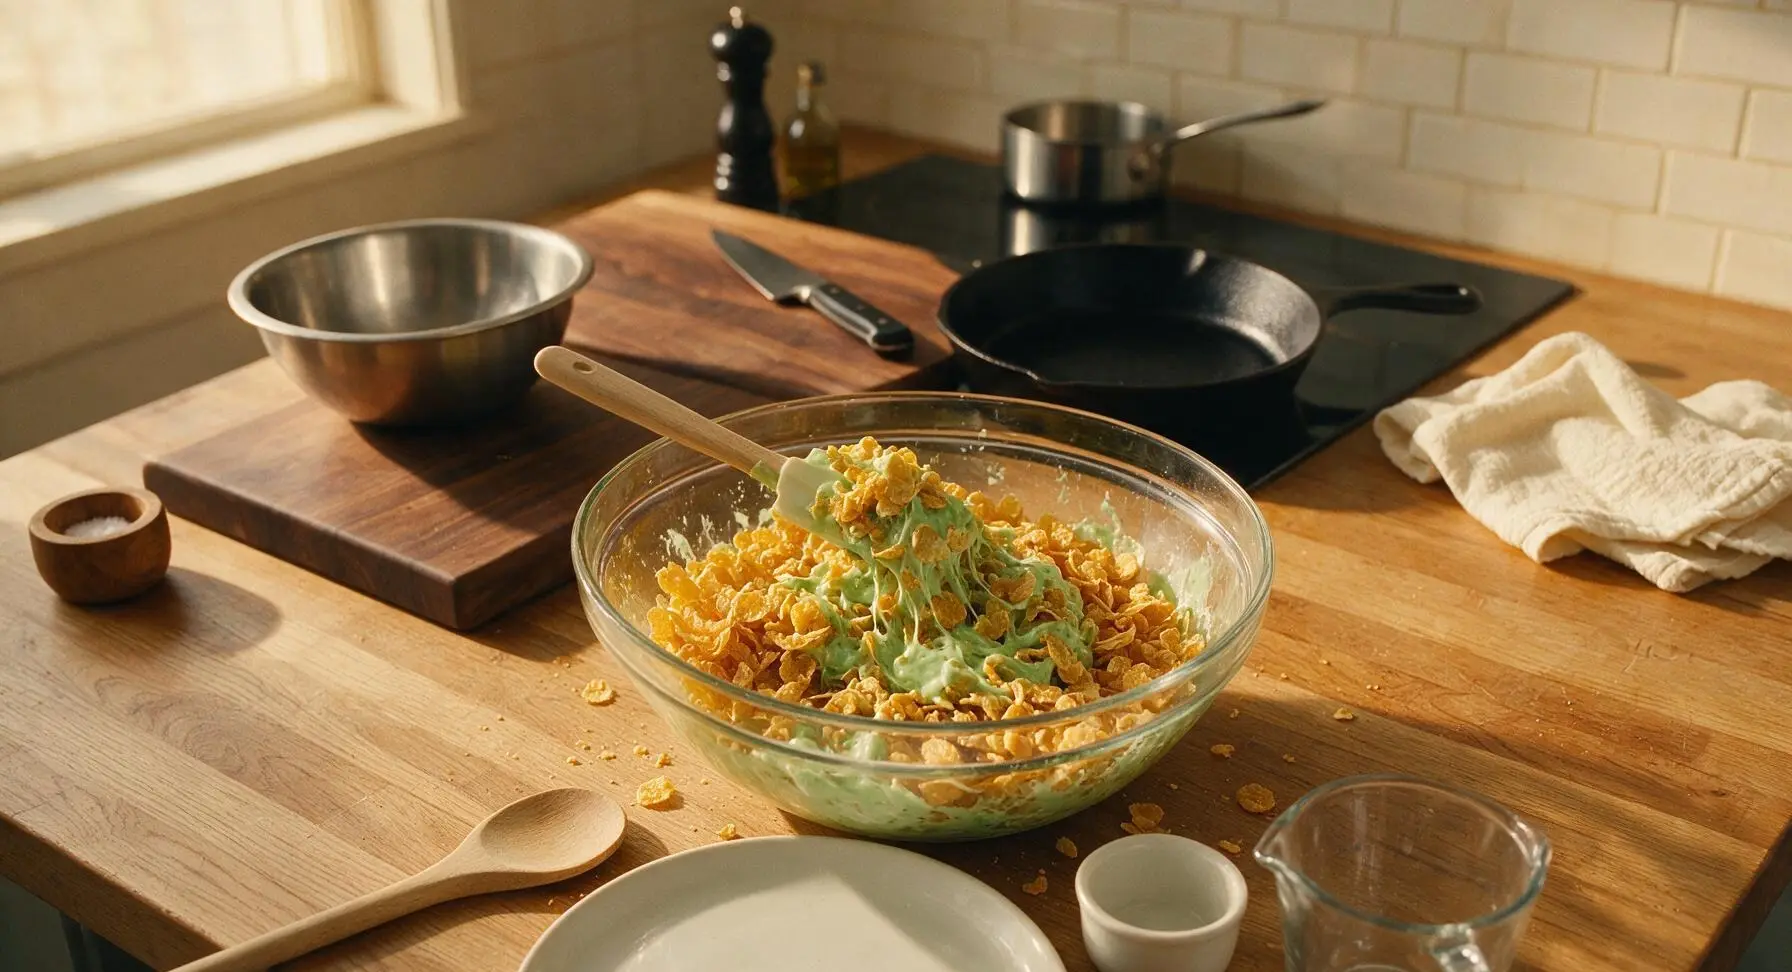
Scoop Wreath Mounds
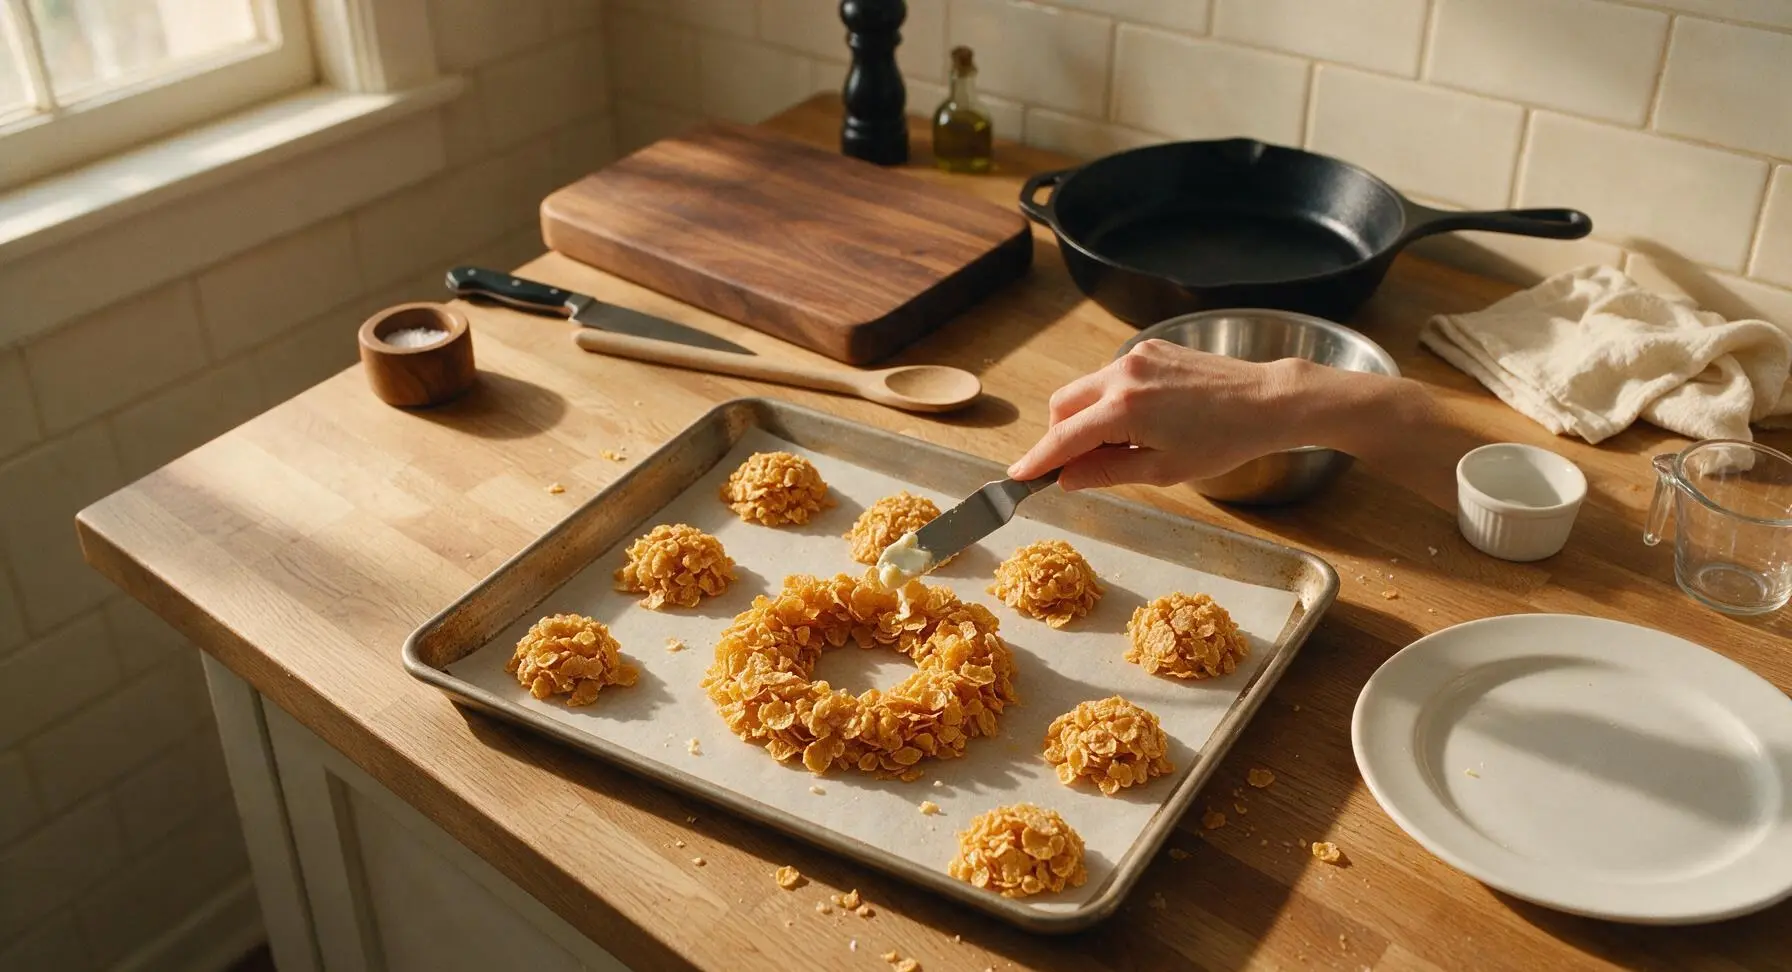
Working quickly while the marshmallow mixture is still warm and pliable (it sets fast as it cools), use the 1-tablespoon stainless steel cookie scoop to drop even, rounded mounds of coated cornflakes onto the parchment-lined baking sheet. Leave 2cm of space between each mound to make shaping easier; you should get 12 equal portions total.

Shape Wreath Rings
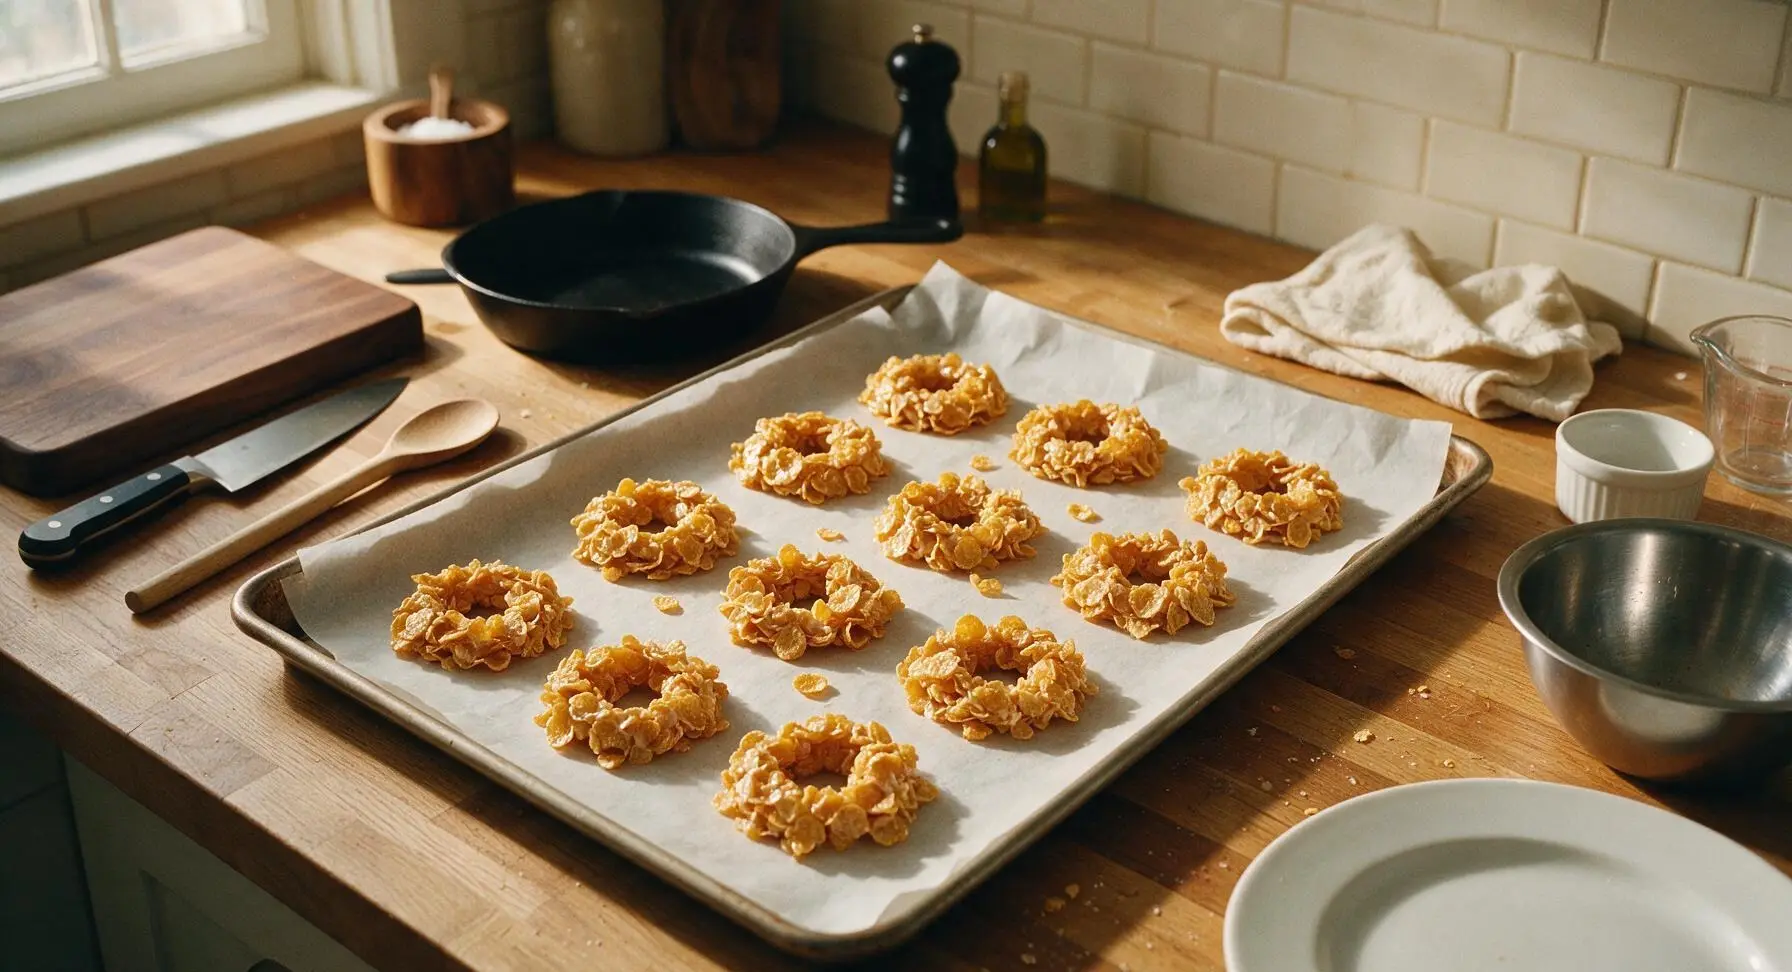
Lightly grease the tip of the small offset spatula (or your clean fingertips) with a tiny bit of butter to prevent sticking. Press a 1cm wide hole directly into the center of each warm cornflake mound, gently pressing the flakes outward to form a distinct ring or wreath shape. Don’t press too hard— keep the edges slightly rough and textured for a rustic, natural look, rather than perfectly smooth. Reshape any mounds that crack as you work, pressing loose flakes back into place.
Add Candy Berries
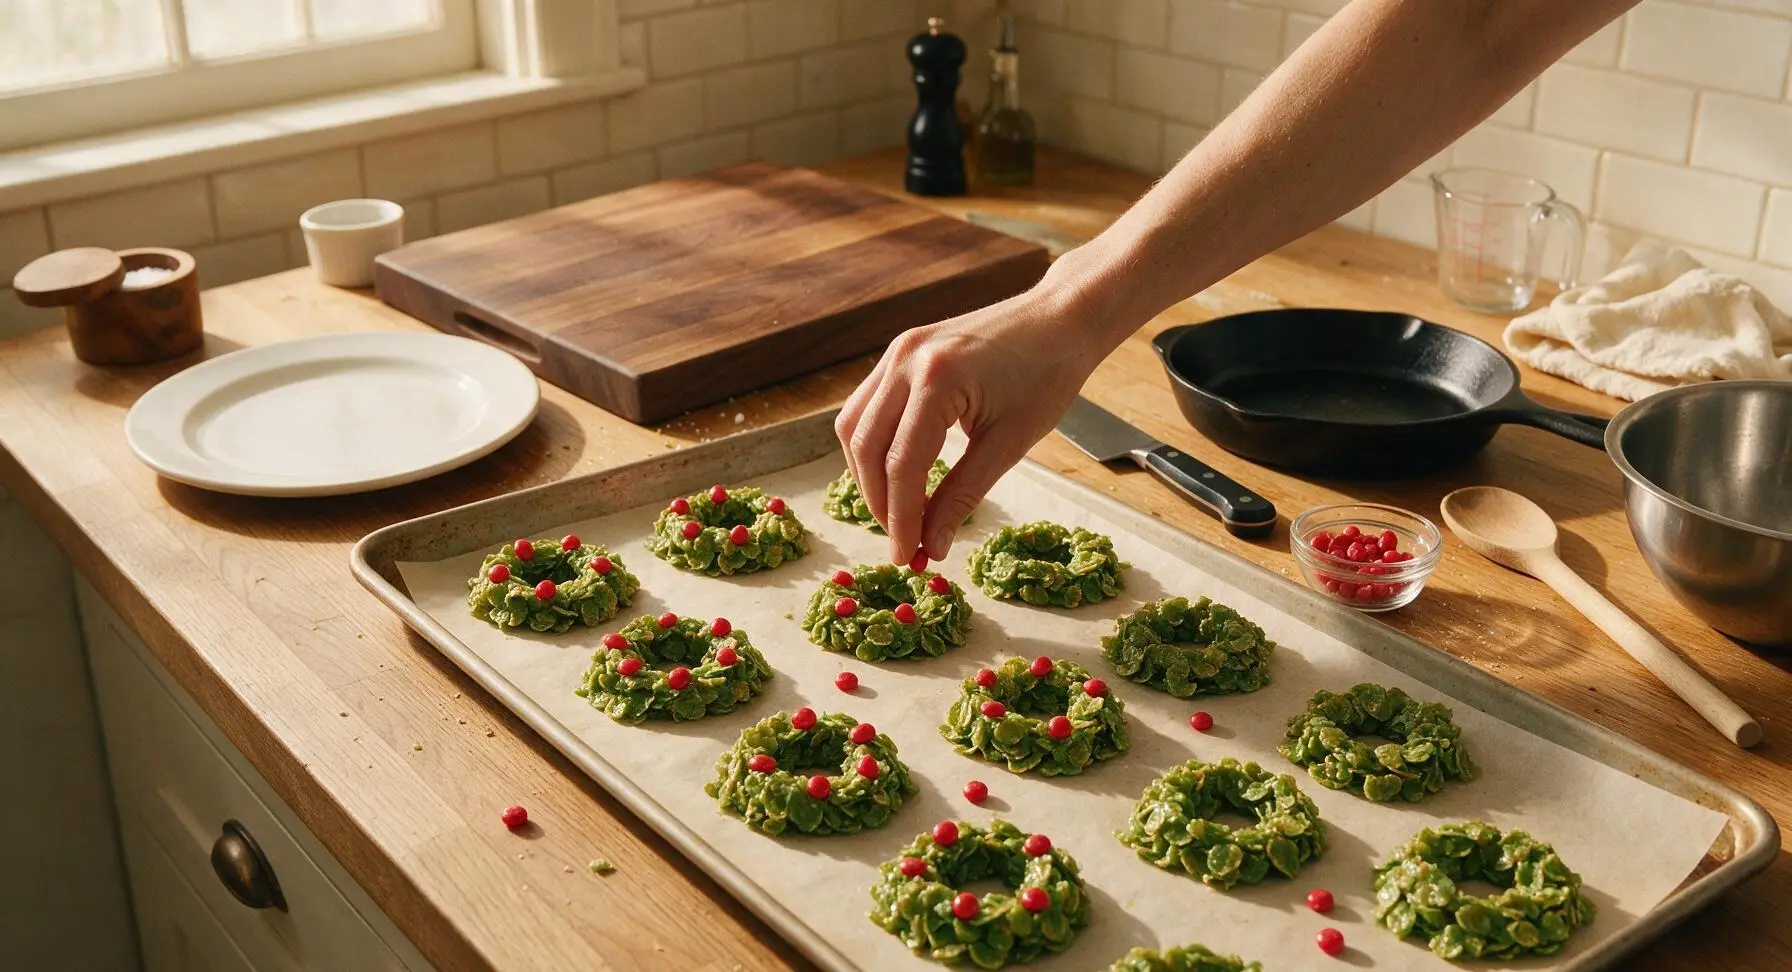
While the marshmallow coating is still slightly tacky (if it has started to set, press candies firmly to help them stick), place 3-4 bright red cinnamon imperial candies on each wreath, spacing them evenly around the ring to mimic holly berries. Press each candy gently into the marshmallow so it stays secured once the treats set.
Let Wreaths Set
Leave the baking sheet of decorated wreaths on the cool counter, away from direct heat, for 25-30 minutes until the marshmallow coating is fully firm and no longer sticky to a light touch. Do not refrigerate, as this will make the cornflakes go soggy.
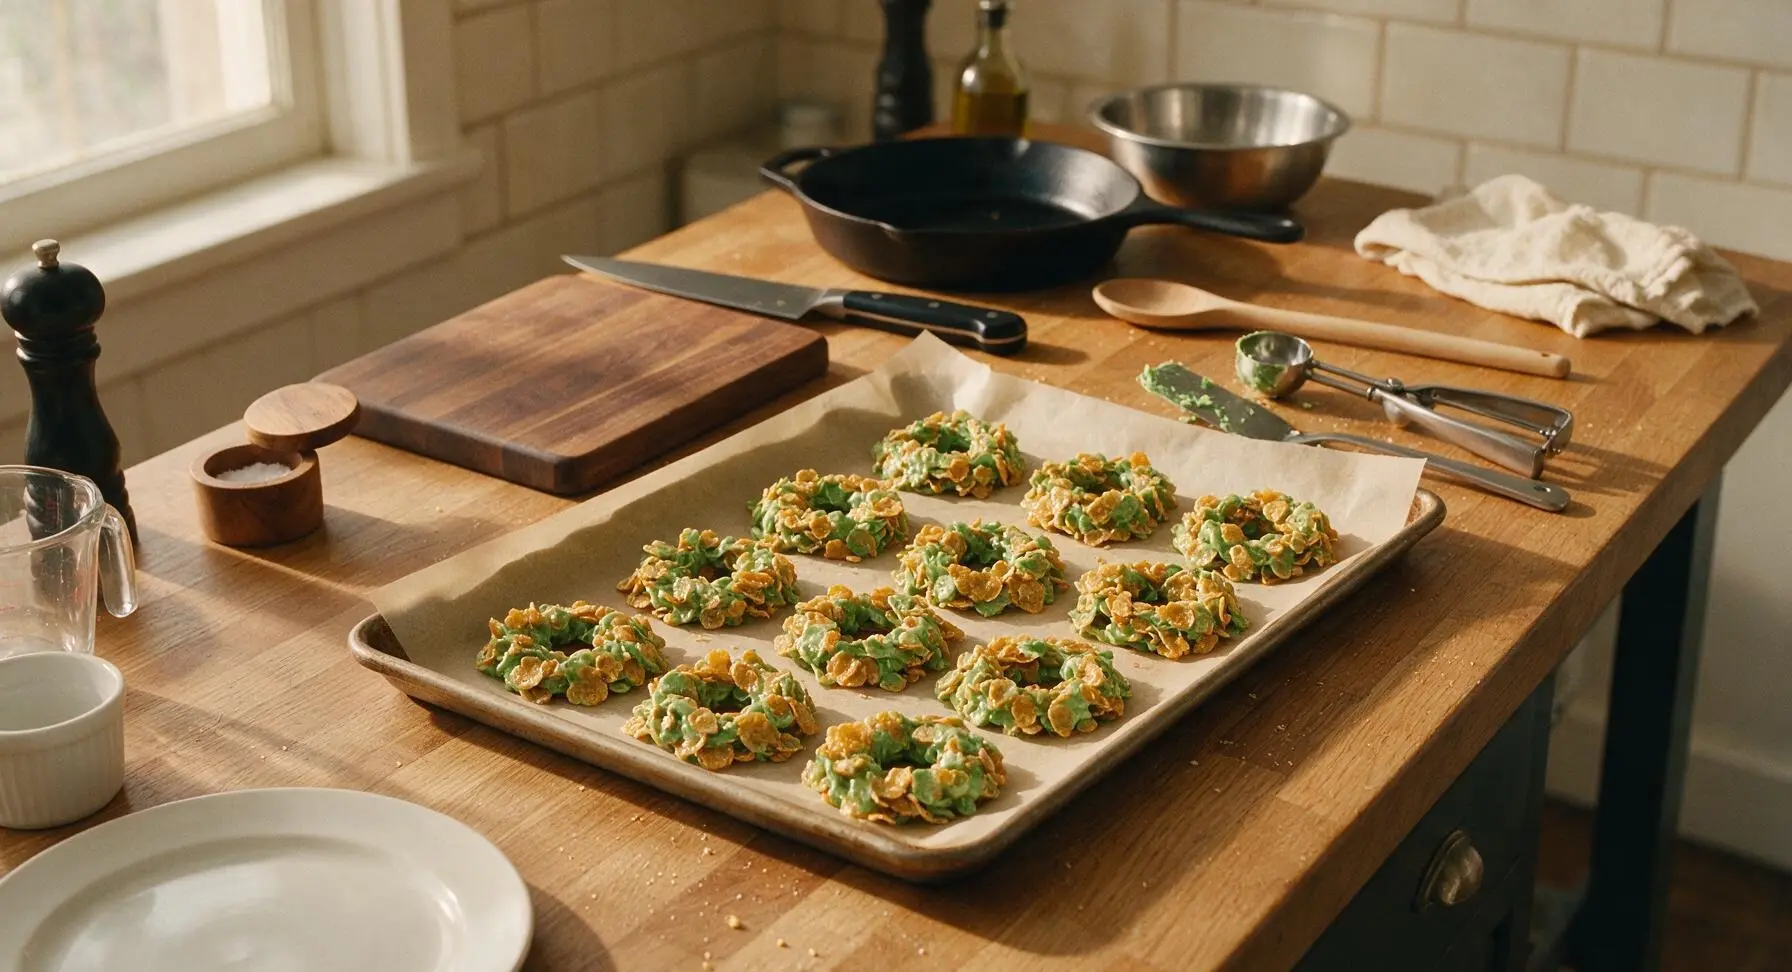
Plate and Serve
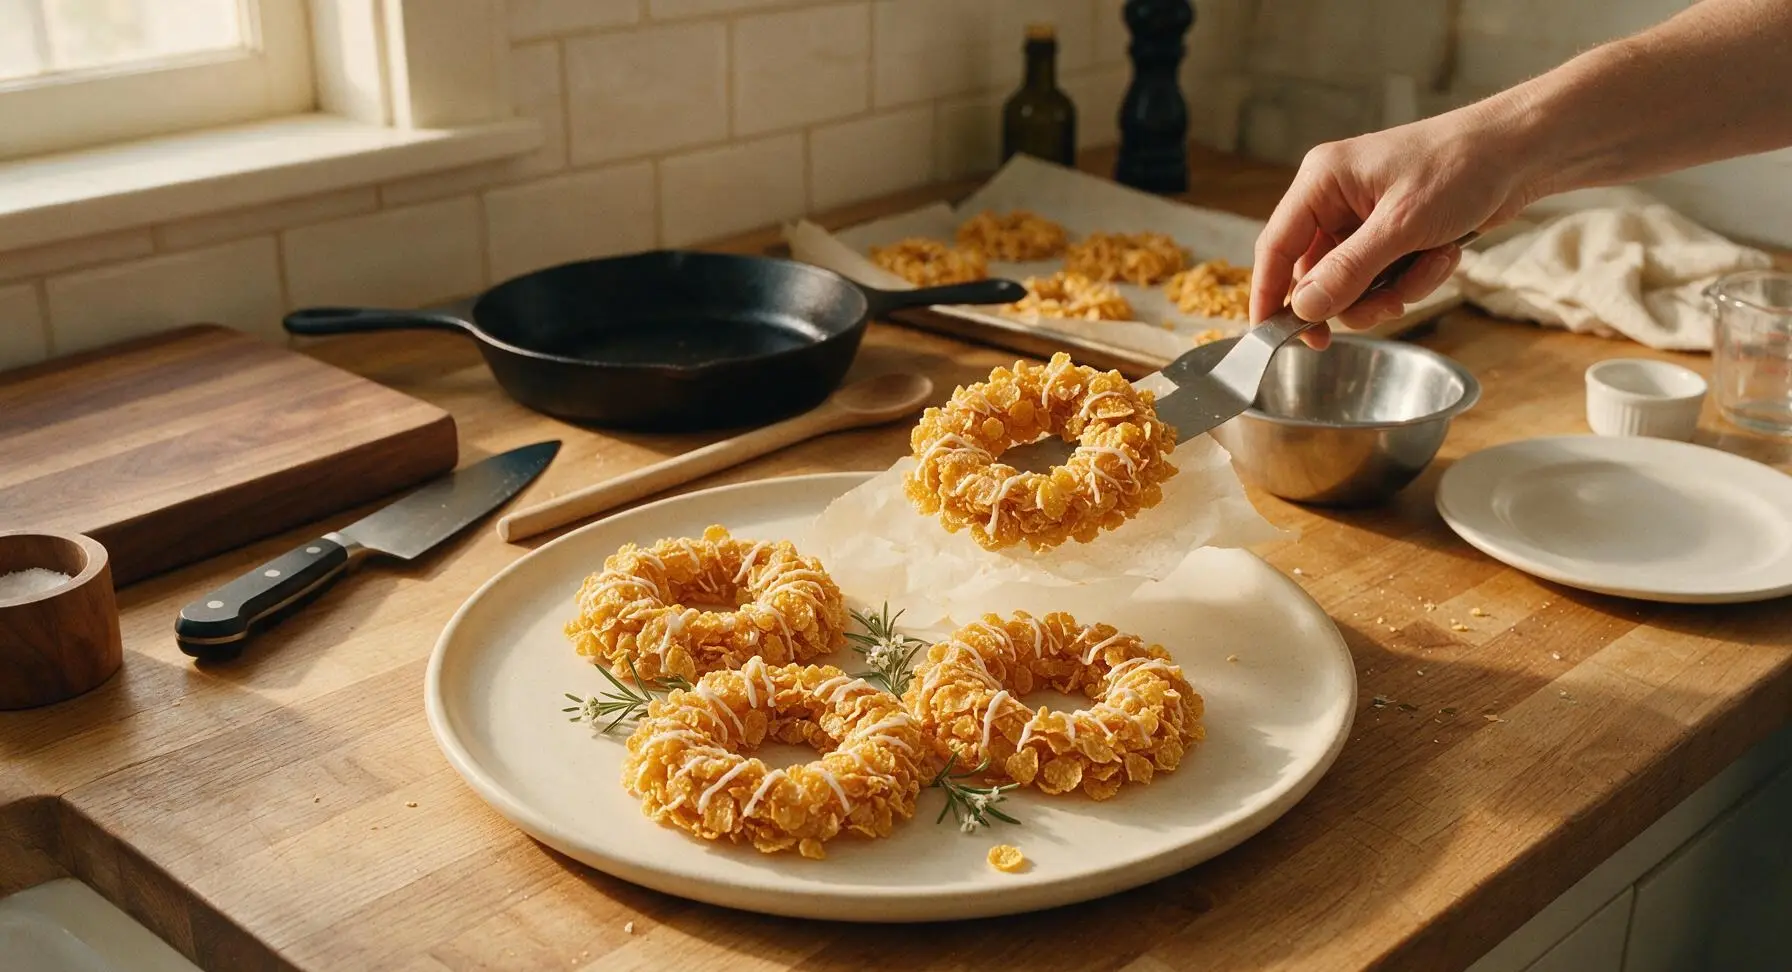
Once fully set, gently lift each wreath off the parchment paper and arrange them in a loose, overlapping circular cluster on the matte cream ceramic serving platter. Tuck tiny fresh rosemary sprigs between wreaths for extra evergreen detail if desired, and serve at room temperature.
Tips
2.Work quickly once you combine the marshmallow and cornflakes: The warm marshmallow starts to firm up in as little as 5 minutes at cool room temperature, which makes shaping smooth wreaths and securing candy berries much harder if you delay prep.
3.Use only a light coating of butter to grease your spatula or fingers when shaping: Excess butter will leave greasy, splotchy marks on the finished wreaths and prevent the cinnamon candies from sticking securely to the marshmallow surface.






OMG these were such a hit at my kid’s class holiday party! I was worried no-bake treats would be a flop but 5 minute cook time? Total game changer for my chaotic weeknight schedule. The only tweak I made was adding extra red hots for the berry decorations, so cute!
Super easy even for someone who burns toast 90% of the time! Made these with my roommates for our dorm holiday movie night and we ate half the batch before we even finished decorating lmao. 10/10 would make again.
Wait a second, do these set up okay if I leave them out on a cookie platter for a few hours? I don’t want them getting soggy at my family’s Christmas dinner tomorrow!
Has anyone tried making these with vegan butter and marshmallows? I’m hosting a cookie exchange and have a few vegan friends coming, would love to be able to include these!
SO good. I brought these to my neighborhood block club holiday potluck and people were asking for the recipe before I even set the plate down. Pro tip: add a little green sanding sugar on top before they set for extra sparkle!
Literally saved my Christmas cookie tray last night. I realized I forgot one treat at 8pm, saw this had 5 minute cook time, threw it together, and it looked like I spent hours on it. No one believed how easy it was.
Quick question—can I use gluten free cornflakes for this? My youngest has a wheat allergy and I want to make sure these don’t get too mushy with GF cereal.
These taste exactly like the ones my grandma used to make when I was a kid! I was so worried I wouldn’t find a recipe that got that perfect chewy, crunchy ratio right, but this nails it. My whole family got nostalgic eating them after our tree trimming night.
Wait how long do these stay good for? I want to make them ahead for my kid’s holiday snack for school all week, don’t wanna make them too early!
I’m not big on super sweet holiday treats but these are perfect. The cornflake cuts the sweetness of the marshmallow so it’s not overwhelming, and they look way fancier than they are. 10/10 for beginner bakers.
My kids loved it! We made these as a class craft/party activity and even the 4 year olds were able to help shape the wreaths and add the candy decorations. It was messy but so fun, zero tears which is a miracle for class party days.
Uh oh, I messed up and added way too much green food coloring the first time I made these—my hands were green for two days lmao. Still tasted amazing though, my partner thought the neon green wreaths were hilarious. Next time I’ll add the dye a drop at a time!
This is the first year I’m hosting Christmas at my apartment and I was so stressed about making a fancy dessert spread, but these were so easy and look so cute on the table next to the sugar cookies. I feel like a actual adult now lmao