
Cornmeal Mush with Maple Syrup
intro
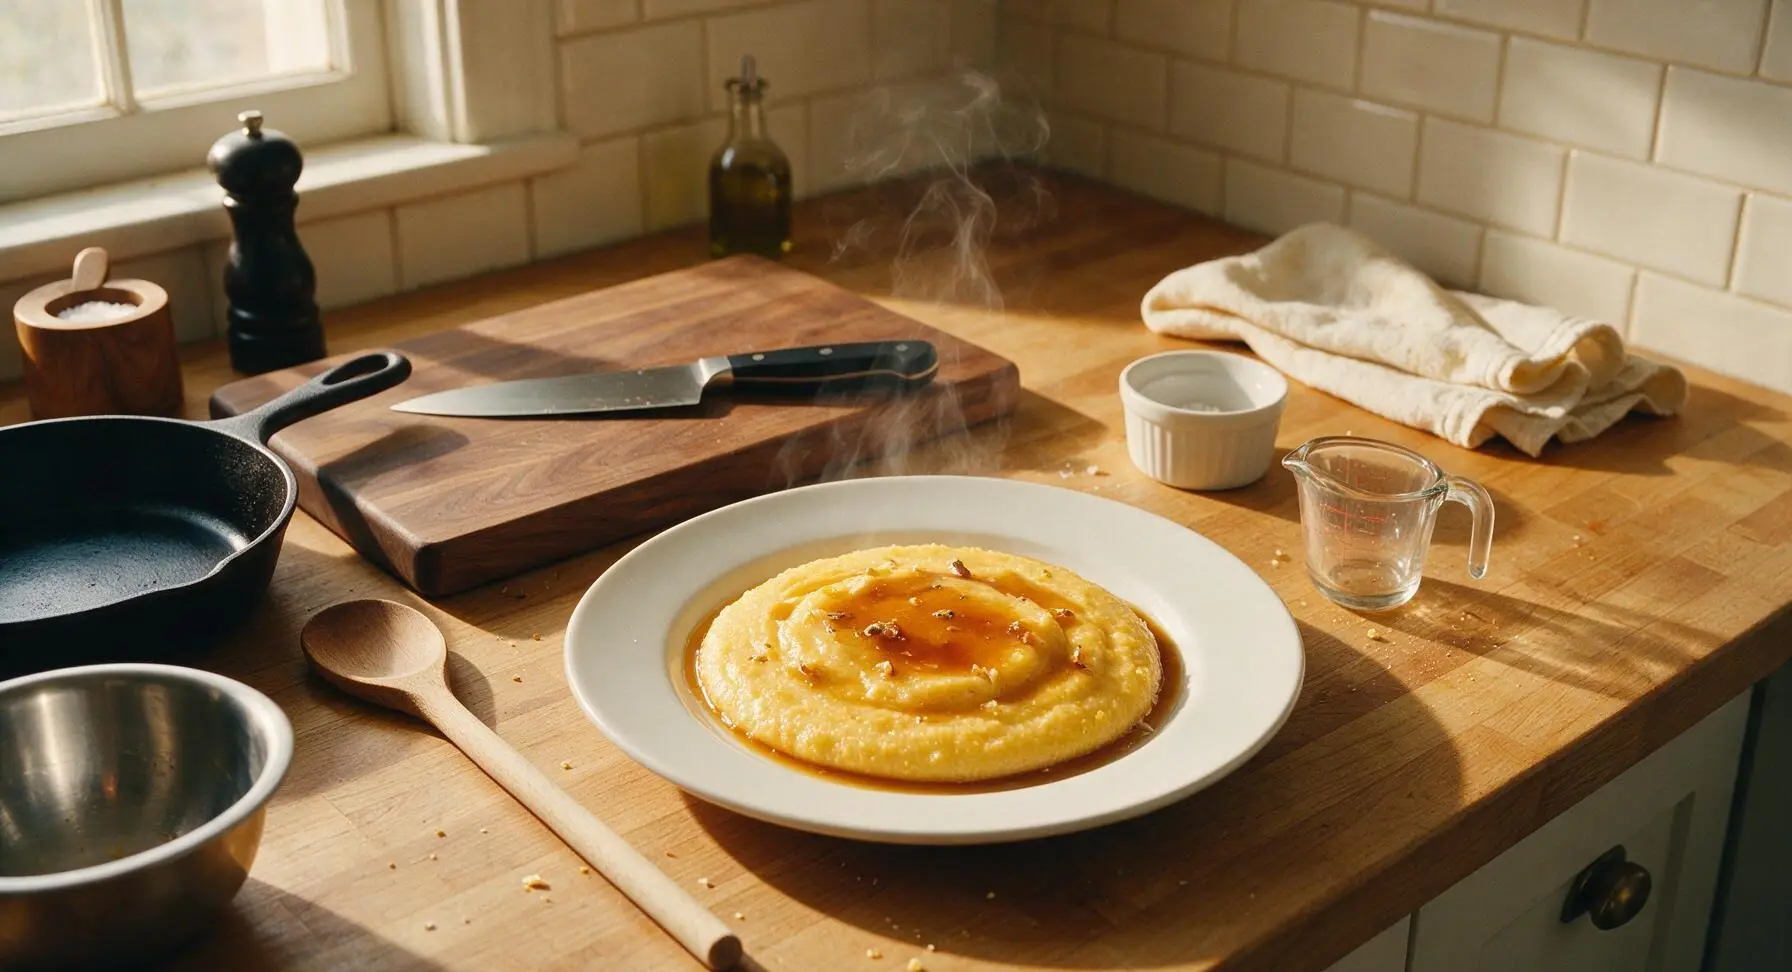
Velvety, warm cornmeal mush topped with rich amber maple syrup, a simple, wholesome staple that delivers cozy comfort in every spoonful, perfect for cold days.
Ingredients
Steps
Measure All Ingredients
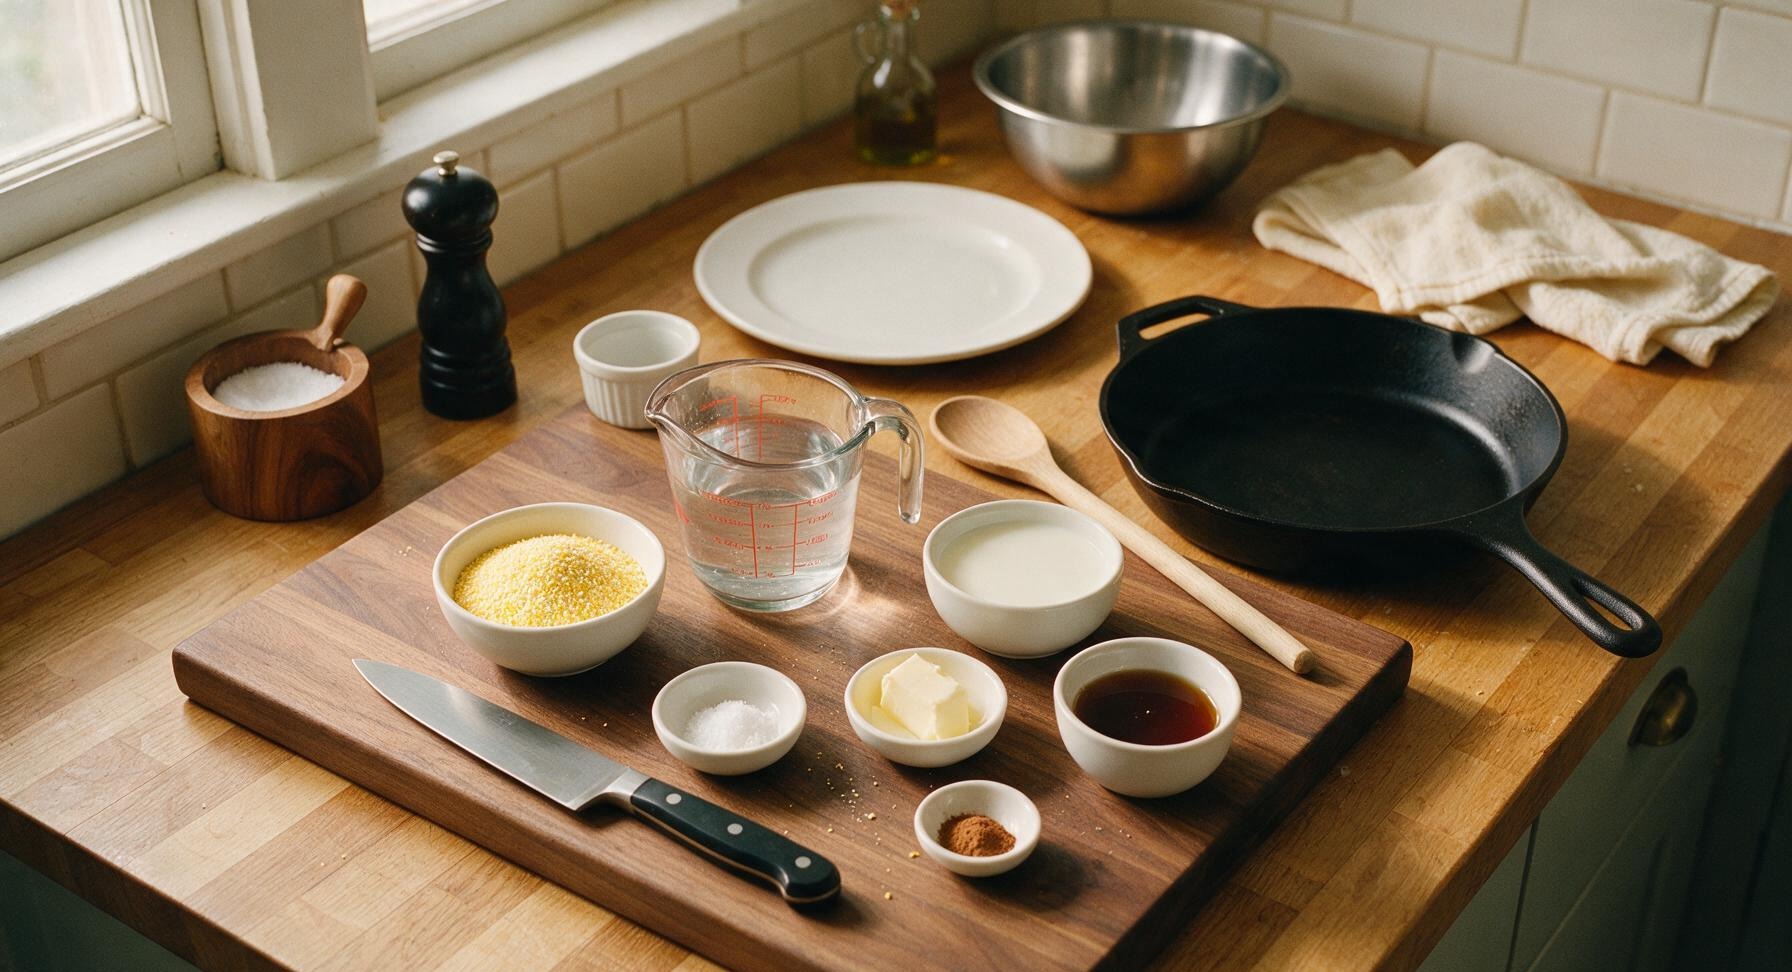
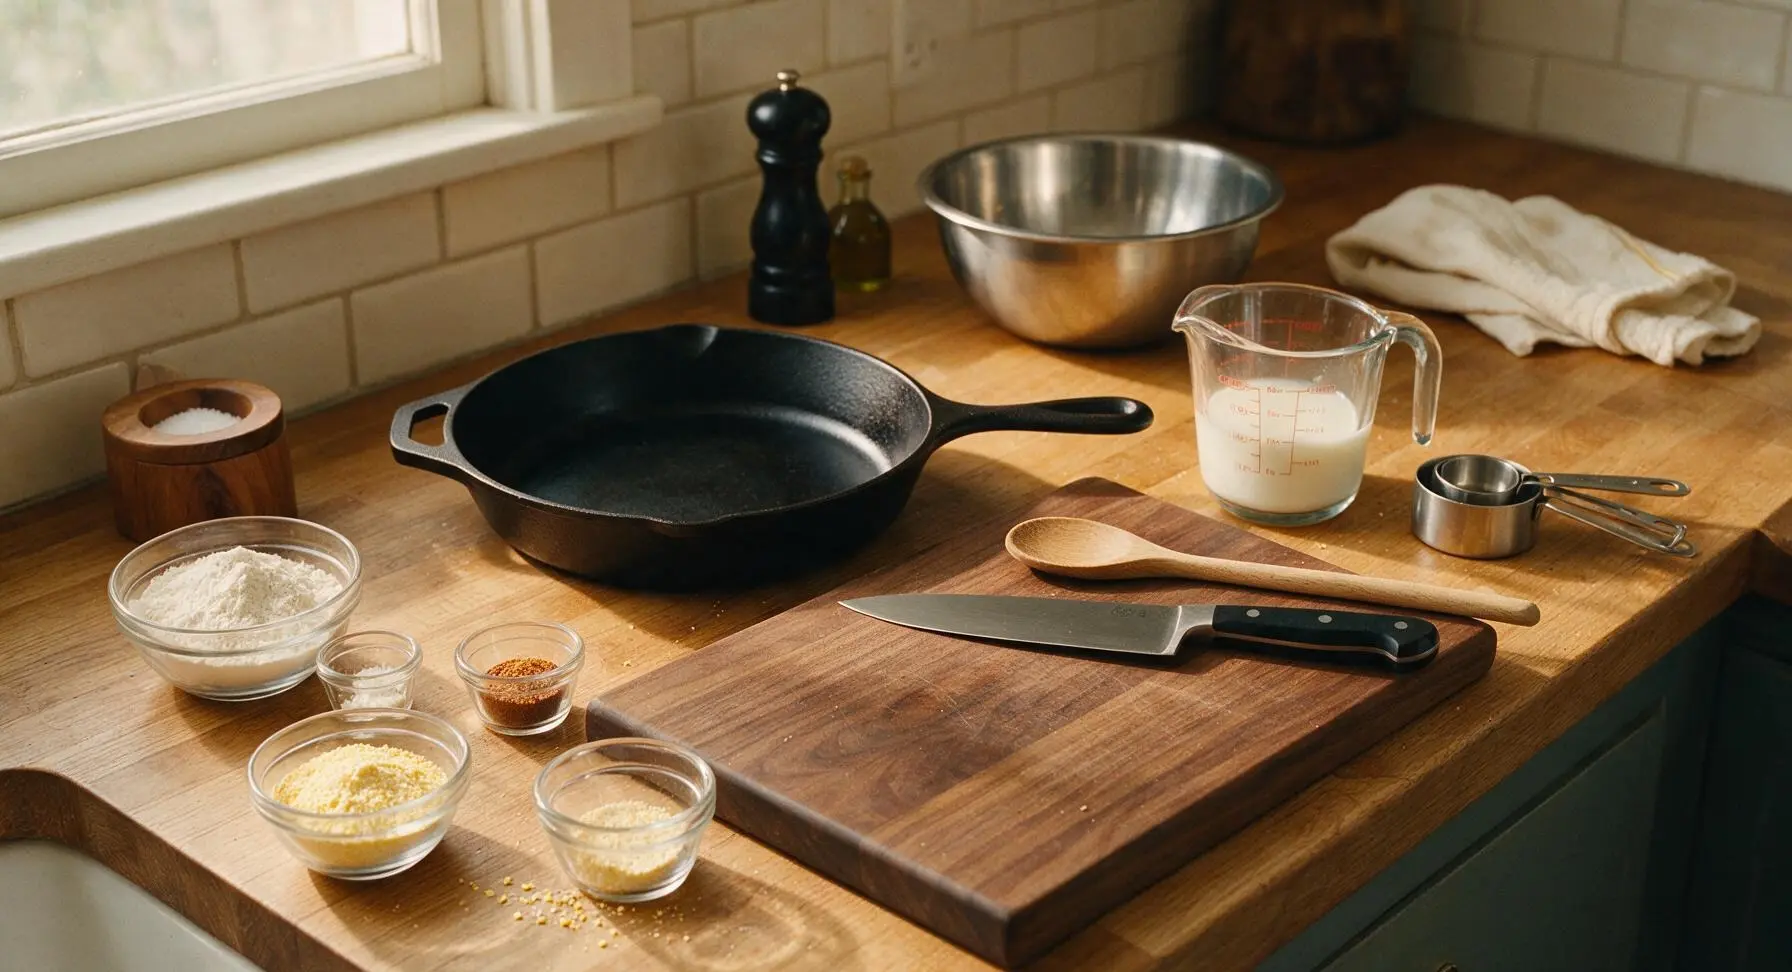
Use the brushed stainless steel dry measuring set and 1L glass measuring cup to portion all ingredients before starting to cook: measure 1 cup coarse yellow cornmeal, 3 cups cold water, 1 cup whole milk, 3/4 tsp fine sea salt, 2 tbsp unsalted butter (cut into two equal pats), 1/3 cup pure maple syrup, and 1/4 tsp ground cinnamon if using. Pre-measuring eliminates the need to step away from the stove while stirring, which prevents lumps and scorching.
Heat Salted Water
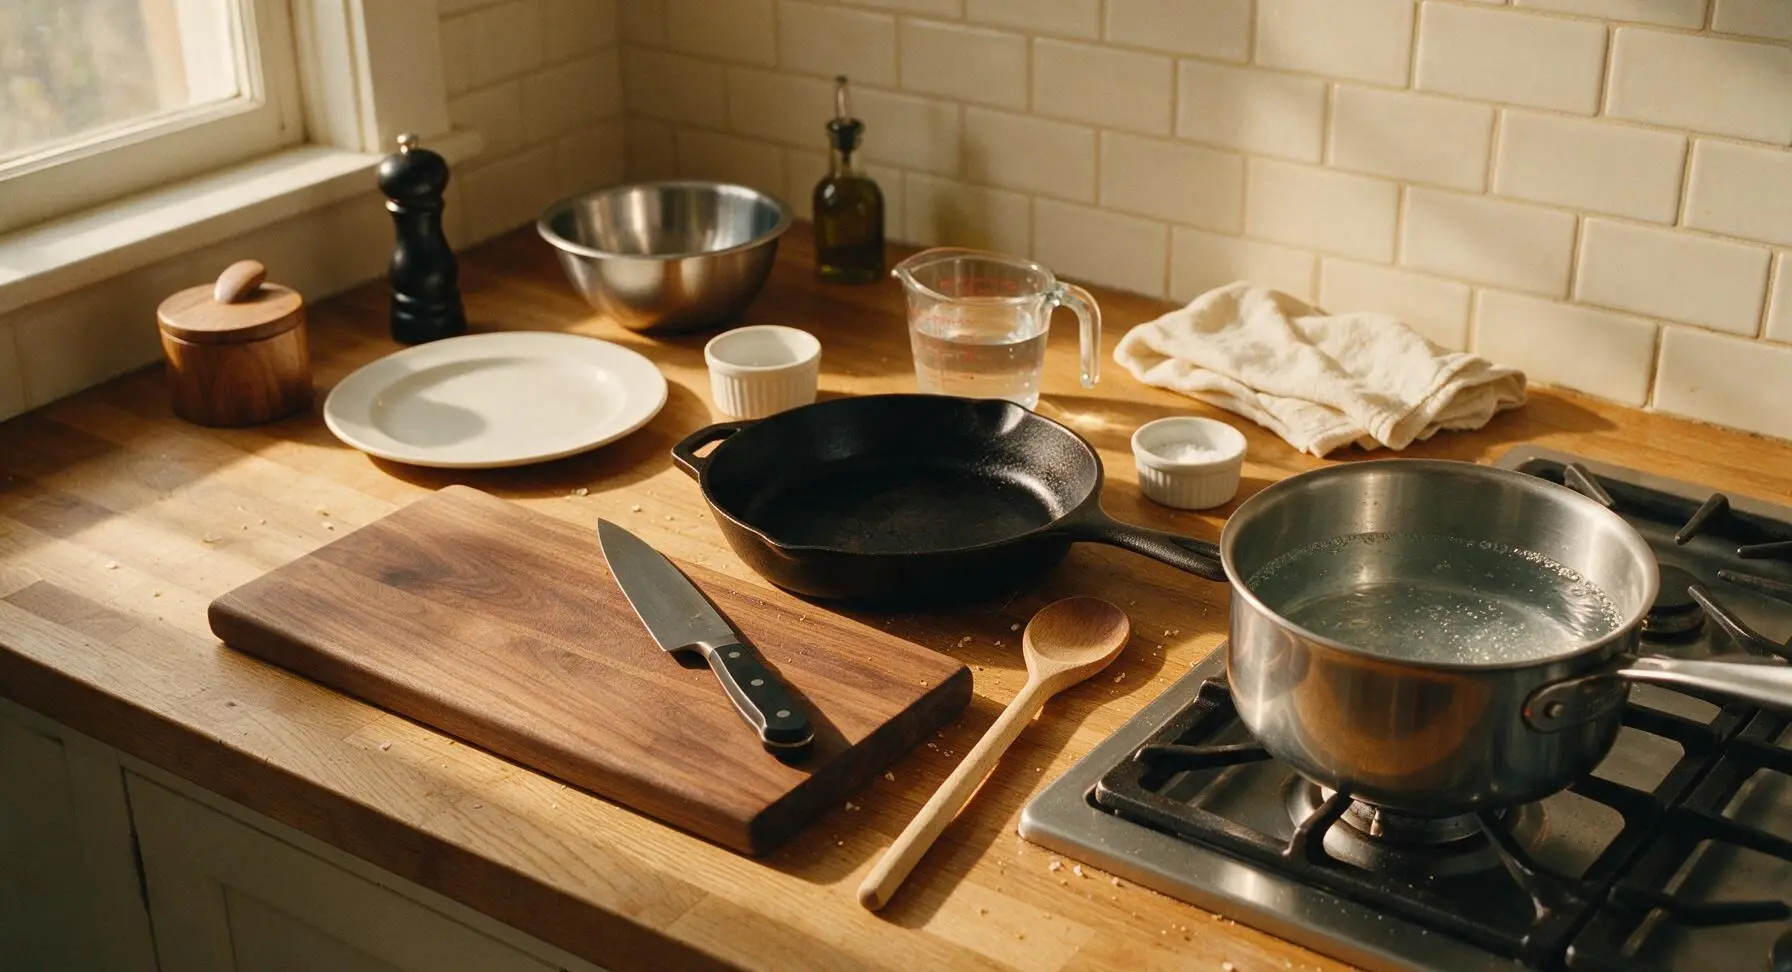
Place the 3-quart heavy-bottomed stainless steel saucepan on the right gas burner over medium-high heat (375°F / 190°C). Pour the measured 3 cups of water and 3/4 tsp of fine sea salt into the pan, and bring to a gentle rolling boil, approximately 4 minutes. Do not cover the pan, so you can monitor for boil-over as the water heats.
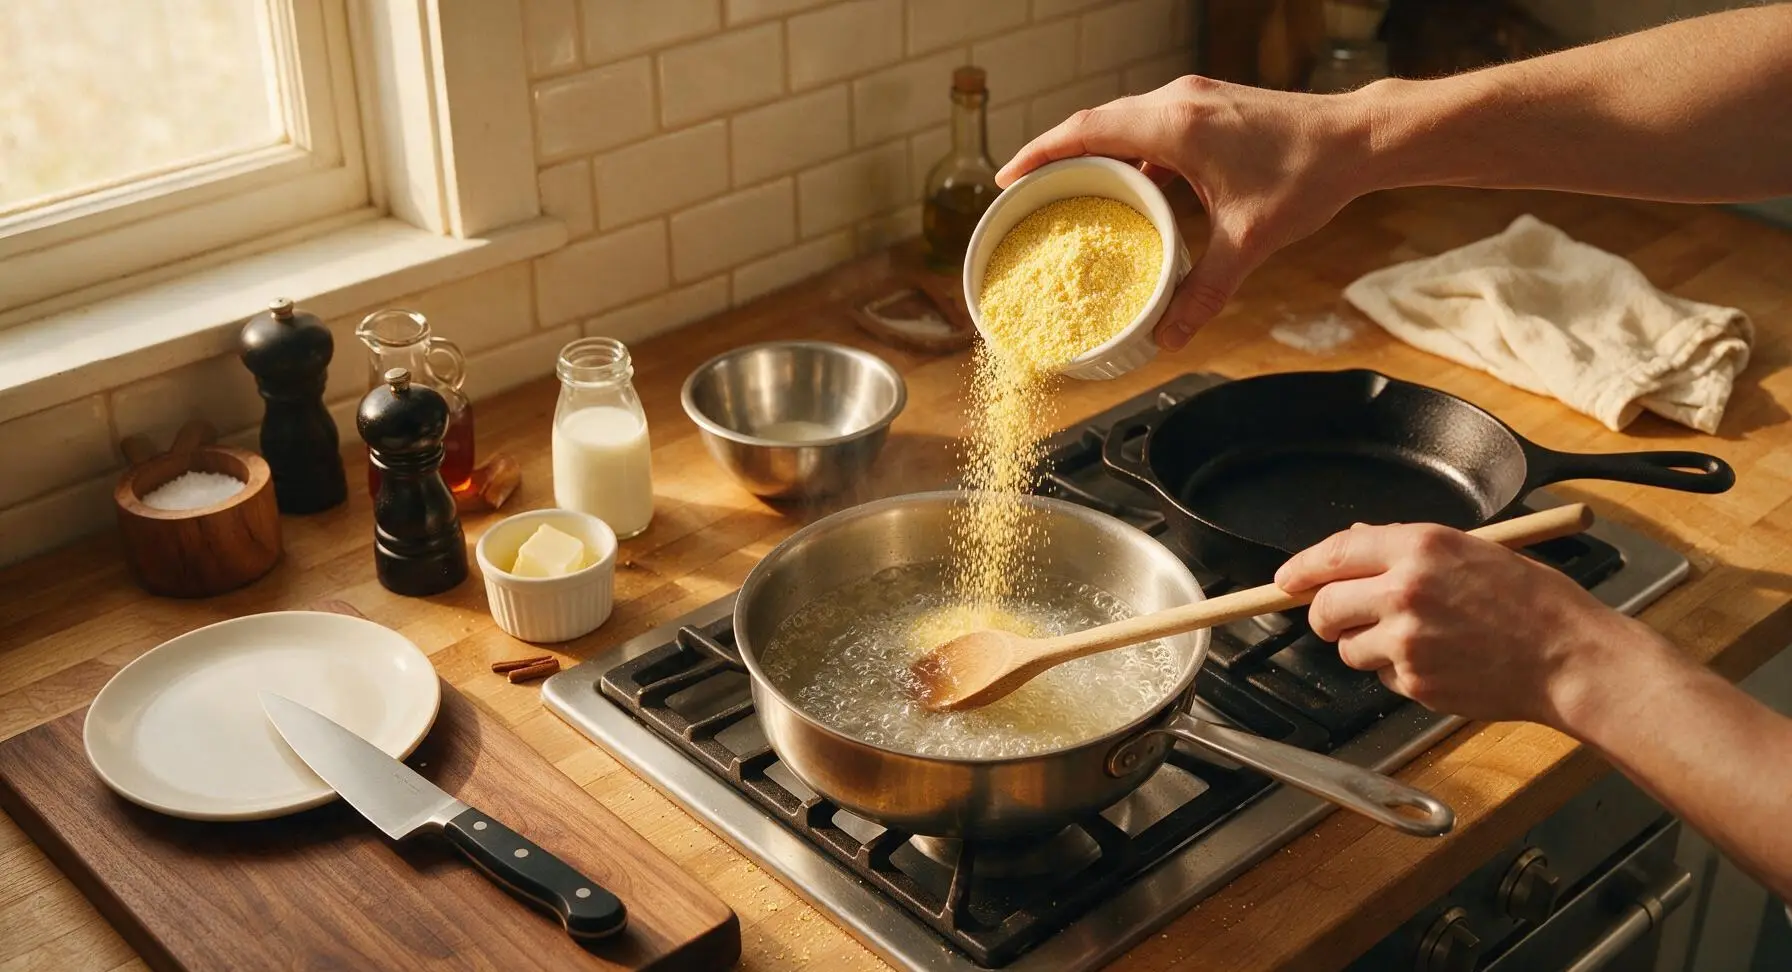
Slowly Add Cornmeal
Once the water reaches a rolling boil, reduce heat to medium-low (275°F / 135°C) to maintain a soft, steady simmer. Slowly pour the measured cornmeal into the water in a thin, steady stream, stirring constantly in slow circular motions with the long beech wood spoon as you pour. Adding cornmeal slowly while stirring prevents dry, clumpy lumps from forming in the finished mush.
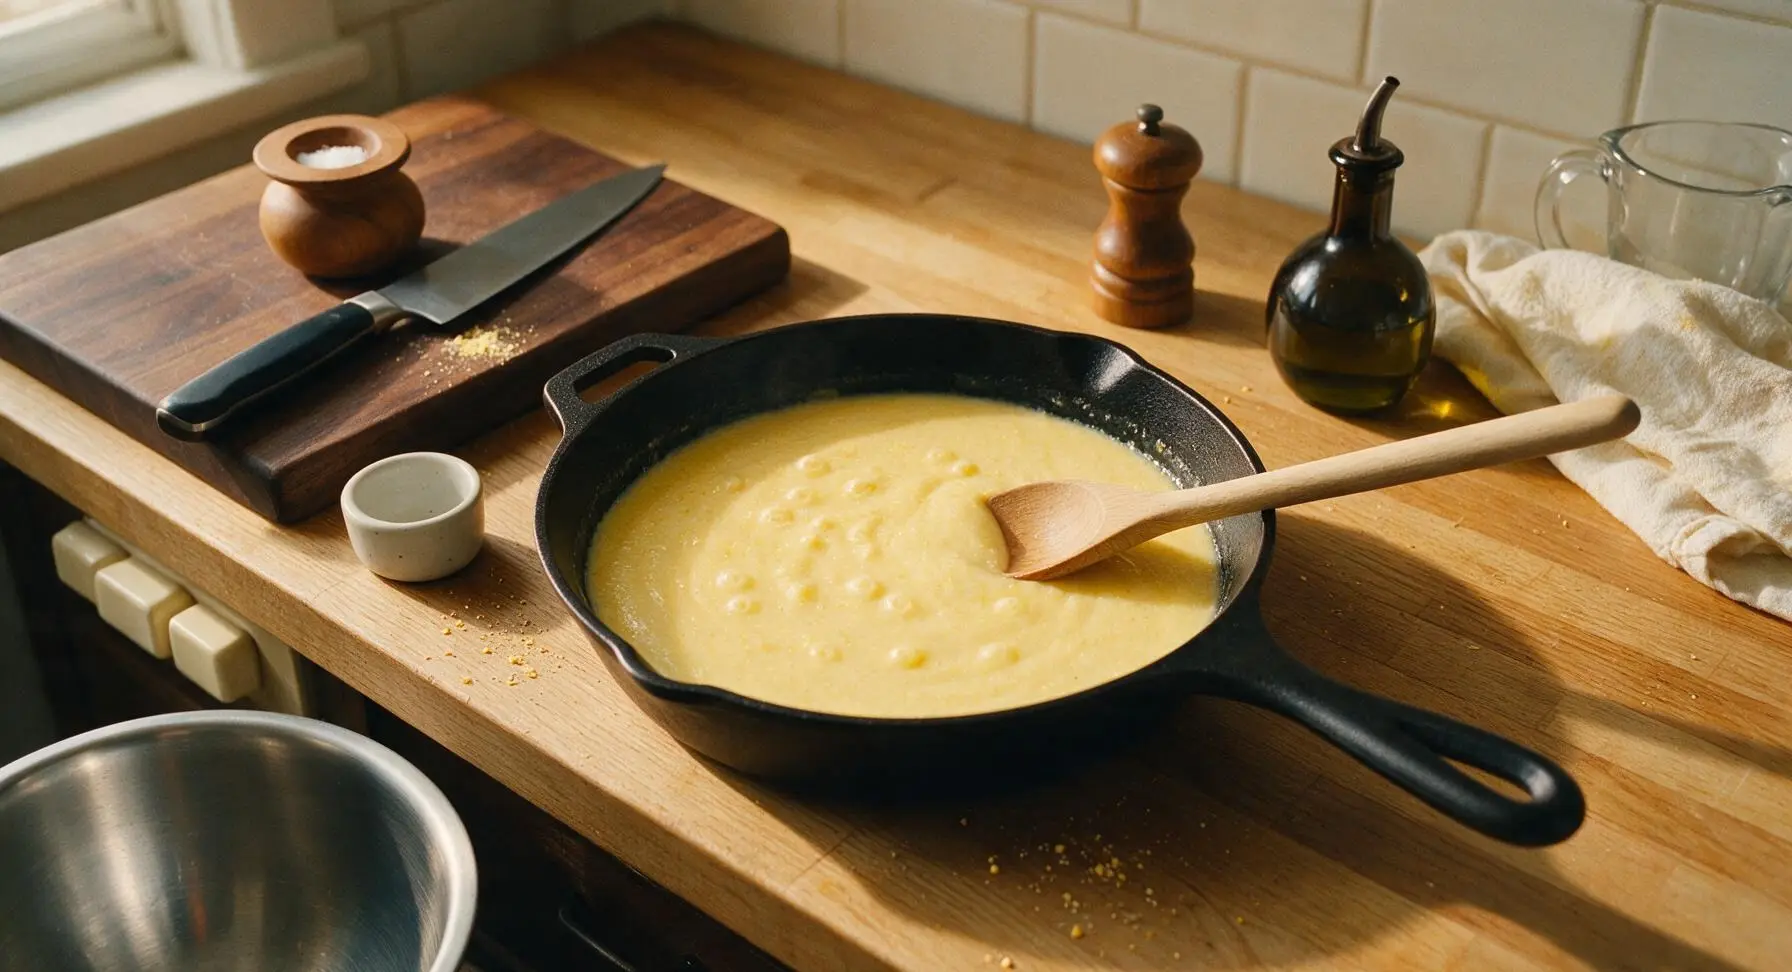
Simmer Until Thickened
Continue cooking the cornmeal mixture at a gentle simmer, stirring every 30 seconds with the beech wood spoon to prevent sticking to the pan bottom, for 8 to 10 minutes. Use the small matte charcoal silicone spatula to scrape any cornmeal that clings to the pan sides back into the mixture as you stir. The mush is fully cooked when it is thick enough to coat the back of the spoon, with no gritty texture when you taste a small cooled bite.
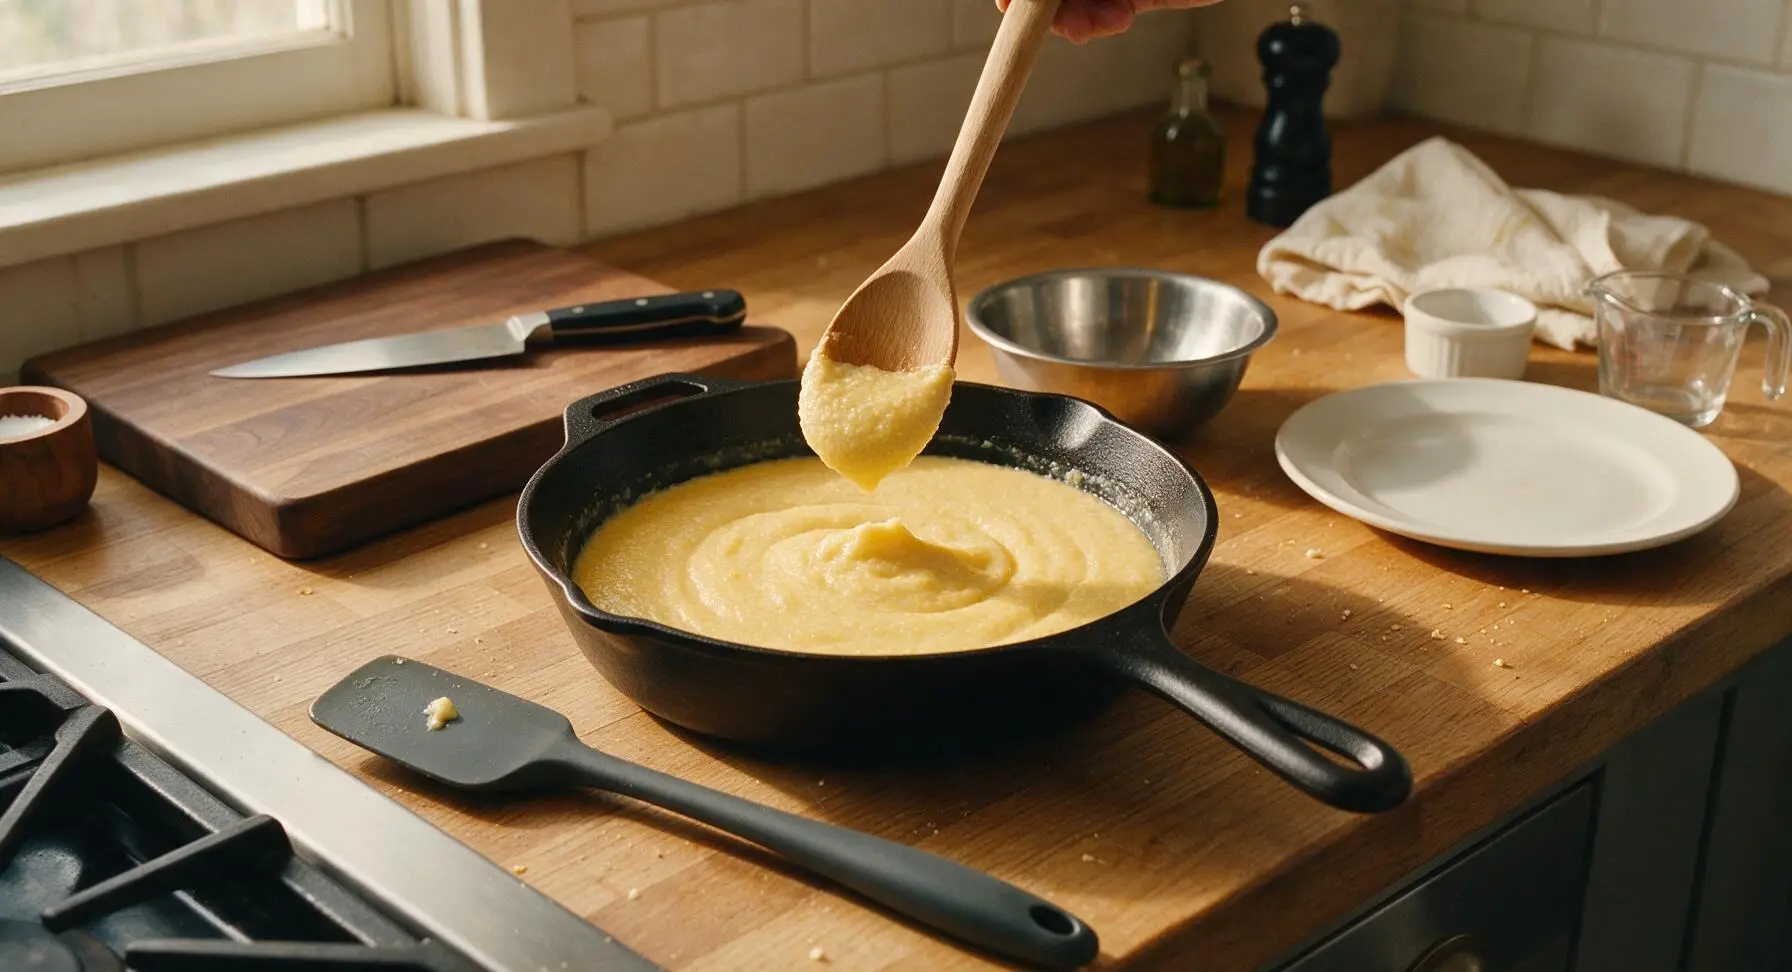
Stir in Milk and Butter
Once the cornmeal is fully thickened and grit-free, reduce heat to low (200°F / 95°C). Stir in the measured whole milk and 1.5 tbsp of the unsalted butter, mixing thoroughly with the beech wood spoon until the butter is fully melted and the mush is smooth, creamy, and easily pourable. Cook for an additional 2 minutes, stirring constantly, to heat the milk through. Reserve the remaining 0.5 tbsp of butter for topping.
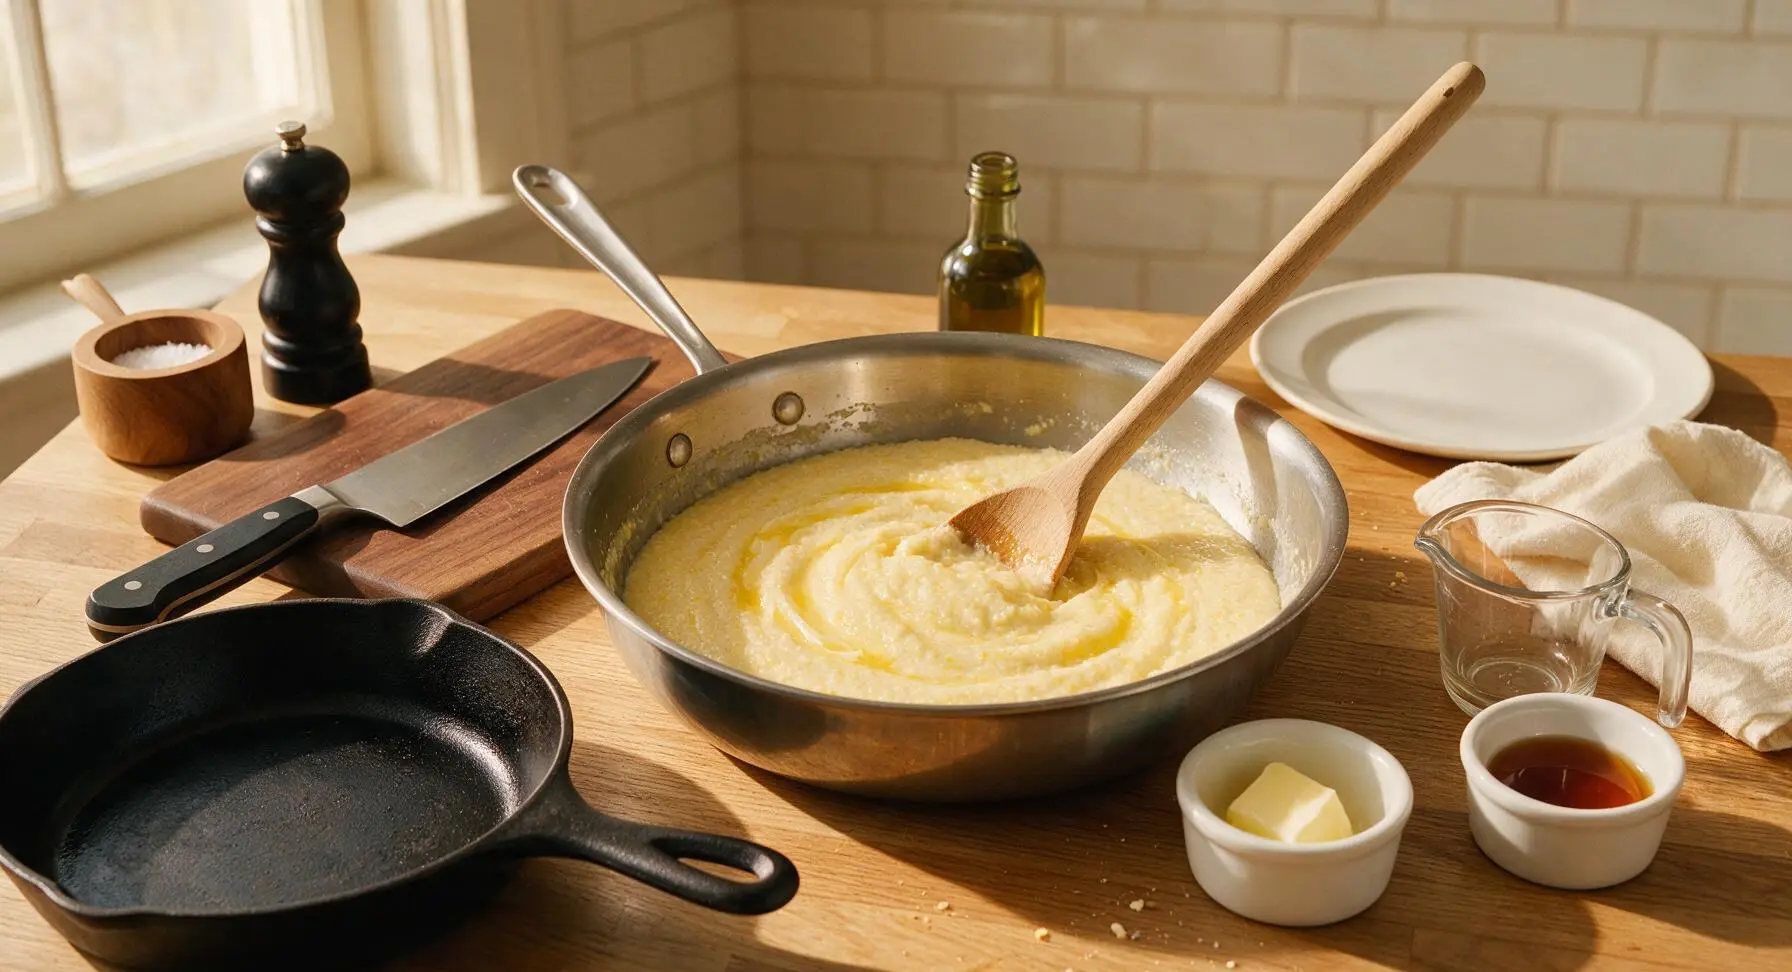
Portion into Serving Bowl
Turn off the stovetop heat. Use the charcoal silicone spatula to scrape every bit of the creamy cornmeal mush from the pan into the waiting cream-white ceramic shallow cereal bowl, mounding it gently in the center of the bowl. Lightly smooth the top surface with the back of the wooden spoon, pressing a small shallow well in the center to hold the butter and syrup toppings.
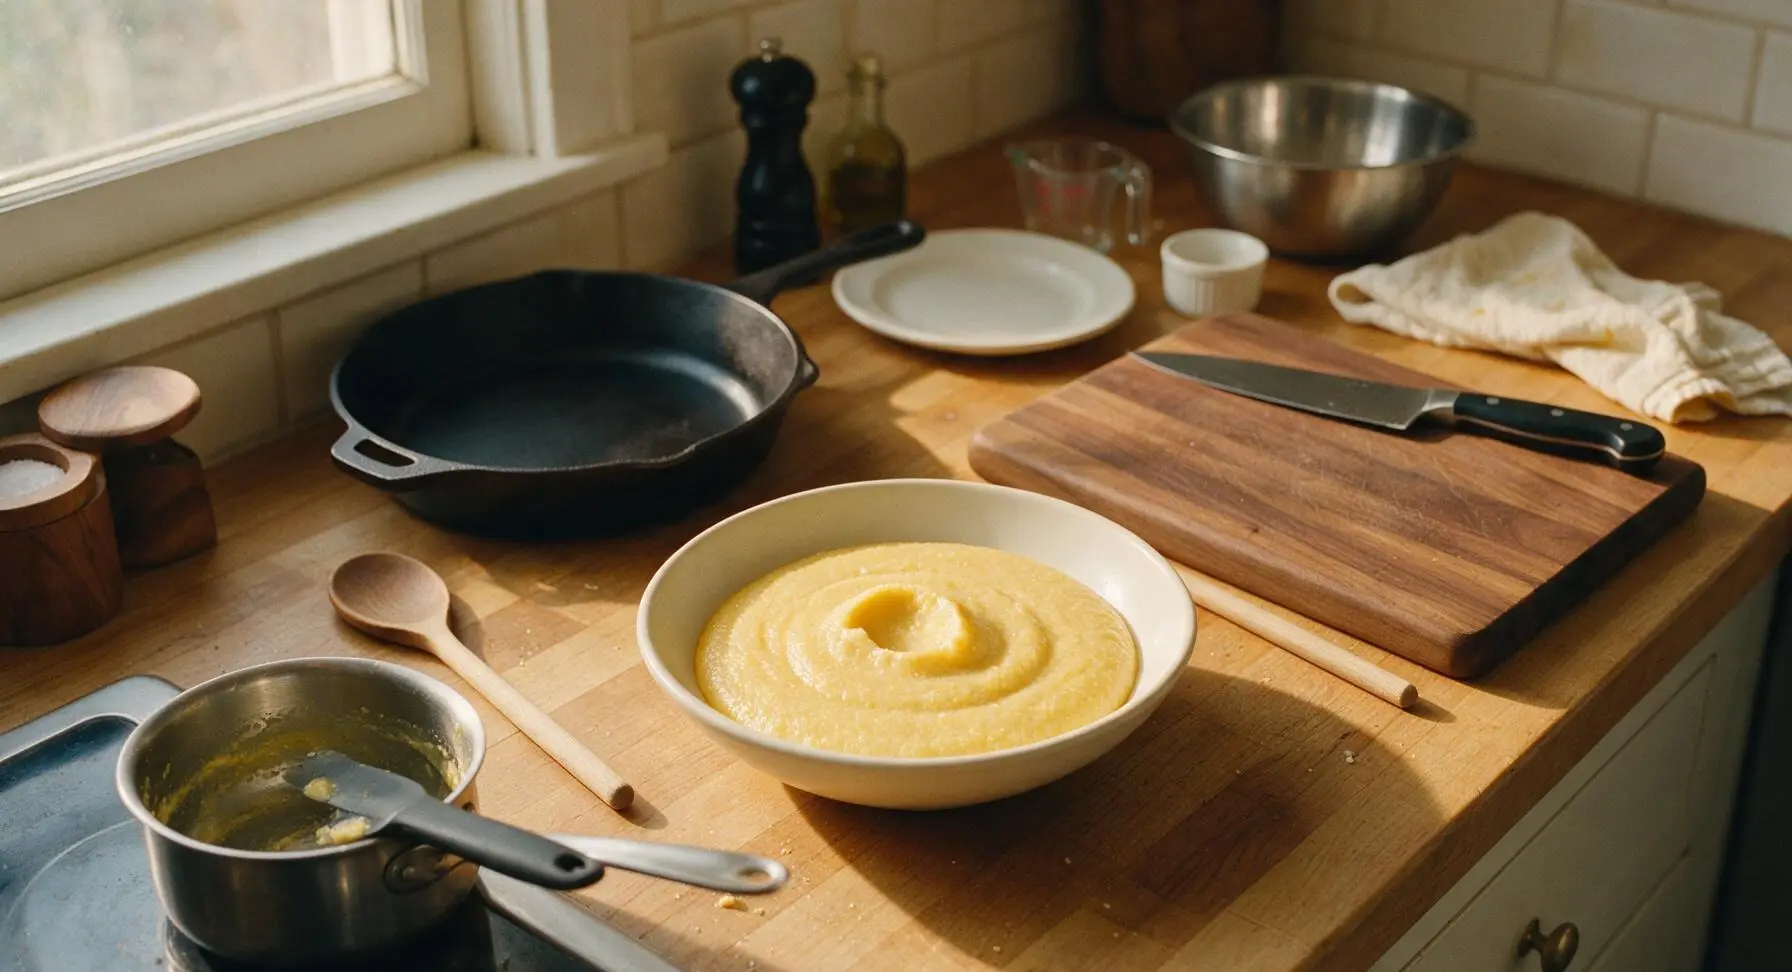
Add Toppings and Serve
Place the reserved 0.5 tbsp pat of butter in the center well of the mush, allowing it to melt slightly from the residual heat of the cornmeal. Drizzle the measured pure maple syrup in a loose spiral over the entire surface of the mush, then dust lightly with ground cinnamon if using. Do not stir the syrup into the mush, so it pools slightly on the surface for bright, sweet bursts of maple flavor with each bite. Serve immediately while hot.
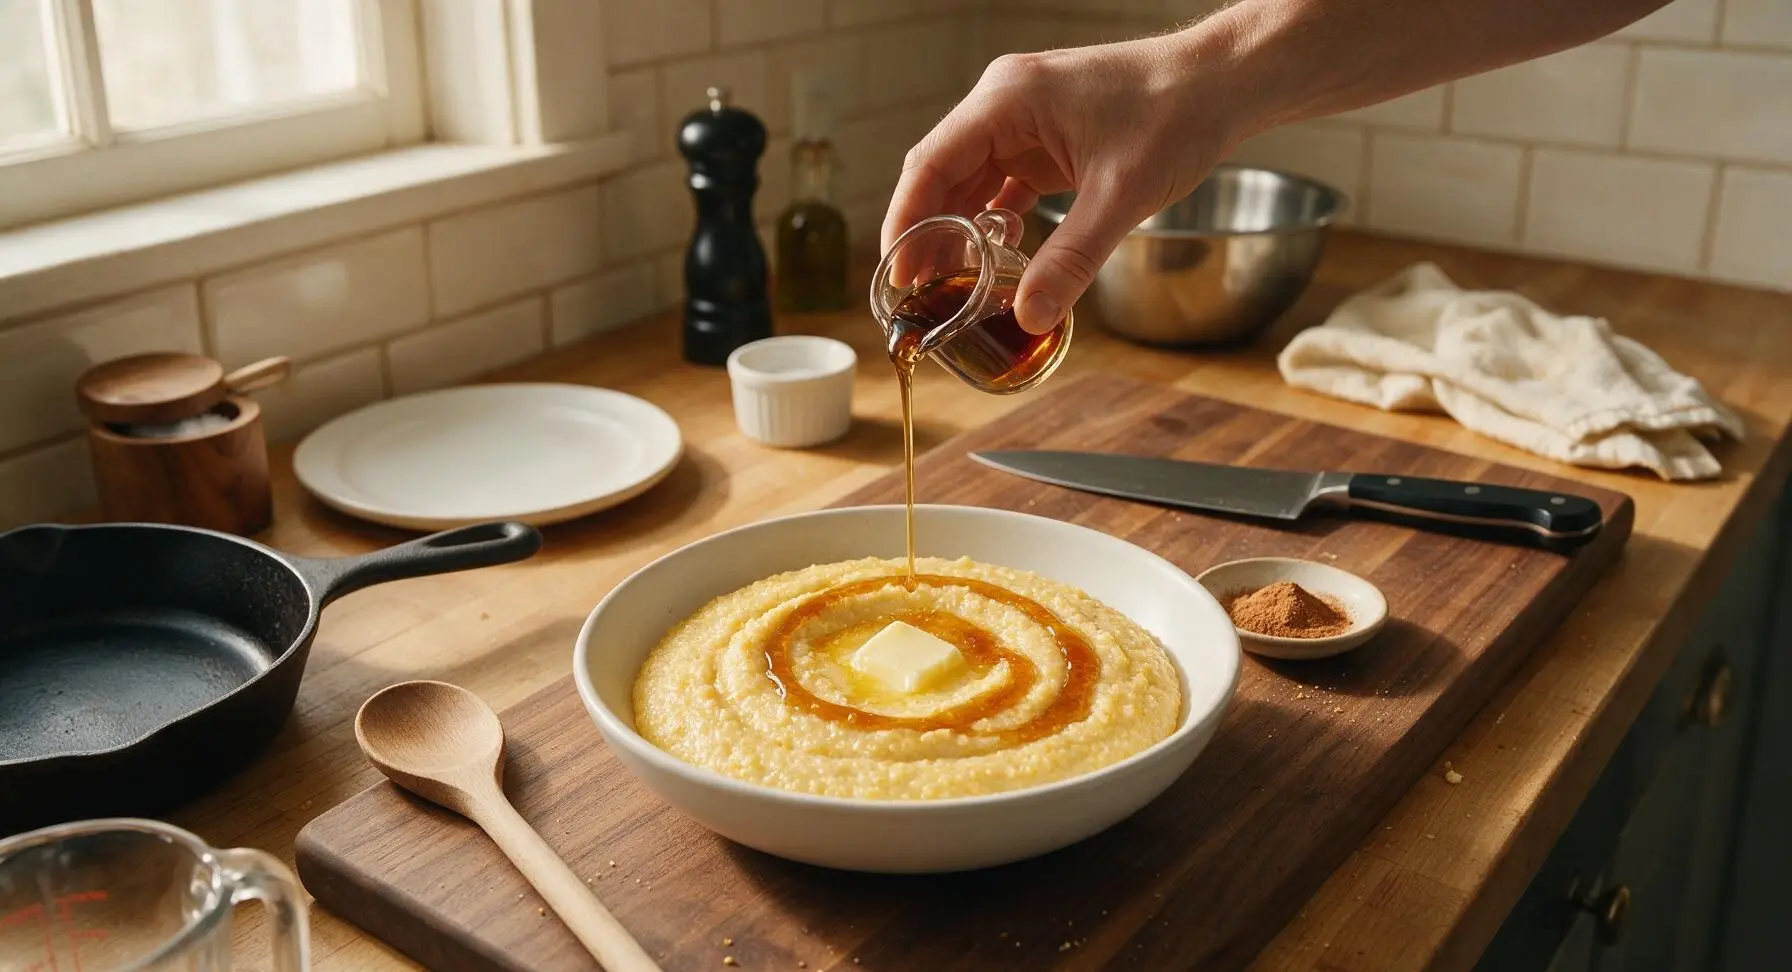
Tips
2.Use a heavy-bottomed saucepan for cooking: thin, lightweight pans cause the cornmeal to scorch and stick to the pan bottom before it fully softens, imparting a bitter burnt taste to the entire batch.
3.Drizzle maple syrup only right before serving, rather than stirring it into the cooking mush: mixing syrup in during cooking thins the cornmeal’s creamy structure and makes the dish overly sweet, rather than letting the bright, woody maple flavor shine as a fresh topping.






OMG this was SO good! I threw this together before school this morning for my two boys and they both asked for seconds. Who knew 15 minutes and a handful of pantry staples could make such a cozy breakfast? I drizzled a little extra maple syrup and added a sprinkle of cinnamon, total chef’s kiss.
Total game changer for my weekly meal prep! I make a big batch on Sunday, pour it into a loaf pan to set, slice it up, and pan fry the slices for a quick crispy breakfast side all week long. Way cheaper and tastier than the frozen pre-made breakfast potatoes I used to grab at the grocery store.
Made this before an early fall hike last weekend and it kept me full for 4 hours on the trail! I packed a small container of extra maple syrup to dip bites in, no weird crumbs or messy wrappers to deal with when we hit the summit. This is going to be a regular pre-hike staple from now on.
Finally a cozy gluten-free breakfast that doesn’t require a million fancy specialty ingredients! I used stone-ground cornmeal I picked up at the local farmers market and it had such a nice nutty, toasty flavor. My roommate who swears she hates “healthy food” even ate a whole bowl without complaining.
Brought this to our neighborhood fall block party potluck last night and people were hovering over the serving dish! I let it set in a pan, cut it into bite-sized squares, and set out little bowls of warm maple syrup and chopped pecans for toppings. Even the folks who said they “hated cornmeal mush” as kids came back for a second piece.
As a college student with basically zero cooking skills and a tiny dorm kitchen with only a microwave and a single hot plate, this was so easy to pull off! Only 3 cheap ingredients, 15 minutes, and I didn’t burn anything lmao. Way better than the sad instant oatmeal packets I’ve been surviving on for breakfast all semester.
My 3 year old has rejected every single breakfast I’ve made this week except this! I cut the set mush into little stick shapes so he could dip them in maple syrup and he thought it was the coolest thing ever. Zero mealtime tantrums for the win, I could cry.
My grandma used to make cornmeal mush for us when we’d visit her farm in southern Ohio when I was little, and this recipe tastes exactly like I remember! It’s so simple but so warm and comforting, I almost cried when I took the first bite. Thank you for sharing such a classic, no-fuss recipe instead of some fancy overcomplicated version.
I know the recipe says top with maple syrup, but I tried this with a pat of salted butter and a sprinkle of cracked black pepper instead of sweet toppings and it was chef’s kiss. Such a great savory breakfast option for people like me who don’t love super sweet food first thing in the morning.
Wait, did I mess this up? My mush came out super lumpy when I stirred the cornmeal in. It still tasted okay, but the texture was all clumpy and not creamy like the photos. Any tips for next time so I don’t mess it up again?
This is my new go-to post-long run breakfast! The carbs from the cornmeal replenish my energy so much better than the sugary protein bars I used to choke down after runs, and the maple syrup gives me that little sweet hit I crave. I add a scoop of peanut butter on top for extra protein, it’s perfect.
Wow, the cost per serving on this is like 50 cents? I’m on a super tight grocery budget right now after some unexpected car repairs, and this recipe is a total lifesaver. It’s filling, tasty, and I already had cornmeal and maple syrup sitting in my pantry. No more overpriced breakfast sandwiches from the corner store for me!
Made this on our first real cold snap of the year last week when it was 28 degrees outside and it warmed me right up to my toes. It’s so creamy and cozy, way better than cold cereal when the weather’s frosty. I added a dash of freshly grated nutmeg on top and it tasted like fall in a bowl.
Pro tip: don’t skimp on the maple syrup! I tried making this with the generic fake pancake syrup first and it was just fine, but when I swapped in the pure maple syrup my cousin sent from her upstate New York farm? Total game changer. The warm, woody sweetness pairs so much better with the creamy cornmeal.