
Cornmeal Mush with Milk

title 1
Cornmeal Mush with Milk
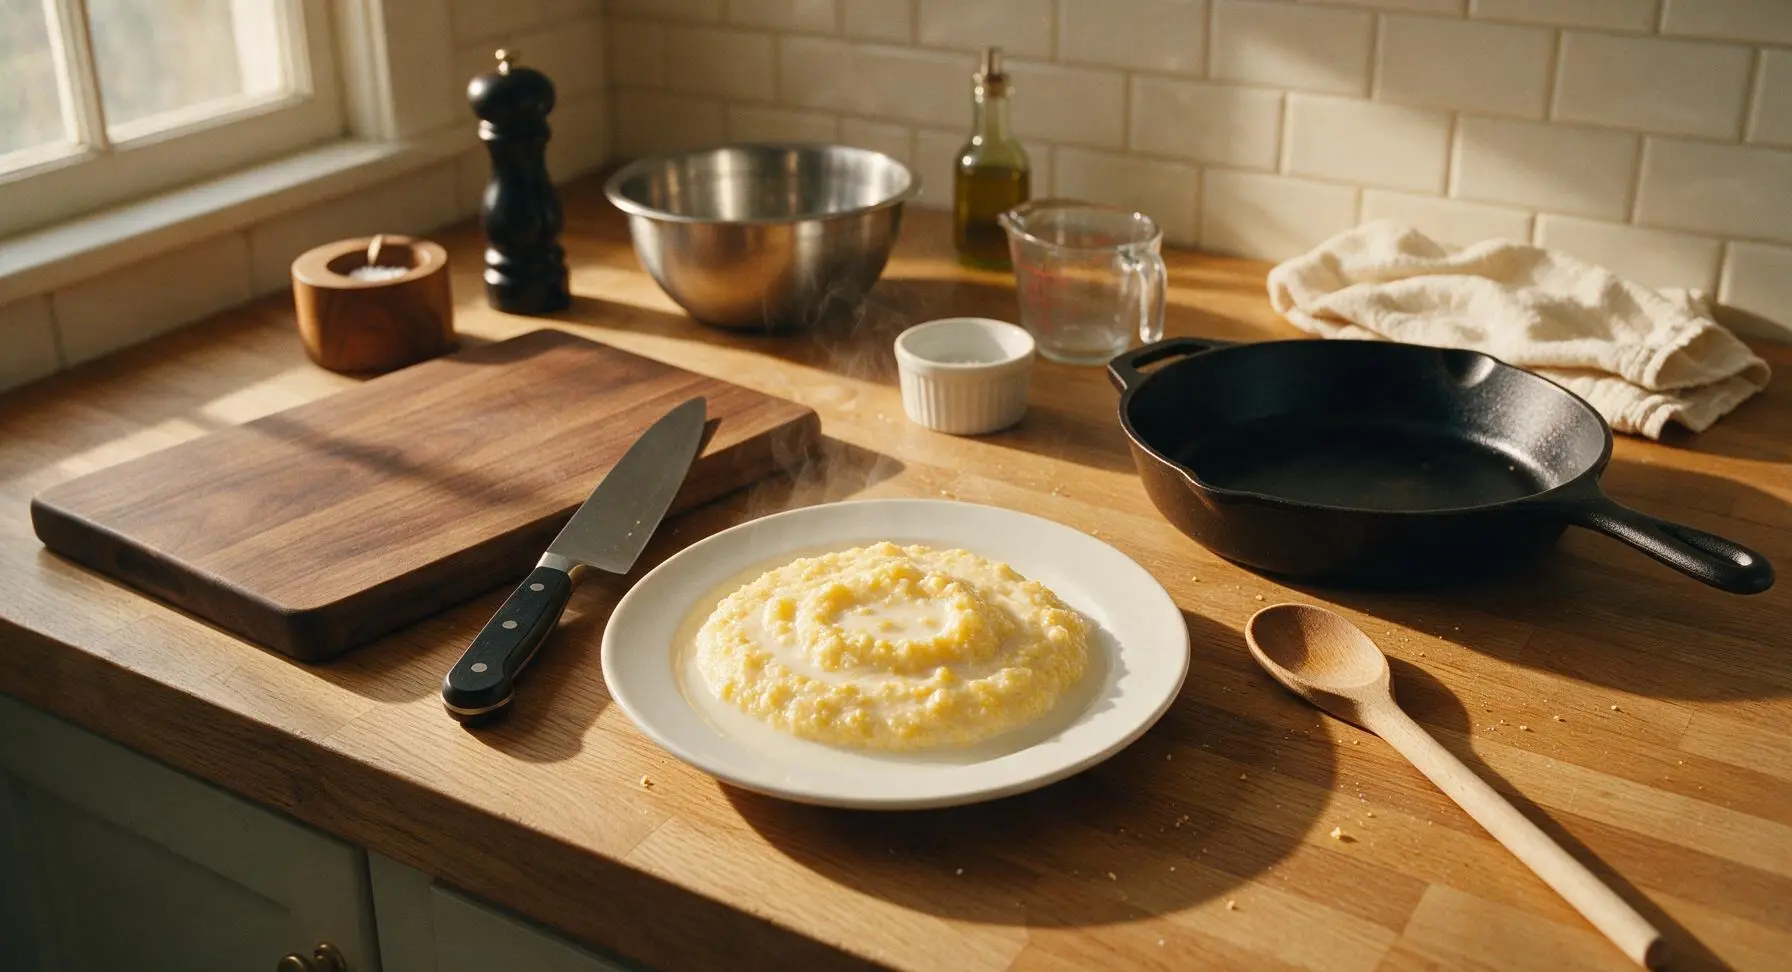
⏱️ cook time 20 minutes
🍽️ servings 4
⚡ Difficulty easy

intro

Creamy, gently sweet cornmeal mush with cold milk is a nostalgic, cozy American staple—smooth, warming, and ready in under 25 minutes for simple, no-fuss comfort.

Ingredients
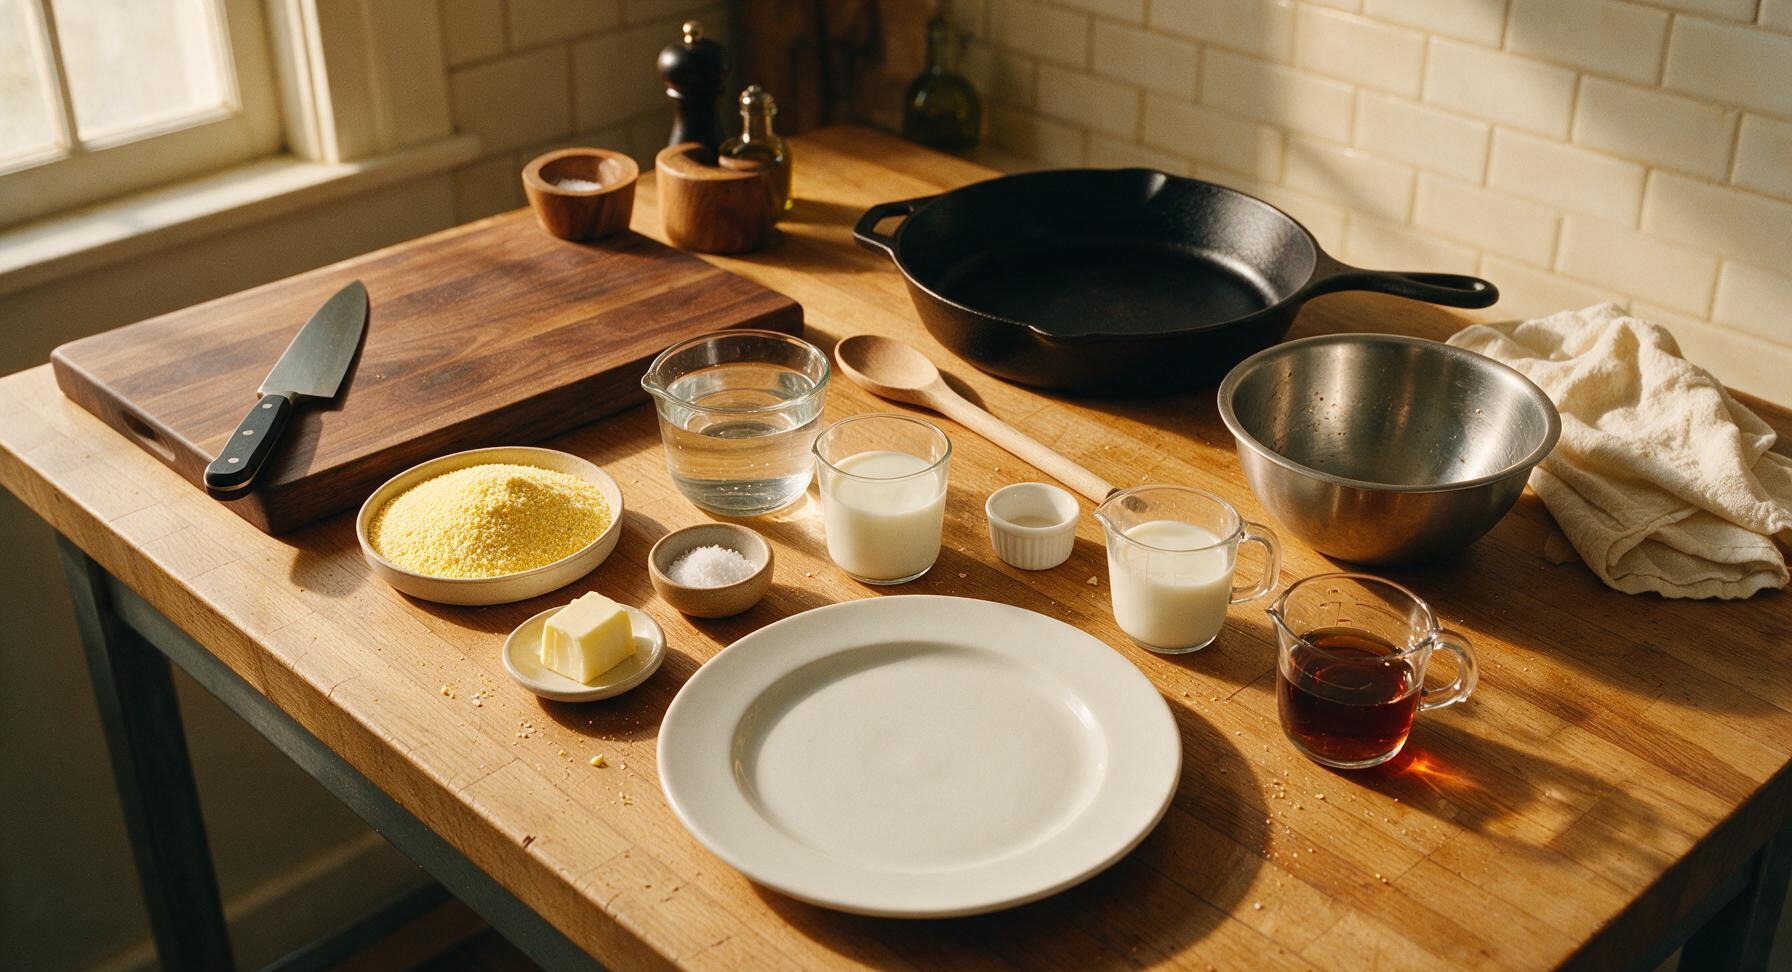
Fine yellow cornmeal 1 cup (150g)
Cold water 3 cups (720ml)
Whole milk (for cooking) 1 cup (240ml)
Fine sea salt 3/4 tsp
Unsalted butter 1 tbsp (14g)
Cold whole milk (for serving) 2 cups (480ml)
Pure maple syrup (optional, for serving) 2 tbsp

Steps

1

Measure All Ingredients

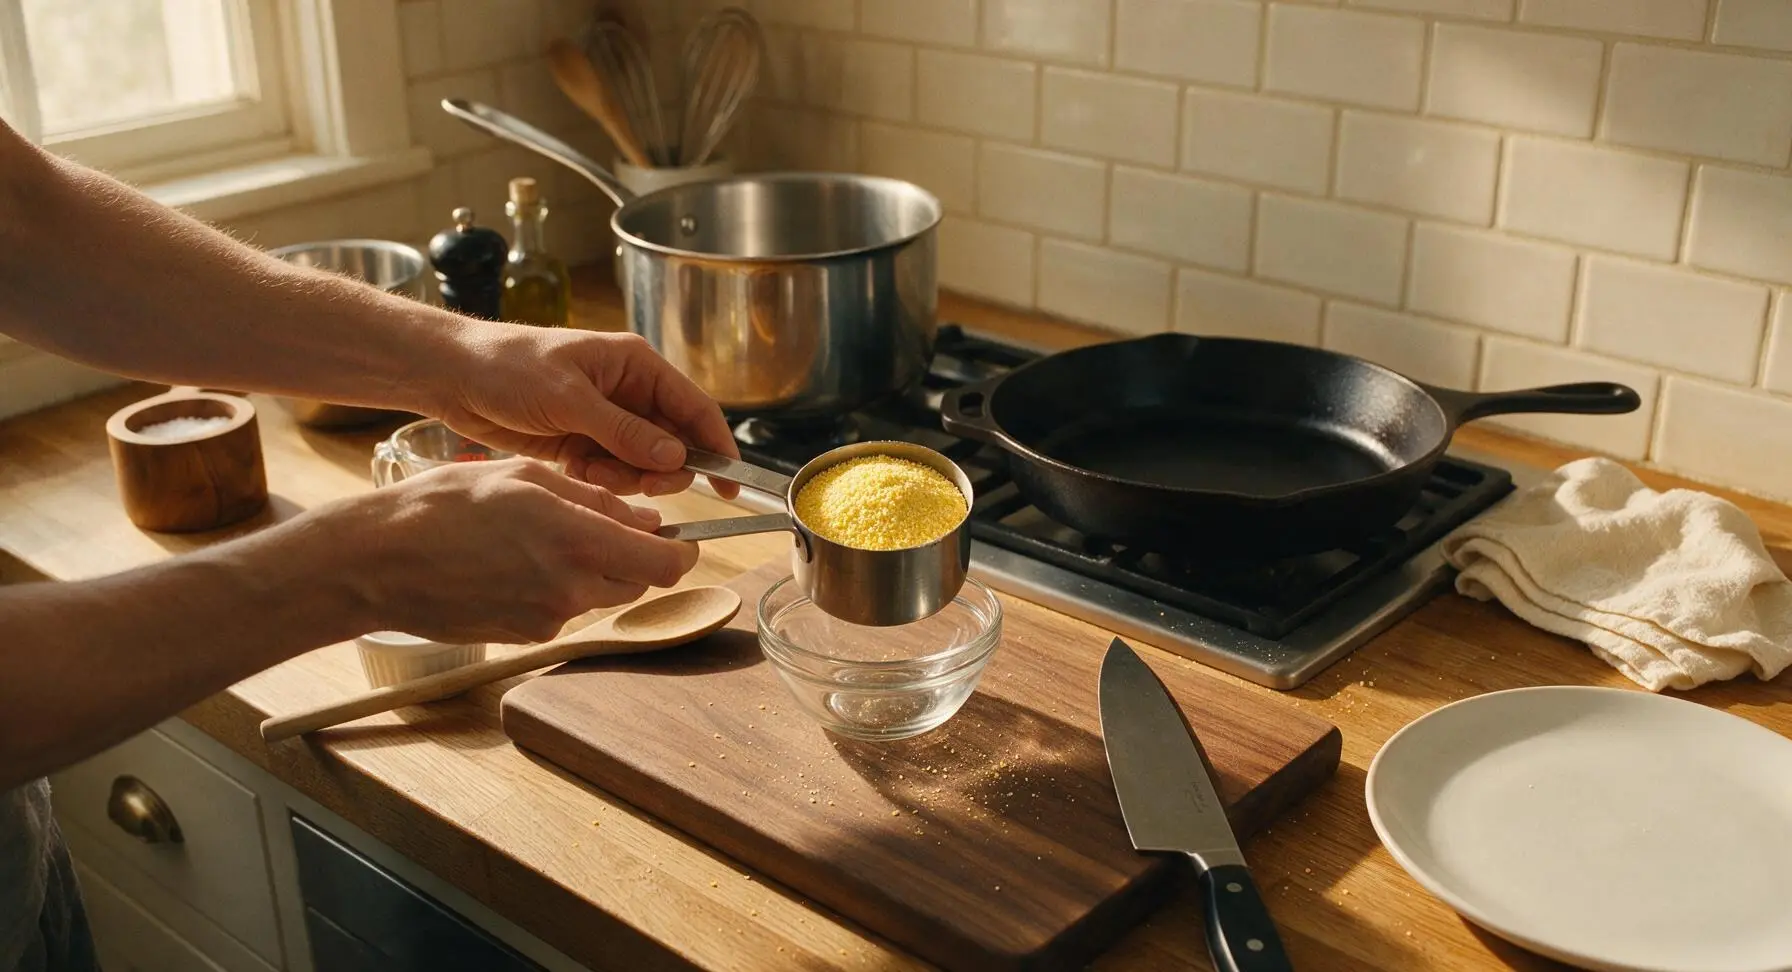
Use the nested stainless steel measuring cups and spoons to portion all ingredients before you begin cooking: measure 1 cup fine yellow cornmeal, 3 cups cold water, 1 cup whole milk for cooking, 3/4 tsp fine sea salt, 1 tbsp unsalted butter, and 2 cups cold whole milk for serving. Pre-measuring prevents lumps from forming when you add cornmeal to boiling liquid, as you will not need to step away to grab ingredients mid-stir.
Step 1
step1:Measure All Ingredients
2

Bring Salted Water to Boil

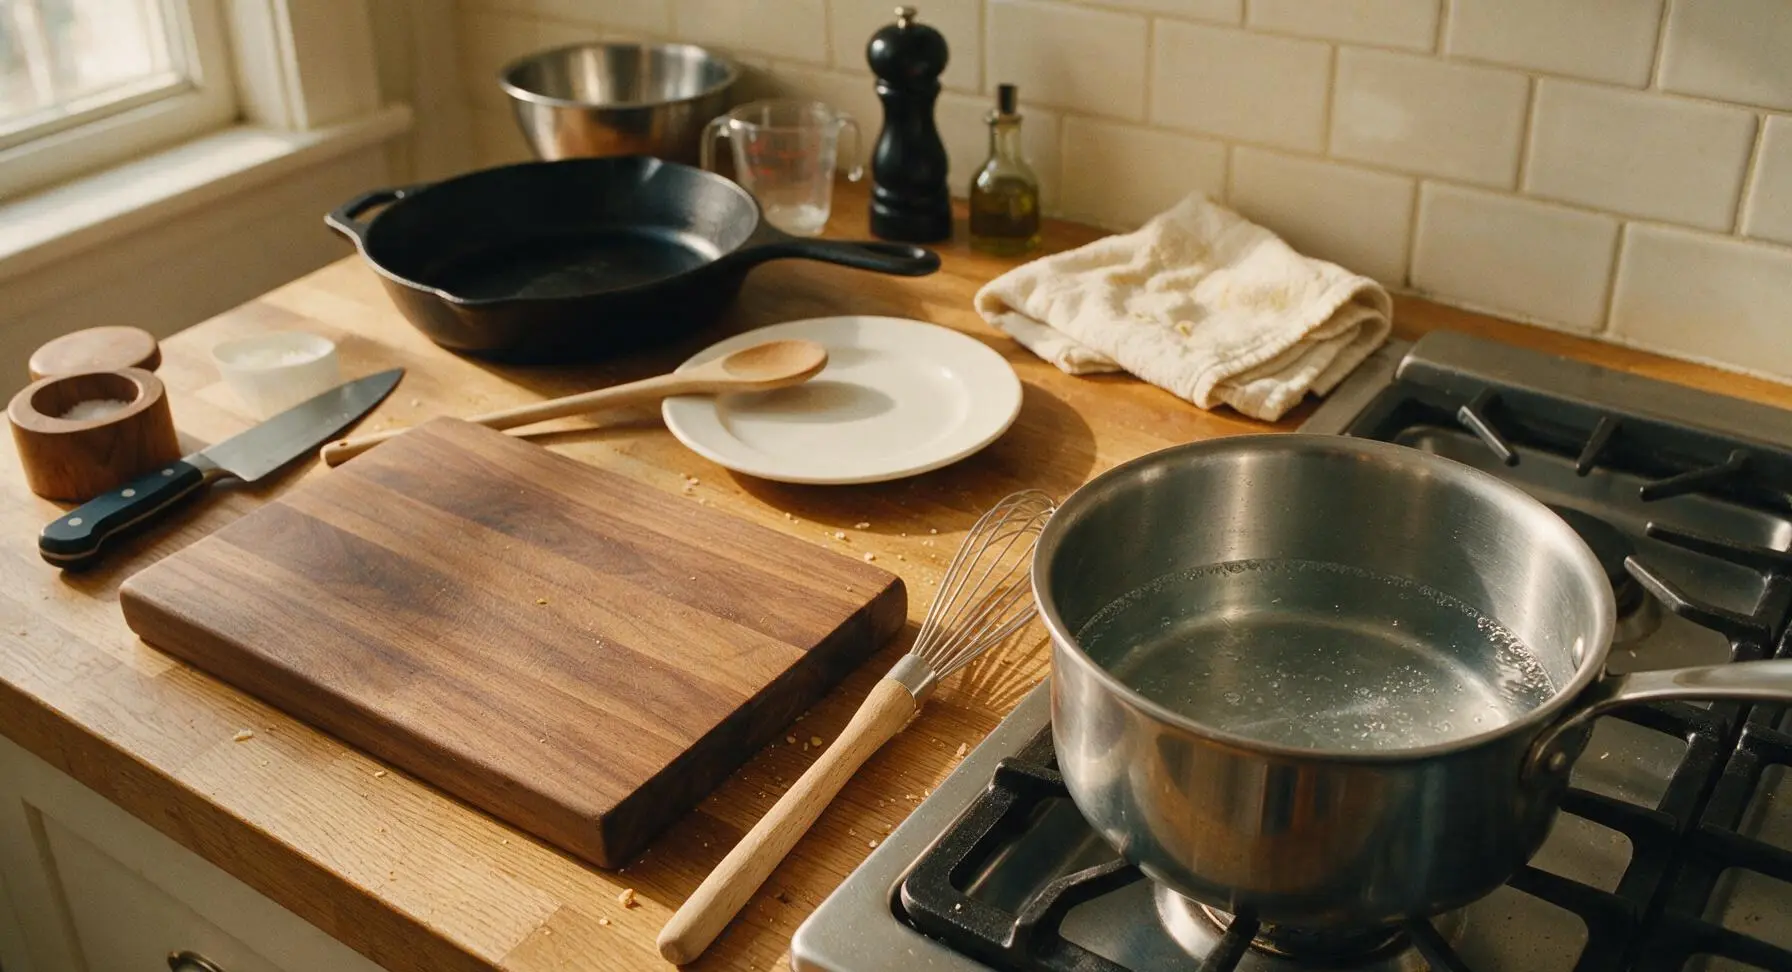
Place the 3-quart stainless steel saucepan on the stovetop over medium-high heat. Add the 3 cups of cold water and 3/4 tsp fine sea salt to the pan. Bring to a rolling, bubbling boil, approximately 4-5 minutes. Leave the pan uncovered to monitor the boil and prevent messy boil-over.
Step 2
step2:Bring Salted Water to Boil
3

Whisk in Cornmeal Slowly

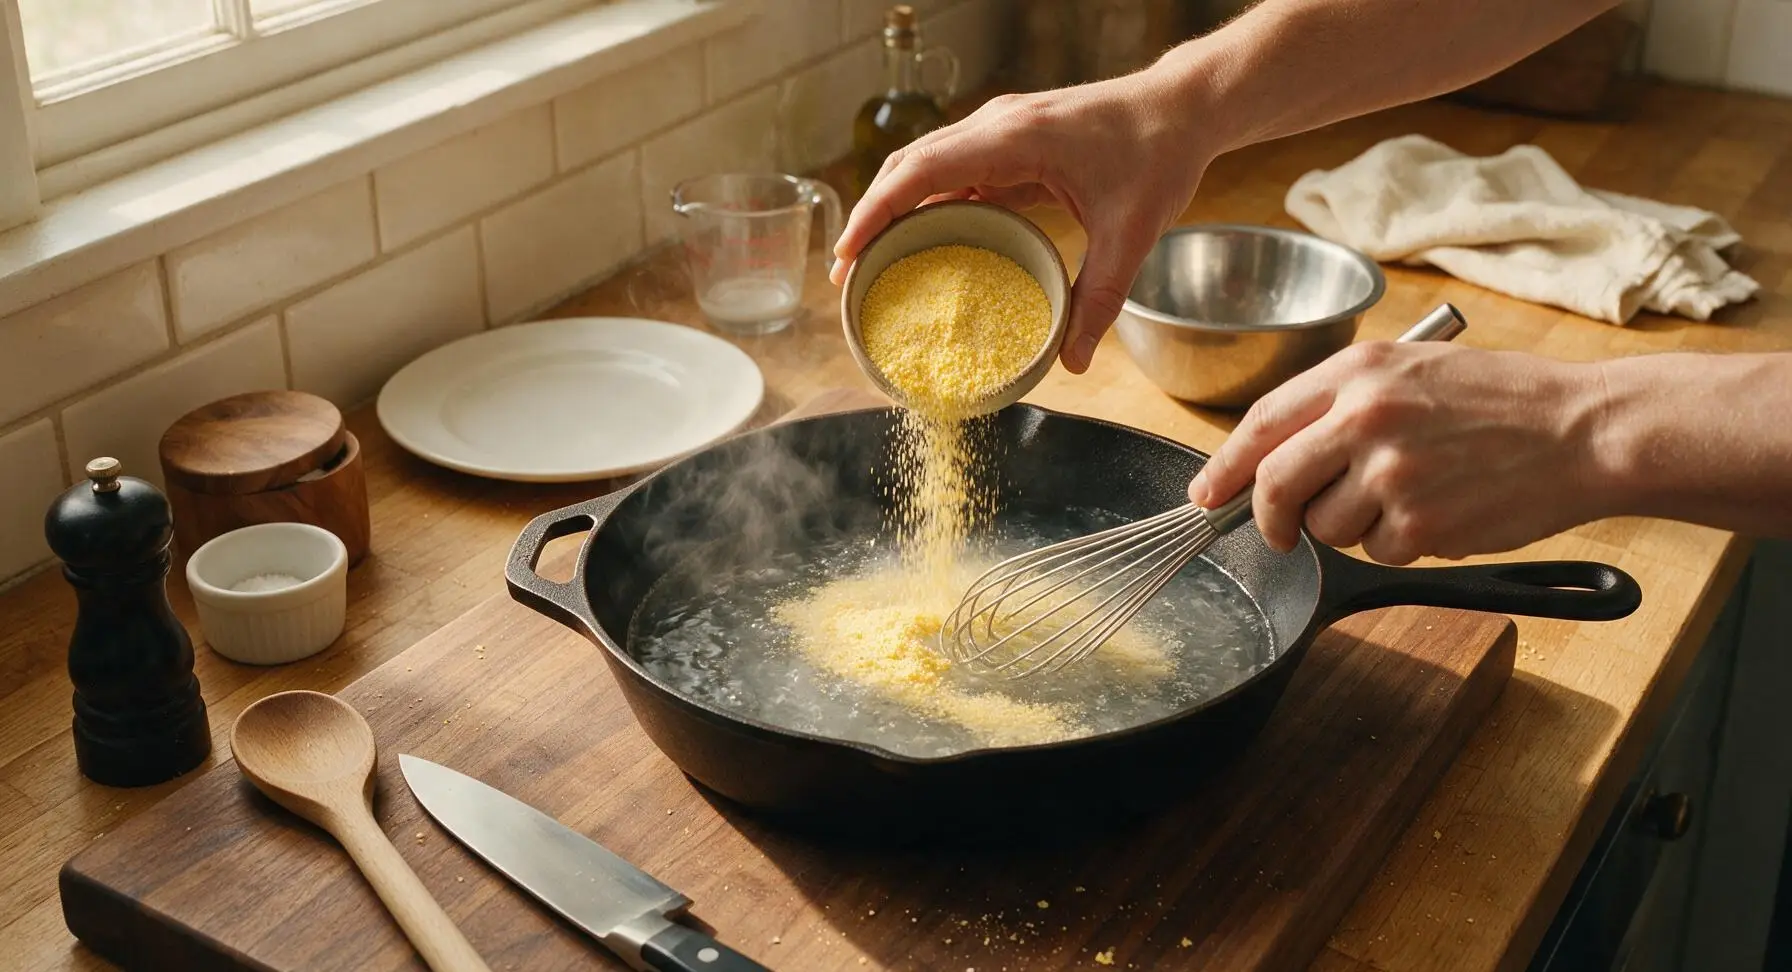
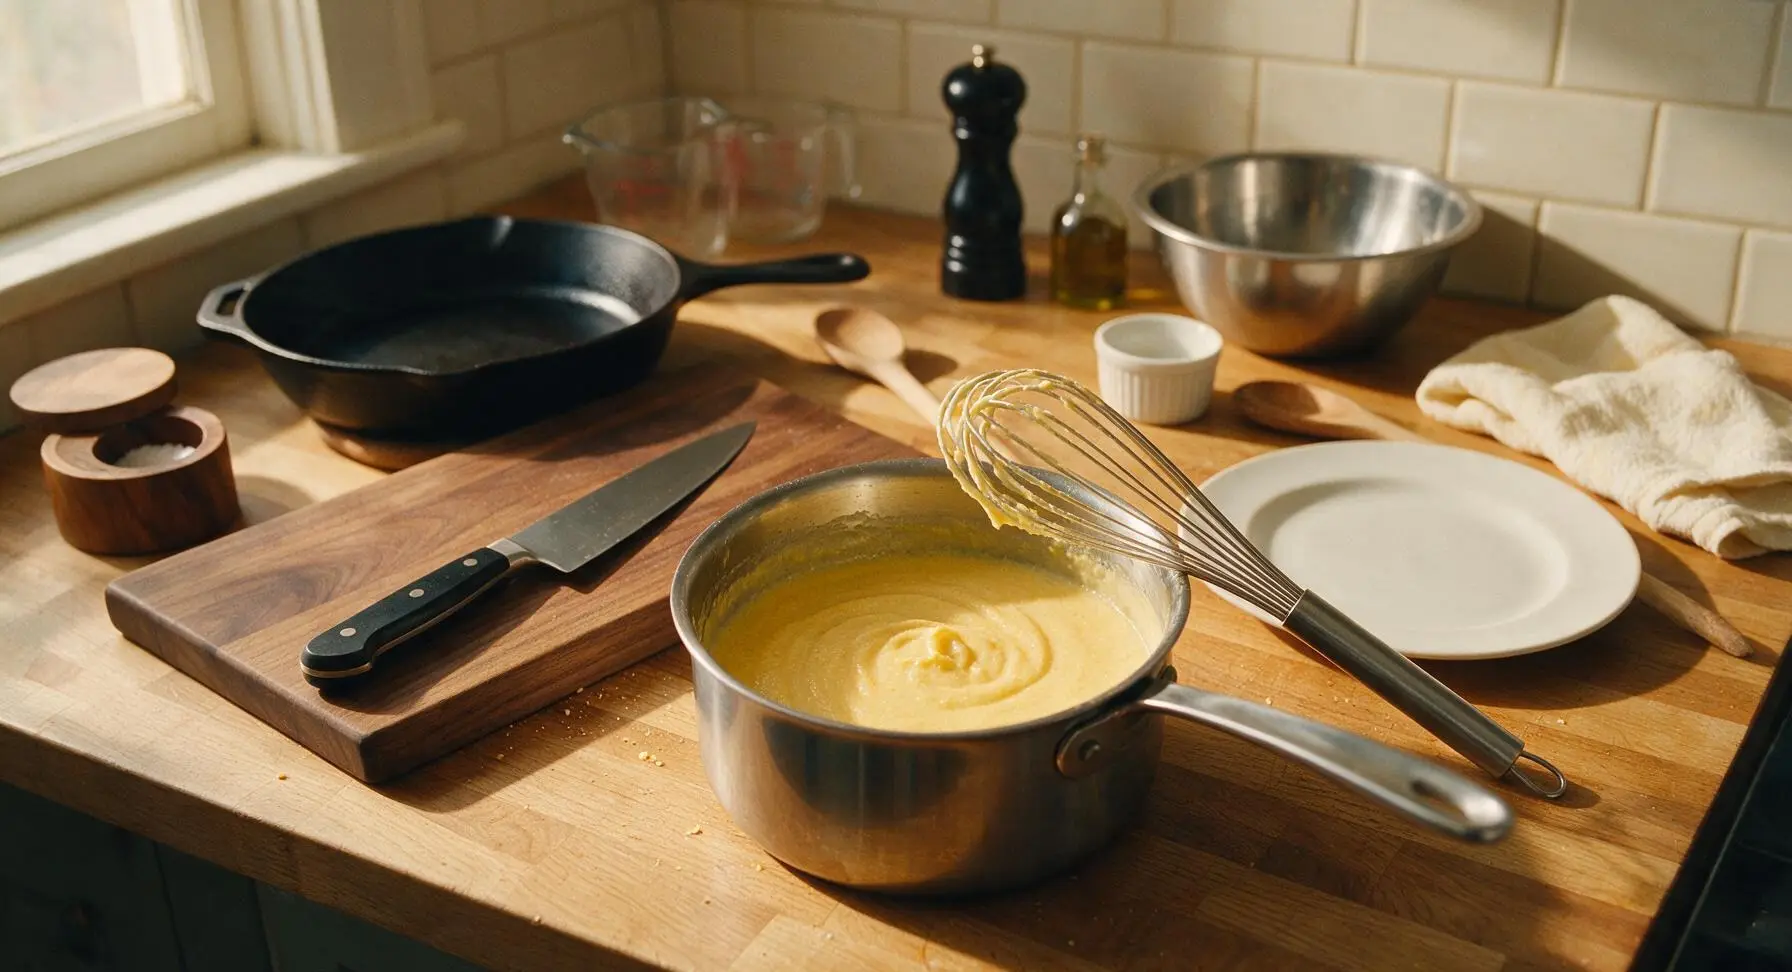
Once the water reaches a full rolling boil, reduce heat to medium-low to maintain a gentle, steady simmer. Slowly pour the measured cornmeal into the water in a thin, steady stream, whisking constantly with the stainless steel wire whisk as you pour. This slow addition and constant agitation prevents dry, clumpy lumps from forming in the mush.
Step 3
step3:Whisk in Cornmeal Slowly
Step 3
step3:Whisk in Cornmeal Slowly
4

Simmer Until Thickened

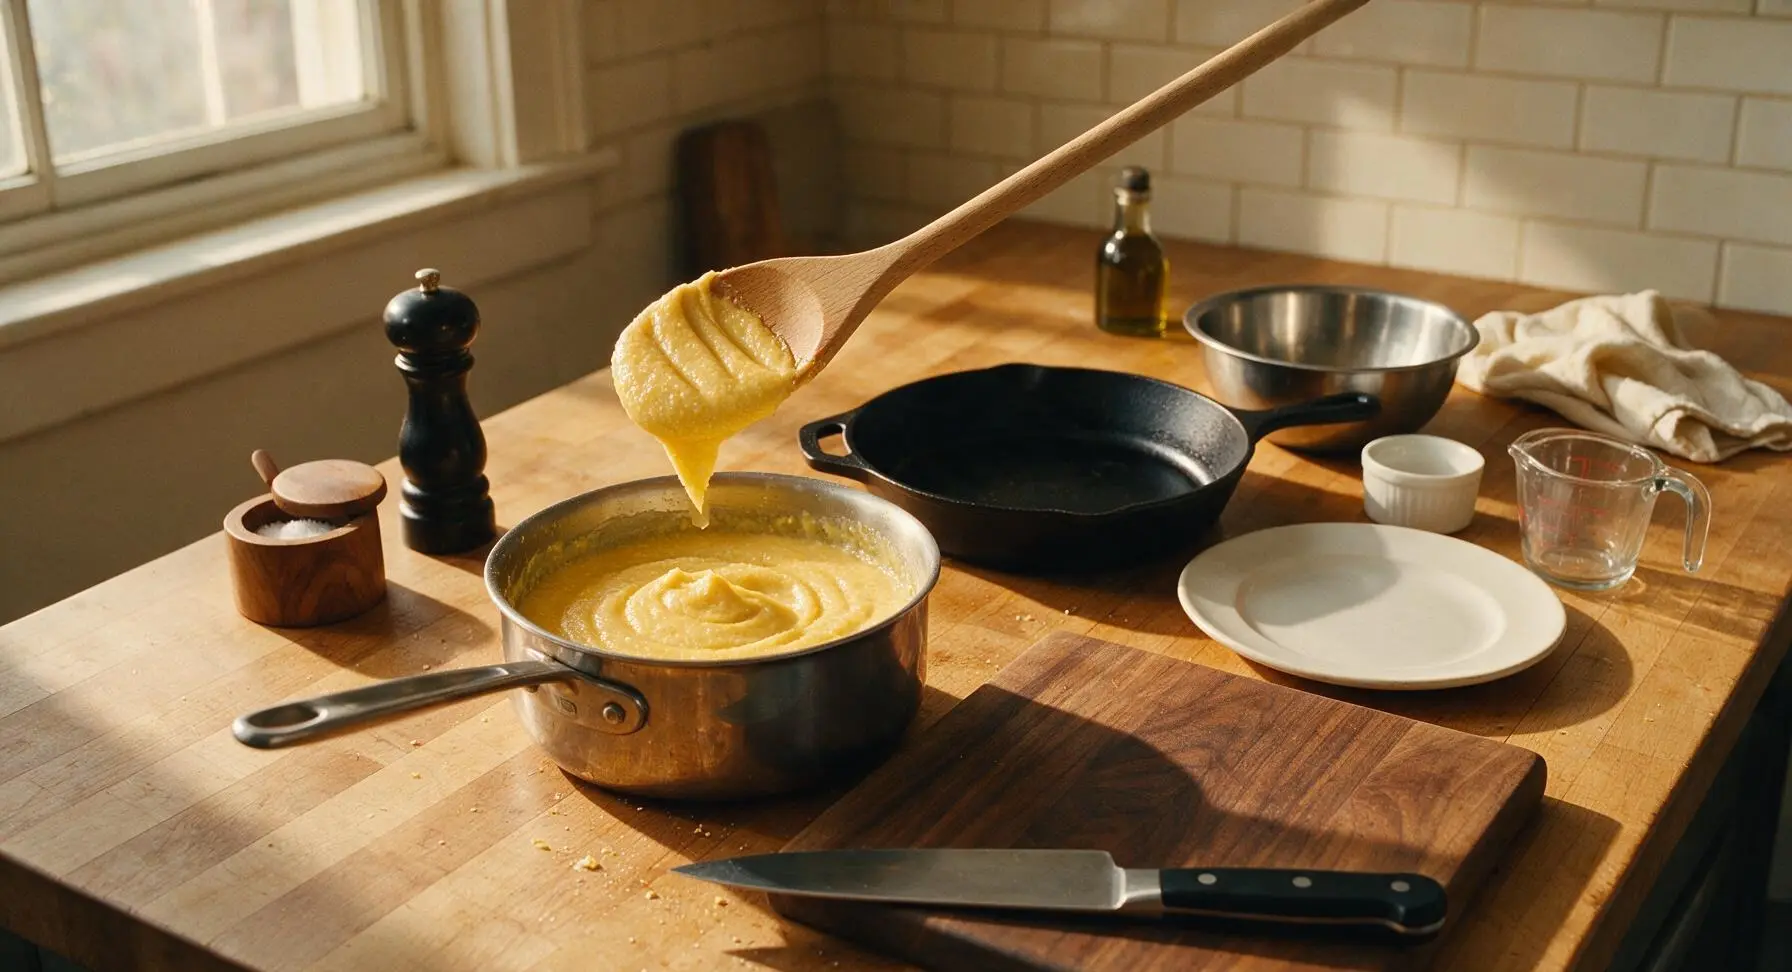
Switch from the wire whisk to the beech wood stirring spoon. Cook the cornmeal mixture at a low gentle simmer, stirring every 2-3 minutes to scrape the pan bottom and prevent sticking, for 12-15 minutes. The mush is ready when it is thick enough to evenly coat the back of the spoon, and a line drawn with your finger across the coated spoon surface holds its shape without running.
Step 4
step4:Simmer Until Thickened
5

Stir in Milk and Butter

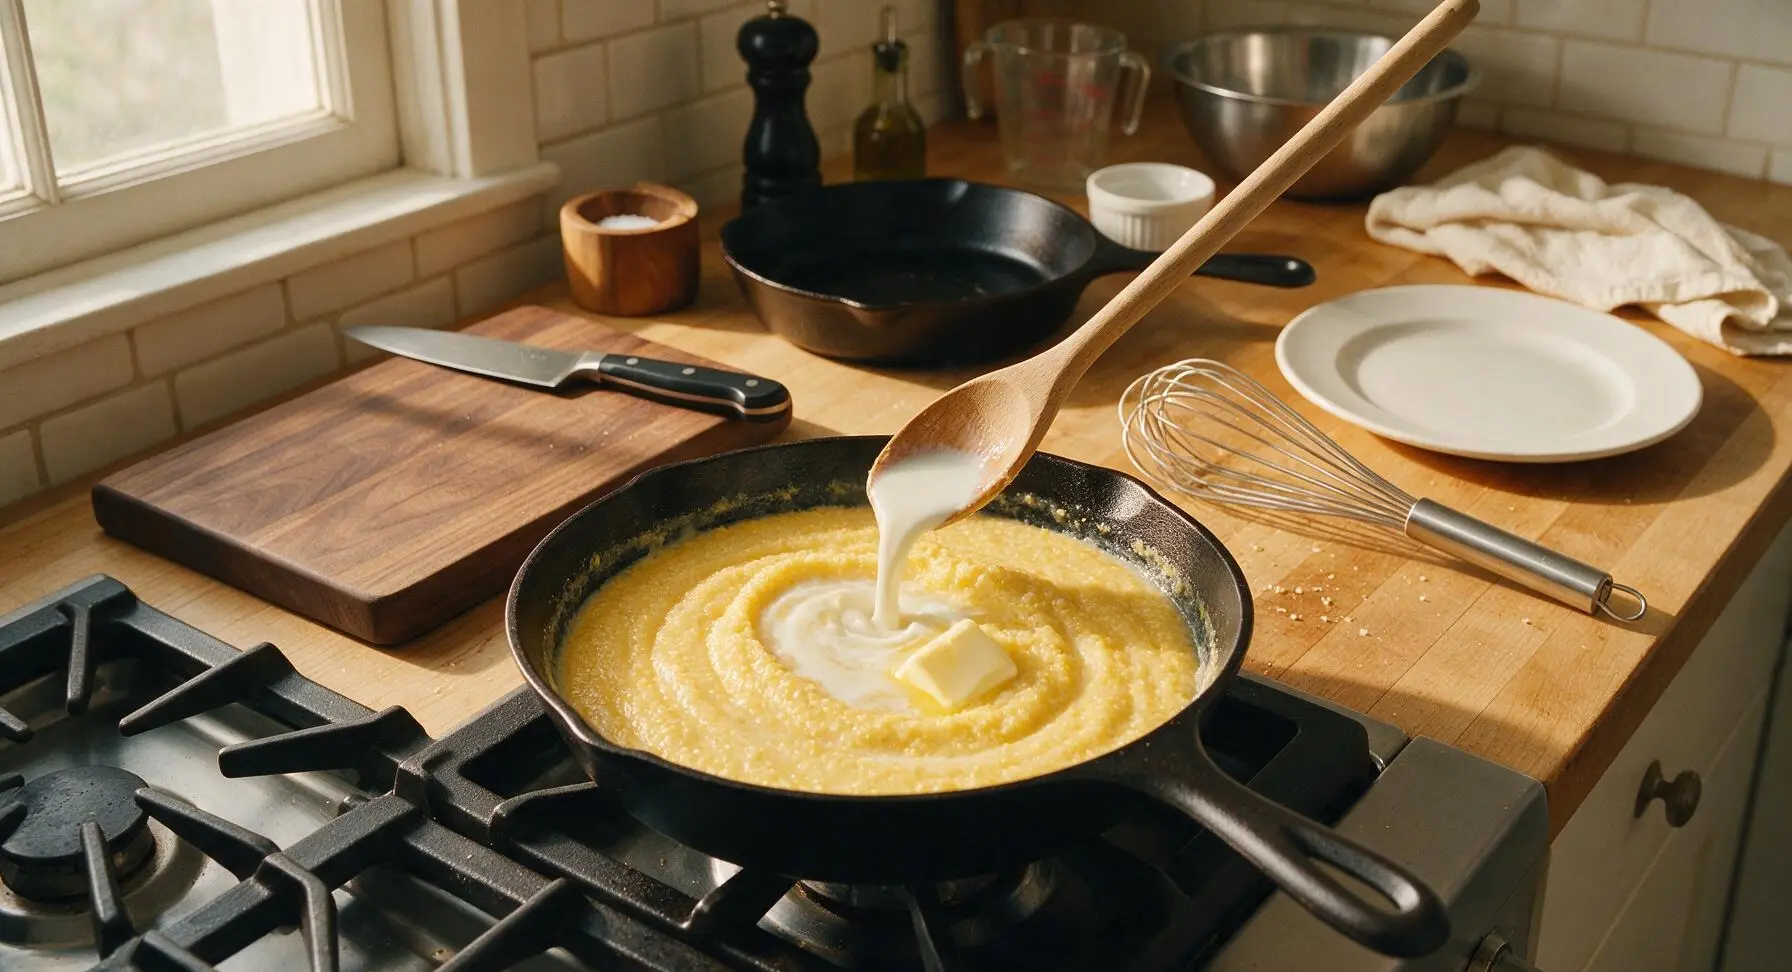
Once the mush reaches the correct thick consistency, turn off the stovetop heat. Slowly stir in the 1 cup of reserved cooking milk and 1 tbsp of unsalted butter, mixing thoroughly with the beech wood spoon until the butter is fully melted and the mush is smooth, creamy, and easily spoonable. If the mush feels overly thick, add an extra 2-3 tablespoons of milk to reach a soft, porridge-like consistency.
Step 5
step5:Stir in Milk and Butter
6

Portion Mush into Bowls

Use the beech wood spoon to scoop equal amounts of warm cornmeal mush into the four cream white ceramic cereal bowls, filling each bowl approximately three-quarters full. Smooth the surface of the mush lightly with the back of the spoon, leaving a shallow 1-inch well in the center of each portion to hold the serving milk.
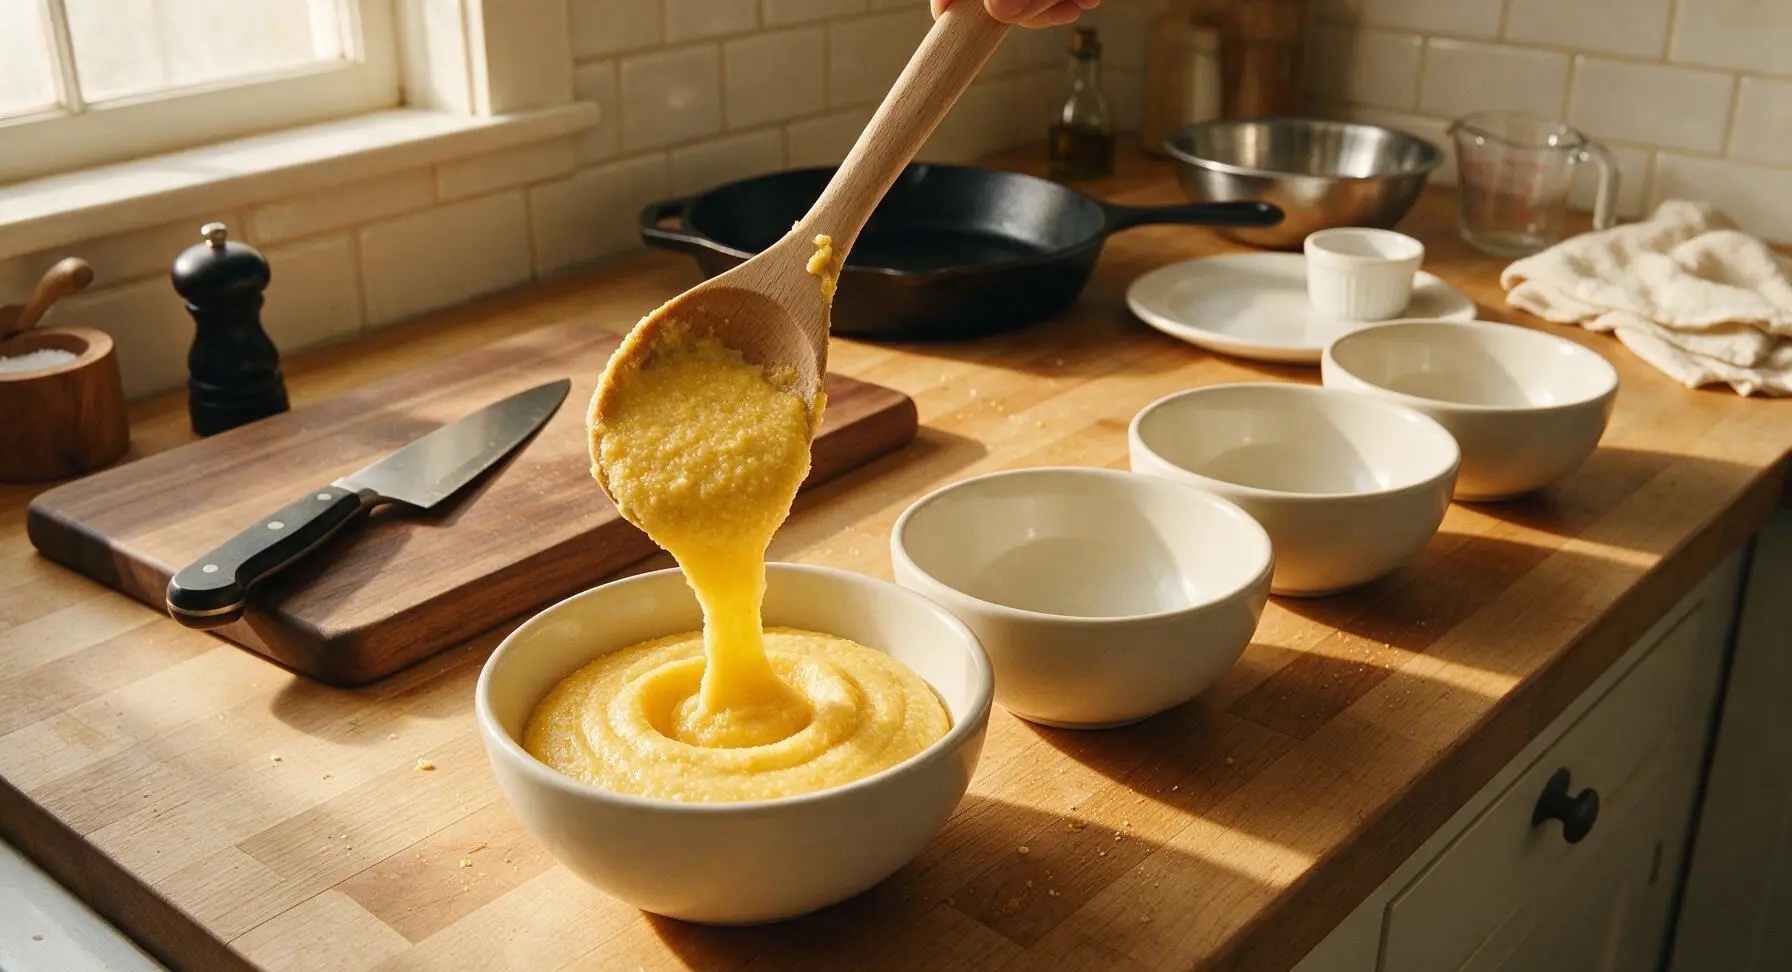
Step 6
step6:Portion Mush into Bowls
7

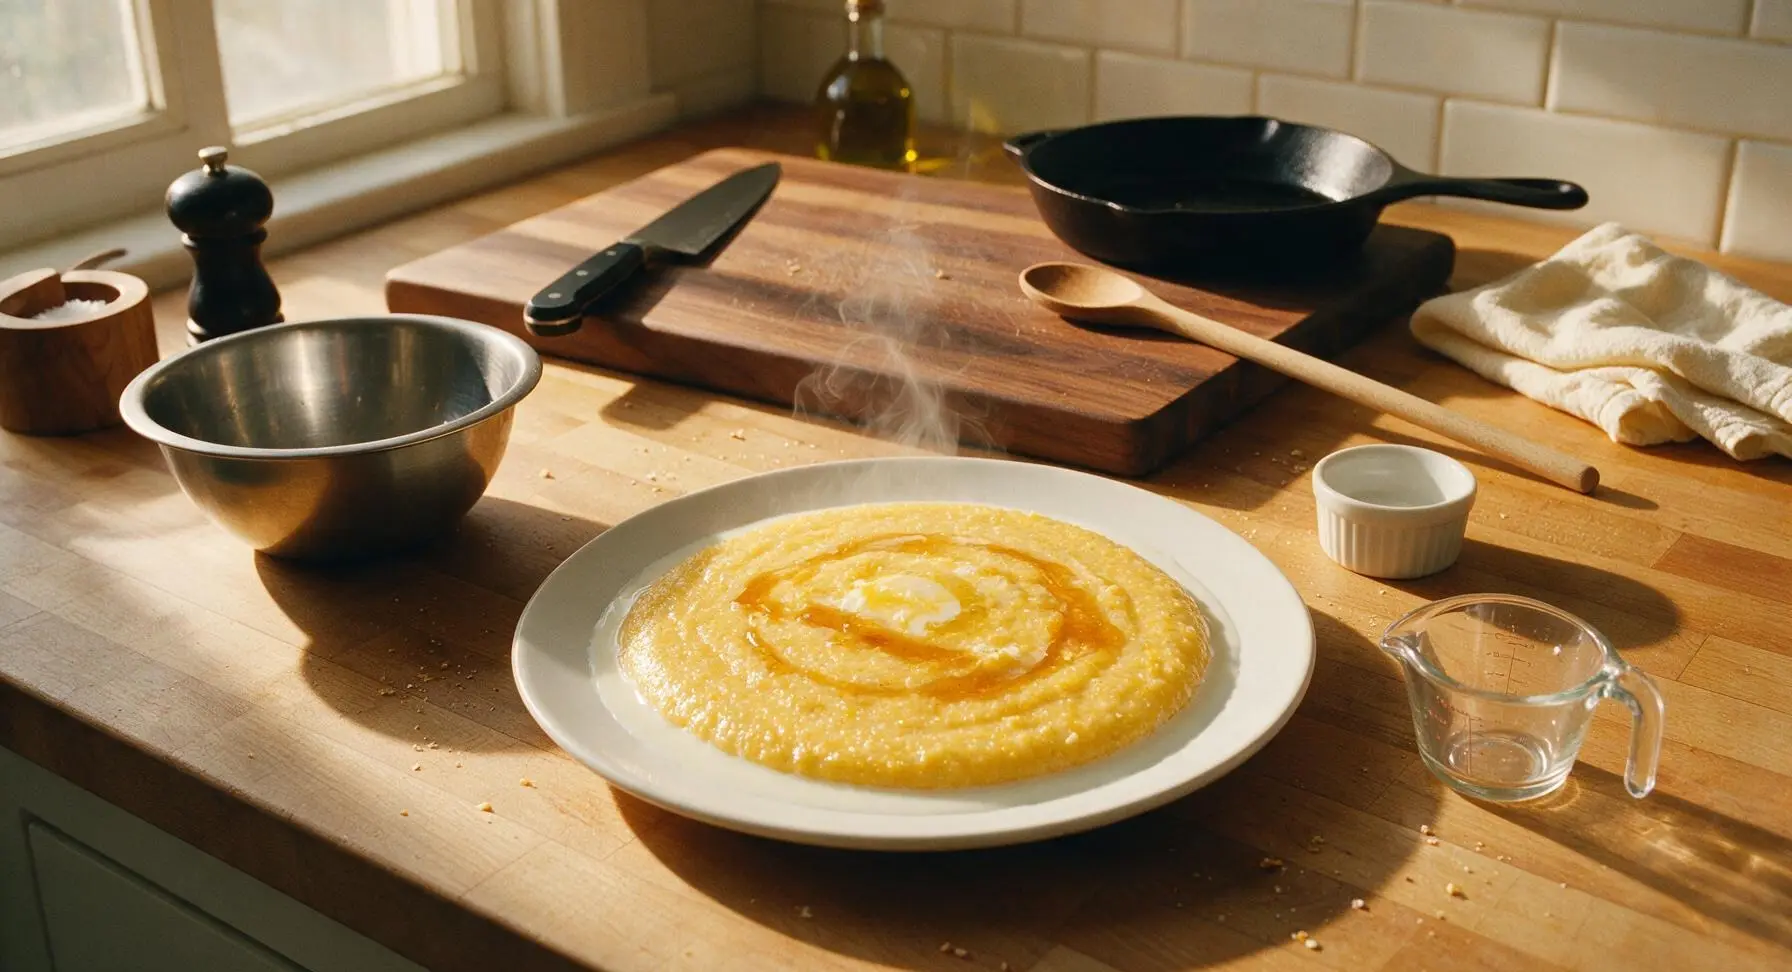
Top with Cold Milk

Pour ½ cup of cold whole milk over each serving of warm mush, directing the pour into the shallow well in the center of each portion. The cold milk will spread to form a thin creamy white ring around the edge of the warm mush, creating the classic contrast between hot, creamy porridge and ice-cold milk. Drizzle ½ tablespoon of maple syrup over each serving if using, for subtle warm sweetness; avoid over-stirring to preserve the distinct temperature and texture contrast.
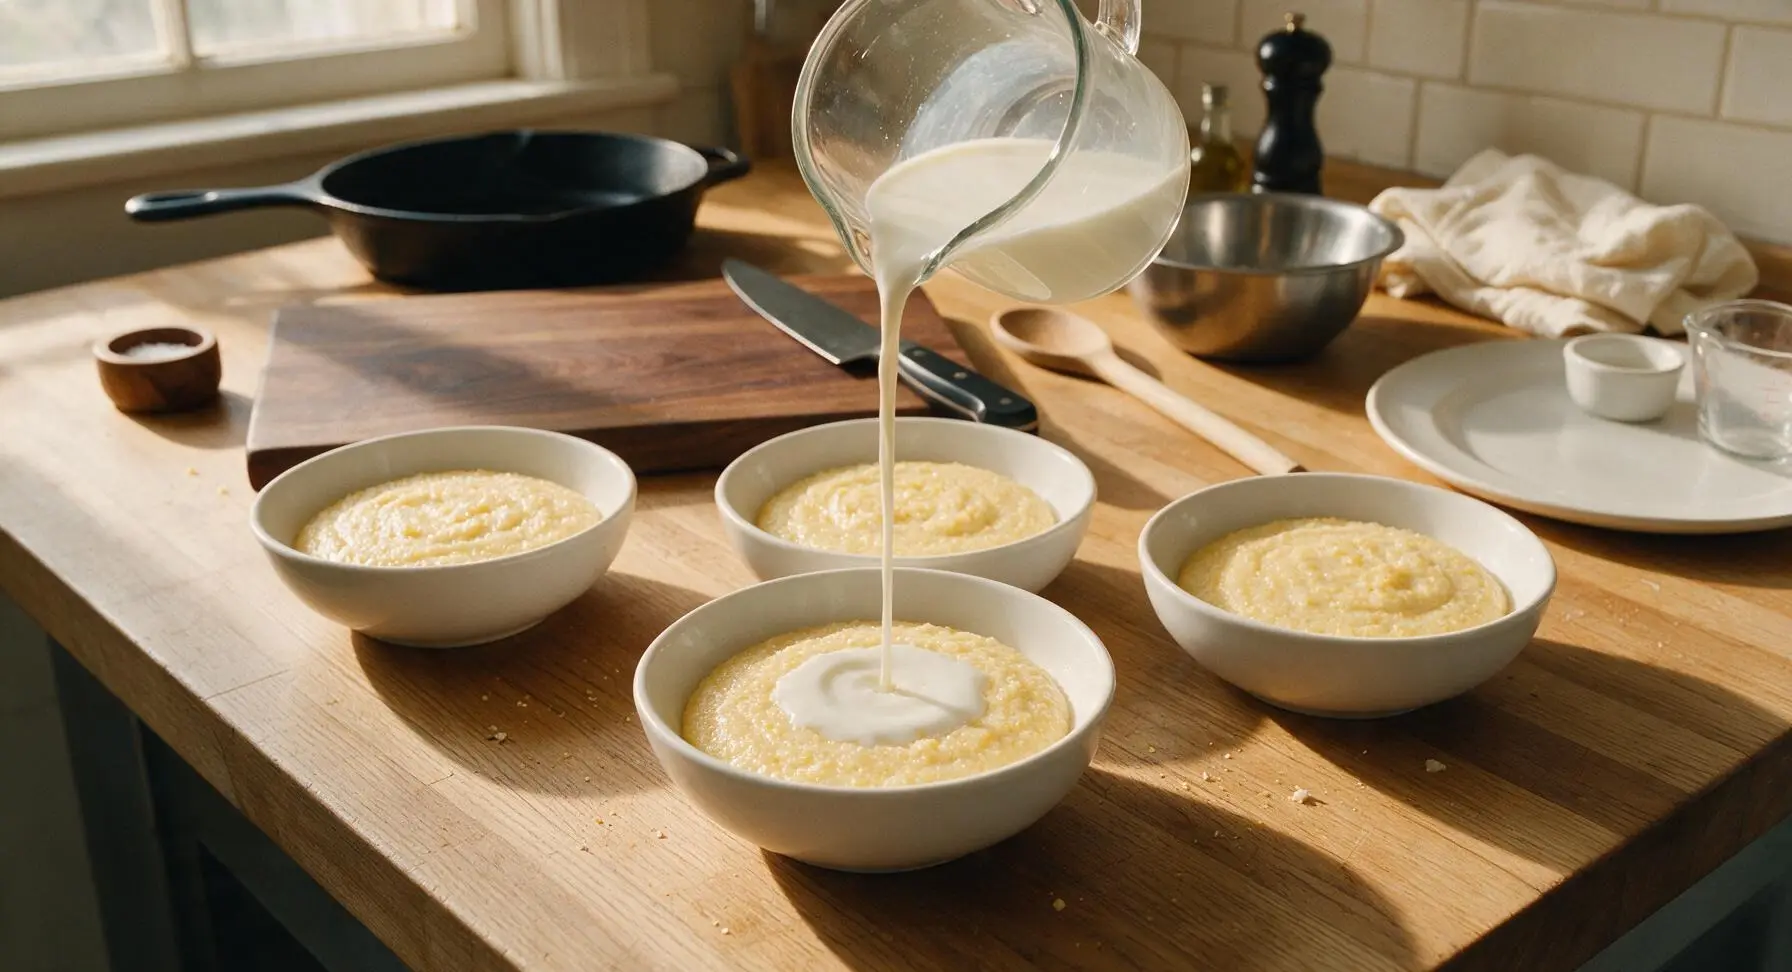
Step 7
step7:Top with Cold Milk
Step 7
step7:Top with Cold Milk

Tips

1.Always pour cornmeal into boiling liquid in a slow, thin stream while whisking nonstop: dumping cornmeal in all at once creates dry, floury lumps that cannot be smoothed out no matter how long you stir, ruining the signature silky texture.
2.Use ice-cold milk for serving, not warmed: the sharp temperature contrast between hot, thick mush and cold, creamy milk is the core of this dish’s nostalgic appeal, rather than a uniform warm porridge consistency.
3.Never cook cornmeal mush on high heat after adding the grains: high heat causes the thick mixture to pop and splatter, and can burn the starchy bottom layer before the grains fully soften, leaving a bitter, scorched flavor in the entire batch.


✨ You May Also Like

Breakfast
🍜 United States

Crisp-edged, fluffy lard griddle cakes are a nostalgic homestyle staple, with rich savoriness from rendered lard, perfect topped with maple syrup or savory gravy.

⏱️ 25 minuteBreakfast ★ 4.8
Breakfast
🍜 United States

Flaky, buttery homemade buttermilk biscuits smothered in creamy, peppery pork sausage gravy: a beloved, hearty Southern American comfort food classic.

⏱️ 35 minuteBreakfast ★ 4.8
Breakfast
🍜 United States

Golden, custardy brioche stuffed with sweet cream cheese and fresh berries, pan-fried to crisp perfection. An indulgent, cozy breakfast perfect for slow weekend mornings.

⏱️ 30 minuteBreakfast ★ 4.7
Breakfast
🍜 United States

Flaky, buttery Southern-style biscuits stuffed with savory salty country ham, a portable, satisfying classic perfect for casual on-the-go meals.

⏱️ 25 minuteBreakfast ★ 4.8
Breakfast
🍜 United States

Iconic puffy baked pancake popularized in Seattle, with crisp golden edges and soft custardy center, served warm with classic sweet toppings.

⏱️ 35 minuteBreakfast ★ 4.6
Breakfast
🍜 United States

Fluffy, golden pancakes studded with juicy peak-summer mixed berries, drizzled with maple syrup for a bright, comforting, crowd-pleasing family breakfast.

⏱️ 25 minuteBreakfast ★ 4.7

Cornmeal Mush with Milk:Frequently Asked Questions

1.Why does my cornmeal mush always come out lumpy, and how do I get a perfectly smooth texture? ▾
Lumps form when you pour dry cornmeal straight into hot liquid, which makes the outer grain layer seize up before the interior can hydrate. Whisk your fine yellow cornmeal and pinch of fine sea salt into the measured cold water first before turning on the heat, then stir consistently as it simmers for totally smooth, clump-free mush.
2.Can I use coarse-ground cornmeal instead of fine yellow cornmeal for this recipe? ▾
You can, but it will change the classic texture. Coarse cornmeal needs 5 to 7 extra minutes of cooking time to fully soften, and will produce a heartier, polenta-like chew instead of the silky smoothness this nostalgic dish is known for. Add a splash more cooking milk if it thickens too fast.
3.Do I have to use whole milk for cooking, or can I use a lower-fat milk option? ▾
Whole milk creates the rich, lush mouthfeel that makes this mush feel like cozy comfort food, but you can absolutely swap in 2% or skim milk if that’s what you have on hand. Just note lower-fat milk will make a slightly less creamy result, so add an extra pat of unsalted butter at the end to boost richness if desired.
4.How do I keep the cornmeal mush from sticking and burning on the bottom of the pot as it cooks? ▾
Sticking and burning usually come from too-high heat and infrequent stirring. Use a heavy-bottomed saucepan to distribute heat evenly, keep the stovetop at a gentle simmer once the mixture thickens, and scrape the full pot bottom with a silicone whisk or wooden spoon every 30 to 45 seconds as it cooks.
5.Am I supposed to pour cold milk directly over the hot cooked mush when serving? ▾
That’s exactly the classic, nostalgic serving method! Ladle warm, freshly cooked mush into individual bowls, then pour ¼ to ⅓ cup of ice-cold whole milk right over the top. The contrast of hot, creamy mush and cold, silky milk is what makes this simple dish feel so special—no need to stir it fully in.
6.Can I make this cornmeal mush ahead of time, and how do I reheat it without it getting gummy? ▾
You can store fully cooled mush in an airtight container in the fridge for up to 4 days. It will thicken a lot as it chills, so when reheating, stir in 1 to 2 tablespoons of extra milk or water per serving as you warm it on the stovetop or microwave, stirring often, until it’s smooth and creamy again.
7.What simple add-ins work well here without ruining the classic cozy, mild flavor? ▾
Stick to gentle, complementary mix-ins to keep that nostalgic feel: a light sprinkle of cinnamon, a drizzle of maple syrup or honey, a handful of fresh berries, a spoonful of jam, or a dash of vanilla stirred in at the end of cooking all work beautifully. Skip heavy, chunky mix-ins that overpower the soft cornmeal flavor.

Comments (4)

3 days ago

OMG this cornmeal mush is the comfort food I didn’t know I needed this week! I grew up eating my grandma’s version but could never get the texture right, and this recipe nailed it — perfectly creamy, no lumps at all. Served it warm with cold whole milk and a sprinkle of cinnamon for my kids last night, and they asked for seconds before I even sat down to eat. Total game changer for quick weeknight dinners too, only 20 minutes cook time? Are you kidding? So good!

2 days ago

Wait the cinnamon sprinkle is such a good call! I’ve only ever eaten this plain with milk, I’m definitely trying that next time I make it. Did you use yellow or white cornmeal by chance?

yesterday

So glad you and your family loved this recipe, Liz! To answer the question in the comments, yellow cornmeal gives that classic, slightly nutty flavor most people remember from childhood, but white cornmeal works perfectly too if that’s what you have on hand. The cinnamon sprinkle idea sounds incredible — I’m definitely going to test that for my own breakfast this week!

1 week ago

Made this before heading out for an early morning hike last weekend, and it kept me full for hours! Way better than the sugary granola bars I usually grab on my way out the door. I swapped regular dairy milk for oat milk because that’s all I had in the fridge, and it still turned out amazing. Super approachable for beginner cooks too — I barely know my way around the stovetop and didn’t mess it up once, win!

5 days ago

Love that this worked as pre-hike fuel for you, Jake! The oat milk swap is such a great tip for folks who prefer non-dairy milks or have dairy sensitivities — I’ll have to add that note to the recipe tips section soon. Thanks for sharing!

2 weeks ago

Brought this to our neighborhood potluck last weekend after seeing how quick and easy it was to throw together, and people were asking me for the recipe left and right! I set up a little topping station with brown sugar, fresh strawberries, and extra cold milk so folks could customize their bowls, and it was such a hit. I made a double batch and still ran out in 10 minutes, whoops! Next time I’m making a triple batch for sure.

1 week ago

The topping station idea is straight-up genius! I’m hosting a baby shower brunch next month and this just got added to the menu, no question. Did you keep it warm in a slow cooker while people served themselves? I’m trying to figure out logistics for serving a crowd!

30 minutes ago

This is going into my regular weekly meal prep rotation STAT! I whipped up a big batch on Sunday, portioned it out into individual containers, and just add a splash of milk when I reheat it at the office for breakfast all week. It’s so budget-friendly too, way better than dropping $5 on coffee shop oatmeal every morning. Zero complaints, such a solid, no-fuss easy recipe.



