
cream cheese
intro
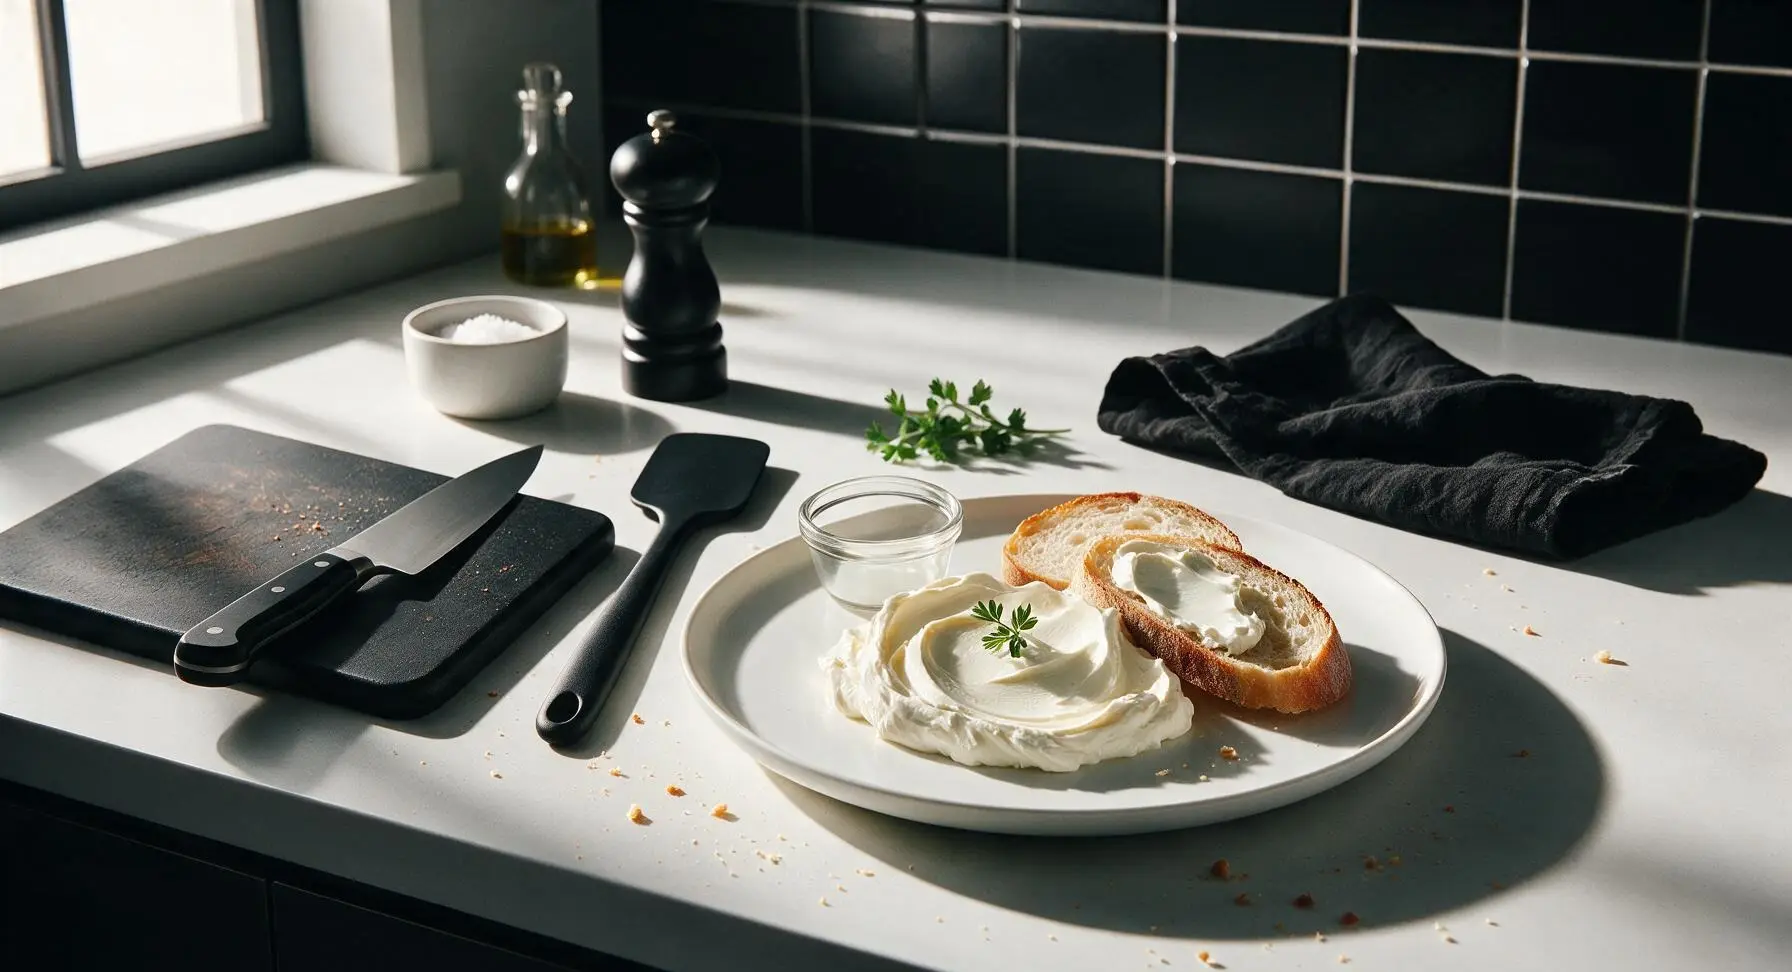
Smooth, tangy, luxuriously spreadable homemade cream cheese made with 4 simple ingredients, free of additives—perfect for bagels, dips, and holiday baking.
Ingredients
Steps
Combine Milk and Cream
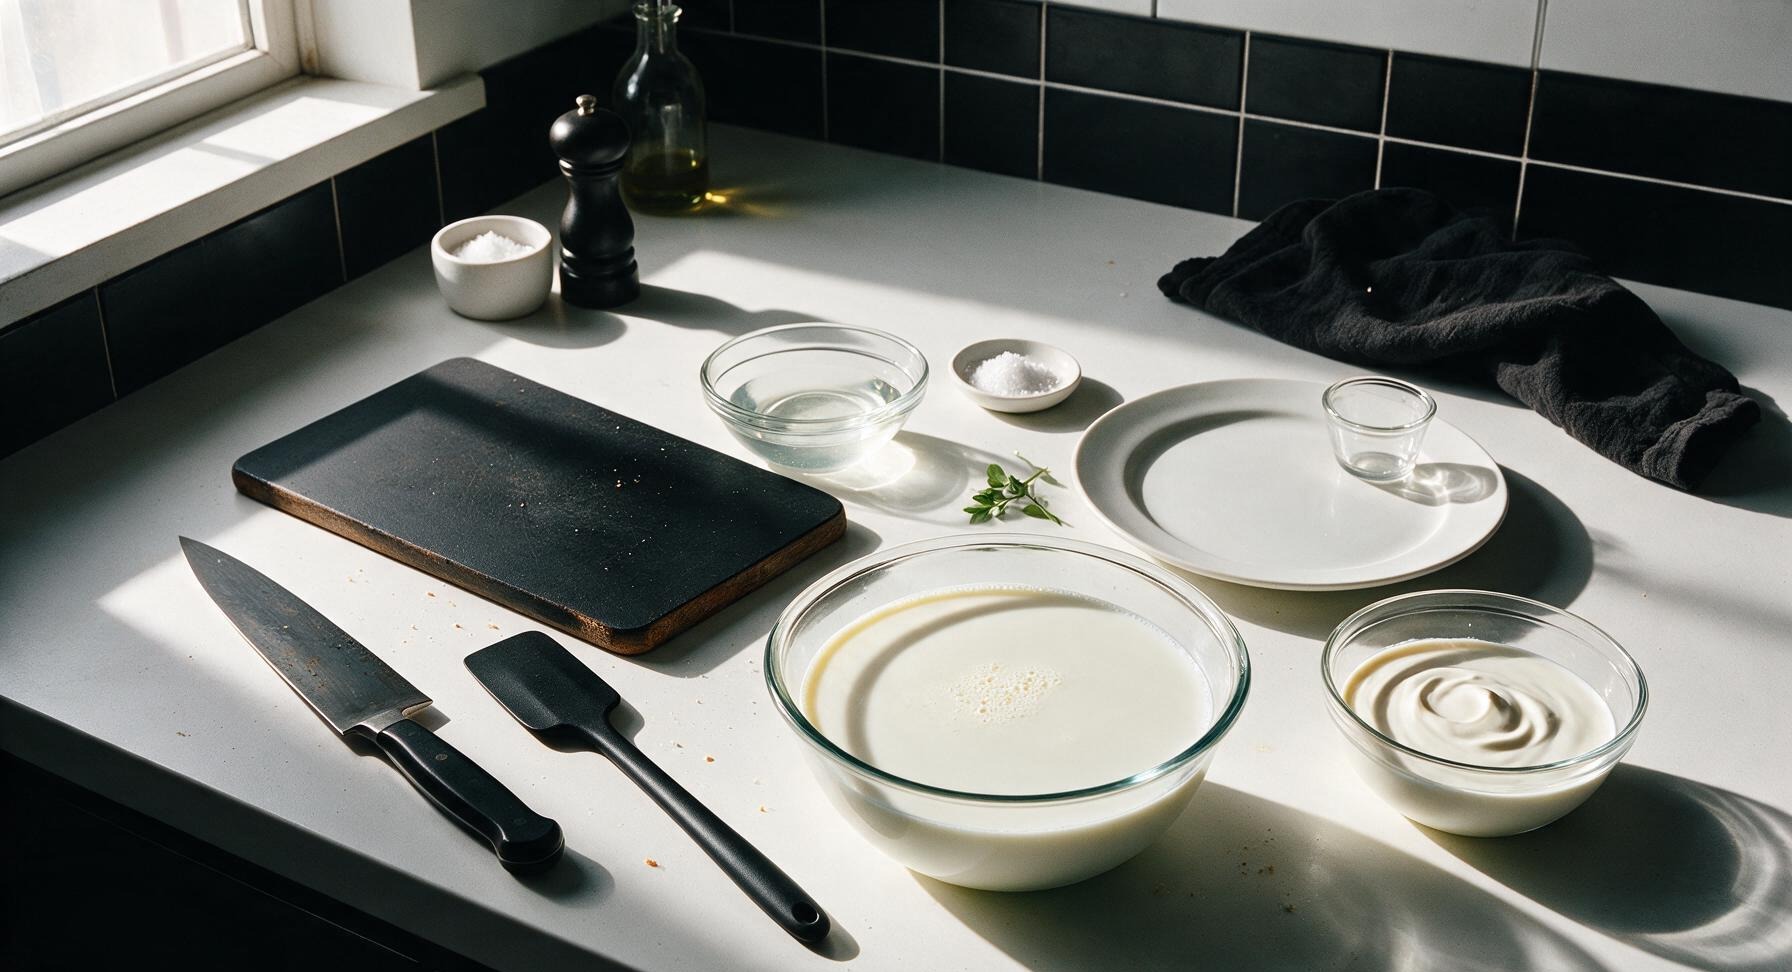
Pour 4 cups (960ml) whole milk and 1 cup (240ml) heavy whipping cream into the 3-quart brushed stainless steel saucepan. Stir gently with the off-white silicone spatula to combine evenly, making sure no cream is stuck to the bottom of the pan. Place the filled pan on the counter next to the central induction burner, ready to heat.
Heat Dairy Gently
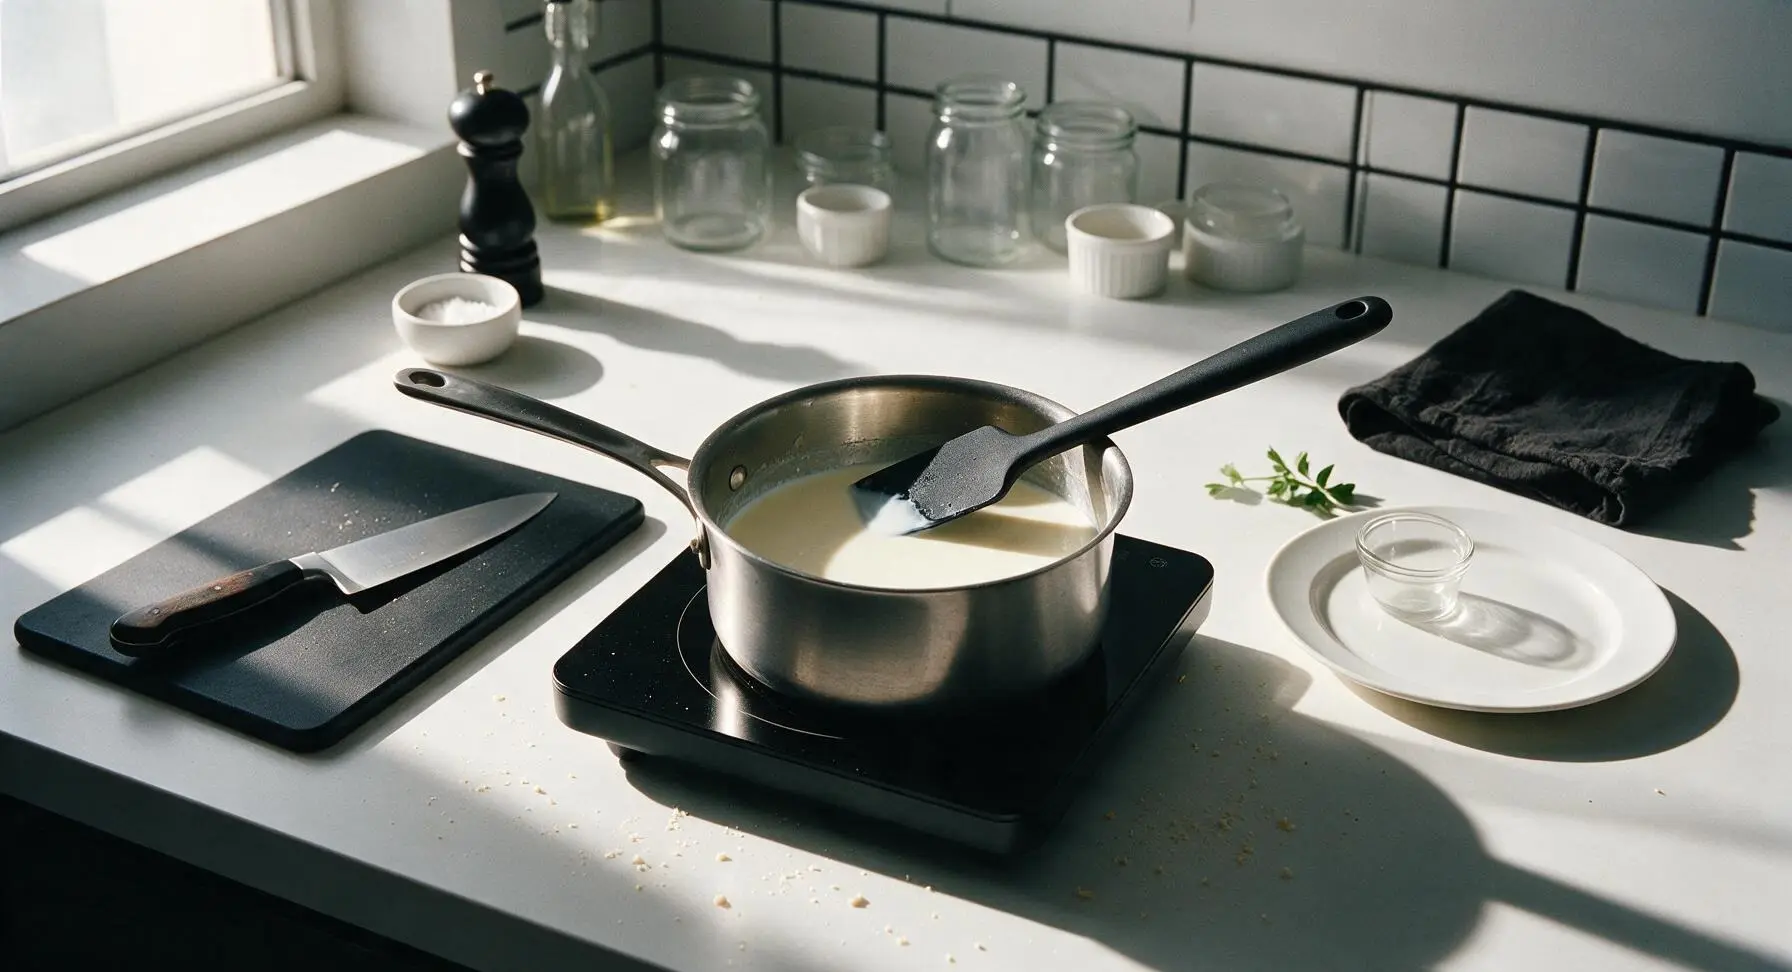
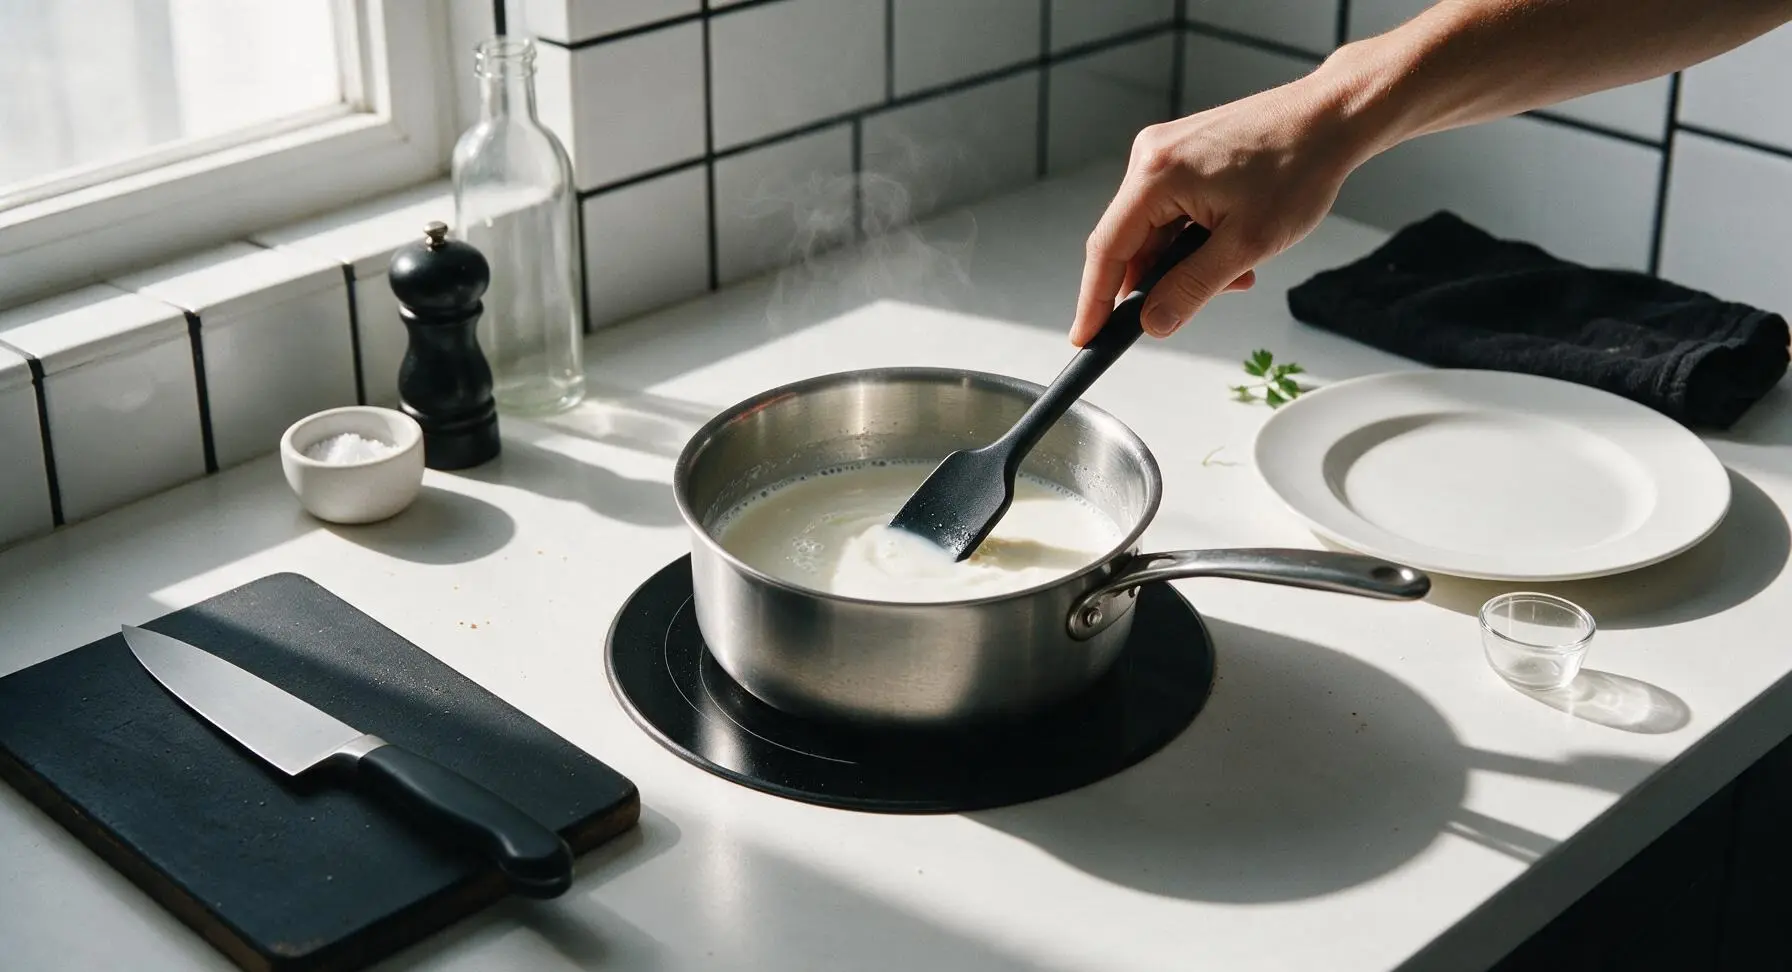
Place the saucepan on the central matte black induction burner set to medium-low heat. Stir slowly and constantly with the silicone spatula to prevent scorching on the pan bottom, until the mixture reaches exactly 175°F (79°C) as measured with the instant-read thermometer. Small wisps of steam will rise from the surface, and the mixture will be hot to the touch but not at a rolling boil; boiling will lead to a grainy final texture.
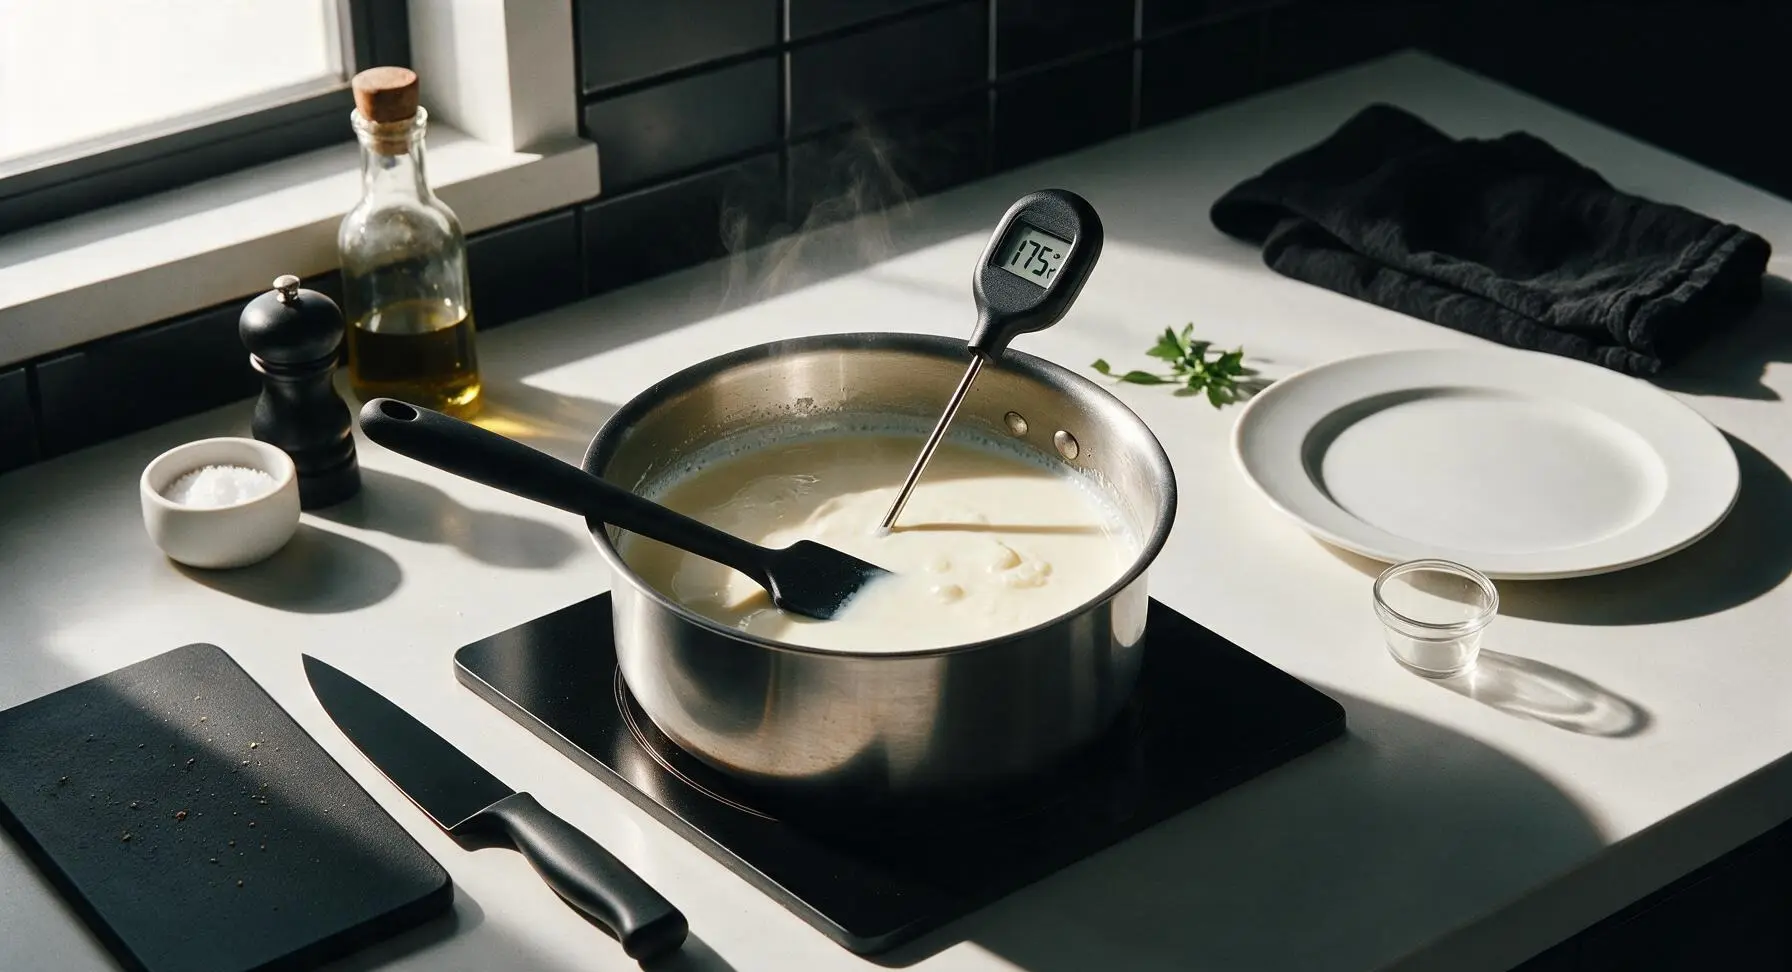
Add Vinegar to Curdle
Turn off the induction burner and move the saucepan to the counter space to the right of the burner. Pour 3 tablespoons of white distilled vinegar into the hot dairy mixture, stirring slowly and gently with the spatula for exactly 10 seconds to distribute the acid evenly. Stop stirring immediately, cover the pan with its stainless steel lid, and let it rest undisturbed for 10 minutes. Soft, lumpy white curds will separate from the pale yellow, translucent whey during this rest period.
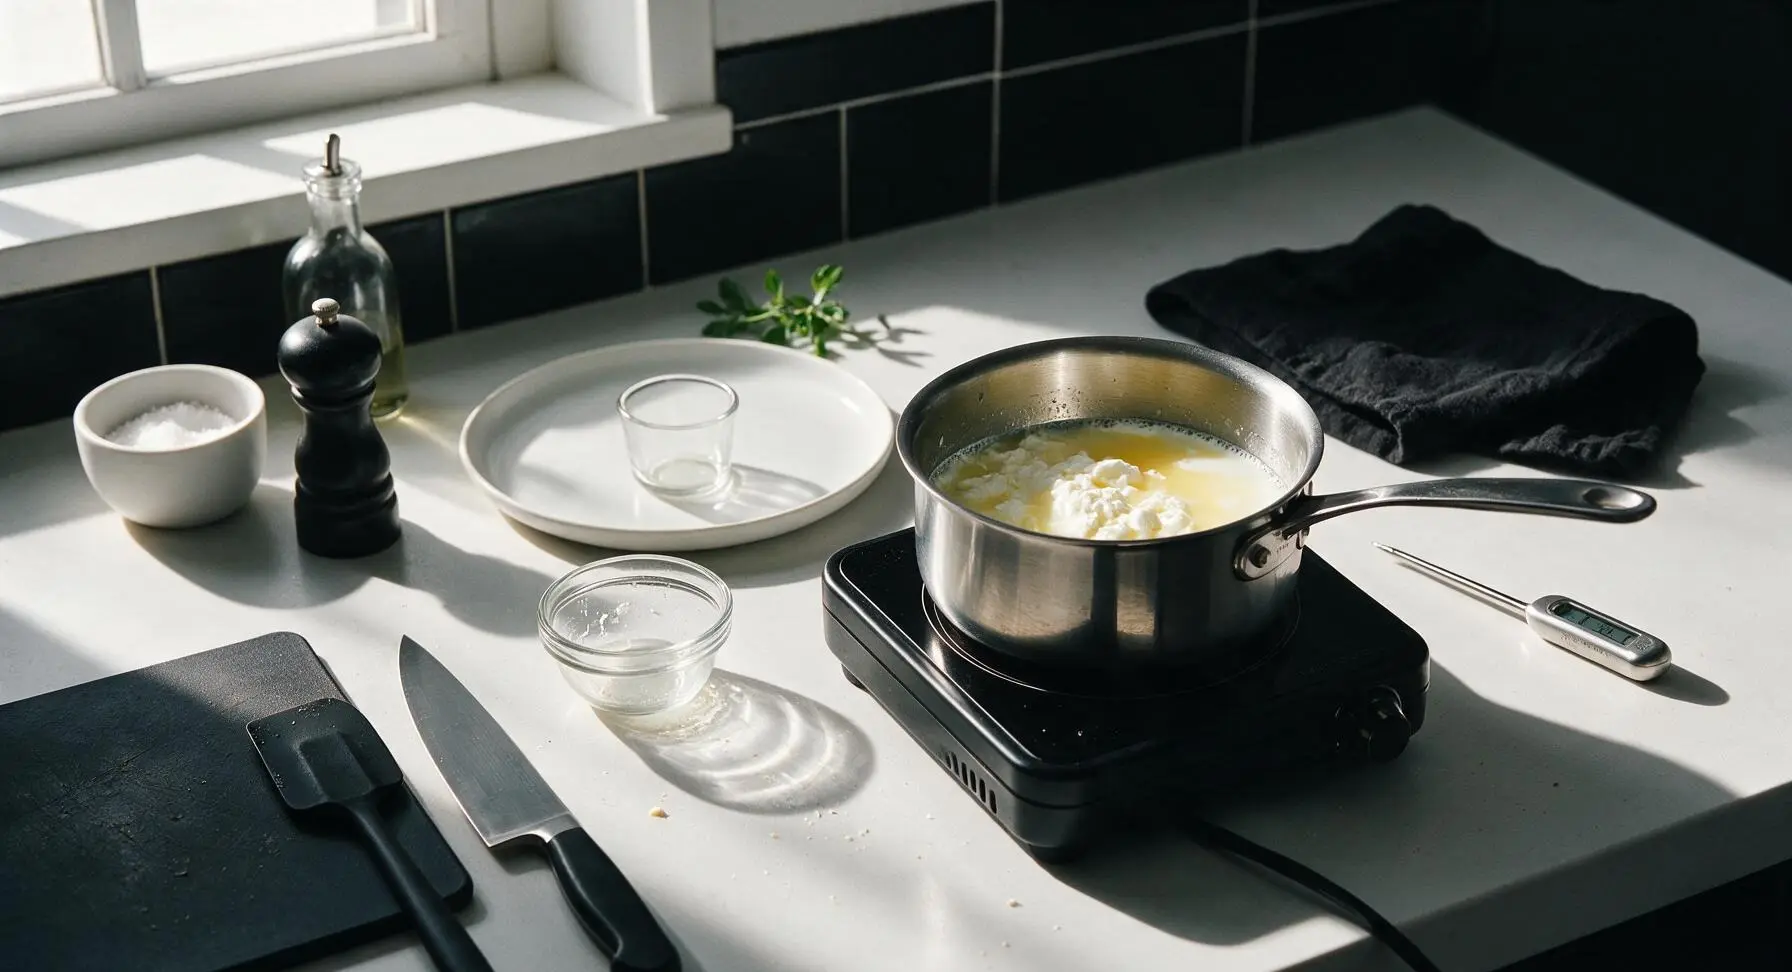
Prepare Draining Setup
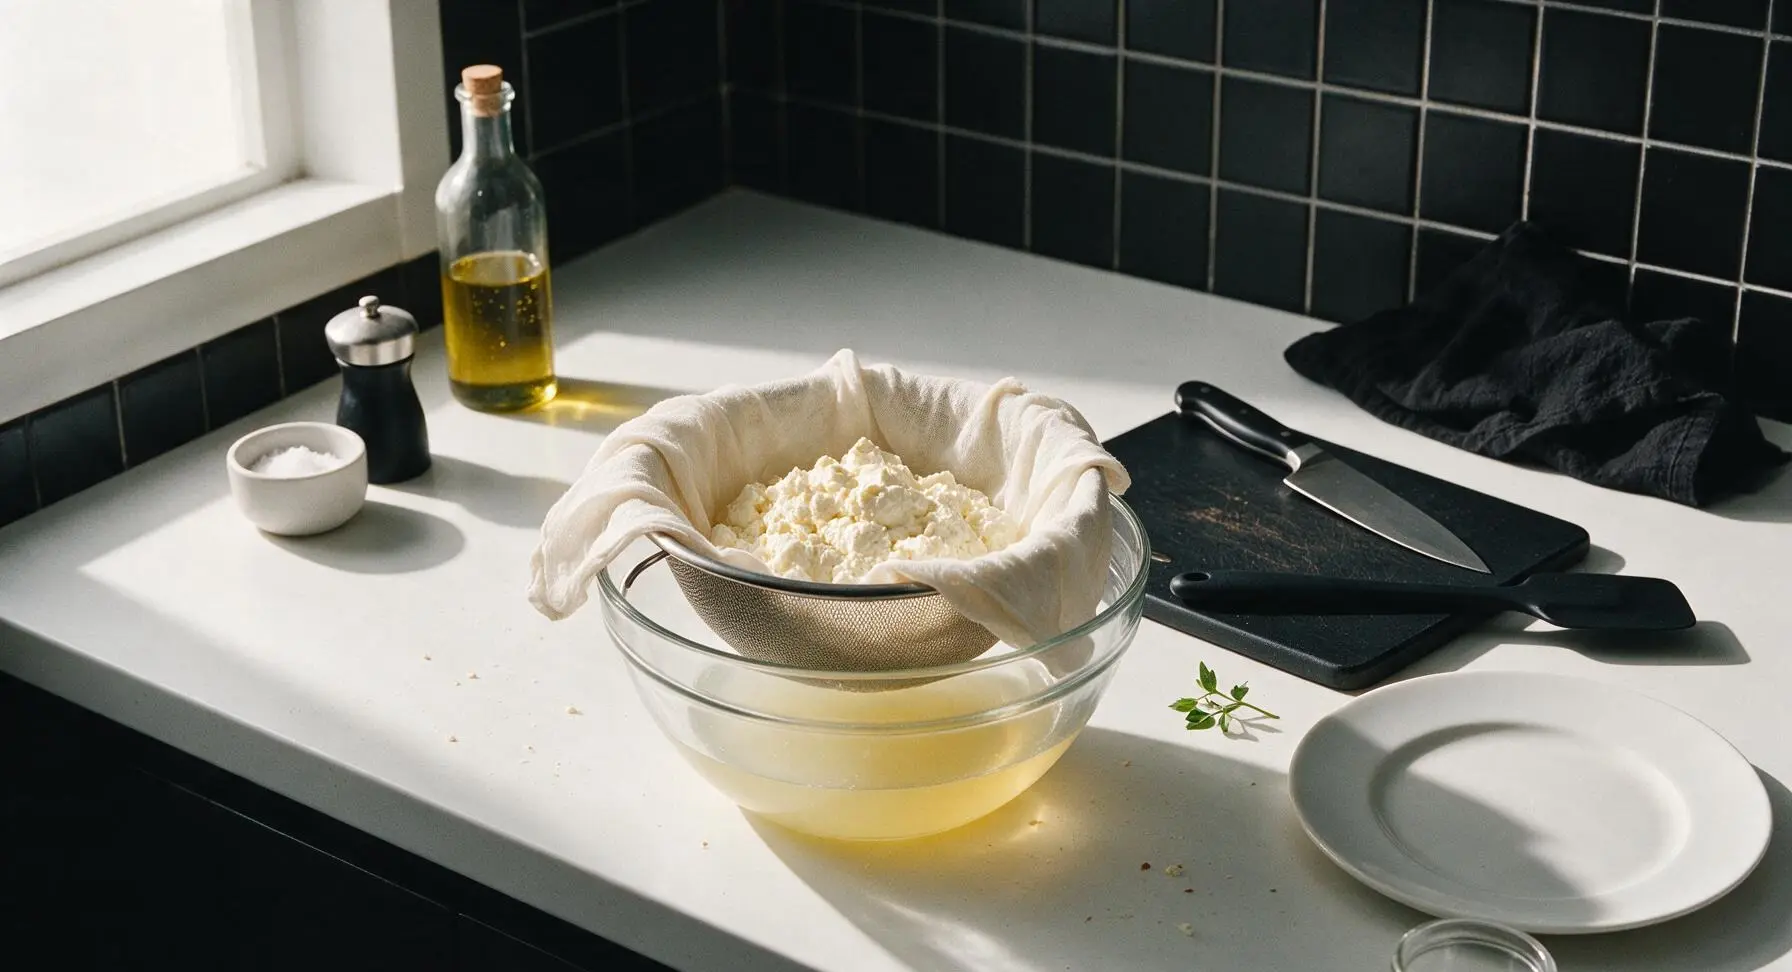
While the curds rest, place the 2L clear tempered glass mixing bowl on the central counter space left open by the moved saucepan. Nest the 16cm fine-mesh stainless steel strainer inside the bowl, so the bottom of the strainer sits 5cm above the bowl bottom to leave room for draining whey. Line the strainer with the double layer of off-white cheesecloth, adjusting the cloth so it overhangs the strainer edges by 5cm on all sides to prevent curds from leaking out.
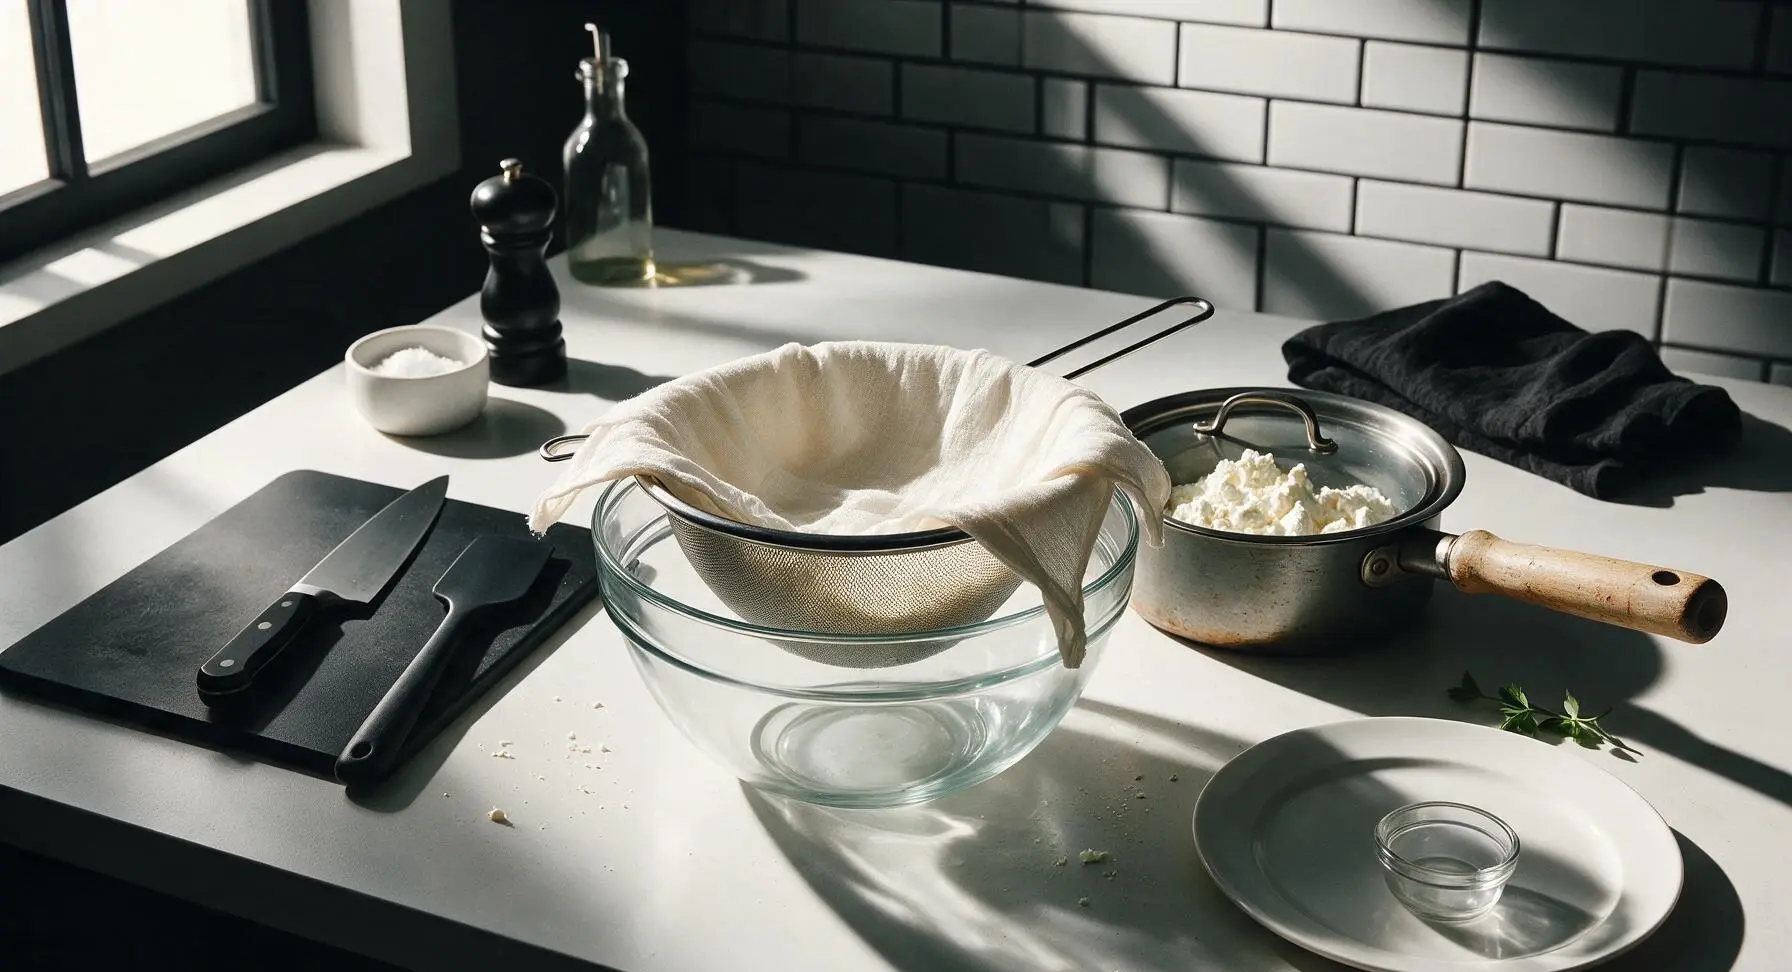
Drain Curds Thoroughly
After the 10-minute rest, remove the lid from the saucepan. Gently pour the curds and whey mixture into the cheesecloth-lined strainer, taking care not to pour too quickly and splash over the edges. Let the mixture drain at room temperature for 1.5 to 2 hours, until no more whey drips from the bottom of the strainer and the curds are thick, moist, and crumbly. Do not press or squeeze the curds during draining, as this will force too much moisture out and create a dry, crumbly cheese instead of a creamy spread.
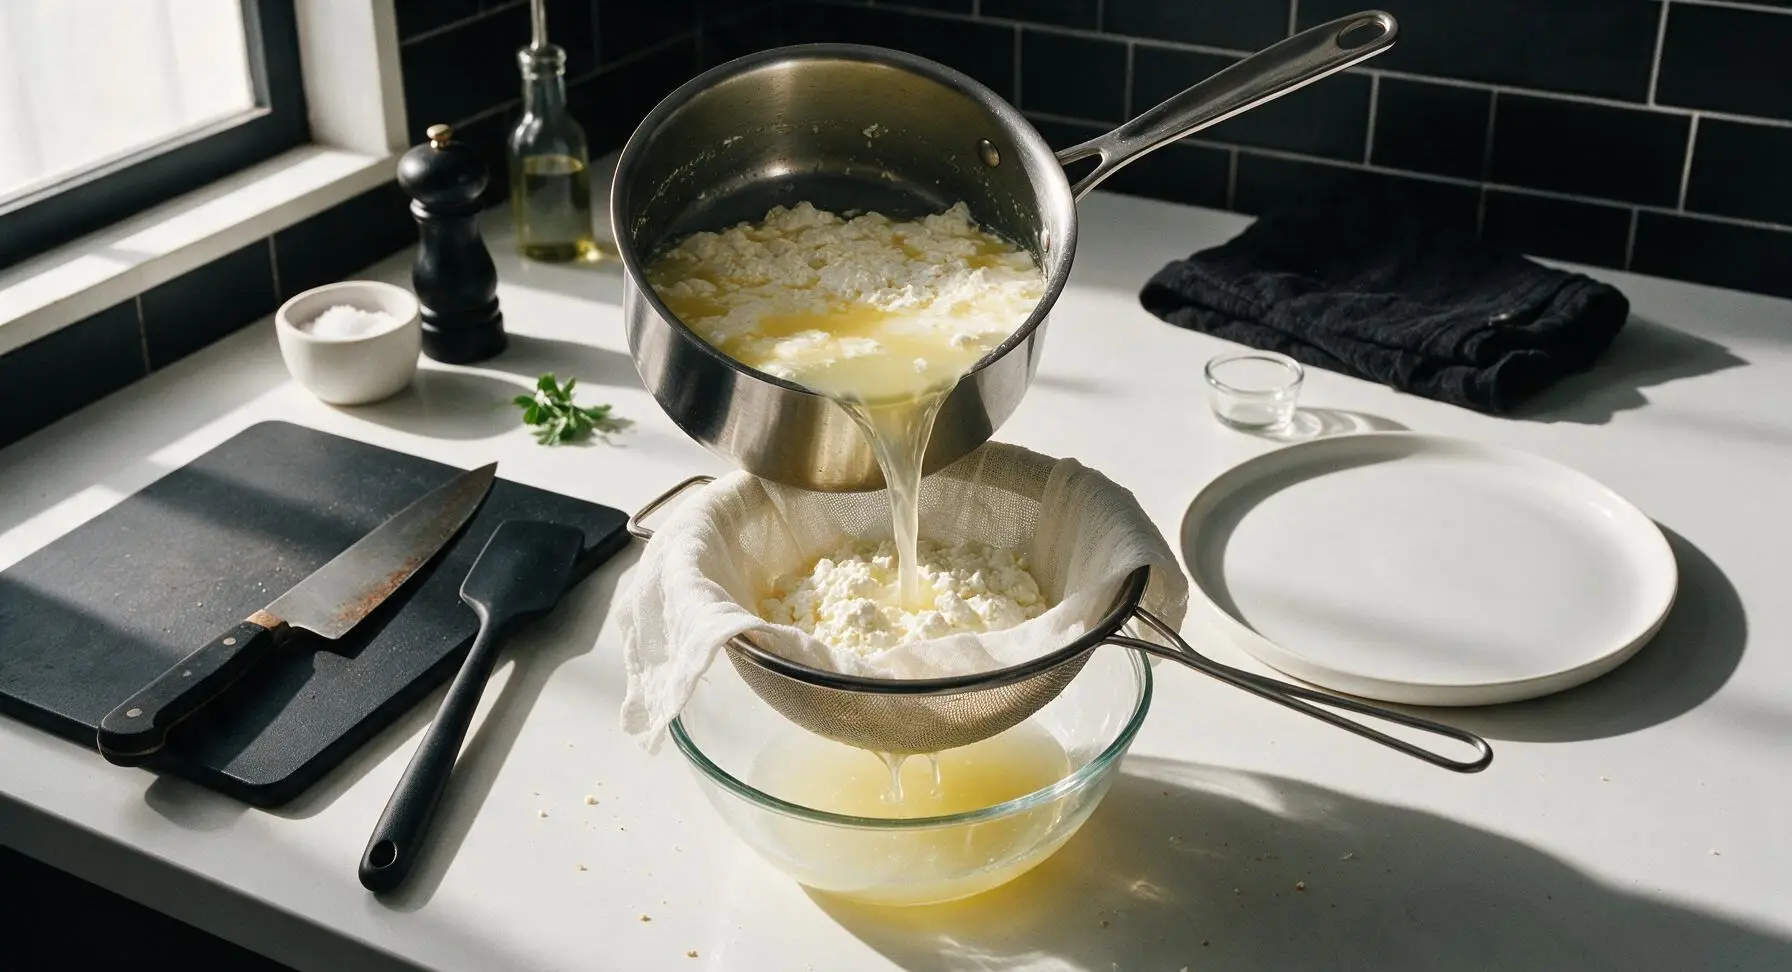
Blend Curds Smooth
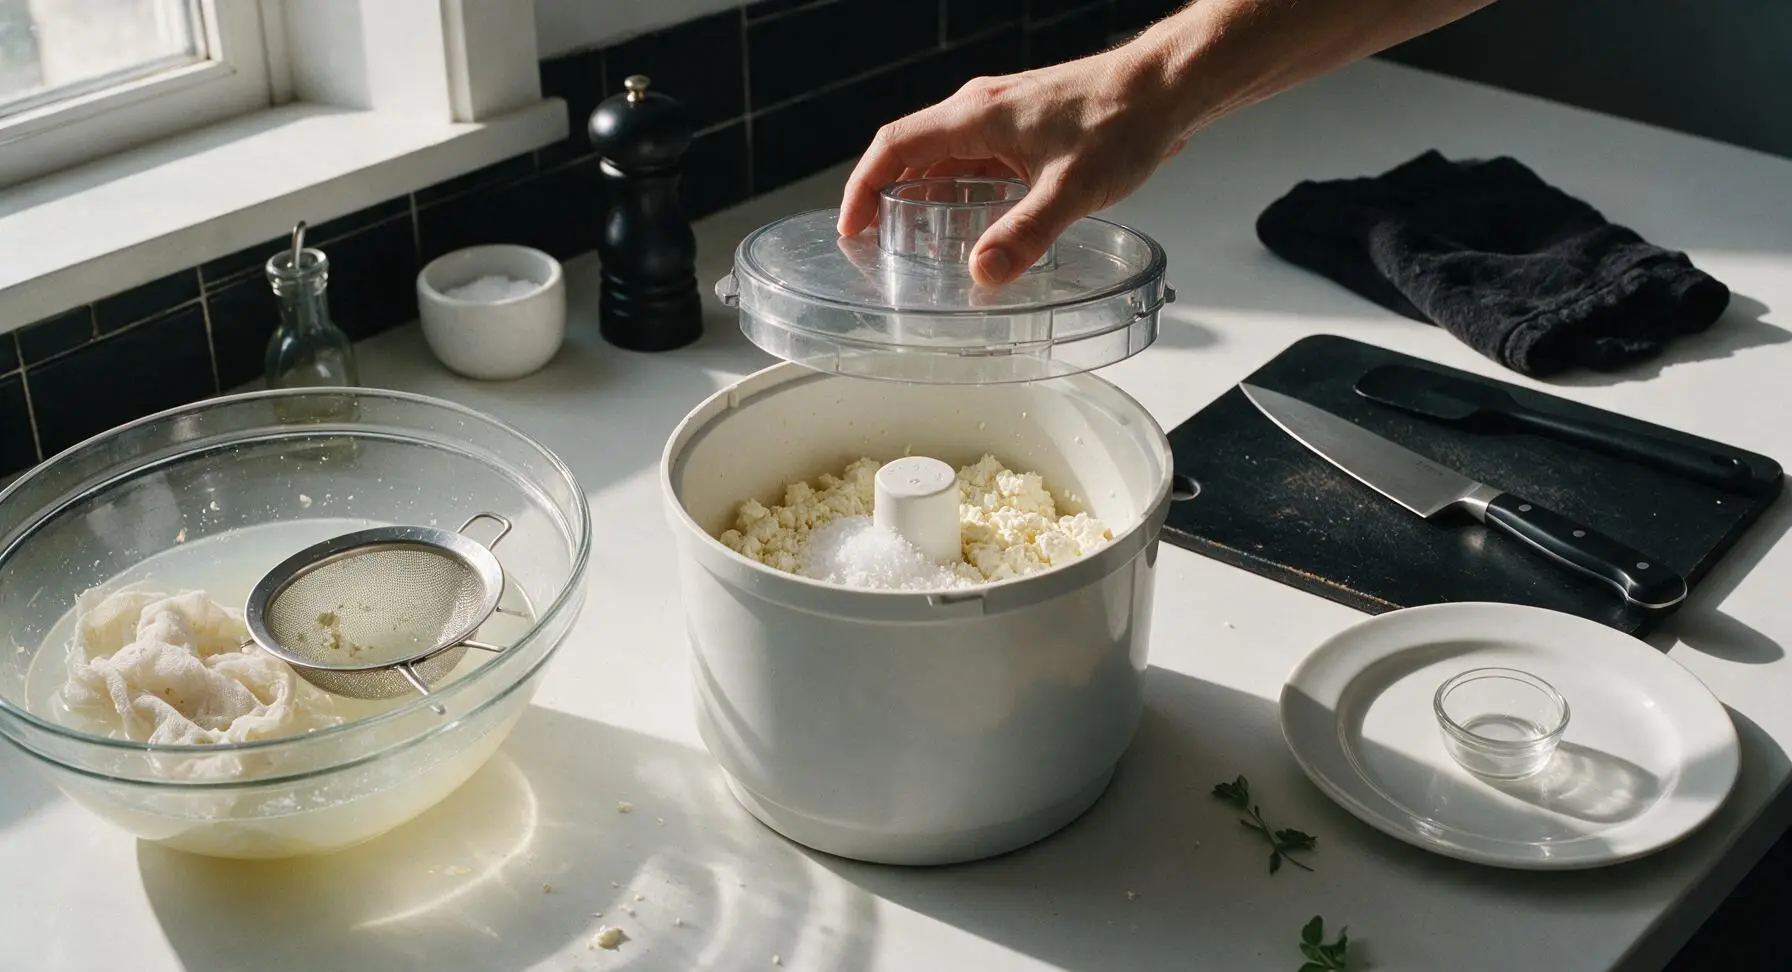
Gather the edges of the cheesecloth to lift the drained curds out of the strainer, and transfer them to the bowl of the 1.5L matte white food processor. Add 1/2 teaspoon of fine sea salt. Secure the processor lid, and process the curds on high speed for 30 to 45 seconds, stopping once to scrape down the sides of the bowl with the silicone spatula, until the mixture is completely smooth, creamy, and spreadable with no remaining lumps.
Transfer and Chill
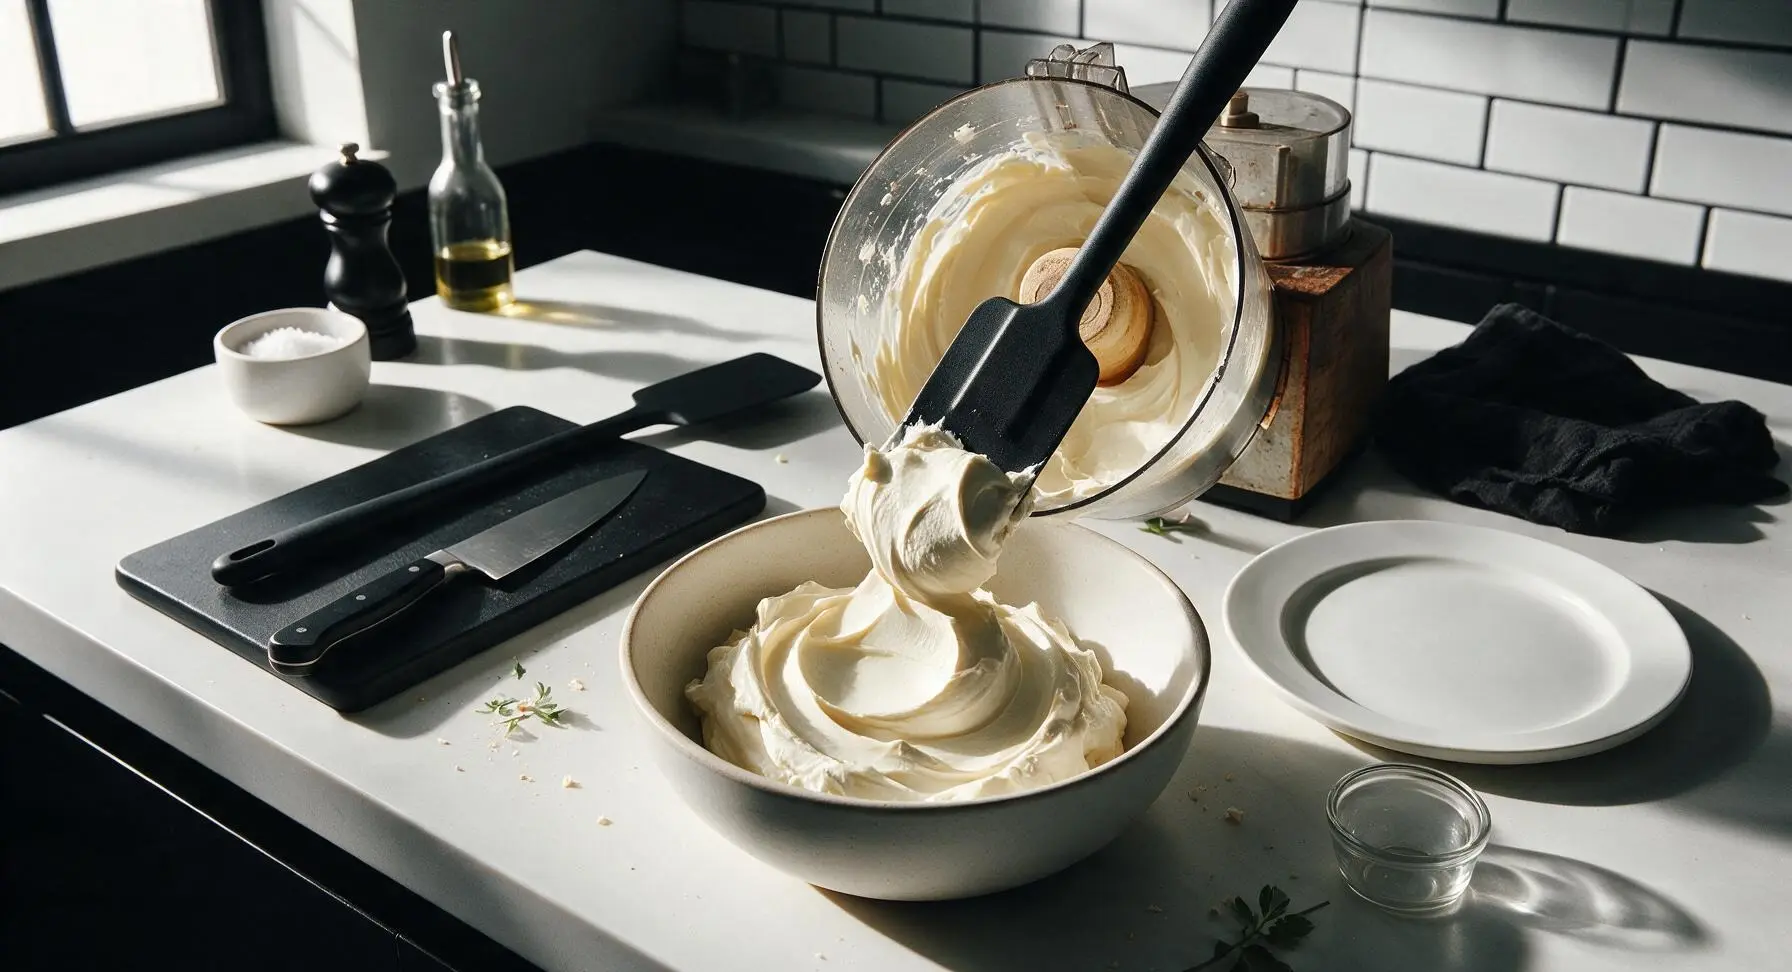
Remove the processor lid, and scoop the smooth, blended cream cheese from the processor bowl into the matte off-white ceramic serving bowl. Smooth the top gently with the silicone spatula to create soft, even swirls, then cover the bowl and refrigerate for at least 1 hour to firm up slightly before serving. Stored in an airtight container, the cream cheese will keep fresh in the refrigerator for up to 1 week.
Tips
2.Do not stir the curds vigorously after adding vinegar: over-stirring breaks curds into tiny particles that slip through the cheesecloth, reducing yield and creating a watery, less creamy final texture.
3.For a tangier, cultured cream cheese matching classic commercial flavor, stir 1 tablespoon of plain full-fat Greek yogurt into the blended cheese before chilling, to add subtle acidic depth without thinning the texture.






OMG this homemade cream cheese is a total game changer! I threw this together yesterday morning for my friend’s bagel potluck and everyone was begging for the recipe. Way better than the grocery store stuff, no weird preservatives! 10/10 will make every week for meal prep.
Made this for my kids’ after school snack today with some homemade strawberry jam on toast, and my youngest who turns his nose up at literally everything ate two whole slices! It was so easy to throw together, I was shocked how little active time it took. Only thing is I accidentally used low fat milk first, did I mess it up?
Super easy recipe, took me less than 20 minutes of actual work like the recipe said! I mixed in some everything bagel seasoning after it set and it’s *chef’s kiss* for backpacking trip bagel lunches. So much lighter to pack the ingredients to make fresh at camp too.
Y’all, I never thought making cream cheese at home was this simple. I used this to make the filling for my famous smoked cream cheese dip for the game day watch party last weekend, and folks went back for thirds. Will never buy the store brand tub again.
Wait, I’m a total beginner and I was so nervous to try this, but it turned out on the first try?? I added a little vanilla extract and honey to make a sweet version for my cinnamon rolls this weekend, and my roommate said it’s better than the fancy bakery stuff downtown. Quick question though—can I freeze this for later?
Made this this morning to go with my everything bagel and iced latte, and it’s SO good. The texture is so much silkier than the store bought stuff, I can’t believe I wasted so much money on prepackaged cream cheese for years. Only note is I added a tiny pinch more salt than the recipe called for, just personal preference.
This is perfect for my weekly meal prep! I make a big batch every Sunday, portion it out into little containers, and add different mix-ins each week—chives, roasted garlic, berry compote, you name it. Saves me so much money during the work week for quick breakfasts.
I’ve been making cream cheese for my red velvet cakes for decades, and this recipe is by far the easiest and most consistent I’ve ever tried. No weird clumps, perfect tang, and it holds up so well in cream cheese frosting without getting runny. 10/10, will be my go-to from now on.
As a college student with barely any kitchen equipment, I was shocked I could pull this off! All I had was a regular pot, a colander, and some cheesecloth I grabbed from the dollar store, and it turned out perfect. Way cheaper than buying name brand cream cheese for my late night bagel snacks.
Made this to slather on my fresh sourdough loaves I baked last weekend, and the combo is unbeatable. I mixed in some fresh dill from my windowsill garden and a little lemon zest, and my neighbors who came over for bread night asked if I’d sell them a tub! Wild.
As someone who’s gluten free and always reading labels for hidden additives, this recipe is a dream! No weird thickeners or hidden gluten, just simple ingredients I can pronounce. I’ve already made it three times in the last two weeks for my morning toast.
Tried this for our family Sunday dinner last week, served it as an appetizer with crackers, honey, and fig jam, and even my super picky father in law said it was better than the fancy stuff he buys at the gourmet cheese shop. Only issue I had was my curds didn’t separate as cleanly as the tutorial showed—any tips?
Brought this to our office potluck yesterday with a veggie platter and bagel chips, and the whole platter was gone in 10 minutes. I made a savory version with garlic and chives and a sweet version with cinnamon and brown sugar, so there was something for everyone. Easy, crowd pleasing, zero stress.
Wait a second, who knew you could use this cream cheese to make the best queso fundido ever? I melted a tub of this down with some pepper jack and chorizo for taco night last night, and my partner asked if we could have it every single Taco Tuesday from now on. Game changer for real.
I’m slightly lactose intolerant but I can handle fresh dairy way better than the processed store bought stuff, so I was so excited to try this. It worked! I had zero stomach issues after eating a big schmear on my bagel this morning, and it tasted amazing. How long does this keep in the fridge exactly?
Made this for a girls’ brunch I hosted yesterday, served alongside mini bagels, lox, capers, and red onion, and every single person asked for the recipe. I can’t believe how much creamier it is than the whipped store bought stuff I used to splurge on. Zero regrets, 10/10.
We have a dairy cow on our little hobby farm, so I’m always looking for easy ways to use up extra milk, and this recipe is perfect! It’s so fast to make, tastes incredible, and I don’t have to run to the grocery store when I need cream cheese for a recipe. Already added this to my regular rotation.