1.Can I use lower-fat milk instead of 3.25% whole milk for this recipe?
▾
I don’t recommend it! Lower-fat milk (like skim, 1%, or 2%) will produce a dry, crumbly cheese that lacks the rich, smooth mouthfeel classic cream cheese is known for. The 3.25% fat content in whole milk helps create soft, cohesive curds that blend into a perfectly spreadable final product without a chalky aftertaste.
2.How long will this homemade cream cheese stay fresh in the refrigerator?
▾
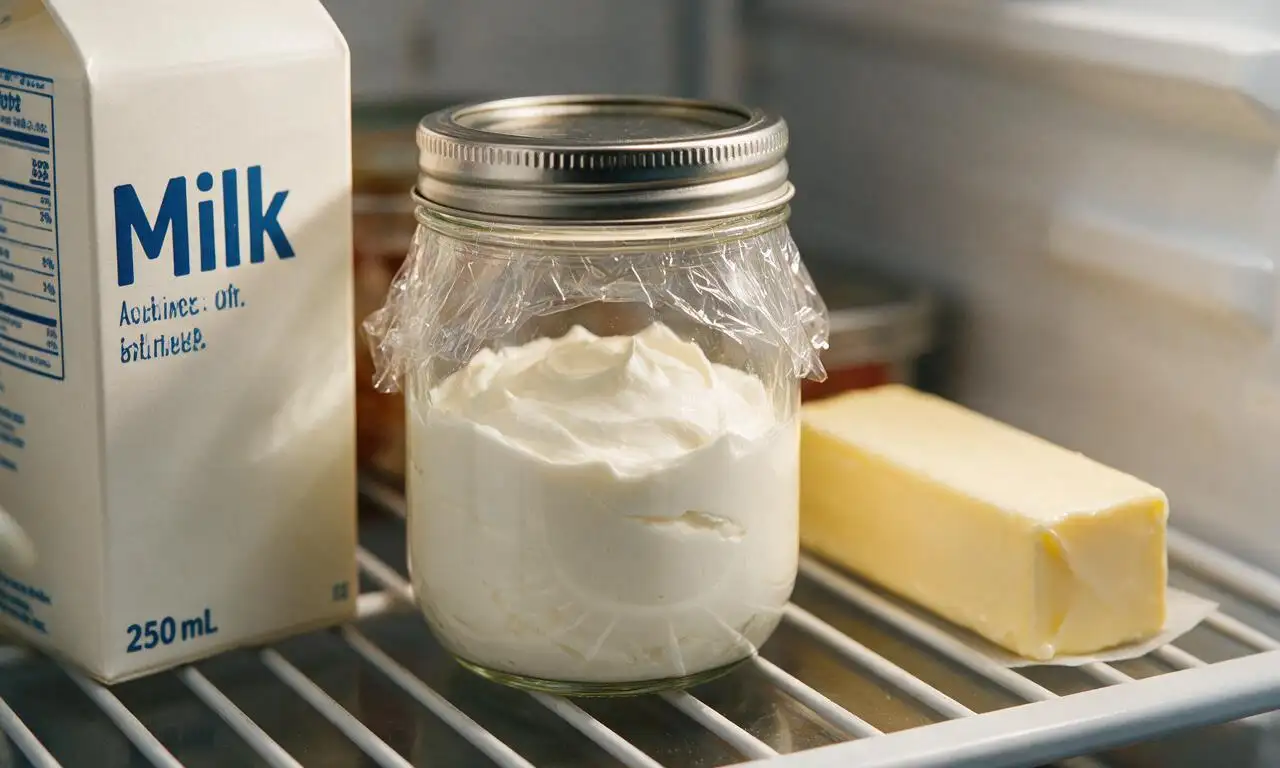
Stored in a tightly sealed, sanitized airtight glass container at a consistent 40°F or below, it will stay fresh for 7 to 10 days. Since it has no artificial preservatives, skip storing it longer than that, and discard it immediately if you spot fuzzy mold, sour off-odors, or a slimy, discolored surface.
3.Why do I need to use pulp-free fresh lemon juice instead of bottled lemon juice?
▾
Bottled lemon juice often has added preservatives, sulfites, and inconsistent acid levels that can throw off the curdling process, leading to soft, poorly formed curds. Any leftover pulp will create tiny grainy flecks in your finished cheese, so straining fresh, pulp-free juice gives you a predictable set and silky-smooth texture.
4.Can I leave out the heavy whipping cream to make a lower-fat cream cheese?
▾
Skipping the 35% fat heavy whipping cream will leave you with a dry, crumbly, tart cheese closer to farmer’s cheese than classic spreadable cream cheese. The heavy cream delivers that lush, rich mouthfeel we associate with store-bought cream cheese, and cutting it out will drastically change both the texture and balanced flavor.
5.What purpose does cultured buttermilk serve in this recipe?
▾
Cultured buttermilk adds that signature subtle, bright tang classic cream cheese is known for, rather than the flat, bland flavor you get from acid-only curdled cheese. It also introduces gentle active cultures that help curds form evenly, leading to a smoother, more spreadable final product instead of tough, rubbery curds.
6.How do I tell when the curds are fully separated from the whey?
▾
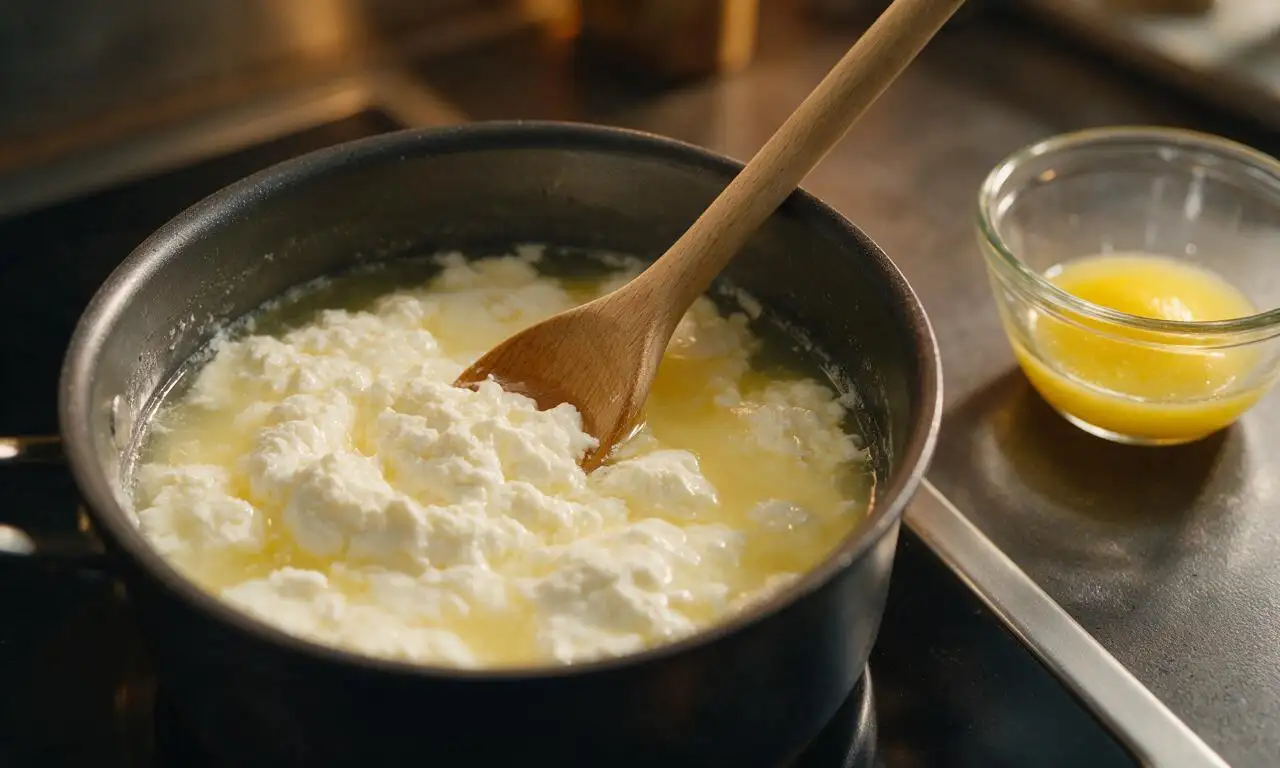
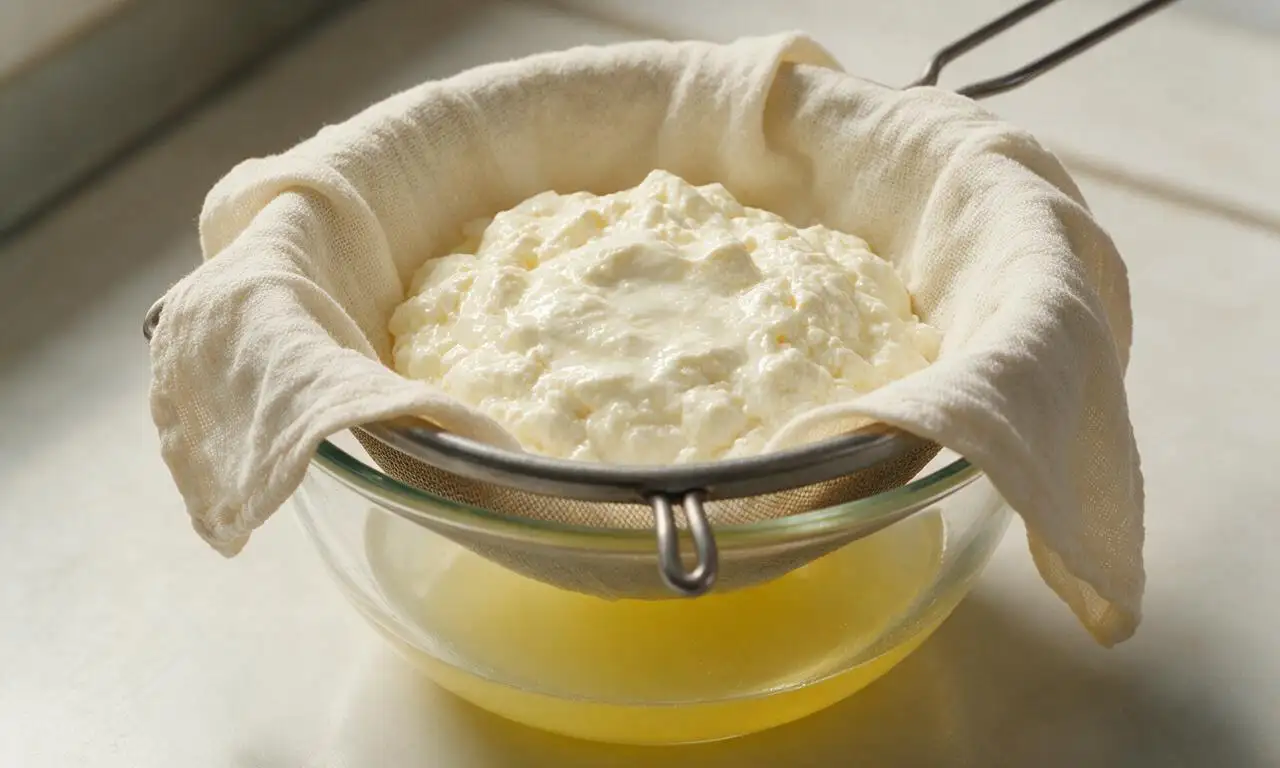
You’ll know curds are ready when you see soft, lumpy white curds floating in pale, translucent yellow-green whey, with no opaque, milky liquid left. If the liquid is still milky after adding lemon juice, stir in 1 extra teaspoon of strained lemon juice at a time, waiting 30 seconds between additions, until separation is complete.
7.Can I use regular table salt instead of fine sea salt?
▾
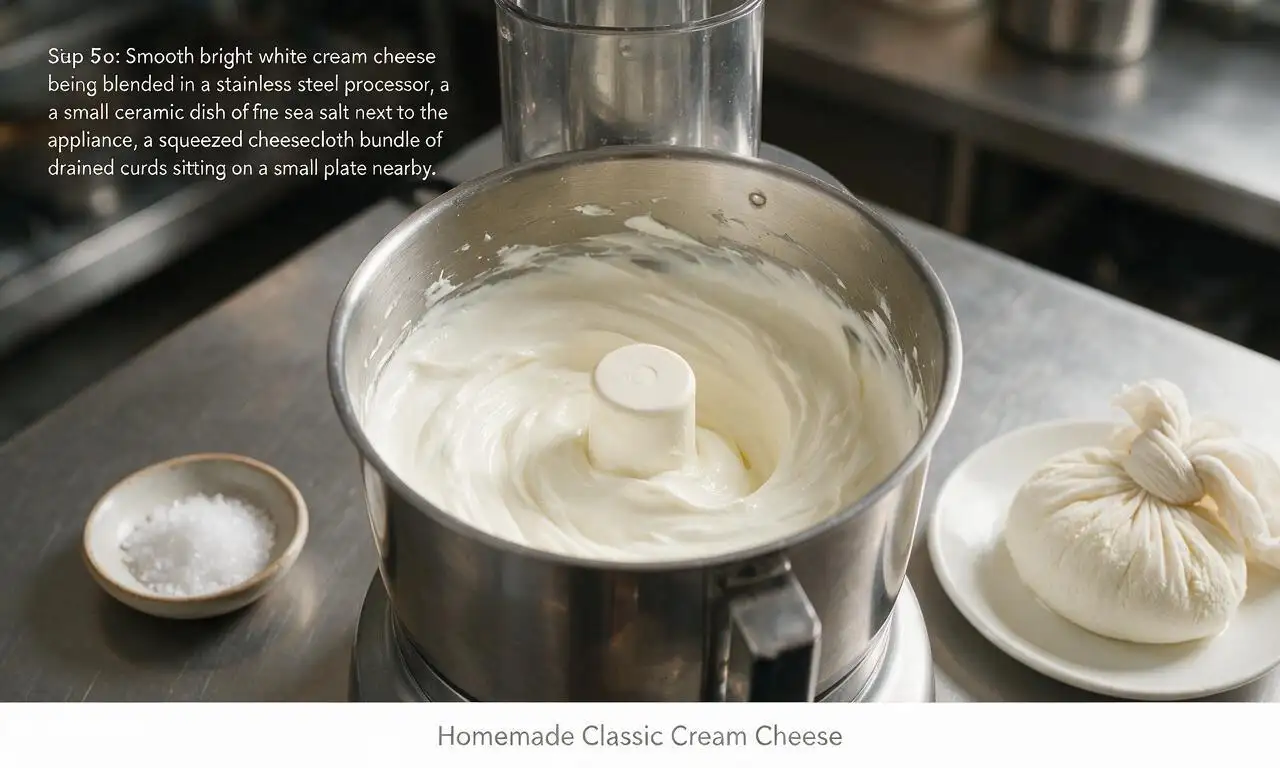
You can, but you’ll need to cut the measurement by about 25% — table salt is much denser and sharper tasting than fine sea salt, so you’ll end up with overly salty cream cheese if you use an equal amount. Fine sea salt dissolves evenly into curds without leaving gritty bits, for smooth, evenly seasoned results every time.
8.What type of cloth works best for straining the curds?
▾
Use unbleached food-grade cheesecloth folded into 3 to 4 layers, or a clean, lint-free fine-weave cotton kitchen towel. Avoid loosely woven cheesecloth, which lets small curds slip through into the whey, and skip terry cloth towels, which leave lint in your cheese and can hold old soap residue that ruins flavor.
9.How long do I need to strain the curds to get the right texture?
▾
For a soft, spreadable cream cheese perfect for bagels, strain curds for 4 to 6 hours in the fridge. If you’re making cream cheese for dense cheesecakes or stiff frosting, strain for 8 to 12 hours to remove extra whey. Check texture periodically, and stop straining once it hits your preferred thickness to avoid crumbly results.
10.Can I freeze this homemade cream cheese to extend its shelf life?
▾
Freezing is not recommended for spreadable use, because the high moisture content causes fat and water to separate as it thaws, leading to a grainy, crumbly, watery texture that won’t spread smoothly. Frozen and thawed cream cheese works okay for baked recipes like cheesecake, but it won’t be ideal for bagels or no-bake frostings.
11.Why did my cream cheese turn out grainy instead of smooth?
▾
Grainy texture usually stems from one of three common missteps: you heated the milk and cream mixture too fast over high heat, you added lemon juice too quickly creating tough, tight curds, or you left pulp in your lemon juice. Next time, heat slowly over medium-low, stir gently, and double-strain your lemon juice for silky results.
12.Can I stir in mix-ins like herbs, honey, or fresh fruit?
▾
Absolutely! Wait until the cream cheese is fully strained and smooth, then fold in finely chopped fresh herbs, a drizzle of honey, pureed strained fruit, everything bagel seasoning, or roasted garlic to taste. Just note that high-moisture mix-ins like fresh berries will shorten the fridge shelf life to about 3 to 4 days.
13.What temperature should I heat the milk and cream to before adding acid?
▾
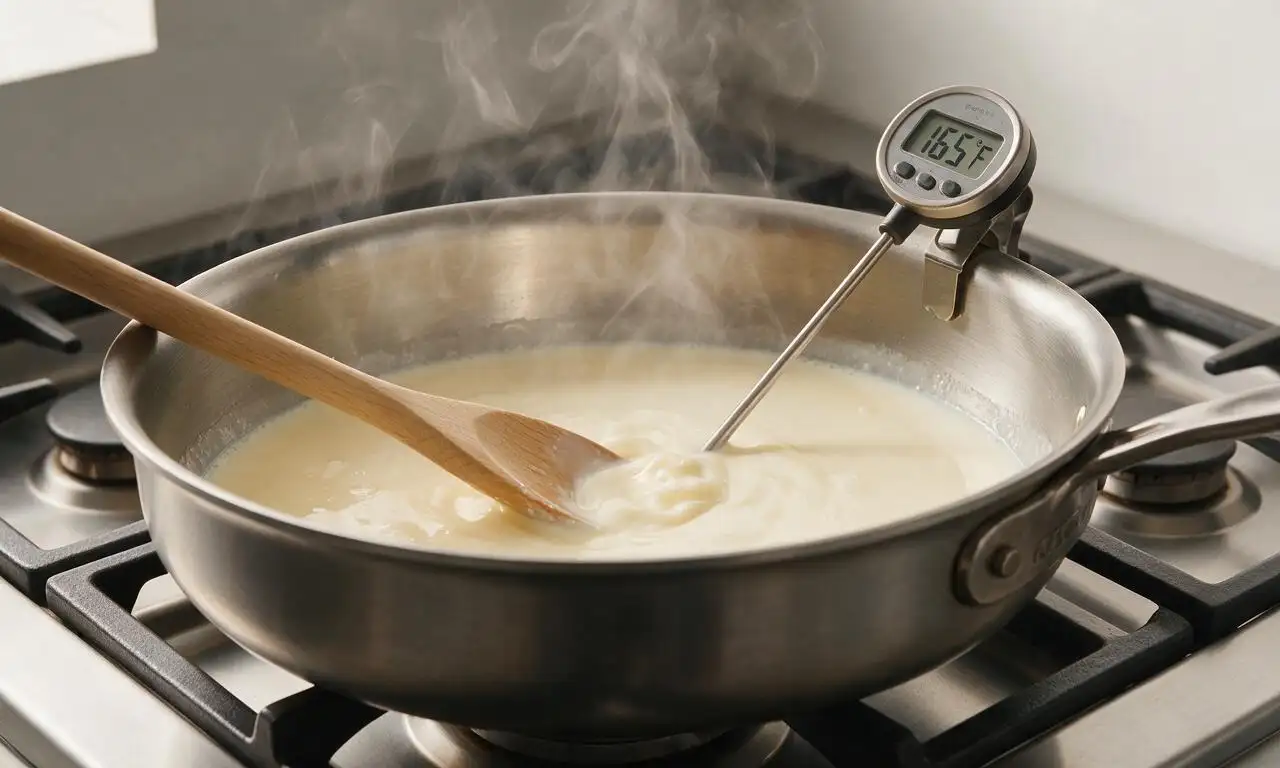
Heat the whole milk and heavy cream mixture slowly to 175°F, measured with a clip-on candy thermometer, stirring occasionally to prevent scalding on the pot bottom. Don’t let the mixture come to a rolling boil, as boiling creates tough, rubbery curds and gives the cream cheese a cooked, burnt flavor that’s impossible to fix.
14.What can I do with the leftover whey from straining?
▾
Don’t pour that nutrient-dense whey down the drain! You can use it in place of water or buttermilk in pancake, muffin, or quick bread recipes, add it to smoothies for a protein boost, use it to soak grains before cooking, or even water acid-loving garden plants like tomatoes and blueberries for a gentle nutrient pick-me-up.
15.Do I need any special cheese-making equipment to make this recipe?
▾
You don’t need fancy, expensive cheese-making gear! All you need is a heavy-bottomed saucepan, a basic food or candy thermometer, a fine-mesh sieve, cheesecloth or a clean cotton towel, a large bowl to catch whey, and an airtight storage container. No cheese press or specialty cultures are required for great results.
16.Can I use white vinegar instead of lemon juice to curdle the milk?
▾
You can use plain white distilled vinegar in a pinch, but it will give the cream cheese a sharper, more noticeably acidic flavor instead of the bright, mild tang from lemon juice. If you use vinegar, stick to plain white — skip apple cider, balsamic, or flavored vinegars, which will add odd, off-flavors to your finished cheese.
17.Why is my cream cheese still runny even after hours of straining?
▾
Runny cream cheese usually happens because curds didn’t fully form before straining, either because your lemon juice was less acidic than expected, you didn’t heat the milk mixture to the required 175°F, or you stirred curds too roughly, breaking them into tiny bits that don’t hold together. Always confirm whey is translucent before you start straining.
18.Is this cream cheese safe to eat for people with lactose intolerance?
▾
Most of the lactose in this recipe drains off with the whey during straining, so many people with mild lactose intolerance can tolerate it in small servings. That said, it is still a fresh dairy product, so it is not suitable for people with severe lactose intolerance or dairy allergies, as it retains trace amounts of lactose and milk proteins.
19.Can I use this homemade cream cheese for no-bake cheesecakes and cream cheese frosting?
▾
Absolutely! If you strain it for the full 8 to 12 hours to get a thick, firm consistency, it works perfectly as a 1:1 replacement for store-bought block-style cream cheese in no-bake cheesecakes, frostings, dips, and bagel spreads. It has a brighter, fresher tang than most store-bought options, so your recipes will taste even richer.







OMG this homemade cream cheese is SO much better than the store bought stuff! I slathered it on my everything bagel this morning and my husband asked if I picked up the fancy brand from the specialty shop. Total game changer, can’t believe how easy it is even with the long wait time!
Tasted great, but mine came out a little runnier than I expected. Did I do something wrong? I let it drain for the time listed but it was still softer than the block cream cheese I usually buy.
My kids loved it! I mixed a little honey and vanilla into a batch for their after school bagel snacks and they begged me to make it again instead of buying the neon-colored fruit spreads they usually beg for. Perfect for meal prep too, it lasts all week in the fridge!
I brought this to our neighborhood potluck last weekend served with a tray of fresh veggies and crackers, and people were hounding me for the recipe all night! Nobody could believe it was homemade. So creamy, perfectly tangy, no weird preservative aftertaste.
I was so nervous to make cheese at home, I thought it would be super complicated and require fancy equipment! This was so easy, I already had all the ingredients in my fridge. I felt like a total pro when it turned out perfectly.
Game changer for my homemade sourdough bagel Sundays! The tang of this cream cheese pairs so perfectly with my chewy everything bagels, I will never go back to store bought. I even used a batch to make frosting for my carrot cake last week and it was chef’s kiss.
Great base recipe! I made a big batch on Sunday to use for breakfast bagels, lunch veggie dips, and even a little pasta sauce toss during the week. It’s so versatile, way cheaper than buying the fancy organic cream cheese at the grocery store too. Knocked a star off only because my first batch was a little lumpy, I think I didn’t stir the curds enough before straining.
This tastes just like the cream cheese my mom used to make back on the farm when I was a kid! I haven’t had that fresh, creamy tang in decades. Brought back so many good memories, thank you so much for sharing this simple, perfect recipe.
It’s good, don’t get me wrong, the flavor is perfectly tangy and creamy, but I followed the recipe exactly and ended up with less than 8 ounces of finished cream cheese? Did I strain it too long? I was hoping to have enough for the whole week’s breakfasts, so that was a bummer. Flavor is great though, just wish I got more out of it.
Hosted a big bridal brunch last weekend and set up a cream cheese bar with this homemade batch, plus mix-ins like honey, berries, chives, bacon bits, and cinnamon sugar. My guests went crazy for it! Multiple people said it was the best brunch they’d ever been to. Total win.
Wait this is so easy even I can make it in my tiny dorm kitchen? I only have a basic stock pot, a colander, and cheesecloth, no fancy gadgets, and it turned out perfect! Way cheaper than buying cream cheese at the campus market, I’m gonna make this every week from now on.
It’s almost perfect, hence 4 stars, just needed a little extra salt for my taste. Made this to put on top of my smoked salmon bagels for our fishing trip breakfast, and it was chef’s kiss. I added a little extra salt because I like my cream cheese a little saltier than average, but that’s just personal preference. Will absolutely make again.
I gave a tiny little lick to my cat after I made it and now she follows me to the fridge every time I open it, begging for more. Don’t worry, I don’t give her much, but it’s so funny how even she can tell how good this is compared to the store bought stuff I used to buy.
So happy this is naturally gluten free! I’ve been burned so many times by store bought cream cheeses that have hidden gluten fillers, so making my own means I know exactly what’s in it. I’ve been spreading it on my gluten free toast for breakfast every morning this week and it’s perfect.
I made this last night and it turned out amazing! Quick question though, do I have to use whole milk and heavy cream next time? Can I use 2% milk to make it lower fat? I don’t mind if it’s a little less rich, just curious if anyone has tried that.
Used this cream cheese to make my famous Christmas cheesecake last year and everyone RAVED about how much better it was than usual. I thought people were just being nice, but I made it again for a birthday cake last weekend and got the same reaction! The fresh cream cheese makes the filling so much lighter and tangier.
Made a batch of this before our cross-country road trip, packed it in the cooler with some bagels and pretzel chips, and it was the perfect travel snack. No weird plastic packaging, it held up great in the cooler for four days, and saved us so much money on overpriced convenience store snacks.
I stirred a couple tablespoons of dill pickle brine and some chopped dill into this after it strained and it is the BEST dill cream cheese I’ve ever had. Perfect on a bagel with lox, or as a dip for fried pickles. I will be making a pickle version every single time from now on.
I love that I can use the leftover whey from straining to make smoothies, sourdough starter feeds, and even brine for pickles! Zero waste, cheaper than store bought, tastes better, no weird additives. This recipe is permanently saved in my meal prep rotation, I can’t recommend it enough.