
cream cheese mints

intro
Silky, melt-in-your-mouth cream cheese mints are lightly sweet, subtly peppermint-kissed no-bake candies, perfect for holiday gifting or candy platters, with a soft, creamy pastel finish.
Ingredients
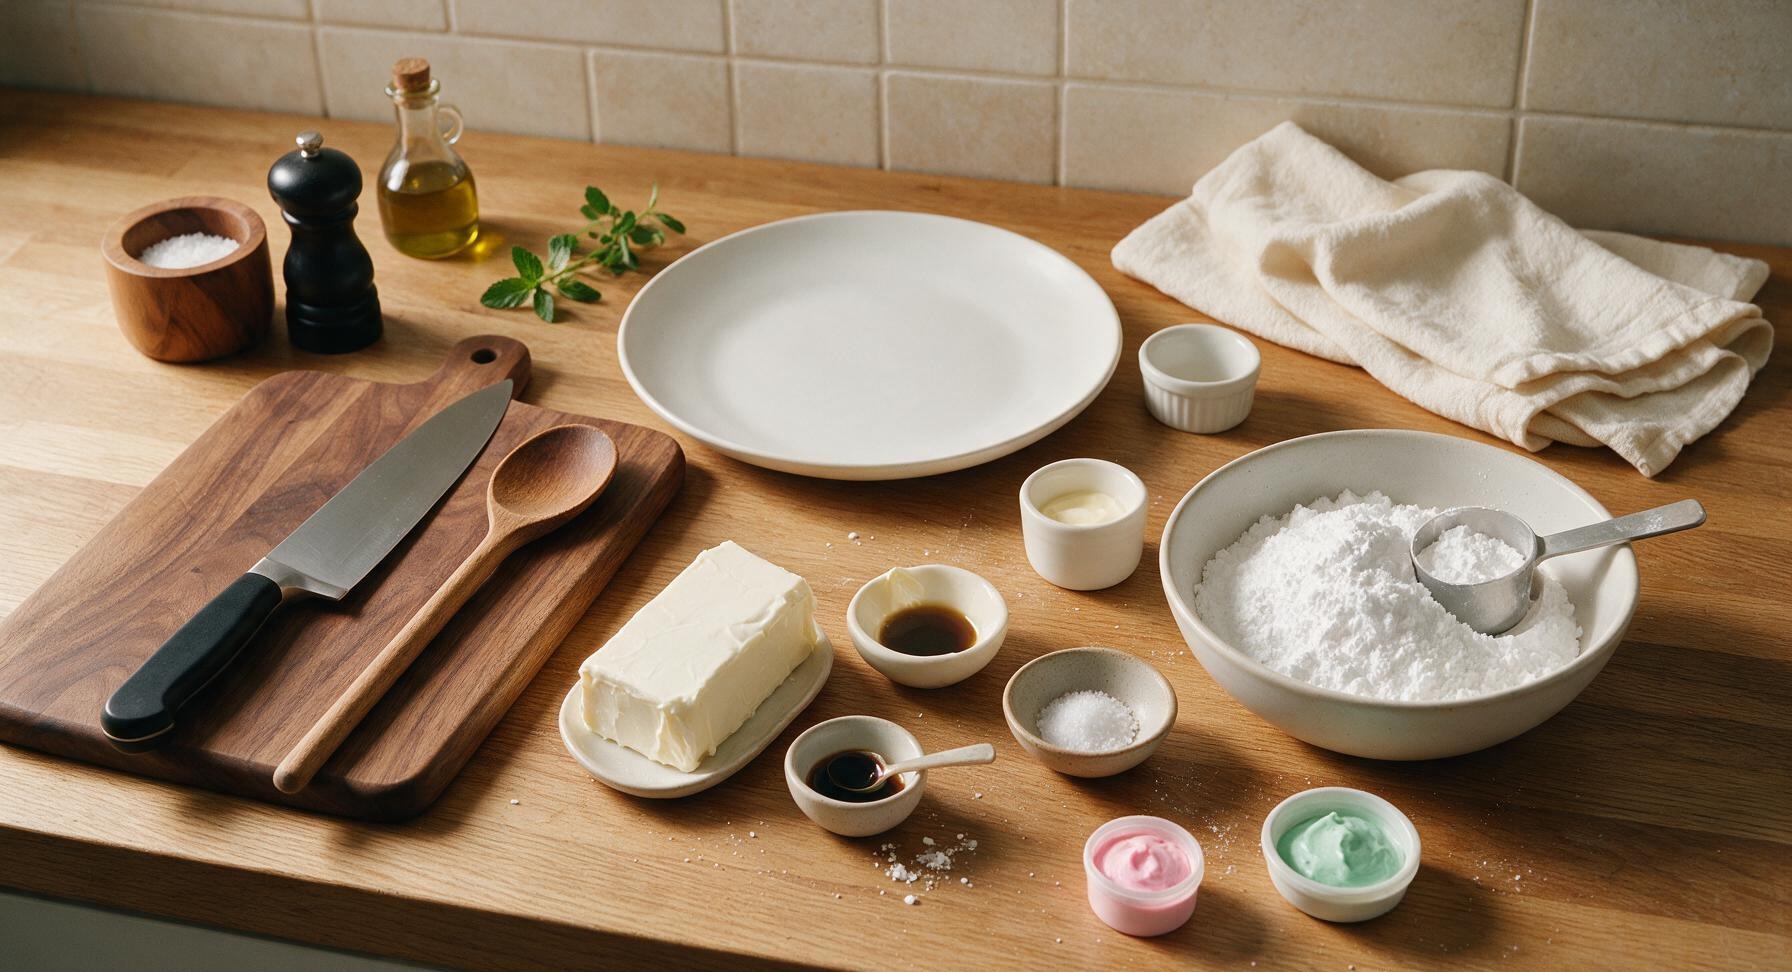
Steps
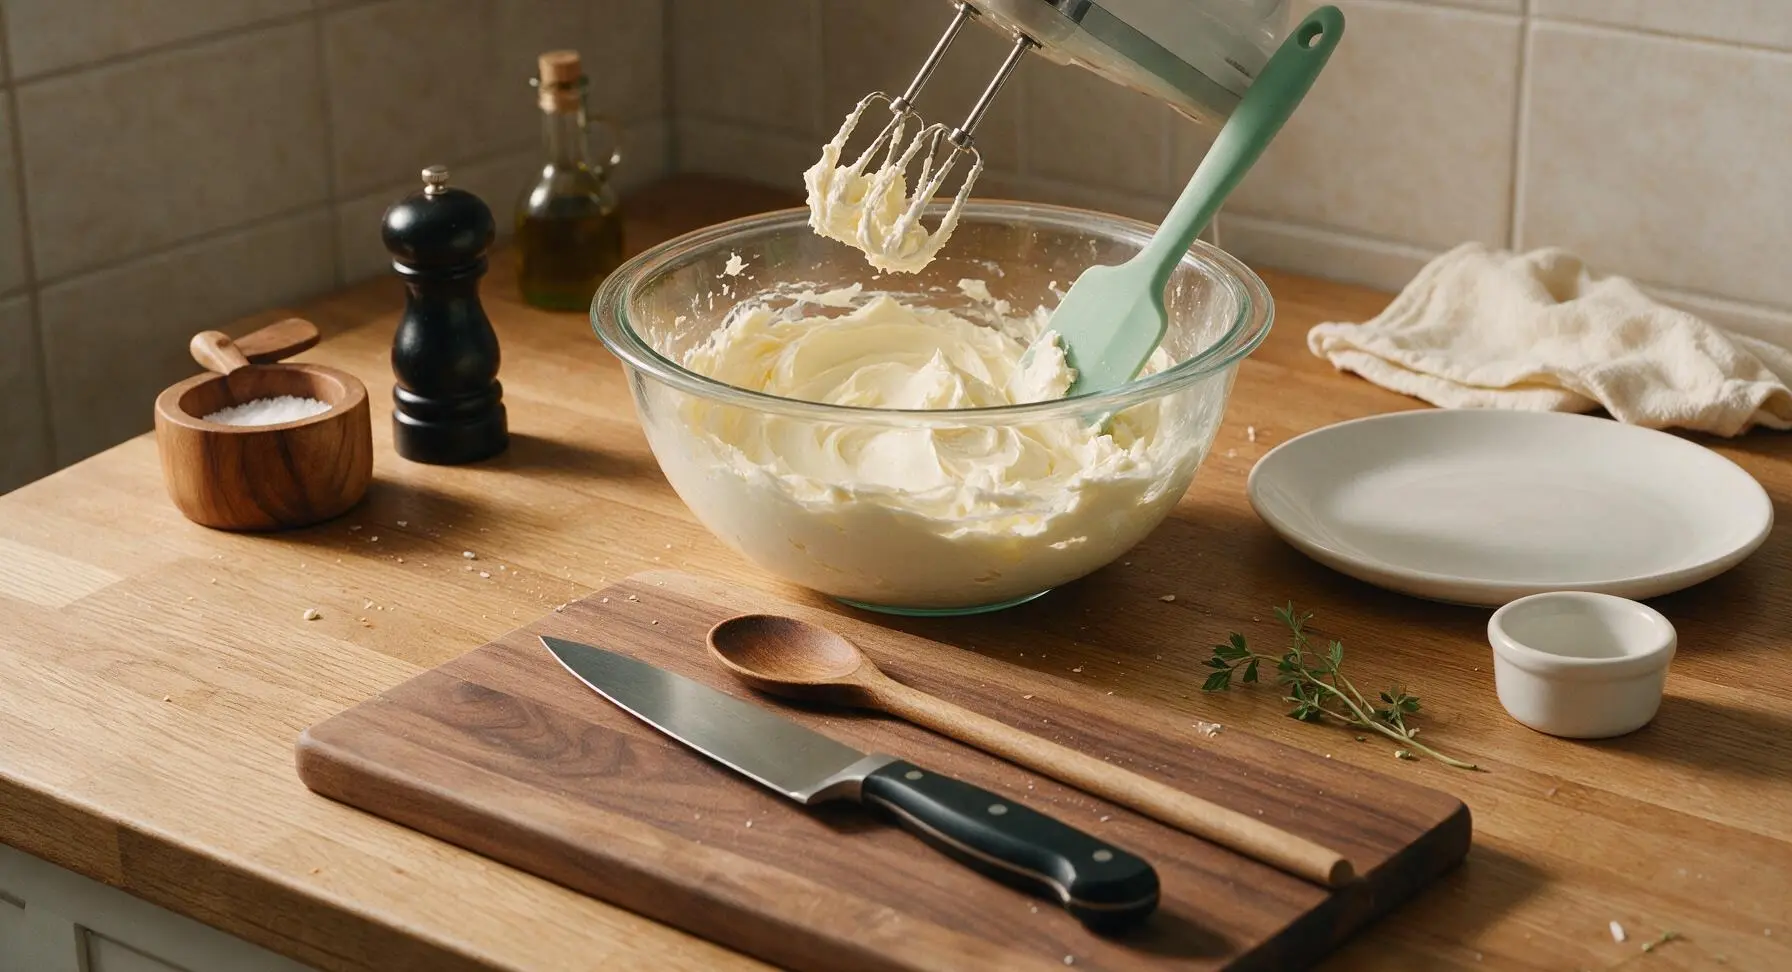
Beat Cream Cheese Base
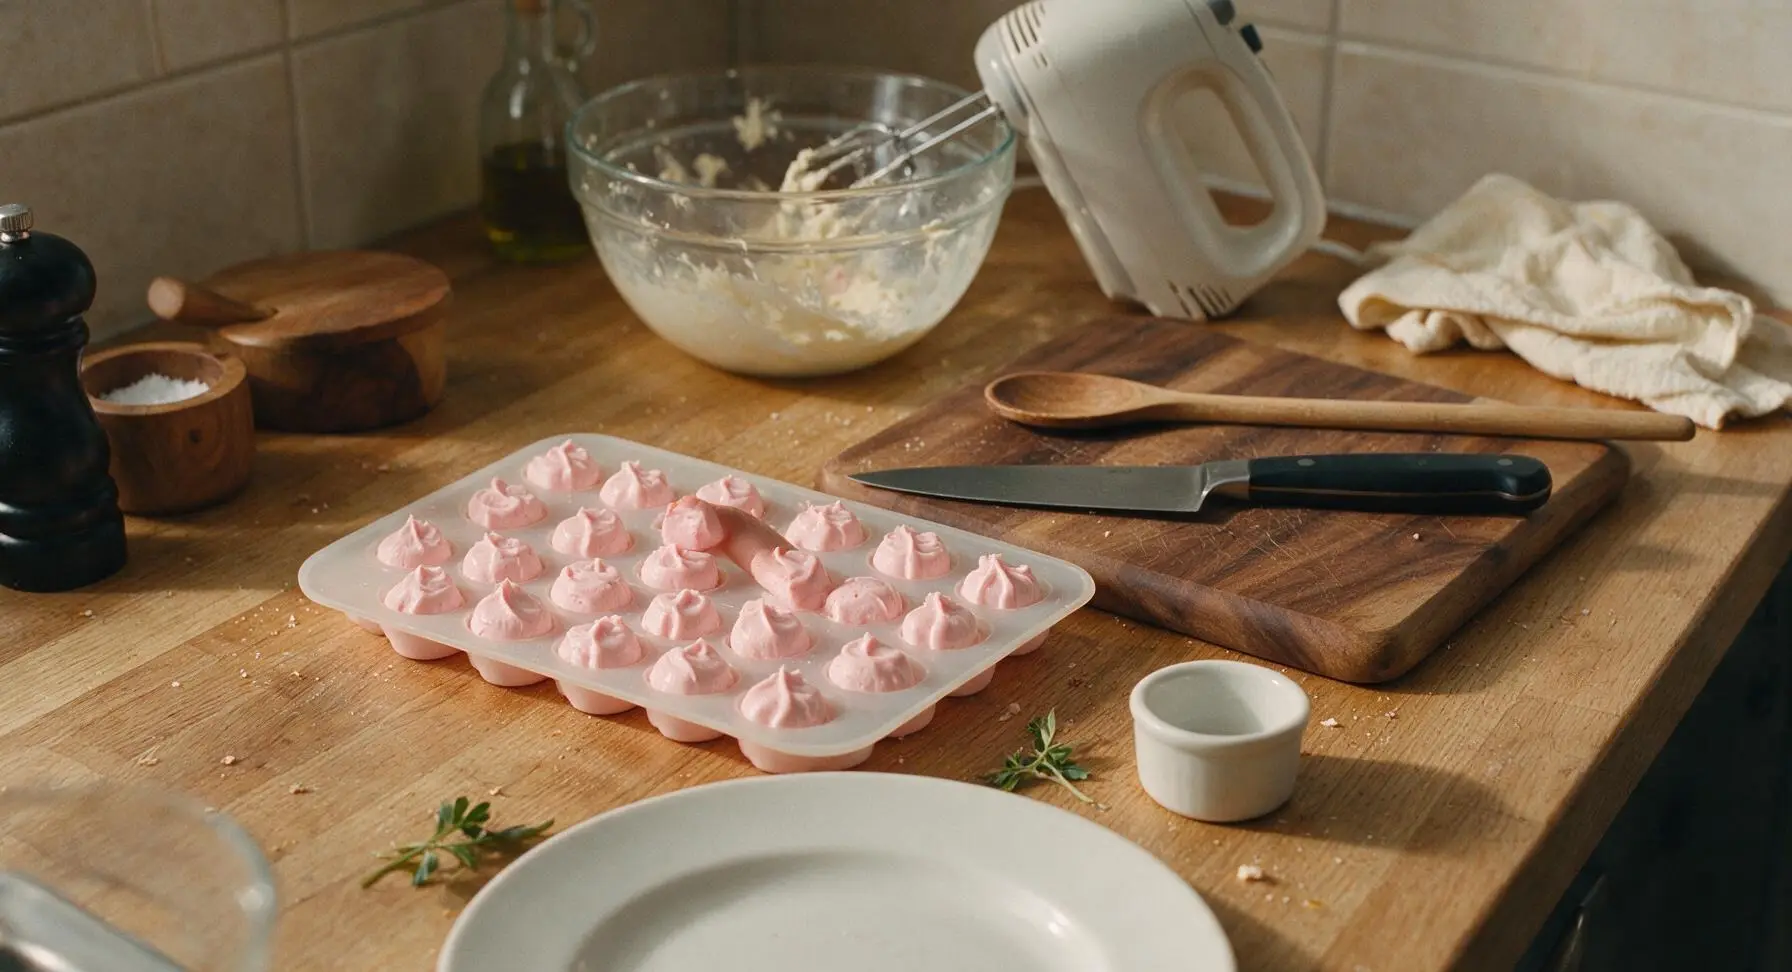
Place the 8oz softened full-fat cream cheese and 2 tbsp softened unsalted butter into the large clear glass mixing bowl. Using the handheld electric mixer on medium-low speed, beat the two ingredients for 2 minutes until completely smooth, with no lumps remaining, scraping down the sides of the bowl with the mint green silicone spatula halfway through to ensure even mixing. The finished mixture should be pale, creamy, and fully uniform with no streaks of separate butter or cream cheese.
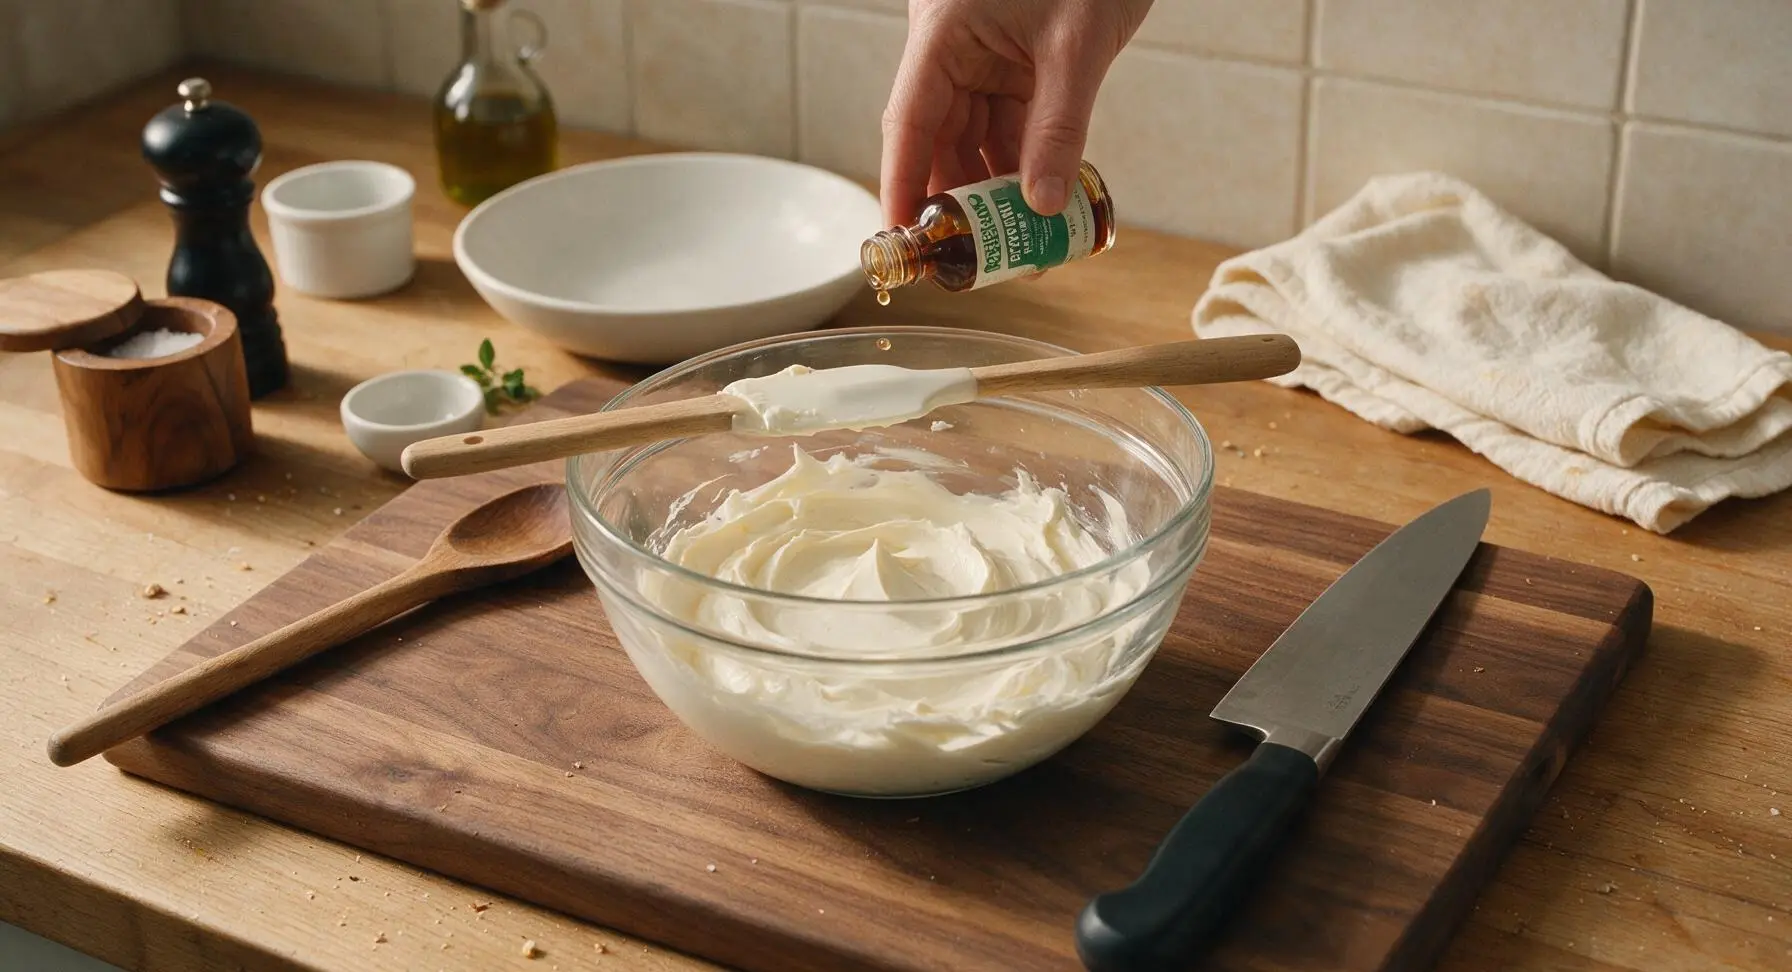
Flavor the Cream Mixture
Add 1 tsp pure peppermint extract and 1/8 tsp fine sea salt to the smooth cream cheese and butter mixture. Beat on low speed for 30 seconds until the extract and salt are fully incorporated, scraping down the bowl sides once with the spatula to make sure no flavoring is stuck to the edges. Taste a small amount to confirm the peppermint flavor is balanced, adding an extra 1/4 tsp extract if you prefer a stronger mint taste.
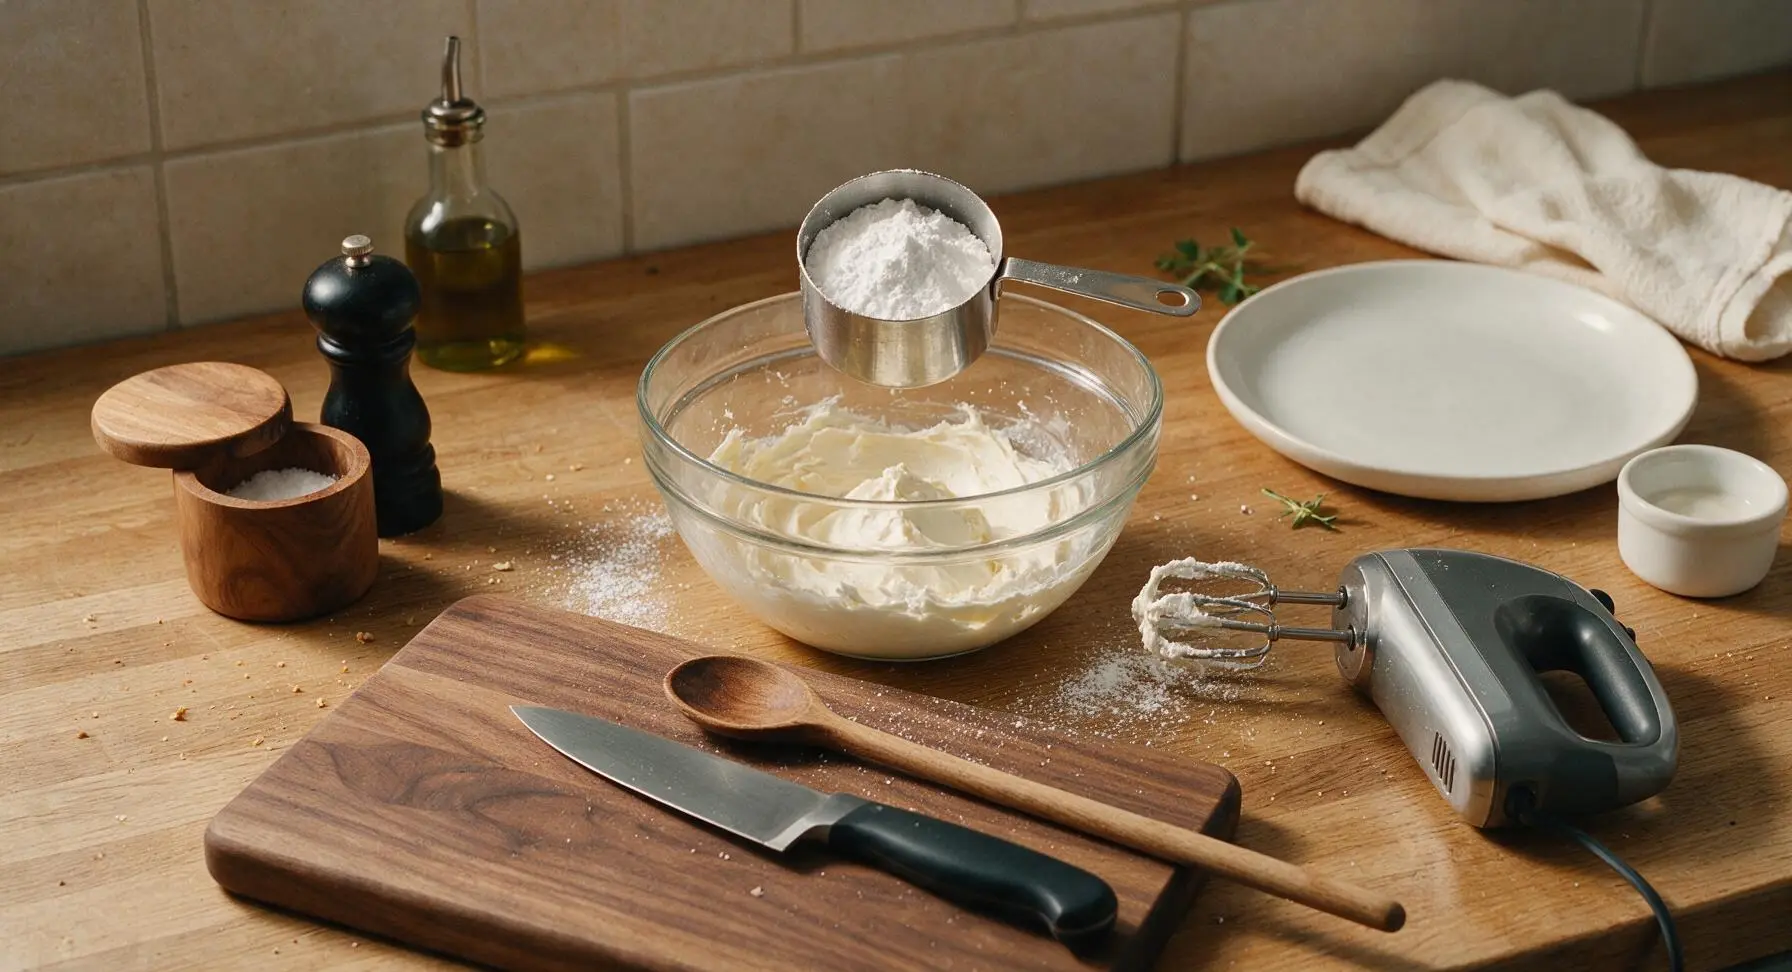
Incorporate Powdered Sugar
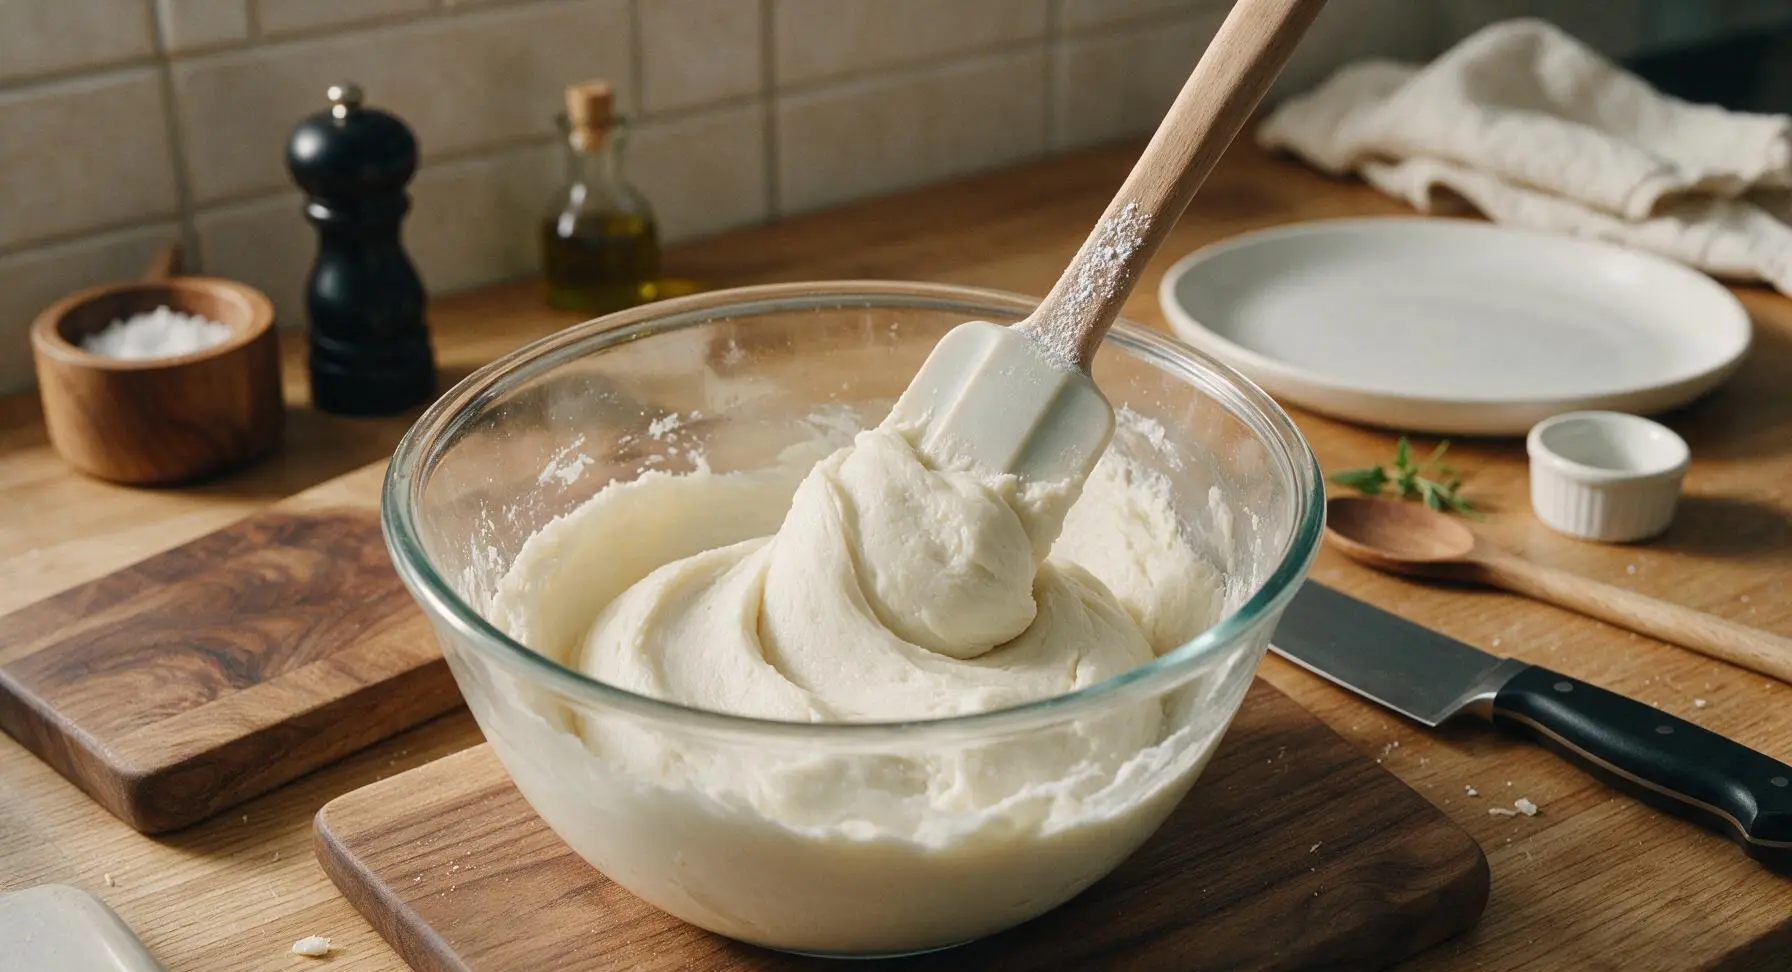
Add the sifted powdered sugar 1 cup at a time, mixing on the lowest speed after each addition to avoid sugar clouds, until all 4 cups are fully incorporated. After the final addition, turn the mixer to medium speed and beat for 1 minute until the dough comes together into a thick, smooth, playdough-like consistency that pulls away from the sides of the bowl. If the dough feels too sticky, add an extra 2 tbsp sifted powdered sugar; if it is too crumbly, add 1/4 tsp room temperature water.
Tint Dough Pastel Colors
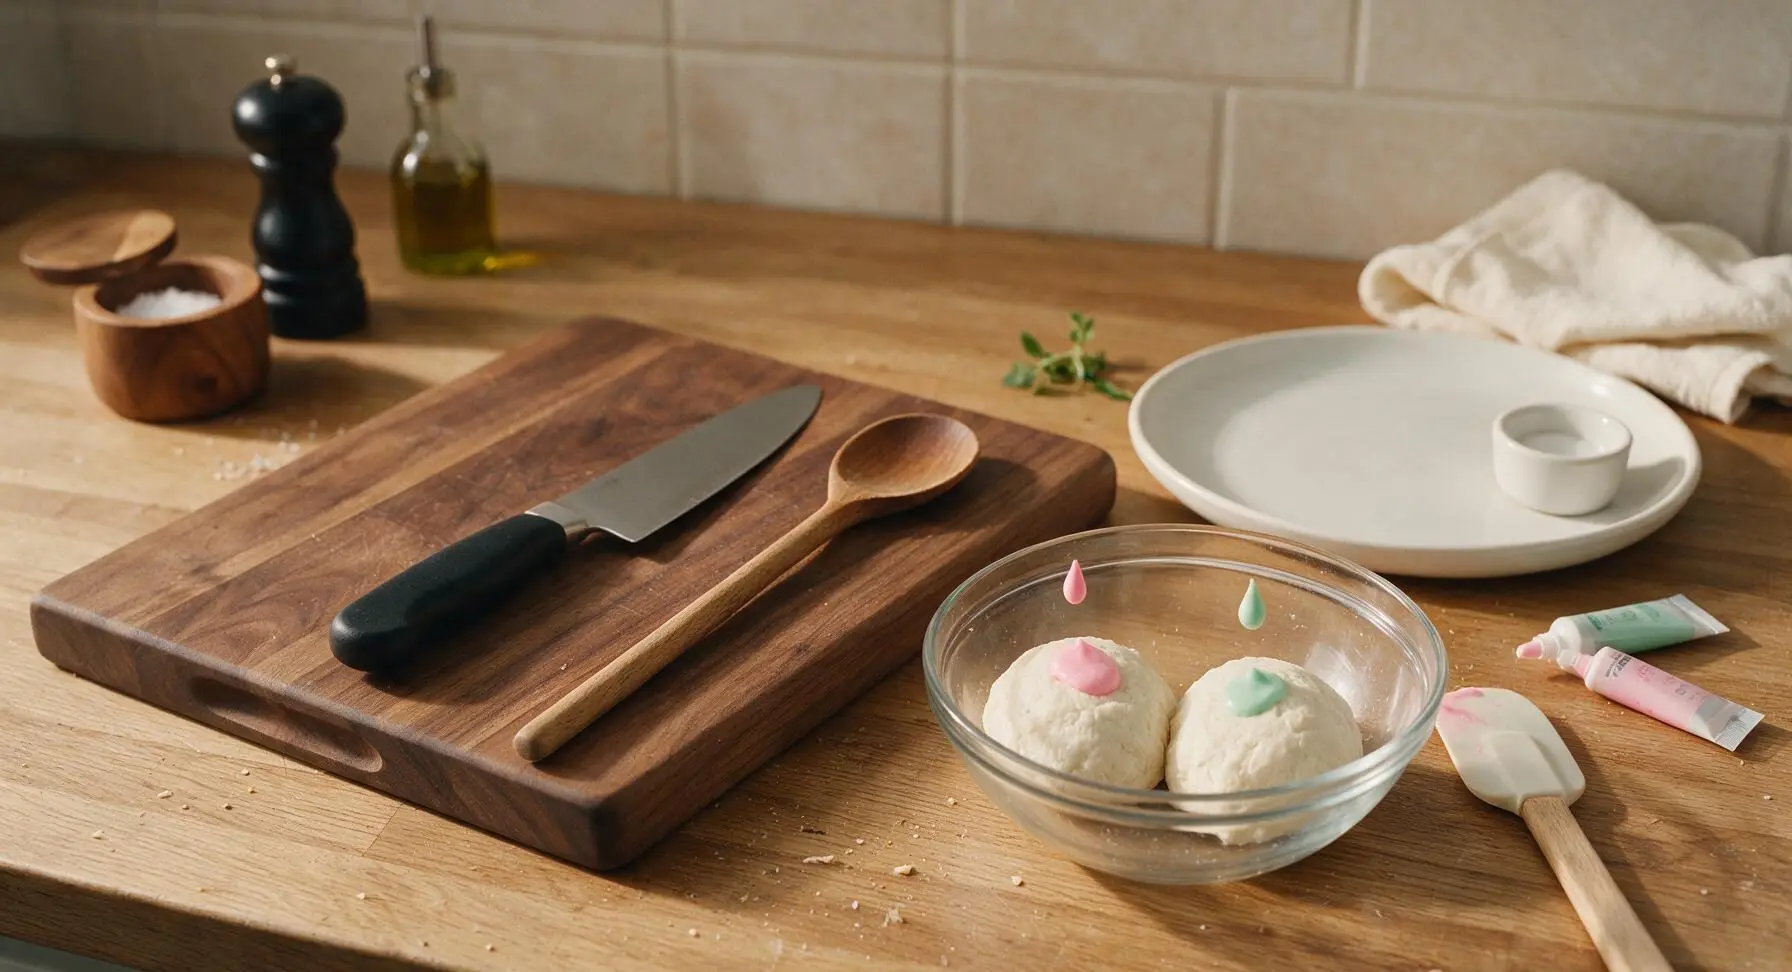
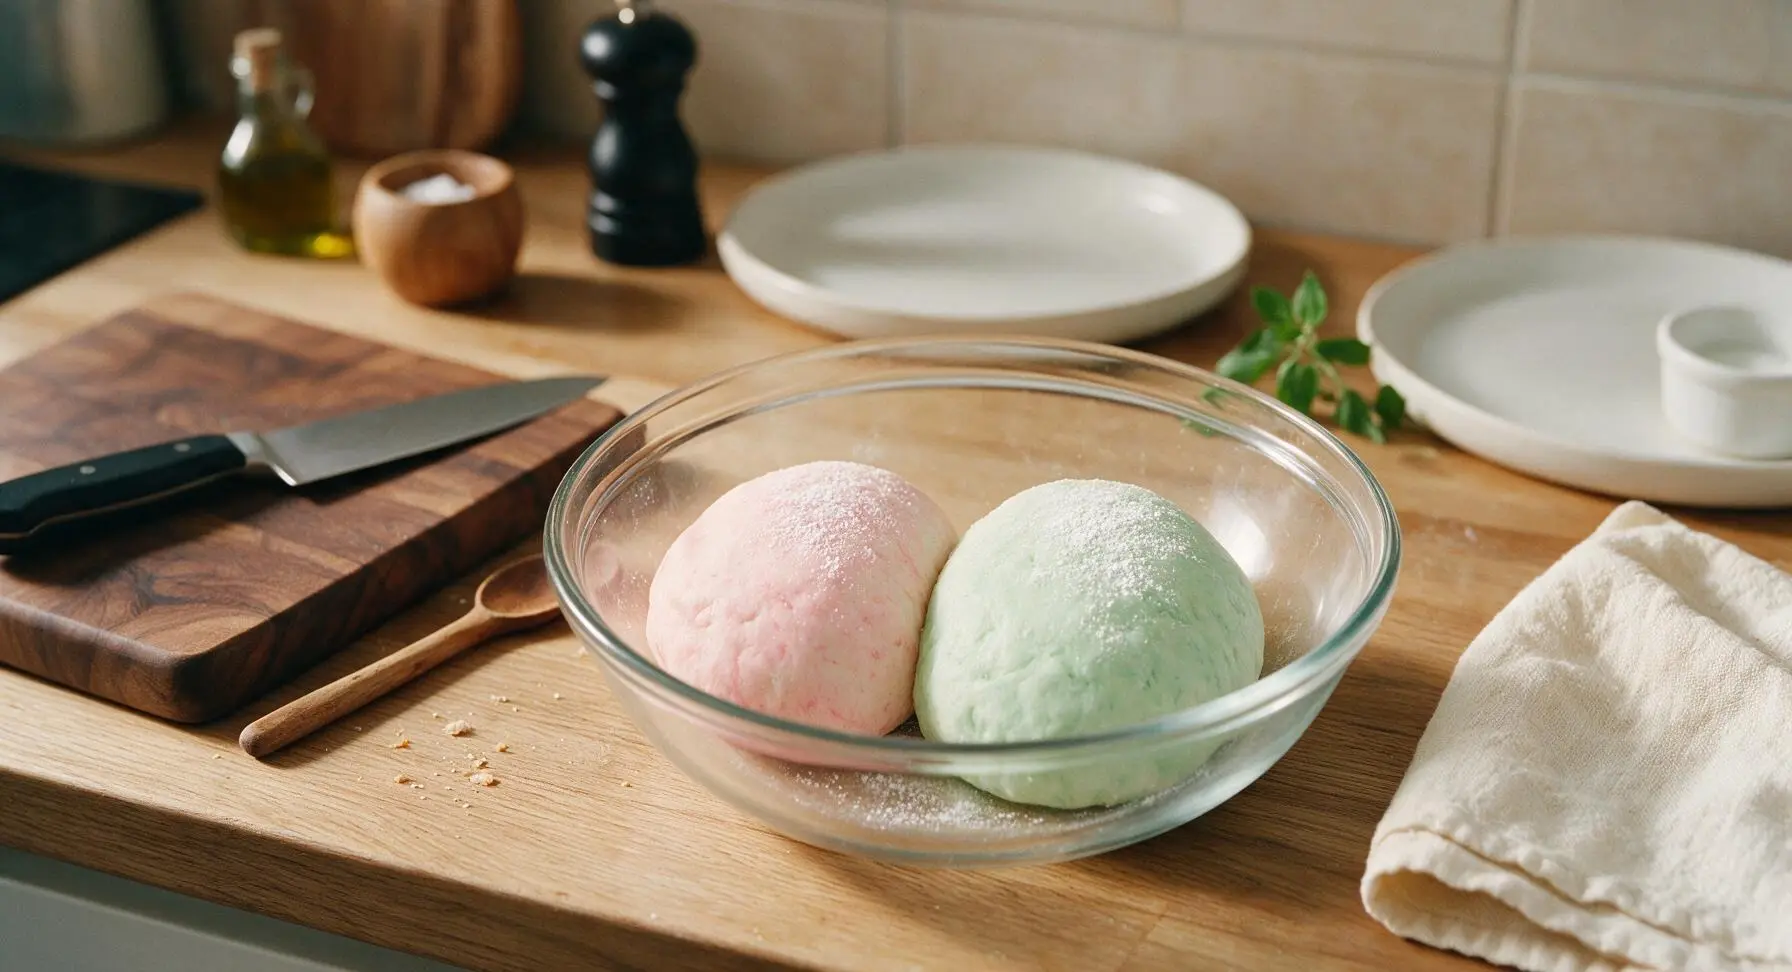
Remove the dough from the mixing bowl and divide it into two equal portions, placing each back in separate halves of the bowl. Add 2 drops of pastel pink gel food coloring to one portion, and 2 drops of pastel mint green gel food coloring to the other. Use the silicone spatula to fold and knead each portion until the color is evenly distributed, creating soft, uniform pastel hues. Avoid over-mixing to prevent tough dough; faint marbling is acceptable for a homemade look.
Shape Mint Candies
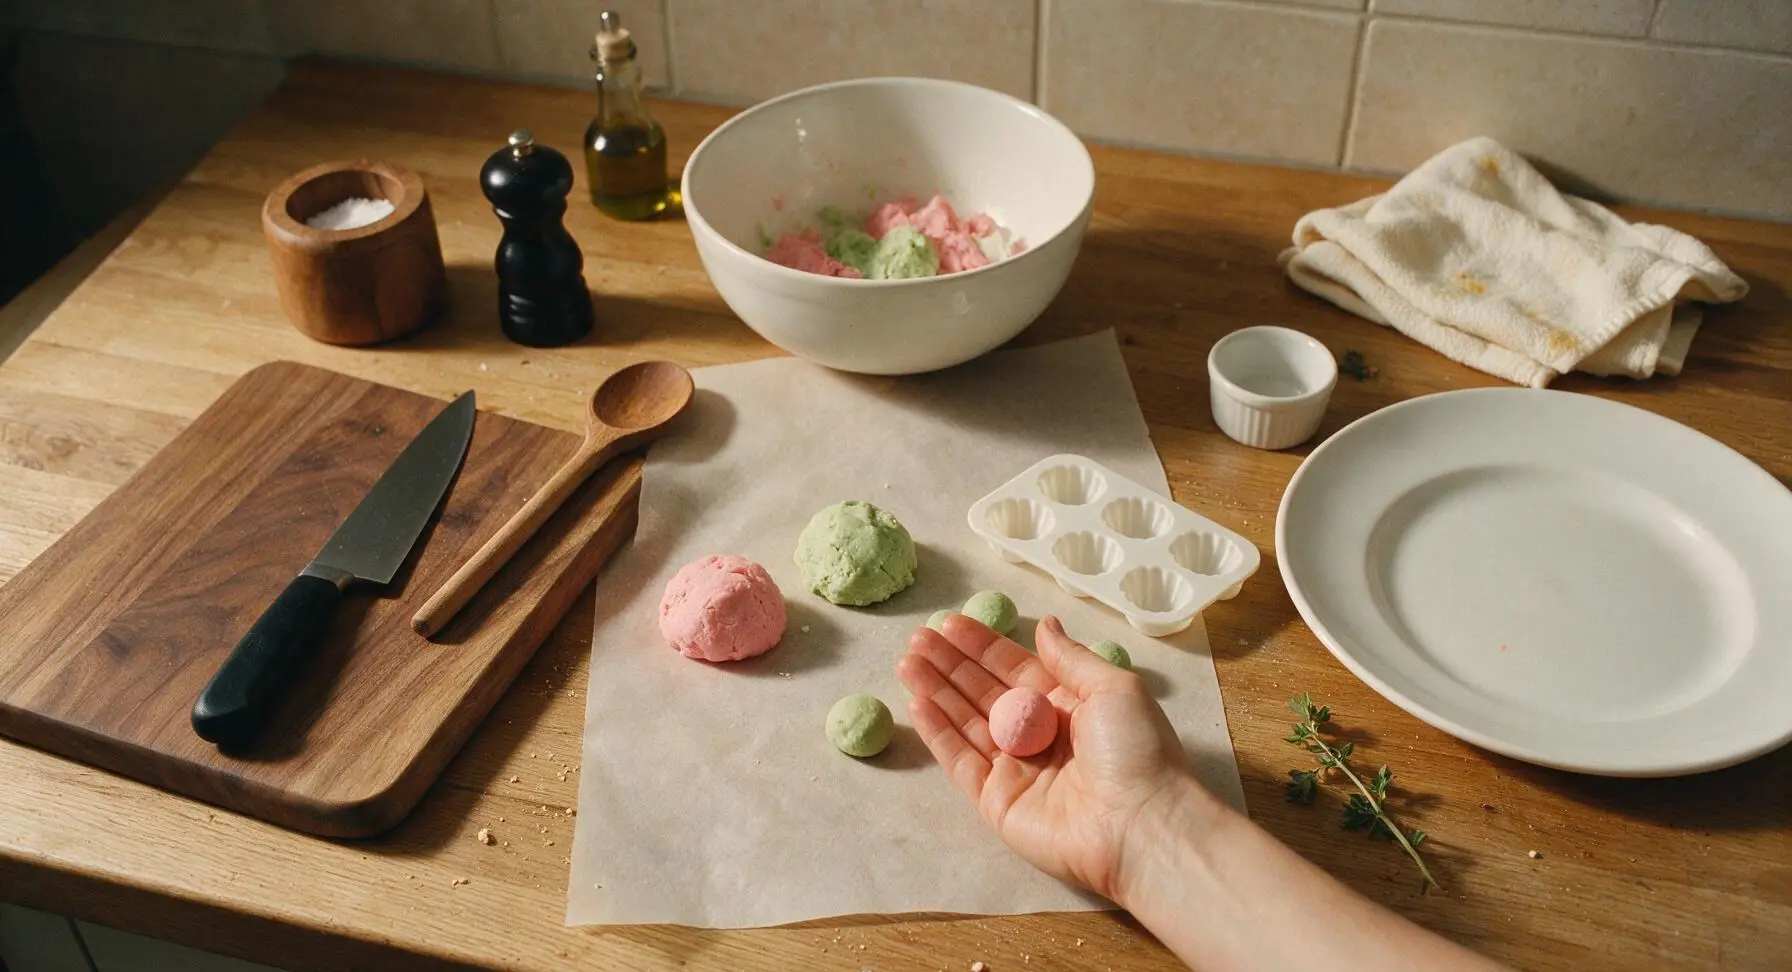
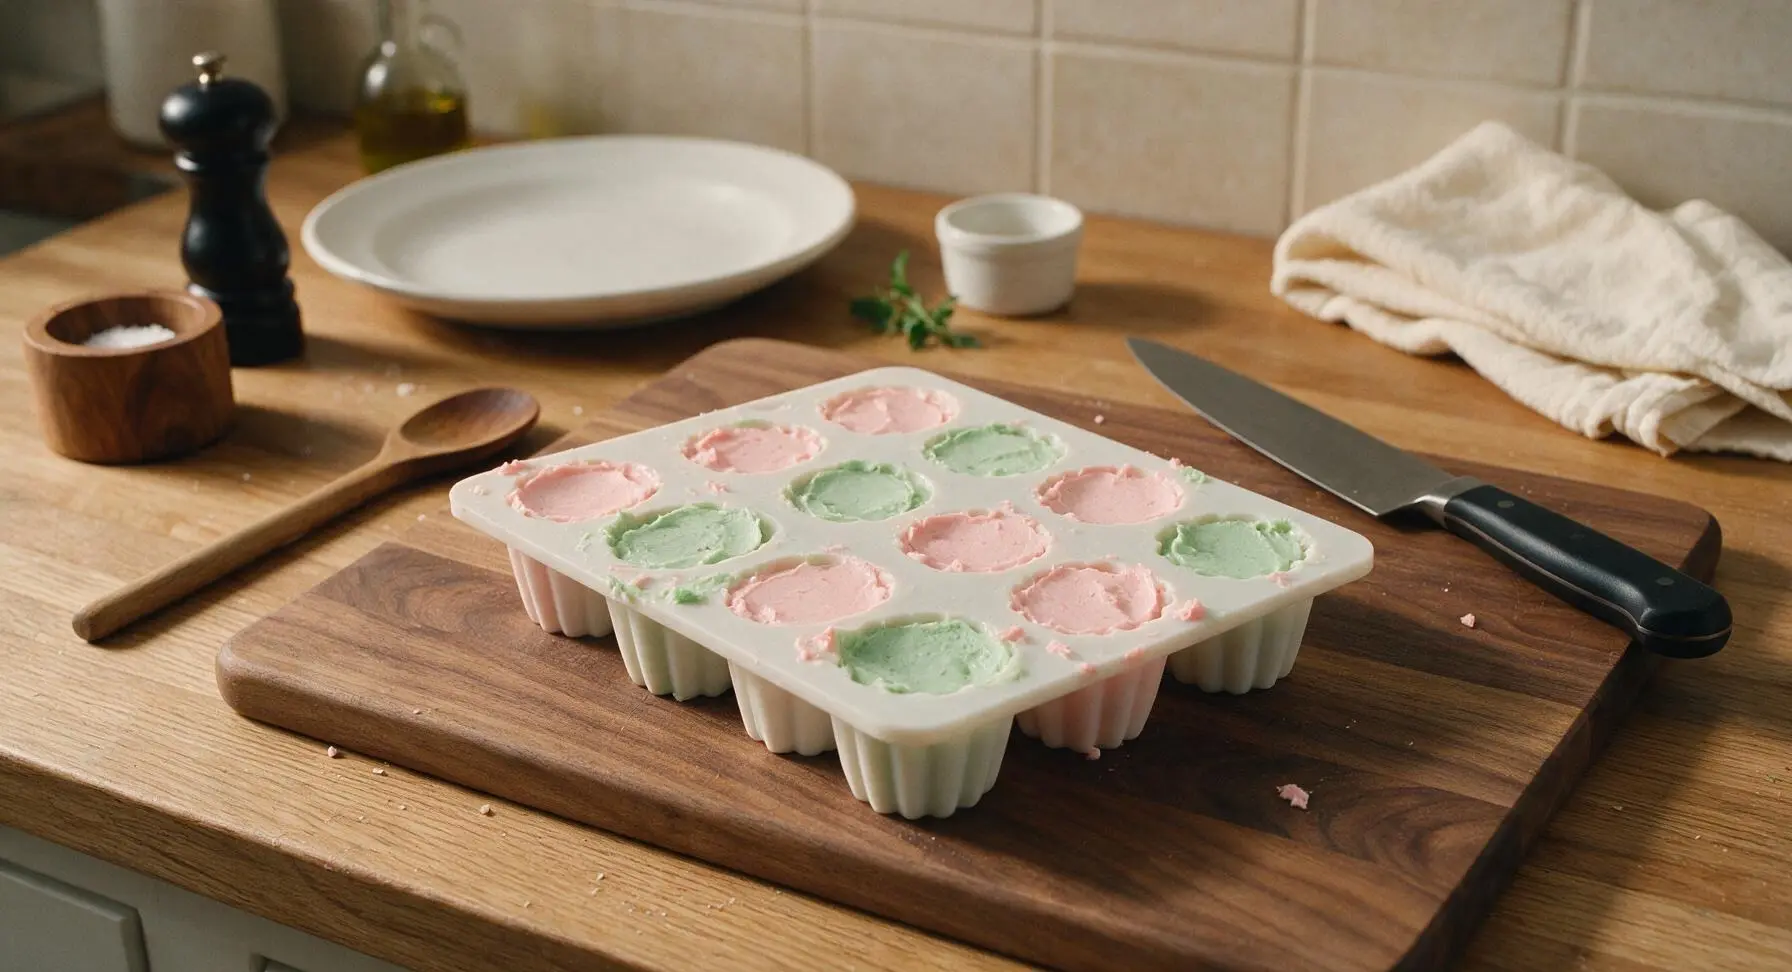
Pinch off 1-teaspoon sized pieces of each colored dough, rolling each into a smooth small ball between your palms. Press each ball into the cavity of the white silicone candy mold, pressing firmly to fill the fluted shape, then level the back with the flat edge of the spatula. If you do not have a candy mold, press the balls with the tines of a fork on a parchment-lined surface for a classic crosshatched texture. Fill all mold cavities evenly, taking care not to overfill.
Chill Until Firm
Transfer the filled silicone candy mold to a level shelf in the refrigerator, leaving it uncovered. Chill for a full 2 hours, until the mints are completely firm to the touch and do not indent when pressed lightly with a fingertip. Do not freeze the mints, as this will cause the texture to become grainy and crumbly when thawed, and avoid chilling for longer than 4 hours to prevent the mints from drying out and cracking.
Unmold and Plate
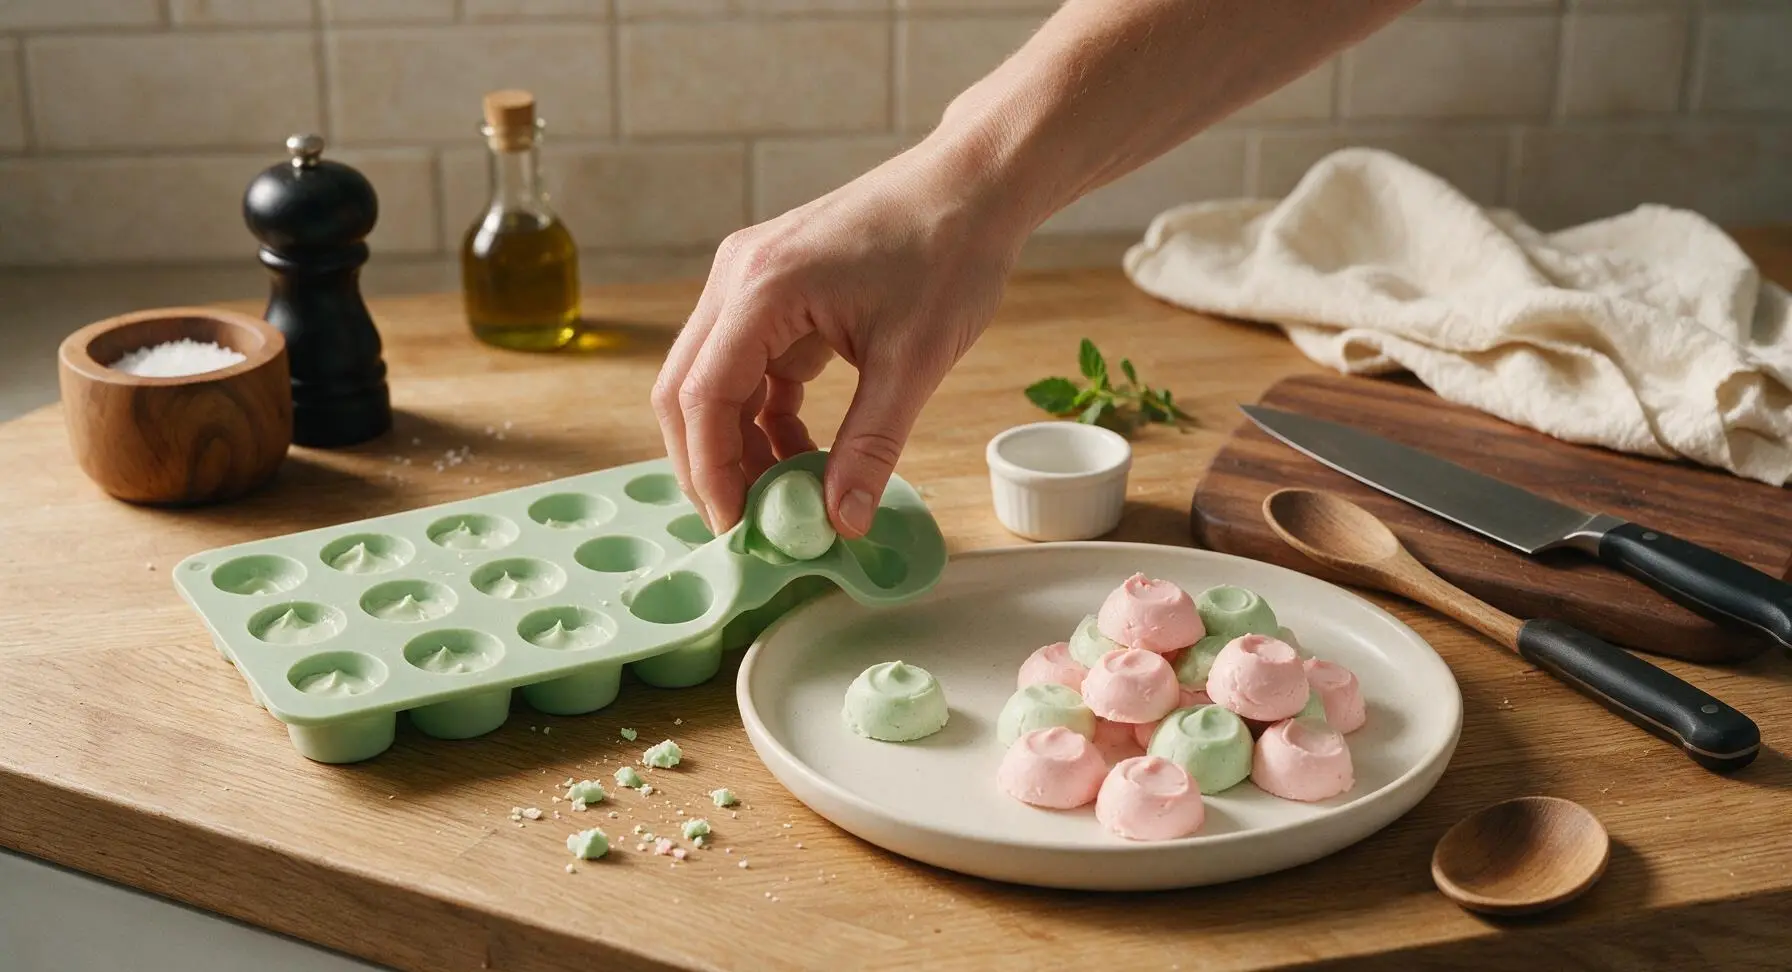
Gently flex the edges of the silicone mold to loosen each mint, then pop them out one by one, handling them by the edges to avoid leaving fingerprint marks on the smooth surfaces. Arrange the finished pink and green mints in a loose pile on the matte cream white ceramic serving platter, dusting very lightly with a pinch of sifted powdered sugar for a soft, frosted look if desired. Mints can be served immediately or stored in an airtight container in the refrigerator for up to 2 weeks.
Tips
2.Opt for gel food coloring instead of liquid food coloring when tinting the dough. Liquid coloring adds excess moisture that makes the dough sticky and hard to mold, while gel delivers soft, even pastel color without thinning the dough consistency.
3.Let chilled mints rest at room temperature for 5 minutes before serving. Straight from the refrigerator, the mints are overly firm and the bright peppermint flavor is muted; the short rest brings out their signature melt-in-your-mouth texture and balanced mint taste.






OMG these cream cheese mints were a total game changer for my daughter’s baby shower last weekend! I made them in pastel pink and blue with little candy molds, everyone kept asking where I bought them. Only thing I messed up was forgetting the 2 hour chill time so I stuck them in the freezer for 20 minutes in a pinch, worked almost as well!
Super easy recipe, but I wish there was a note about how sticky the dough gets if your cream cheese isn’t fully softened to room temp first! I had to add a little extra powdered sugar to get it to roll right, but once I did they turned out SO good.
My kids loved it! I let them help roll the mints in granulated sugar and press little sprinkles on top, it was the perfect rainy day activity. No cooking required meant I didn’t have to stress about them near a hot stove, 10/10.
Making 200 of these for my wedding favor bags next month! Does anyone know how long they stay fresh if I store them in an airtight container in the fridge?
These taste exactly like the old-fashioned cream cheese mints my grandma used to make for Christmas dinner every year! I haven’t had them since I was a kid, and this recipe is spot on. Brought back so many good memories.
Brought these in for my team’s holiday potluck at work yesterday and they were gone in 10 minutes flat. I added a tiny drop of peppermint extract extra because I love that cool zing, and people went wild. Will absolutely be making these again.
I am TERRIBLE at baking, like I burn cookies every single time bad. But these were so easy even I couldn’t mess them up! No cook time, no fancy equipment, just mix, roll, chill. My roommate thought I ordered them from a fancy candy shop.
Tried these with a little lemon extract instead of peppermint for a summer twist last weekend, and they were chef’s kiss! Perfect for a light, fresh treat at my backyard BBQ.
I keep a batch of these in my fridge at all times now for when random neighbors or family drop by, they’re the perfect little sweet bite to offer with coffee. SO good, everyone always asks for the recipe.
So happy this recipe is naturally gluten free! I’ve been looking for easy candy recipes I can bring to my monthly book club that won’t trigger my wheat allergy, and these fit the bill perfectly. Rolled them in crushed candy canes for a fun holiday twist, delish.
Added these to my weekly meal prep rotation for a little after-dinner sweet treat that doesn’t leave me feeling overly full. I portion them out into little snack baggies so I don’t eat the whole batch in one sitting, lol. They’re perfectly creamy and just sweet enough.