
cream filled cookies
intro
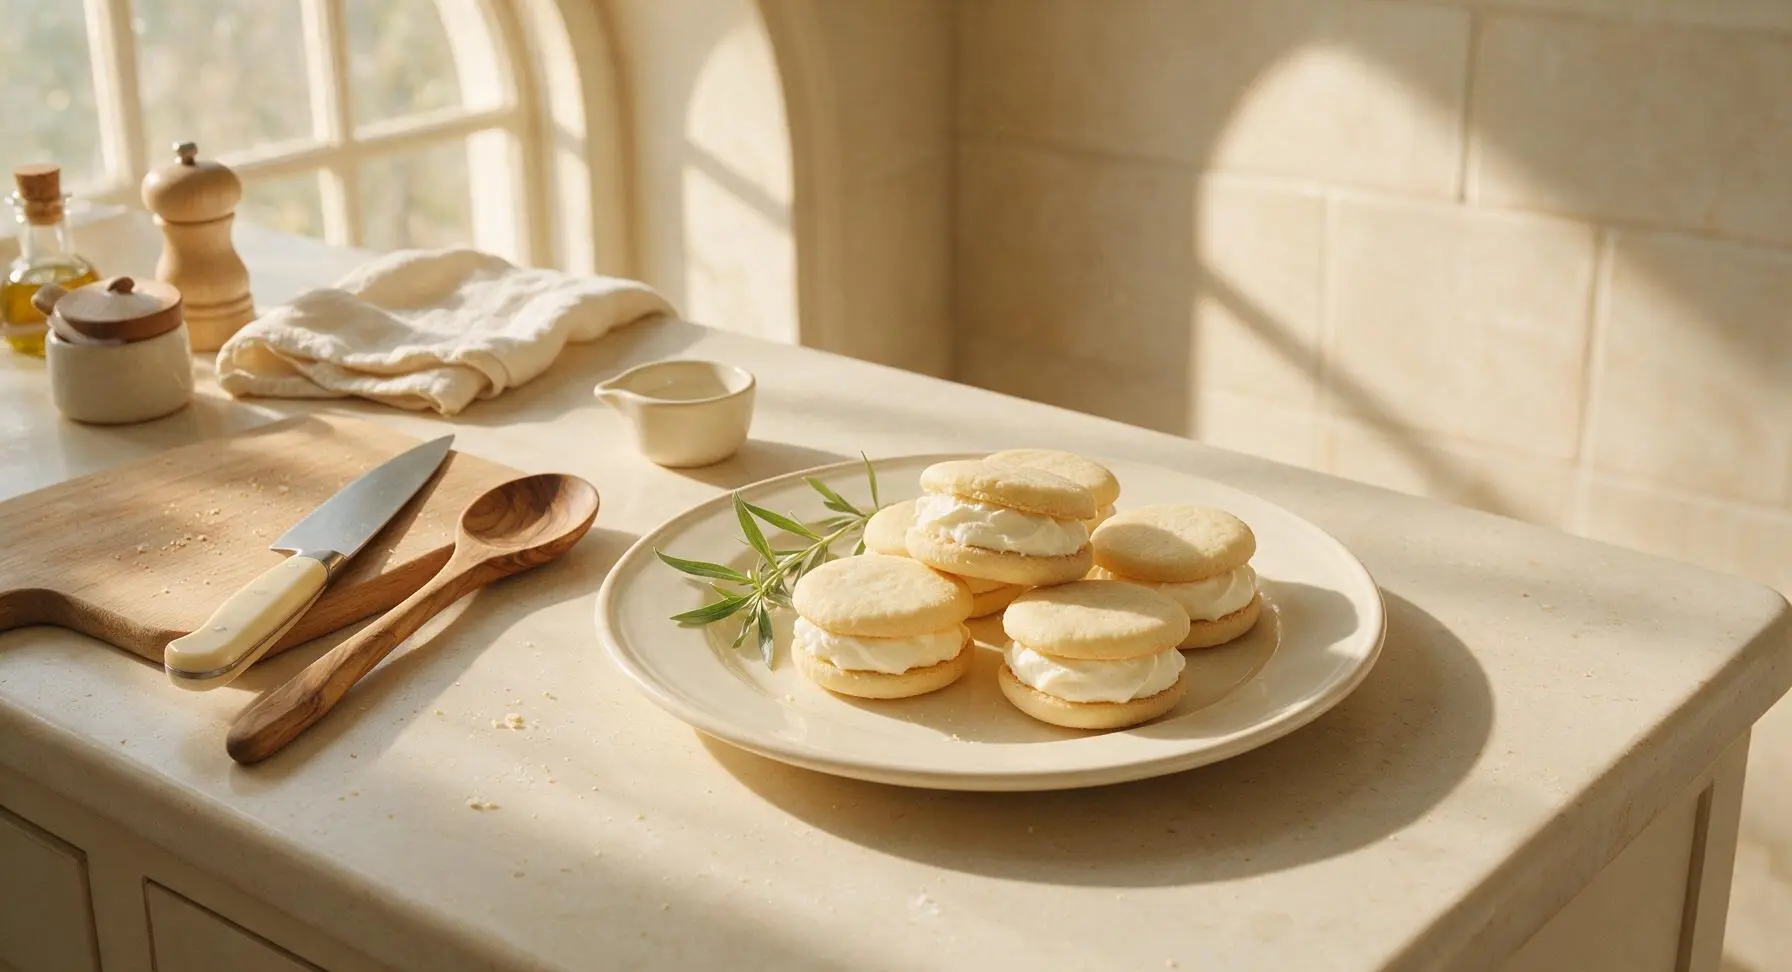
Tender, buttery vanilla cookie sandwiches filled with fluffy, smooth vanilla cream—nostalgic, perfectly sweet, and ideal for gifting or pairing with a cold glass of milk.
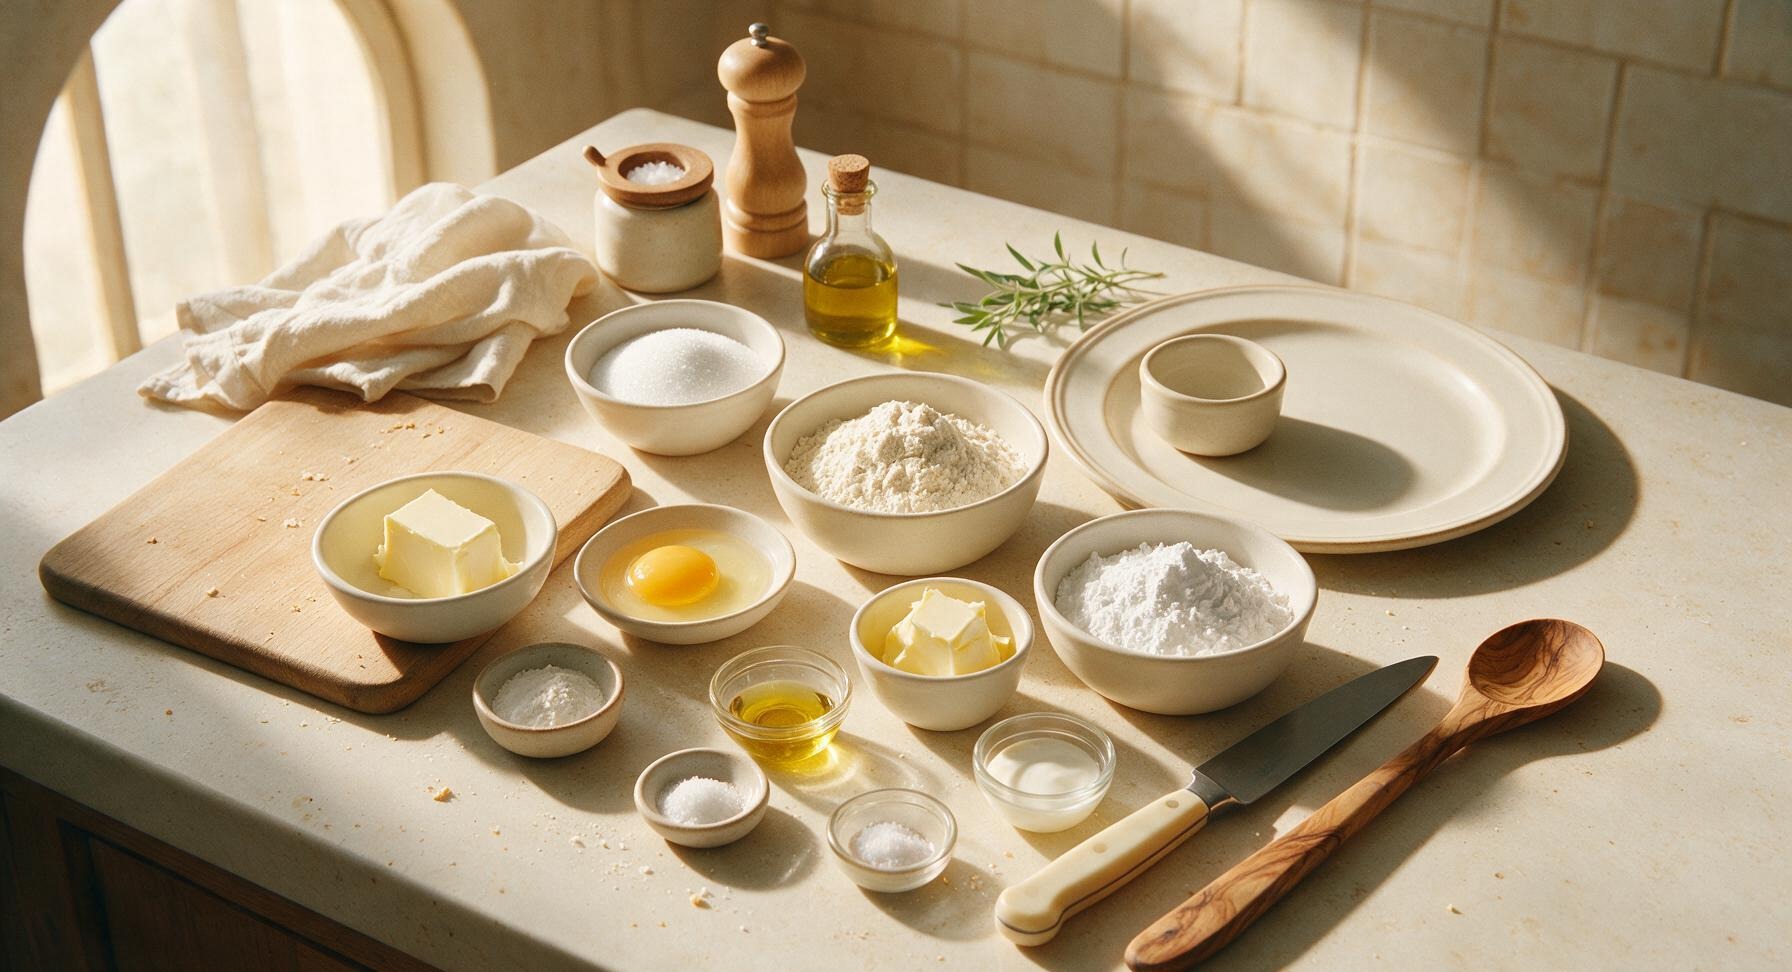
Ingredients
Steps
Cream Butter and Sugar
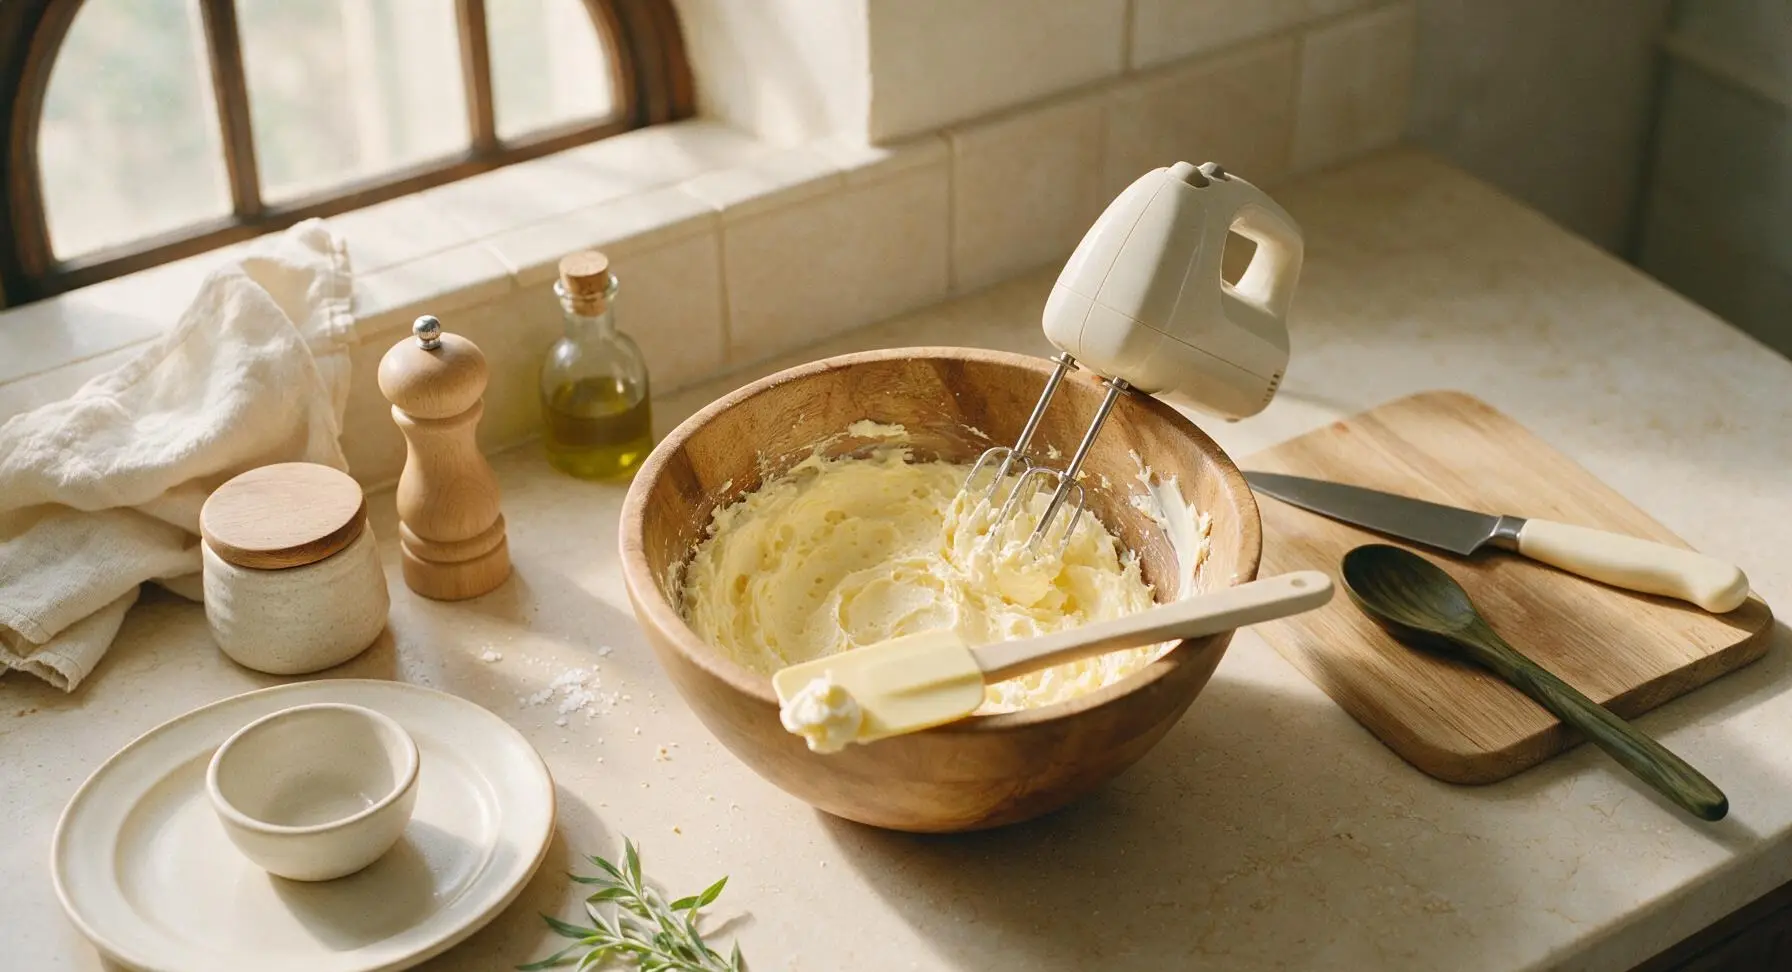
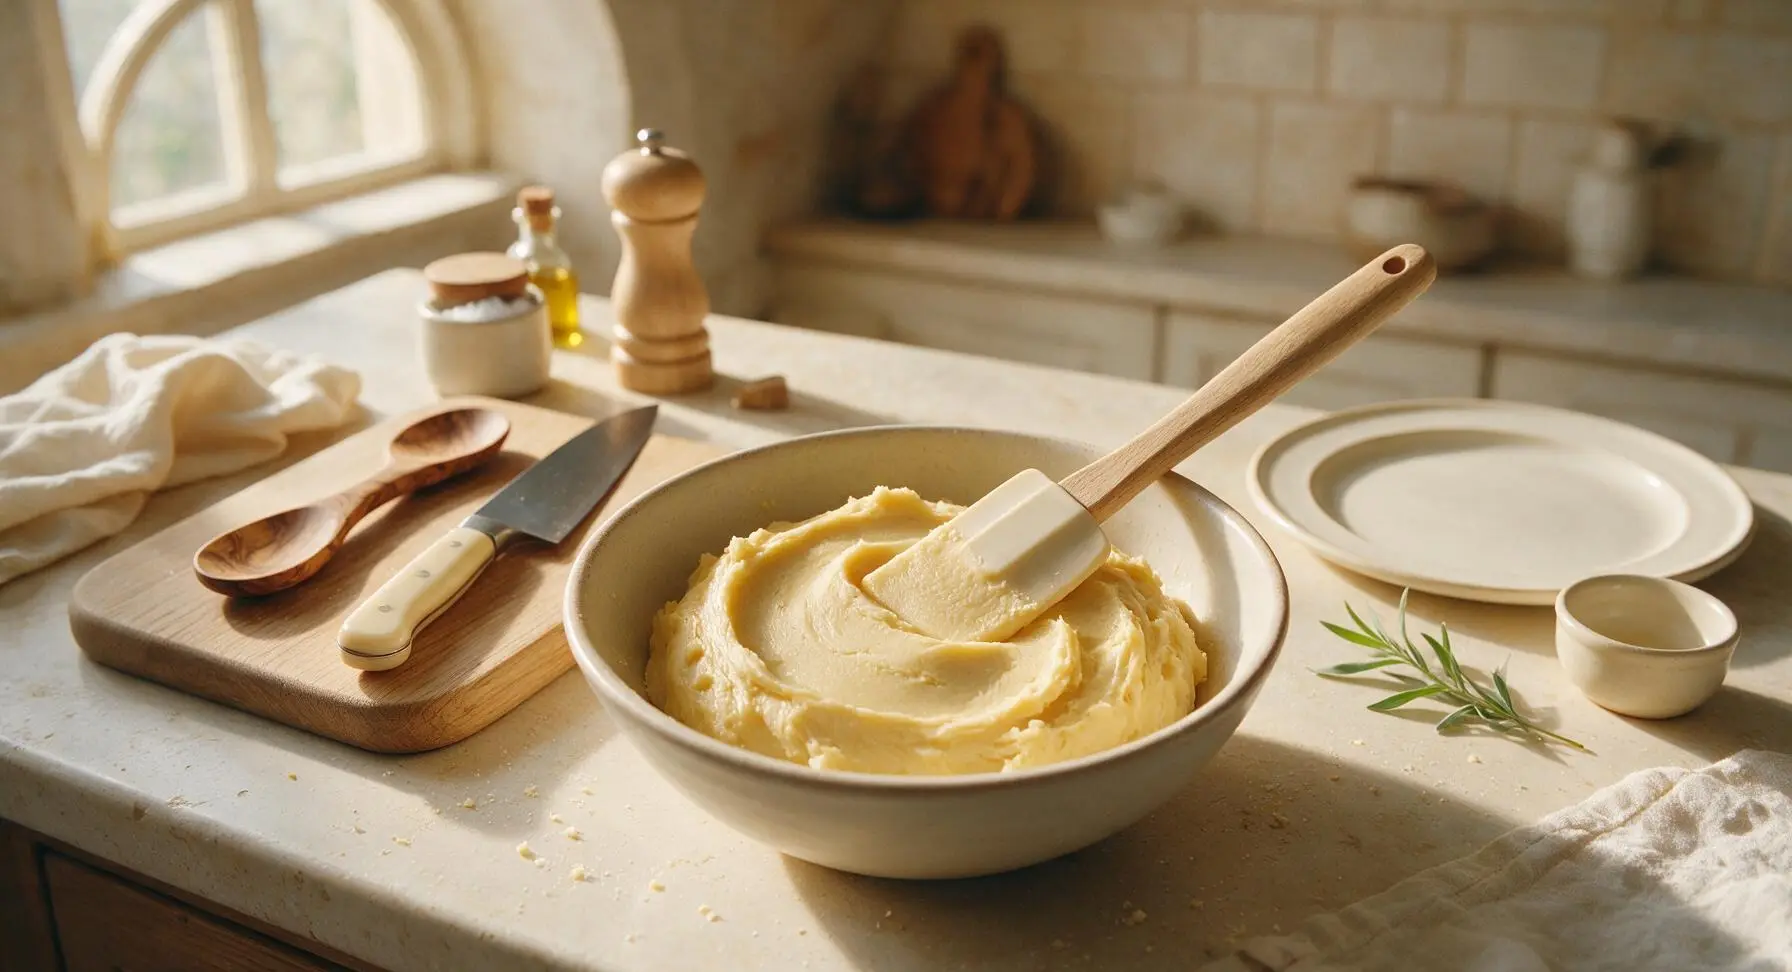
Place 113g softened unsalted butter and 100g granulated sugar into the medium acacia wood mixing bowl. Using the handheld electric mixer on medium speed, beat the mixture for 2-3 minutes until it is pale, fluffy, and light lemon-yellow in color, stopping to scrape down the sides of the bowl with the pale yellow silicone spatula as needed. The finished creamed base should leave soft, rounded peaks when the beaters are lifted, with no gritty undissolved sugar texture remaining when rubbed between two fingers.
Mix in Egg and Vanilla
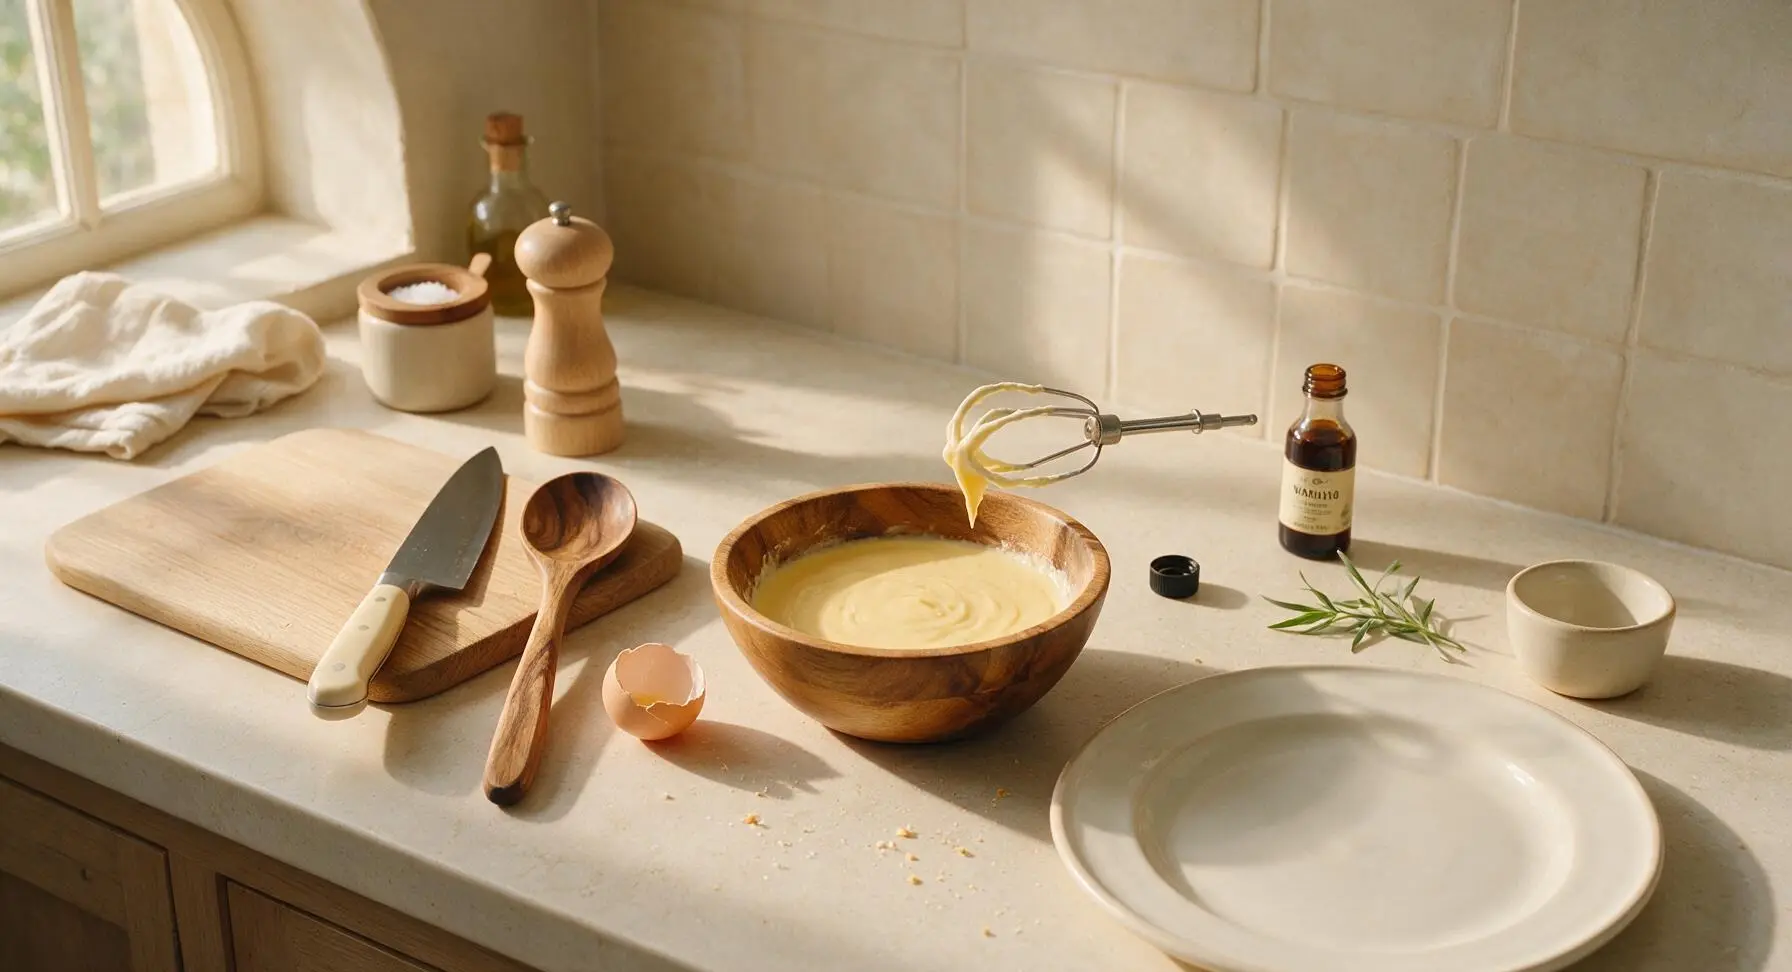
Add 1 room-temperature large egg and 1 tsp pure vanilla extract to the creamed butter mixture. Beat on low speed for 30 seconds to incorporate, then increase to medium speed for 1 minute until the mixture is fully smooth and homogenous, with no streaks of separated egg visible. Scrape down the bowl sides once halfway through mixing to ensure no unblended butter remains at the bottom of the bowl.
Fold in Dry Ingredients
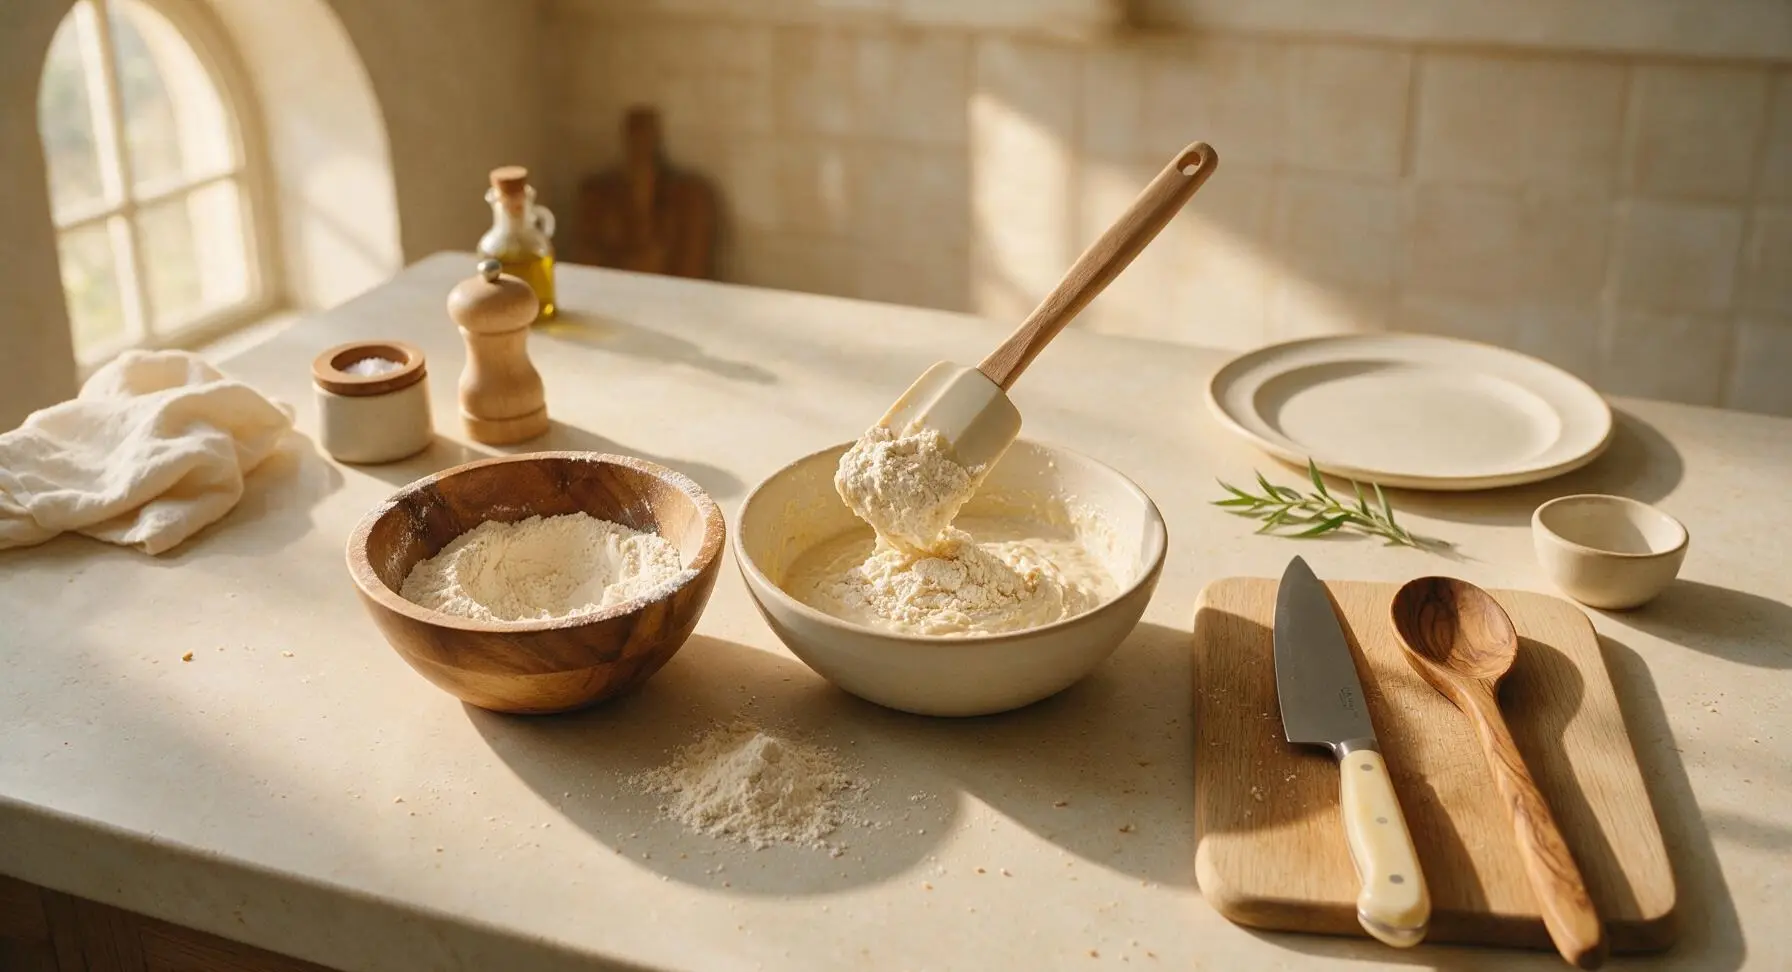
In the small acacia wood mixing bowl, whisk together 180g all-purpose flour, 1/4 tsp baking powder, and 1/8 tsp fine sea salt until evenly blended, about 30 seconds. Add the dry ingredient mix to the wet batter in 3 equal additions, folding gently with the silicone spatula after each addition, just until no dry flour streaks remain. Do not overmix (stop as soon as flour disappears) as overworking the dough will develop gluten and make cookies tough. The finished dough will be soft, pliable, and hold its shape when pressed lightly with a finger.
Chill and Roll Dough
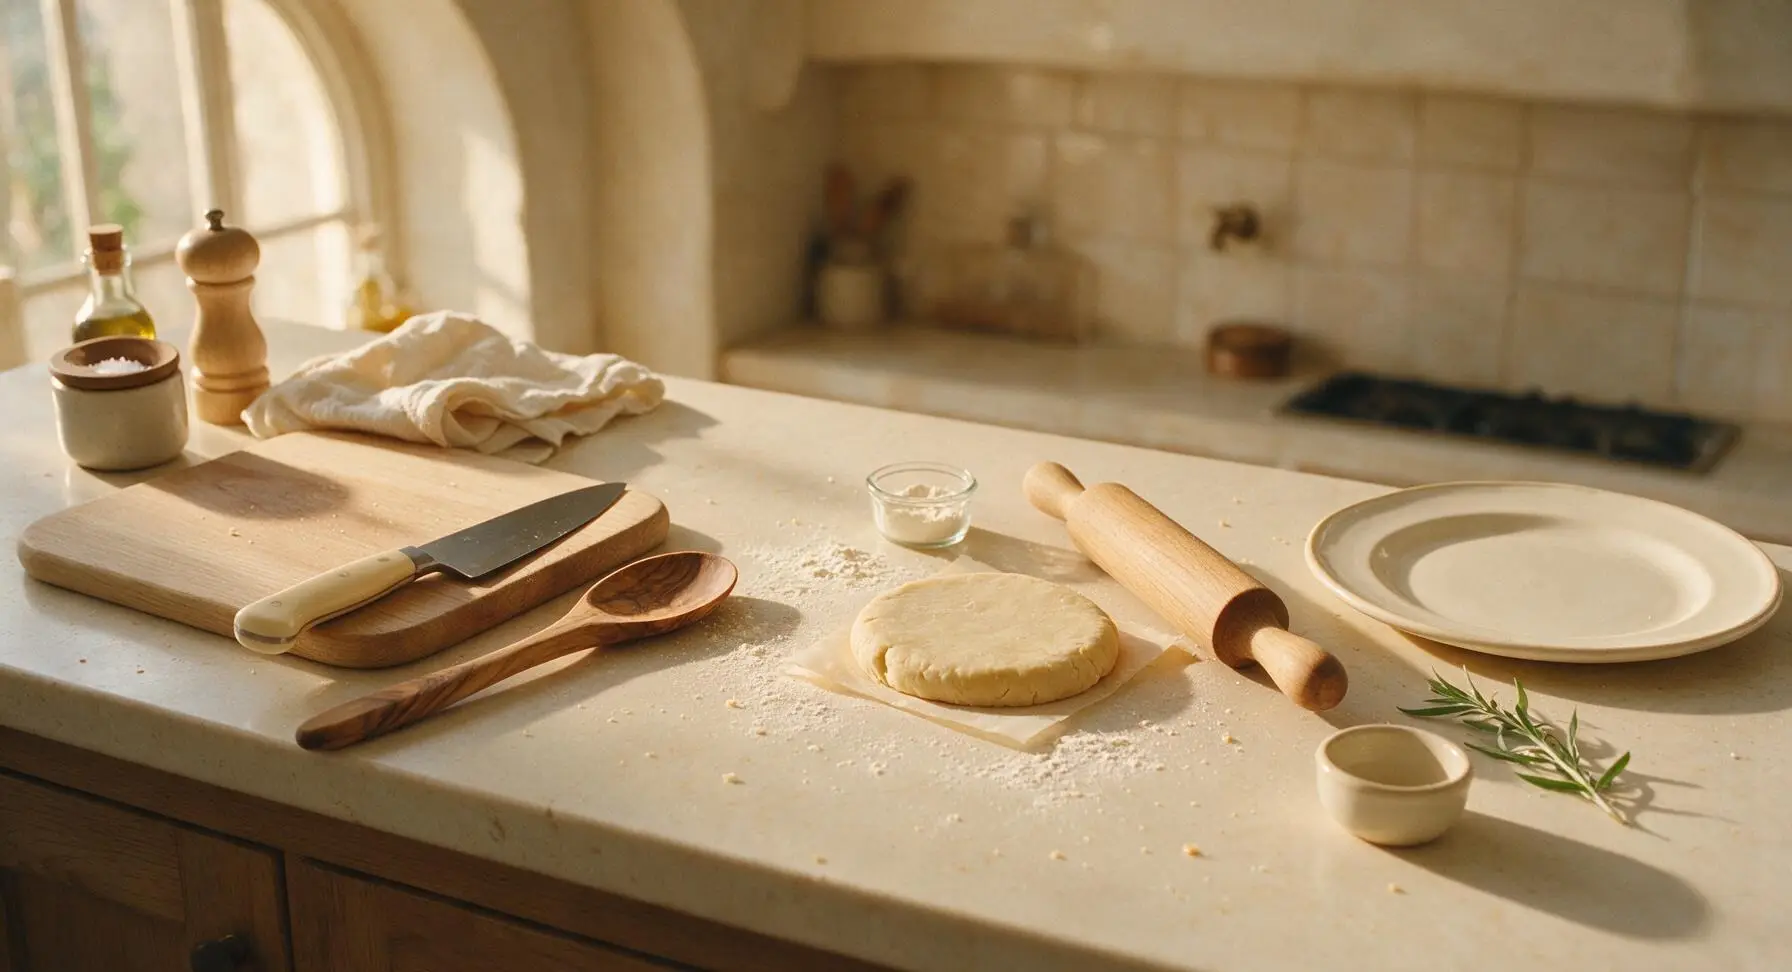
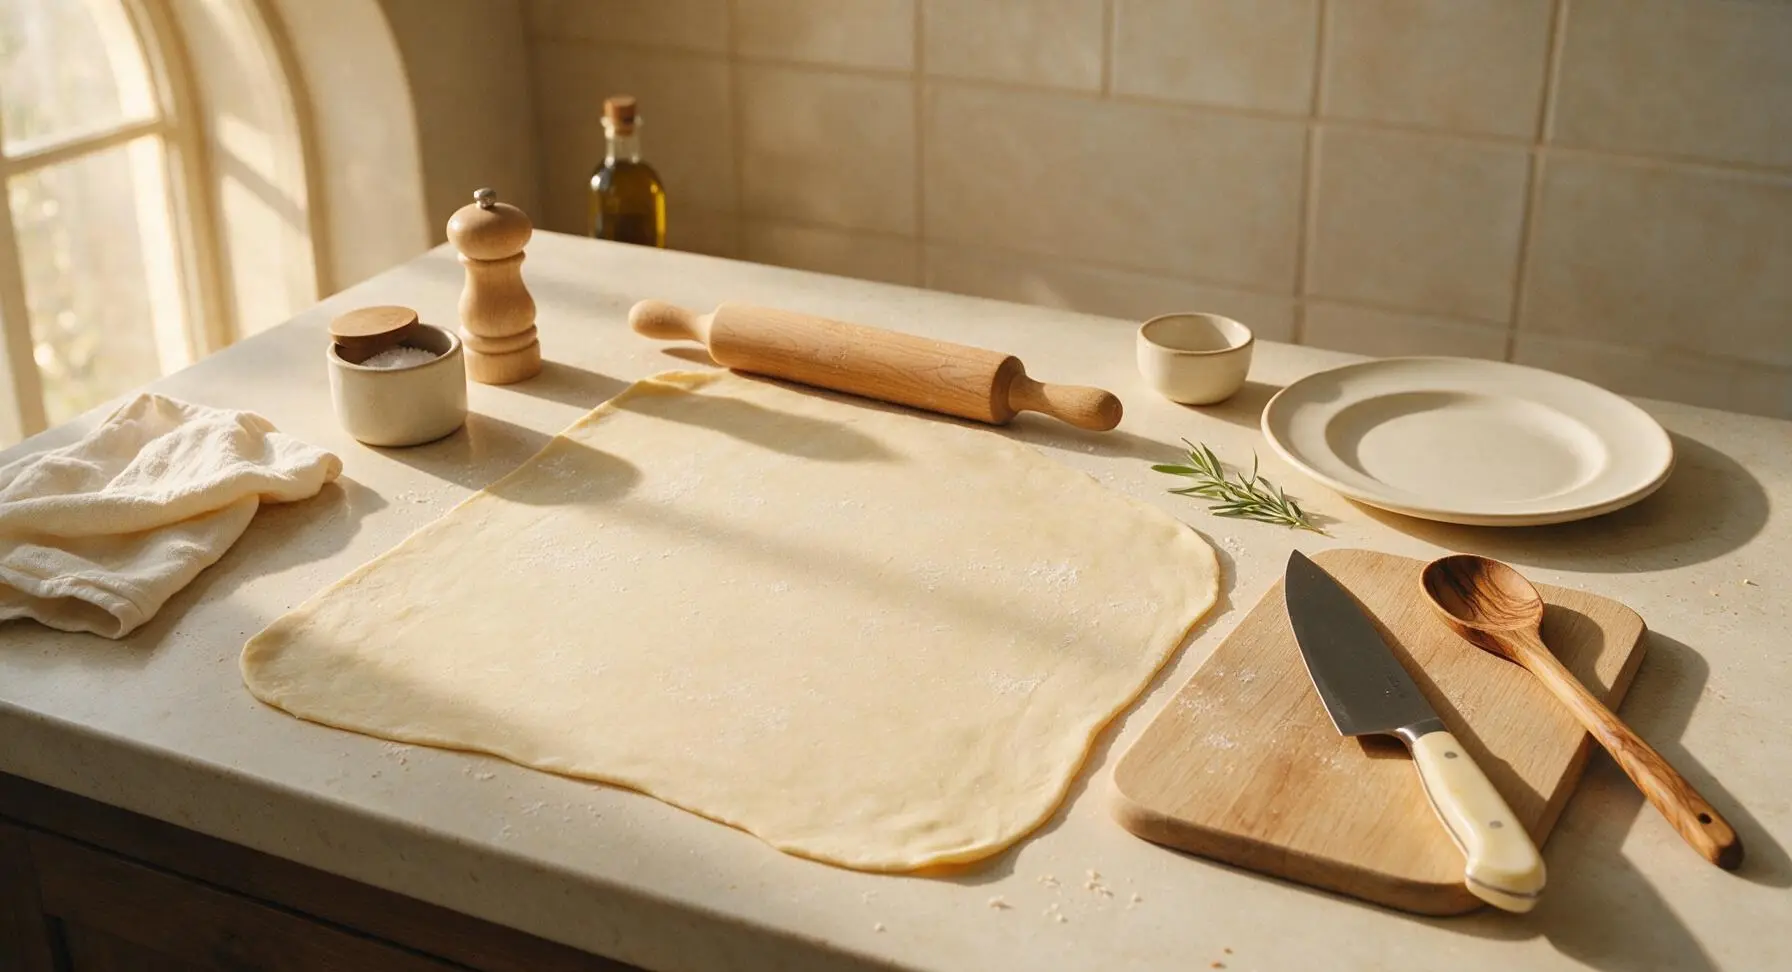
Gather the dough into a flat 2cm thick disk, place it on a small sheet of parchment, and chill in the refrigerator for 15 minutes until firm enough to roll (it should not stick to your finger when touched). Lightly dust the counter surface and the maple wood rolling pin with flour from the small glass ramekin, then roll the chilled dough to an even 3mm thickness. Apply even, gentle pressure as you roll, turning the dough a quarter turn every few rolls to prevent sticking, and ensure uniform thickness so all cookies bake at the same rate.
Cut and Bake Cookies
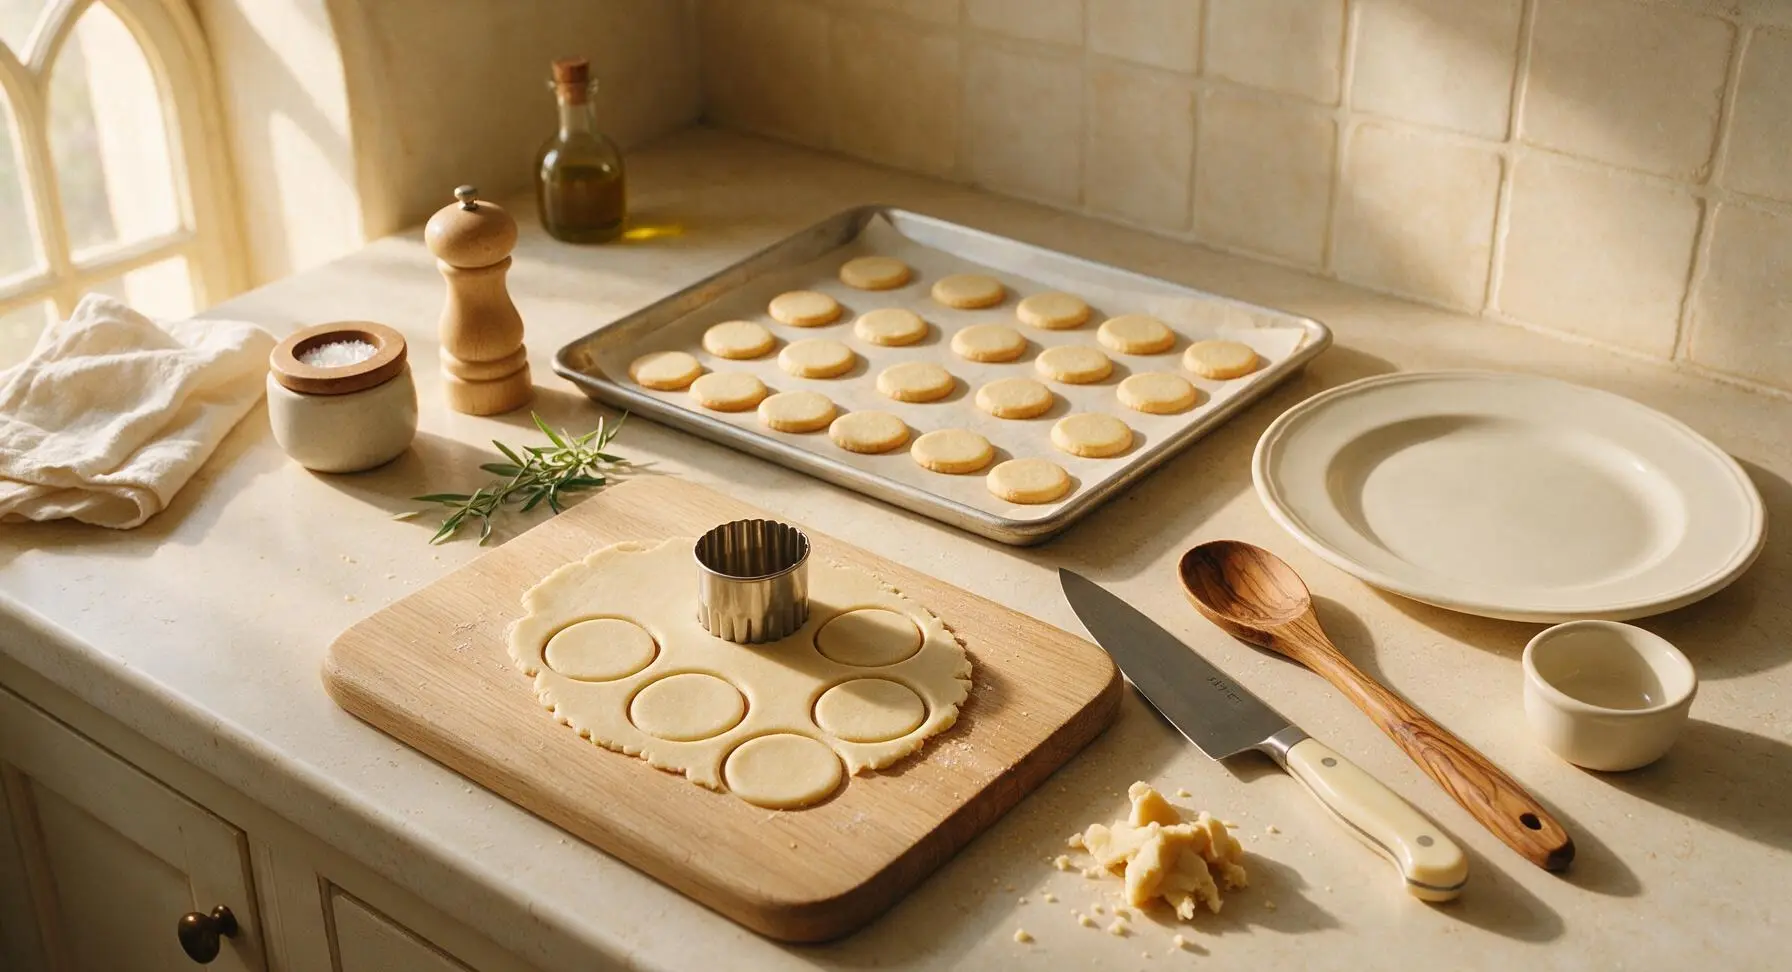
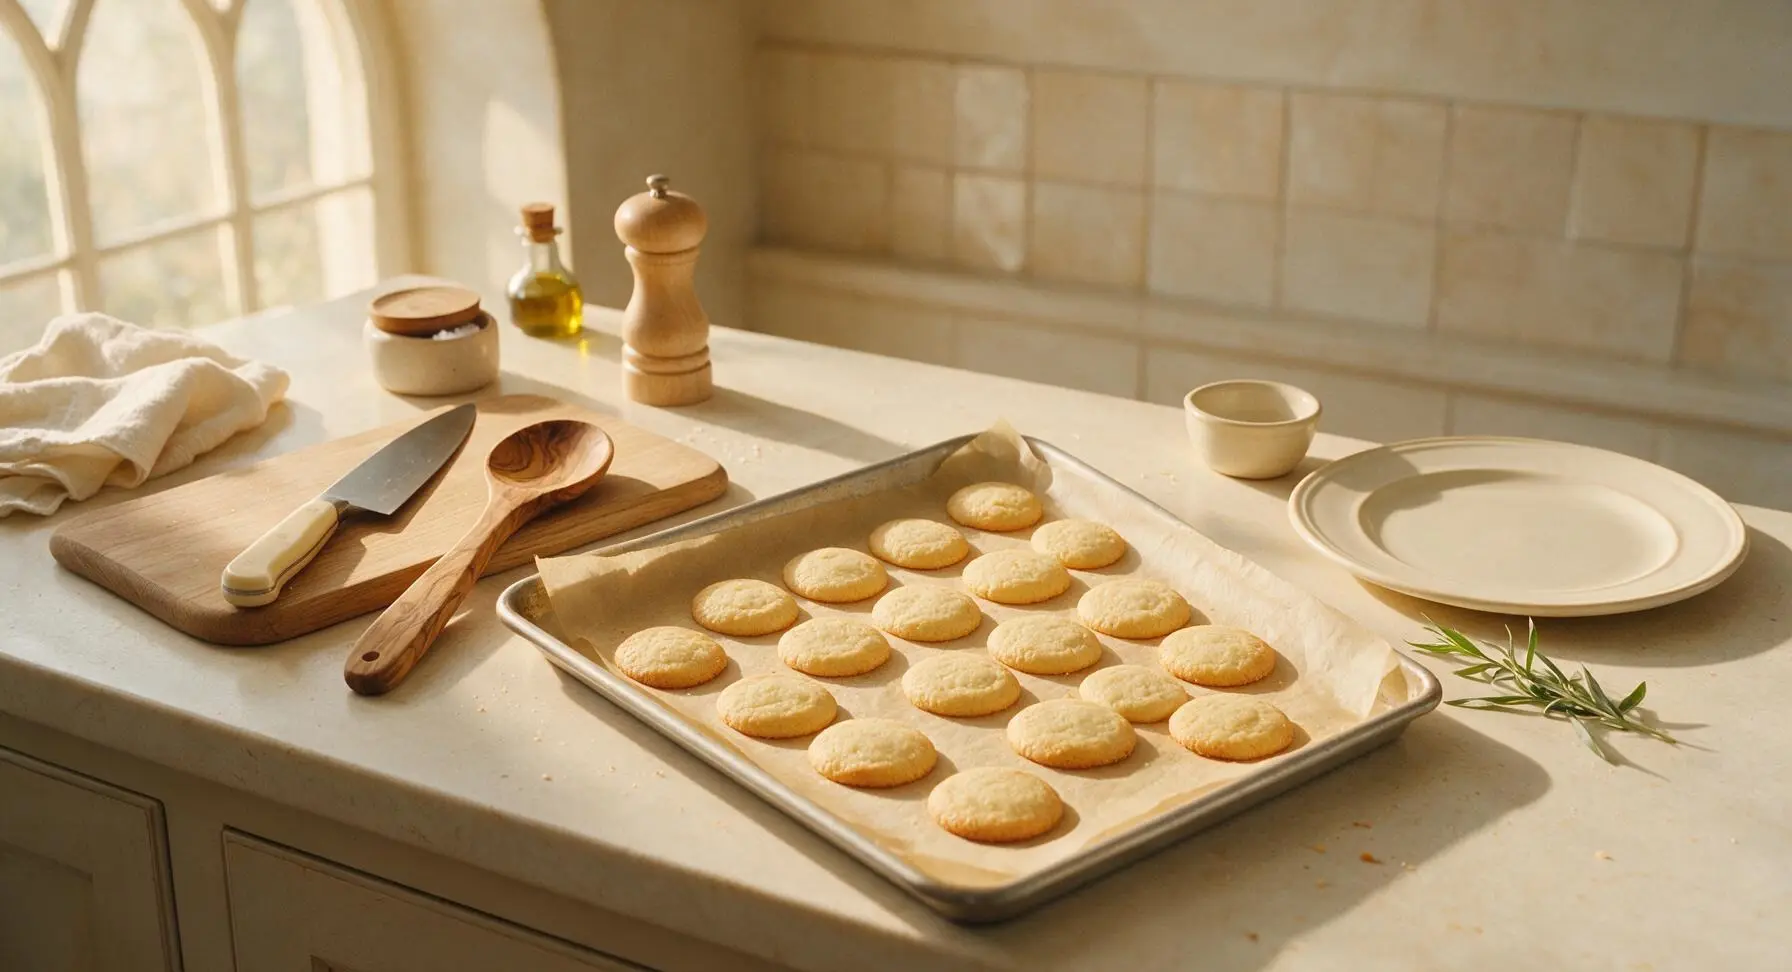
Use the 6cm fluted stainless steel cookie cutter to cut clean rounds from the rolled dough, pressing straight down without twisting to get even, clean edges. Gather dough scraps and re-roll once to cut additional rounds, for a total of 24 even cookie rounds (discard scraps after the second roll to avoid tough cookies). Arrange the rounds 2cm apart on the parchment-lined aluminum baking sheet. Bake in a preheated 175C (350F) oven for 10-12 minutes, until the cookie edges are just pale golden, and the centers are set but not deeply browned.
Cool Baked Cookies
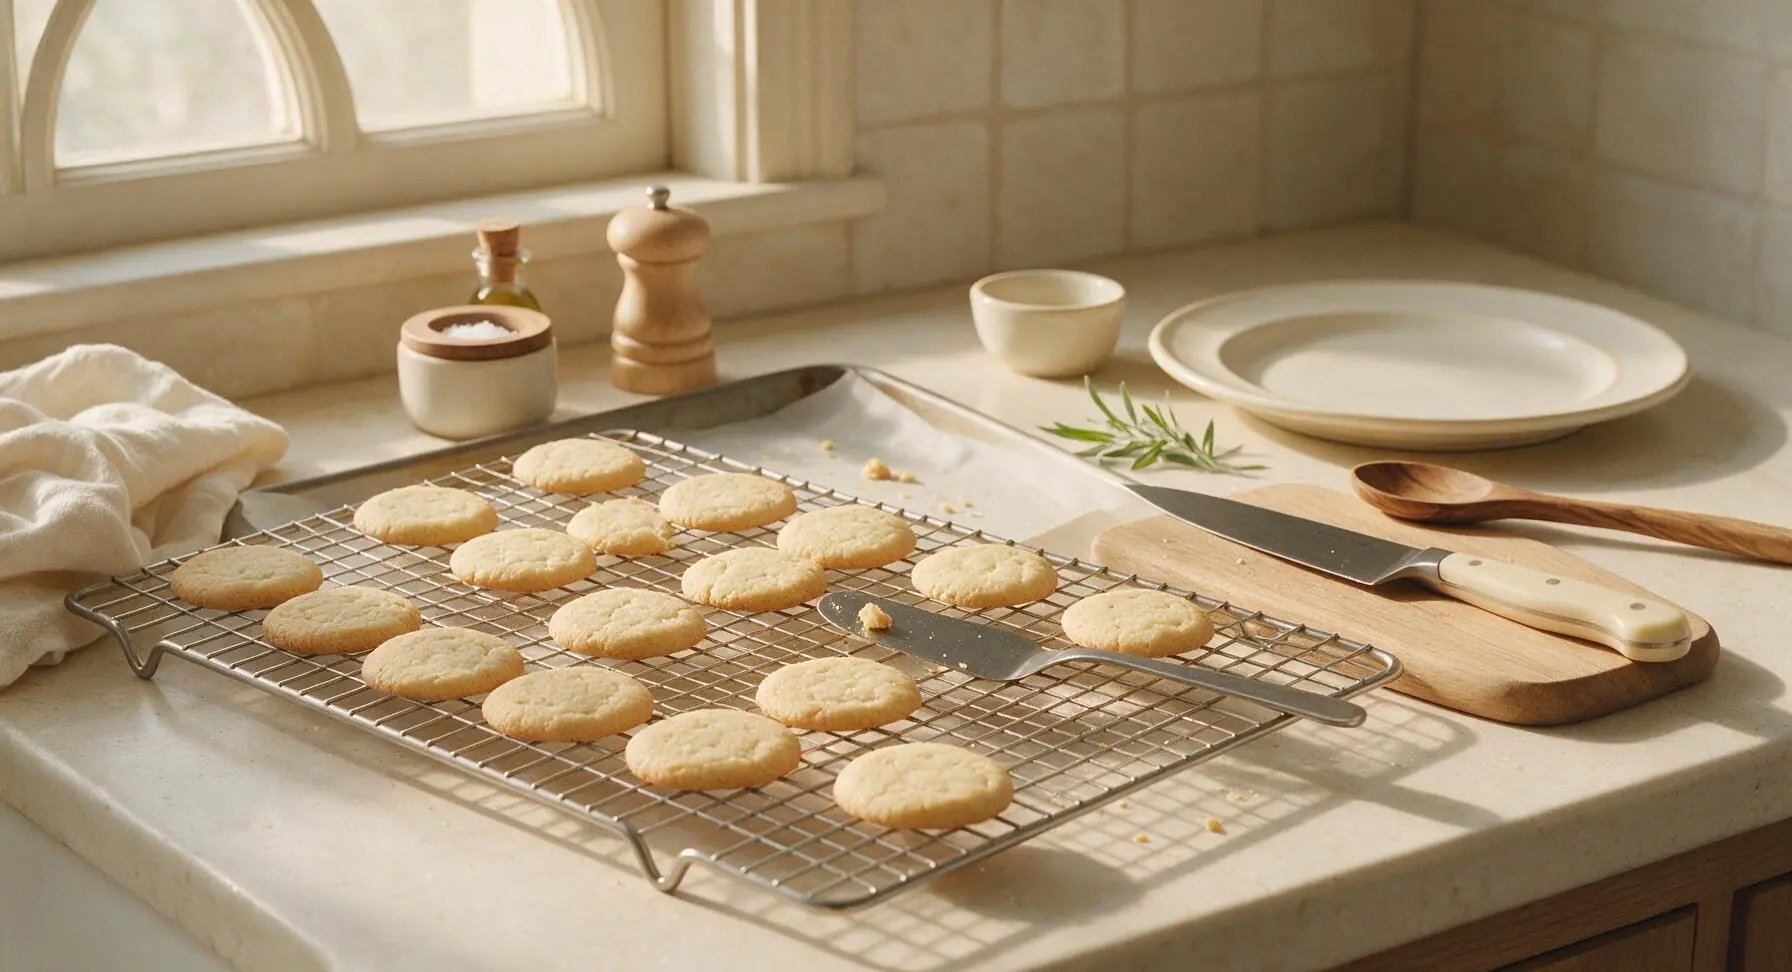
Remove the baking sheet from the oven, and let the cookies rest on the hot sheet for 5 minutes (they will continue to set as they rest) before transferring them to the matte chrome wire cooling rack using the small offset metal spatula. Cool completely to room temperature, about 20 minutes, before adding filling—warm cookies will melt the cream filling and cause it to slide out or make cookies soggy.
Whip Cream Filling
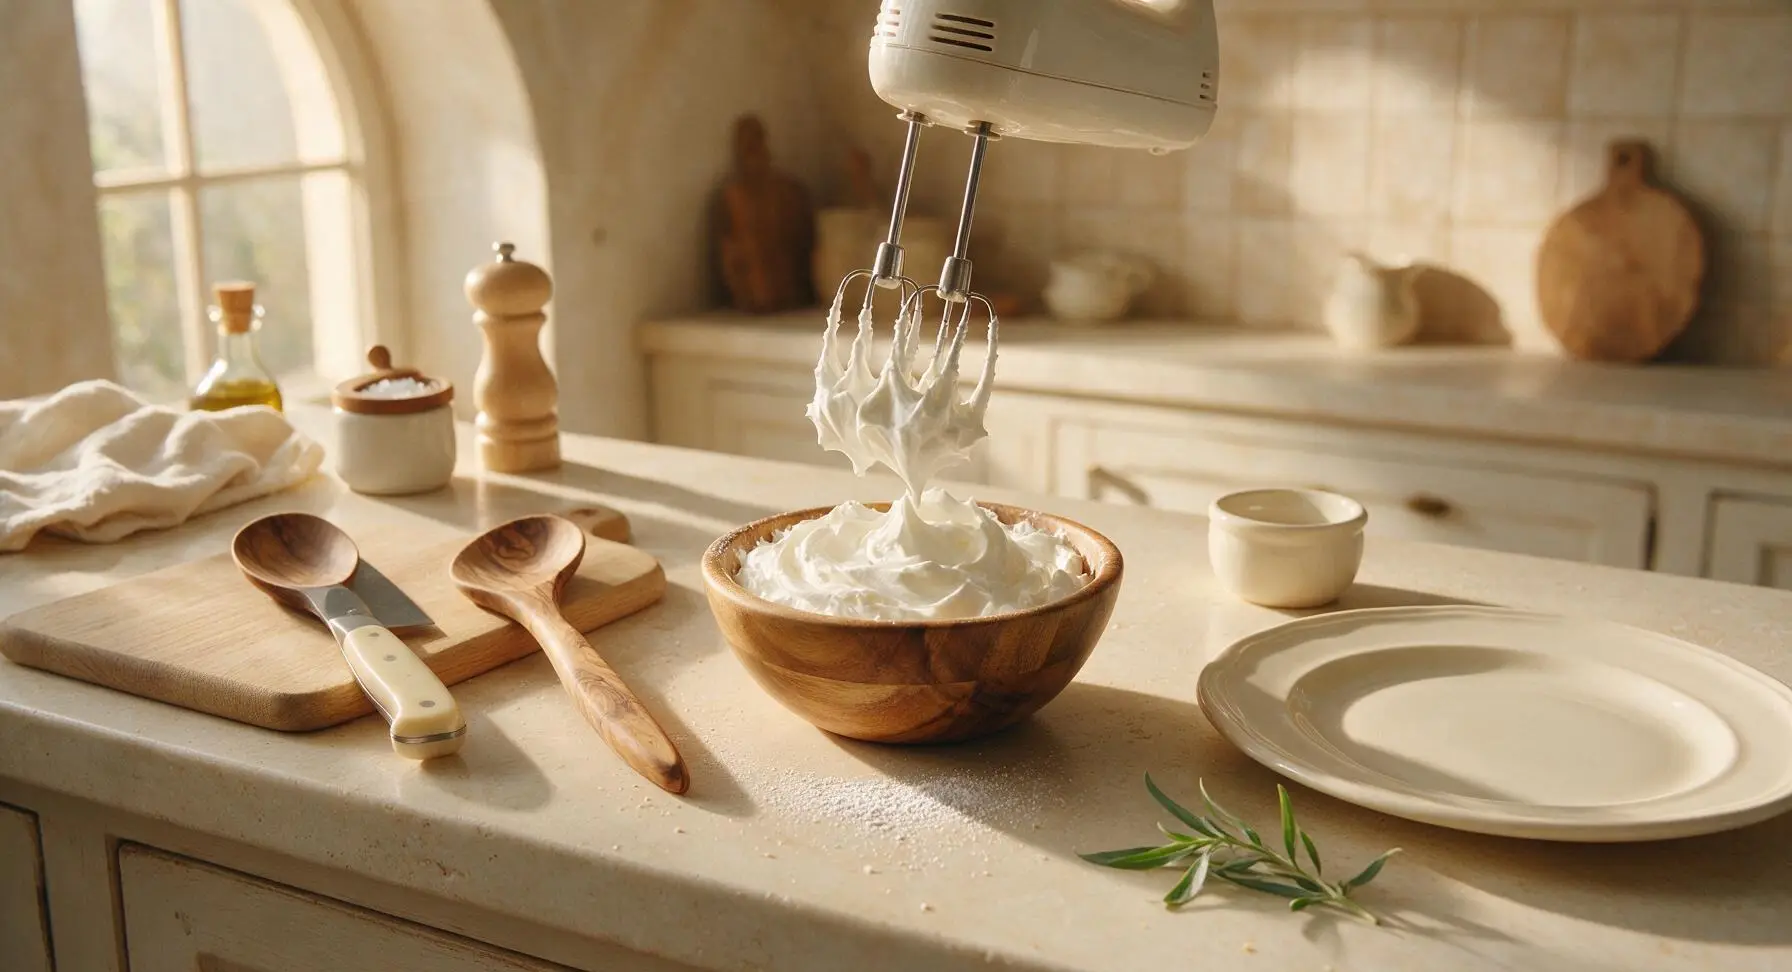
While cookies cool, wash and dry the small acacia wood mixing bowl to use for the filling. Place 85g softened unsalted butter into the bowl, and use the handheld electric mixer on medium speed to beat the butter for 2 minutes until completely smooth, pale, and free of lumps. Add 150g sifted powdered sugar, 1 tbsp heavy cream, 1/2 tsp vanilla extract, and a tiny pinch of fine sea salt, then beat on low speed for 1 minute (to avoid powdered sugar clouds) before increasing to medium-high for 2 minutes, until the filling is light, fluffy, and pure white, with a spreadable, pillowy texture that holds soft peaks.
Assemble Cookie Sandwiches
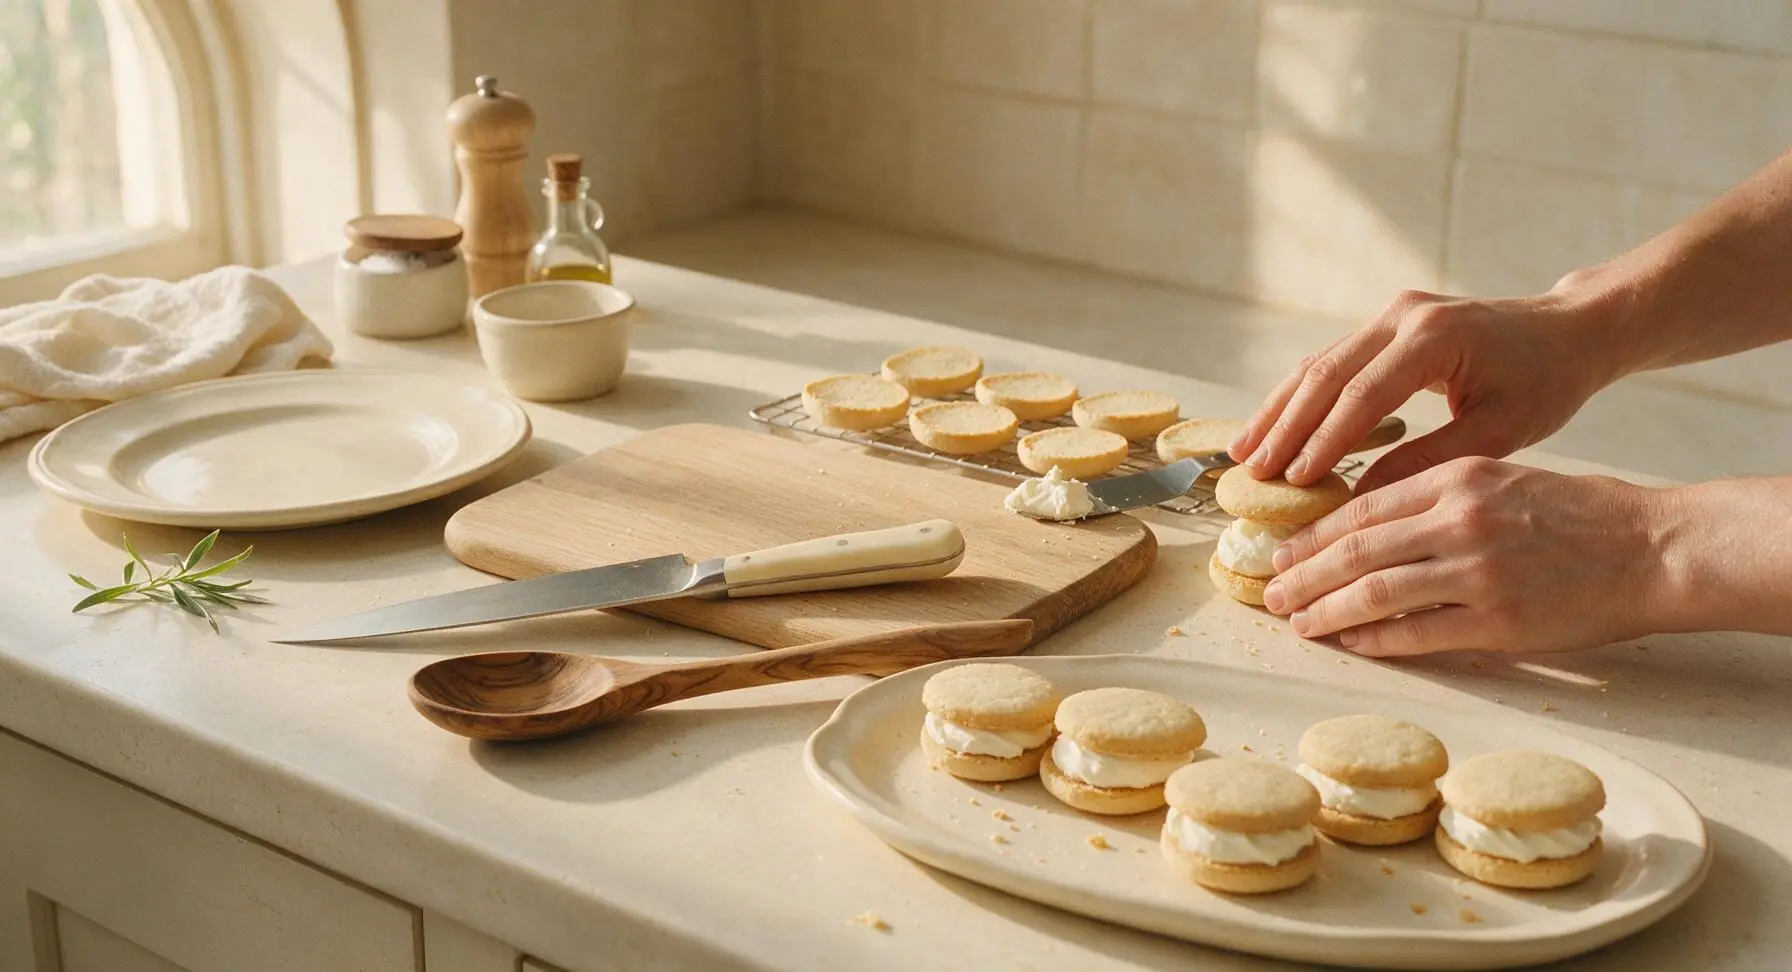
Once cookies are fully cool, flip half of the cookie rounds so their flat, un-browned sides face up. Use the small offset spatula to scoop 1 tsp of cream filling onto the center of each flipped cookie, then top with a second cookie round, flat-side down, pressing gently until the filling spreads evenly to 1mm from the cookie edges without oozing out. Transfer assembled cookies to the matte cream stoneware serving platter, and let them set for 10 minutes before serving.
Tips
2.Pull cookies from the oven when edges are just pale golden: they will continue to cook and set for 5 minutes on the hot baking sheet, so waiting for darker edges will result in overly crisp, crumbly cookies.
3.Ensure cookies are fully cooled to room temperature before adding filling: even slightly warm cookies will melt the butter in the cream, causing filling to slide out and create soggy, messy sandwiches.






OMG these are SO good! I made them for my kid’s soccer team potluck last weekend and every single parent asked for the recipe. The vanilla cream is perfectly sweet, not cloying at all, and the cookie stays soft for days. Total game changer for quick bake sale treats too! Only note: I chilled the dough for 30 mins before baking and they held their shape perfectly.
Super easy recipe, even for someone who burns break-and-bake cookies half the time lmao. My whole family devoured these after dinner last night — my picky 7 year old asked for seconds before he even finished his first! I did add a tiny extra pinch of salt to the cream filling to cut the sweetness and it was chef’s kiss.
Made these for meal prep this week to toss in my work lunch and they’re holding up great! I stored the cream separately and filled them the night before so the cookies didn’t get soggy, worked like a charm. 10/10, will be making these monthly from now on.
I made these last weekend for a small get together and they were great! Only reason I didn’t give 5 stars is I wish I’d known how far ahead I could prep the cream, it would’ve saved me so much time day of. Quick question though — can I make the cream filling a day ahead? I’m prepping for my sister’s birthday party and want to get as much done ahead of time as possible. Also, do these need to be stored in the fridge? I kept them on the counter this time and they were fine, but want to make sure for the party!
These taste exactly like the fancy vanilla sandwich cookies I pay $6 a box for at the grocery store, no cap. I ate three straight out of the oven (don’t judge, the cream was still melty and amazing) and paired the rest with my morning iced coffee all week. Cook time was exactly 12 minutes like the recipe said, no guesswork needed.
Made these for our church potluck yesterday and they were gone in 10 minutes flat! I rolled the edges in colorful sprinkles to match the spring theme and everyone thought I bought them from a local bakery. So easy to throw together last minute, I’ll definitely be pulling this recipe out for every get together this summer.
Quick heads up for anyone gluten free — I swapped the all purpose flour for a 1:1 GF baking flour and these came out perfect! No weird texture, no crumbliness, the cream is naturally GF so I didn’t have to adjust a thing there. My husband who eats regular gluten didn’t even notice a difference.
Tried these last night after seeing a TikTok of similar cookies, and honestly? Way easier than I thought it would be. I messed up the first batch because I overfilled the cookies with cream and it oozed out everywhere, but the second batch was perfect. Even my roommate who hates sweet things said these were solid.